
This Tomb Raider walkthrough is divided into 25 total pages.
You can jump to nearby pages of the game using the links above.
Forest Summit
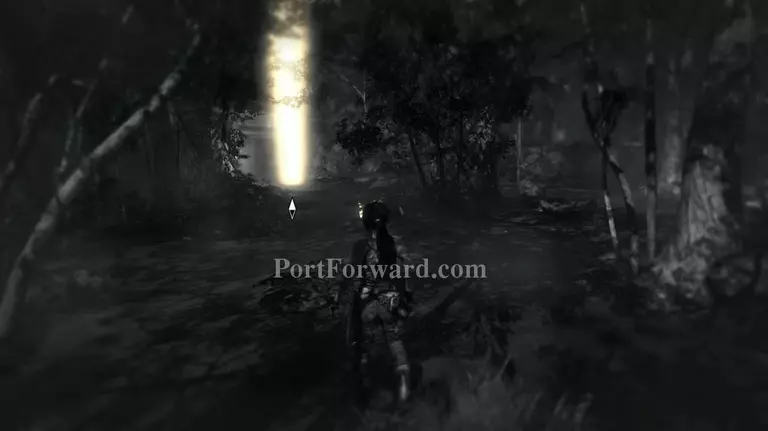
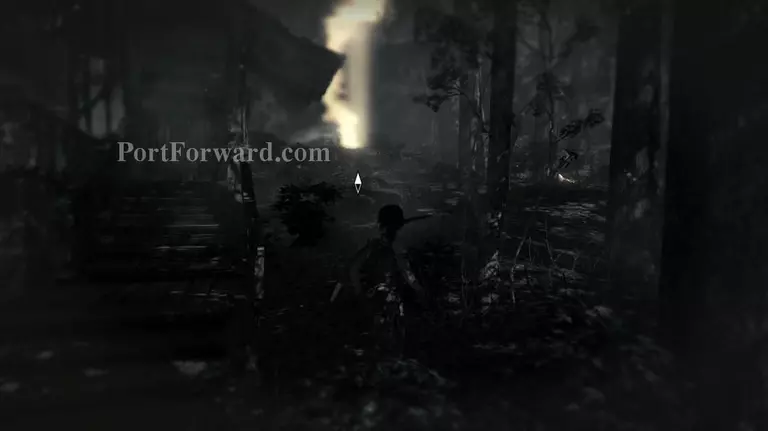
Press Q and follow the marker past the helicopter crash site and towards the summit.
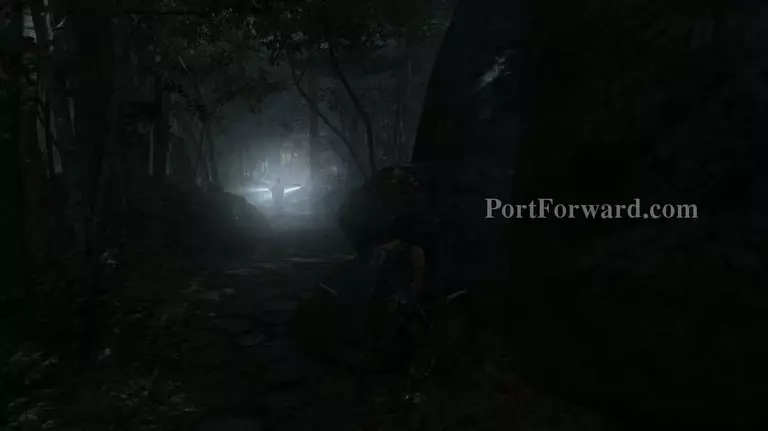
You'll hear some people talking. There's a few of Solarii members here. Equip your bow, you need to take them out.
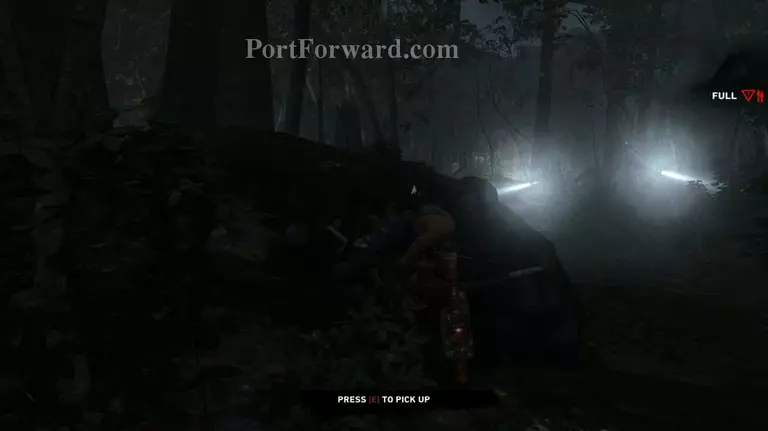
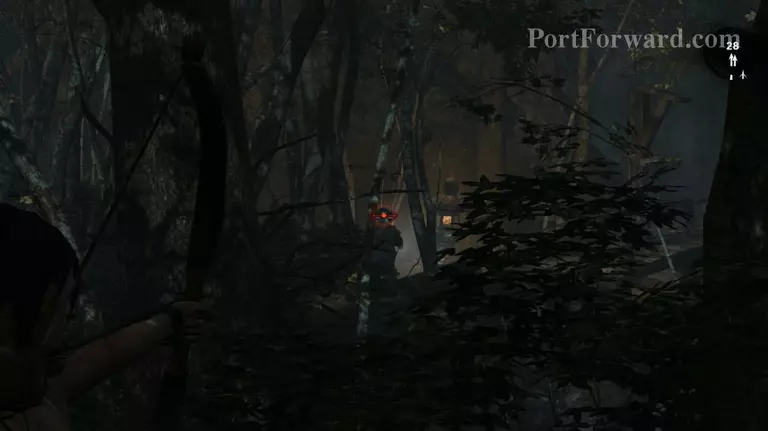
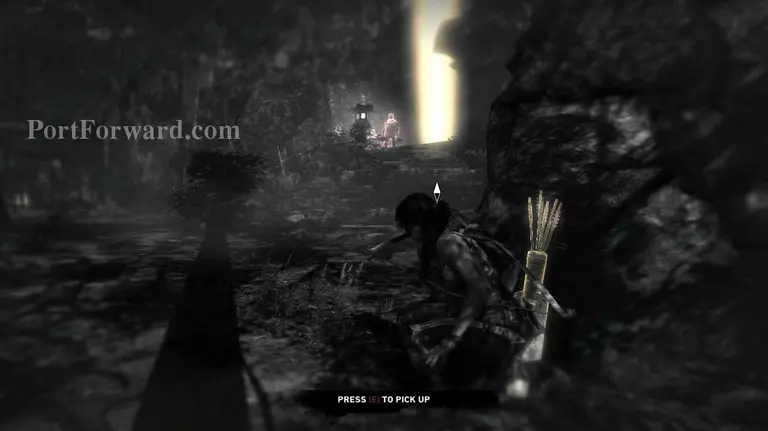
Hide behind the rock on the left side and wait for them to split up. Then draw your bow and aim at the guy that gets left behind.
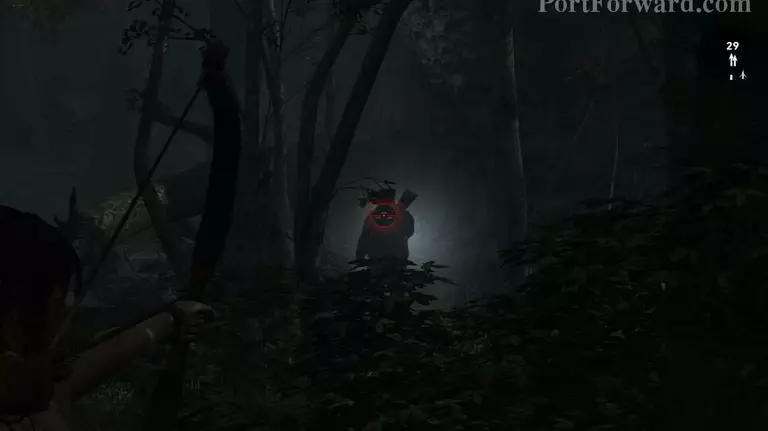
After you kill him head to the right and look for the other guy that's patrolling the area. Shoot him too but be careful not to stray away from covers. Trees and rocks as well as bushes would do.
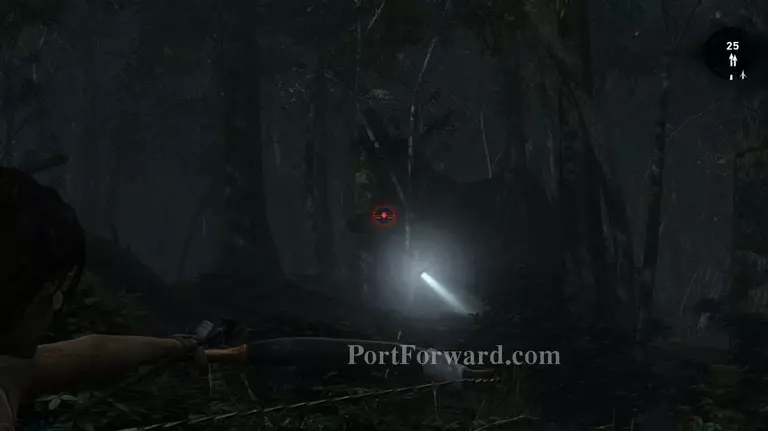
Now go a bit to the north and you should be able to have a good view of the bridge. There's a guy standing there shoot him.

Look towards the shack and you'll see a campsite. There's a Solarii member patrolling that area, wait for him to stop near the campsite and shoot him.
Head further to the right but tread lightly. There should be some Solarii that passed the bridge and saw the corpse. They'll go on alert and look for you. Take them out one by one when they split up.
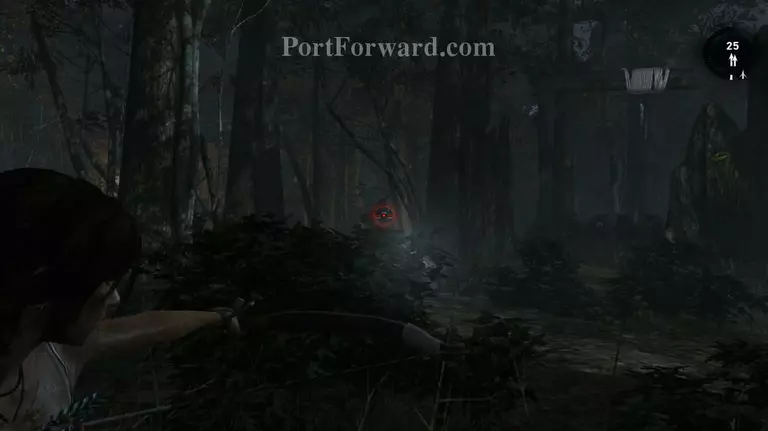
There will be another one approaching from the stone path. Hide behind some bushes and shoot him.
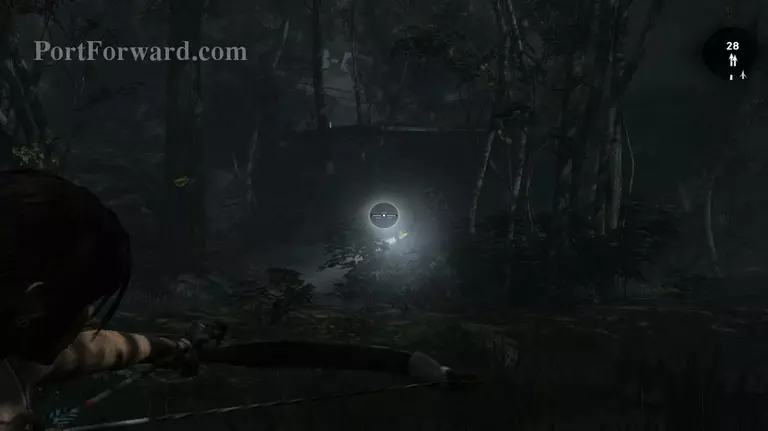
Keep going towards the right and you'll find 2 more Solarii patrolling the area on the other side of the stream. Kill them then make your way towards that side via the plane wing.

You should be clear to head for the campsite now. Upgrade whatever you can in the menu and you'll also receive a journal entry.
Now press Q and head for the right side of the shack. Your marker should point you up towards the hill.
There's three of them near the entrance that you need to get to. Shoot an arrow to the wall and wait for them to split up.
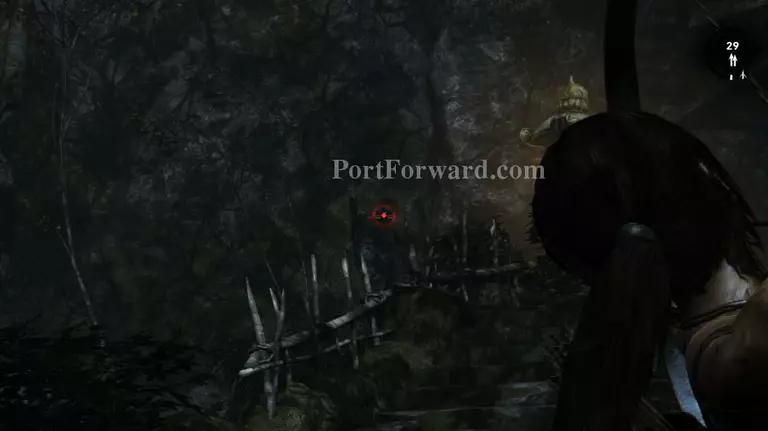
Take out the one on the left first. Then look towards the one in blue clothing that's standing on the right side and kill him. The third one should come within your line of sight once the first two are dead.
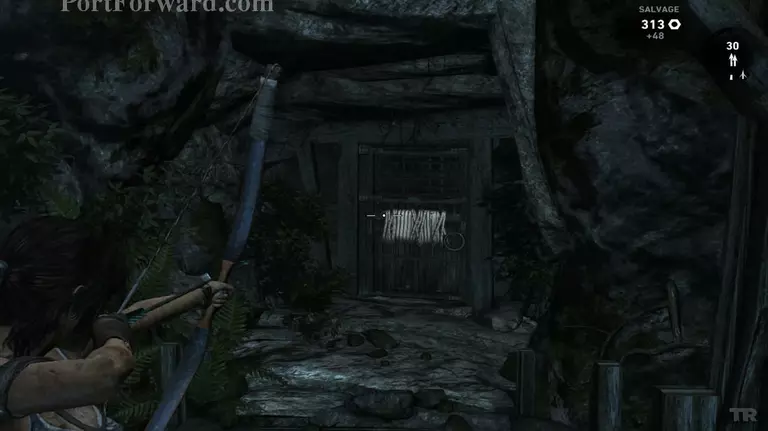
Salvage what you can, then head inside the cavern and across the bridge. Use your rope arrow to pull down the door and go through it.

Follow the path and climb up the ladder. You need to make it to the other side but the pole isn't in the right place.
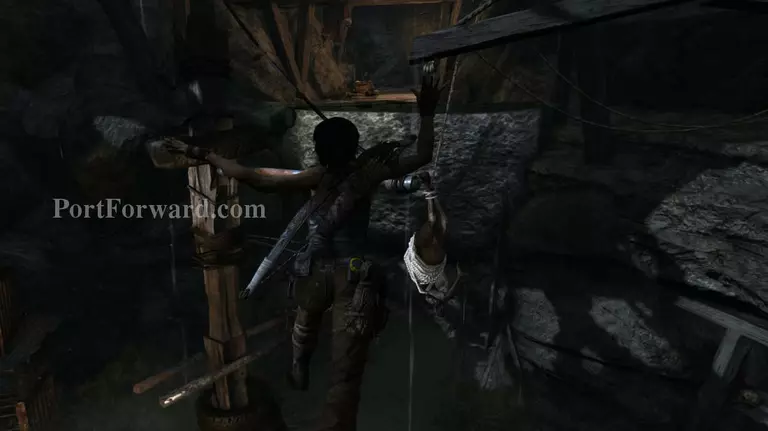
While standing on the higher floor use your rope arrow to pull the animal carcass. You have to jump towards it about as soon as it hits the lower bar. Then press E to attach the climbing axe on the opposite wall.
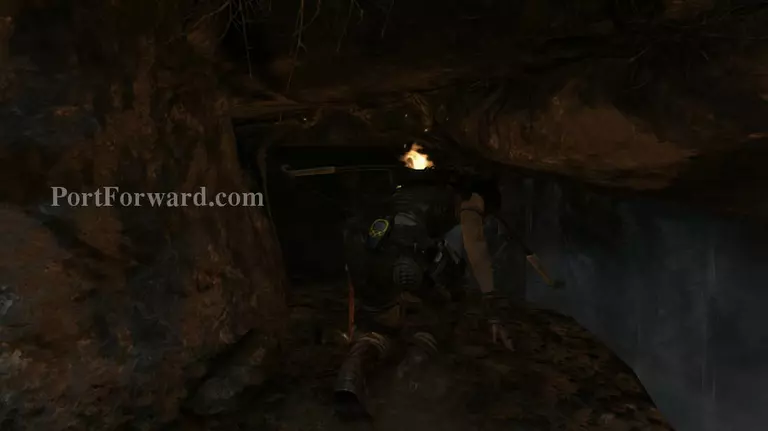
Enter the tunnel and keep going. You're going to slide down. Press E to regain your balance. Then go towards the right, there's a narrow path here that you can use. It will lead you back to Shantytown.
More Tomb Raider Walkthroughs
This Tomb Raider walkthrough is divided into 25 total pages.


