
This Tomb Raider walkthrough is divided into 25 total pages.
You can jump to nearby pages of the game using the links above.
Salarii Compound

Outside the guy with tatoos is waiting for you. Roll your way to the left side of the garden and hide behind the sturdier rocks. That machinegun can destroy walls so don't hide behind the taller walls.

From there make your way to the left and hide behind the wall. You'll see that there's a climbable part of the wall nearby. Get there and start climbing.
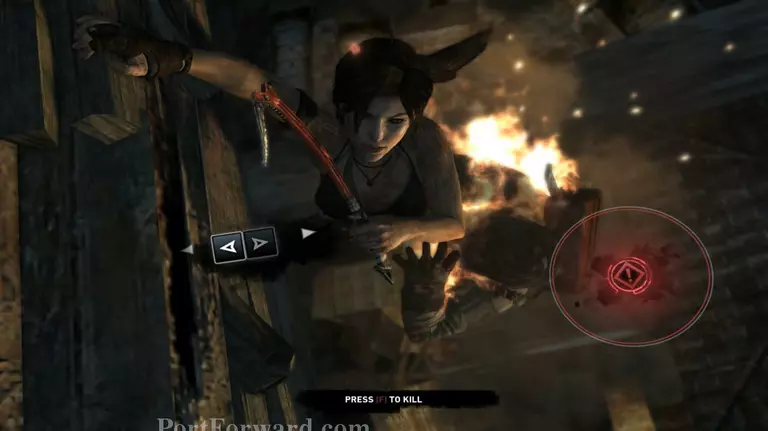
Now jump on the zip line and take him down. You'll fail of course.
After you fall to the ground don't even aim. Just spam the middle mouse button until he explodes.
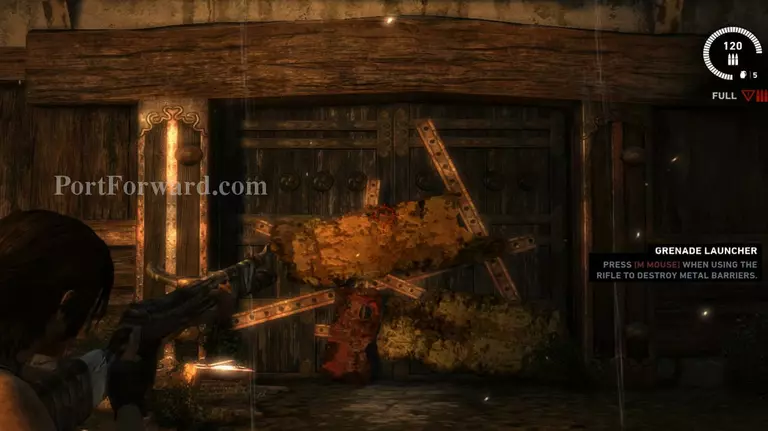
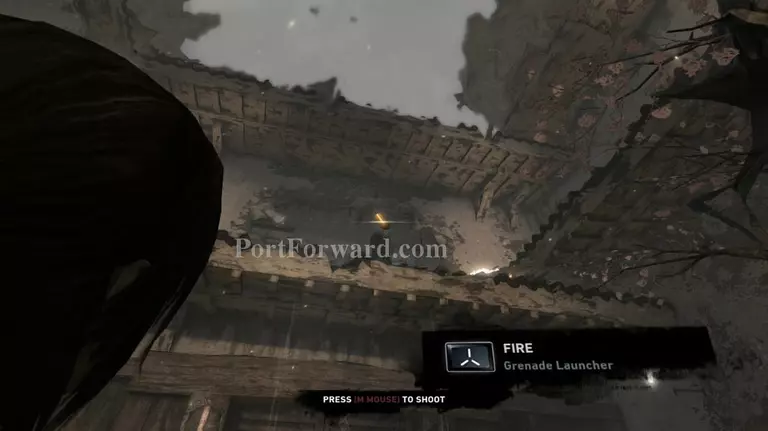
Equip your machinegun andaim at the door right in front of you. Use the middle mouse button to launch a grenade at it and destroy it.
Head inside and hide behind a wall then start killing them. I don't recommend wasting the grenades but there is a lot of supply in this area. Just don't waste them too much later on.

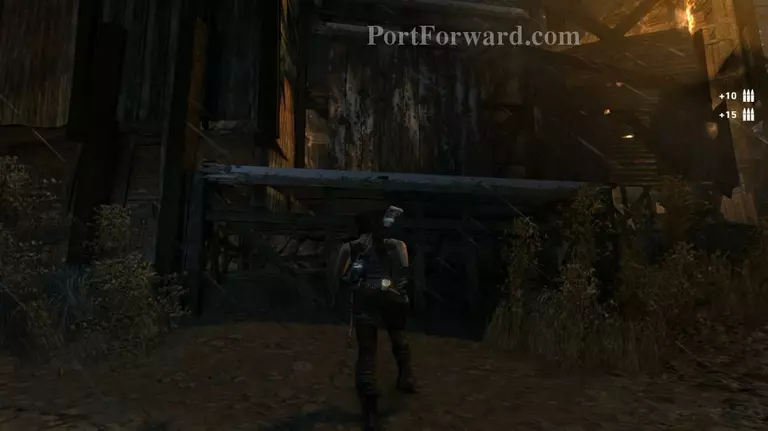
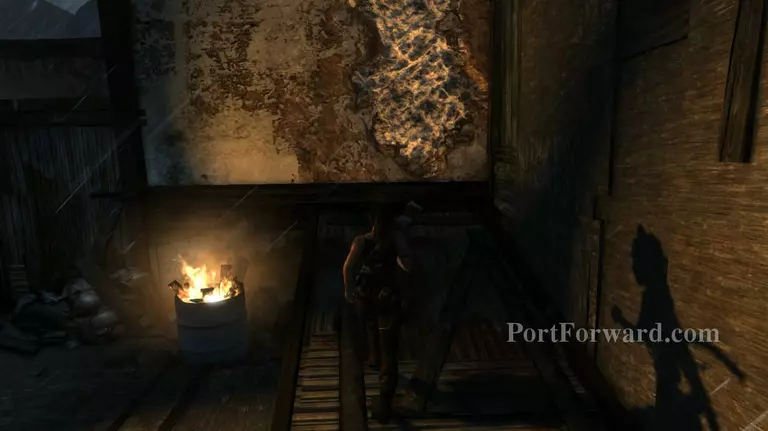
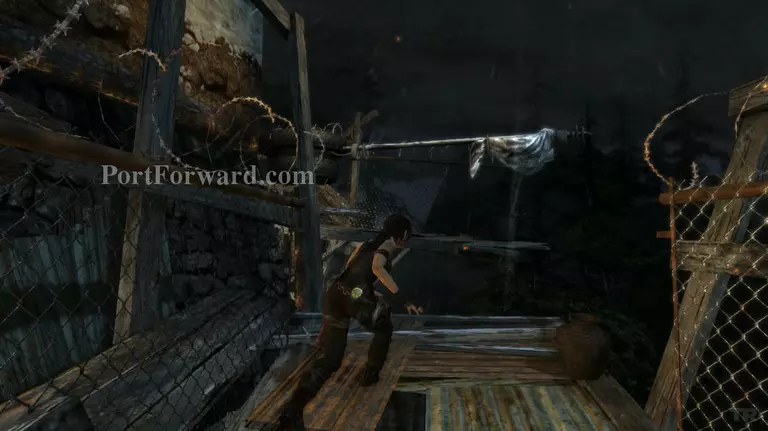
After you've cleaned the area head for the campsite and use it if you need to do upgrades. Then scale the wall beside it with the climbing axe.
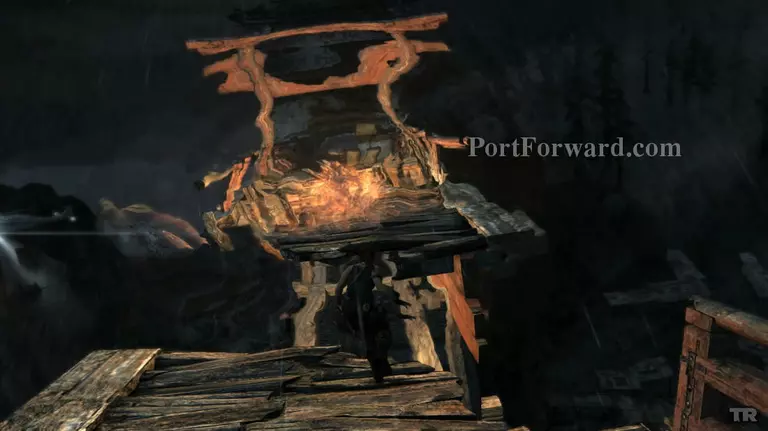
Make your way through the fiery corridors and use the grenade launcher to destroy the barricade.
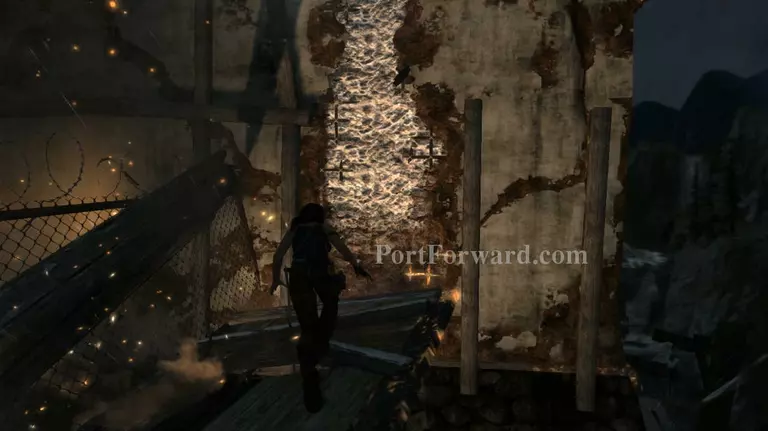
Turn to the left and you'll see a zip line. Use it to get to the lower area, then use the grenade launcher to destroy the wall and go through it.
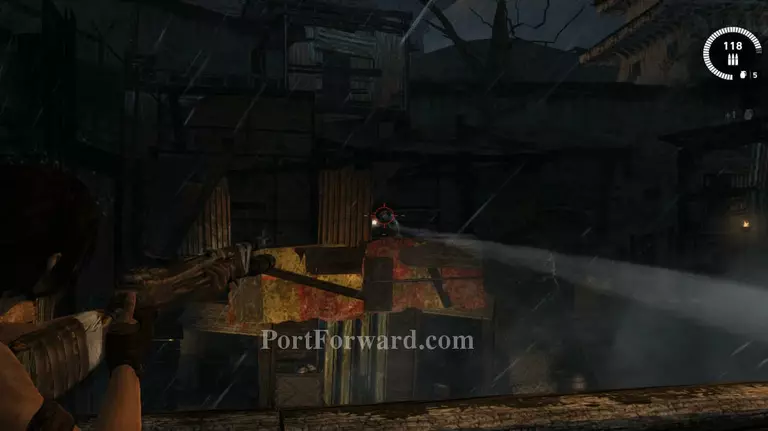
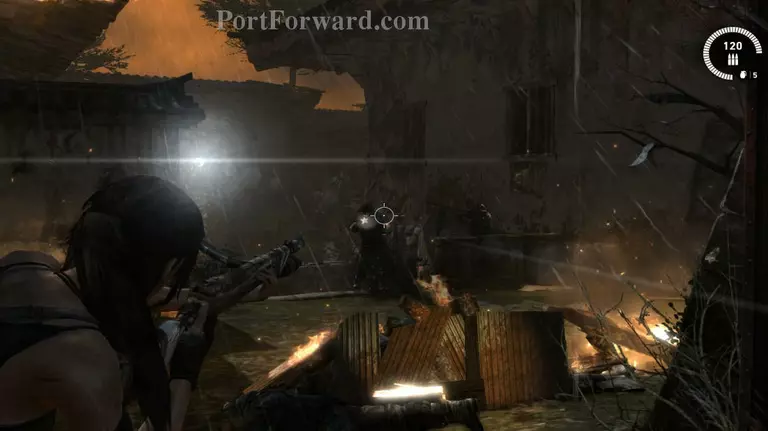
You'll be attacked by a lot of Salarii here. Kill the first three that appears and hide behind the crates below where they were.
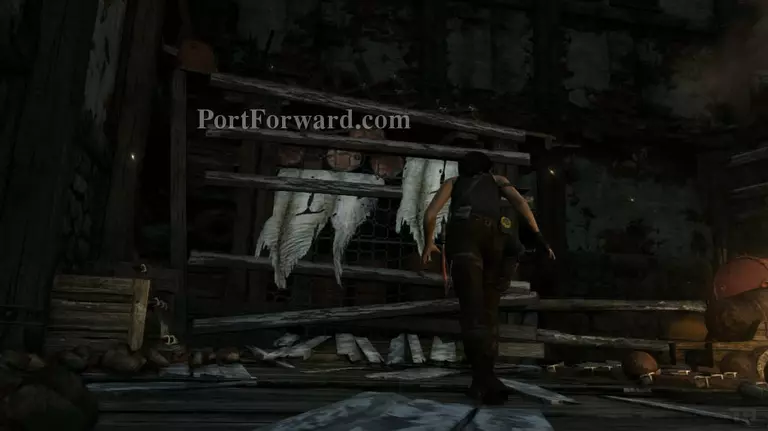
Visibility is also really poor in this area. If you can't find the enemies then activate your survival instinct and you'll be able to see them clearly.
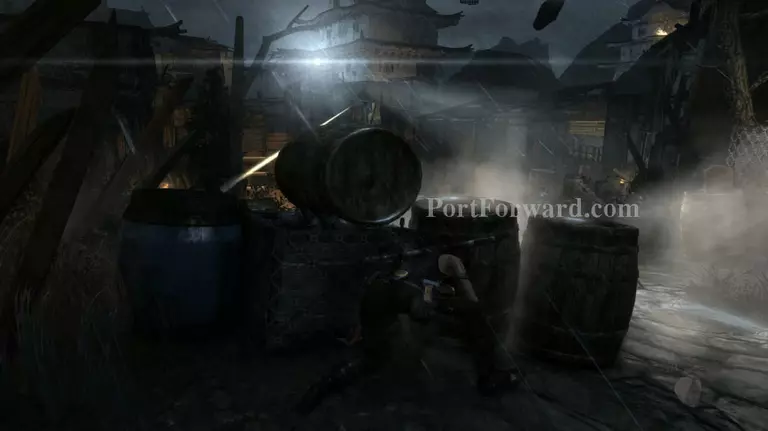
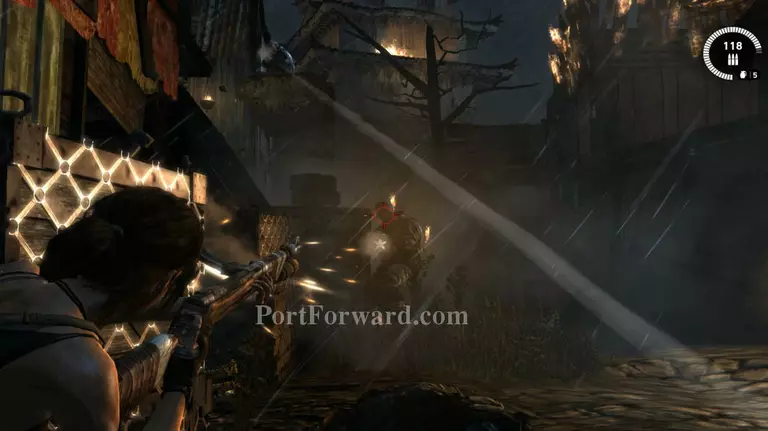
After you take them out head for the fog and turn right at the small altar. Another machinegun will be chasing after you. Make your way to some cover on the right side.
You'll see some beams that you can climb on at the side of the building on the left side. Make your way there and get on top. Use the zip line to slide down the next structure and kill off the Salarii there.
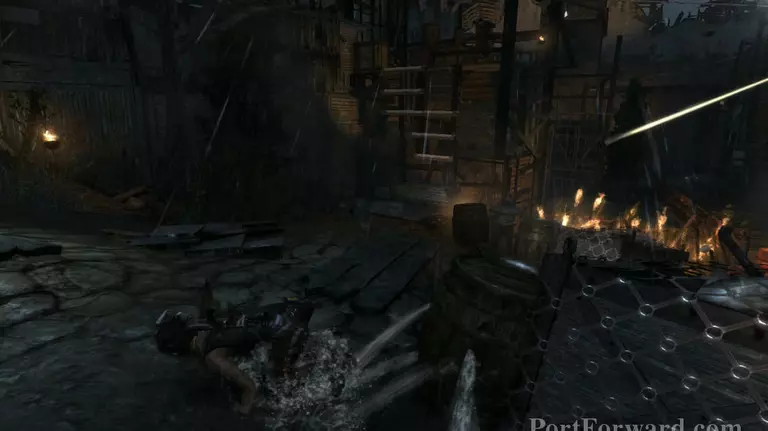
Hide behind the window and wait for the machinegun to break down the wooden planks for you. Equip the your submachine gun and throw a grenade at the machine gun.

After the machinegun explodes the right side of the window will open. Use the zip line to get down from there and a cutscene will play.
After the cutscene head for the wall right in front of you and use it to get to higher ground.
At the top you'll see a zip line. Use it to get to the other side and use the climbable wall right in front of it to continue climbing up.
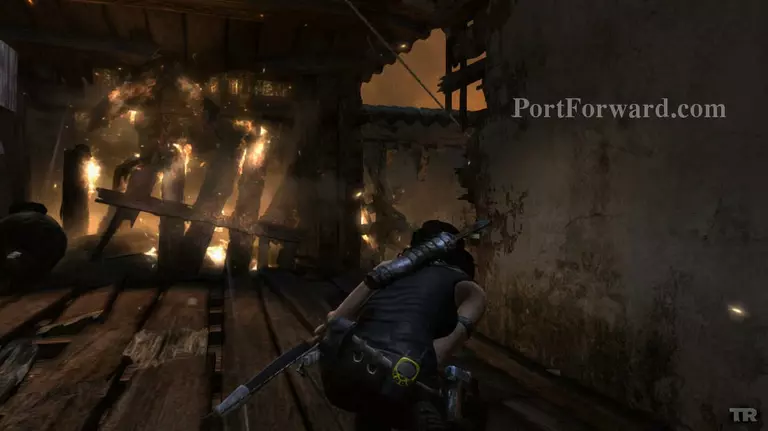
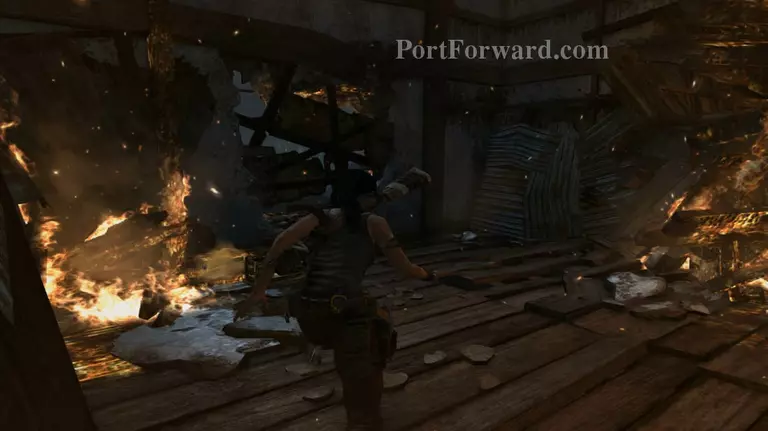
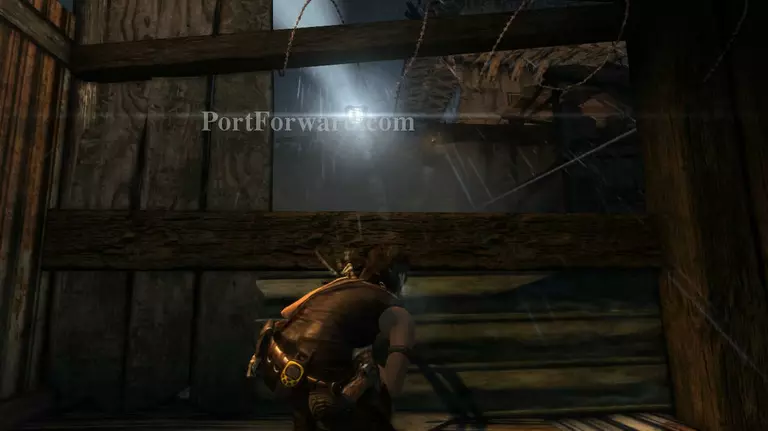
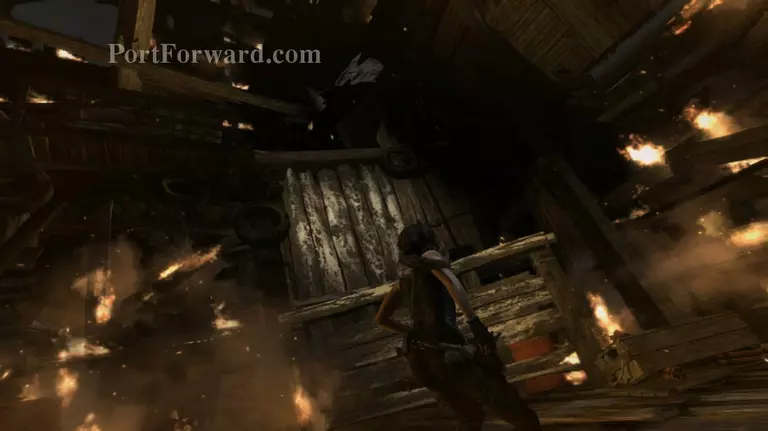
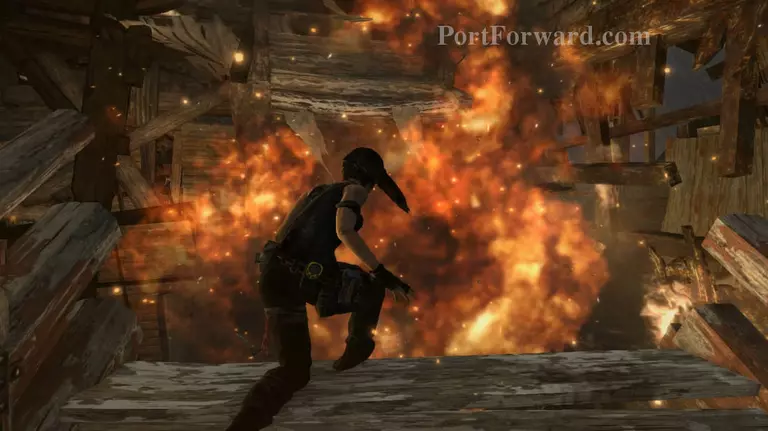
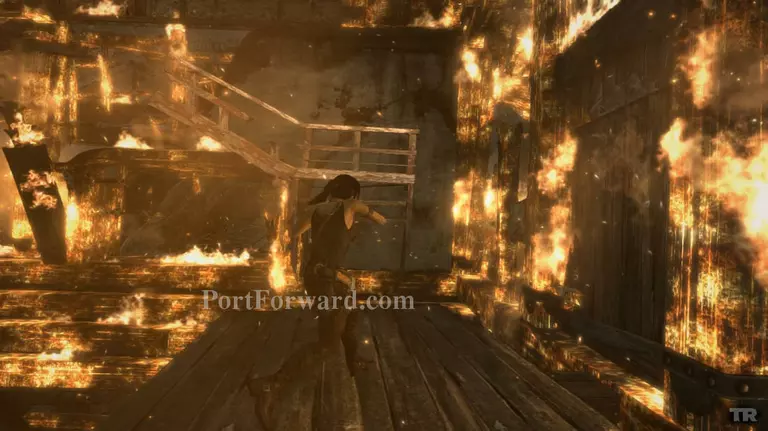
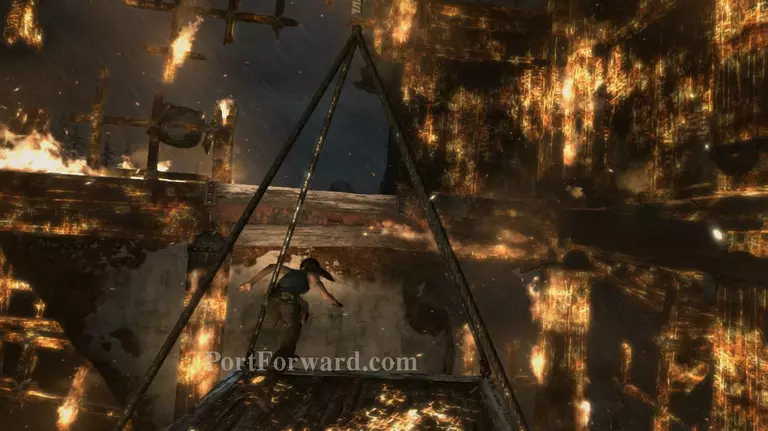
You'll end up inside a building and a Solarii will burn the place down. Make your way to the wooden planks in front of you and climb on them.

Turn right and jump towards the planks on that side. Shimmy to the right and jump to reach the climbable wall. Press E to attach your climbing axe on it and make your way further to the right, then up to solid ground.

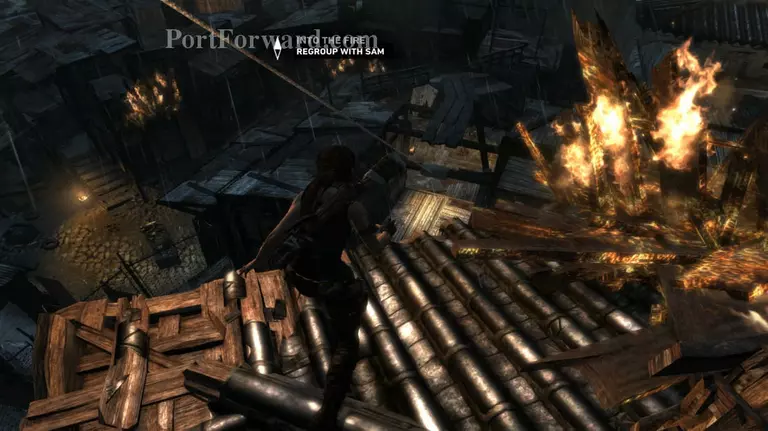
At the top you'll find a zip line that goes a long way down. Jump on it and slide down. A cutscene will play.
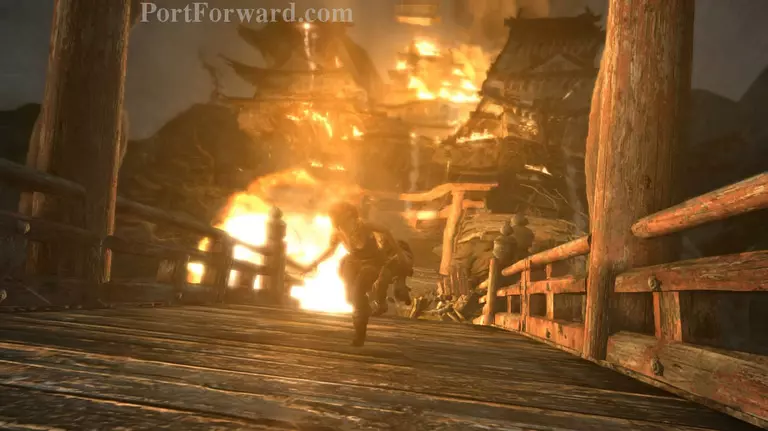
Keep walking up the bridge. The angle is a little weird but you do need to keep walking at this point.
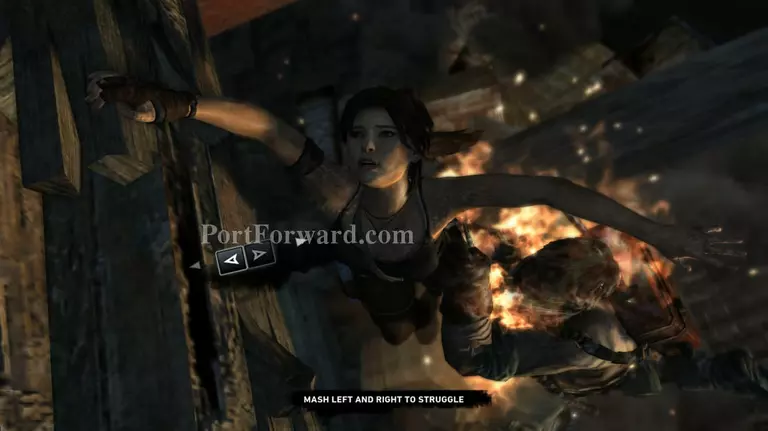
The bridge will start to collapse and a Solarii will grab Lara. Mash the left and right button to struggle against him.
Now wait for the exclamation point to appear and kill him with your climbing axe.
You'll have to run across the collapsing bridge. There's a pattern to how you'll jump here. The first jump is on the right side, then the left side and so on. Keep going until you reach the end and fall down.
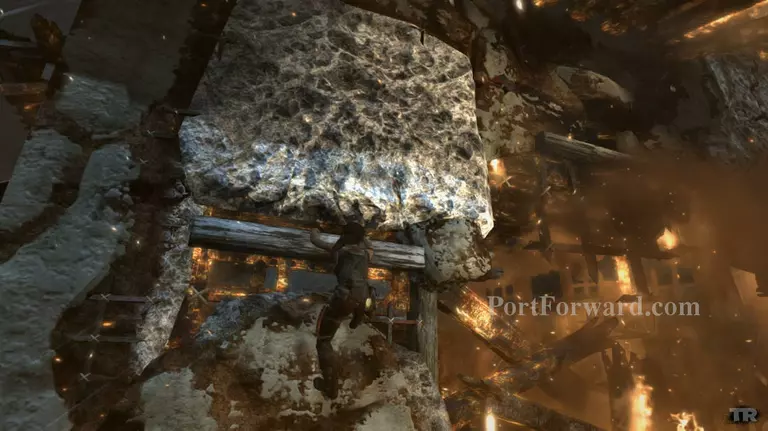
After you regain your balance climb up the ledges and get to the higher floor of the tower.
Jump across the large gap between the stairs and you'll end up outside.
Follow the walkway and you'll find a pole hanging between the gap. Use the pole to swing around the corner and jump off the other side.
Now continue walking forward and you'll see a climbable part of the wall. Jump towards it and use your climbing axe and keep climbing until you get inside the tower again.
Inside you'll find a ledge that you can grab on. Jump towards and and make your way up the top beam and start walking on top of it.
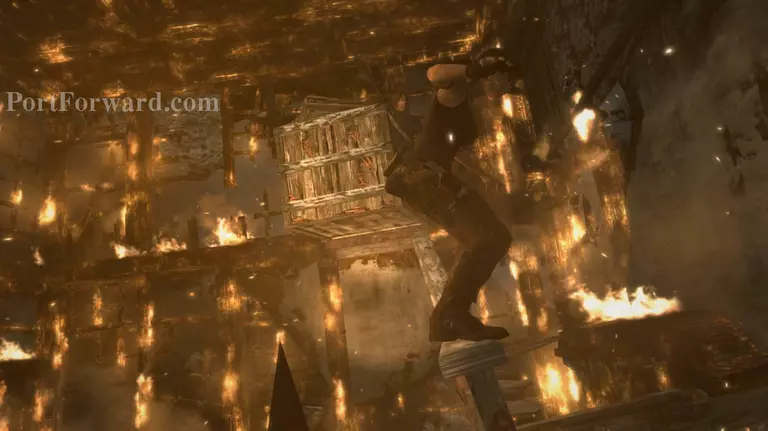
You're going to have to jump towards the wooden crate that's hanging on the left side of the railing that you're walking on.
Climb on top of the crate and jump towards the opposite end to get back outside.
After the explosion climb up the wall and shimmy to the right. Jump across the wooden bar and keep going towards the climbable wall on the far right side. Then continue climbing up.
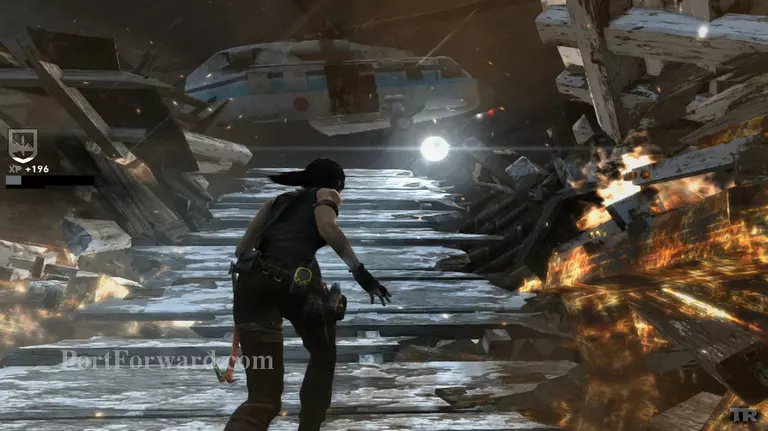
A cutscene will play as soon as you get to the top. Then keep walking through the path and jump towards the helicopter.
More Tomb Raider Walkthroughs
This Tomb Raider walkthrough is divided into 25 total pages.


