
This Batman: Arkham Origins walkthrough is divided into 17 total pages.
You can jump to nearby pages of the game using the links above.
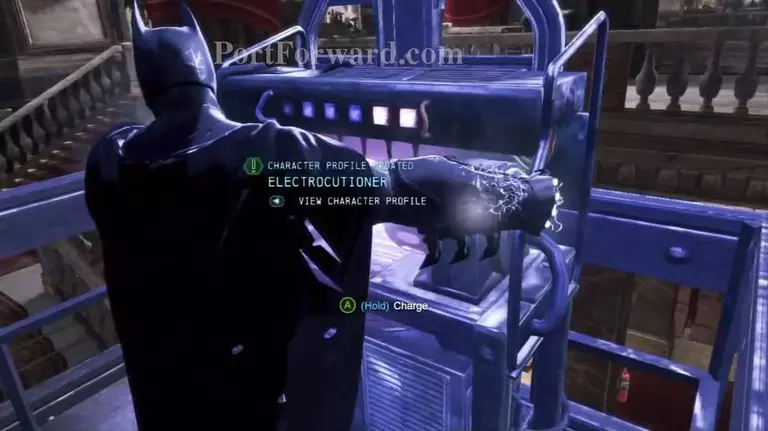
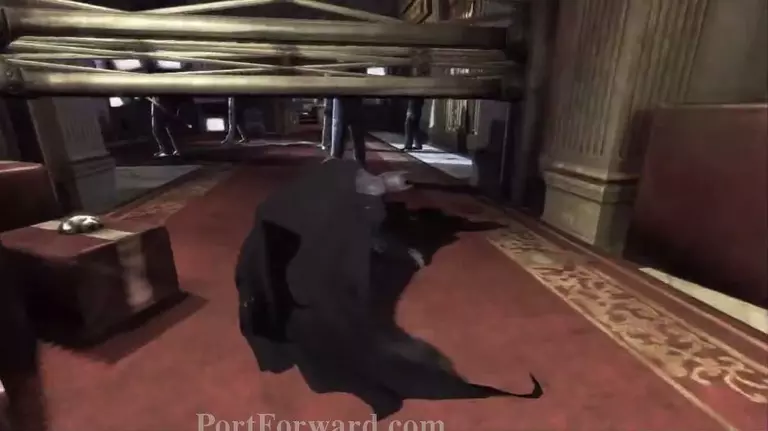
Finding Electrocutioner

After that, leave the Steel Mill, Batman will scan the area for Electrocutioner's signal to track him.
Follow the waypoint on the map to reach your next mission.
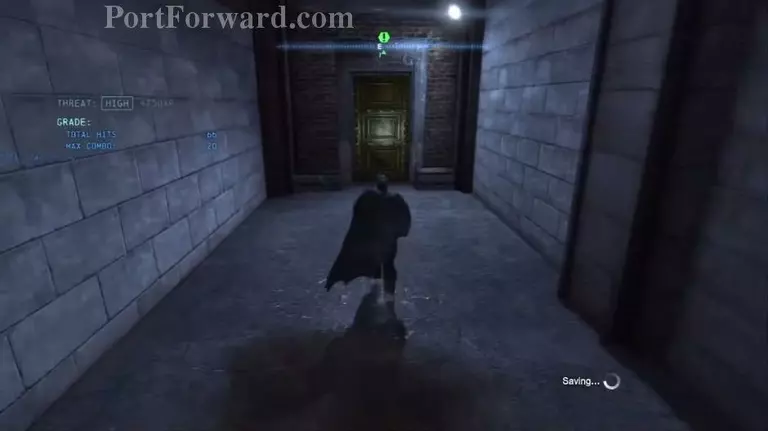
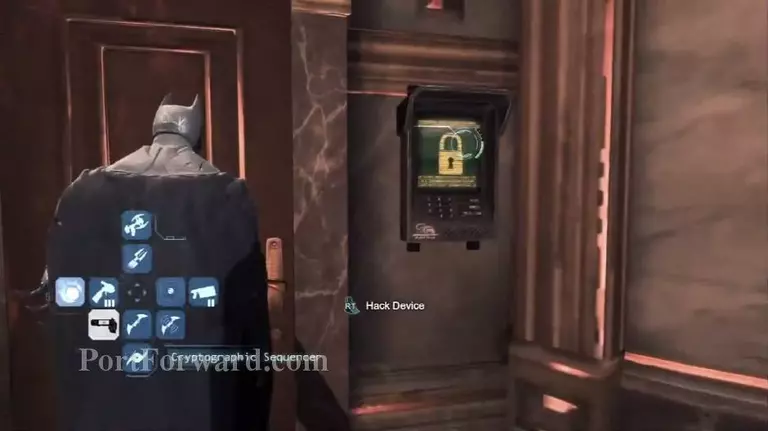
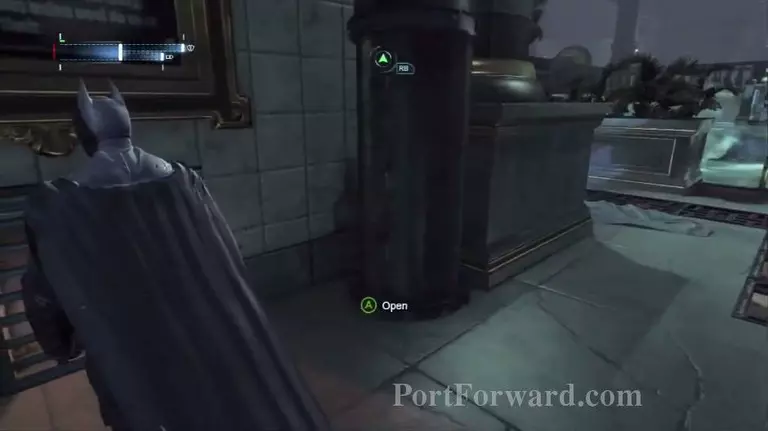
Go through the door.

After fighting off the enemies, hack the device to open the gate.

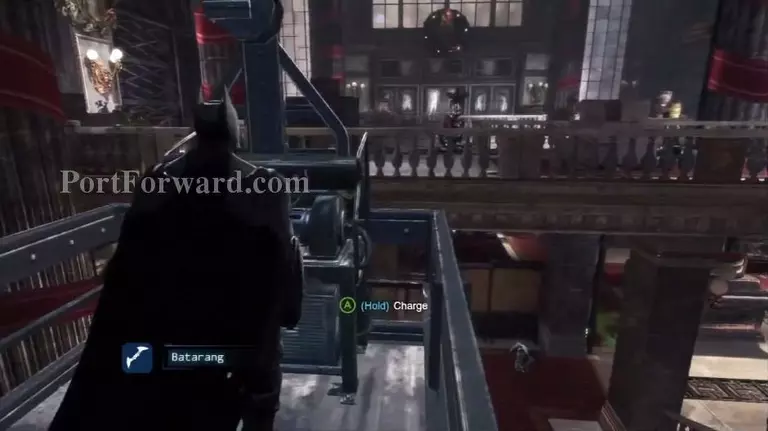
Next take out a Batarang and hit the button to disable the electricity.
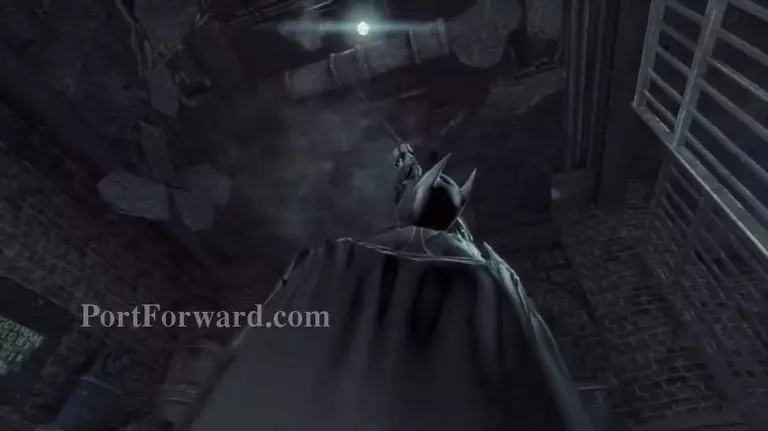
Next Grappe up, after you've set a wire using the Remote Claw.
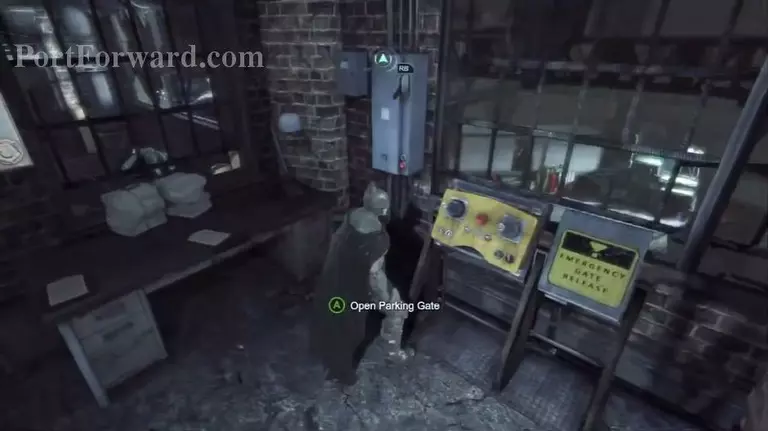
Then use the controls to open the Parking Gate.
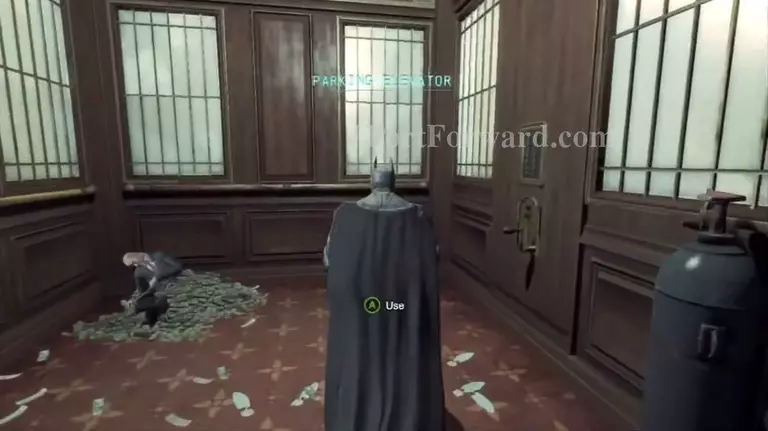
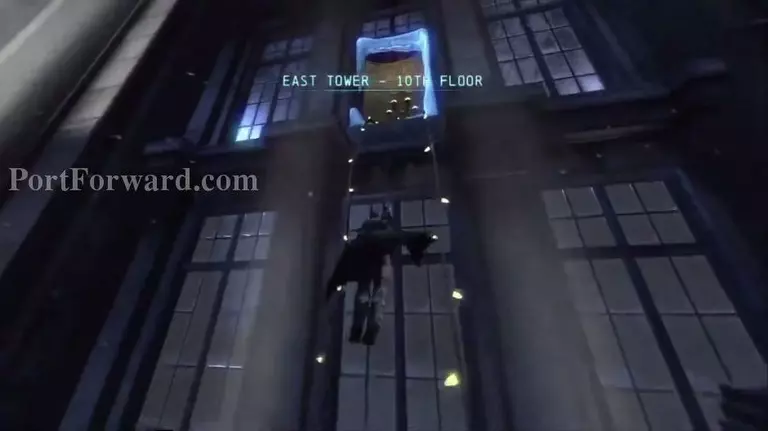
Then go inside the Elevator and go up.

You will face another Predator Room with a jammer, take out the jammer to be able to use the Detective Vision, then take out the rest of the guards.
Then go to the security room, hack the device and go inside.

You will then receive Shock Gloves.
Now that you have the Shock Gloves, you can power up the small engines, to open doors, elevators, etc.
Press and hold the appropriate button to use the shock gloves to power up things.

After you reach the top with the escalator, look up and use the Grapple Gun to pull yourself up.
Then again at the open window.

Walk up to the open socket on the wall and power it up to open the gate at the end of the path.
Run towards the gate and crouch to slide under it.

After that, moving forward you will need to open another vent using the Batclaw, and power up another escalator.

Next watch out for the Automated Machine Gun, use the Disruptor to disable it, then power up the socket to open the gate.
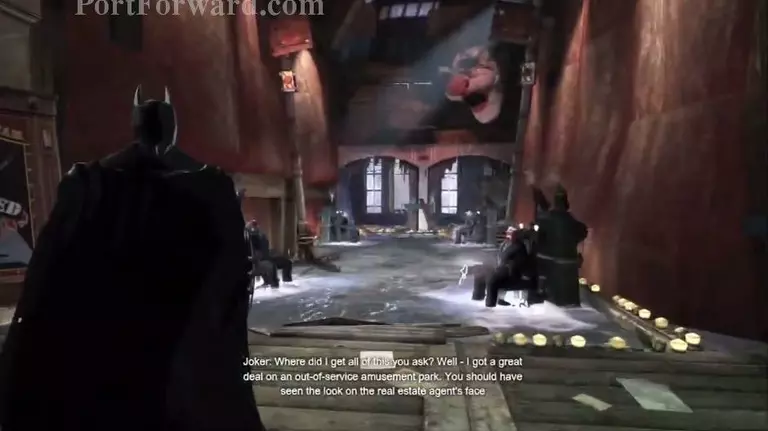
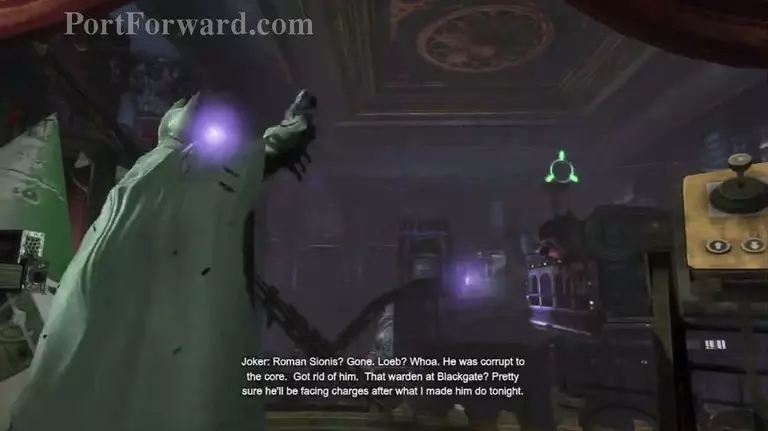
After that you will need to climb a couple of edges to move forward.Then you will reach Joker's torture room.
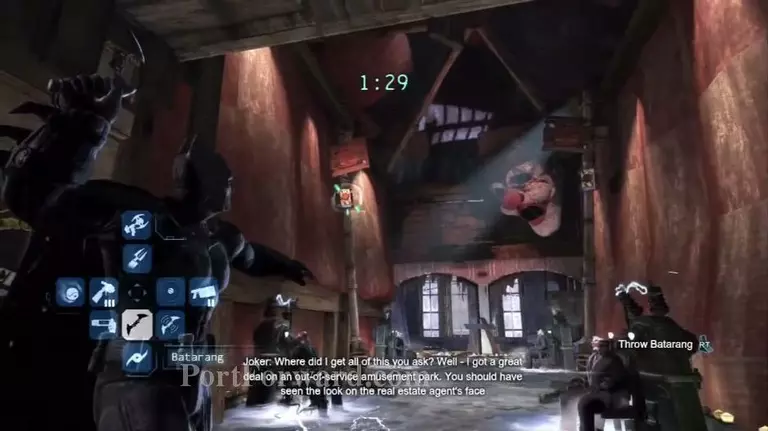
Then use the Batarang to push the two buttons above the people.
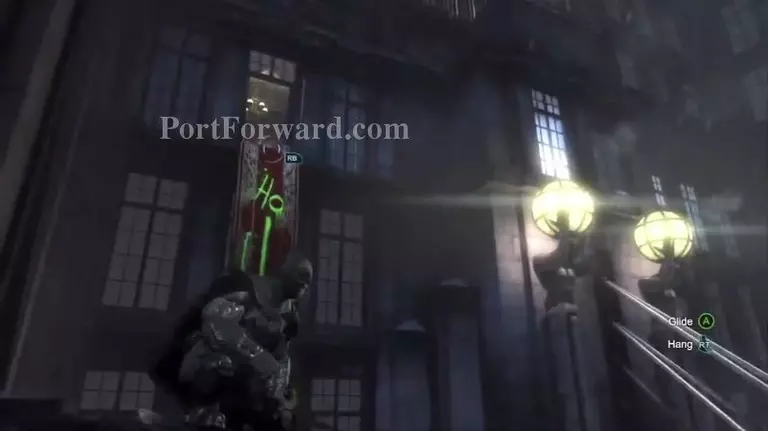
Then make a wire using the Remote Claw and grappe on it.
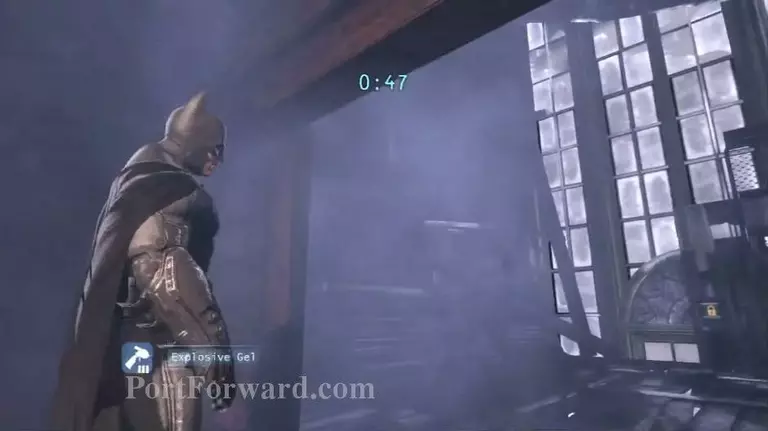
Glide off the wire to the small platform and destroy the wooden wall using the Explosive Gel.

Then hack the device to stop the electricity.
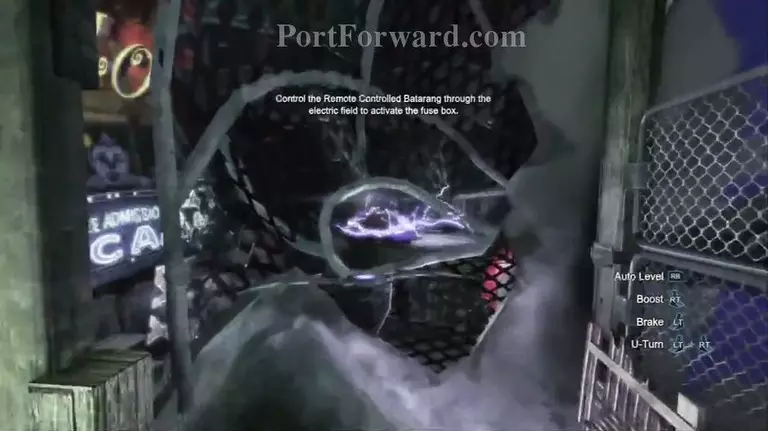
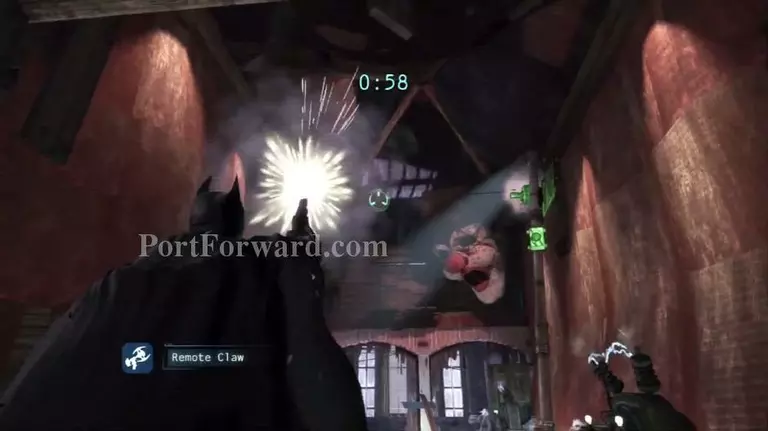
Then using the Controlled Batarang, throw it through the hole.
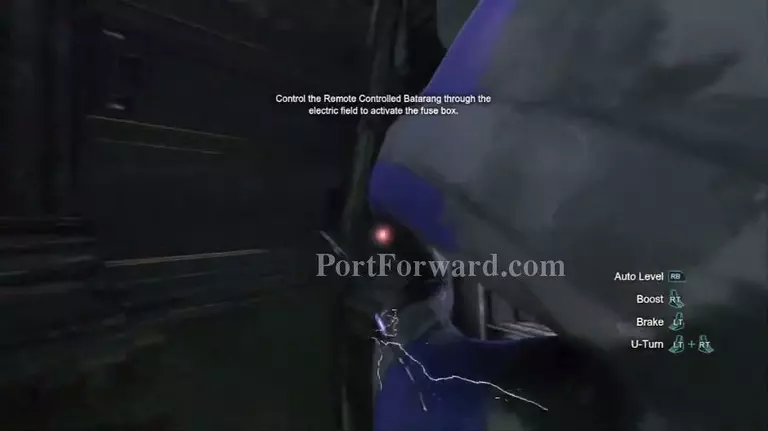
Then through the clown's eye.
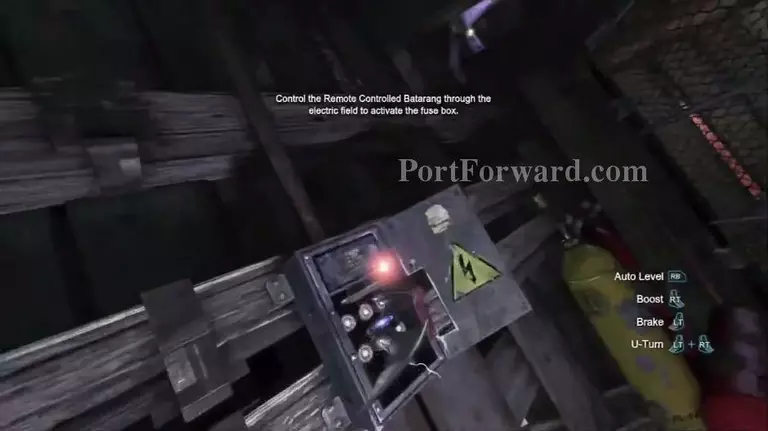
And hit the Fuse Box.
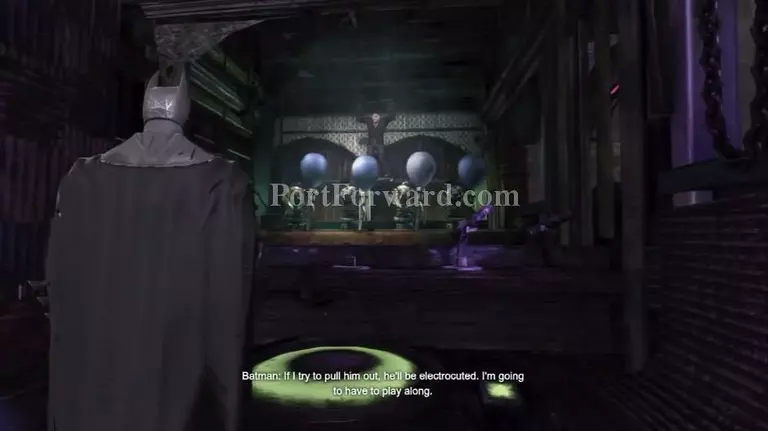
This is pretty easy, step on the Green Marker, and remember in which order the faces showed up, then pop the baloons with a batarang in the same order.

Then go inside the small ring and take out the guards.
Next create a wire using the Remote Claw, climb on it with the Grapple gun.
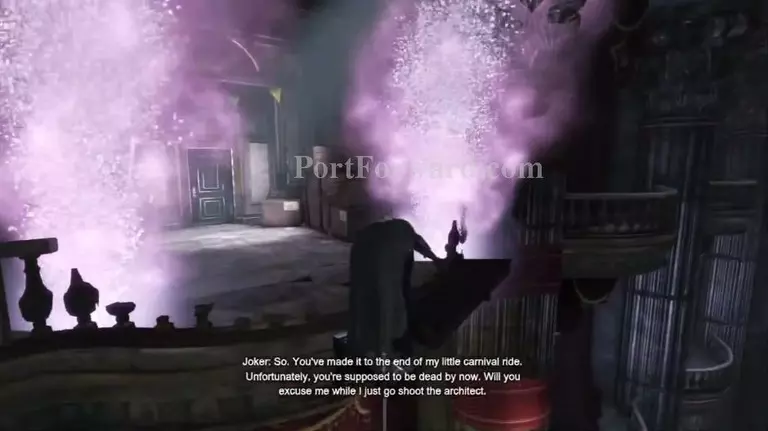
Then go to the door on the left with the fireworks.

Go through the door, and into the vent, take down one of the guards then the rest.
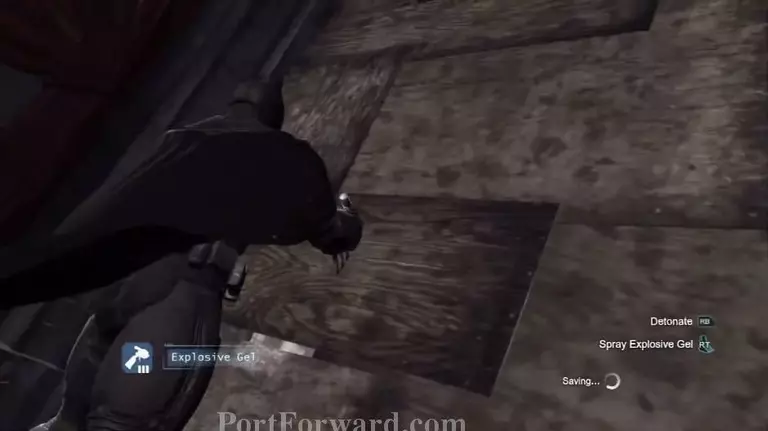
Then go to the wooden wall and destroy it with the Explosive Gel.
Then Grapple onto the ledge.
Then climb inside the open window.

Power up the socket and move past the gate, then hack the device the disable the bomb.

Then jump through the window to escape the explosion.

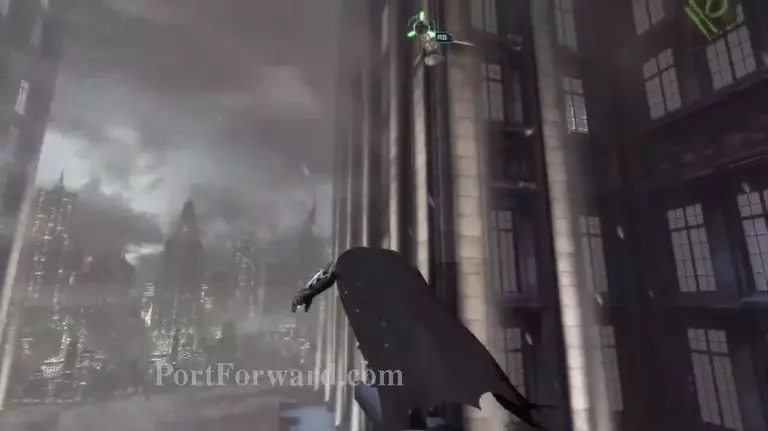
And while falling down use the Grapple Gun to grab onto the Helicopter.
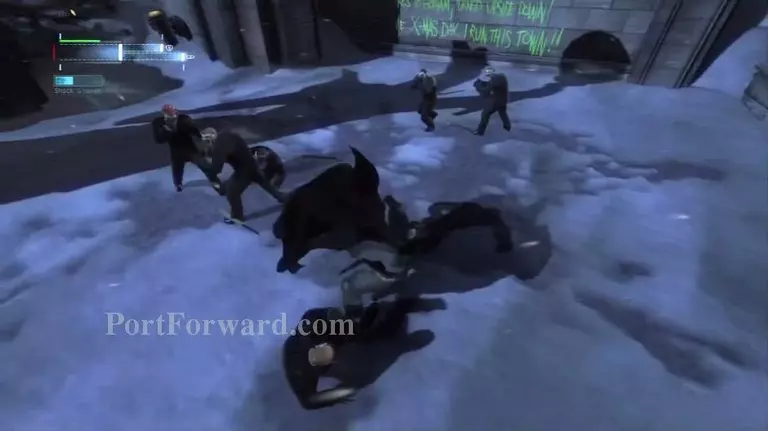
You will then fight a few guards.
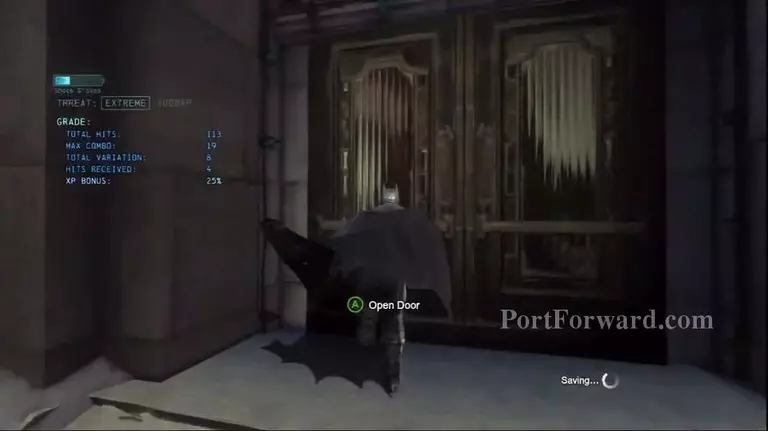
After you defeat the guards, go inside the door.

Same as before, take out the Predator Room.
Hack the device to unlock the elevator, and go up.
More Batman: Arkham Origins Walkthroughs
This Batman: Arkham Origins walkthrough is divided into 17 total pages.


