Batman: Arkham Origins Walkthrough Finding BlackMask

September 12, 2016 (Last Updated: ) | Reading Time: 4 minutes

This Batman: Arkham Origins walkthrough is divided into 17 total pages.

You can jump to nearby pages of the game using the links above.

Finding BlackMask

Batman: Arkham Origins Walkthrough - Batman Arkham-Origins 104

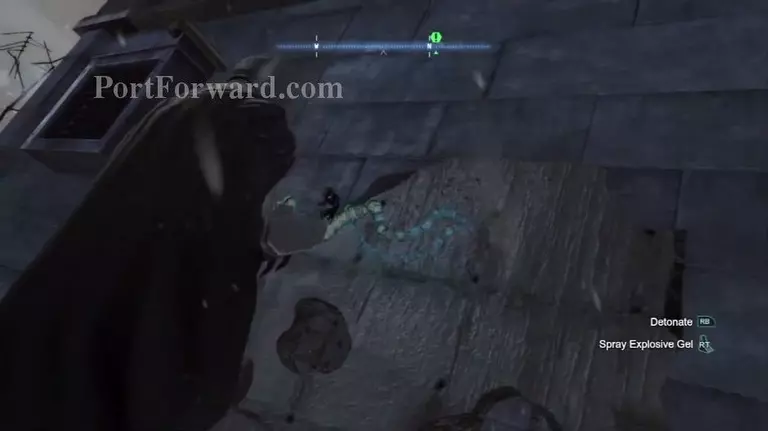
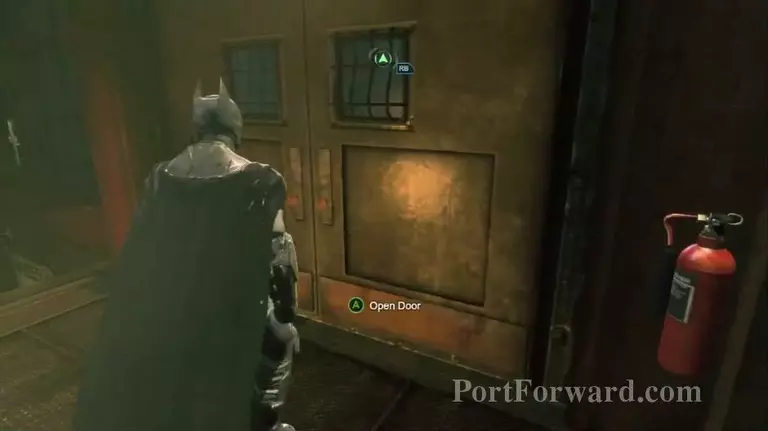
After receiving the message from Mat Hatter. Go to the waypoint, the main door will be locked, on the right side, there will be a broken down wall, use the Explosive Gel to destroy it and move forward.

Batman: Arkham Origins Walkthrough - Batman Arkham-Origins 105

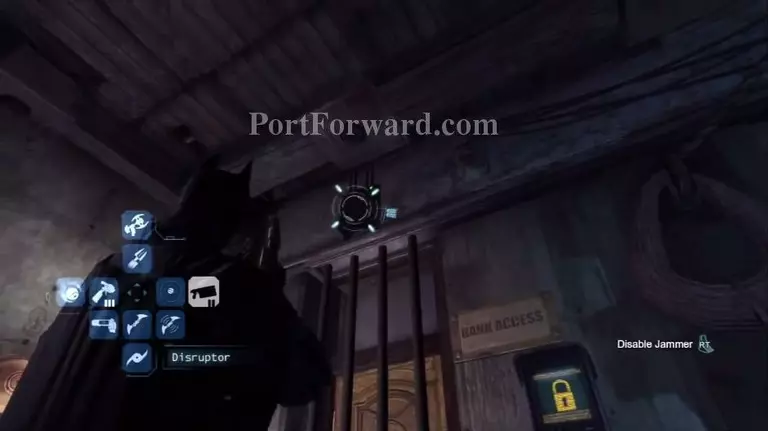
Use the Distruptor to disable the jammer and then hack the device to unlock the door.

Batman: Arkham Origins Walkthrough - Batman Arkham-Origins 106

Use the techniques like before to beat this Predator Room.

Batman: Arkham Origins Walkthrough - Batman Arkham-Origins 107

Pull down the vent and climb through.

Batman: Arkham Origins Walkthrough - Batman Arkham-Origins 108

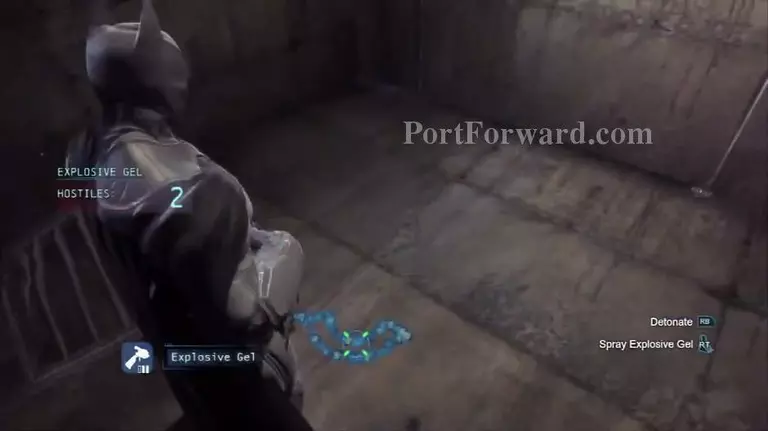
Use the Explosive Gel to take down the wall below you.

Batman: Arkham Origins Walkthrough - Batman Arkham-Origins 109

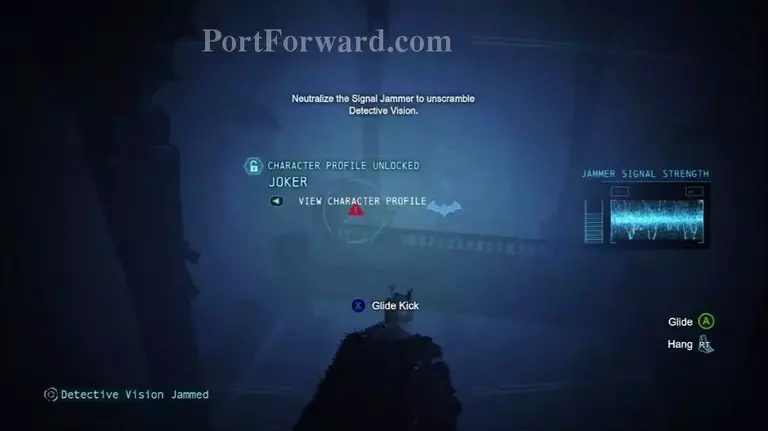
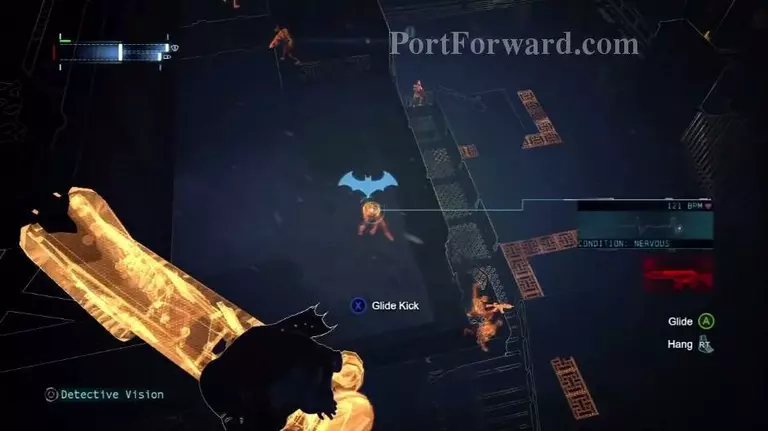
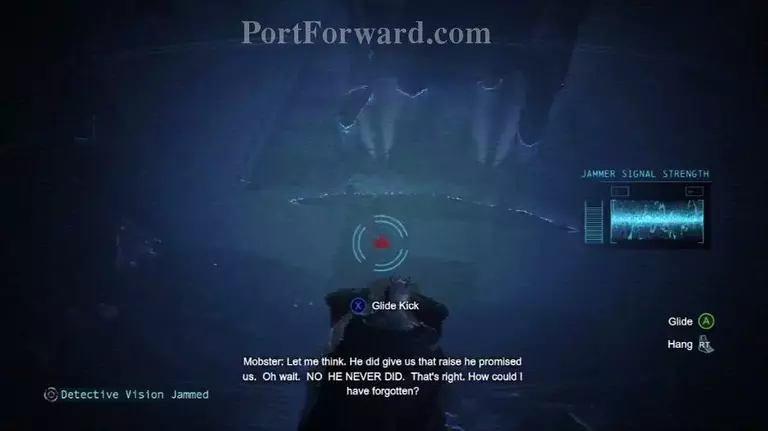
After the cutscene, another Predator Room awaits you, this time there is a jammer on one of the enemies, marked with a Red Sign while using the detective vision, find the enemy and take him out to remove the jammer.

Batman: Arkham Origins Walkthrough - Batman Arkham-Origins 110

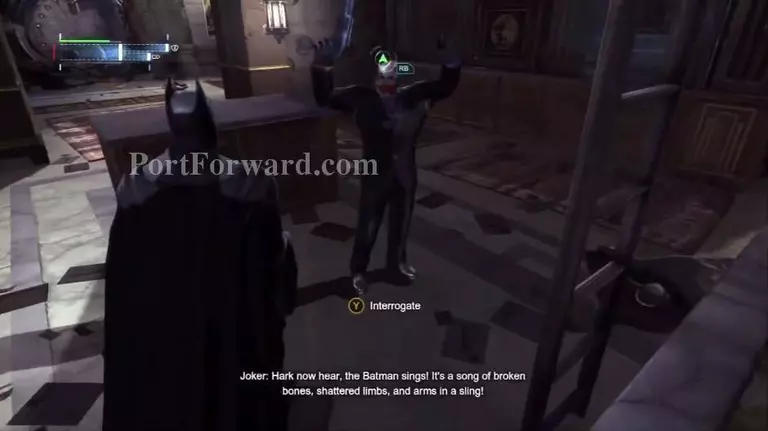
Interrogate the last remaining enemy.

Batman: Arkham Origins Walkthrough - Batman Arkham-Origins 111

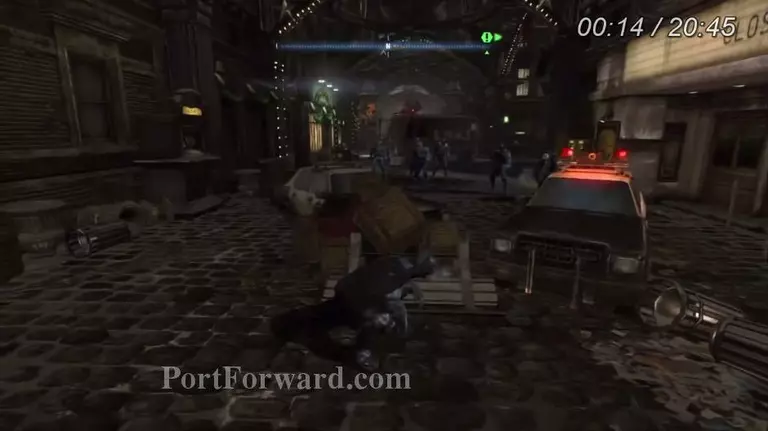
When you get out you will face the police, take them out and move on to the waypoint.

Batman: Arkham Origins Walkthrough - Batman Arkham-Origins 112

There will be many guards guarding the Waypoint, take them out then move forward.

Batman: Arkham Origins Walkthrough - Batman Arkham-Origins 113

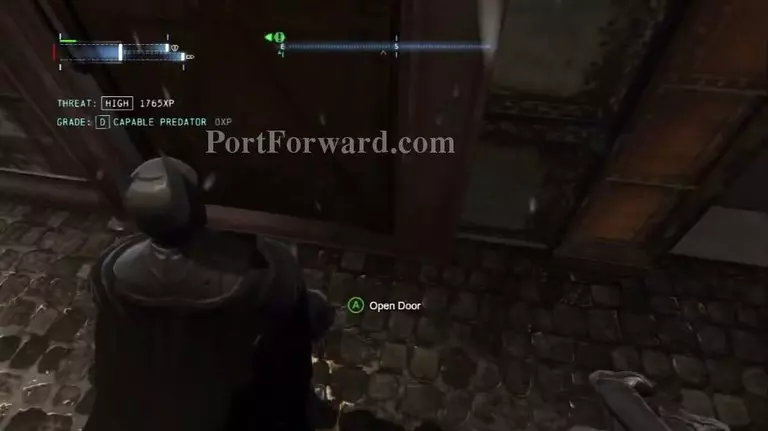
Go through the door to continue.

Batman: Arkham Origins Walkthrough - Batman Arkham-Origins 114

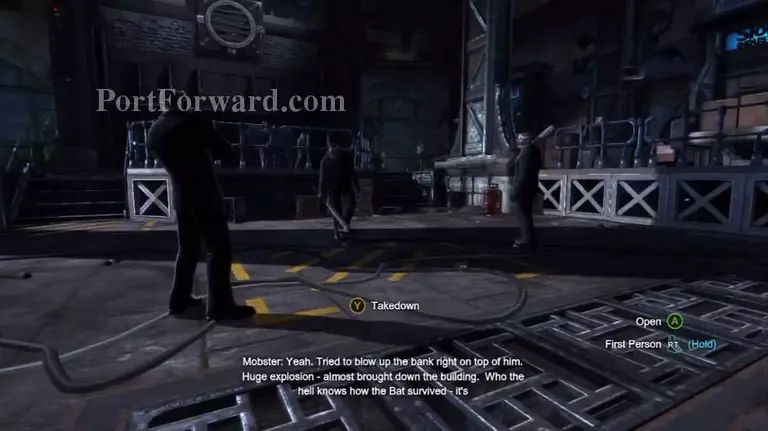
Inside you will face another set of guards, you can make a surprise attack using the vents below, simply climb down and move near an enemy then take him down.

Batman: Arkham Origins Walkthrough - Batman Arkham-Origins 115

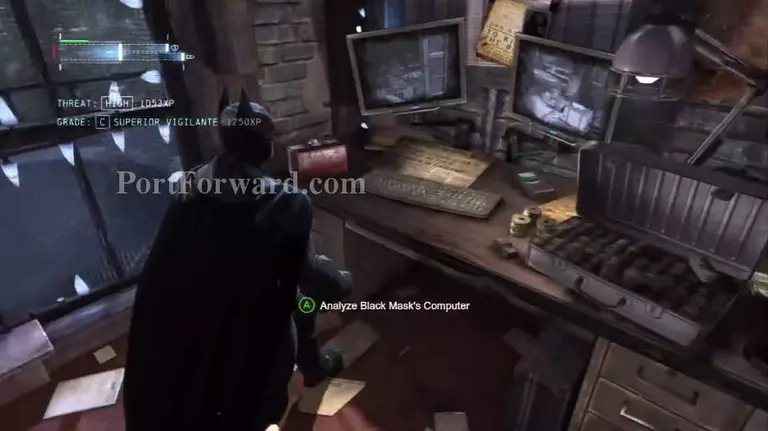
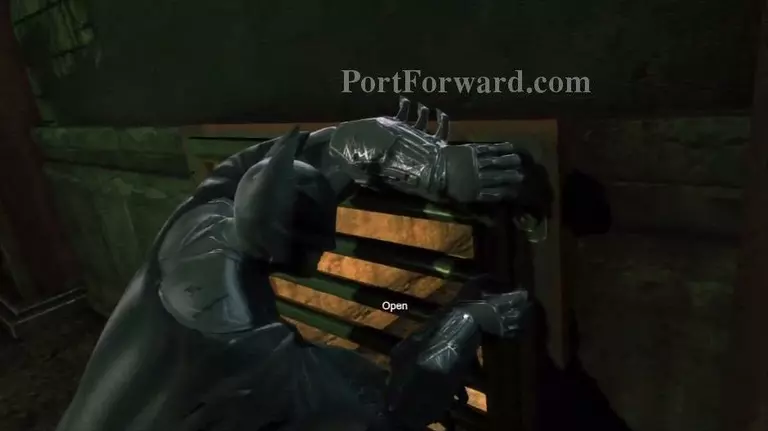
After disabeling the guards, find the computer in the upper floor and use it to download files from Black Mask's computer.

Batman: Arkham Origins Walkthrough - Batman Arkham-Origins 116

Moving forward you will face another Armored Enemy, use the cape stun 3 times to stun him then take him down using regular attacks.

Batman: Arkham Origins Walkthrough - Batman Arkham-Origins 117

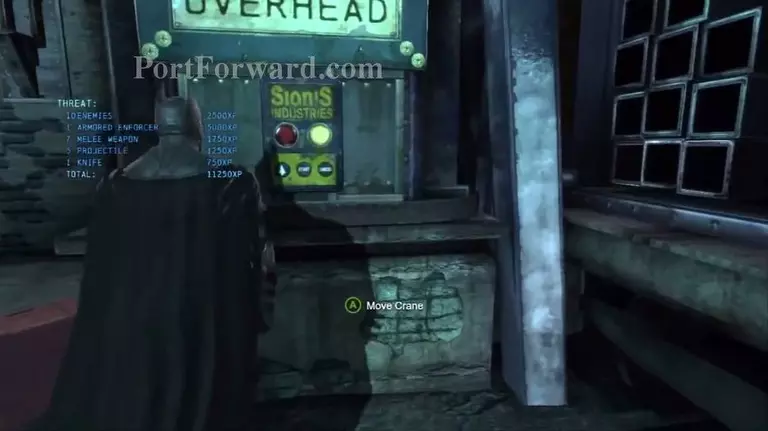
Then move to the Crane's controls, and use it.

Batman: Arkham Origins Walkthrough - Batman Arkham-Origins 118

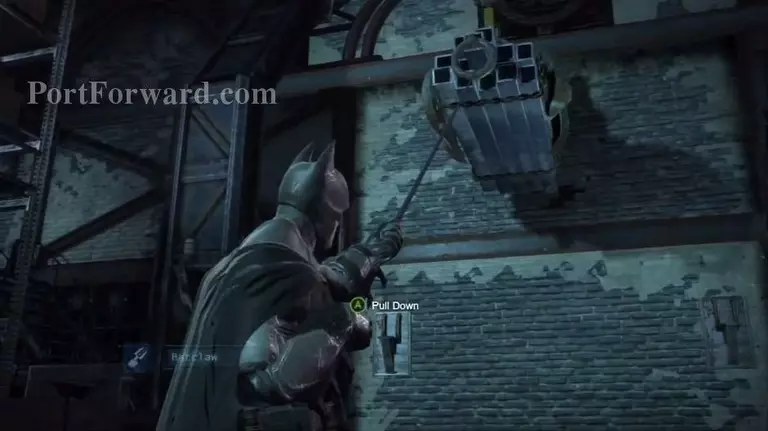
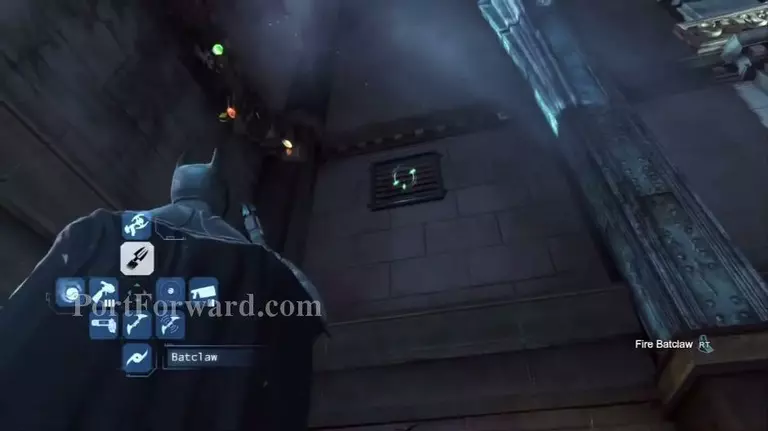
When the Crane stops, use the Batclaw to grab it and pull it backwards so it can smash the wall.

Batman: Arkham Origins Walkthrough - Batman Arkham-Origins 119

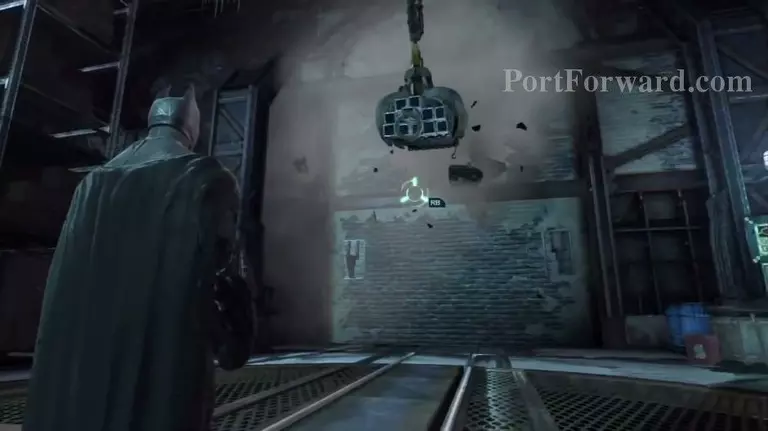
Climb up to the broken wall using the Grapple Gun.

Batman: Arkham Origins Walkthrough - Batman Arkham-Origins 120

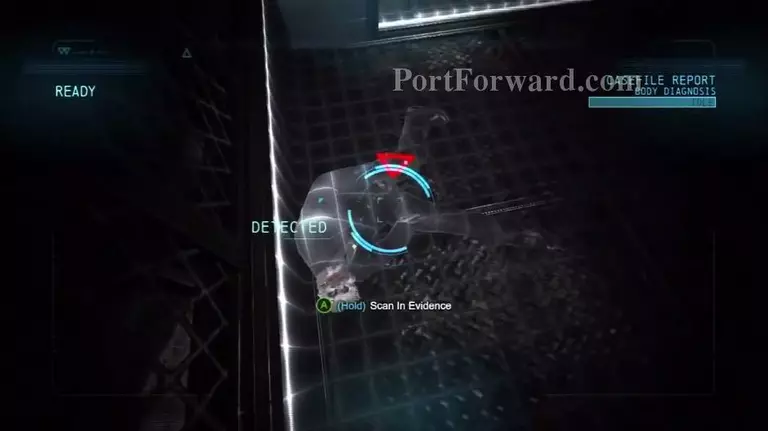
You will face another crime scene, use the detective vision and scan the body.

Batman: Arkham Origins Walkthrough - Batman Arkham-Origins 121

Use the elevator to go up, take down the jammer on the enemy then take care of the rest of the Predator Room.

Batman: Arkham Origins Walkthrough - Batman Arkham-Origins 122

Find the vent below the door and go through.

Batman: Arkham Origins Walkthrough - Batman Arkham-Origins 123

Go inside the door to face Black Mask.

Batman: Arkham Origins Walkthrough - Batman Arkham-Origins 124

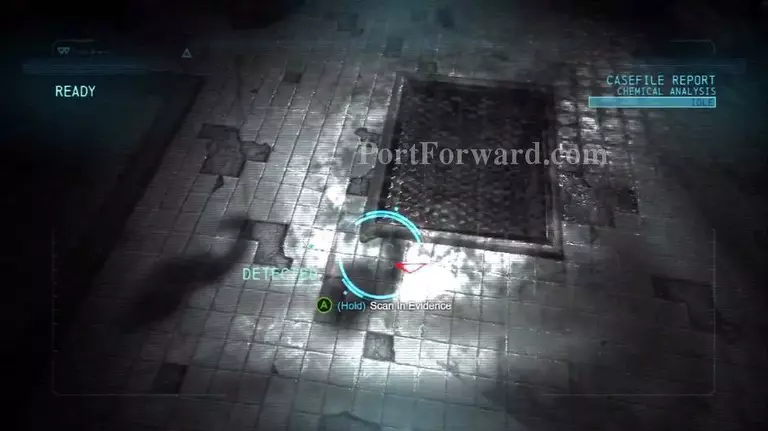
After the cutscene with Copper Head, scan the poison on the floor.

Batman: Arkham Origins Walkthrough - Batman Arkham-Origins 125

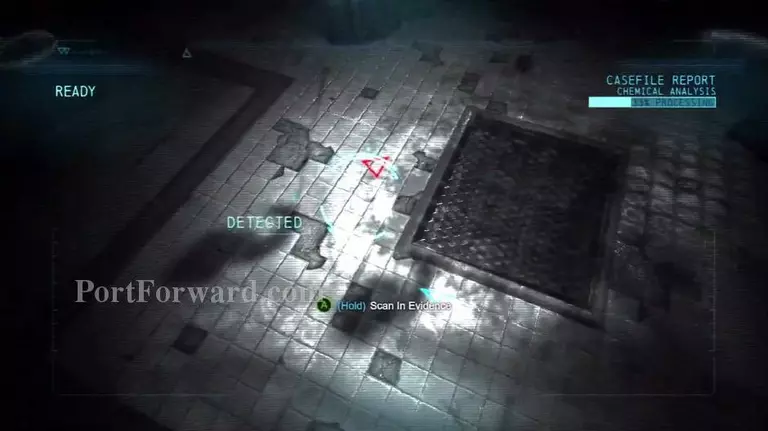
Next scan the poison near the first poison.

Batman: Arkham Origins Walkthrough - Batman Arkham-Origins 126

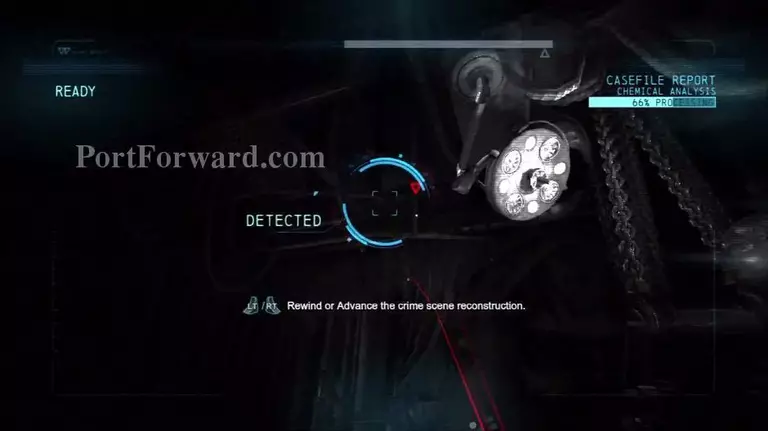
Then use the reverse and forward to skip through the crime scene and see where Copperhead jumped from, scan the poison she left there.

Batman: Arkham Origins Walkthrough - Batman Arkham-Origins 127

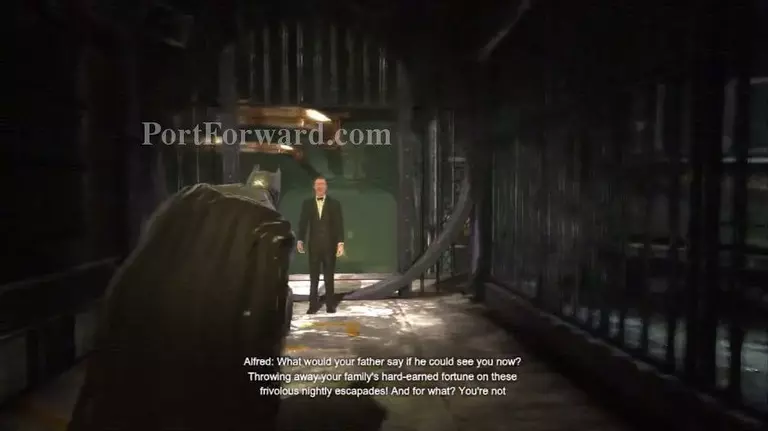
After talking to Alfred, move forward to get outside of the Warehouse.

Moving forward Batman will hallucinate, first a talk he had with Alfred.

Batman: Arkham Origins Walkthrough - Batman Arkham-Origins 128

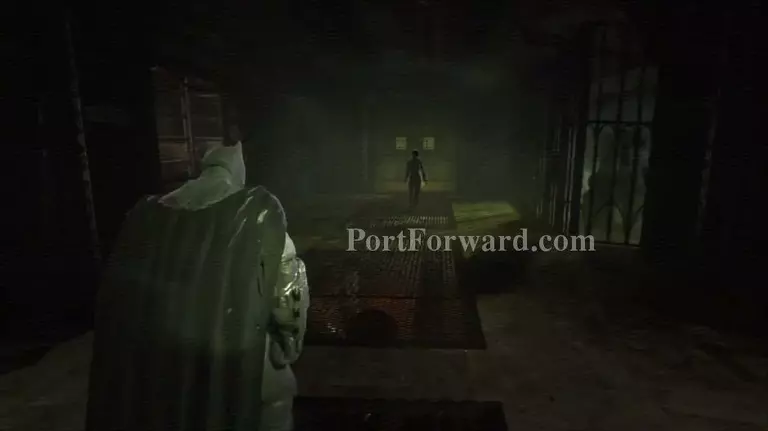
Then you will see Copperhead.

Batman: Arkham Origins Walkthrough - Batman Arkham-Origins 129

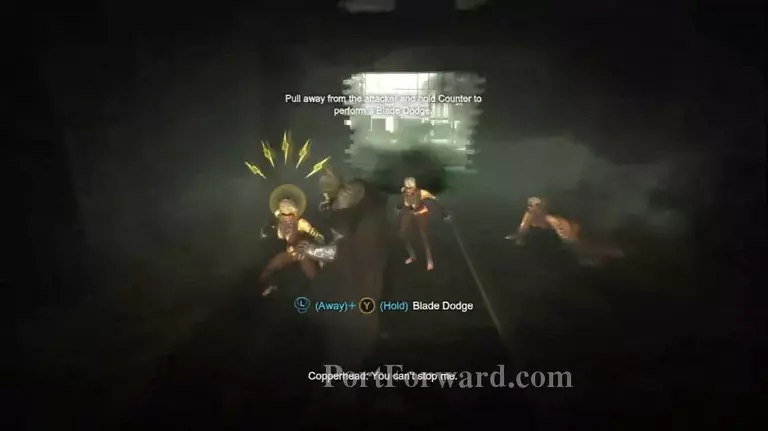
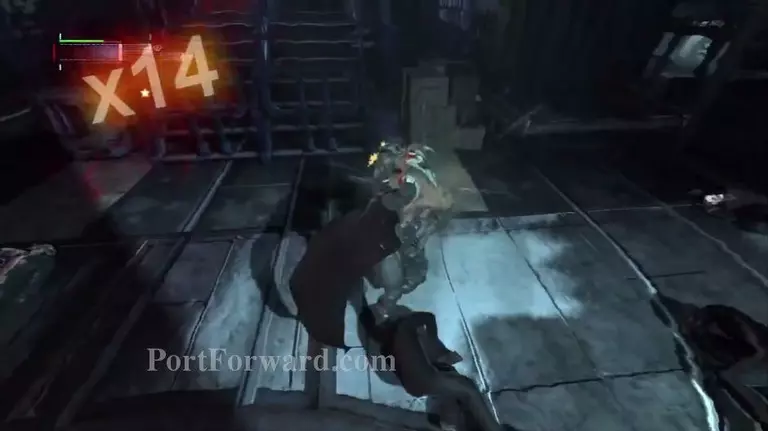
Moving forward you will be attacked by 3 Copperheads, they each have Sharp Fingers that are like blades, use the technique like before to evade each attack.

Batman: Arkham Origins Walkthrough - Batman Arkham-Origins 130

Then attack them.

Batman: Arkham Origins Walkthrough - Batman Arkham-Origins 131

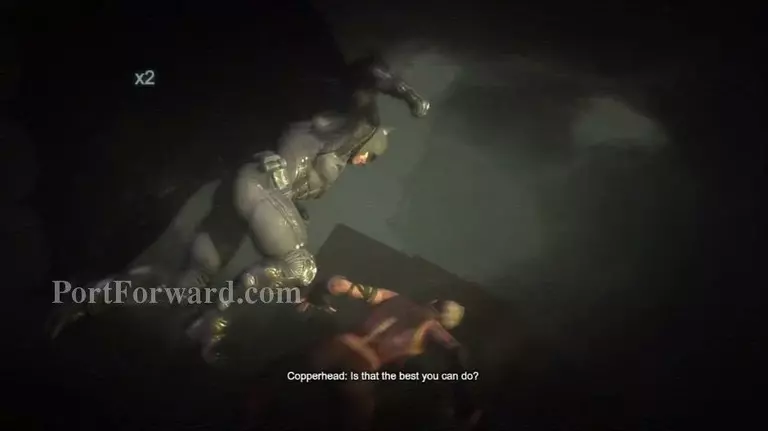
After that you will face the real Copperhead, but she will have a few Copperheads on her side, so mind them too.

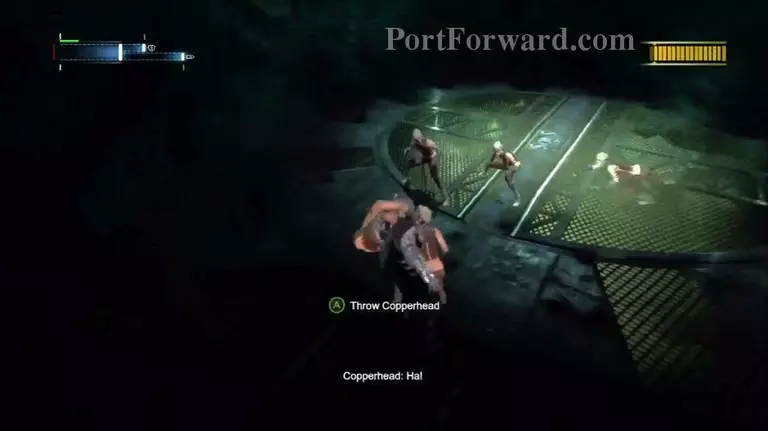
Some of them might jump on you, the key is to repeatedly press the appropriate button to throw her off, also keep in mind to evade the Yellow Marked attacks, and counter the Blue Ones to damage Copperhead.

Batman: Arkham Origins Walkthrough - Batman Arkham-Origins 132

Later on, when you go 1 on 1 with Copperhead, watch out for the speed-dash attack, you need to dodge this attack by jump-rolling around.

Batman: Arkham Origins Walkthrough - Batman Arkham-Origins 133

When the fight is over, a drop container will fall from the sky launched by Alfred, walk up to the Container to get the antidote.

Batman: Arkham Origins Walkthrough - Batman Arkham-Origins 134

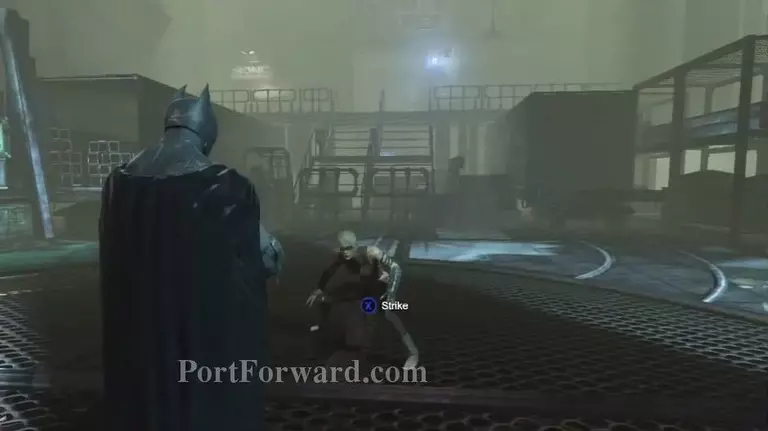
After that you will face Copperhead once more, after she stops talking just hit her once and the fight is over.

More Batman: Arkham Origins Walkthroughs

This Batman: Arkham Origins walkthrough is divided into 17 total pages.

More From Portforward