
This BioShock walkthrough is divided into 15 total pages.
You can jump to nearby pages of the game using the links above.
Apollo Square
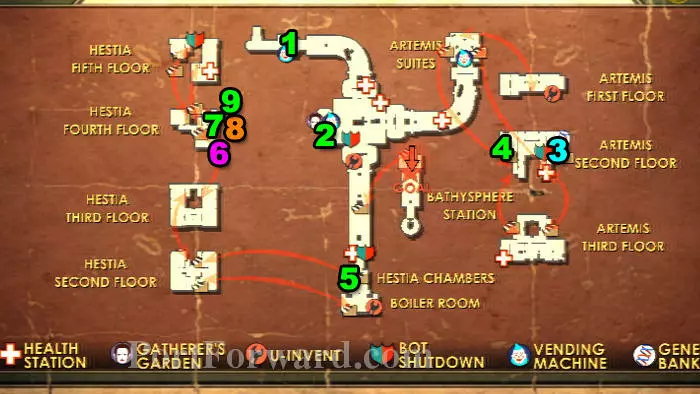
Here's a map of the level. Map - Apollo Square
- What's Happening Here? - Audio Diary
- Atlas Lives - Audio Diary
- Medical Expert 3 - Physical Tonic
- Protection Bond - Audio Diary
- Meeting Atlas - Audio Diary
- Power To The People - Weapon Upgrade
- The Longest Con - Audio Diary
- Focused Hacker 2 - Engineering Tonic
- Today's Raid - Audio Diary
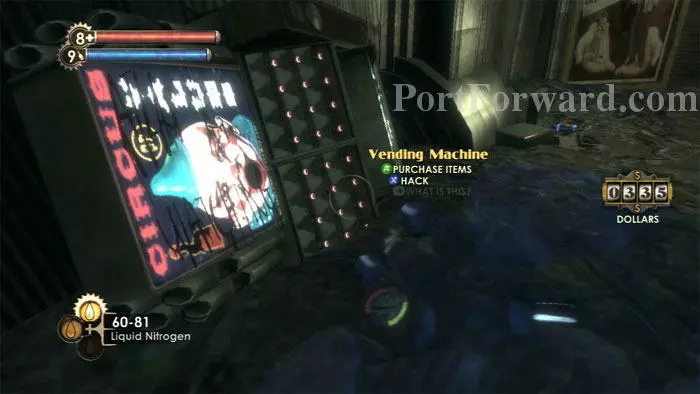
A toppled (but functioning) Circus of Values is on the left. Just to the right is an EVE Hypo and Diane McClintock's What's Happening Here? audio diary.
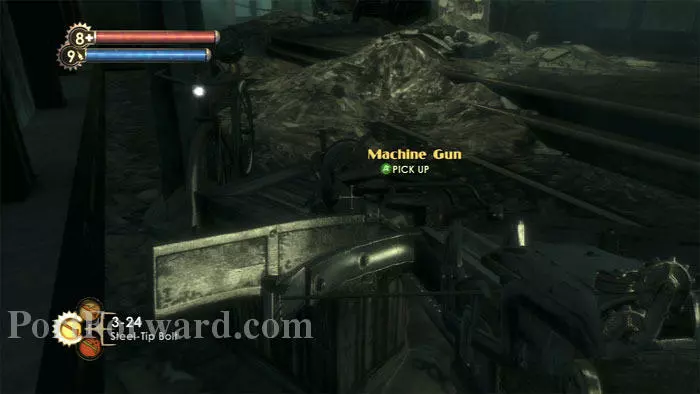
Once on the street find a Machine Gun on this crate.
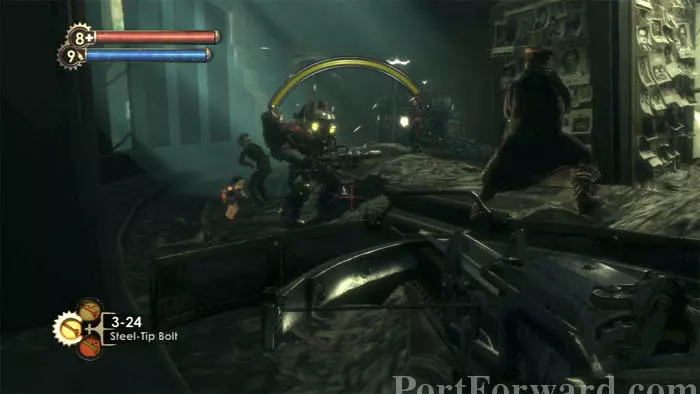
Hang back while this Elite Rosie is ambushed by Splicers. With a Vita-Chamber nearby, this is a good time to finish off the Rosie and harvest/rescue the first of the level's two Little Sisters.
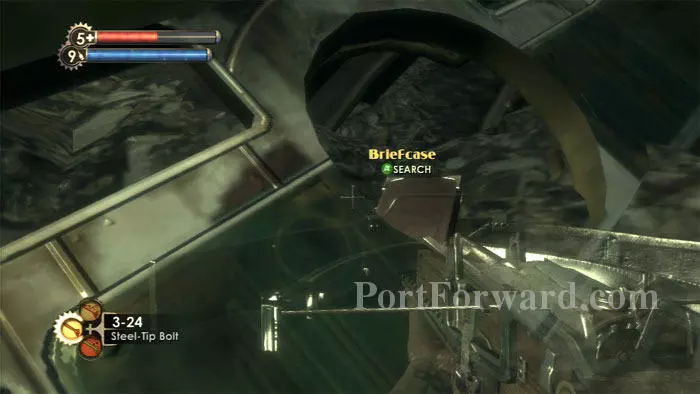
Enter the streetcar ahead to search a corpse and this Briefcase.
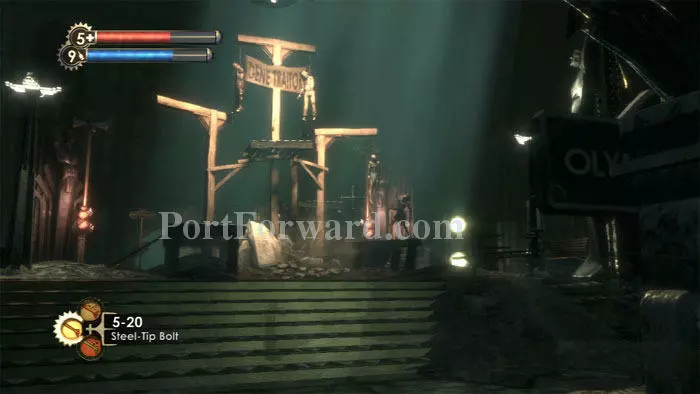
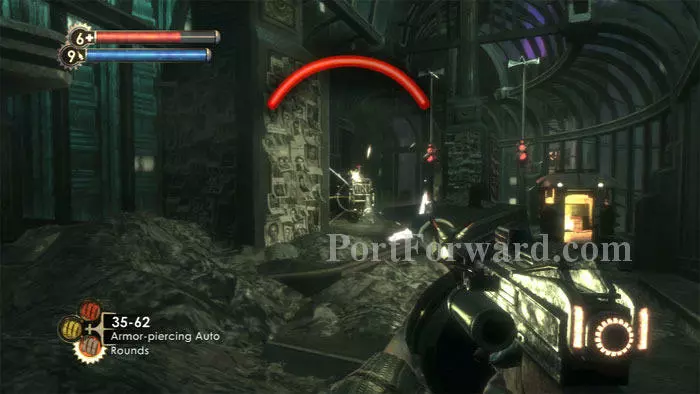
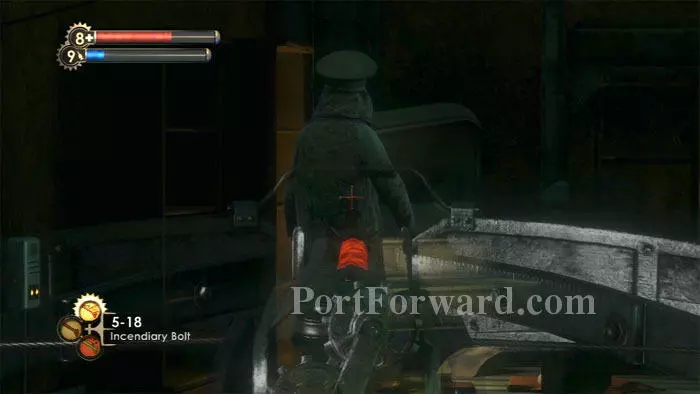
Farther up the street are these hanged gene traitors. Yikes. Snipe the living with your Crossbow.
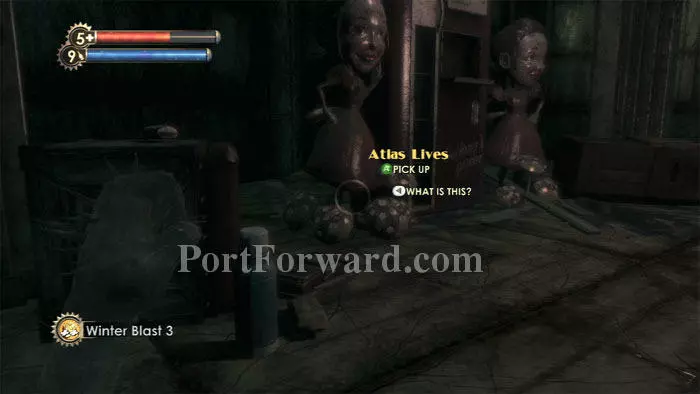
To the right is this Gatherer's Garden, which you won't be able to use until you are cured by a second dose of Lot 192. Diane McClintock's Atlas Lives audio diary is here, as well as coffee, snacks, a First Aid Kit, a storage crate, Machine Gun Rounds, a U-Invent and an Ammo Bandito.
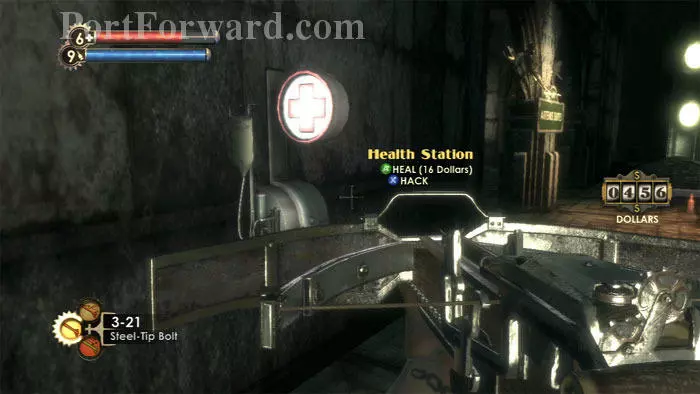
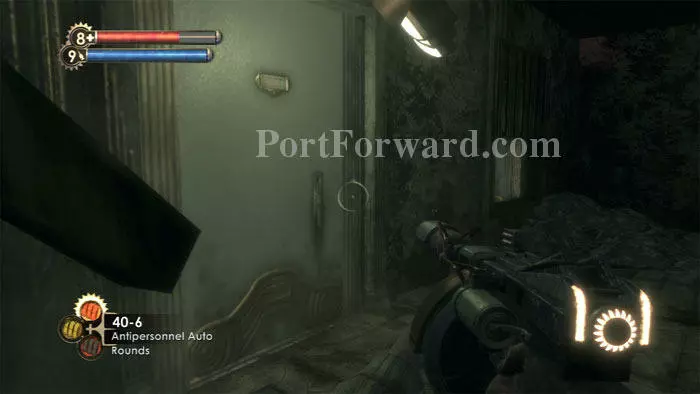
Find this Health Station on the east side of the square and follow the street to Artemis Suites.
You'll meet resistance from a Leadhead Splicer, this machine gun turret, and a security camera left of the trolley (holding a storage crate and Machine Gun Rounds).
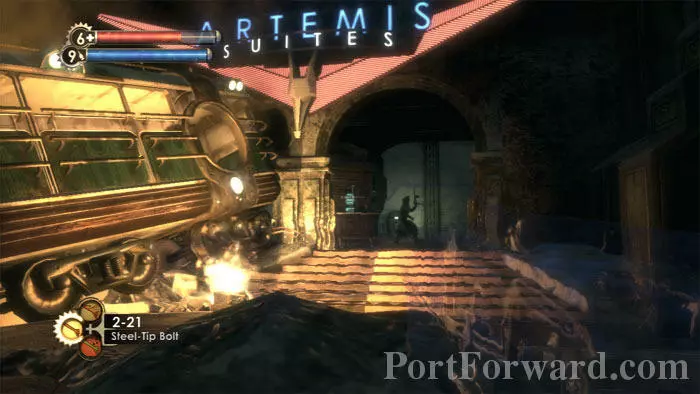
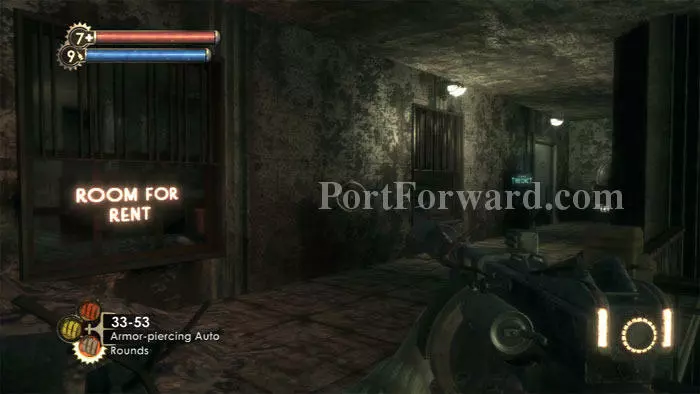
Here's the Artemis Suites entrance. Note the Leadhead on patrol.
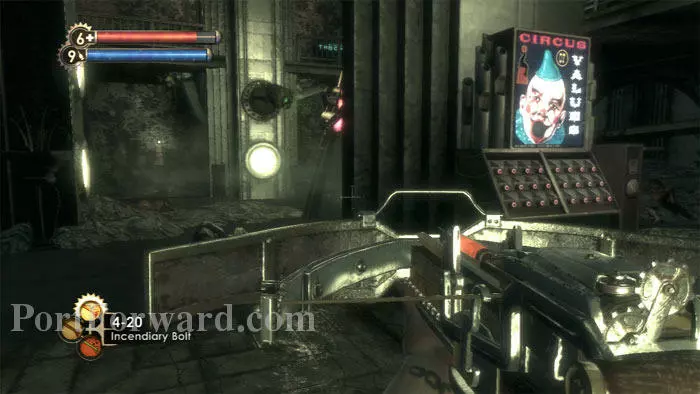
Hack the security camera seen ahead for assistance in taking down a pair of Splicers in the main hallway. Note the Circus of Values on the right. Film and a corpse are directly ahead.
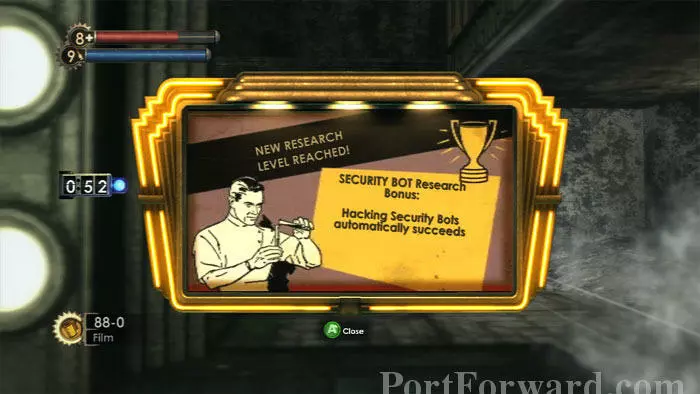
Photographing the Bots produces a new research bonus -- I can now automatically hack Security Bots.
A Leadhead Splicer and machine gun turret in this optional first-floor apartment guard a U-Invent, a Machine Gun, several corpses and Steamer Trunks, an EVE Hypo, a Refrigerator with snacks, Napalm, and a Gift.
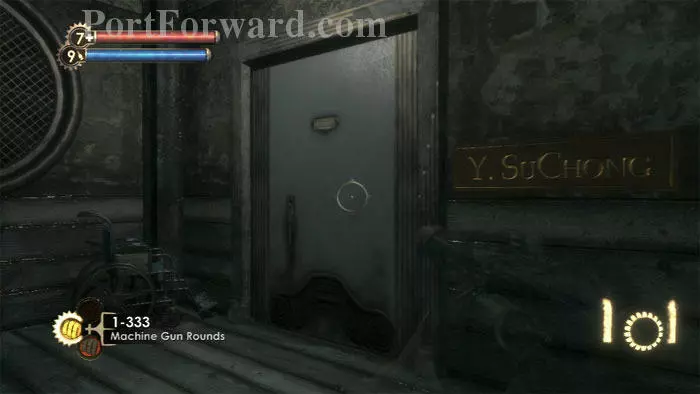
Ascend the stairs to the second floor then spy a security camera through the window on the left before entering SuChong's free clinic through the door on the right.
Hack or destroy the security camera and this machine gun turret. Note the Gene-Bank on the right -- you won't be able to reconfigure your Plasmids, but your Tonics are available if you feel like a re-spec.
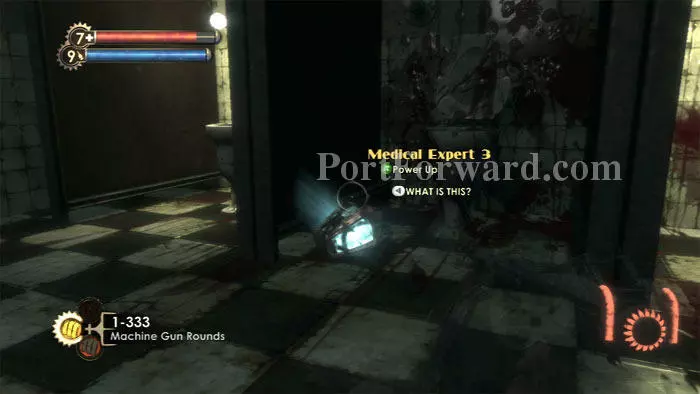
To the right is this kitchen/bathroom area where a possum-playing Leadhead guards Bandages, booze, a Refrigerator, and this Medical Expert 3 Physical Tonic.
Left of the entrance is this hallway leading to Dr. SuChong's office.
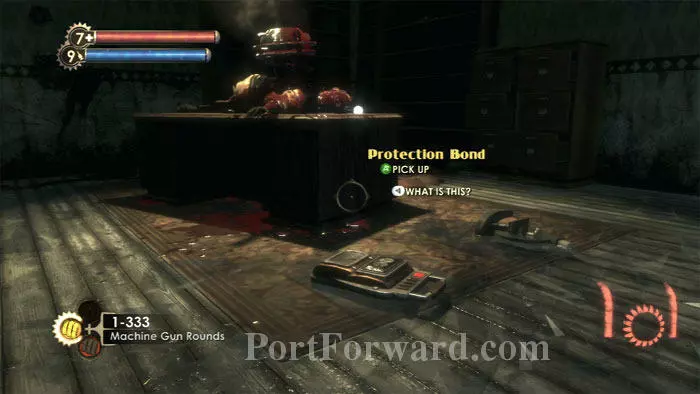
SuChong's audio diaries are the funniest in my opinion, and this one, Protection Bond, is the best of the lot.
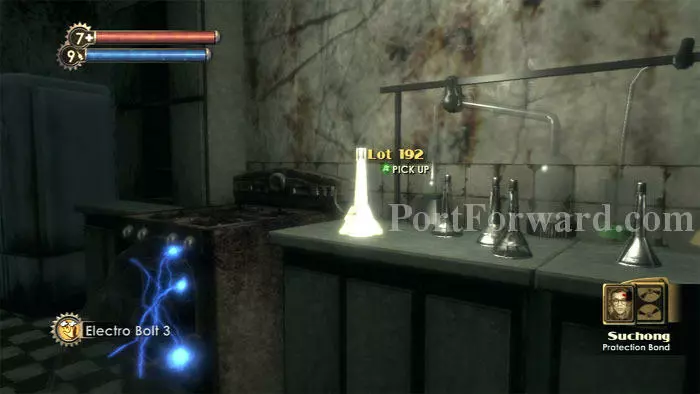
Find your second dose of Lot 192 on this counter at the back of the room. Your Plasmids are once again under your control!
Defeat a wave of Splicers as you backtrack. You receive a new goal: go to Point Prometheus.
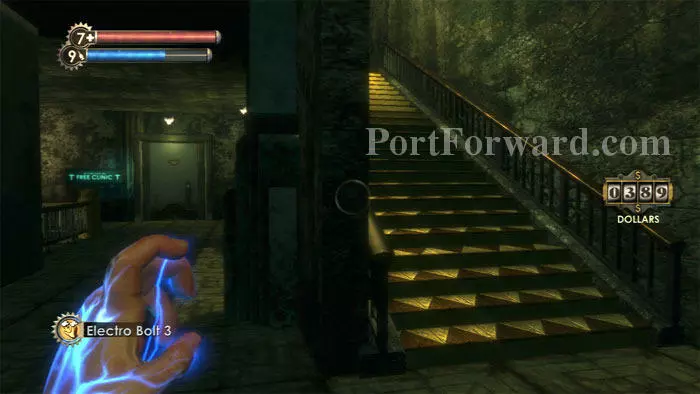
First, I'm going to take a couple optional diversions. Ascend these stairs after healing at the Health Station behind me in this shot.
Defeat this turret then enter the room on the left.
This Thuggish Splicer and his three companions guard plenty of supplies including lots of Film, a First Aid Kit, Napalm, a Health Station and a Safe.
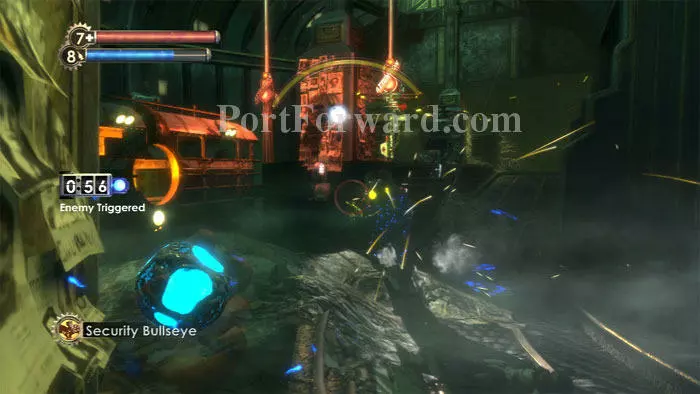
Return downstairs and backtrack up the street. Security Bullseye on the level's second-and-final Rosie brings my ADAM to 570 without firing a shot.
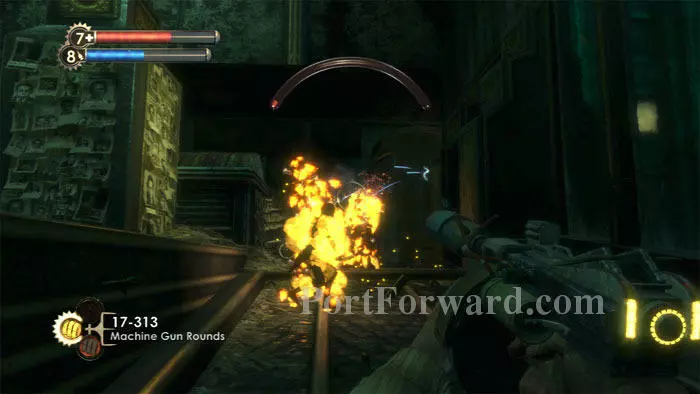
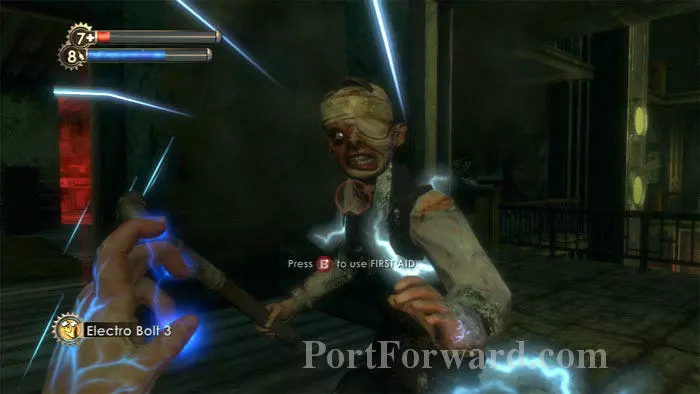
A large group of Splicers defend the square. Bring your favorite weapon of mass destruction.
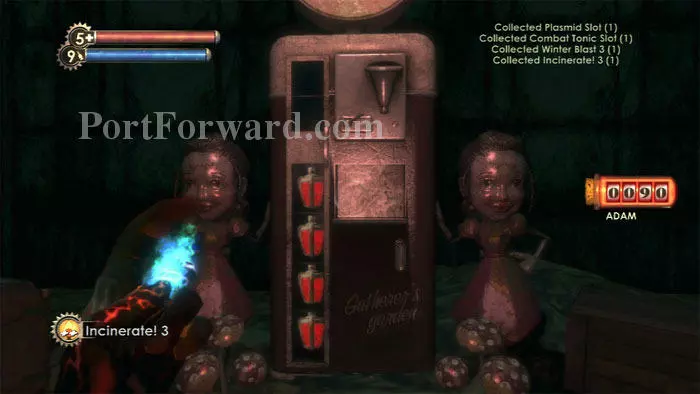
At the Gatherer's Garden I purchase Plasmid and Combat Tonic Slots, Winter Blast 3 and Incinerate! 3.
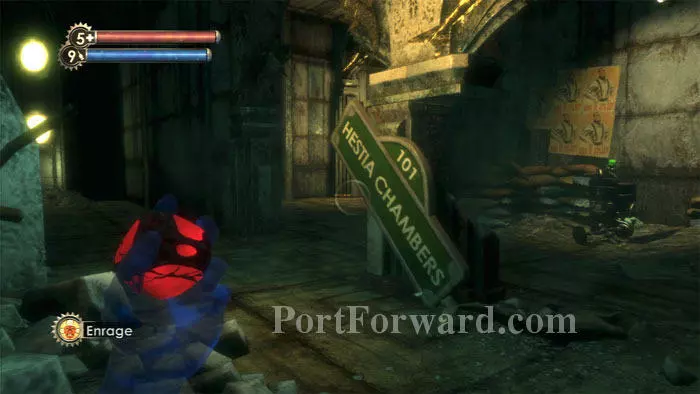
Follow the road south to Hestia Chambers.
Hack this security camera on the left. Search the trash can on the platform ahead.
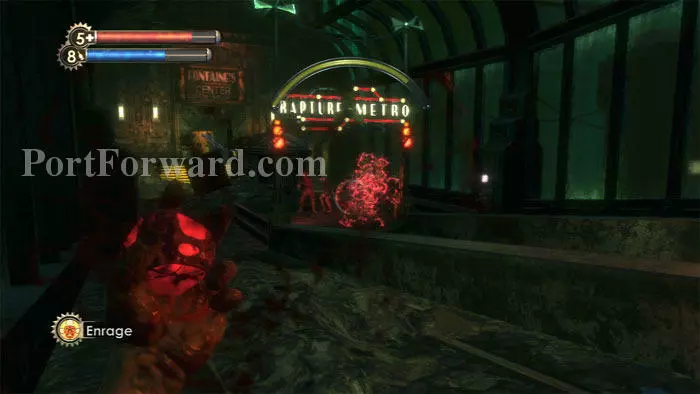
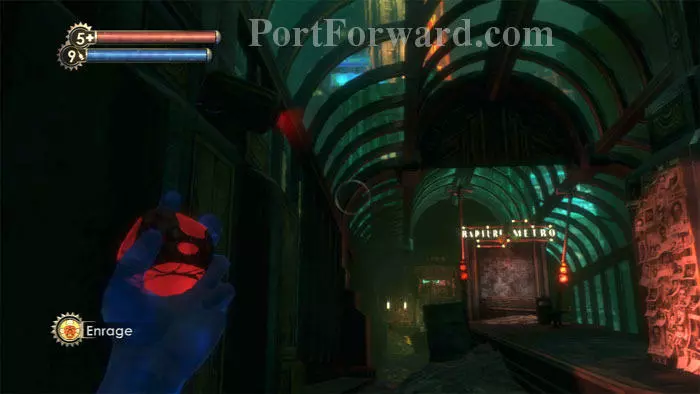
Hang back and let Enrage! plus your Crossbow clear the area. There's a lot that you'll trigger if you rush in and it can become too much to handle. Rapture Metro is where we're ultimately headed, but there's another optional stop at the end of the road.

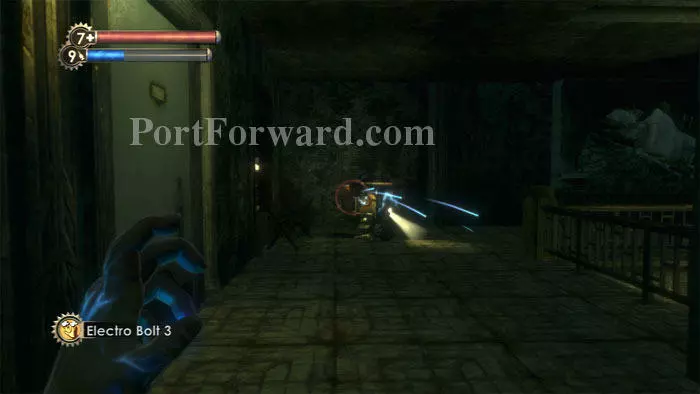
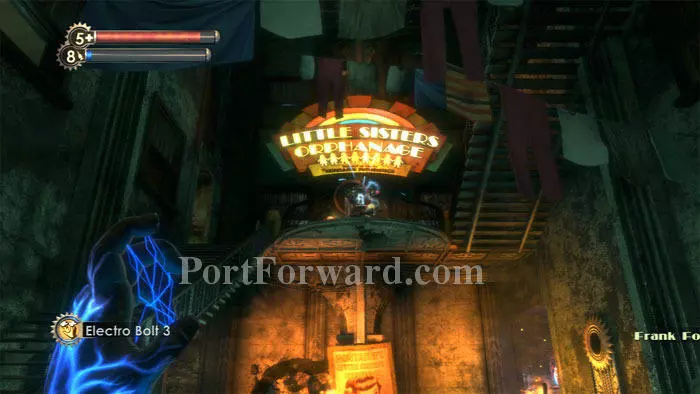
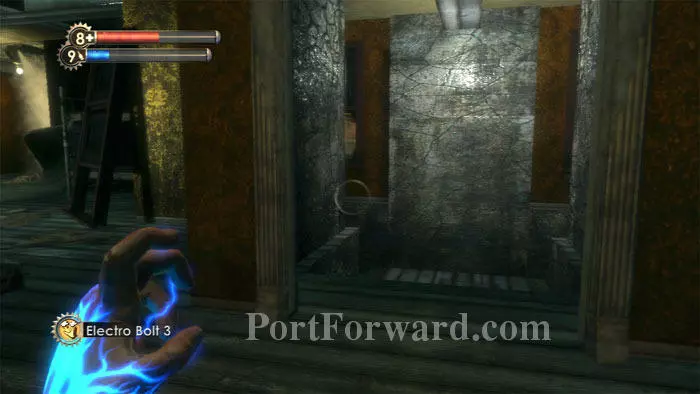
Hack this Health Station on the right and watch the ghostly reenactment. Ready your Electro Bolt before entering Fontaine's Center for the Poor.
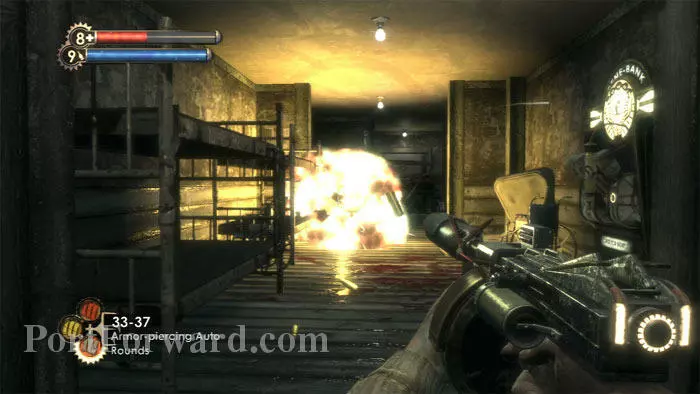
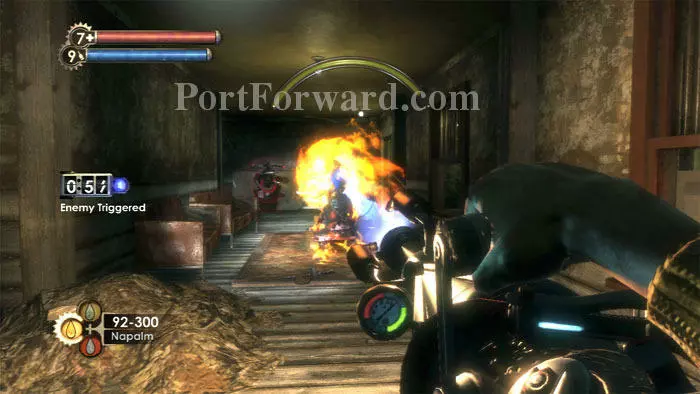
Zap the rocket turret on the balcony then rush up the stairs and hack it. Quickly return downstairs to avoid splash damage as the turret decimates the Splicers on the stairs.
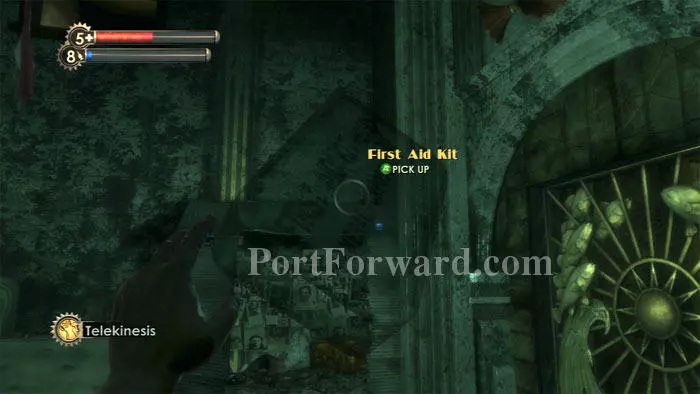
A First Aid Kit and EVE Hypo are atop the shack on the right. Approach the Steamer Trunk.
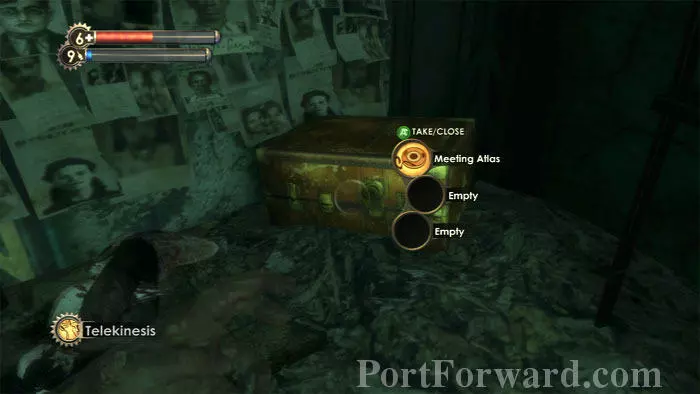
Find Diane McClintock's Meeting Atlas audio diary inside. Find a Circus of Values and a U-Invent at the back of the room before ascending the stairs.

Enter through either door on the landing at the next floor.
Take out this Thuggish Splicer then search the room for a Gift, snacks, Steamer Trunks and corpses. Bandages can be found atop the Refrigerator, and buckshot is on the kitchen counter.
Descend these stairs to the boiler room to defeat another Thuggish Splicer guarding corpses, whiskey, a Pistol and a U-Invent machine.
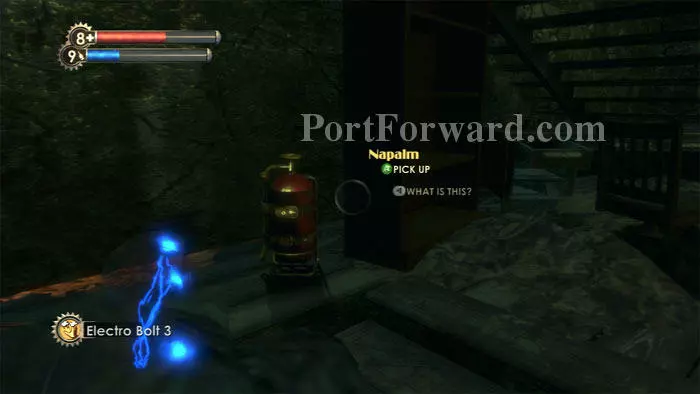
Napalm and an Automatic Hack Tool are under the stairs.
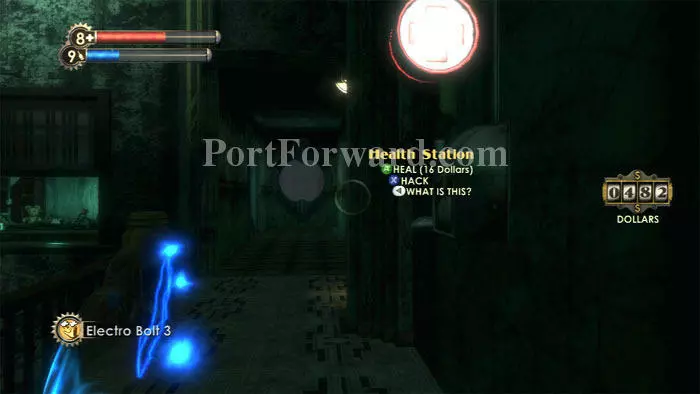
Return to the main stairway and head up to the third floor. Hack this Health Station then enter the door ahead/left.

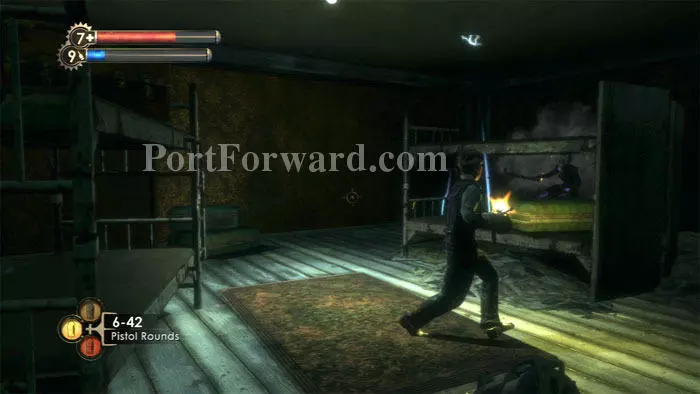
Find this corpse behind the boarded-up bed alongside Potato Chips and Pistol Rounds. A Nitro Splicer guards a Gift, a Steamer Trunk, and another corpse.
Find more corpses in the bathroom then Enrage! these possum-playing Splicers on the other side of the apartment.
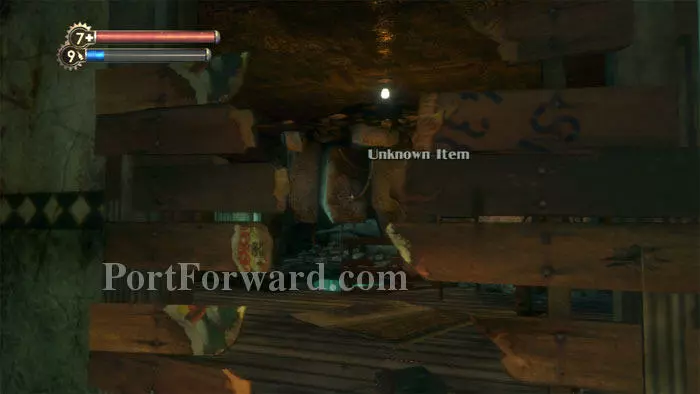
The fourth-floor doors are both locked shut, so follow the stairs all the way up to the fifth floor. Smash the boards blocking this door then find a Napalm-carrying Chemical Thrower before dropping through the hole in the floor seen ahead. Defeat a Thuggish Splicer guarding supplies before exiting through the window and returning upstairs to the fifth floor.
Keep right to find this unlocked room. Two Splicers and a security camera are in here so be careful.
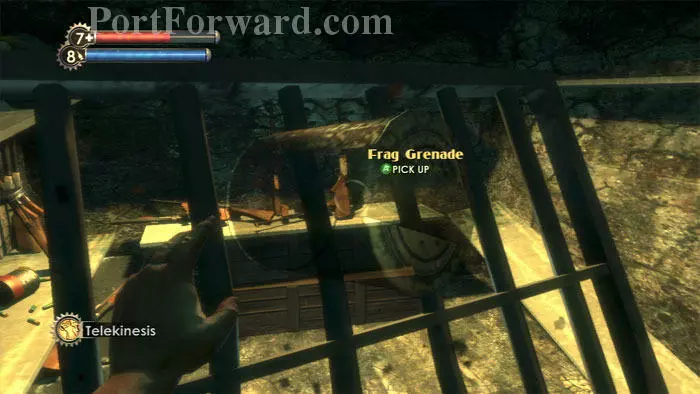
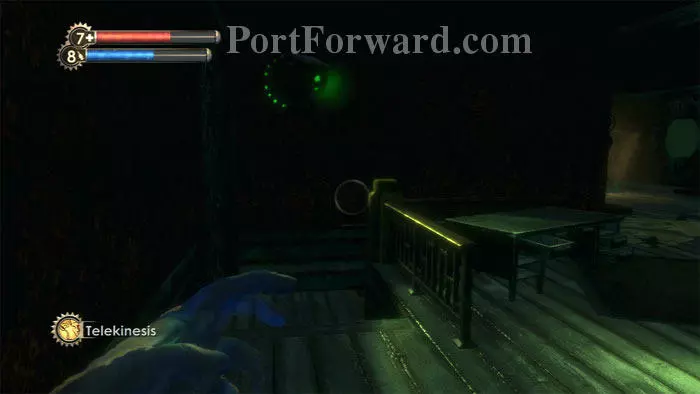
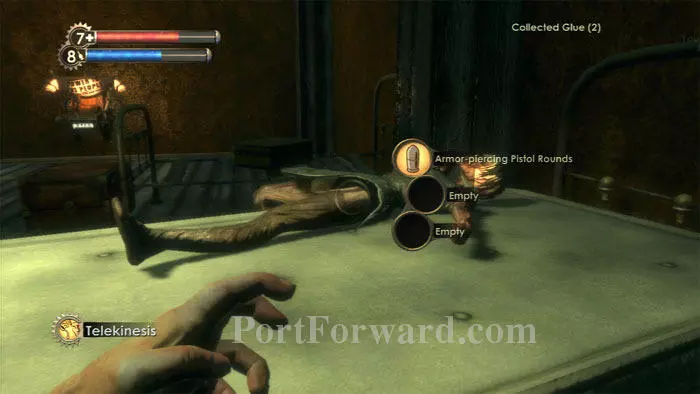
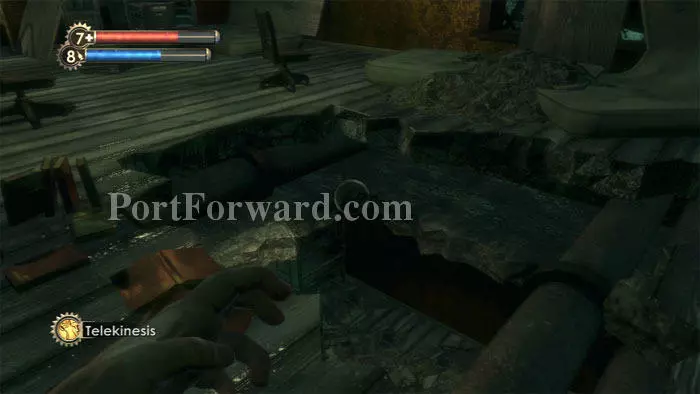
Telekinesis allows you to grab the weapons from this gated armory. A Health Station is behind you.
Descend these stairs.
You're now behind the other locked fourth-floor door. Three Steamer Trunks, this corpse, and a Power to the People station are on the right. I chose Shotgun Damage Increase.
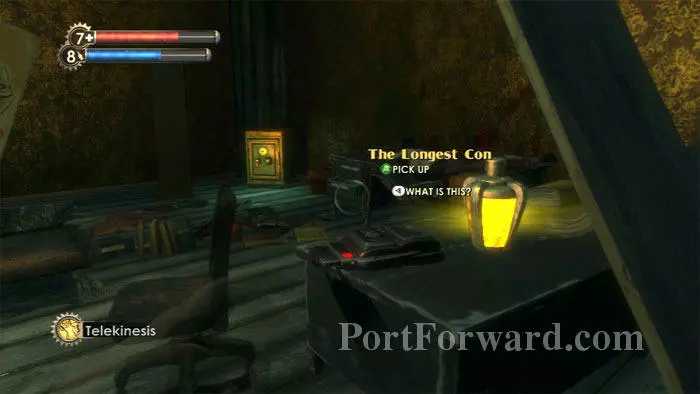
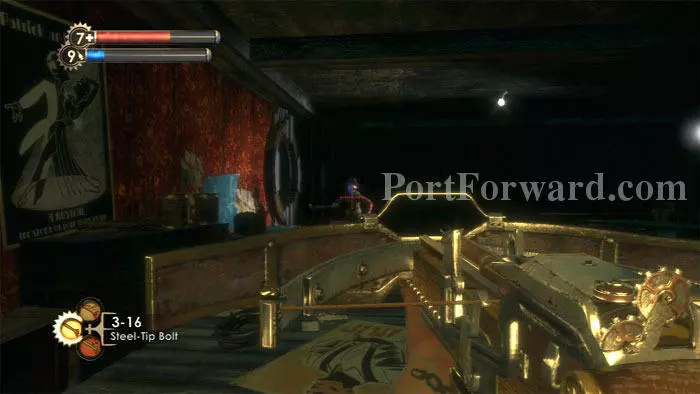
Frank Fontaine's audio diary The Longest Con is found on this desk, next to a Focused Hacker 2 Engineering Tonic. Note the safe in the corner.
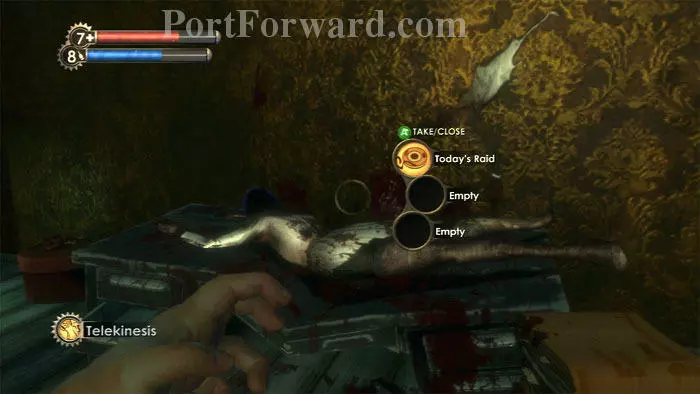
Right of the safe is Diane McClintock's body, from which you can retrieve her audio diary Today's Raid.
Exit through this hole in the floor.
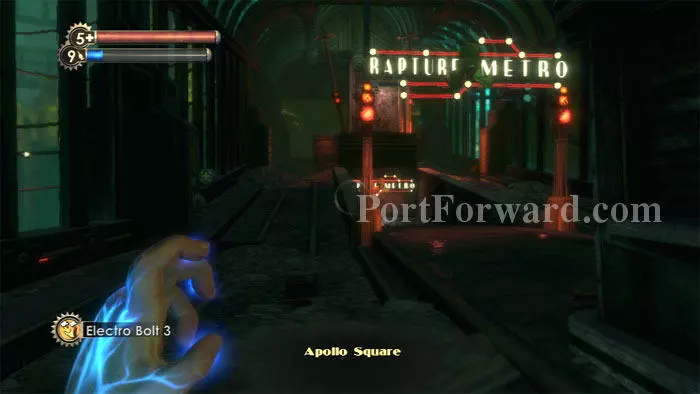
Backtrack to the street and enter the Rapture Metro.
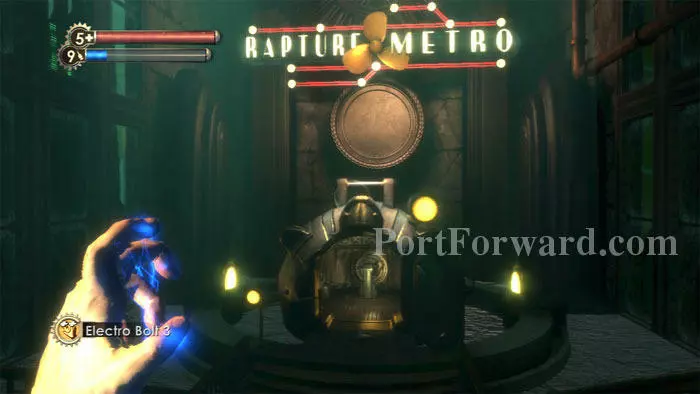
Ride the lift down, defeat a pair of Splicers, then step inside the Bathysphere. If you haven't yet looted Sander Cohen's Muse Box, this would be a good time to return to Fort Frolic before traveling on to Point Prometheus.
More BioShock Walkthroughs
This BioShock walkthrough is divided into 15 total pages.


