
This BioShock walkthrough is divided into 15 total pages.
You can jump to nearby pages of the game using the links above.
Proving Grounds
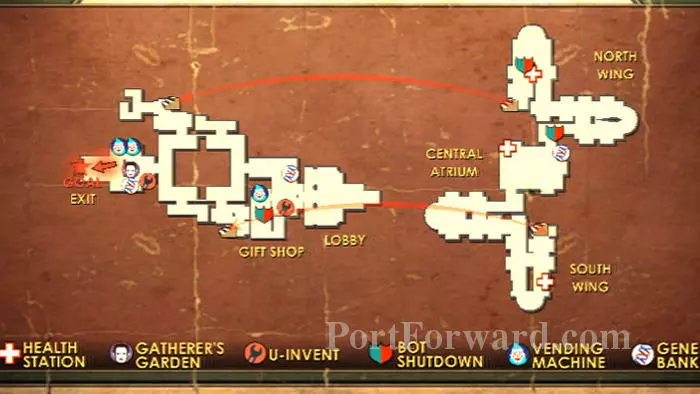
Here's a map of the level. Map - Proving Grounds
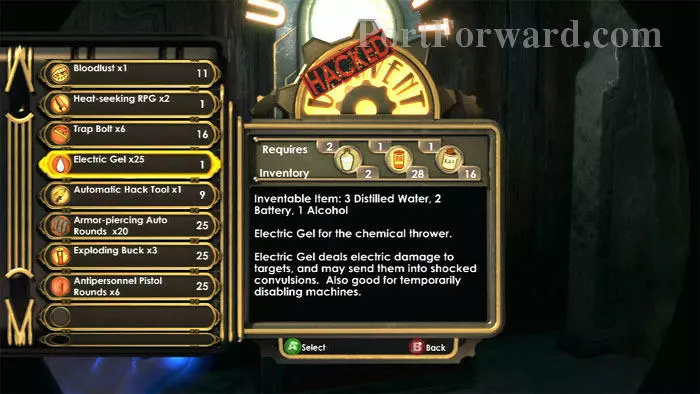
The Little Sister nags you to keep up, but don't listen. Instead, search the area for supplies; she'll wait. I especially recommend inventing some Electric Gel and Trap Bolts. Don't miss the First Aid Kit by the nearby Vita-Chamber.
Descend the stairs on the left to this bar area. Your Big Daddy suit fools the security camera into ignoring you. Upcoming turrets will be similarity tricked. The Little Sister, however, will trigger turrets into firing on her, so definitely hack those. Pep Bars and a Circus of Values are also found here.
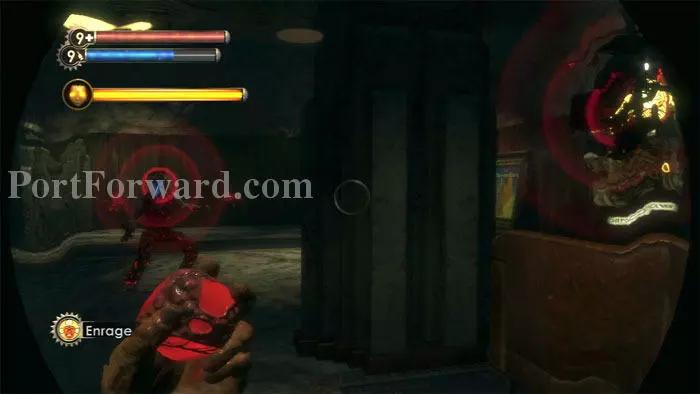
This Thuggish Splicer patrols the museum lobby. Enrage! causes his security bot to attack him.
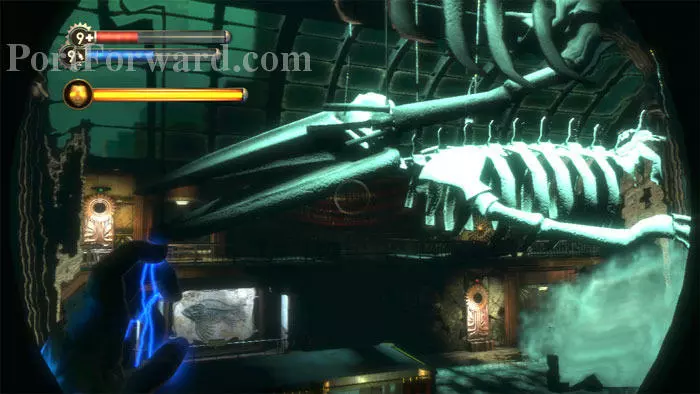
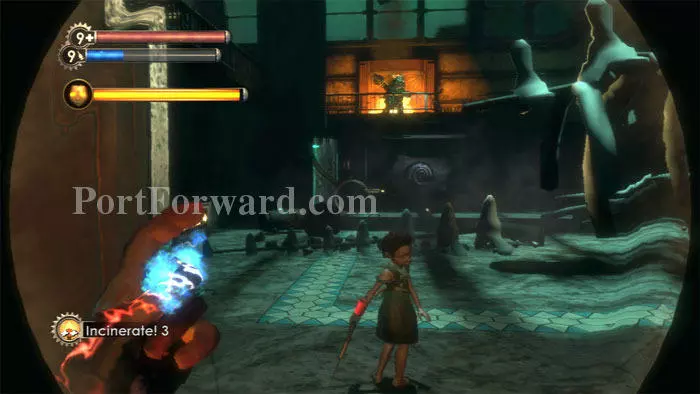
Follow the Little Sister into the Central Atrium and witness this giant skeleton collapse onto the floor.
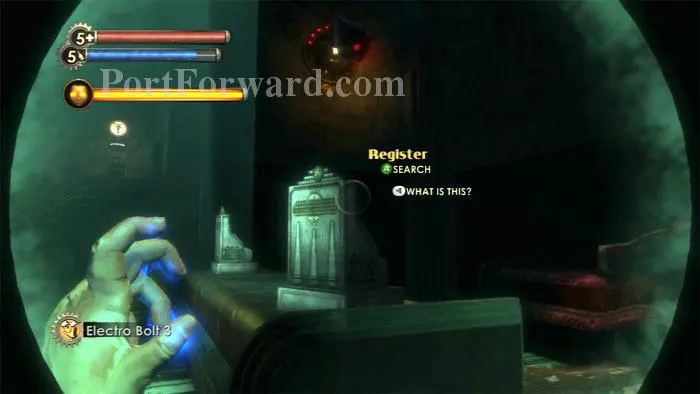
Turn around and find this unlocked gate. A Leadhead Splicer patrols the dead-end corridor. Find supplies including a Proximity Mine, a First Aid Kit and an EVE Hypo.
Now it's time to follow the Little Sister in earnest and begin the escort mission.
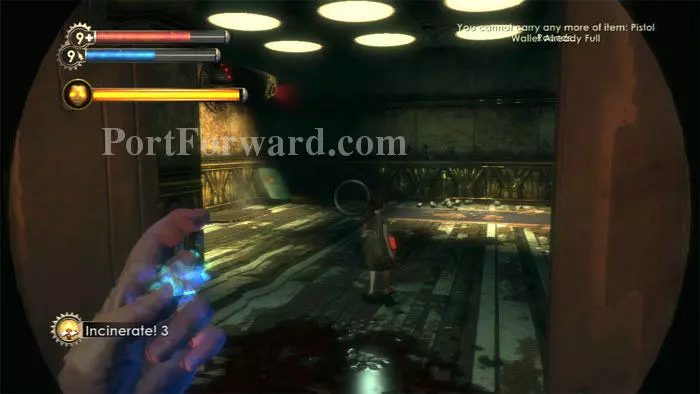
Rush past her at the first bend and take out a pair of Splicers waiting in ambush. Incinerate! works well.
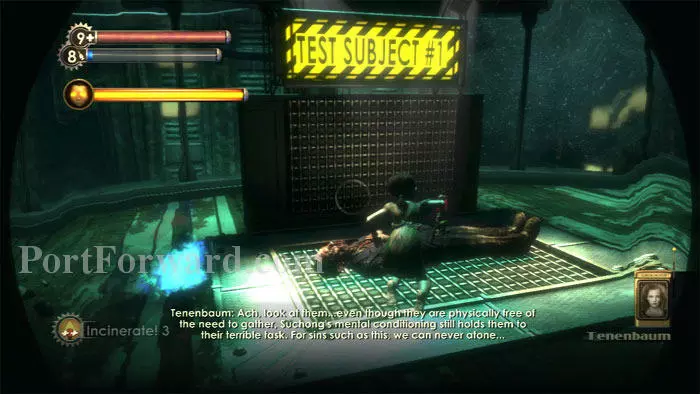
The Little Sister will soon stop to gather ADAM from the first of three test subjects. You'll need to protect her from several Splicer waves while she gathers.
Quickly hack the Health Station on the right and set Trap Bolts along the corridor. The Little Sisters are immune to your weapons but they will trigger your Trap Bolts so place them carefully. Incinerate! the Splicers at range. An oil slick can also be ignited to set up an additional barrier.
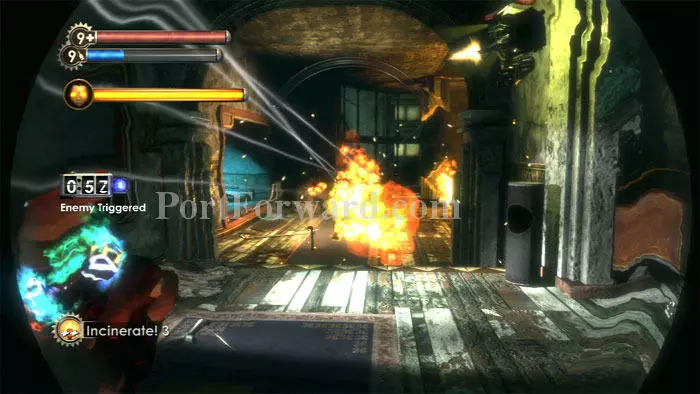
The Splicer attack is quite random and sometimes is confined to a single corridor. Prox Mines buy some insurance in this parallel corridor in case the Splicers attempt to flank your defenses.

Once the Little Sister is finished gathering, don't resume following her. Instead, loot the corpses and backtrack to the U-Invent and Circus of Values machines to stock up on supplies, including Trap Bolts. Again, the Little Sister will wait for you.
Once stocked, take point and hack this security camera, security bot, and flamethrower turret. They won't bother you in your Big Daddy Suit, so there's no need to zap them first. Once hacked, however, they will attack any Splicers that approach.
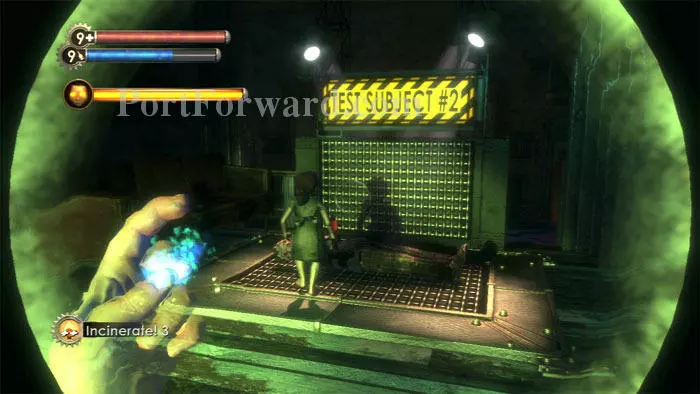
You now need to protect the Little Sister while she gathers from Test Subject #2. Set Trap Bolts along the corridor.
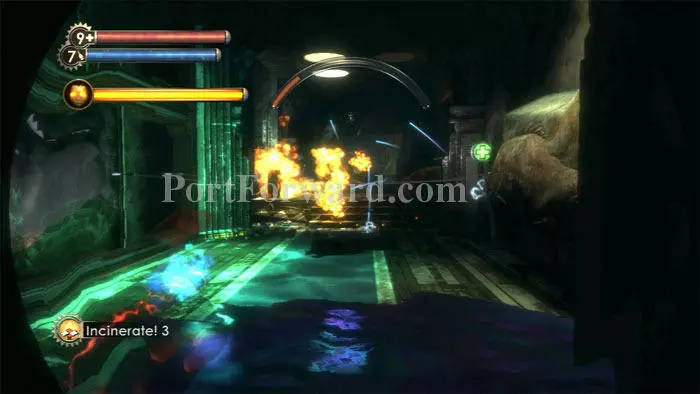
The fur sure flies in this fight. Your security bots and hacked flamethrower turret make for a rude greeting when the Splicers arrive.
Take up a defensive posture by placing your Big Daddy self between the Splicers and the Little Sister. There is no Achievement for keeping the Little Sister alive, but effectively defending her certainly feels rewarding. Keep an eye on her gold health bar and respond immediately if you see it decline.
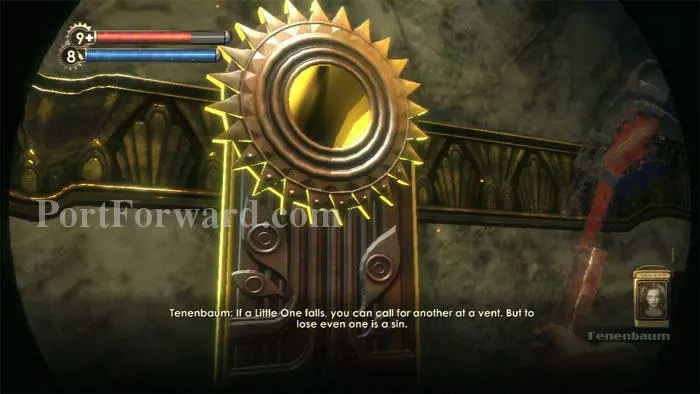
If you do lose a Little Sister, backtrack to a glowing Hidey Hole and summon another.
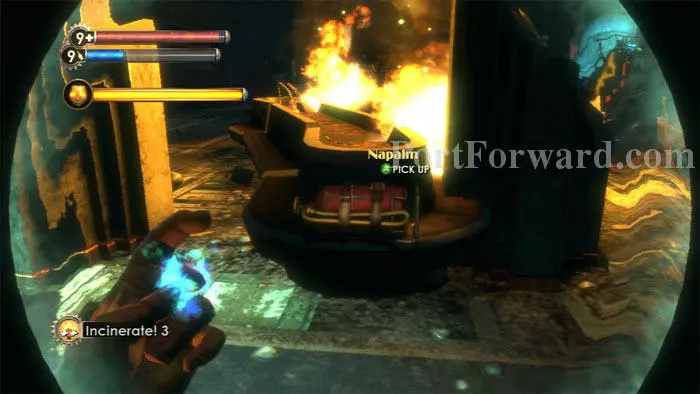
Once Test Subject #2 is dry, find Napalm here by the window and loot the corpses.
This time you'll want to keep pace with the Little Sister so you can hack the turret at the end of this corridor before she gets near it. The turret will attack her if you fail to hack it in time. Once hacked, find a First Aid Kit to the right then backtrack and purchase/invent while the Little Sister waits.
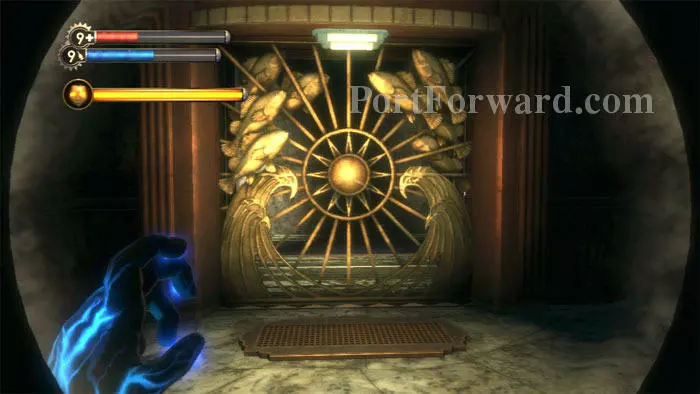
Once you're ready, the Little Sister opens up another door for you and a bit of foreshadowing takes place as you witness an unhappy Bouncer atop a balcony.
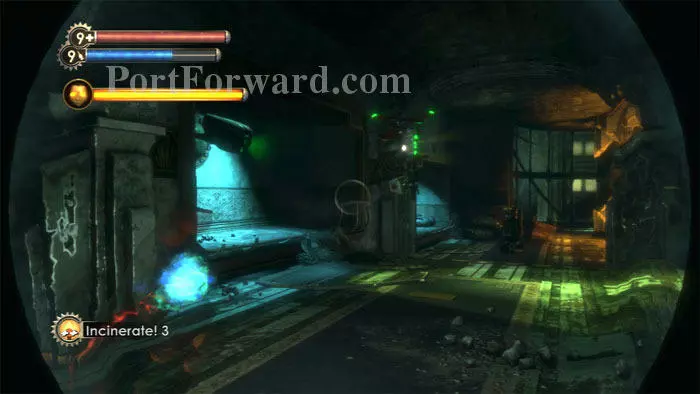
Immediately head right and hack this turret. Around the next bend is a Gene-Bank and another turret you should hack, followed by a Storage Crate and a Health Station.
Hack the security camera on the left after the Little Sister opens another door for you.
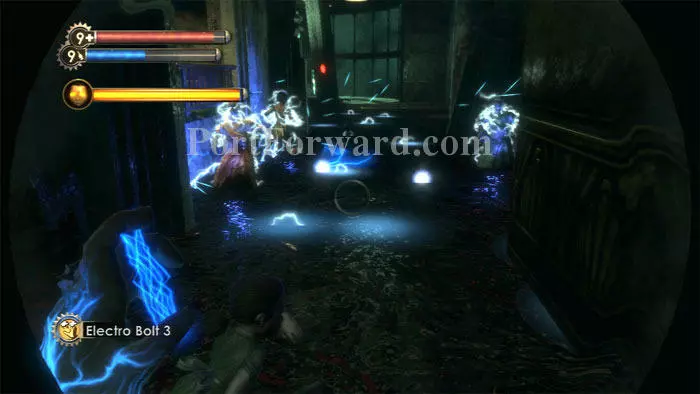
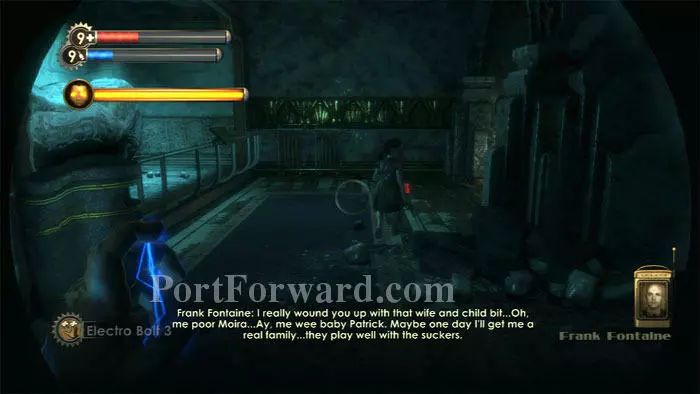
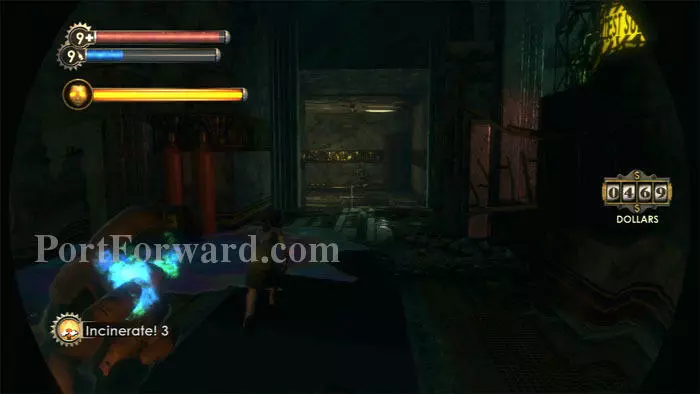
Ready your Electro Bolt and fry these three Splicers hiding in the water.
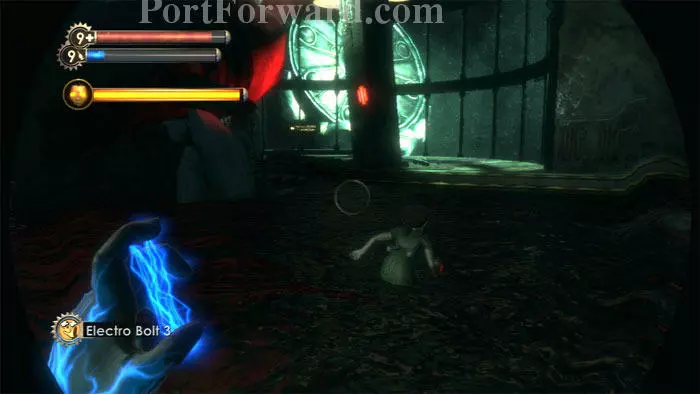
Do your best to keep pace with the Little Sister. The water slows down your Big Daddy Suit and there is danger ahead.
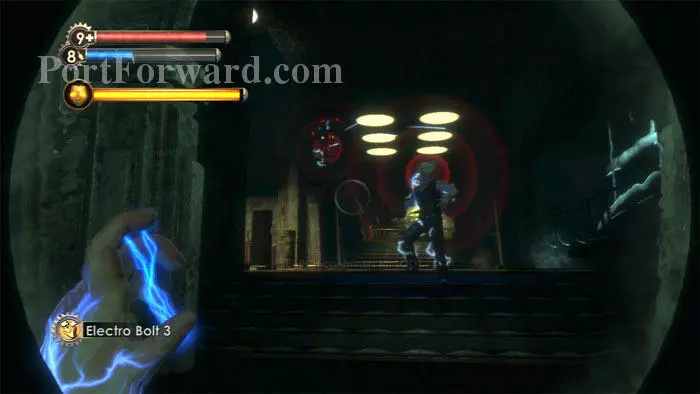
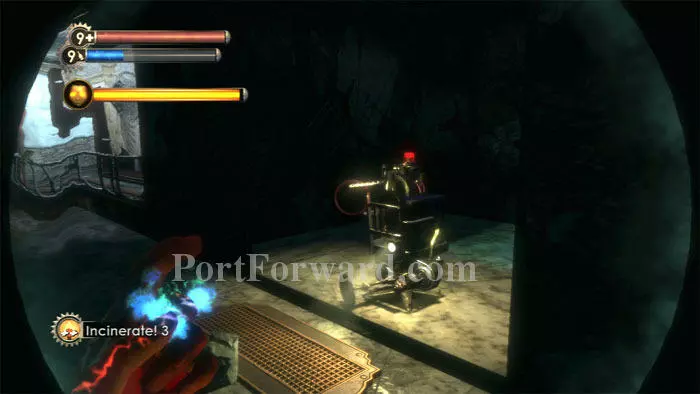
A pair of Splicers await in ambush. Enrage! is a good option here, but so is Electro Bolt to hack the security bot escort.
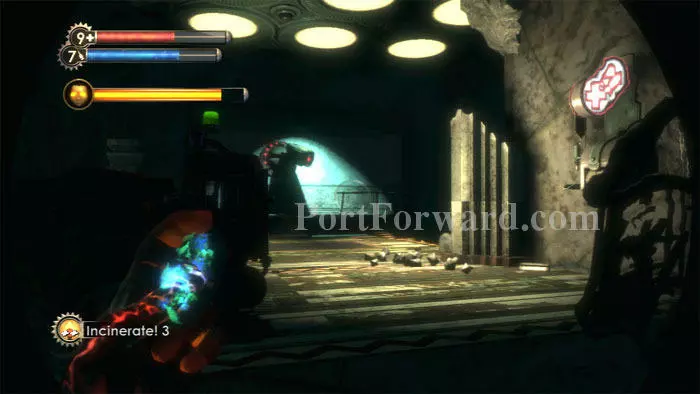
Directly across from Test Subject #3 is a turret, security camera and Health Station. Hack them all immediately.
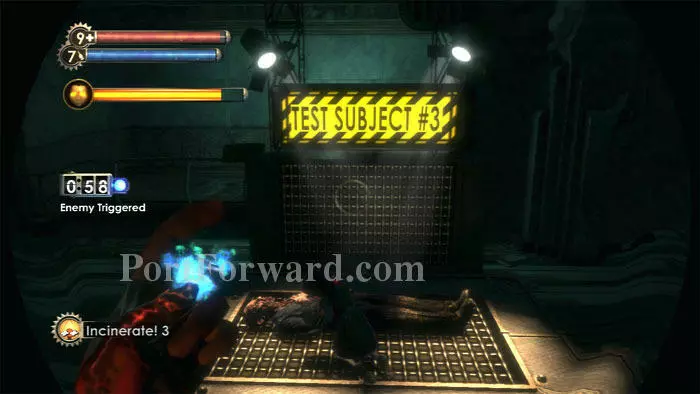
There's no time for trap bolts. Place yourself squarely in front of the Little Sister as she gathers and prepare to stand your ground.
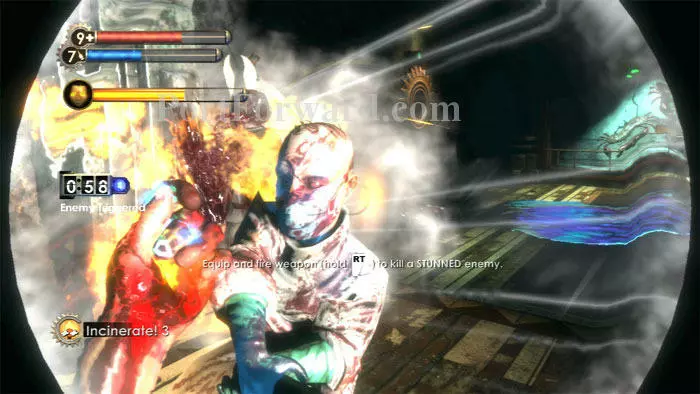
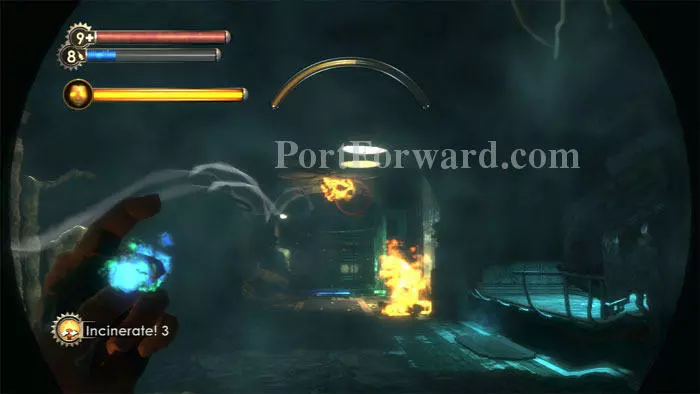
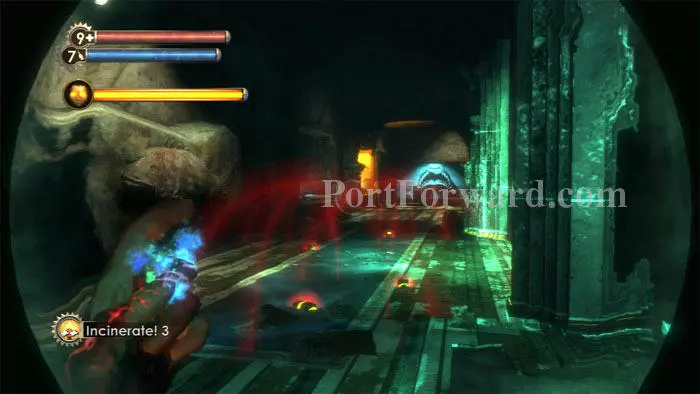
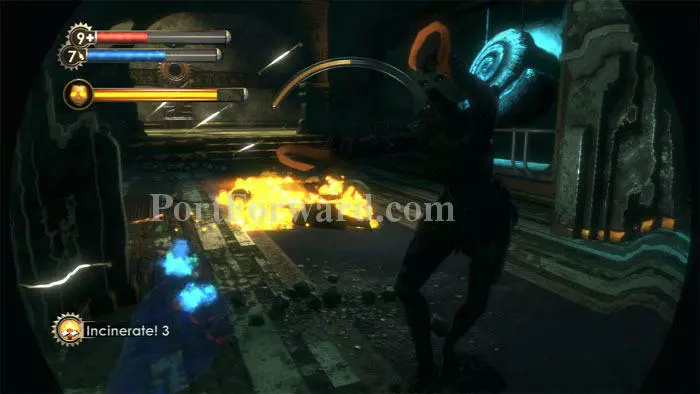
This fight is up close and personal. Fire is a good choice because there are oil slicks on each flank.
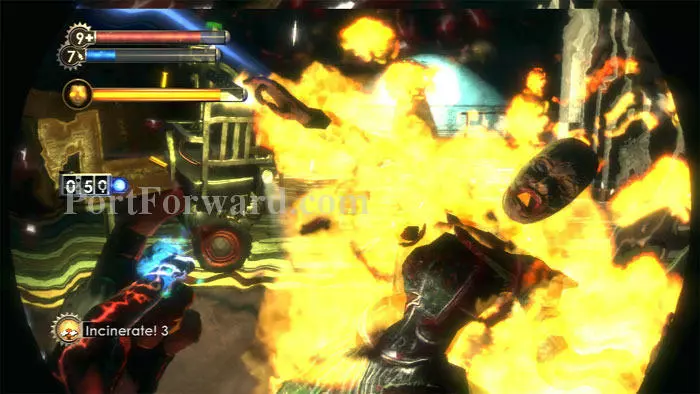
If the Little Sister seems to be harvesting for a very long time, and you hear a distant Splicer, hunt it down. The fight seems to end only when all the Splicers have been defeated. Loot what you like then ready your Electric Gel.
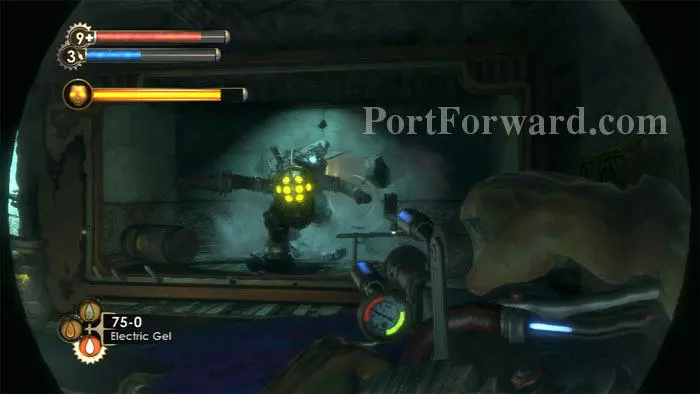
Hey, Kool-Aid! The Bouncer you saw previously is back and means to do you harm. A Chemical Thrower with a full pack of Electric Gel makes for an easy fight. (Although saving your Electric Gel will make the final boss battle much easier.) Search his hiding place for Machine Gun Rounds, Proximity Mines, a Grenade Launcher and EVE Hypos.
Before following the Little Sister through the door on the right, take a brief diversion through the door ahead/left to hack a safe.
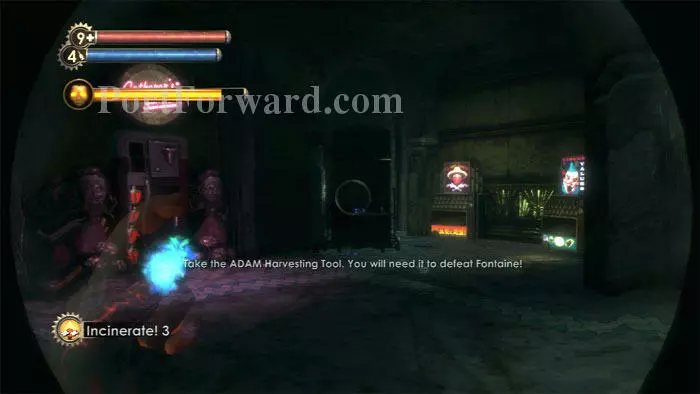
She'll lead you to this room o' plenty. Take everything you can get your hands on -- you won't be coming back and the final boss battle is coming up next. Spend 160 ADAM at the Gatherer's Garden for the only available items, Health and EVE Upgrades.
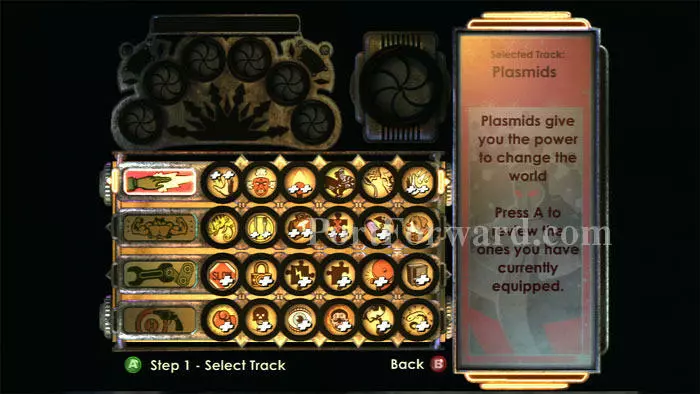
There's also a Gene-Bank here. You'll still have another opportunity to reconfigure your Plasmids and Tonics in the next level. Here's my final configuration.
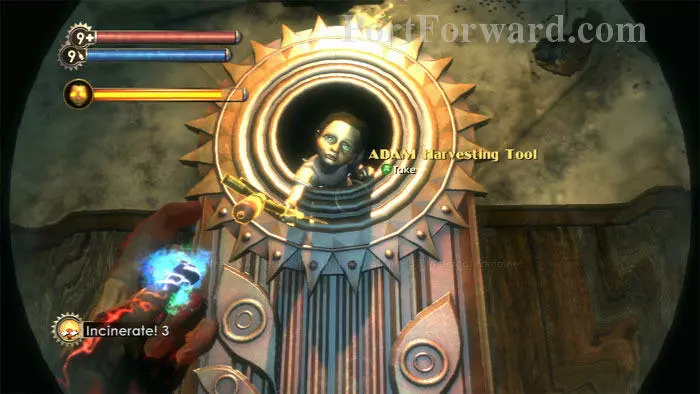
When you are ready to go, take the ADAM Harvesting Tool from the Little Sister and ride the elevator up to Fontaine.
More BioShock Walkthroughs
This BioShock walkthrough is divided into 15 total pages.


