This BioShock walkthrough is divided into 15 total pages.
You can jump to nearby pages of the game using the links above.
Hephaestus

Here's a map of the level. Map - Hephaestus
- Ryan Takes F Futuristics - Audio Diary
- Scoping The Gate - Audio Diary
- Going To Heat Loss - Audio Diary
- Stopping Ryan - Audio Diary
- A Man Or A Parasite - Audio Diary
- Frozen Field 2 - Combat Tonic
- Fontaine's Legacy - Audio Diary
- Running Short On R-34s - Audio Diary
- Power To The People - Weapon Upgrade
- Assassin - Audio Diary
- Kyburz Door Code - Audio Diary
- Genetics Arms Race - Audio Diary
- Getting A Break - Audio Diary
- Security Evasion 2 - Physical Tonic
- Market Maintenance Code - Audio Diary
- Device Almost Finished - Audio Diary
- The Dream - Audio Diary
- Assembling The Bomb - Audio Diary
- Damage Research - Combat Tonic
- A Great Chain Moves Slowly - Audio Diary
- Power To The People - Weapon Upgrade
- Shorten Alarms 2 - Engineering Tonic
- Impossible Anywhere Else - Audio Diary
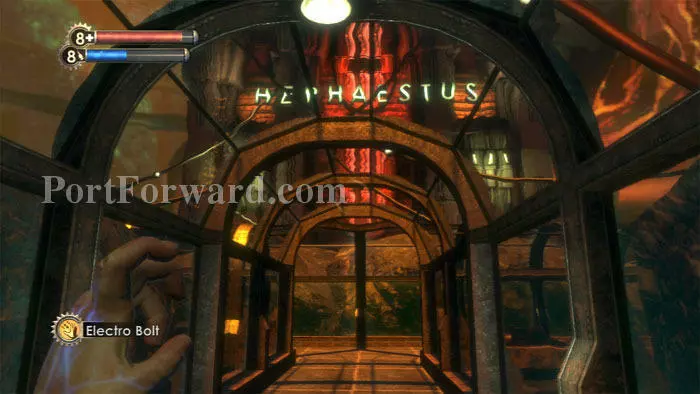
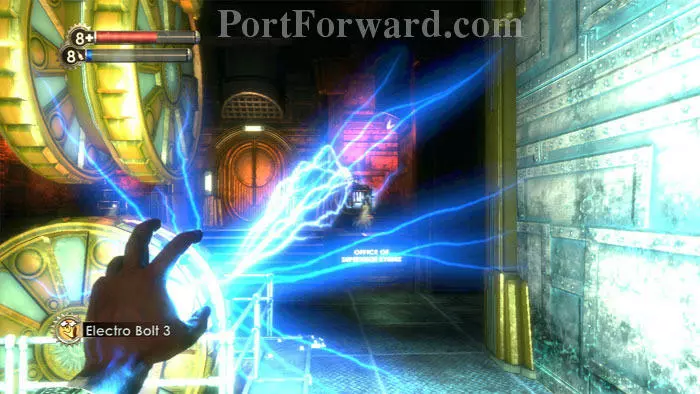
Atlas and Ryan both chime in. Hack the Circus of Values then continue through a Securis door to this underwater tunnel.
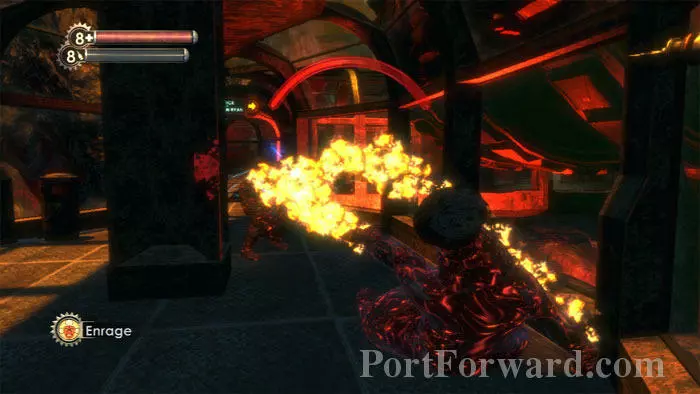
Find a corpse with a Shotgun on the left path. The path on the right has a Trash Can. Both paths converge where these Splicers can be heard. Enrage! provides entertaining protection.
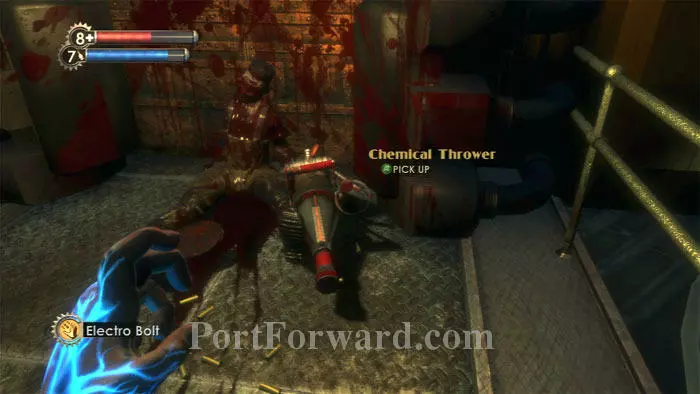
Through another pair of doors is this corpse next to a Napalm-carrying Chemical Thrower. A Leadhead Splicer attacks from the right stairs.

Ascend the stairs and defeat/hack this turret.
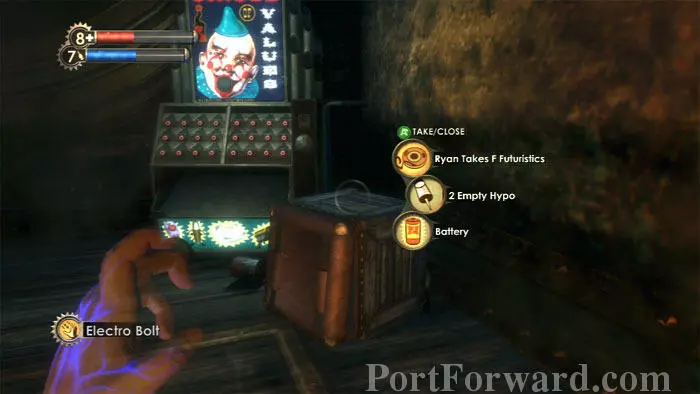
Cash and a Frag Grenade are by this Circus of Values. Search the crate for McDonagh's Ryan Takes F Futuristics audio diary.
Before exiting through the door on the right, climb this pipe to loot a corpse.
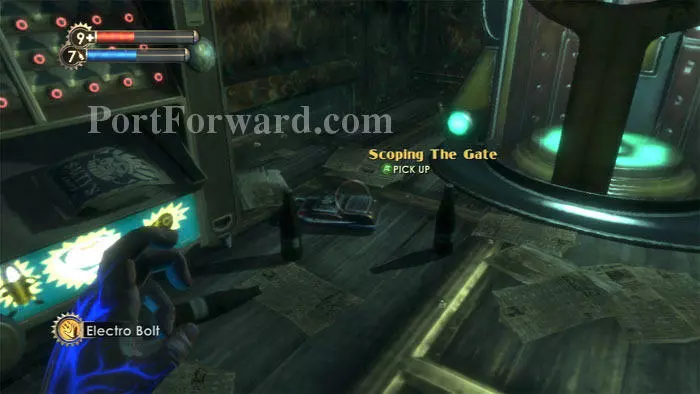
Go through the door and keep left to find Kyburz's Scoping The Gate audio diary between the Circus of Values and the Vita-Chamber.
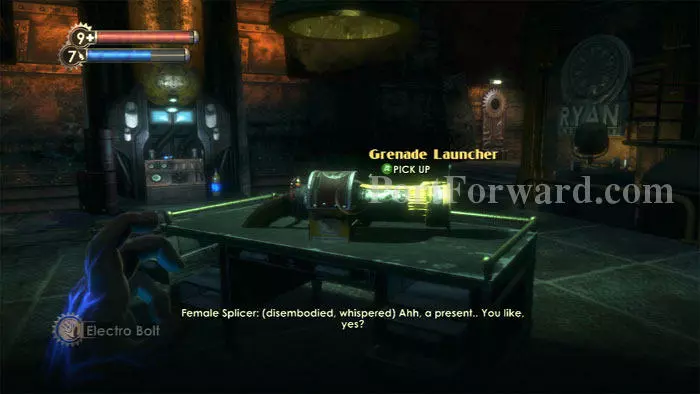
A strange voice is heard when approaching this Grenade Launcher. An EVE Hypo and something called Ionic Gel are seen ahead.

Hack the security camera above this door and find cash to the left of the U-Invent machine on the right before exiting. A Health Station is to the right as you pass through the door.
Through another pair of doors, find what appears to be Ryan's trophy room -- of his enemies. Seems everyone in Rapture is either predator or prey.
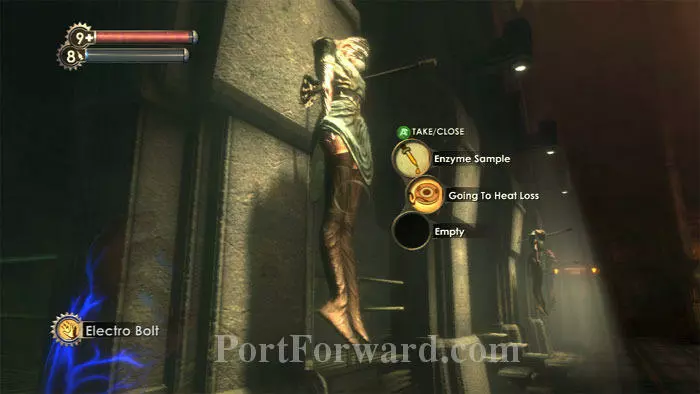
Search the bodies for supplies. Anya Andersdotter's audio diary Going To Heat Loss is found on this corpse. Listen and receive a new goal: search Heat Loss Monitoring.

Splicers blast their way through the Hephaestus Core door. Hit them with Enrage! and find McDonagh's Stopping Ryan audio diary on this corpse.
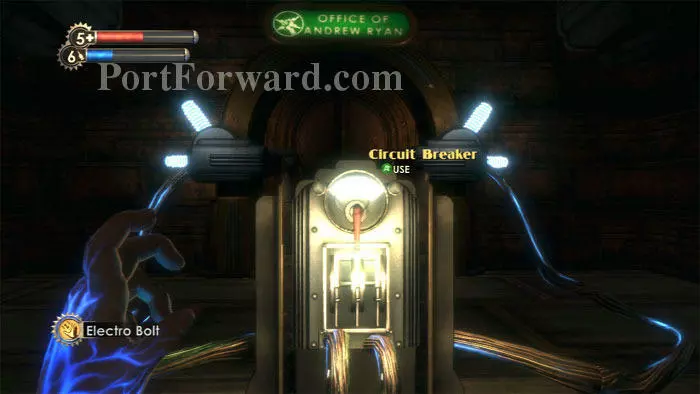
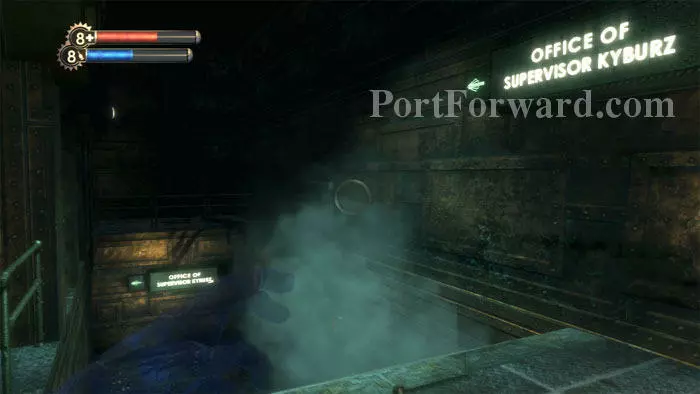
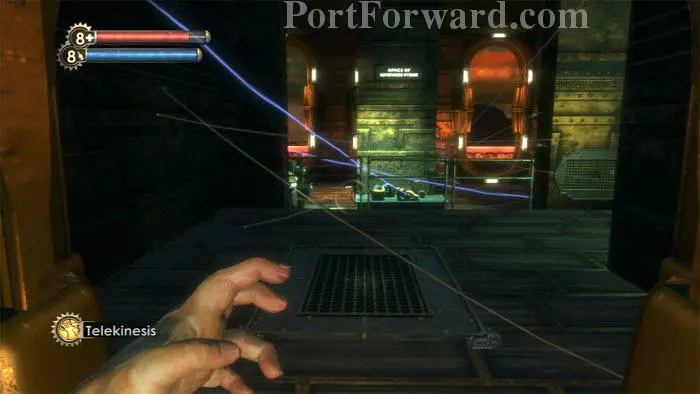
This Circuit Breaker is of no use. Ryan's office is locked and you can't open it until you cut the power at the core.

Before rushing through the Hephaestus Core door ahead/right, pass through this door on the left.

Ryan's audio diary A Man Or A Parasite is on the desk, and a safe is under the desk. A Frozen Field 2 Combat Tonic is ahead. A corpse can be searched in the back of the room.
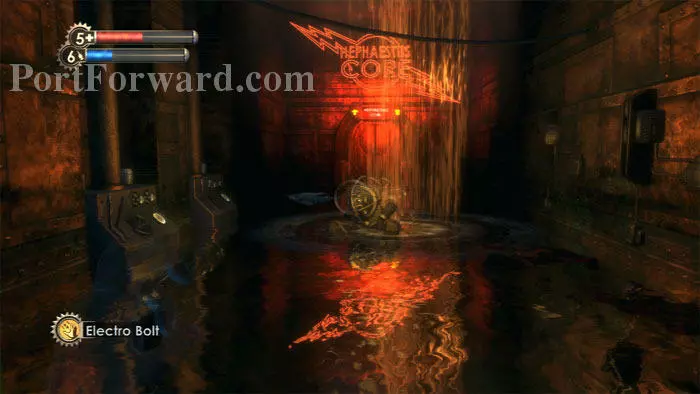
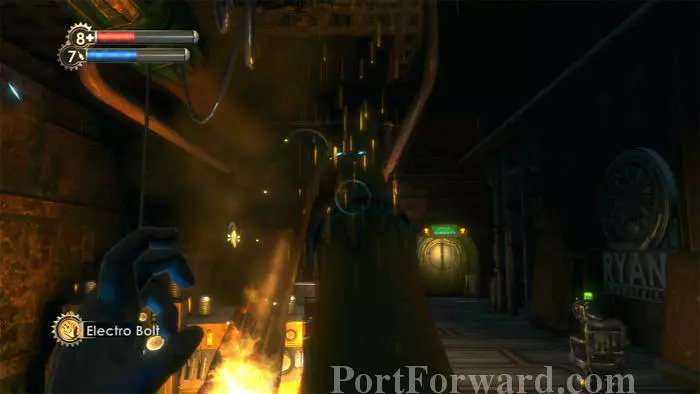
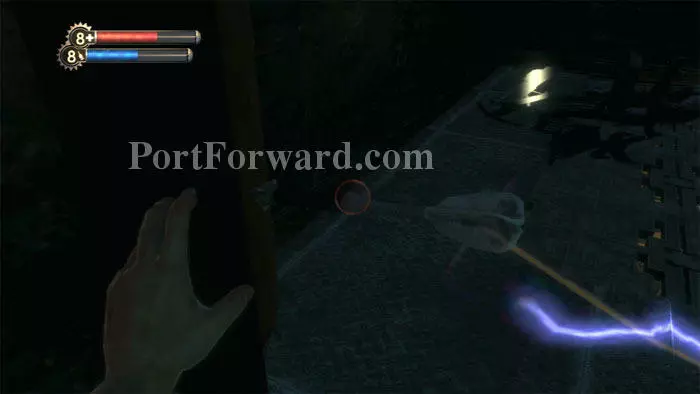
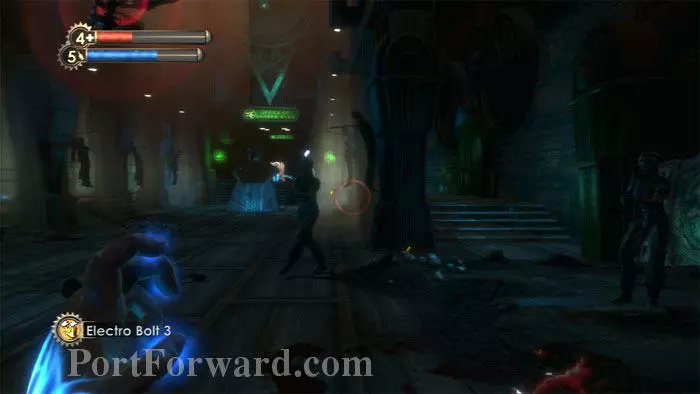
Now can pass through the Hephaestus Core door. Electricity is a good choice against the Splicers in this water-filled room. Search the Big Daddy for supplies then continue through the door ahead.
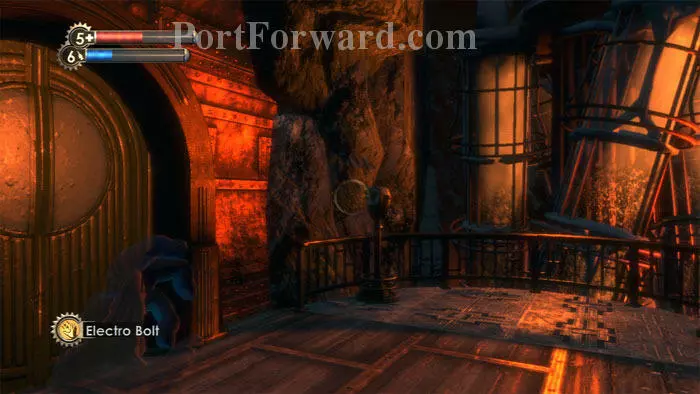
Follow the underwater tunnel to his opening. Unfortunately, the observation scopes are non-functional. Continue through the door on the left, where you'll find a Health Station.

The level's first Little Sister was waiting on the other side. I continued my Bouncer research to earn a 50% bonus to wrench damage. I also completed my Little Sister research and earned my final boost to maximum Health and EVE.
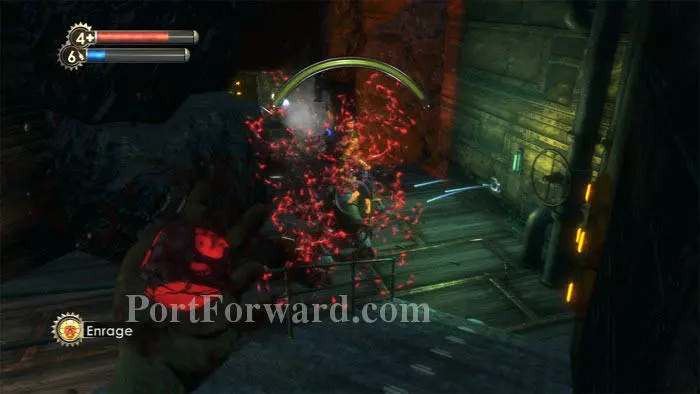
Enrage! or use Hypnotize Big Daddy to have the Bouncer clear the immediate area of Splicers.

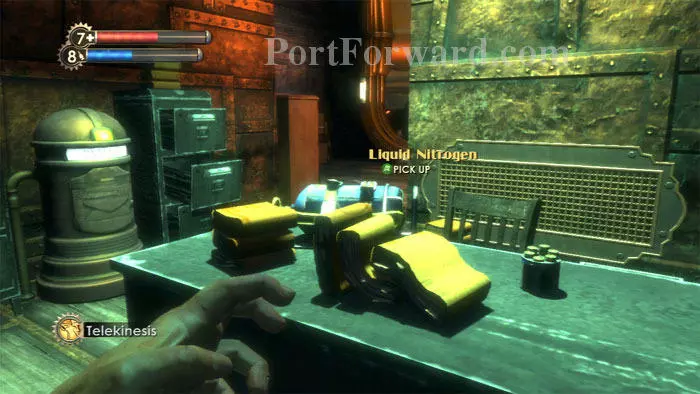
Turn your Crossbow on him (or better yet the Chemical Thrower if you have enough Electric Gel). I harvested the Little Sister to bring my ADAM total to 340. Search the area to find Napalm and Liquid Nitrogen. Notice more of that strange Ionic Gel.

Don't miss McDonagh's audio diary Fontaine's Legacy near the Vita Chamber on the upper level.

Follow the signs to Heat Loss Monitoring, clearing a path as you go.
Hack this security camera directly across from the workshops entrance. Pablo Navarro's Running Short On R-34s audio diary is on the left. A First Aid Kit is on the desk and a Gene-Bank is behind you and to the left.

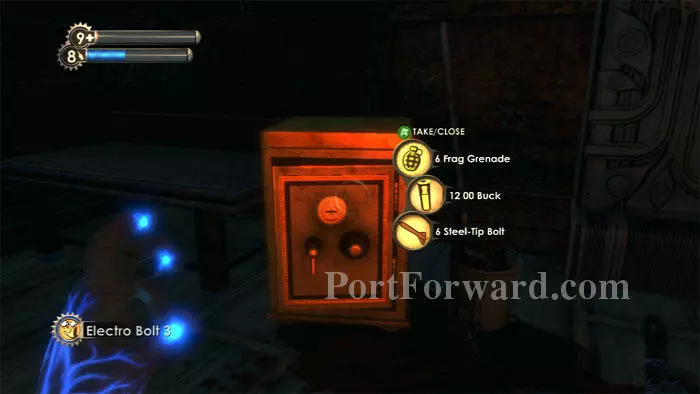
Before descending these stairs, find a Crossbow by a corpse ahead/right, then hack the safe to the left. Buckshot and a Proximity Mine are also available.

Search a crate at the bottom of the stairs and find the Heat Loss Monitoring entrance here. Don't go in yet.

DO NOT use this Circus of Values directly across from Heat Loss Monitoring -- all it dispenses are live bombs. Search the corpse on the right next to an Automatic Hack Tool.
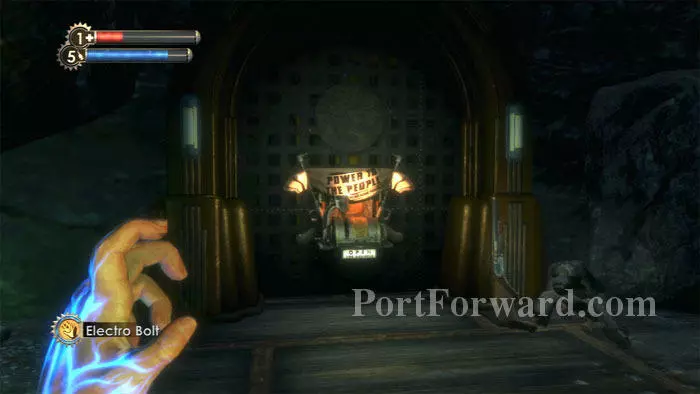
Ascend the ramp to the right of Heat Loss Monitoring and find this Power To The People Station on the left. A Shotgun and a corpse are to the right.

I chose Crossbow Breakage Chance. This makes it more likely that my bolts will be recoverable.

Directly across from the weapon upgrade station is this Gatherer's Garden, next to Anya Andersdotter's Assassin audio diary. A corpse is behind the Gatherer's Garden.

I upgrade to Electro Bolt 3 and purchase a Combat Tonic Slot for Electric Flesh.

Now it's time to enter Heat Loss Monitoring.
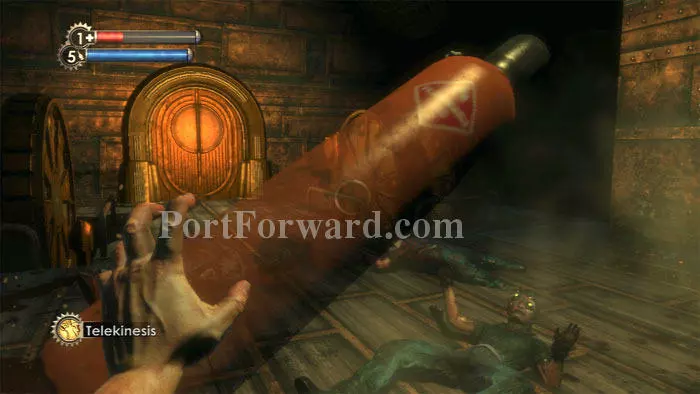
The lights cut out twice in this next room. Very creepy. Grab an explosive canister with Telekinesis to throw at these Splicers playing dead. Toss it their way when they spring to life. The Machine Gun's Antipersonnel Auto Rounds finish them off nicely.

Immediately after, the level's second of three Little Sisters showed up. The Crossbow does a fine job, although you'll need some fancy footwork to avoid the Bouncer's bull charge.

I bank the ADAM for the moment.
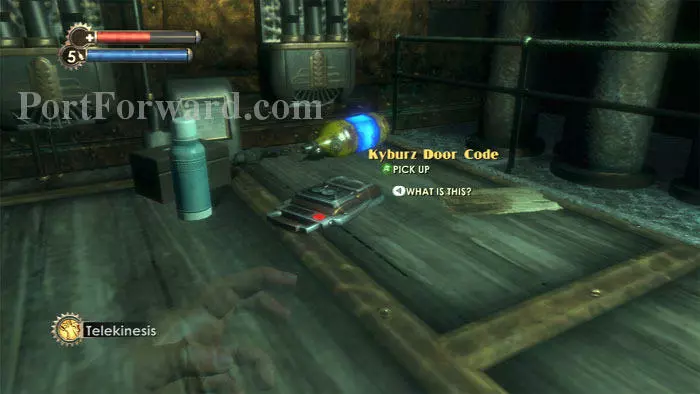
Keep right after passing through the door to find a searchable Pneumo tube, then spot Pablo Navarro's Kyburz Door Code audio diary. This is the first of several clues that Kyburz's office door code is Australia Day.
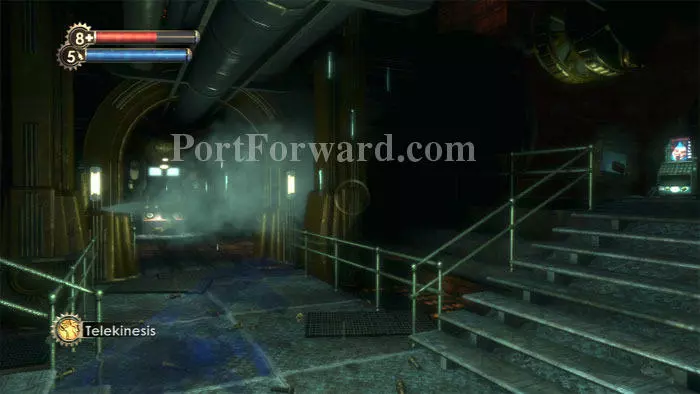
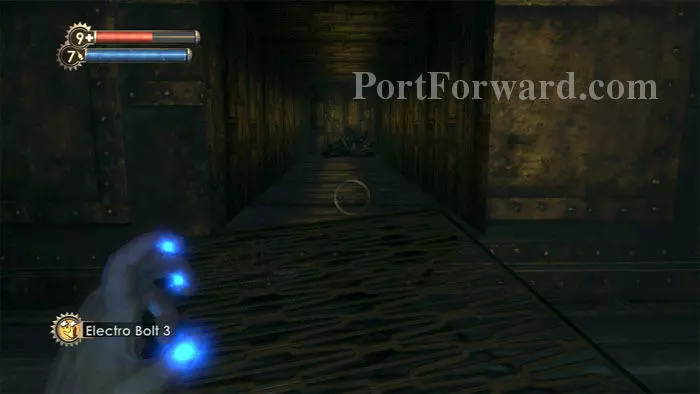
Find a fully-functional Circus of Values on the right, then ready a weapon before advancing down the misty corridor ahead.

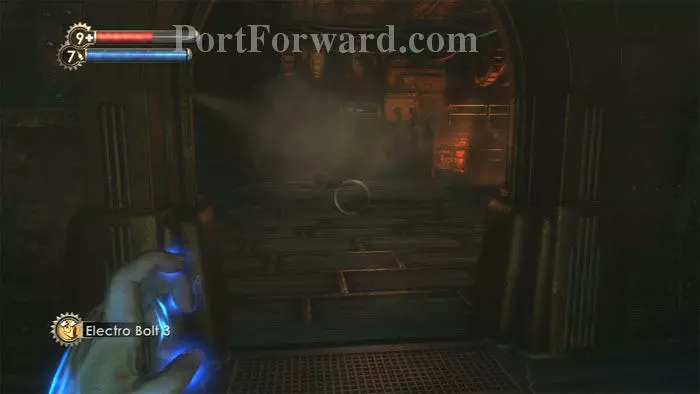
This Leadhead Splicer was playing dead. Let him play no more.
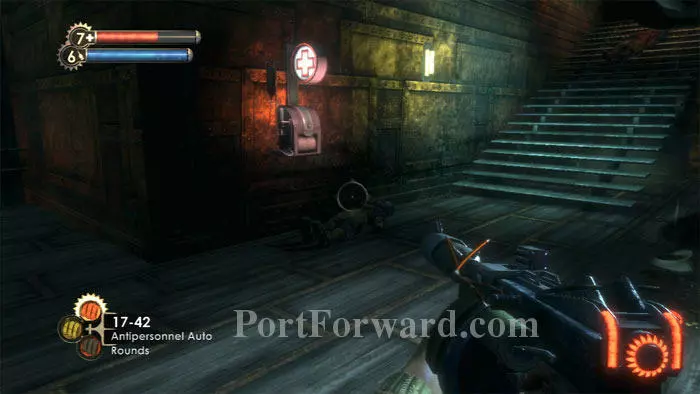
Descend these stairs and hack this Health Station. A pair of Splicers are down here and they're likely to look for healing before you're done with them. Search the area for crates and corpses.
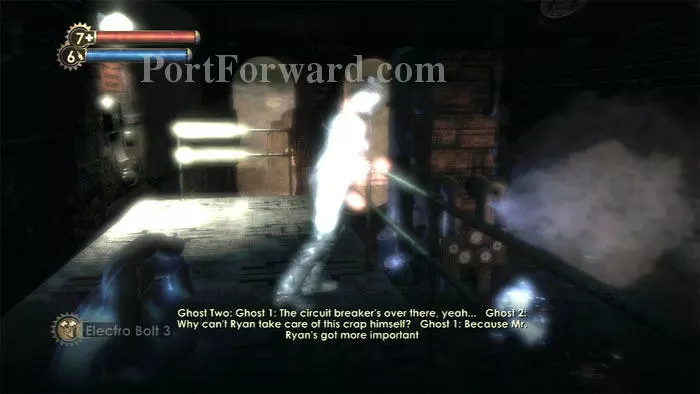
Approach the electrified water to trigger a ghostly reenactment. Learn that the circuit breaker ahead/left controls the electricity in the water.
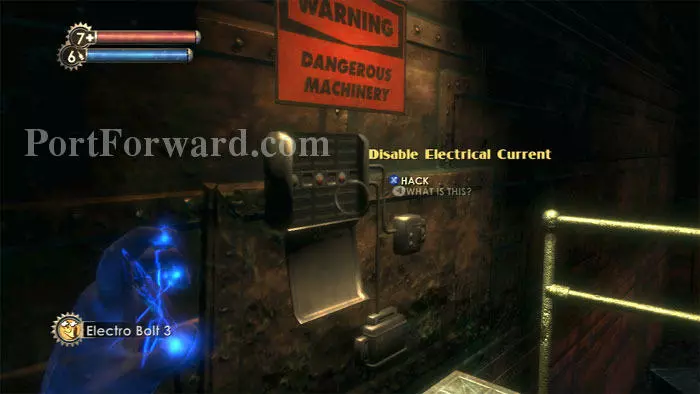
Hack the circuit breaker to make the water safe. Josh sends in this alternative: "You can use telekineses to launch a dead body into the nearby fan with the electric wires coming out. This will fry the circuit, allowing you to walk in the water without having to hack the circuit breaker."

Descend the stairs to the flooded office and find McDonagh's Genetic Arms Race audio diary next to some Incendiary Bolts.
Splicers spawn. Natural Camouflage and your Crossbow make for easy sniping. Search a Storage Crate and corpse before leaving the flooded office.
Descend the stairs to another office on the opposite side of the room.
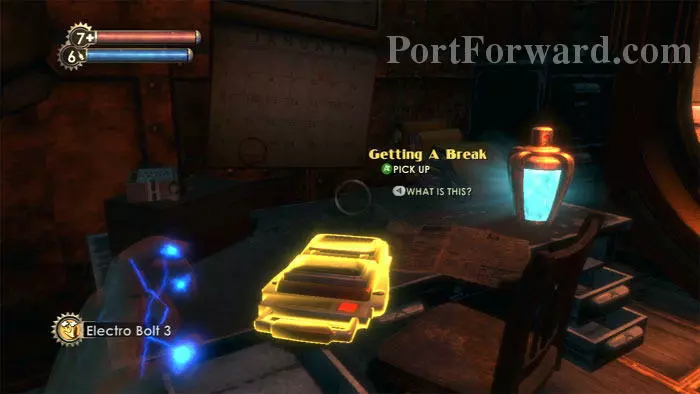
Grab Pablo Navarro's Getting A Break audio diary to update your goals. A Security Evasion 2 Physical Tonic is also on the desk, and the calendar has the Australia Day circled, January 26.

Search the file cabinets and crates, then find a Frag Grenade, Storage Crate and corpse. Enjoy the view from the windows before leaving. It's time to head to Kyburz's Workshops.

Backtrack then follow the Workshops signs.
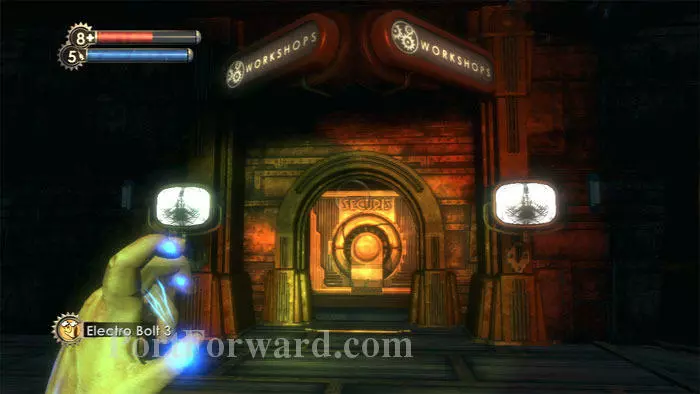
Here is the Workshops entrance.

Continue through a short tunnel then battle this Spider Splicer. A Circus of Values and Ammo Bandito machine are in here. Lockers to the left of the Ammo Bandito contain cash, and more cash is on the desk ahead.
To the left, a Crossbow and a corpse are behind a Trap Bolt.

Beware a turret to the right. An Enraged! Splicer and Big Daddy take care of the turret and each other. The poster reveals Australia Day to be 01/26. A U-Invent is on the left; a Machine Gun and a First Aid Kit are on the right.
Find cash, snacks and a corpse in the back of the room, plus this safe in the far left corner.
Descend these stairs.
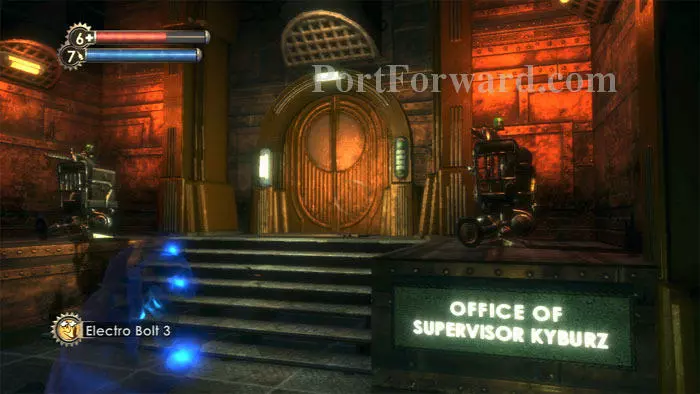
The door to Kyburz's office is to the left, flanked by a pair of machine gun turrets. You'll do well to hack them both.
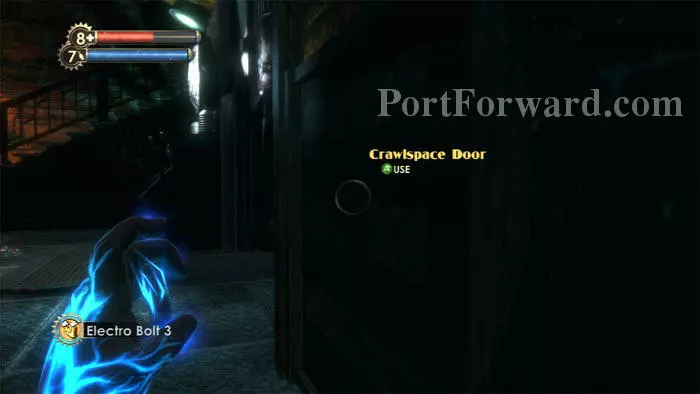
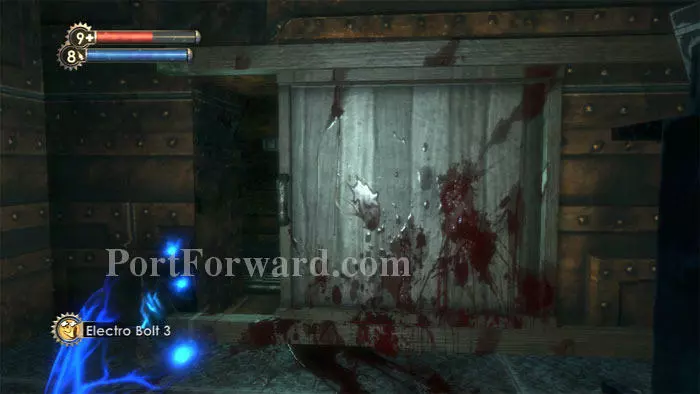
Don't head into Kyburz's office just yet. Instead, use this crawlspace to access the area beneath the stairs.
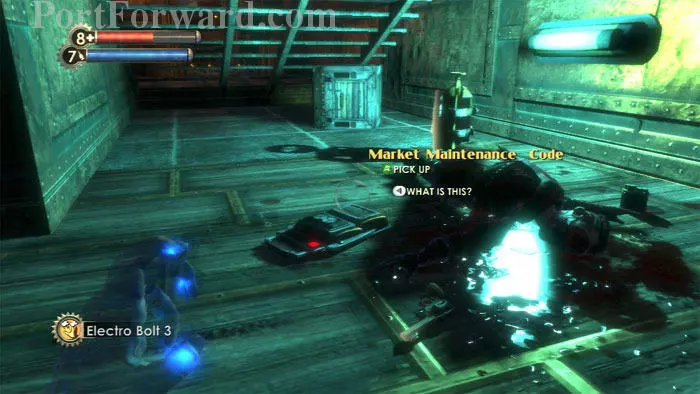
Pablo Navarro's Market Maintenance Code audio diary reveals the code 0512 for the Pump Room in Farmer's Market. Electric Gel, a Pistol, Armor-Piercing Pistol Rounds and two Storage Crates are found as well.
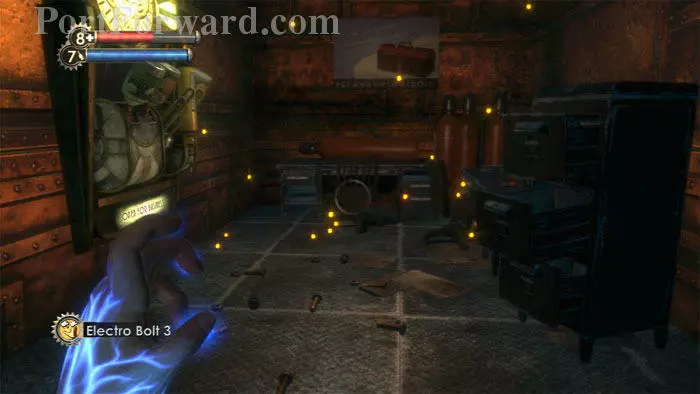
Directly across from the stairs is this room. Kyburz's Device Almost Finished audio diary is on the right alongside a First Aid Kit. A Gene-Bank is on the left.
Keep right and find this vent with a searchable corpse. Another corpse is in a small flooded area to the left.
Head through this archway directly across from the vent.
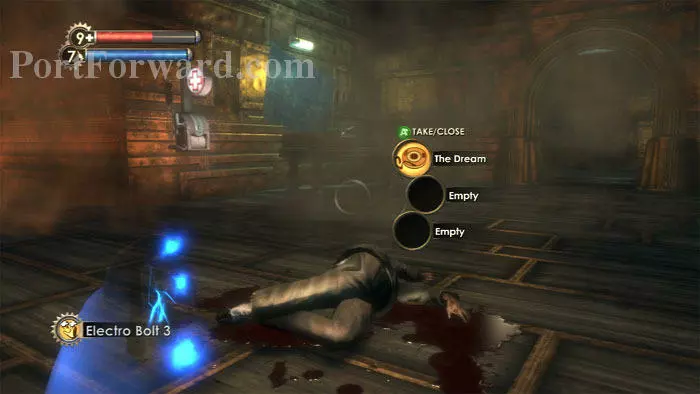
Find Kyburz's audio diary The Dream on this corpse. A Napalm-holding Chemical Thrower and Health Station are seen on the left.

To the left is this desk. Find the Frag Grenade and storage crate, then hop up (or climb the short stairs on the right) to find an EVE Hypo and pistol rounds. A Big Daddy corpse is found near the short stairs.
I found this area confusing and you'll need to find your way back here later. Here's a shot of the same area from the short steps on the right.
Look behind the shelves to find this crawlspace.
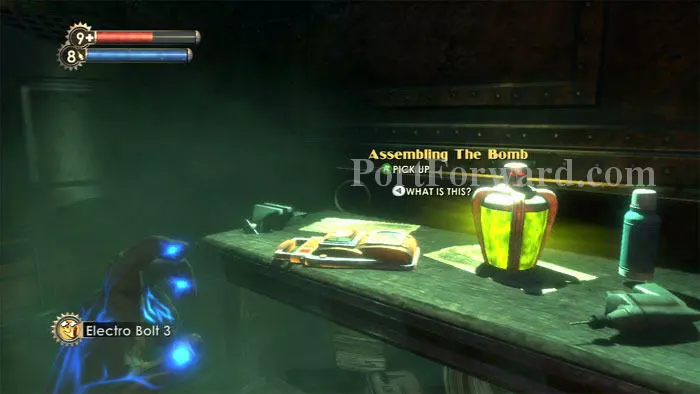
Enter to find this all-important room. Kyburz's Assembling The Bomb audio diary is next to a Damage Research Combat Tonic. Two First Aid Kits are under the desk.

On the opposite side of the room is the EMP Bomb Casing. This is where you'll assemble the bomb once you have all the necessary components.

Here is your new multi-part goal. You'll need two Ionic Gel (those blue things you've seen lately) as well as one Nitroglycerin Charge and four R-34 Wire Clusters (whatever they are). Find cash under the table.

Backtrack a bit and note that the Big Daddy Corpse by the short stairs is glowing. Search his body to find your first R-34 Wire Cluster. So that's what they are! Three more to go.

You'll now find R-34 Wire Clusters on all the Big Daddy corpses you come across in Hephaestus. Here I find one after defeating this Elite Bouncer, escorting the third of the level's three Little Sisters. Harvesting her brings my ADAM count to 430.

Hacking has been getting increasingly difficult so I decide to backtrack to the Gatherer's Garden and spend some ADAM. I buy an Engineering Slot then upgrade to Hacking Expert 2. I also purchase Health and EVE Upgrades, leaving me with 140 ADAM.

Here is my current configuration.
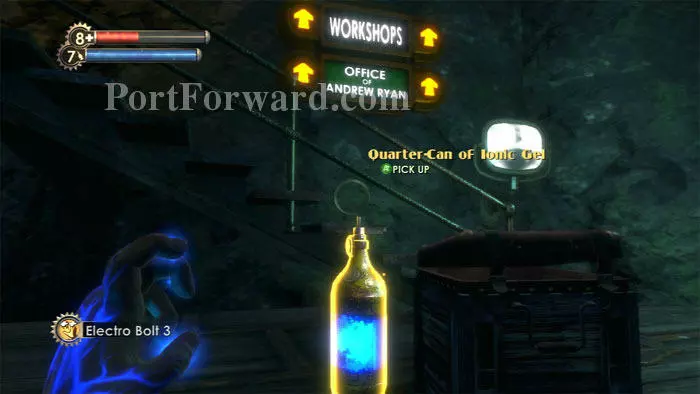
I spied this Quarter-Can of Ionic Gel on my back to the Workshops.

A second Quarter-Can can be found across from the previously-seen safe.
Time to enter Kyburz's office. Access is granted by entering the date for Australia Day, 0126.
Telekinesis clears the room of traps, but is time consuming -- very annoying.
Liquid Nitrogen and Pistol Rounds are on the desk. The Pneumo on the left has more supplies.

Andrew Ryan's A Great Chain Moves Slowly audio diary is on this desk. Be ready to destroy/hack a machine gun turret by the door before pressing this Intriguing Switch.
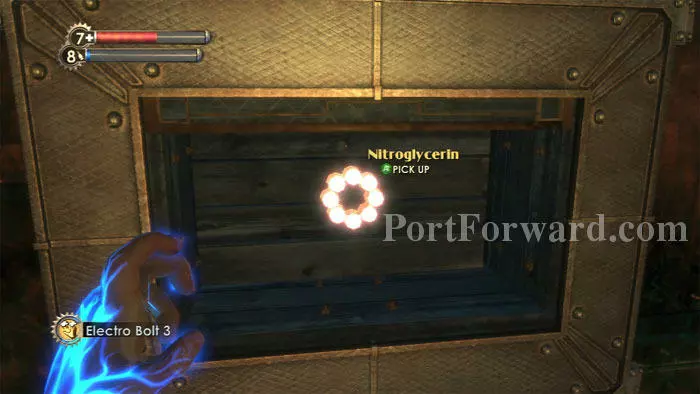
The switch also unlocks the glass blocking the Nitroglycerin you need for the EMP bomb.

Directly across the room is this Power To The People Station. I choose Grenade Launcher Damage Increase as my next upgrade. A File Cabinet and Proximity Mines are to the right.
You now need to go Big Daddy hunting to acquire the remaining two R-34 Wire Clusters. Lure one of them back to the turrets flanking Kyburz's office entrance. Freeze him in place with Electric Gel while the turrets speed his demise.

I lured a second Big Daddy to this hacked Security Camera in front of the Workshops entrance. Security Bots, Electric Gel and Frag Grenades secured the final R-34 Wire Cluster.

Return to the bomb casing, place the components inside then pick up the bomb to complete the goal. Time to head to Geothermal Control.
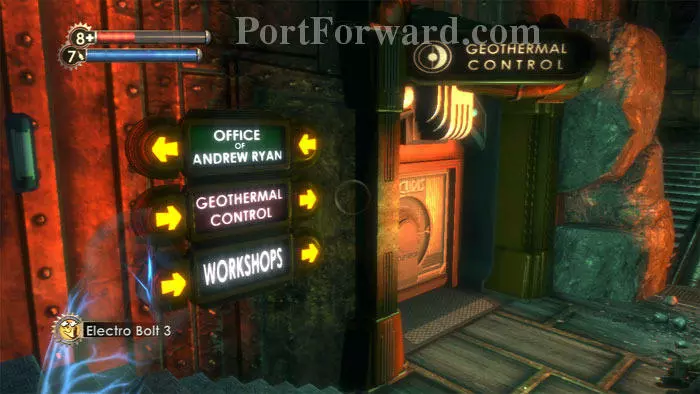
Follow the signs to find the Geothermal Control entrance here.
A Gene-Bank and storage crate are on the left. A U-Invent is on the right, and a Frag Grenade is in-between. Two doors each lead to this room, flanked by machine gun turrets. Be sure to hack, not destroy, these turrets. Liquid Nitrogen is near the turret on the left.
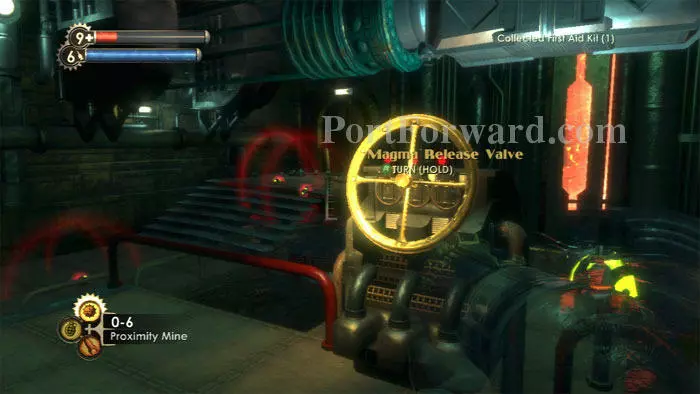
Toss a number of Proximity Mines to set up a barrier between the doors and this position. You'll need to hold off a wave of Splicers while turning this wheel. Proximity Mines and a First Aid Kit are behind you.
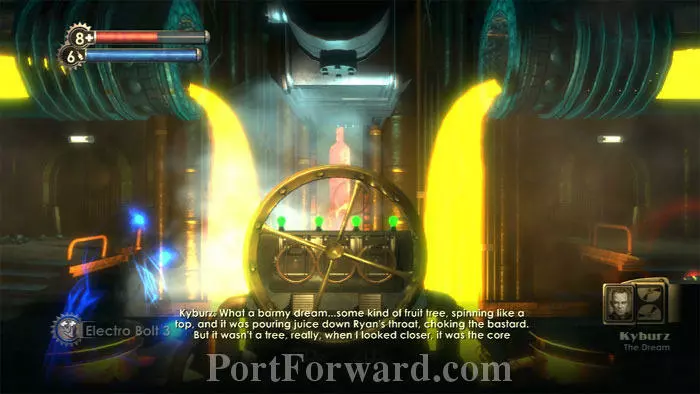
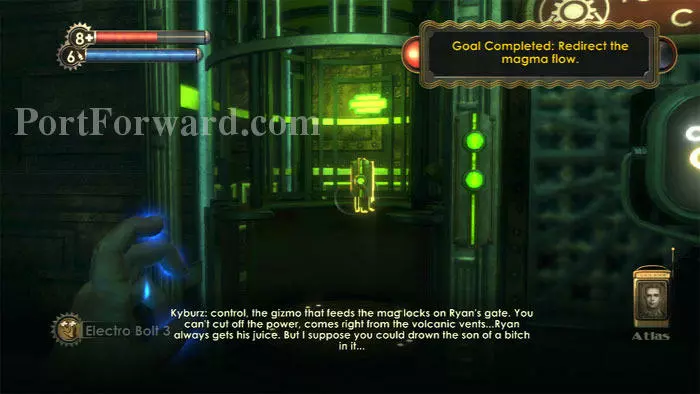
Keep holding the valve until the magma flows and Kyburz's audio diary The Dream plays. Your hacked turrets and Proximity Mines should hold off the Splicers.
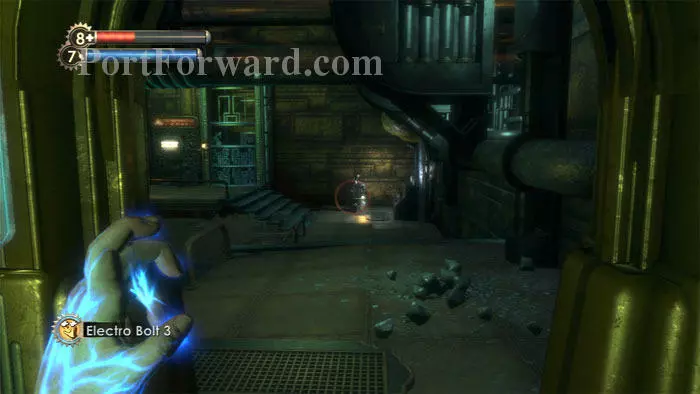
This lift is now accessible; ride it down.
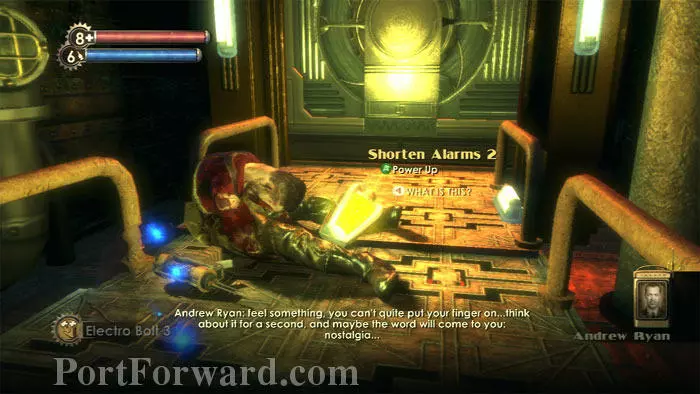
Follow the corridor to find this Shorten Alarms 2 Engineering Tonic, a corpse and an Automatic Hack Tool. Continue through the door ahead.
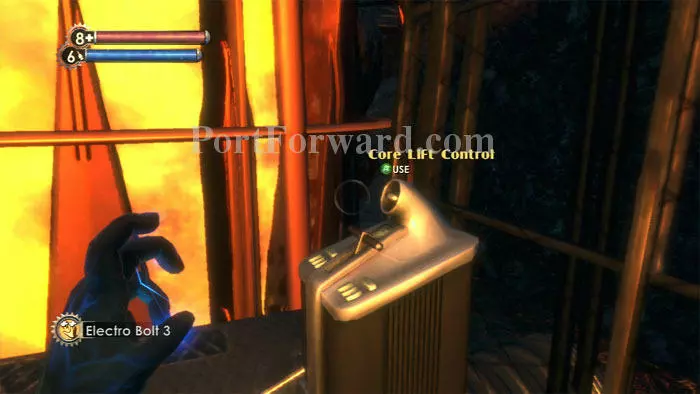
Use this Core Lift Control and ride it on up.

Place the bomb on the core to complete the goal.

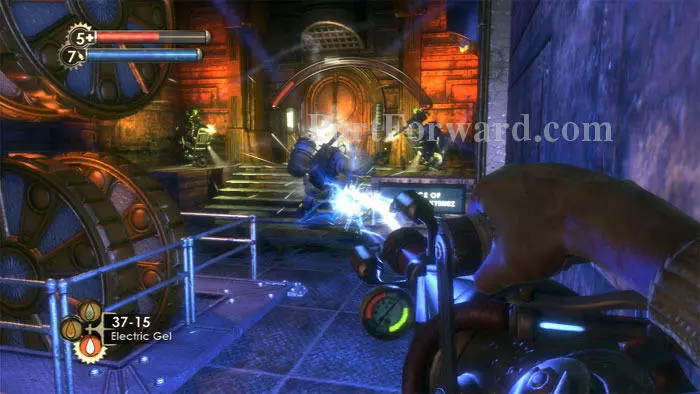
Fight your way past this now-open gate and Ryan's security bots. Here I'm using the Machine Gun's Armor-Piercing Auto Rounds.
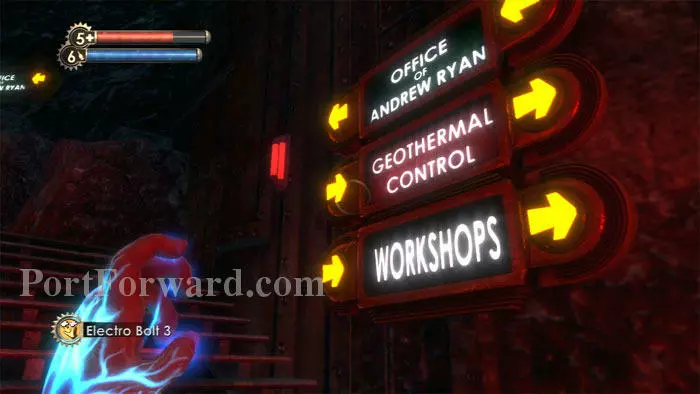
Follow this sign to Ryan's office, but we're not going all the way back there just yet.

When you get to this next sign, don't follow it up the stairs. Instead, find another set of stairs leading down behind the stacked wheels ahead.

Andrew Ryan's Impossible Anywhere Else audio diary is on the desk to the right next to Antipersonnel Auto Rounds. Electric Gel and a corpse are around the left corner. Fill up at the Circus of Values then resume following the signs to Ryan's office.
Leadheads and security bots greet you upon your return. Don't forget to photograph the security bots if you haven't completed researching them yet.
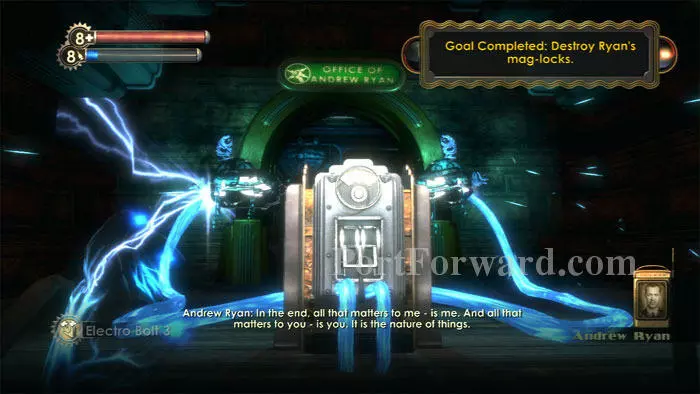
Use the circuit breaker to complete the goal and unlock the door. You won't be able to save for a while, so you might want to save before you pass through the bulkhead to load the next level: Rapture Central Control.
More BioShock Walkthroughs
This BioShock walkthrough is divided into 15 total pages.