
This BioShock walkthrough is divided into 15 total pages.
You can jump to nearby pages of the game using the links above.
Arcadia 2
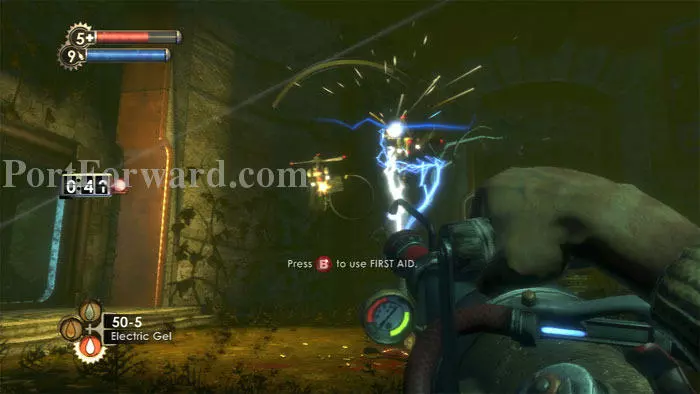
Fire in short bursts with the chemical thrower to conserve ammo and keep moving to dodge the rain of bullets.

A secondary strategy is to fall back to the bulkhead and fire Armor-Piercing Auto Rounds. Chickens and speed runners can just avoid this firefight by simply running away.
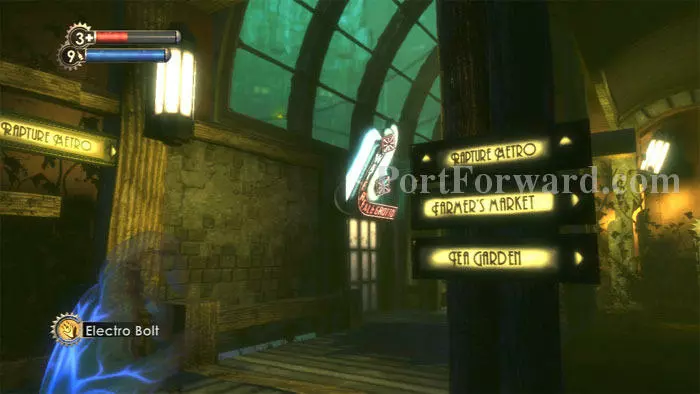
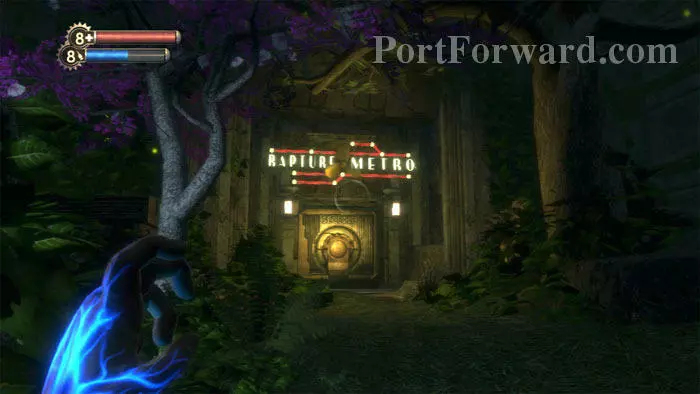
Once the coast is clear, begin your trek back to Langford's lab. The Rapture Metro signs lead the way.
The lab entrance is to the left of the Rapture Metro.

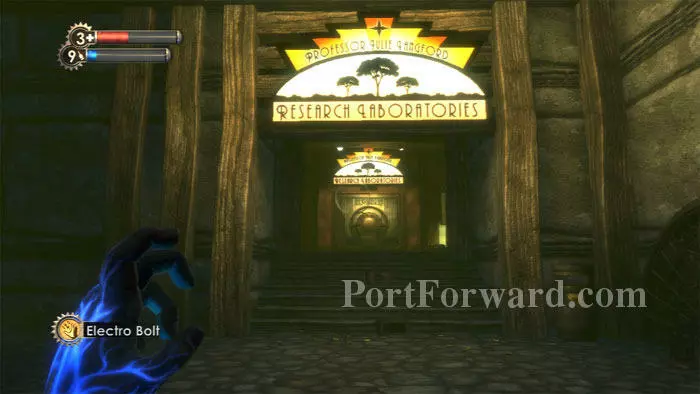
Fill up at the Circus of Values and hack the nearby health station if you hadn't done so previously. Return through the door seen in the distance and once again ascend the stairs to Langford's office.
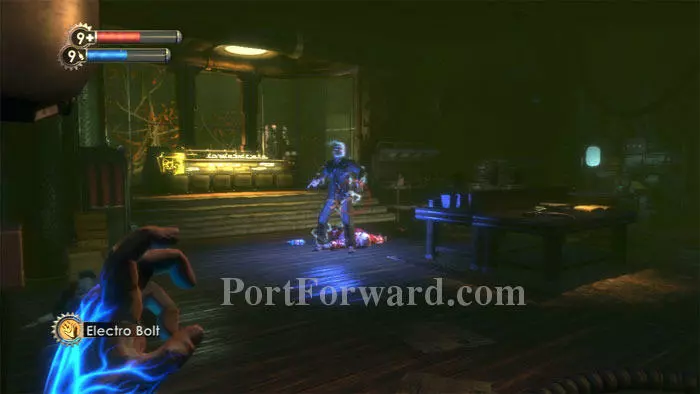
Inside Langford's office, defeat this Leadhead Splicer that you find looting a Houdini corpse.
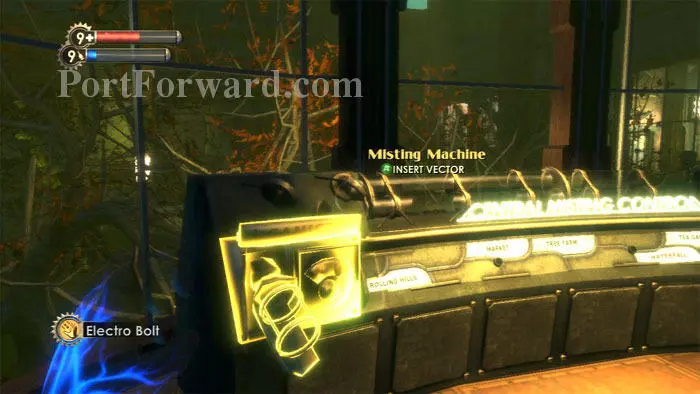
Use the Misting Machine when you are ready to rumble.
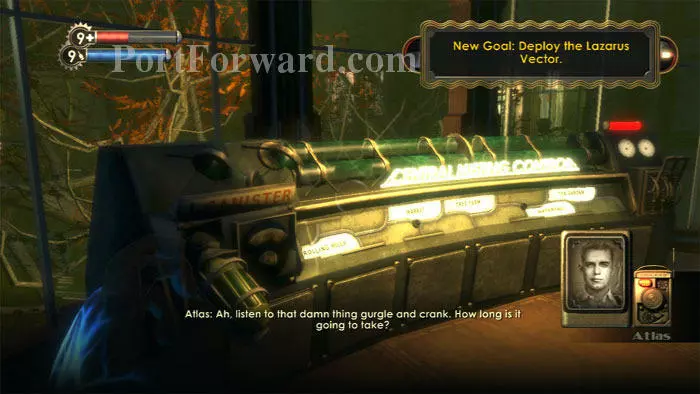
The Lazarus Vector is being circulated throughout Arcadia's irrigation system, but it's going to take time. As long as the control light seen on the right is red, you'll have to wait. Atlas urges you to rush to the main door and seal it shut.
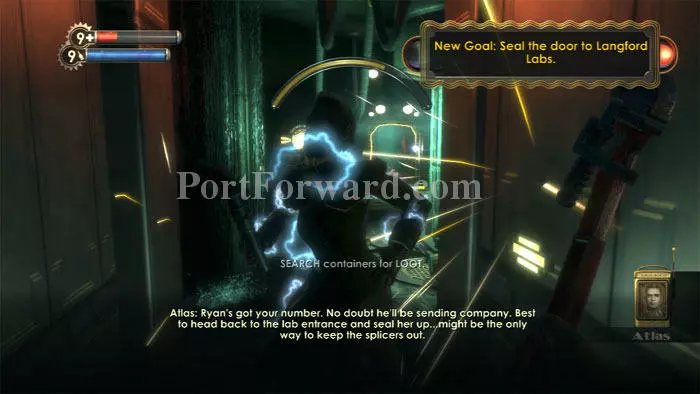
Rush downstairs immediately. Splicers cut through two previously-sealed doors. You can search both alcoves for supplies - later. Right now, you need to rush to the main entrance.
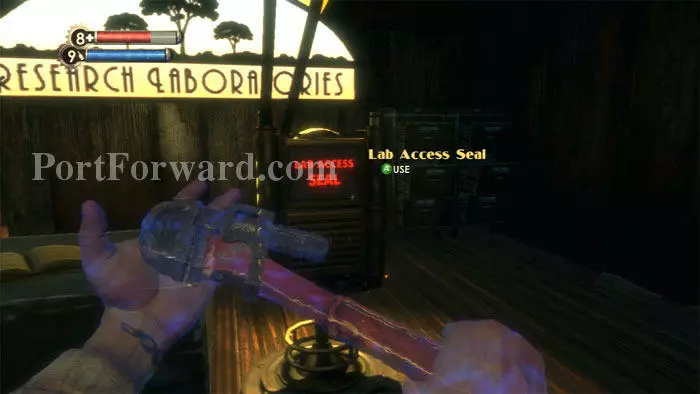
Here's the Lab Access Seal. Use it to buy yourself a little more time.
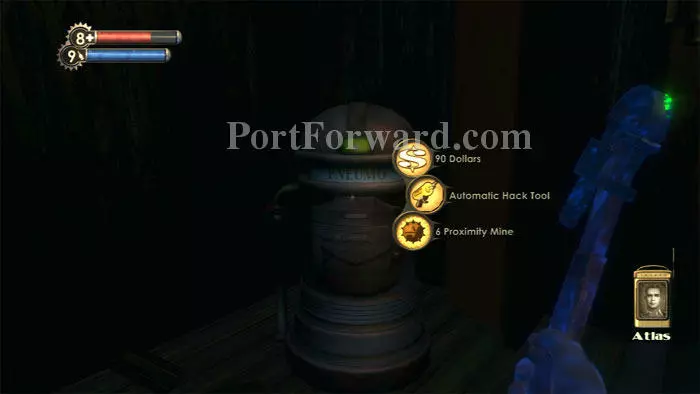
Behind you is this Pneumo where you can collect supplies sent by Atlas.
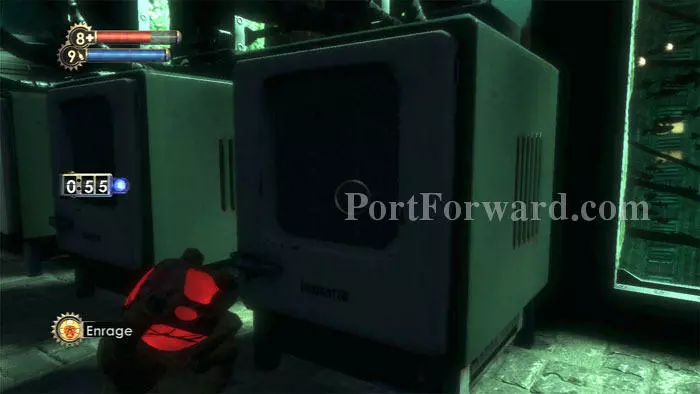
The space between these Incubators is a good place to hunker down and wait for the Lazarus Vector to spread throughout the irrigation system.
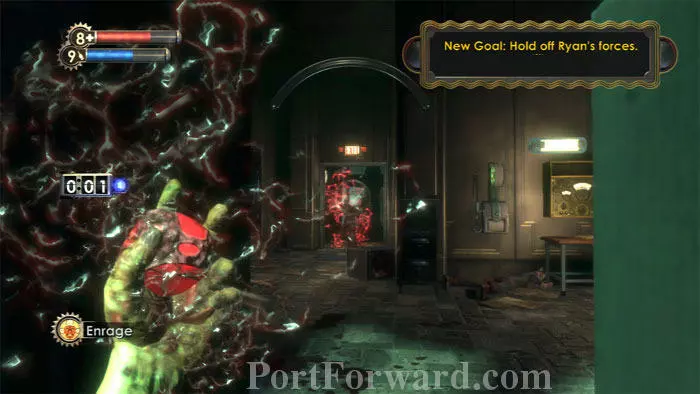
Equip Enrage! and keep your target trained on the door beneath the Exit sign. This is where the Splicers will be coming from.
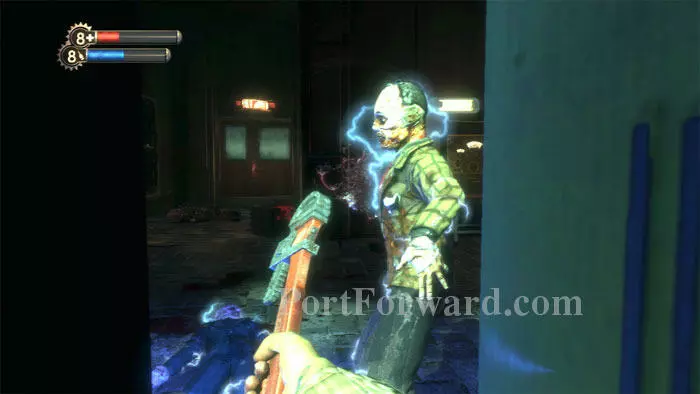
Keep your wrench handy for anyone who gets close.

The previously-hacked Health Station across the room is awfully handy, both to heal yourself and as entertainment as you watch multiple Splicers succumb to its poison.
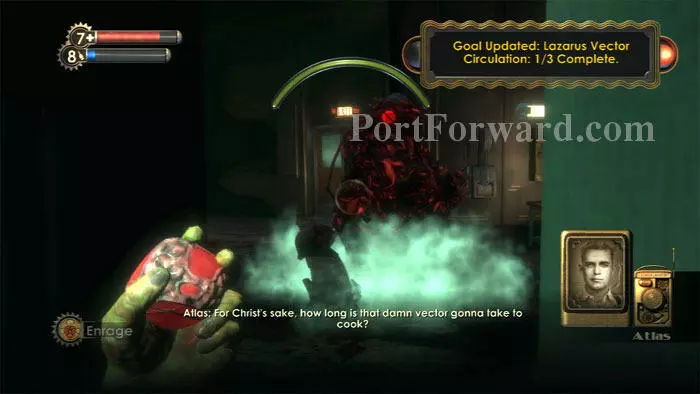
Atlas chimes in that you are 1/3 of the way through the onslaught. Enrage! a Big Daddy or, better yet, use Hypnotize Big Daddy to recruit some heavy firepower.
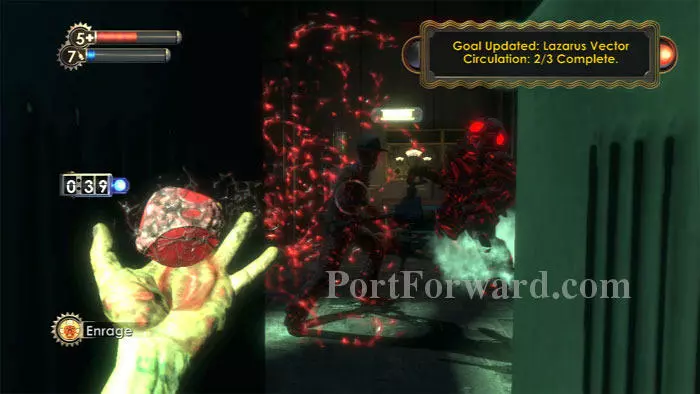
With the Big Daddy, the Splicers and the security bots all fighting each other, this is a loud and furious scene. Hang tight and Atlas informs you that you're over halfway there.
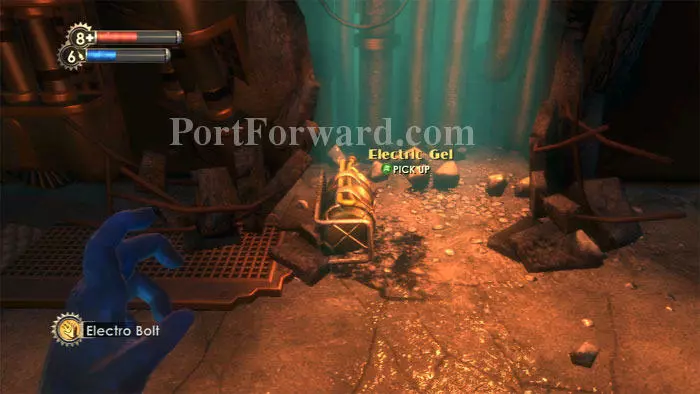
Once Atlas announces that the Lazarus Vector has completed circulating through Arcadia's irrigation system, the battle is over. Search the side alcoves to find a Proximity Mine and Electric Gel.
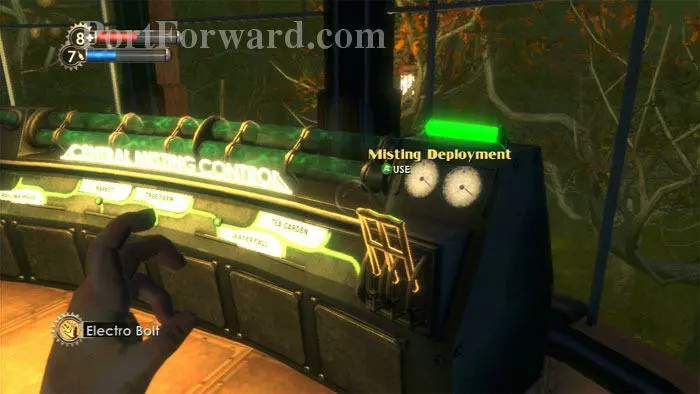
Fill up at the Circus of Values then return upstairs to Langford's office. Use the now-green Misting Deployment switch to deploy the Lazarus Vector.

Like magic, the lush foliage of Arcadia returns. Well done!
Loot corpses and Lockboxes as you exit the lab. Find the now-unlocked door to Rapture Metro on the left.
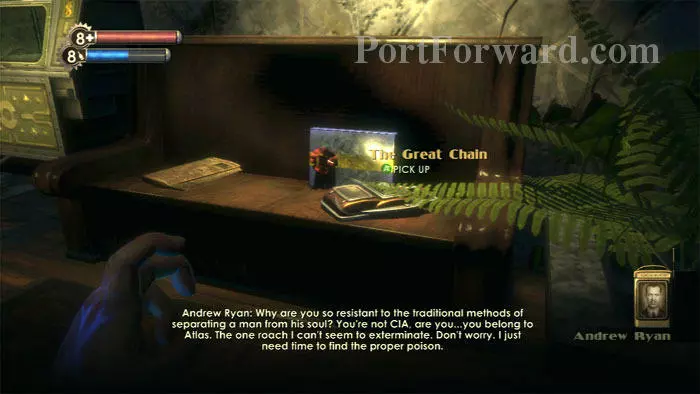
Pass through another door and listen as Ryan analyzes you. His audio diary The Great Chain is here on the right.
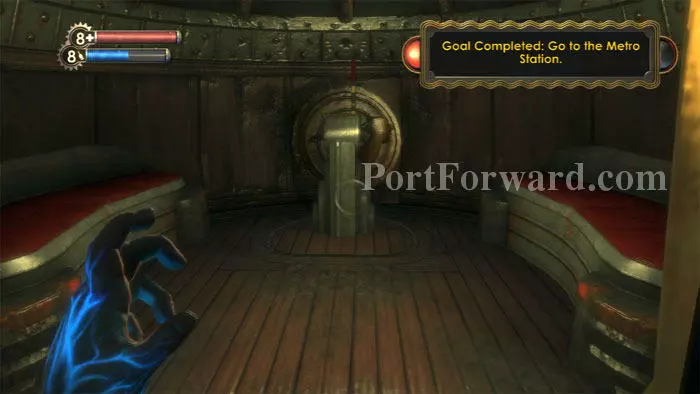
Lastly, enter the Bathysphere and travel to Fort Frolic.
More BioShock Walkthroughs
This BioShock walkthrough is divided into 15 total pages.


