
This BioShock walkthrough is divided into 15 total pages.
You can jump to nearby pages of the game using the links above.
Smuggler's Hideout
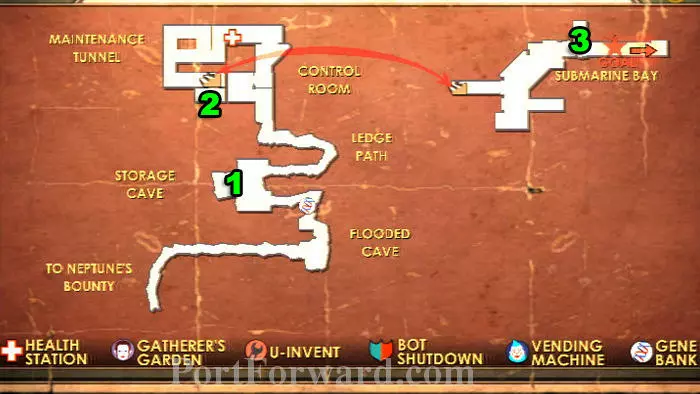
Here's a map of the level. Map - Smuggler's Hideout
- Meeting with Fontaine - Audio Diary
- Kraut Scientist - Audio Diary
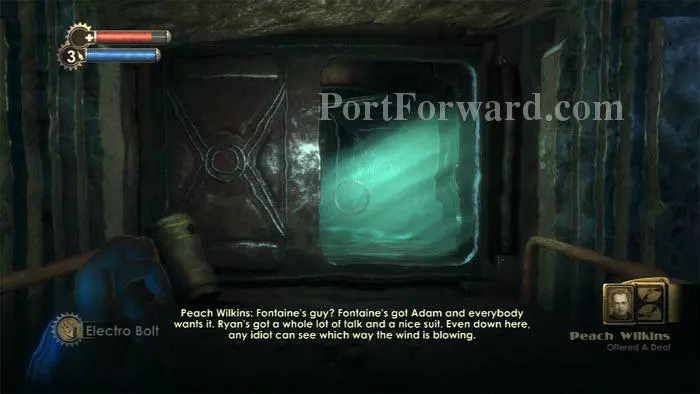
- Offered a Deal - Audio Diary

Hack or destroy the turret seen on the left. Listen to Peach Wilkins' Meeting With Fontaine audio diary and grab the EVE Hypo, Shotgun and Pistol on the right.
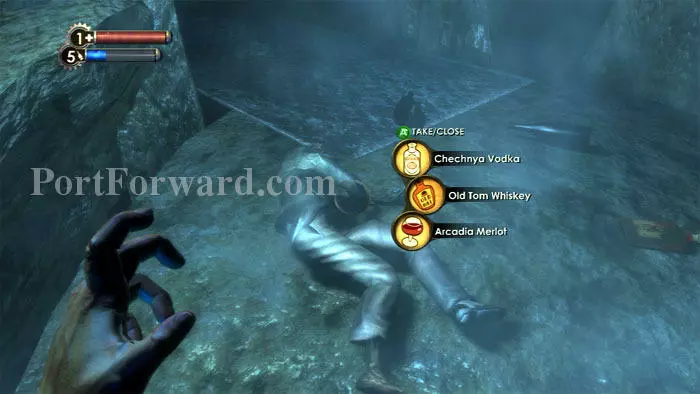
Descend further into the tunnel. Be careful not to automatically take the loot from this corpse, unless you enjoy a blurry screen. A pistol is found to the right.
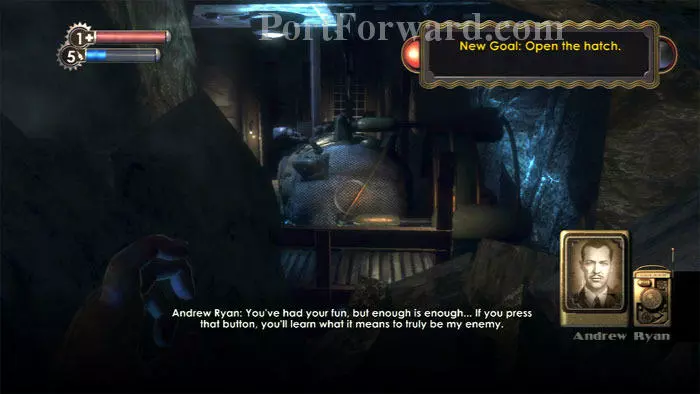
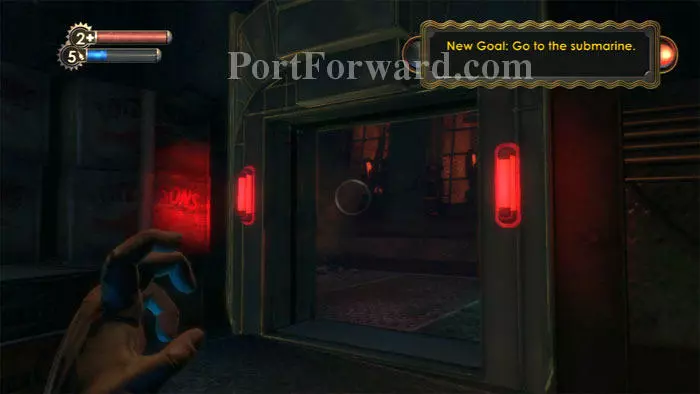
Up ahead, the submarine comes into view. Atlas and Ryan chime in, and you receive a new goal: open the hatch.
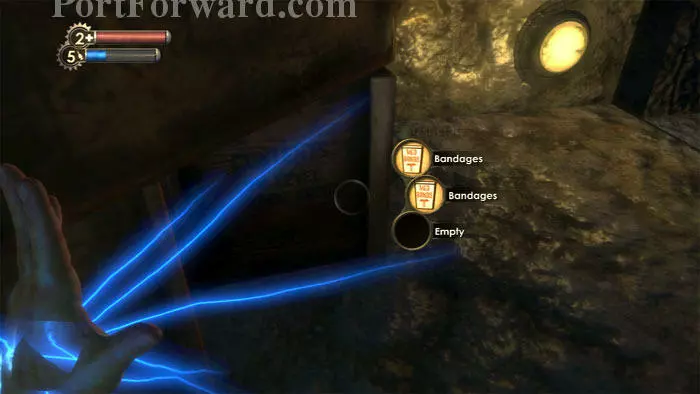
A First Aid Kit (and lots more booze) is ahead, and you may strike it big with these Smuggler's Crates as I have here with two Bandages, but more likely you'll find that these crates are empty.
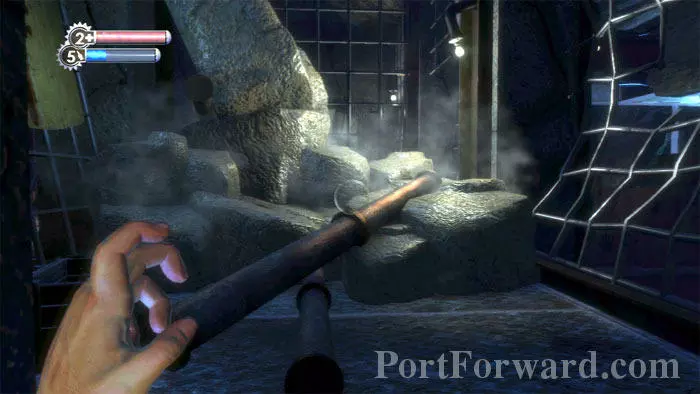
Climb over this pile of debris, then turn left.
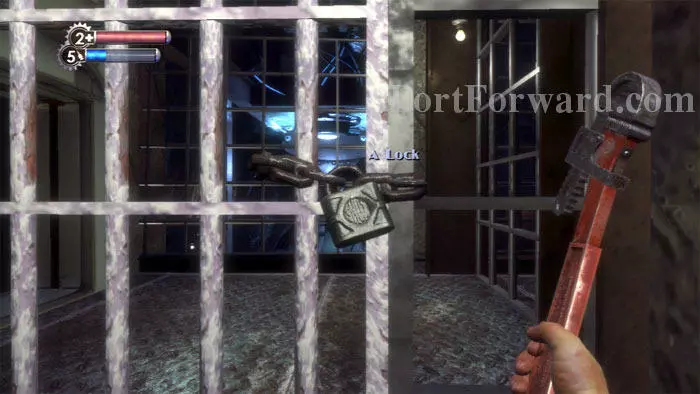
Smash this lock.
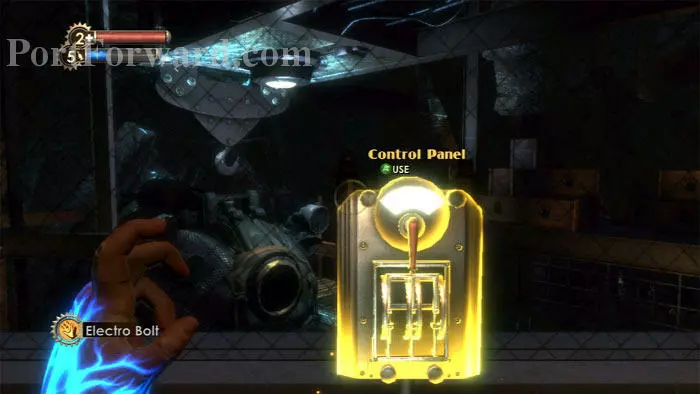
A bit father along is this Control Panel. Use it to trigger the next sequence.
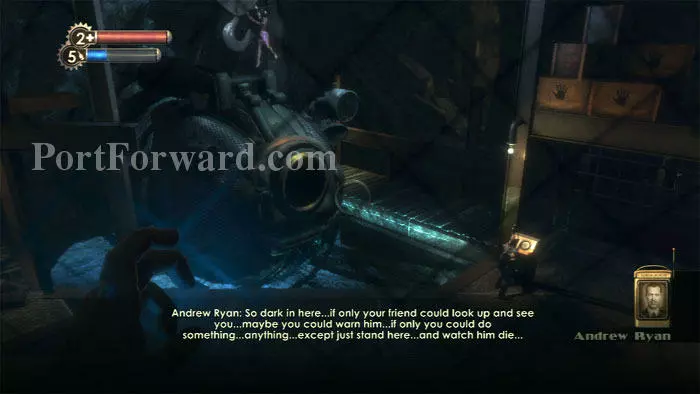
Atlas talks to you through the glass as he tries to get to his family in the sub, but Ryan sends an army of Splicers to prevent his (and your) escape from Rapture. I don't understand why Ryan would do this, though; I'd think he'd want to be rid of you and Atlas. Oh well...
Exit out this door, locked shut a moment ago.
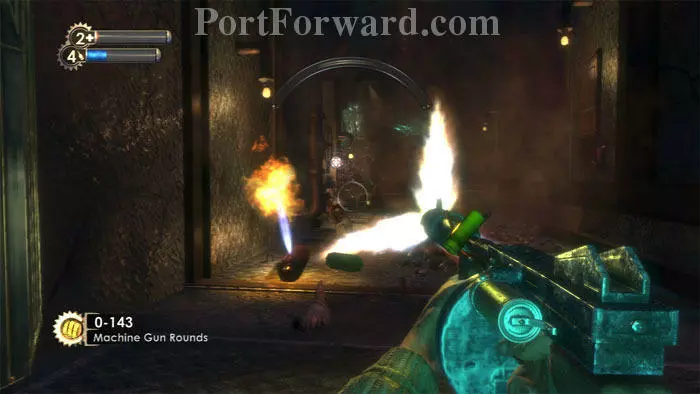
A veritable army of Splicers attacks, including Spiders and Leadheads. Sounds like a perfect time for the machine gun. Barrels and flammable canisters are plentiful as well. Once you hack the Health Station ahead, this becomes a good place to ambush the attackers. A Vita-Chamber is behind you, making death almost inconsequential.
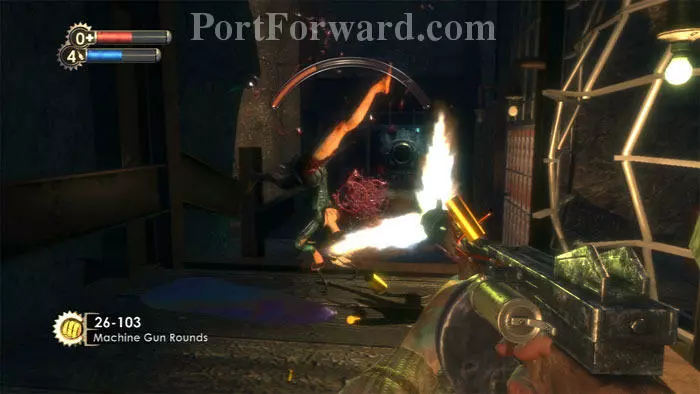
I find the Machine Gun to be a most satisfying weapon now that the kickback has been reduced. Don't forget to occasionally bring out your camera to take some research photos. Look through the beams on the left to find Bandages, a Pep Bar and Armor-Piercing Pistol Rounds on a rock. Note the locked gate on the right.
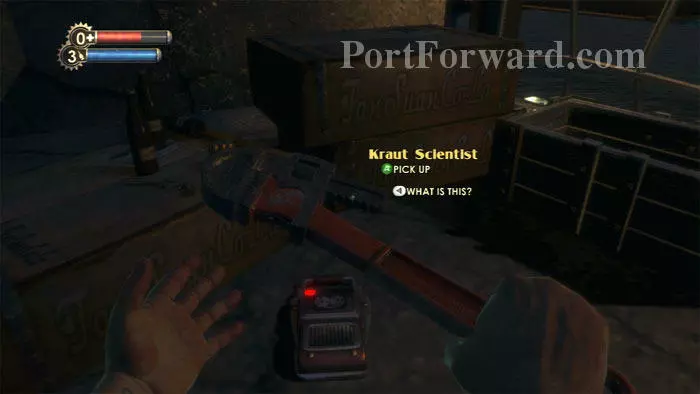
Smash the lock and find Frank Fontaine's crass audio diary Kraut Scientist.
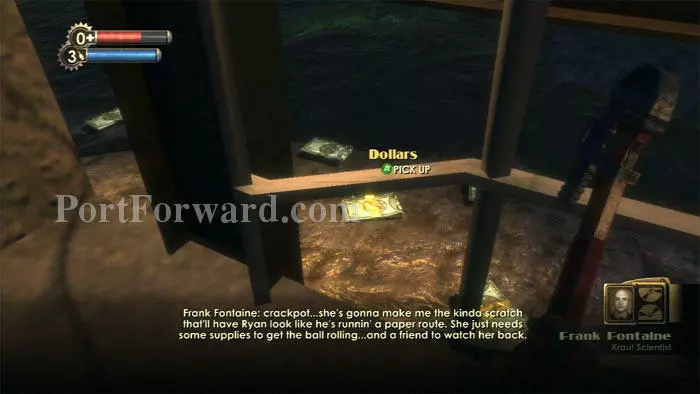
A Pistol and Pistol Rounds are found near the audio diary, and these bundles of cash are found through the fence.
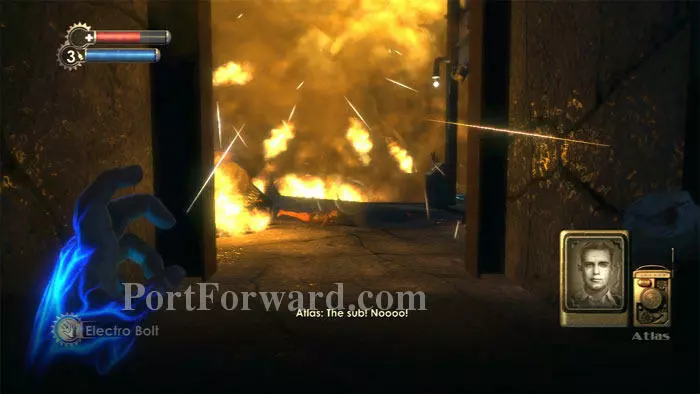
Proceed down the hallway. The sub explodes as you approach.
Continue through this Arcadia doorway after looting the corpses.
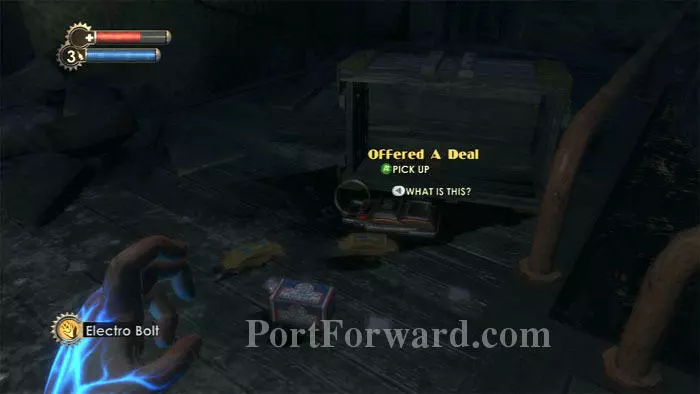
To your left are some Bandages, Creme-Filled Cakes and Peach Wilkins' Offered A Deal audio diary.
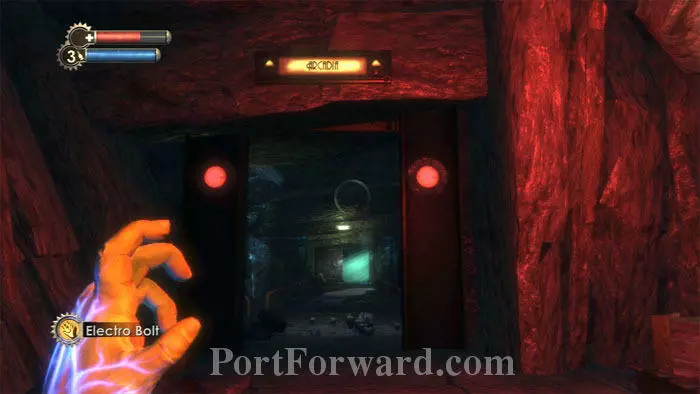
Exit through this bulkhead to enter Arcadia and end this brief level.
More BioShock Walkthroughs
This BioShock walkthrough is divided into 15 total pages.


