
This BioShock walkthrough is divided into 15 total pages.
You can jump to nearby pages of the game using the links above.
Arcadia

Here's a map of the level. Map - Arcadia
- Seeing Ghosts - Audio Diary
- Big Night Out - Audio Diary
- Mass Producing Adam - Audio Diary
- Arcadia Closed - Audio Diary
- Shouldn't Have Come - Audio Diary
- Security Evasion - Physical Tonic
- The Market Is Patient - Audio Diary
- Offer A Better Product - Audio Diary
- Early Tests Promising - Audio Diary
- Heroes And Criminals - Audio Diary
- Hacking Expert - Engineering Tonic
- What Won't They Steal? - Audio Diary
- Teaching An Old Hound - Audio Diary
- The Lazarus Vector - Audio Diary
- Lazarus Vector Formula - Audio Diary
- The Saturnine - Audio Diary
- Arcadia And Oxygen - Audio Diary
- Power To The People - Weapon Upgrade
- Maternal Instinct - Audio Diary
- The Great Chain - Audio Diary
Crouch under this pipe, ascend the stairs, then smash the lock on the door. You receive a new goal: go to the Metro station.
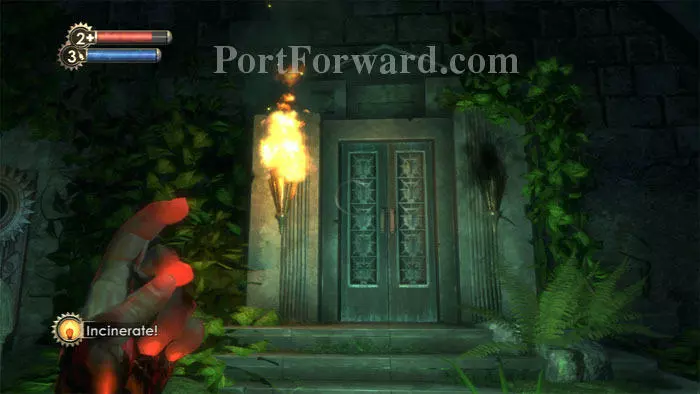
Head straight back and find this locked door. Notice that only one torch is lit. Use Incinerate! to light the other and the door opens. Find plenty of crafting material inside. Don't miss the corpse in a coffin for some decent loot.

Walk across the bridge and turn left to find McDonagh's Seeing Ghosts audio diary. A corpse, camera and film are to the right, and a Shotgun and Electric Buck are in the far right corner.
Three doors are here. Enter the leftmost one.
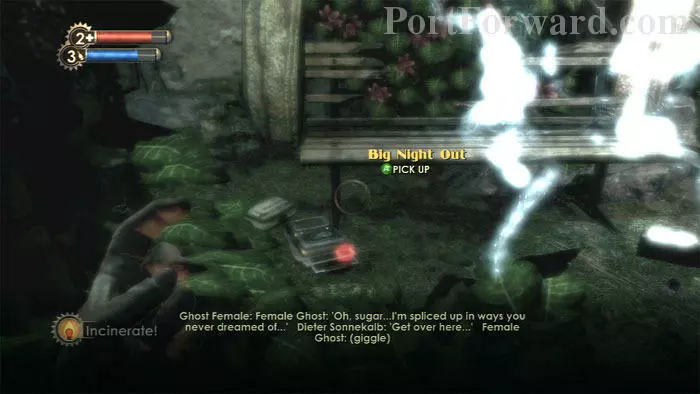
Find Dieter Sonnekalb's Big Night Out audio diary by a First Aid Kit.
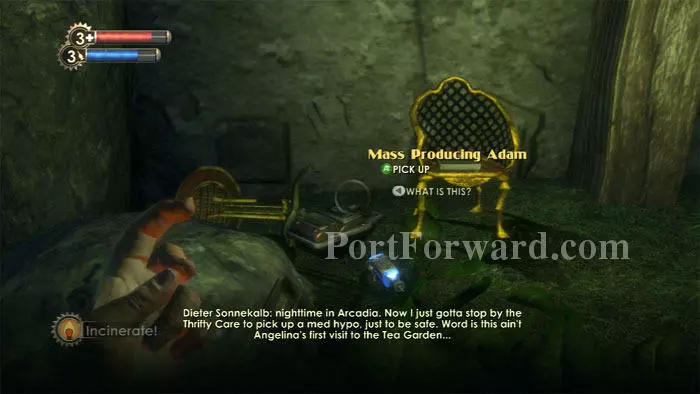
Tenenbaum's Mass Producing Adam audio diary is here on the right next to an EVE Hypo.
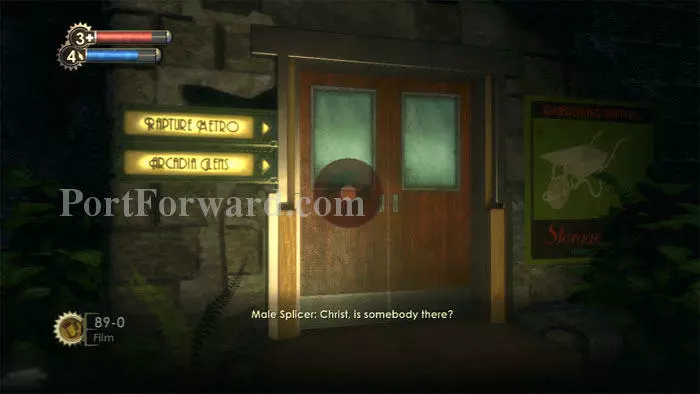
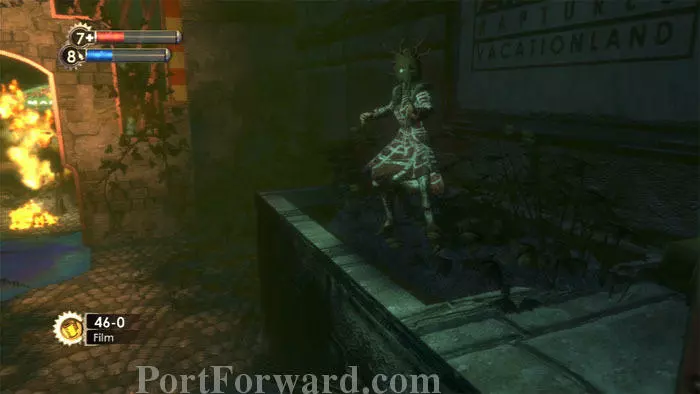
Exit out the middle door then ready your camera before entering through this rightmost door.
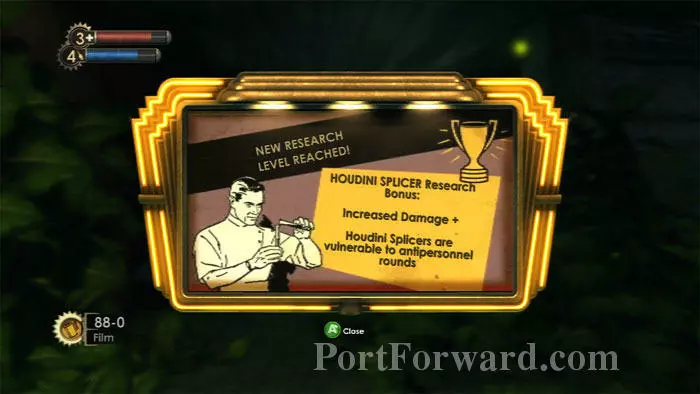
Snap a shot of your first Houdini Splicer. Even a "C" rating earns you Increased Damage +.
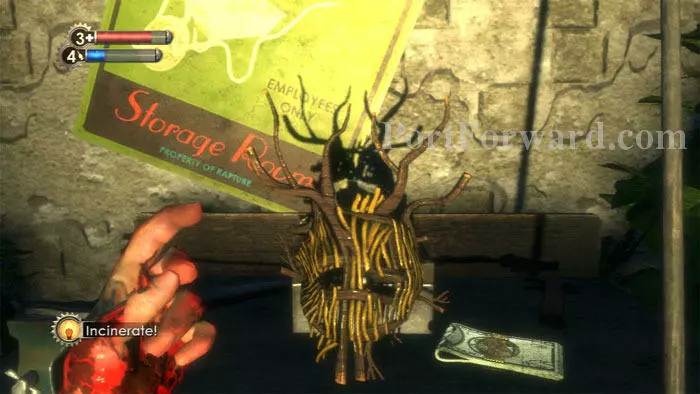
Play hide-and-seek with the teleporting Houdini. He'll lead you to this mask where you'll find some cash. The lights cut out...

...and he appears behind you. Yikes. Incinerate! him to whittle his health while he zips around.
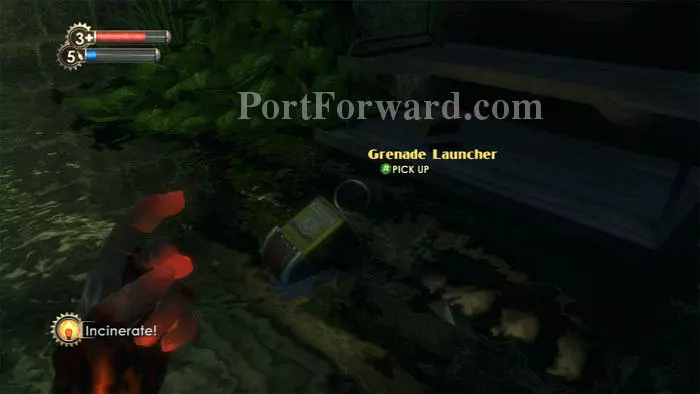
Search the neighboring storage room for an EVE Hypo, this Grenade Launcher and several Frag Grenades.
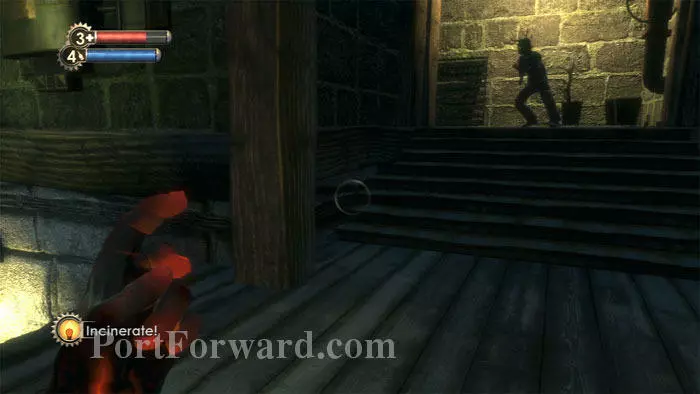
Char him some more on your way up the stairs.

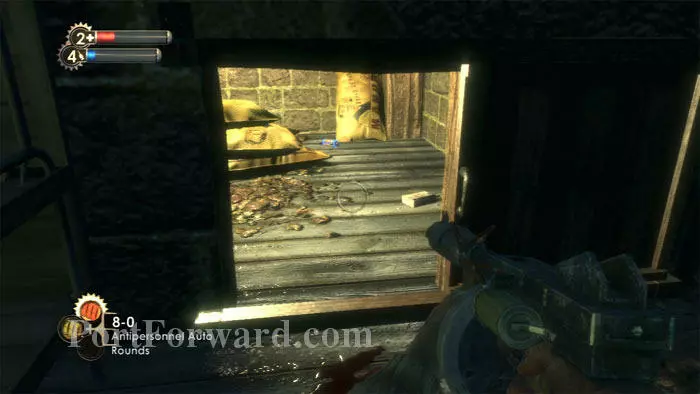
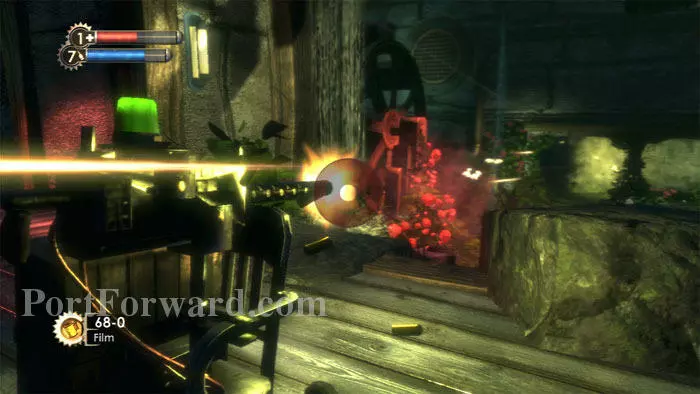
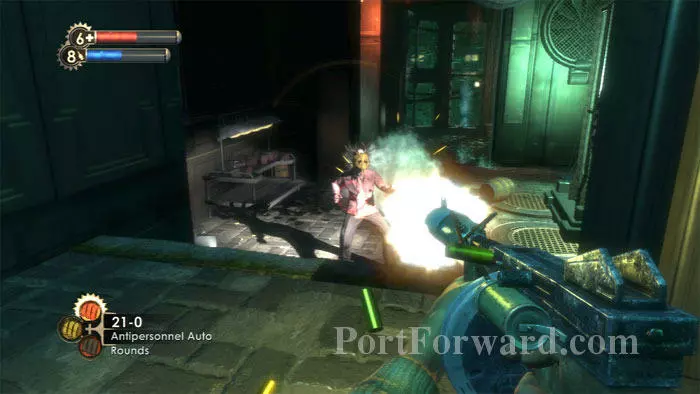
Once upstairs, he'll stay put long enough for you to put some Antipersonnel Auto Rounds into him. An explosive canister is nearby and can be thrown for goodly damage.

Once defeated, all that remains is the mask.
Conduct a thorough search for supplies, careful not to miss the two crawlspaces.
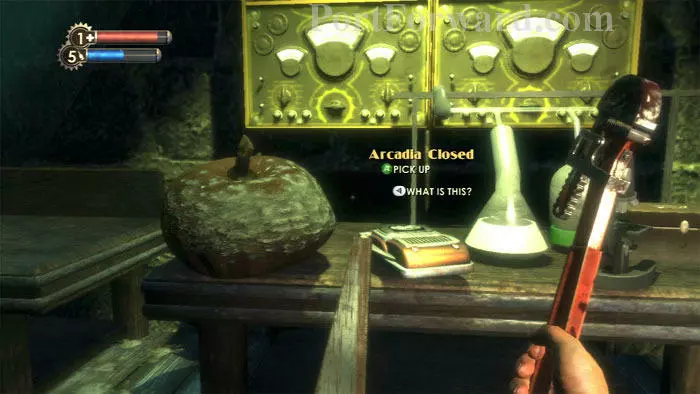
Find Julie Langford's Arcadia Closed audio diary here. A Gene-Bank is to the right.

Exit through this door.

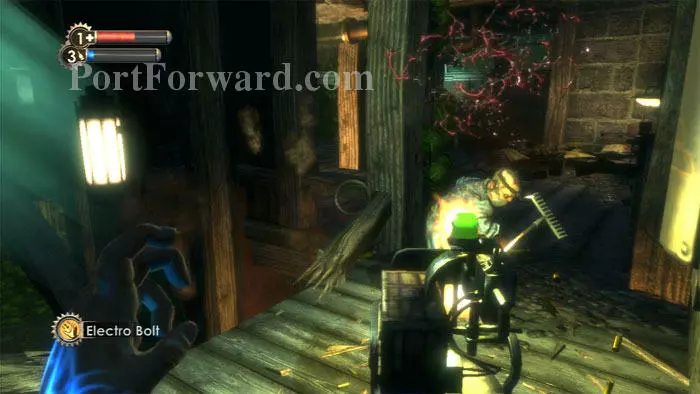
You're now above the Tea Garden, greeted by this Leadhead. Ignite the oil slick he's standing on then gun him down. Another Leadhead attacks from the balcony on the right, where you'll be able to pull some Proximity Mines.

Through another door labeled, "Rapture Metro" is this room with lots of Splicers. I died multiple times -- Enrage! would have been a better option than running-and-gunning. It's a tough room and supplies are running thin. Fortunately there's a Circus of Values, a Health Station and plenty to pick up.
Hack this turret around the right corner and lure the Splicers to their demise. A crawlspace behind the turret leads to the balcony seen earlier.
Open the crawlspace door seen ahead to find supplies and a safe. Another door exits to traps; best to exit the way you came.
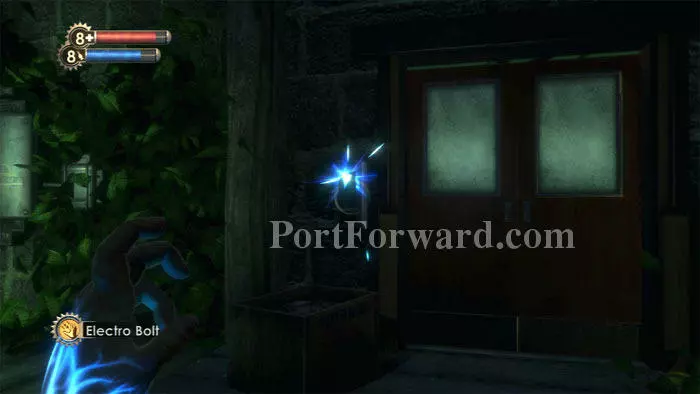
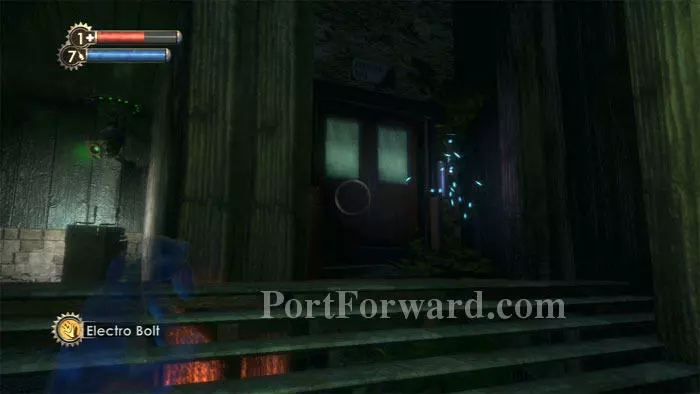
Zap this sparking switch to unlock the door and find more supplies.
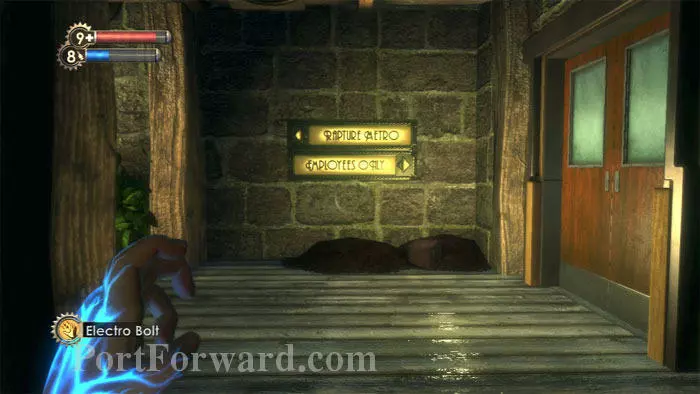
The path ahead is indicated by the "Rapture Metro" signs, but take a side step into the "Employees Only" room.
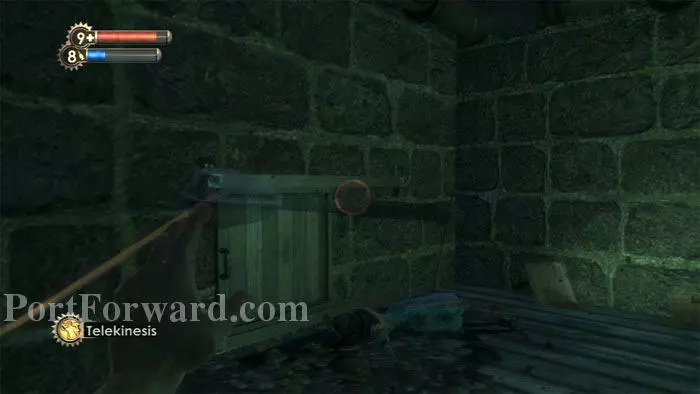
Clear the room of supplies, mindful of the traps set up at the crawlspace exit we avoided before. Traps can be defeated multiple ways. You can use Telekinesis to throw bodies and other objects at the traps to trigger them, or even move the traps into more advantageous configurations.
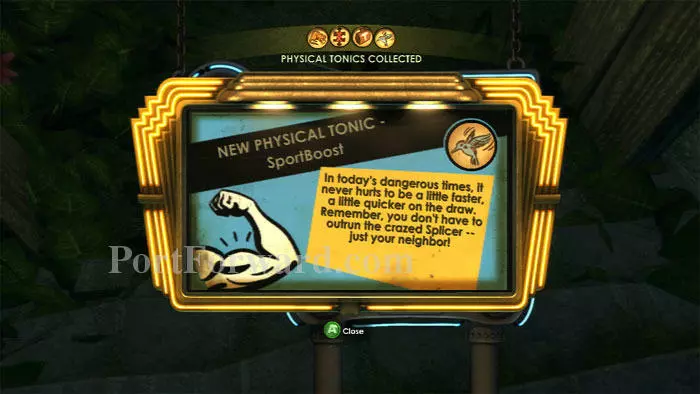
Return outside and follow the "Rapture Metro" sign down the stairs. Ready your camera if you still need Thuggish Splicer research. This is where I finally earned my SportBoost Physical Tonic, which helps you move and swing the Wrench faster.
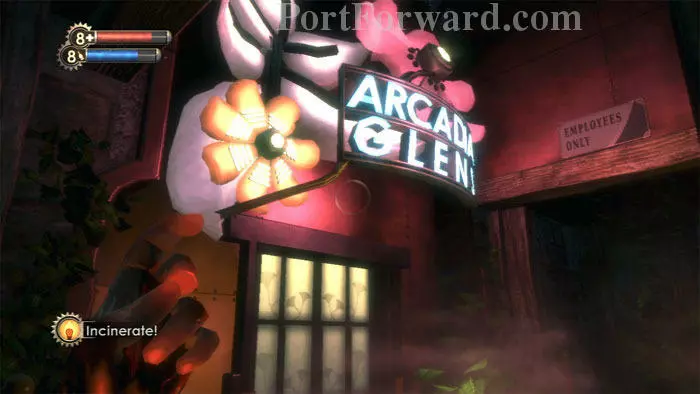
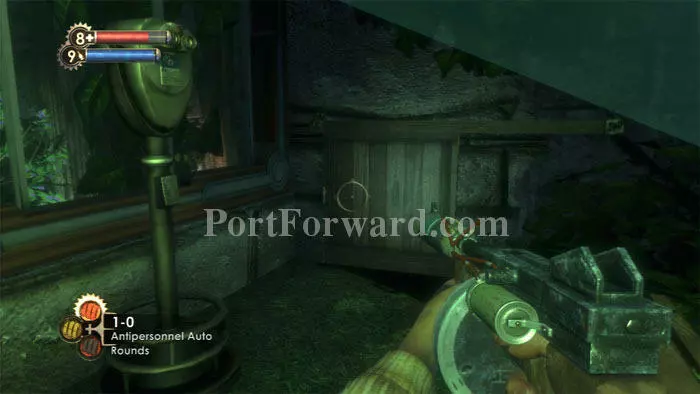
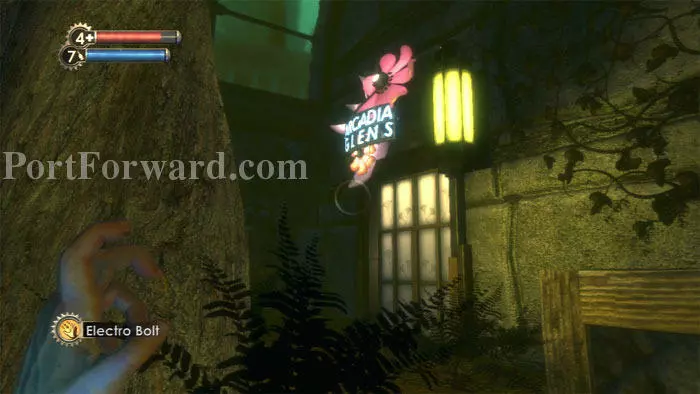
Find Cash, buckshot and a corpse before entering Arcadia Glens.
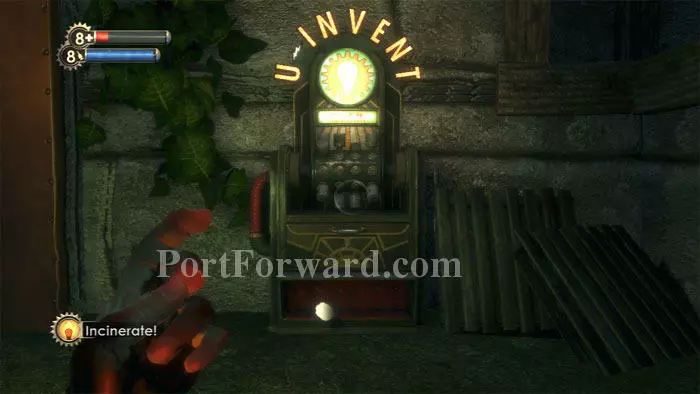
Witness a tiff between Splicers then find your first U-Invent machine here on the right. Don't miss the Antipersonnel Pistol Rounds in the bottom shelf, and find a storage crate on the ledge upper-right, accessible by climbing the boxes on the right.
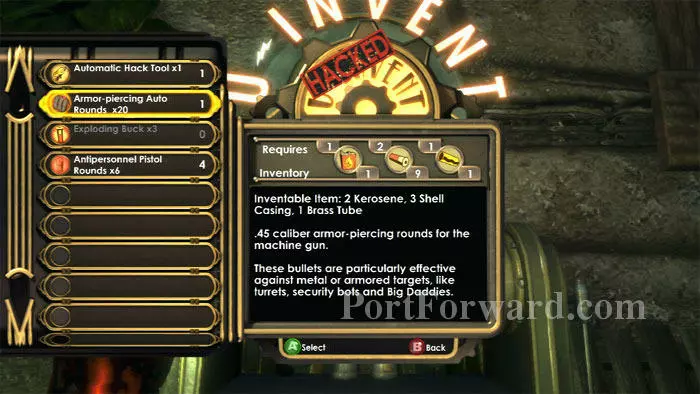
The U-Invent machine is where you do your crafting, and put to use all those odd objects you've been collecting. Hacking the machine allows you to create more with less. My preference here is the Armor-Piercing Auto Rounds -- very useful against Big Daddies.
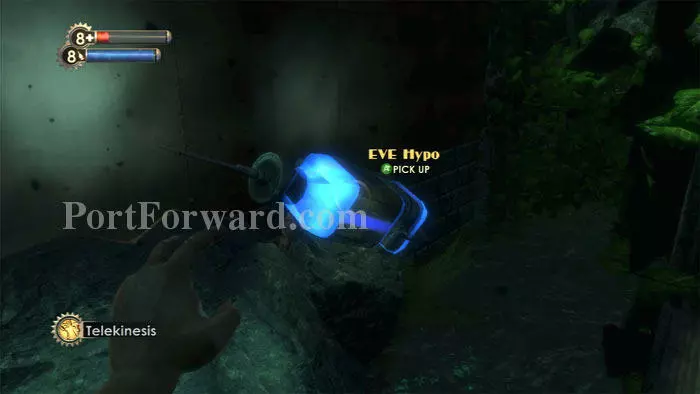
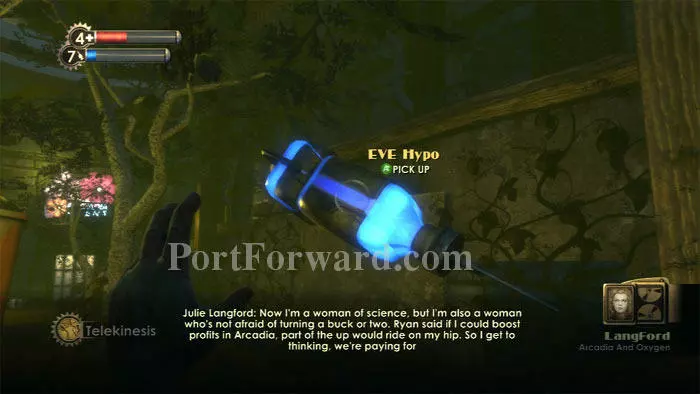
Pull this EVE Hypo from the rock on the left, then ready your camera and drop into the canal for some Houdini Splicer research.

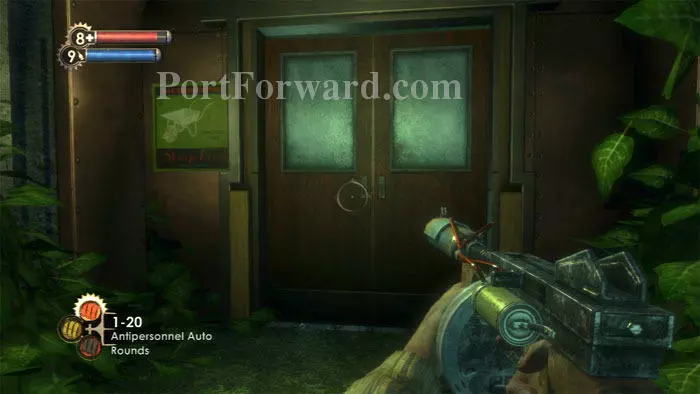
Keep right at this exit sign.

The Houdini will appear when you are about halfway down the path beneath the boardwalk. I snapped multiple photographs to earn one of my favorite Physical Tonics, Natural Camouflage. Having this Tonic equipped will render you invisible while standing still!
Drop over a short waterfall then come to a clearing with a Circus of Values and this crawlspace. Inside is a safe, a Lockbox and Bandages.
A Houdini waits inside this room -- don't enter until you're ready with a weapon or the Research Camera. Also inside is a U-Invent machine, a Gene-Bank, health and ammo. A Thuggish Splicer will follow you so be prepared for that as well.

On my way out I was met by a Little Sister and her Big Daddy escort. Be sure to snap photos when you see both.

A Houdini Splicer joined us, and I used Enrage! to get the Houdini and the Big Daddy to battle.

I then engaged the Big Daddy and died. The Vita Chamber is near a Gatherer's Garden, and another Big Daddy and Little sister were here as well. This area is reached by going through the exit seen earlier (or by dying, obviously).

Remarkably, the first Big Daddy appeared and lured his Little Sister companion from the nearby Hidey Hole. Now we've really got a party! Two Little Sisters and two Big Daddies!

One of the big Daddy's got caught in the other's crossfire, triggering a violent response. I didn't even have to use Enrage! for one Big Daddy to kill the other.

All told, I now have 700 ADAM to spend after adding both harvests to what I already had banked. I purchase a Plasmid Slot, two Physical Tonic Slots, two Engineering Tonic Slots, one Combat Tonic Slot, Health and EVE Upgrades, plus Human Inferno, leaving me with 20 ADAM. It's tempting to purchase Electro Bolt 2, but Electro Bolt 3 will be available in Hephaestus.

Here is my current configuration.
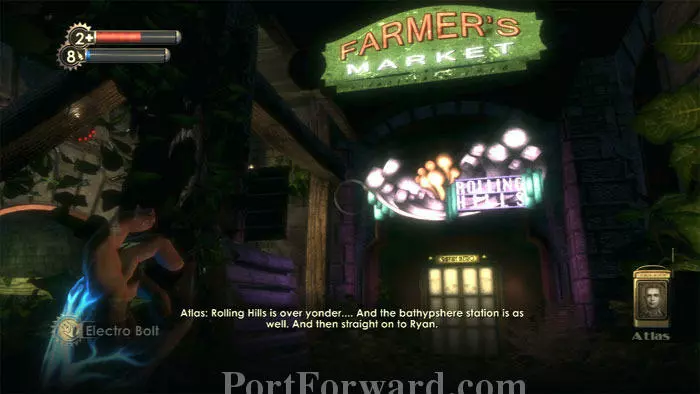
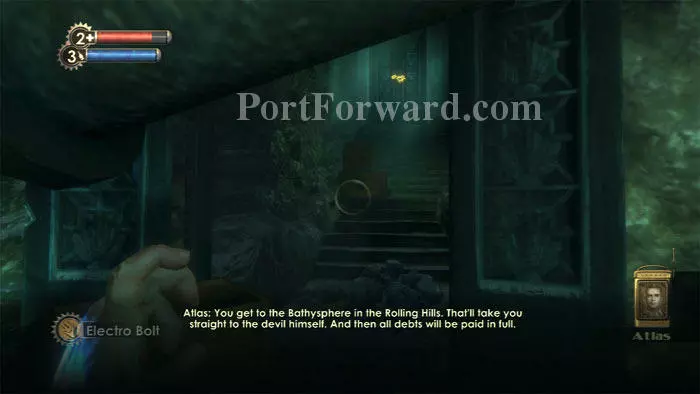
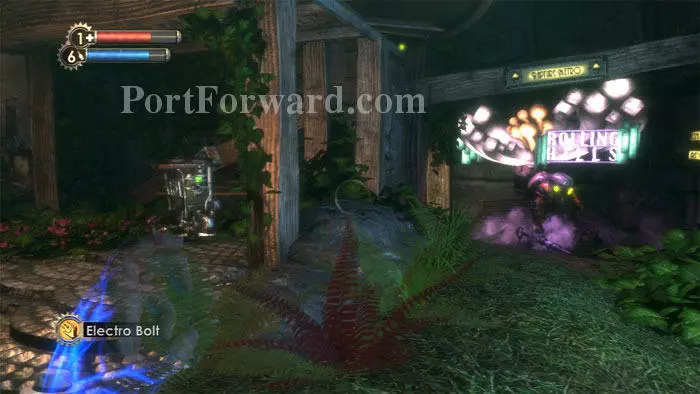
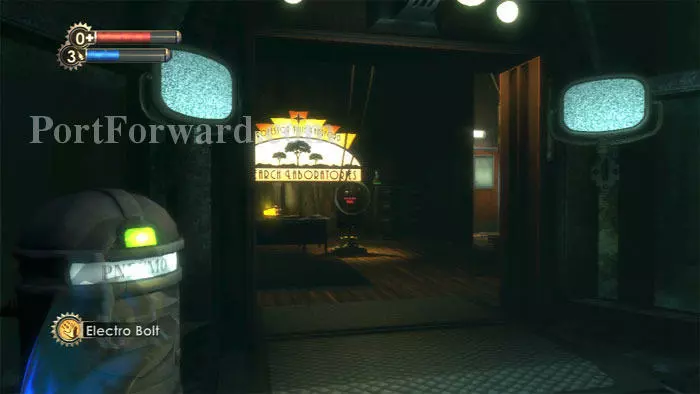
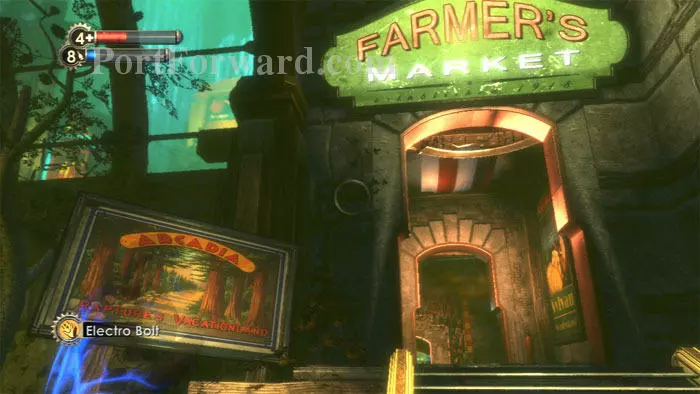
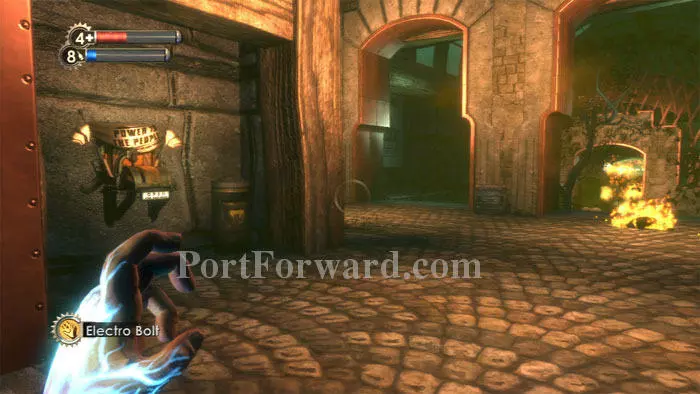
Ignore the nearby Waterfall Grotto for now. Instead, follow the Metro/Farmer's Market signs. Destroy the security camera just visible upper-left before entering the door under the Rolling Hills sign ahead.
Be prepared to zap a rocket turret with your Electro Bolt before entering. A solitary Splicer is also waiting in here.
Loot a corpse near the turret and use Telekinesis to pull an EVE Hypo and cash from a high ledge to the left. Find Mariska Lutz's audio diary Shouldn't Have Come on a rock under the Rolling Hills sign ahead/right.
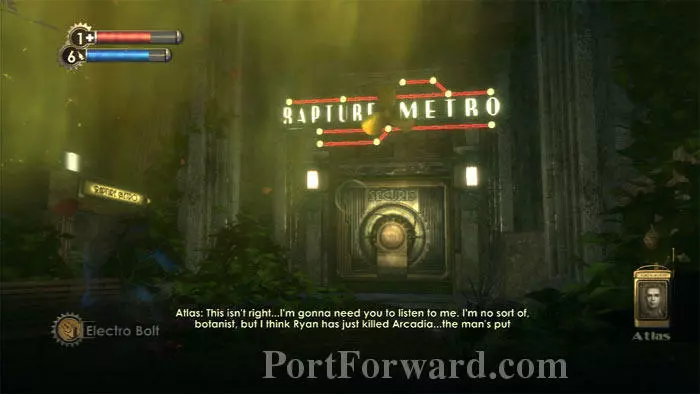
Approach the Metro door and a yellowish chemical falls from above. Ryan is poisoning the plant life in Rapture, eliminating the city's oxygen supply. Find a Handbag and Liquid Nitrogen above the yellow "Rapture Metro" sign on the left.
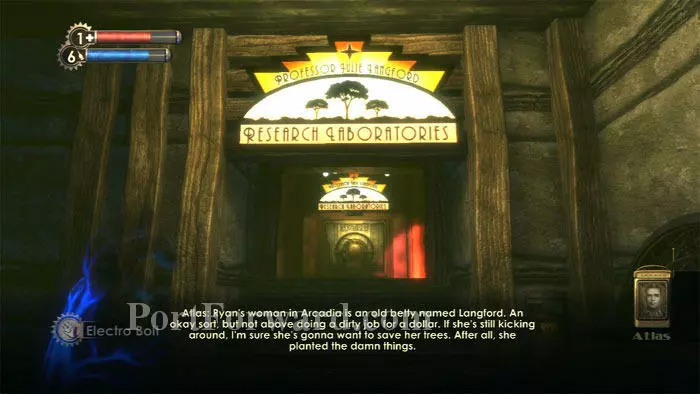
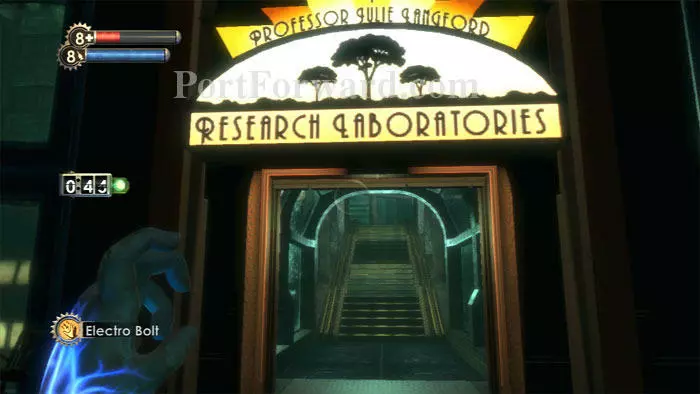
Atlas tells you to find a scientist named Julie Langford. Fortunately, her laboratory is just to the left of the Metro access. Hack or destroy a security camera on the right, and find an Ammo Bandito machine to the left.
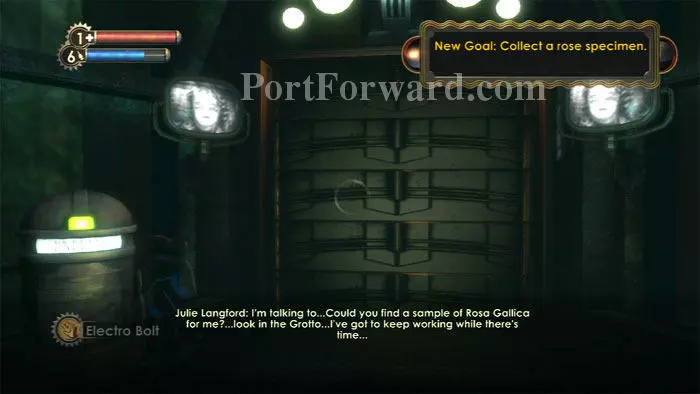
Listen to Langford and receive a new goal, which can be completed back at the Waterfall Grotto.
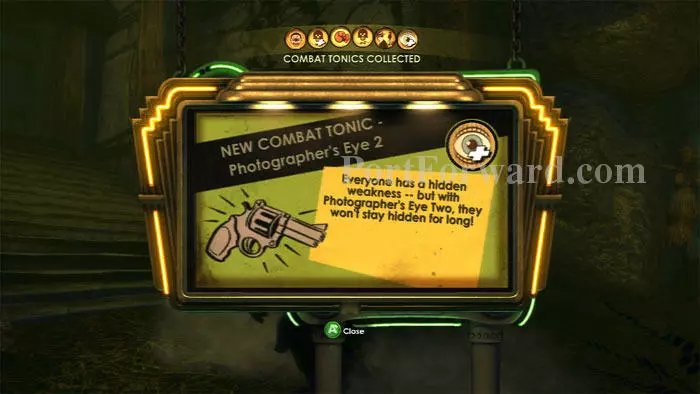
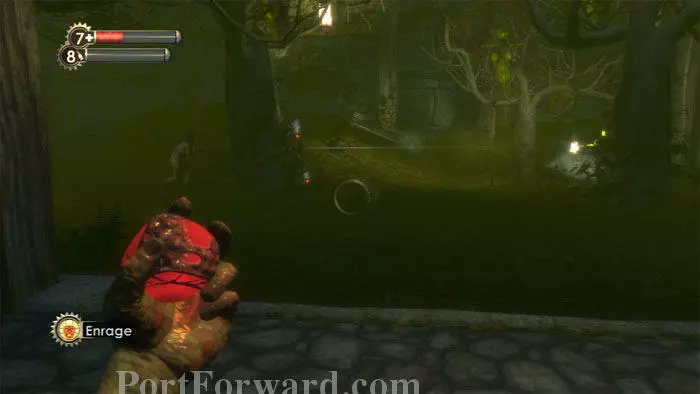
Head to the Waterfall Grotto, directly across from the Gatherer's Garden we were at a while ago. Several groups of Splicers stand in your way, so have Enrage! handy. My Research Camera also proved useful -- snapping shots of a wandering Rosie netted me the Photographer's Eye 2 Combat Tonic. Thuggish Splicer shots earned me the SportBoost 2 Physical Tonic.
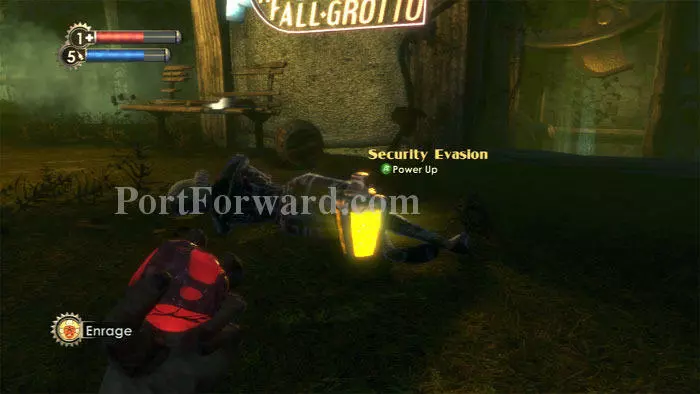
Enter the Waterfall Grotto and find this Security Evasion Physical Tonic. (This tonic is not here if you visit the Grotto earlier.) Andrew Ryan's audio diary The Market Is Patient is seen on the bench. A U-Invent machine is to the left next to a corpse with some crafting items. You'll also find a Grenade Launcher and several Heat-Seeking RPGs.

The downstairs area is wired for sound so proceed cautiously. These traps can be disabled with Telekinesis. Avoid a flamethrower turret behind the left wall.
Two turrets are on either side of the room; here they are battling it out after I hacked the one on the left. Proximity Mines are near the left turret and a security camera is in the far-left corner.
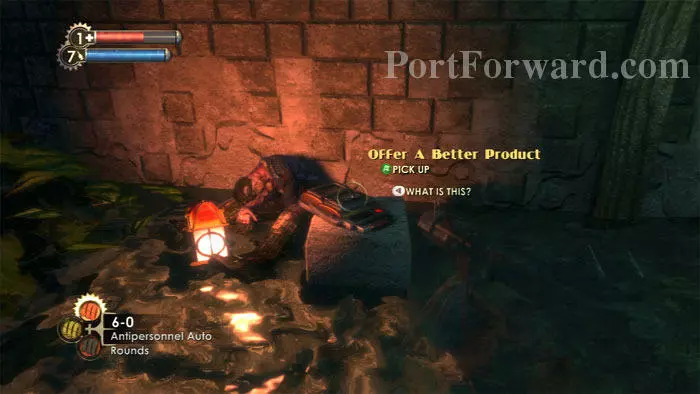
Andrew Ryan's Offer A Better Product audio diary is found here.
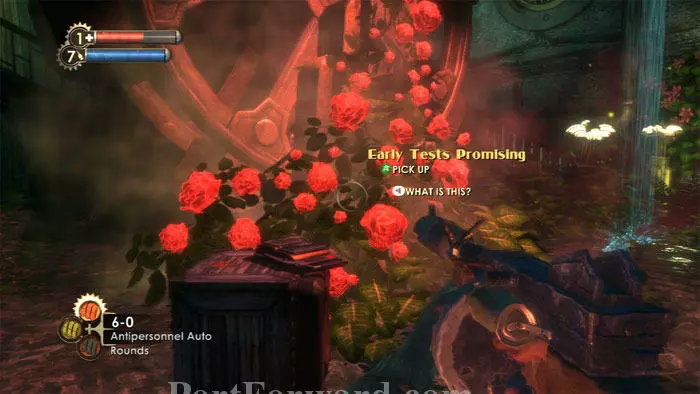
Julie Langford's Early Tests Promising audio diary can be found on this crate. Turn around and follow a tunnel to the flamethrower turret and more supplies, then grab a rose from this bush to complete Langford's objective.
Frag Grenades, a First Aid Kit and Potato Chips are under the security camera on the left. Electro Bolt the door control on the right to find a roll of Film, an EVE Hypo, Antipersonnel Auto Rounds and Diane McClintock's audio diary Heroes and Criminals. This room is a good place to hide out while your hacked turrets and security bots decimate the spawning Splicers.
Return to Langford's lab. Listen to what she has to say then use the Pneumo to complete the objective and open the door. A Hacking Expert Engineering Tonic is on the desk, and Langford's audio diary What Won't They Steal? is to the right. Chlorophyll Solution is above the file cabinet.
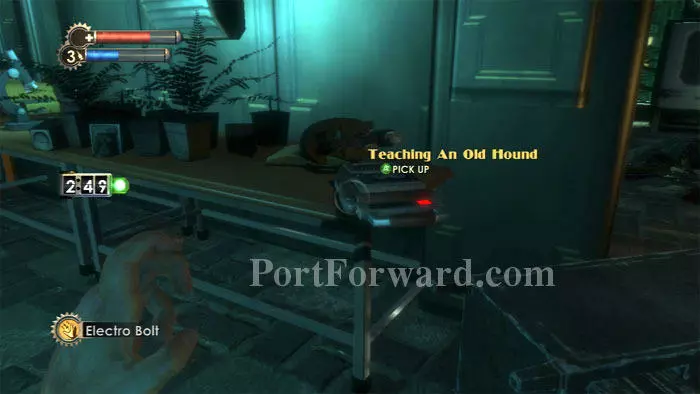
Head through the door on the right and Langford gives you a countdown to make it upstairs before the turrets reactivate. Find her audio diary Teaching An Old Hound here. You've got plenty of time, so search the area thoroughly and hack the Health Station, U-Invent and Circus of Values.
When you're ready to move on, approach the Securis door to open it then ascend the stairs.

You'll find Langford in her office upstairs. But so does Ryan.
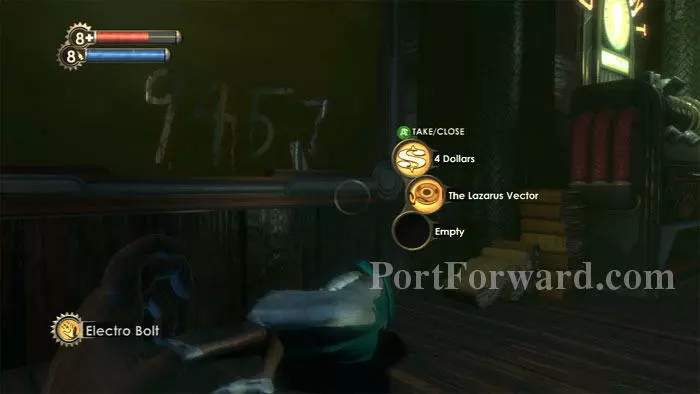
After the gas subsides and the doors open, enter Langford's office and search her body for The Lazarus Vector audio diary. Note that she has scribbled the code 9457 onto the window. A new weapon, the Chemical Thrower, and one of its ammo types, Liquid Nitrogen, are on the table behind you.
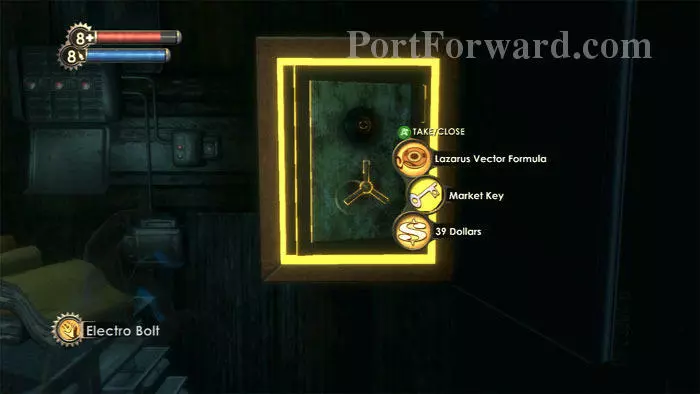
Search the desk on the left for crafting items and use the Botanical Illustration to reveal a wall safe. Code 9457 nets you Langford's Lazarus Vector Formula audio diary, and the key to Farmer's Market.

You get a new multi-part goal, requiring seven Distilled Water, Enzyme Samples and Chlorophyll Solution.
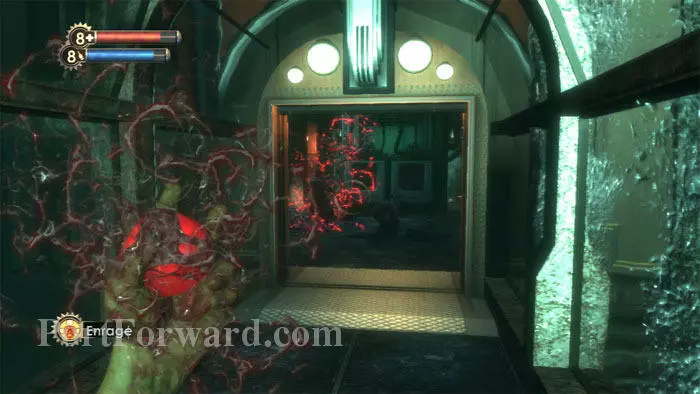
A pair of Splicers are waiting as you backtrack through the lab. Enrage! is my alpha-strike preference. Napalm, the Chemical Thrower's fire ammo, is ahead/right, and a security camera is to its left. You'll be returning later so hack away for future assistance.
A Houdini Splicer attacks. Antipersonnel Auto rounds tear him up. Don't forget to snap some photos. Chlorophyll will likely be found on Houdini bodies for a while.

Head to this U-Invent if you need to make anything.

Snap some photos of the nearby turret before hacking it.
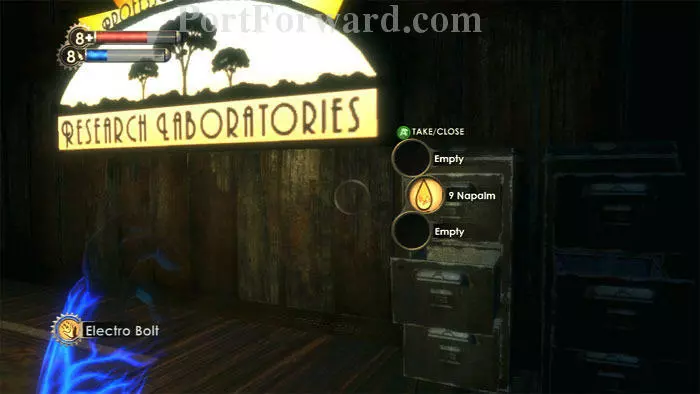
I found Napalm in this previously-empty file cabinet before leaving the laboratory.
A Splicer is waiting for you outside. I Enraged him and he went suicidal on a nearby Big Daddy.

We need to head to Farmer's Market, but first there is a short optional diversion. Julie Langford's audio diaries have mentioned a strange sect of cultists. Find her audio diary The Saturnine just inside this cave entrance to give them a name.
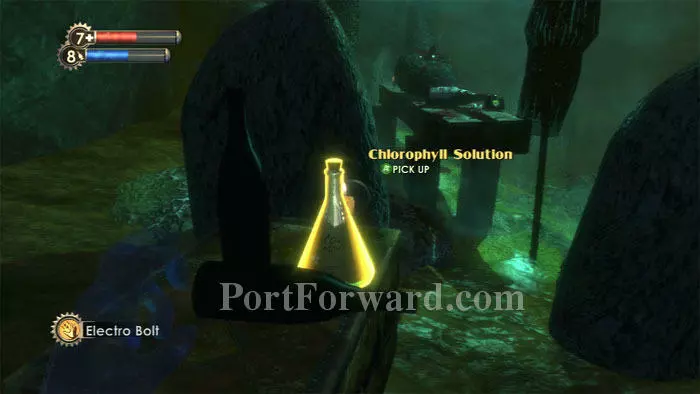
Chlorophyll is here by the makeshift altar. Ready your camera and weapon of choice against a Houdini Splicer.

The Houdini attacks as you approach the cave exit. He'll likely have Chlorophyll on his body.

Be sure to continue your Houdini research to earn improved Houdini detection, allowing you to hear and see Houdinis well before they materialize.
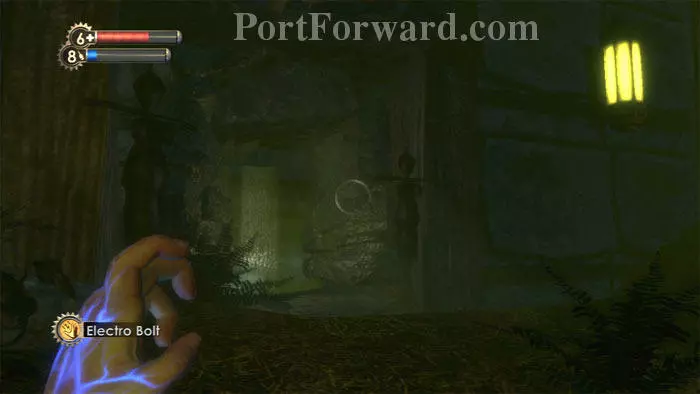
Upstairs is this second Saturnine cave entrance.
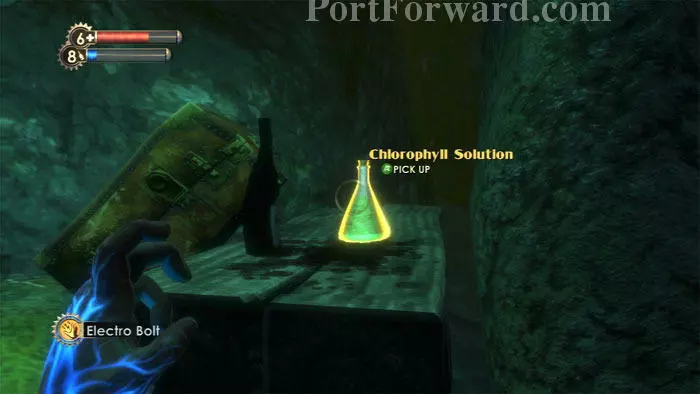
Enter to find Chlorophyll here on the right.

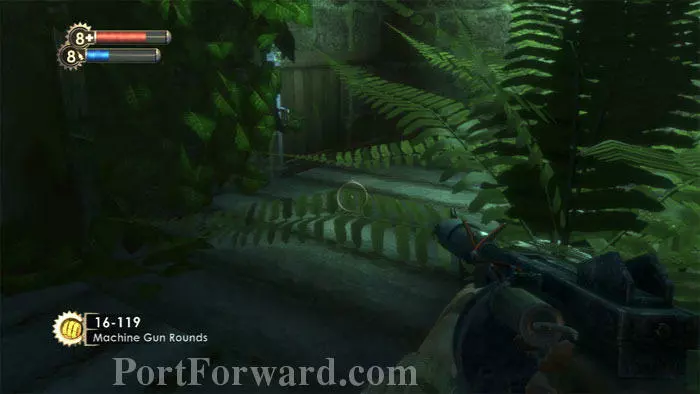
Another Houdini attacks. I'm out of Antipersonnel Auto Rounds but regular Machine Gun Rounds get the job done, too. Search his body for more Chlorophyll and you should have reached your target of seven by now. Don't forget to search the nearby Steamer Trunk.
Exit left then backtrack through this Arcadia Glens door.

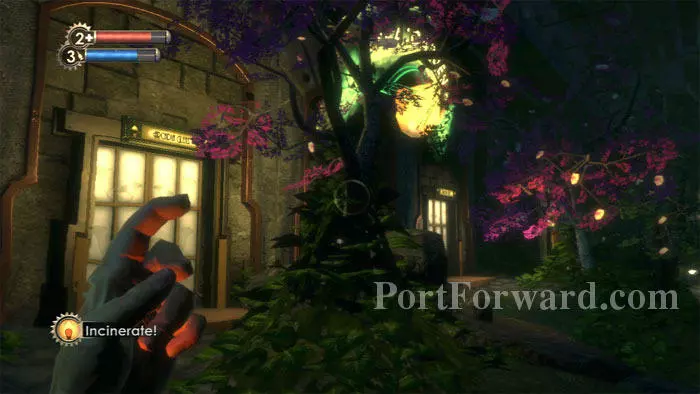
Continue through this Tree Farm entrance, clear of the vegetation that was blocking it before Ryan's defoliant was released.

Enrage! this Splicer and he'll attack his own security bot.
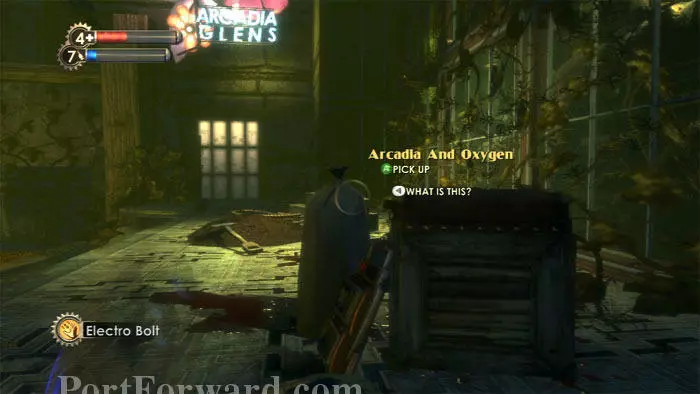
Julie Langford's Arcadia And Oxygen audio diary is found here.
Find this EVE Hypo on the ledge straight ahead. Buckshot can be found by jumping the stair-like beams on the left to reach the small landing upper-right.
Continue through this doorway.
Save your ammo as the Splicer approaches. He'll succumb to the flames without any assistance. Upgrade your weapon of choice at the Power to the People station on the left.

I continue my Machine Gun specialization by choosing Machine Gun Damage.
Find Potato Chips and a Storage Crate at the top of the stairs, and a First Aid Kit and Circus of Values on the left. Have your Research Camera ready before you battle this female Houdini Splicer.
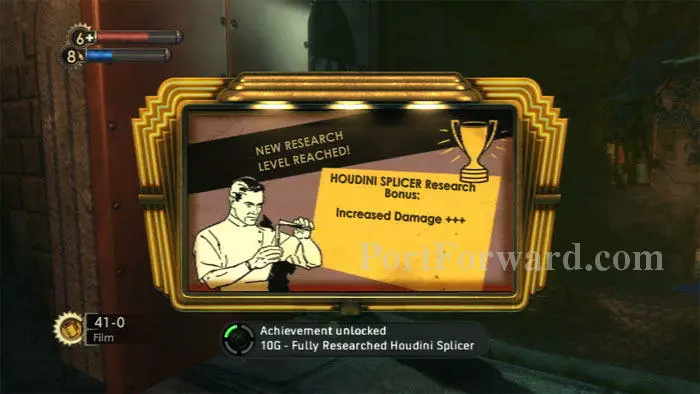
I was able to complete my Houdini Splicer research, earn Increased Damage +++ and get the Achievement.

Search this Trash Can for supplies and don't miss the two Pep Bars just visible ahead/left.
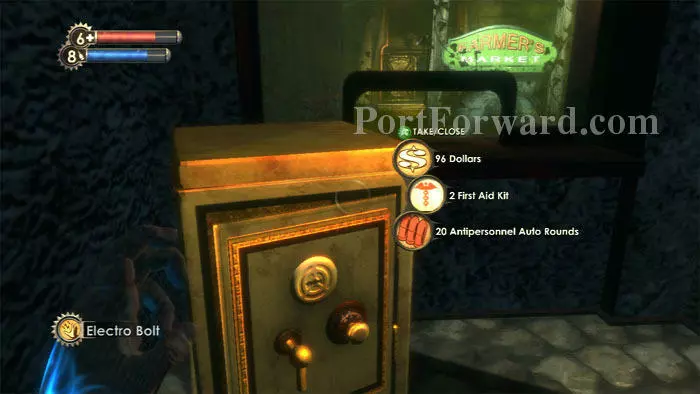
This safe can be found on the far left.
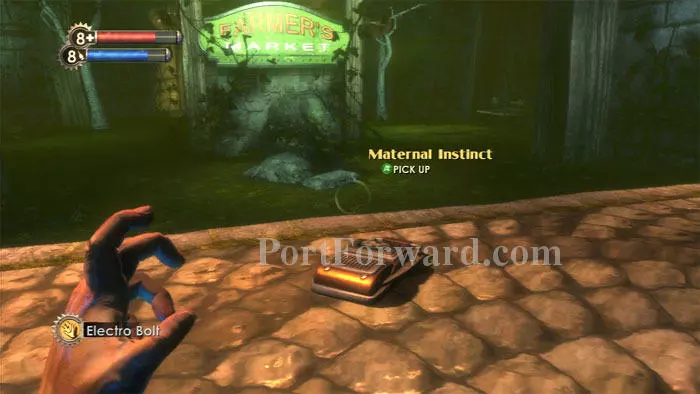
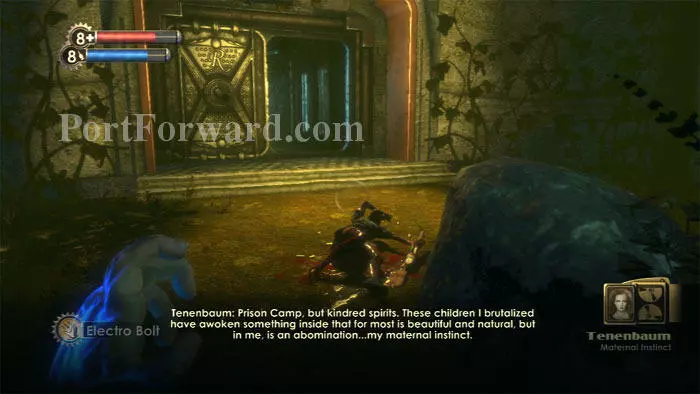
Tenenbaum's Maternal Instinct audio diary is found here.
Find a corpse and a Shotgun before entering the bulkhead to Farmer's Market. You'll have another odd flashback before reaching the door.
More BioShock Walkthroughs
This BioShock walkthrough is divided into 15 total pages.


