
This BioShock walkthrough is divided into 15 total pages.
You can jump to nearby pages of the game using the links above.
Farmer's Market
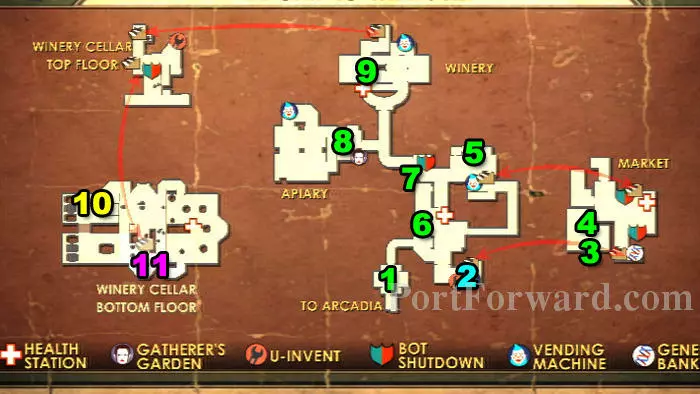
Here's a map of the level. Map - Farmer's Market
- Bee Enzyme - Audio Diary
- EVE Link 2 - Physical Tonic
- First Encounter - Audio Diary
- Hatred - Audio Diary
- Desperate Times - Audio Diary
- Pulling Together - Audio Diary
- Water in Wine - Audio Diary
- Adam Explained - Audio Diary
- Functional Children - Audio Diary
- Photographer's Eye - Combat Tonic
- Power To The People - Weapon Upgrade
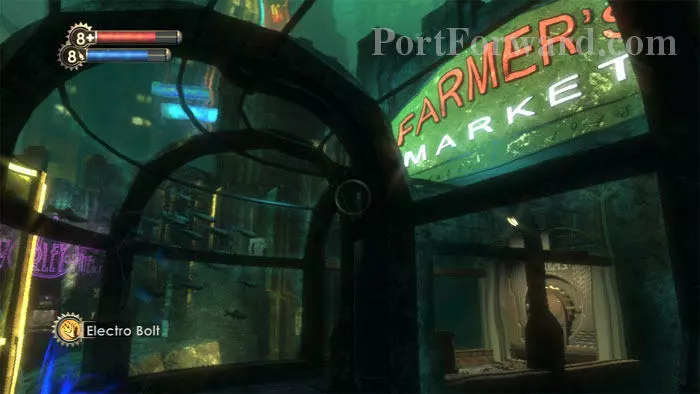
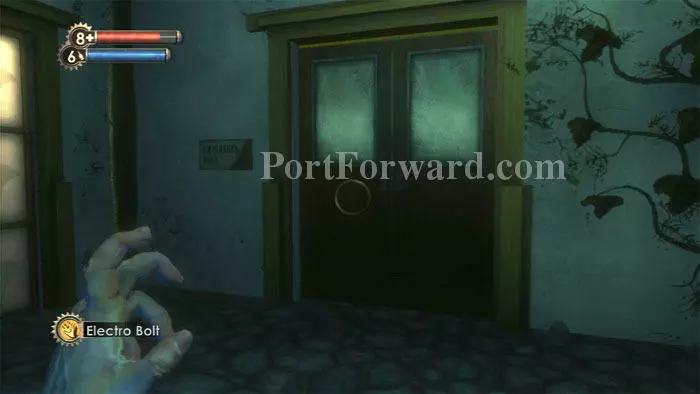
Enjoy the view then continue through the Securis door ahead.
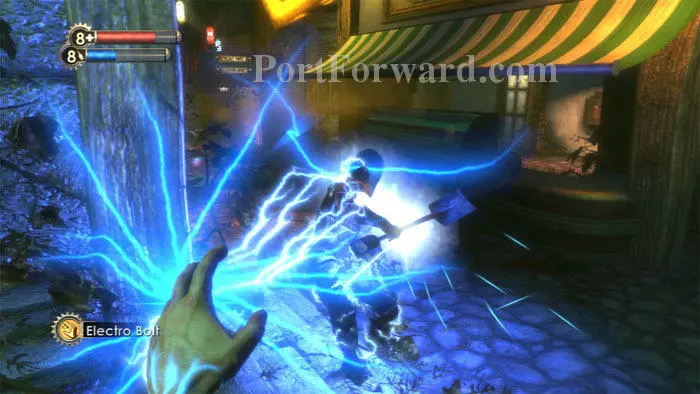
Hold back while a pair of Houdinis chase each other then defeat this Thuggish Splicer. Beware a rocket turret on the right. A Proximity Mine is to the right of the awning.
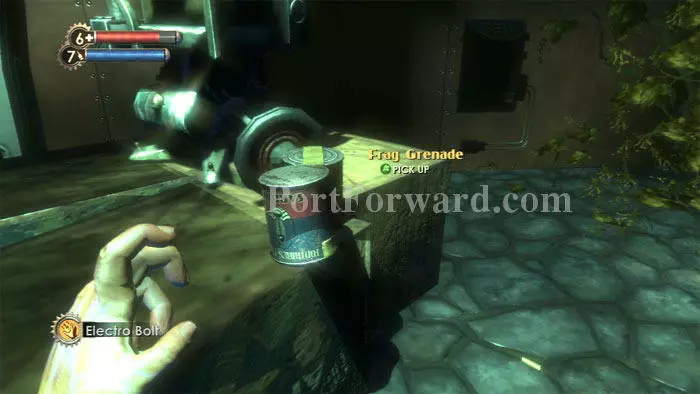
Snap some research photos of the turret before hacking it, then pick up these Frag Grenades.
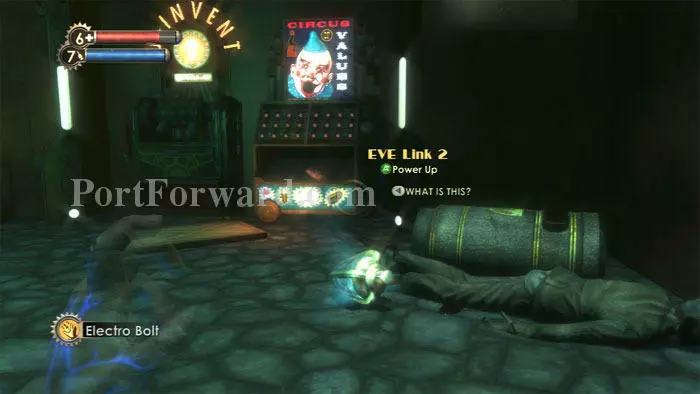
Descend the stairs and find this EVE Link 2 Physical Tonic. A Pep Bar is in the Circus of Values, and an EVE Hypo is on a rock behind you and to the left.
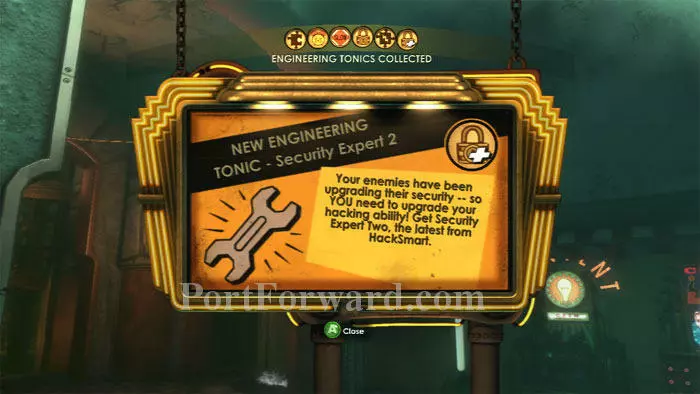
I quickly earned a second tonic by photographing a nearby Leadhead Splicer's Security Bot, earning me this Security Expert 2 Engineering Tonic.
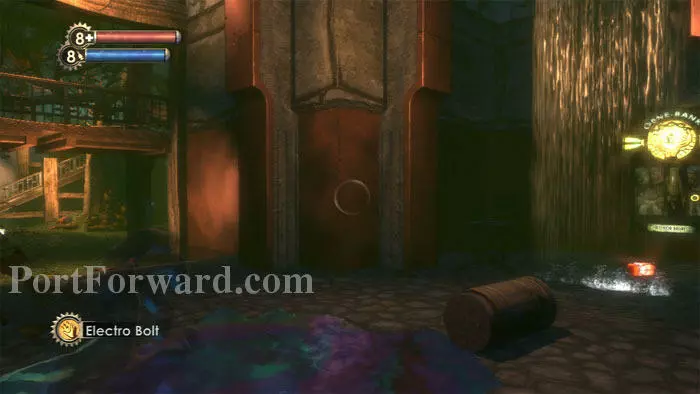
A First Aid Kit and a corpse are to the left of the Gene Bank. Continue left.
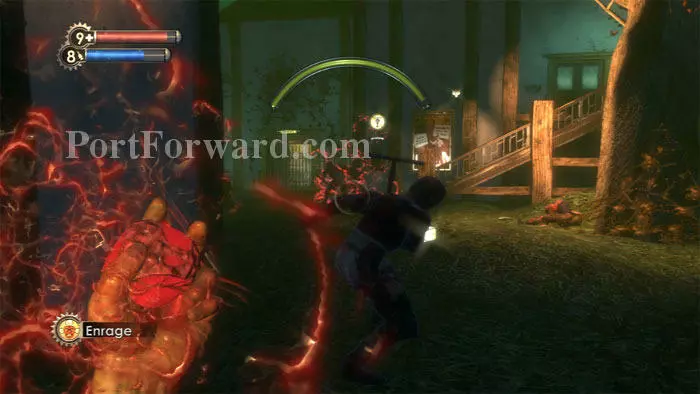
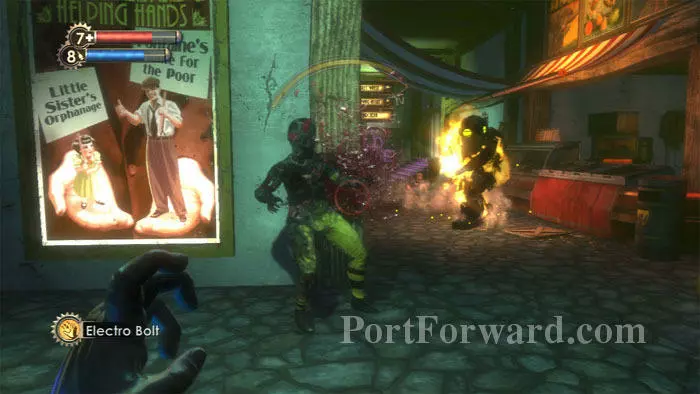
Several Splicers attack, suited up for the big game. Enrage! is my choice here. Finish off the victor then search the bodies for supplies.
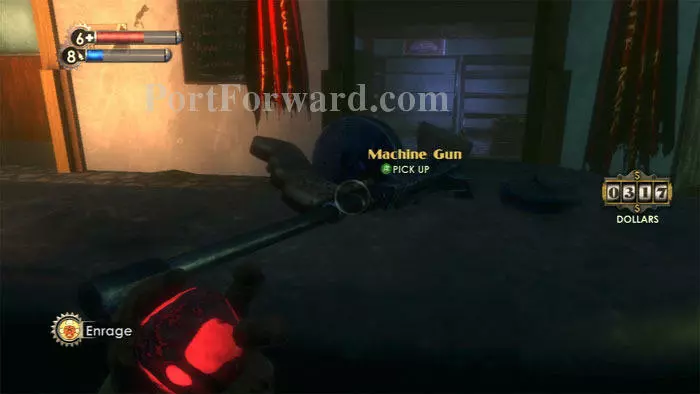
Find cash, a Machine Gun and Machine Gun Rounds on this counter. Bandages are found behind the counter.

Enter the room marked, "Employees Only." Learn Andrew Ryan's reaction to the Big Daddies by listening to his First Encounter audio diary.
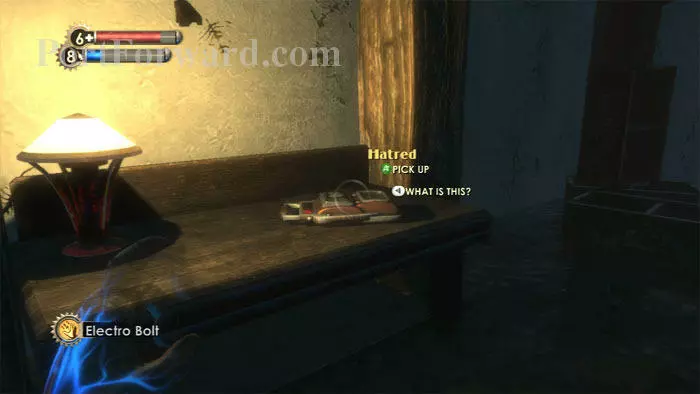
Search the crates in the room and find Tenenbaum's Hatred audio diary on this desk.
This Thuggish Splicer charges you in the neighboring room, falling victim to his own Trap Bolt. Distilled Water is visible on the left, an EVE Hypo is on the right, and a U-Invent machine is straight ahead. Storage crates are also here.
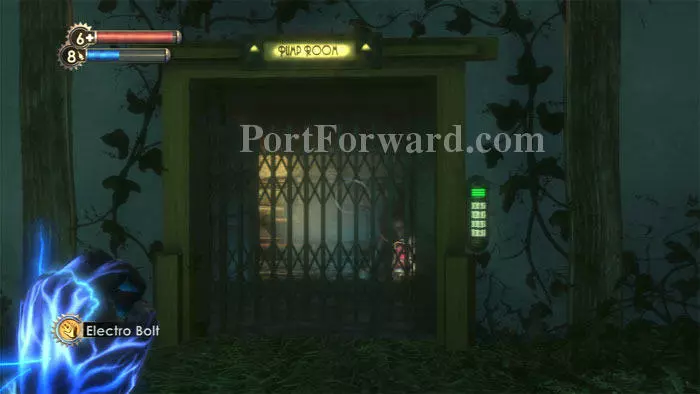
Hack the Pump Room door to find Napalm, Electric Gel, Cash, a First Aid Kit, Armor-Piercing Auto Rounds, a Lockbox and a Storage Crate. The code 0512 is revealed later in Hephaestus.
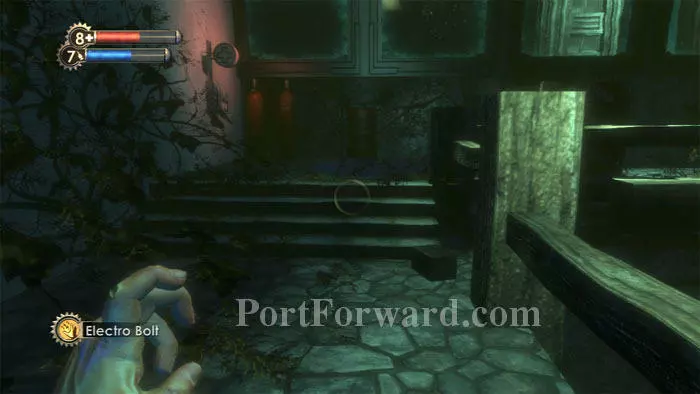
Search the crate under these stairs before climbing them. Enter the leftmost door.
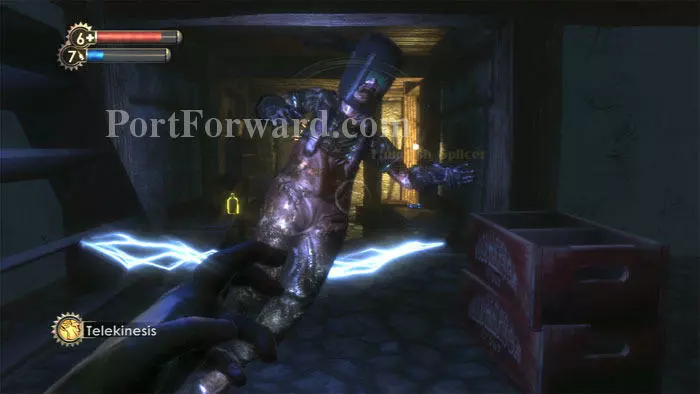
Inside I found a Big Daddy doing battle with a Houdini Splicer.
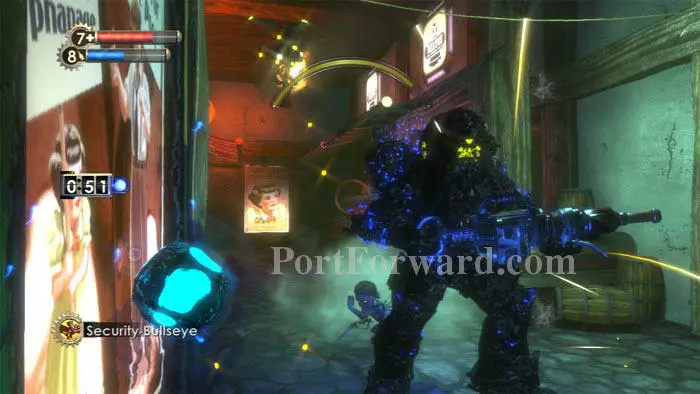
The sound of a security camera hints that this is the perfect time for Security Bullseye. Sure enough, the security bots took out both the Houdini and the Big Daddy without me having to fire a shot.
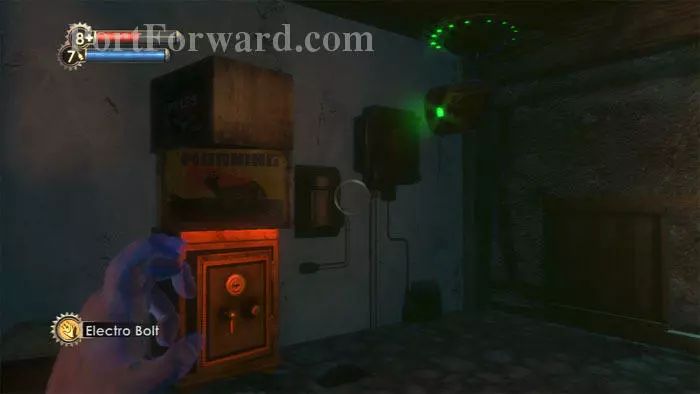
Search for supplies, and don't miss this safe and a crawlspace on the right.
Exit to the hallway and enter this "Employees Only" door.
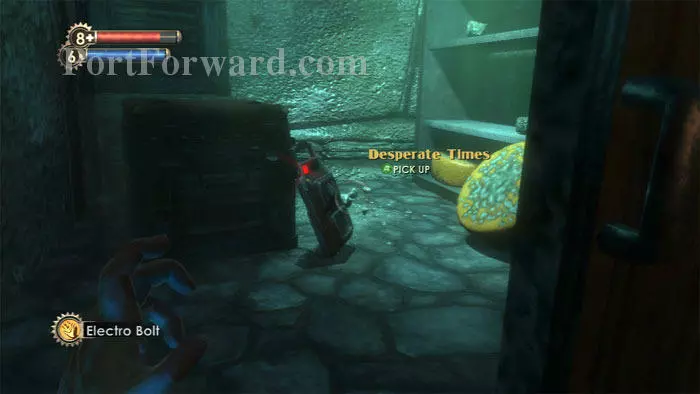
You're now behind the deli counter. Find Film on the right, then grab Ryan Andrew's Desperate Times audio diary behind this crawlspace door. Climb the storage crates to reach a ventilation duct that leads to the crawlspace seen earlier. A First Aid Kit is found on the top shelf on the right.
Return to the balcony and hack the Health Station on the left before continuing right.
Find bandages on the left, continue through the door ahead, then hack a security camera to the immediate right of the door.
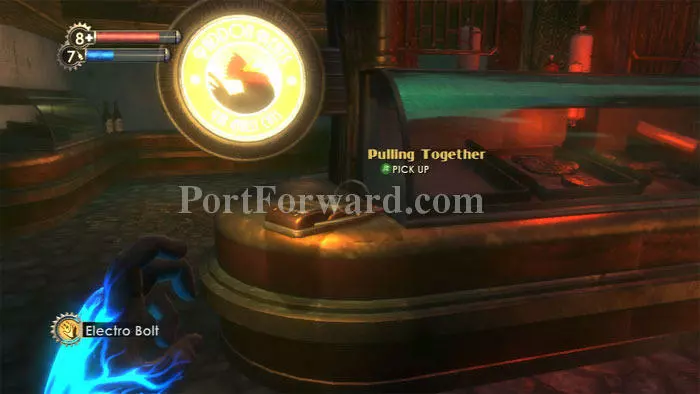
Andrew Ryan's audio diary Pulling Together is on this deli counter. A Health Station is to the right.
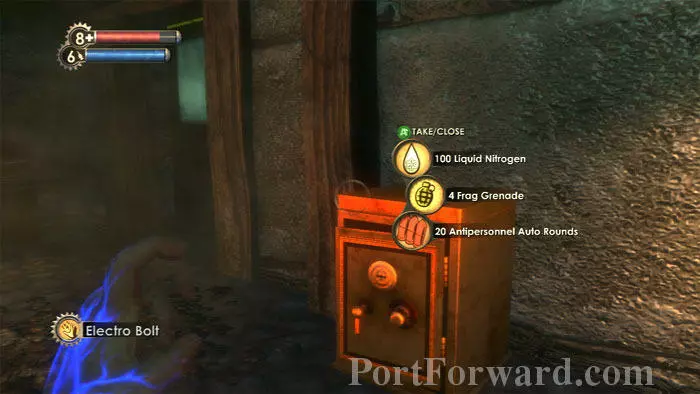
Hack/destroy a machine gun turret, then search the room for supplies. Be sure not to overlook this safe. A cash register is to the right. Continue through the door seen on the left.
Distilled Water and Pierre Gobi's audio diary Water in Wine are found here on the left. Continue through the Securis door and defeat a pair of Thuggish Splicers. I photographed them to complete Thuggish Splicer research and earn Increased Damage +++.
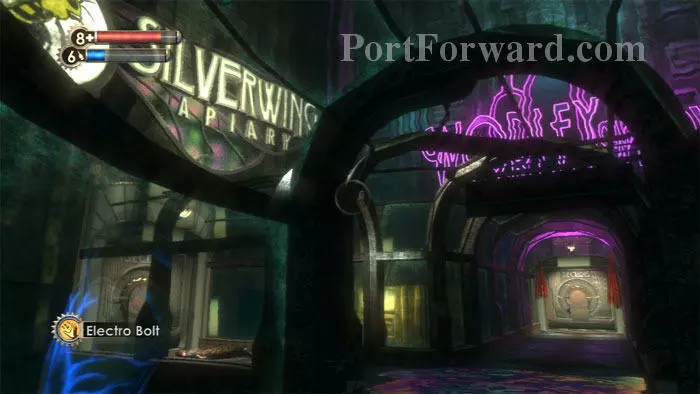
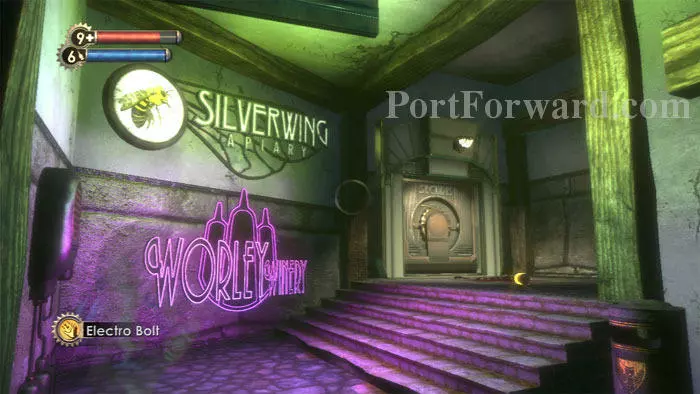
Gobi's audio diary strongly suggests that Distilled Water can be found at Worley Winery, straight ahead. But first, lets explore Silverwing Apiary on the left, where we're likely to find Enzyme Samples.
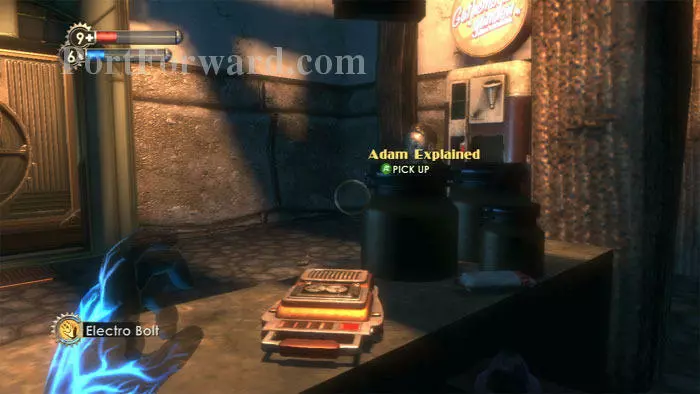
Tenenbaum's Adam Explained audio diary is on this counter, next to a Pep Bar. A Gatherer's Garden is also found here, where I purchase Combat and Physical Tonic slots for 160 ADAM, leaving me with 20 ADAM.
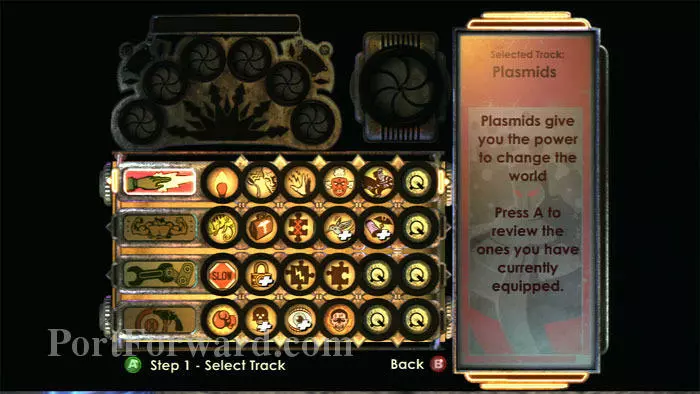
For the curious, here is my current configuration.
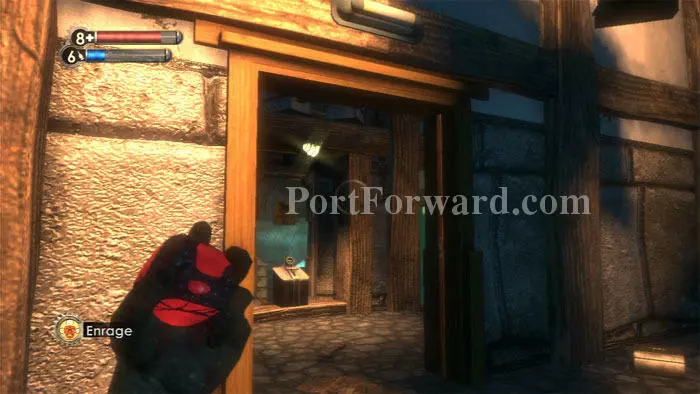
Find a Shotgun and Electric Buck behind the counter before continuing through this door.
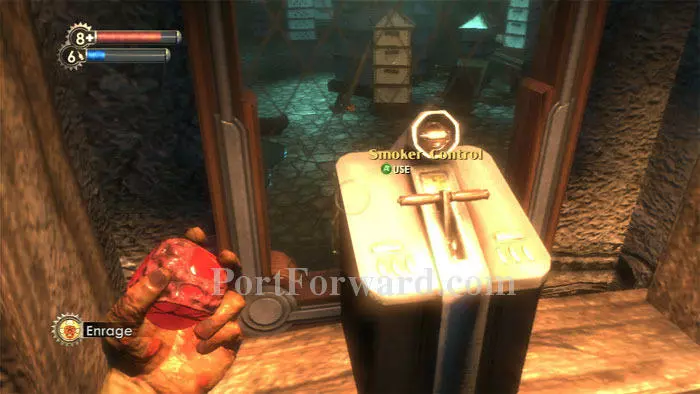
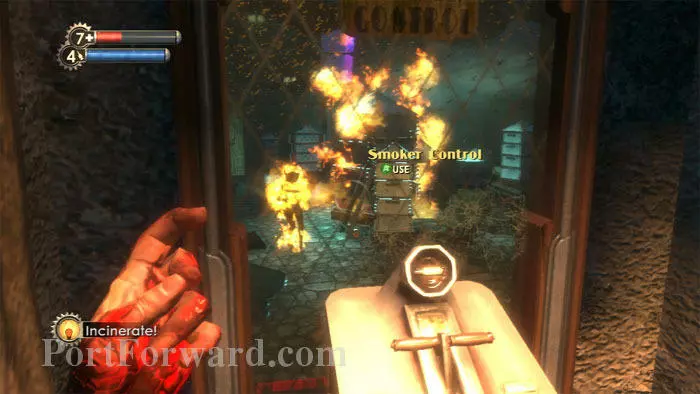
Two Smoker Control switches disperse the smoke necessary to calm the bees in the next room. Ready Enrage! then throw the switch before entering.
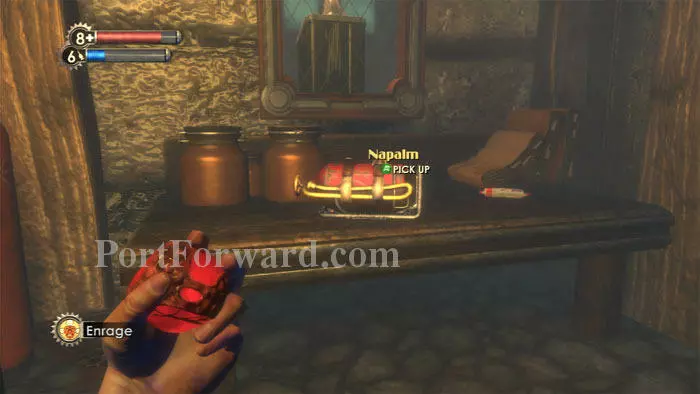
Napalm and a Pep Bar are found on this table, and a Frag Grenade is below.
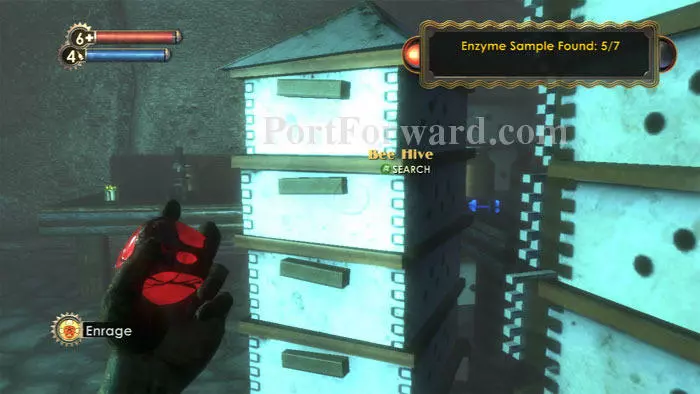
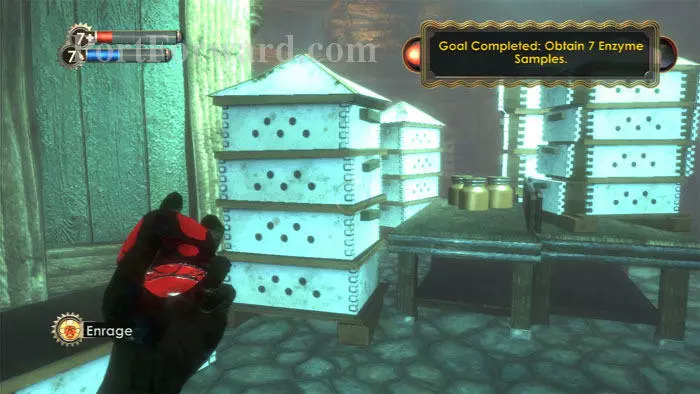
Search the Bee Hives for Enzyme Samples. A ticking sound increases with frequency until the smoke dissipates and you must leave the room. Note the EVE Hypo on the right and the Armor-Piercing Pistol Rounds on the left. A Frag Grenade is under the table farther left.
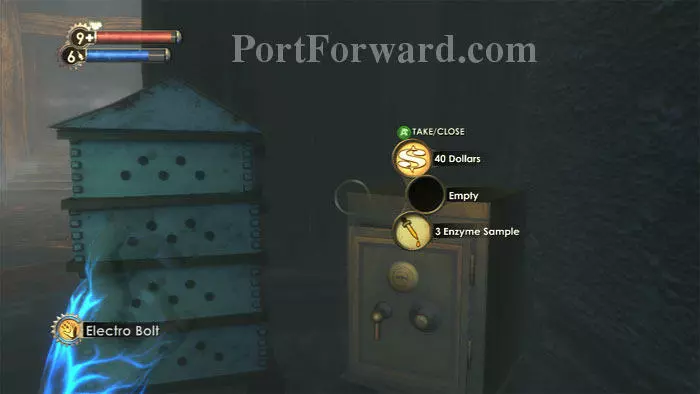
Find this safe along the left wall. In multiple runs, I always found three Enzyme Samples here.
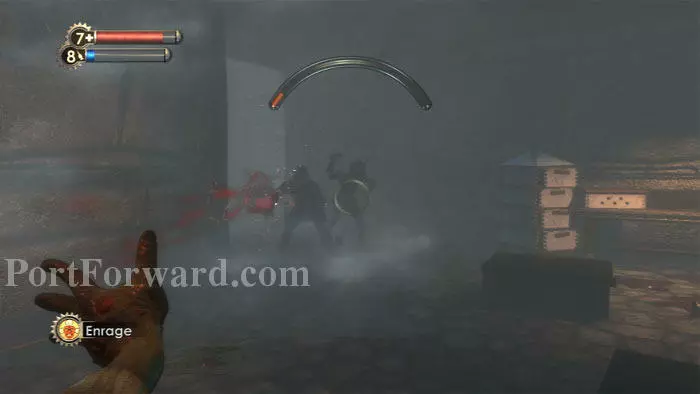
Splicers attack as you search the hives. Enrage! is a perfect solution to this room, as the Splicers keep themselves occupied while the clock counts down, giving you precious seconds to search for Enzyme Samples.
Always remember to go back to use the smoker control again if you run out of time. The bess are hard to fight off.
Don't miss this group of hives in the center of the room. A side room has more hives, along with a Circus of Values. The Splicers cease to spawn once the goal is completed, allowing you to thoroughly search the room for supplies, including three Lockboxes scattered about the floor.
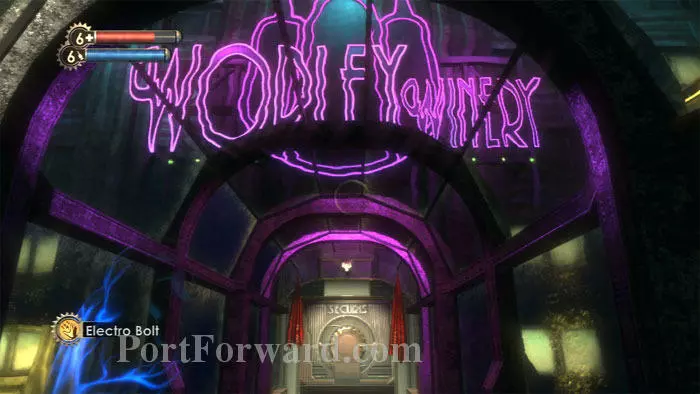
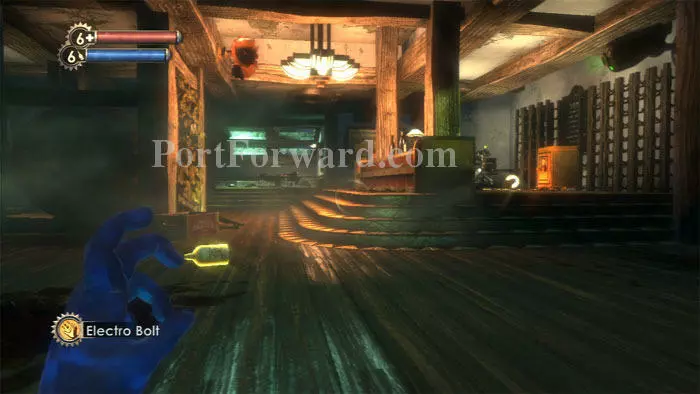
Time for Worley Winery. Ready your Electro Bolt and Research Camera.
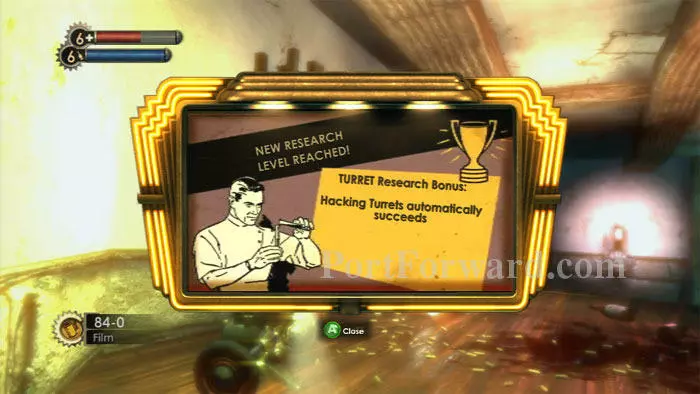
Search a pair of corpses then photograph a turret and a security camera. Turret research ultimately nets the ability to automatically hack them.
The turret and security camera can be seen on the right. Note the Distilled Water on the left. I consistently found two more Distilled Water in the safe to the right. Approach the table at the far end of the room.
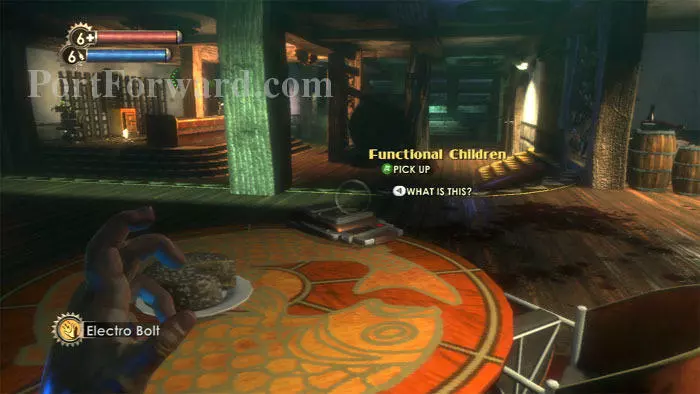
Tenenbaum's audio diary Functional Children is found here. I love the way she pronounces the word, "pliable." Turn around and search a Storage Crate, then head to the room on the right to find two more plus a Circus of Values.
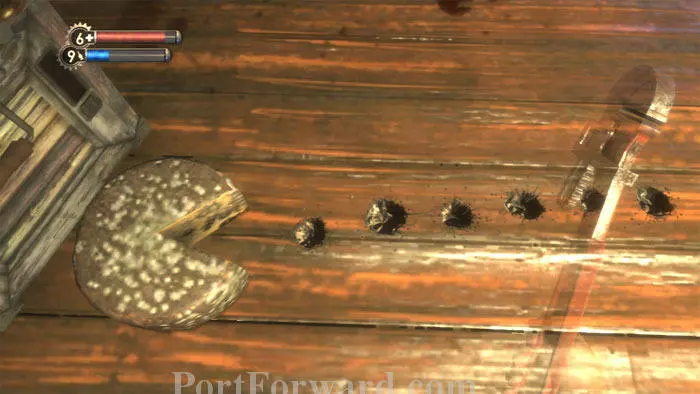
Look down to find this BioShock Easter egg. This cheese wheel and floor gauges form an homage to gaming past: it's Pac Man!
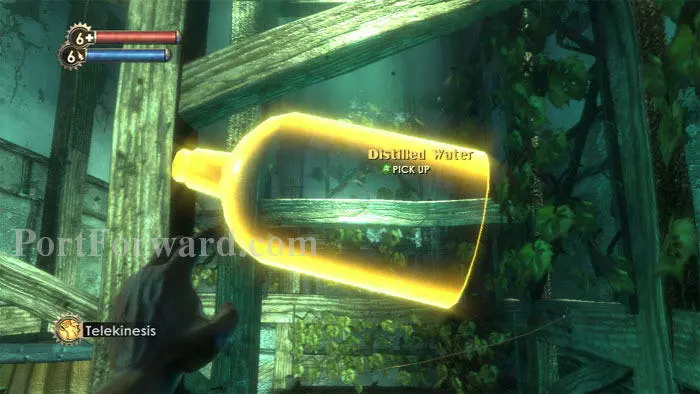
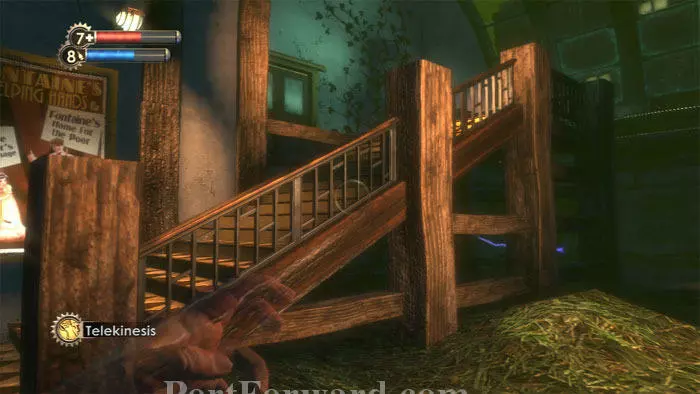
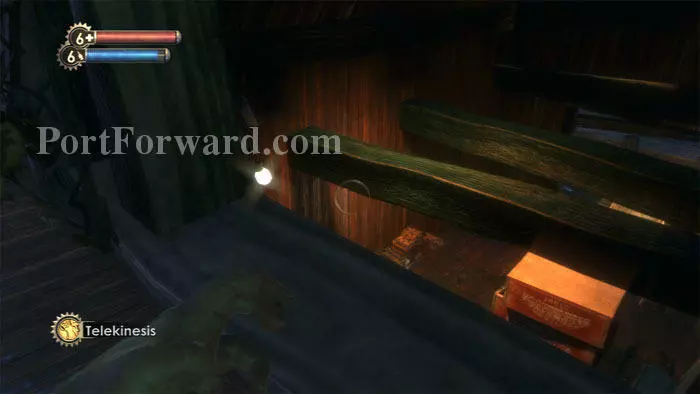
Continue down these stairs, using Telekinesis to grab the Distilled Water from the overhead beam and also disable the Bolt Trap.
I prefer to ignore this drop-down area on the right for now. We can access it later once we are on the lower floor.
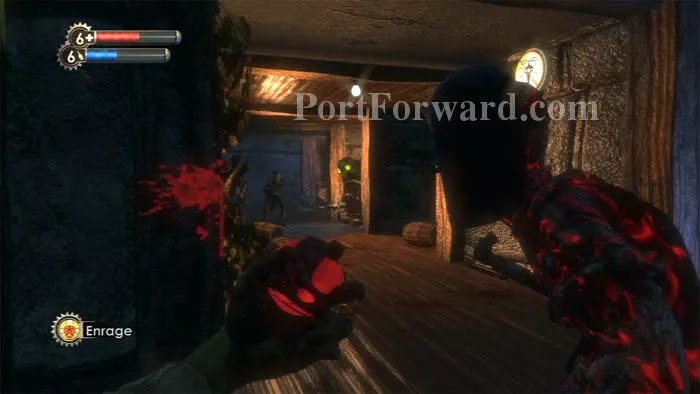
Pause before advancing down this corridor on the left. Wait for the perfect conjunction of foes before tossing Enrage! Make the first right to find Distilled Water, a Storage Crate, a Shotgun and a corpse with more Distilled Water.
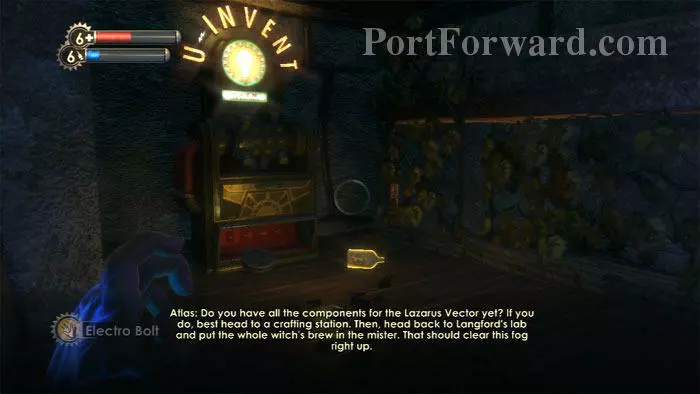
Keep left to find this U-Invent alongside Armor-Piercing Auto Rounds and more Distilled Water. You should now have all the ingredients necessary to create the Lazarus Vector, which you can make at this U-Invent.
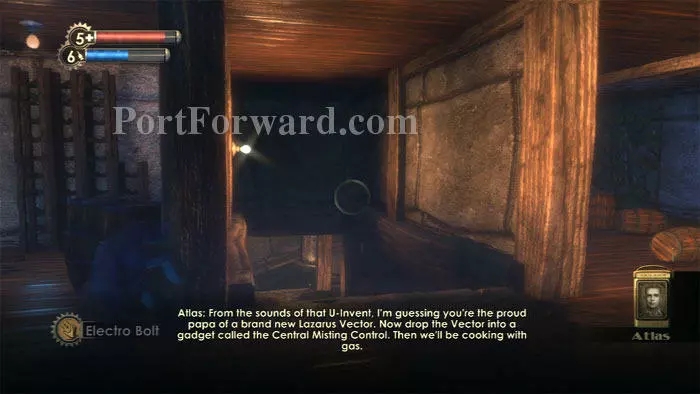
Atlas tells you to return to Langford's lab. First, turn around and descend these stairs to explore the winery further.
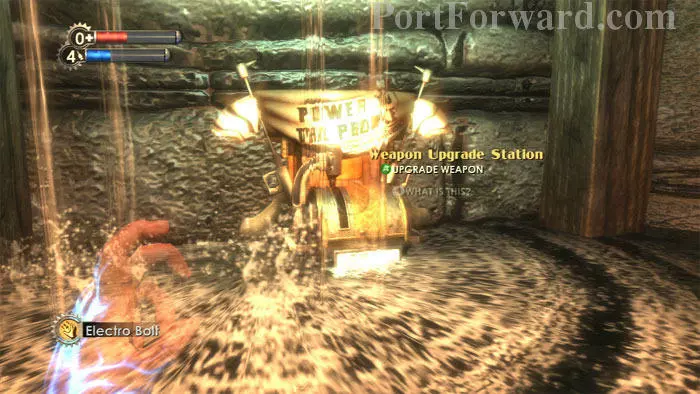
Directly across from the base of the stairs is this Power to the People Weapon Upgrade Station.
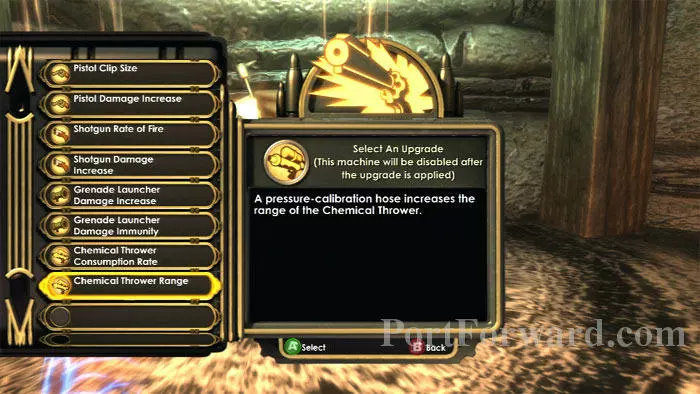
I choose to upgrade Chemical Thrower Range, useful for an upcoming firefight.
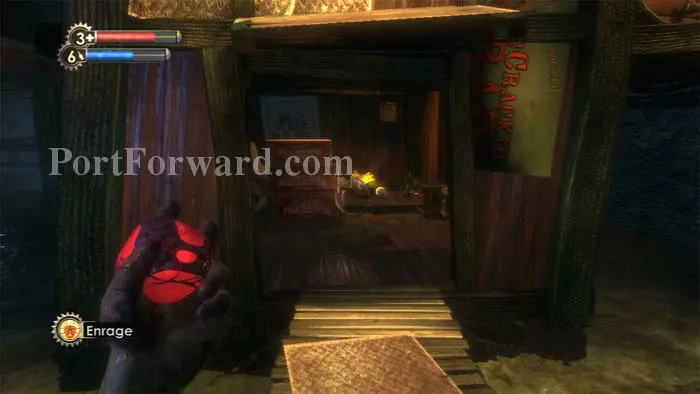
More distilled water, a Gene-Bank and lots of Storage Crates are also down here, plus a minor prize can be found in the drop-down room spotted earlier - a Photographer's Eye Combat Tonic. I already earned Photographer's Eye 2 previously, but both Tonics can be equipped to earn even faster research bonuses. Napalm and an EVE Hypo can also be found inside.

Once you grab the Tonic, Bolt Traps spring into place and Splicers attack. Inferno! causes the Splicers to jump into the water, where you can finish them off with Electro Bolt.
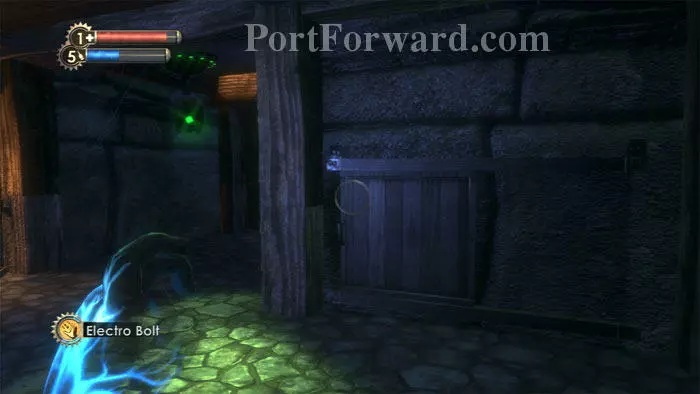
A Lockbox, First Aid Kit - and a machine gun turret - are in this crawlspace.
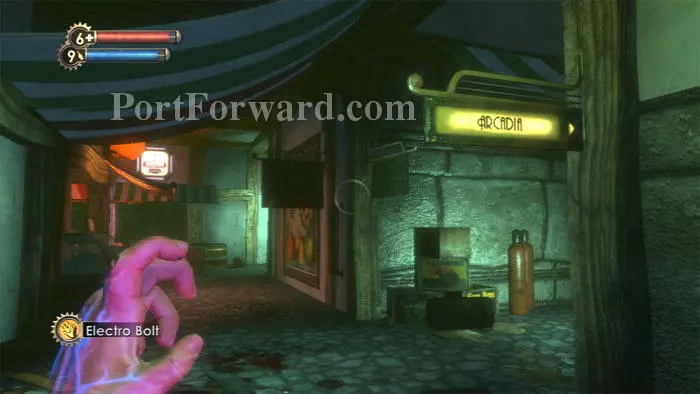
Once you've collected all the supplies in the area, fill up at the Circus of Values then follow the signs back to Arcadia.
More BioShock Walkthroughs
This BioShock walkthrough is divided into 15 total pages.


