
This BioShock walkthrough is divided into 15 total pages.
You can jump to nearby pages of the game using the links above.
Neptune's Bounty

Here's a map of the level. Map - Neptune's Bounty
- Medical Expert - Physical Tonic
- Bathysphere Keys - Audio Diary
- Timmothy H. Interrogation - Audio Diary
- Fontaine Must Go - Audio Diary
- Finding The Sea Slug - Audio Diary
- Picked Up Timmy H. - Audio Diary
- Masha Come Home - Audio Diary
- Watch Fontaine - Audio Diary
- Have My Badge - Audio Diary
- Security Bullseye - Plasmid
- Adam Discovery - Audio Diary
- Eden Leaking - Audio Diary
- Fontaine's Smugglers - Audio Diary
- Death Penalty In Rapture - Audio Diary
- Meeting Ryan - Audio Diary
- Rapture Changing - Audio Diary
- Working Late Again - Audio Diary
- Smuggling Ring - Audio Diary
- Saw Masha Today - Audio Diary
- Shorten Alarms - Engineering Tonic
- Arresting Fontaine - Audio Diary
- Wrench Lurker - Combat Tonic
- Focused Hacker - Engineering Tonic
- Power To The People - Weapon Upgrade
- Putting The Screws On - Audio Diary

A Vita-Chamber is nearby (behind me in this shot) so you can expect to be coming through here again. I recommend hacking the Circus of Values now.
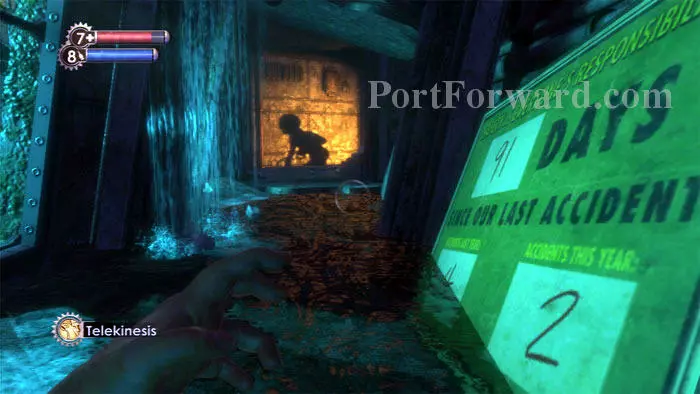
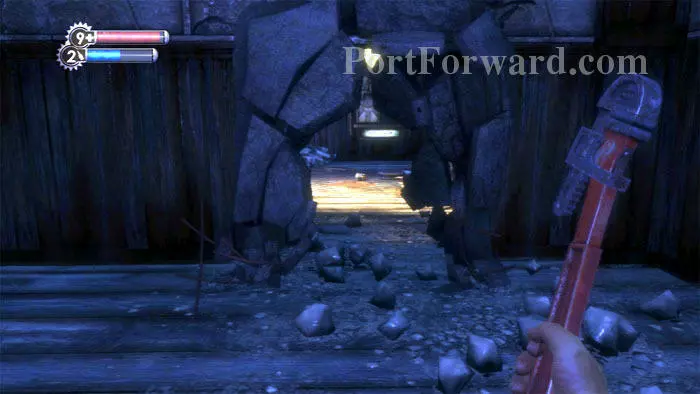
Climb over the debris and pass through a door to this scene. You're catching a glimpse of a new Splicer type, the ceiling-climbing Spider Splicer.
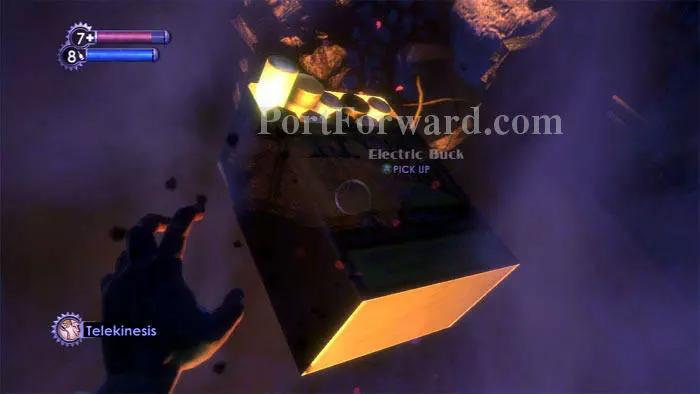
She climbs through this ceiling hole, where you can use Telekinesis to pull a box of Electric Buck. A Health Station is ready for hacking through the next door.
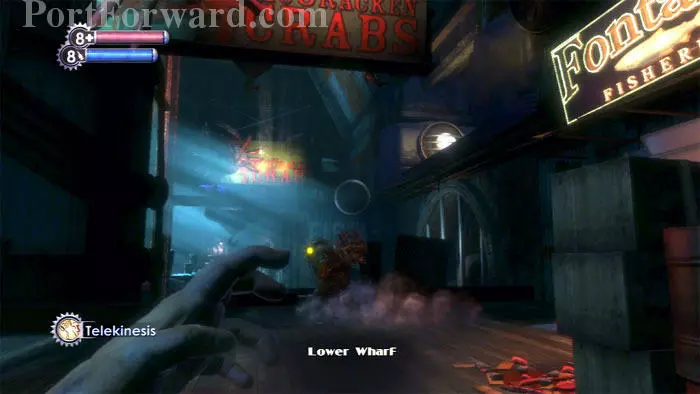
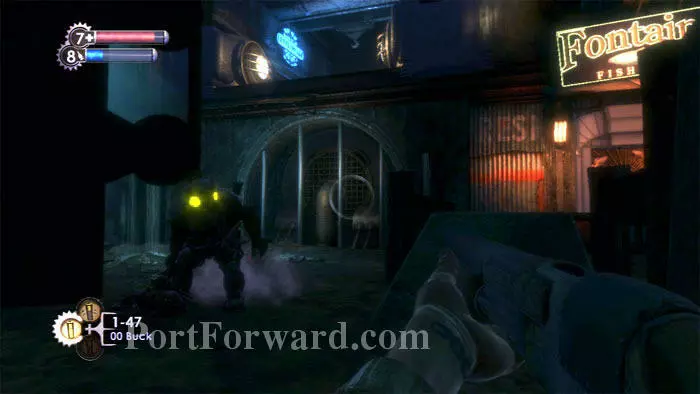
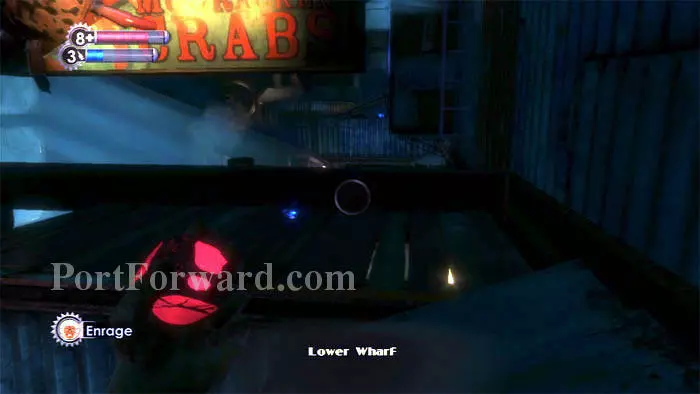
Through another door you'll emerge in the Lower Wharf. A Big Daddy is escorting a Little Sister.
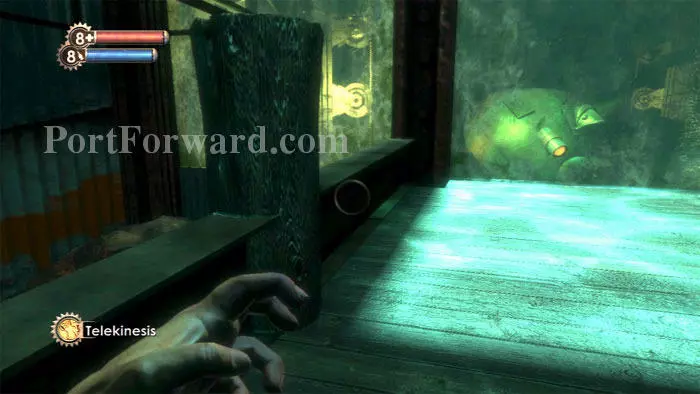
Turn left and hop over the ledge to crawl beneath the boardwalk, where you'll find plenty of goodies.
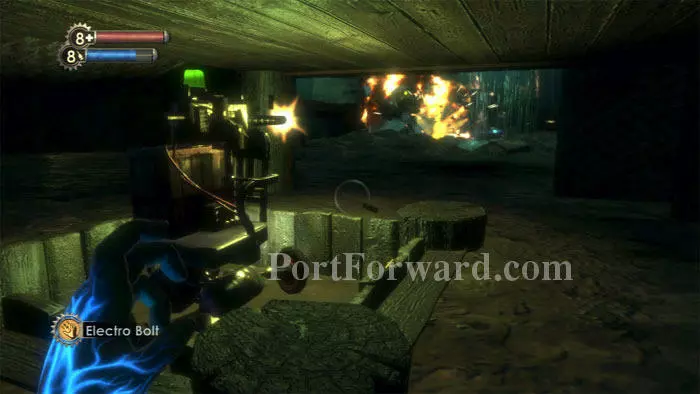
A Supply Crate will be near your initial position, and this turret is not far away. Hopefully the many Splicers in the area are battling the Big Daddy. Hacking the turret adds to their damage. Pistol Rounds can be found behind some pistons on the right.
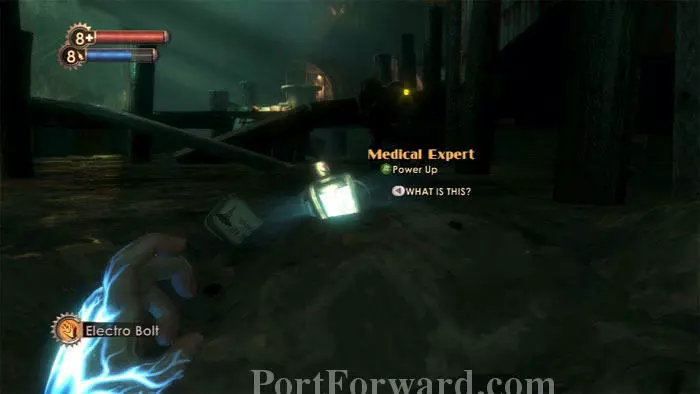
The Medical Expert Physical Tonic is found here, next to a First Aid Kit. This Tonic enhances the power of First Aid Kits.
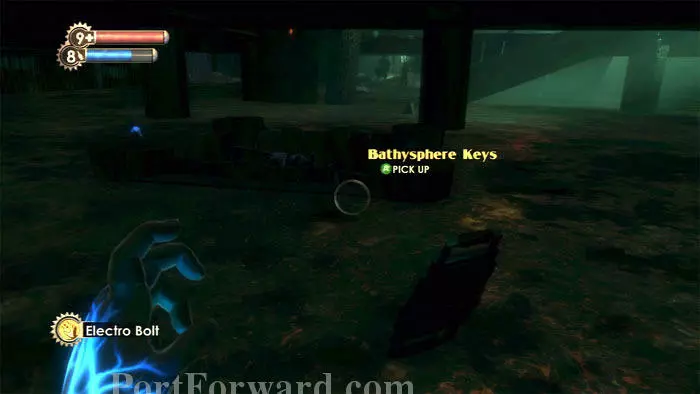
Another turret may be hacked here (already destroyed in this shot) and you'll find Sullivan's audio diary Bathysphere Keys as well as an EVE Hypo. Another First Aid Kit is straight ahead. Machine Gun Rounds and a flammable canister are in the far left corner.
If you take cover and let the Splicers and Big Daddy fight it out (especially if you have Enrage!), you'll have minimal cleanup to finish off the remaining Splicers. There's several pools of water for electrifying the lot, and Telekinesis helps defeat the Nitros with their own bombs.
Once you've collected your loot and reasonably pacified the area, enter Fontaine Fisheries.
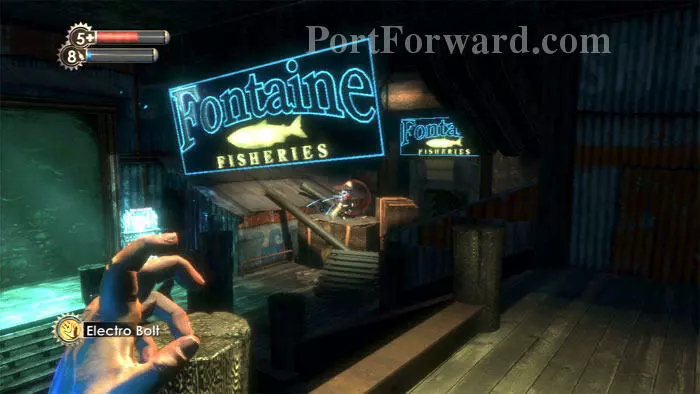
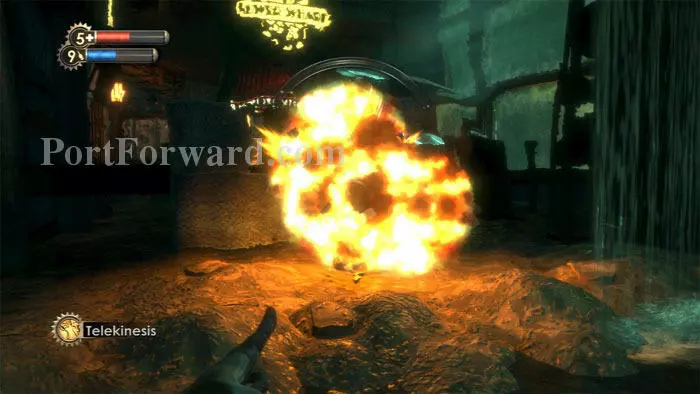
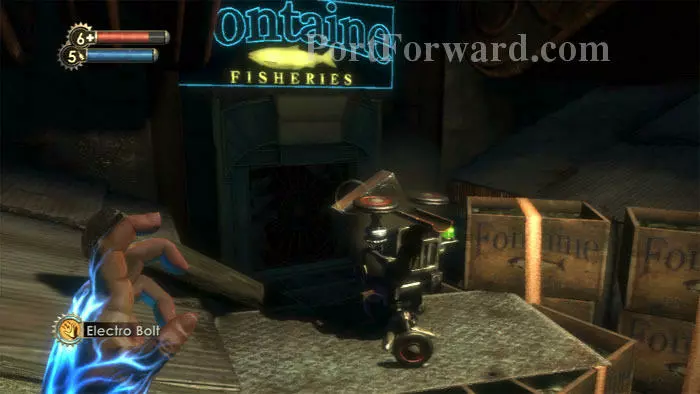
Your first order of business in the Fisheries (after searching the Supply Crates by the door) is to hack the rocket turret on the right. You may also want to hack the Circus of Values to its left as well.
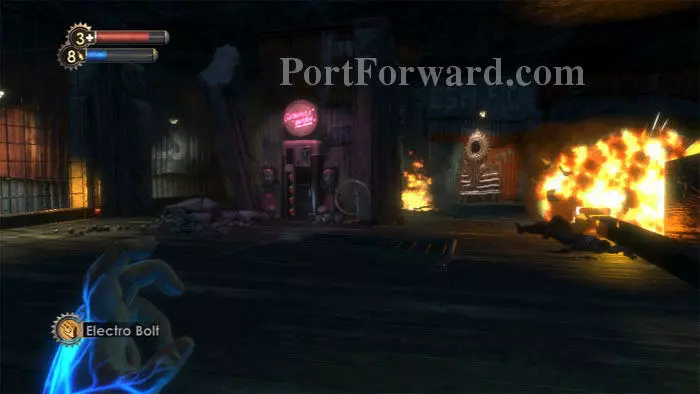
You'll then want to stand clear of the forthcoming carnage. Note the Gatherer's Garden on the left; a Gene Bank is around the corner as well. With the rocket turret on our side and a new Gatherer's Garden available, it's time to gather some ADAM.
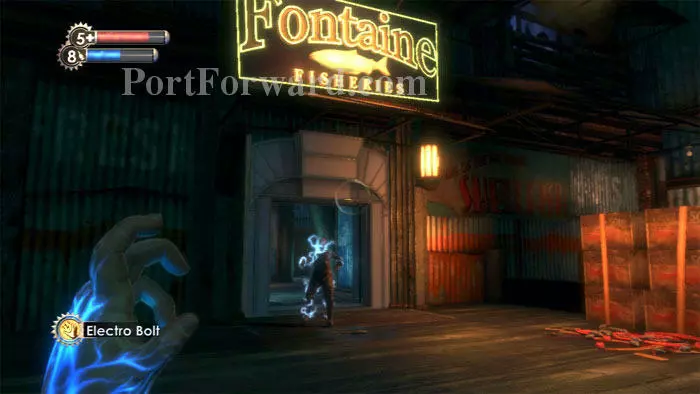
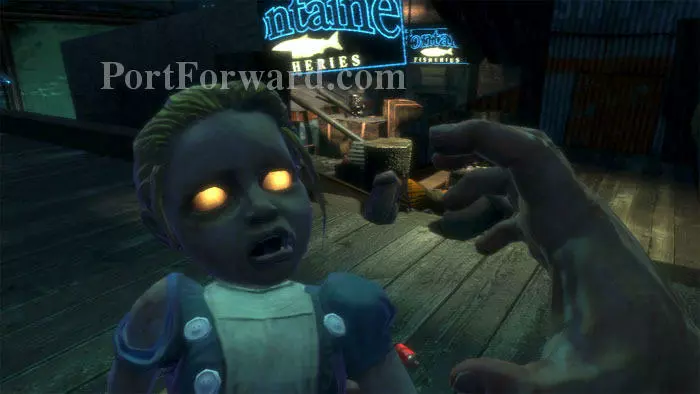
Head outside and find a Big Daddy with a Little Sister. If there aren't any Little Sisters out at the moment, stay close to their Hidey Holes. You can find one just past the Rapture Metro door. Fire on the Big Daddy and lure him into Fontaine Fisheries.
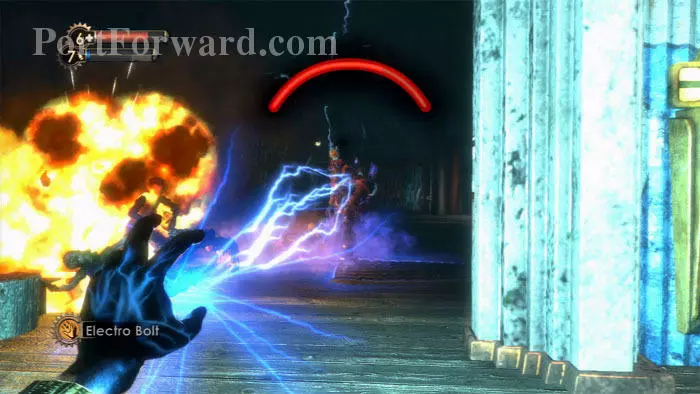
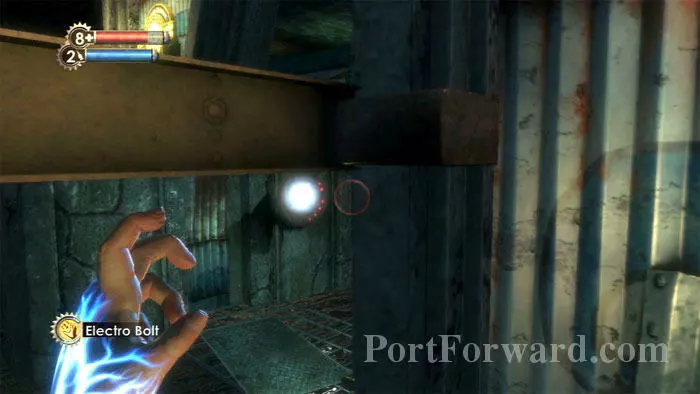
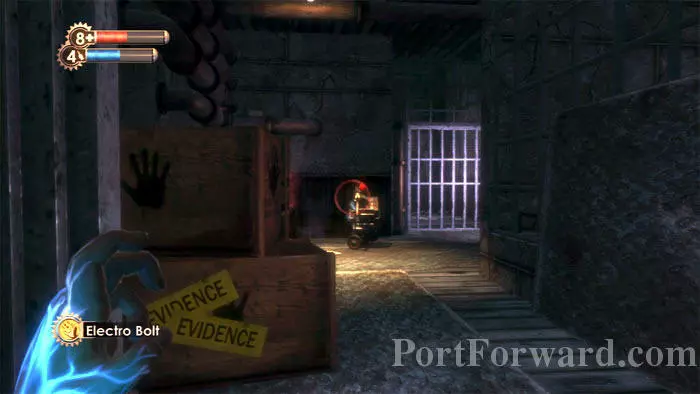
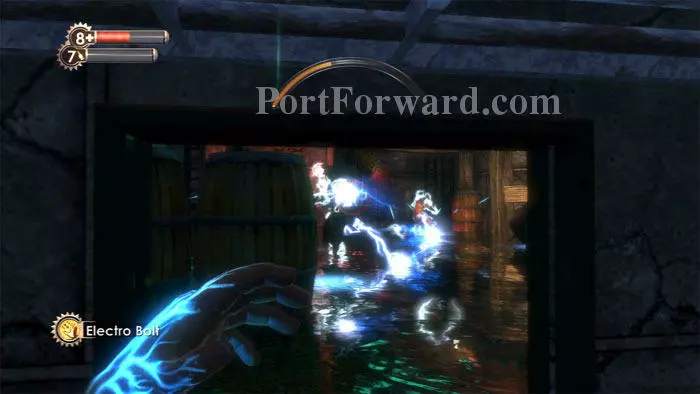
Pull the Big Daddy (this one is of the ranged-weapon Rosie variety) onto the balcony facing your hacked rocket turret. Zap her in place with Electro Bolt and let the rockets tear her apart.
Once Rosie has fallen, collect your ADAM and spend it at the nearby Gatherer's Garden. If you've saved all three Little Sisters thus far, you'll find a Hypnotize Big Daddy Plasmid by the Gatherer's Garden as a gift from Tenenbaum.
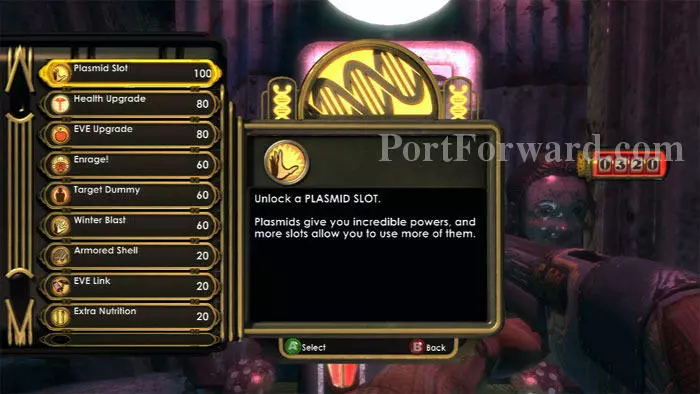
For those keeping score, I've now got 320 ADAM, which I spend on two Plasmid Slots and an Enrage! Plasmid. (I would normally purchase Health or EVE upgrades, but I find Enrage! to be too good to pass up.)
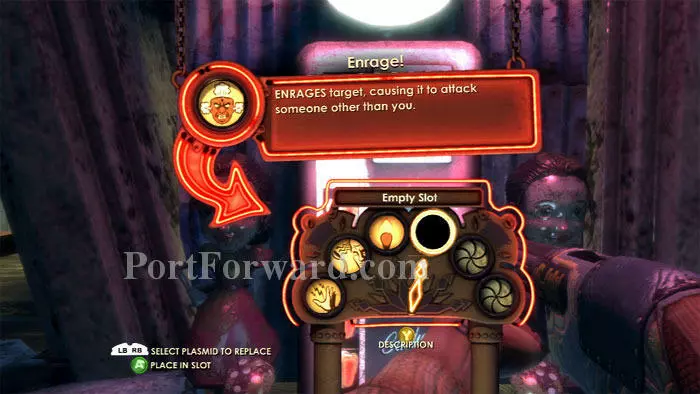
I now have a total of four Plasmid Slots, enough for all of my previous Plasmids, plus my new Enrage! Plasmid.
Climb behind your hacked rocket turret and pass through the door under the sign.
The Gorton's of Gloucester fisherman is inside, alongside two First Aid Kits. A Medical Station can be hacked around the corner. Do this now.
Grab these supplies from the conveyor before knocking on the door; a tough battle is coming up and if you die, the supplies go away.
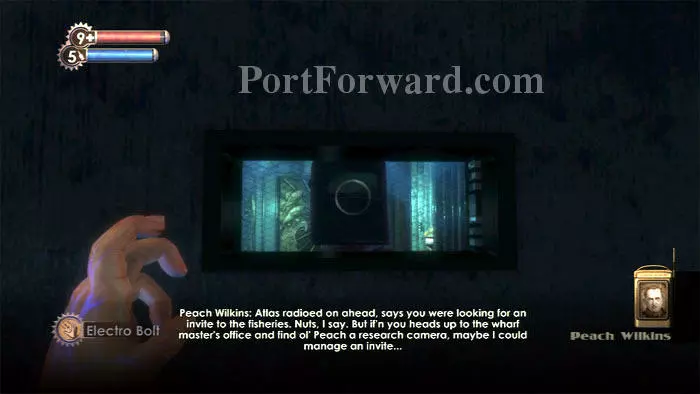
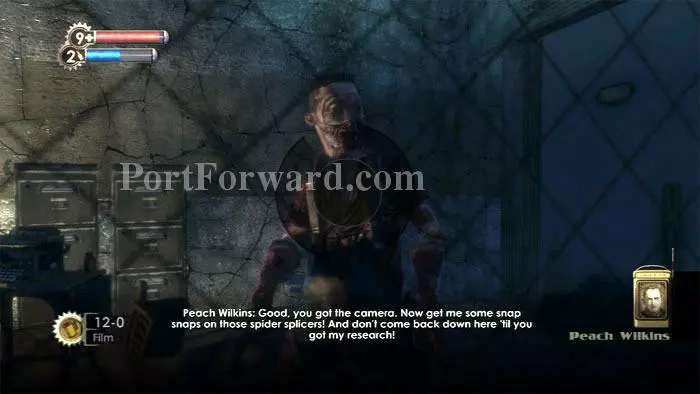
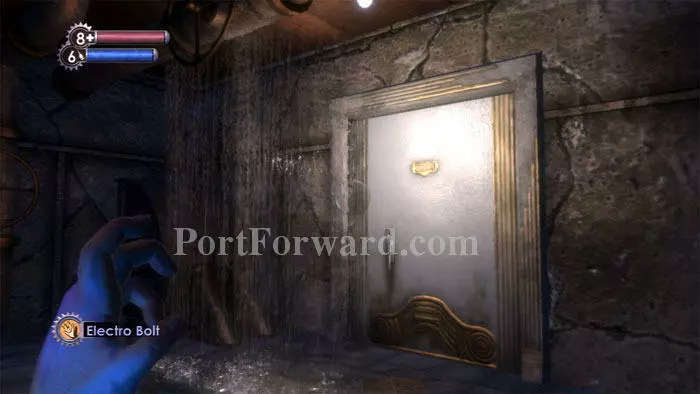
Knock on the door and listen to crazy Peach Wilkins. Upon hearing the approach of a Spider Splicer, he shares his doubts about your current situation.
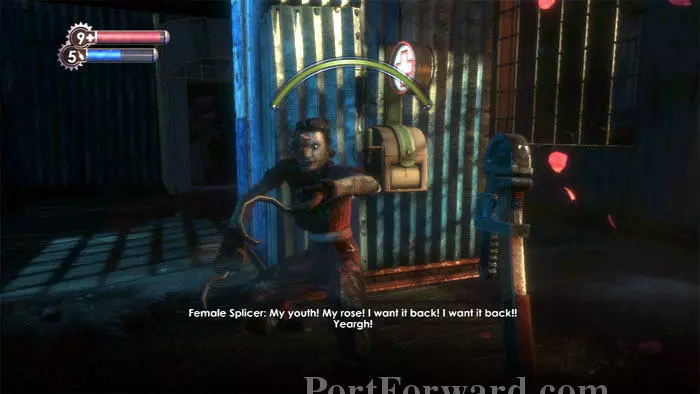
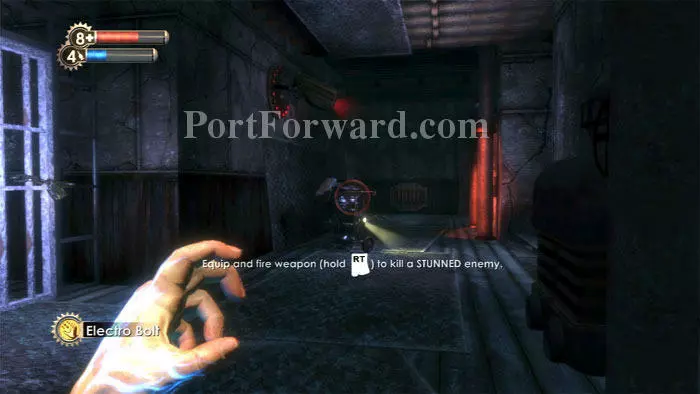
The Spider is your toughest Splicer yet. Your weapons do minimal damage, and this Splicer can climb walls and scurry across the ceiling, all the while tossing firey meathooks at you. Keep moving and try to zap her with your Electro Bolt. Peach sends in a security bot for backup.
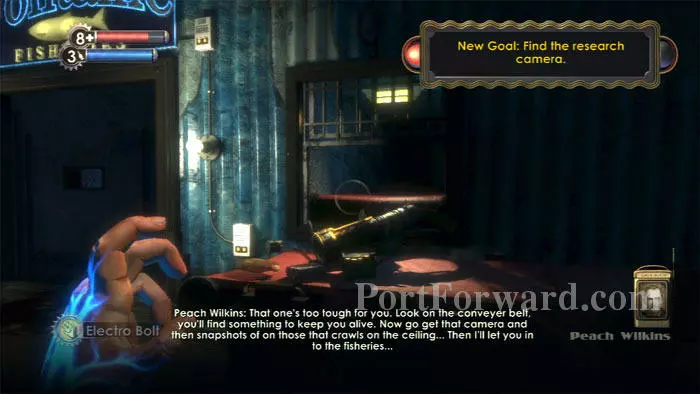
The Spider Splicer gets away, but Peach sends you some hefty new firepower: the Grenade Launcher. You also receive a new goal: find the research camera.
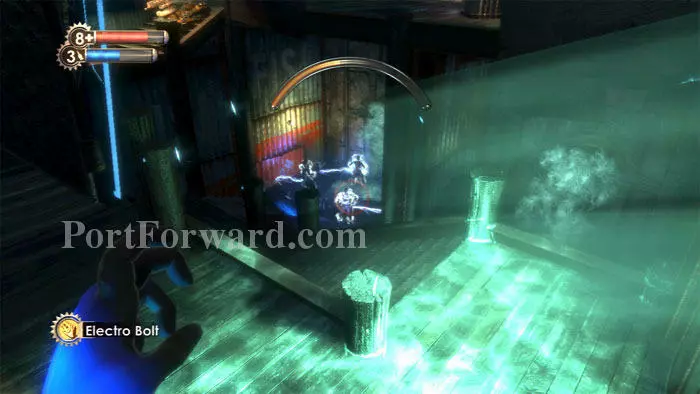
Return past the rocket turret and find a trio of Leadhead Splicers in the water below. Two quick zaps of Electro Bolt takes them down quickly.
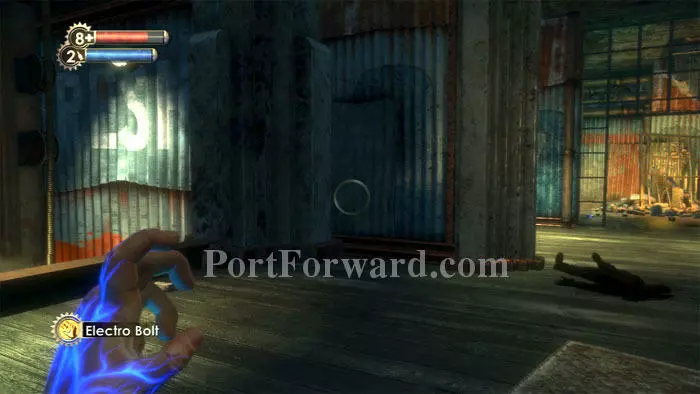
Ascend the stairs and defeat a Nitro Splicer, then find that the corridor to the Wharfmaster's office on the right is now unlocked. Don't go there just yet, though. Instead, hop over the ledge on the left.
Beware this security camera. Hack or destroy it.

The camera is covering this bloody corpse, alongside a Machine Gun, Pistol Rounds, and a security bot which you can hack to escort yourself about the area. Jump over the ledge next to the security camera and search the bodies of the Leadhead Splicers you fried a moment ago.
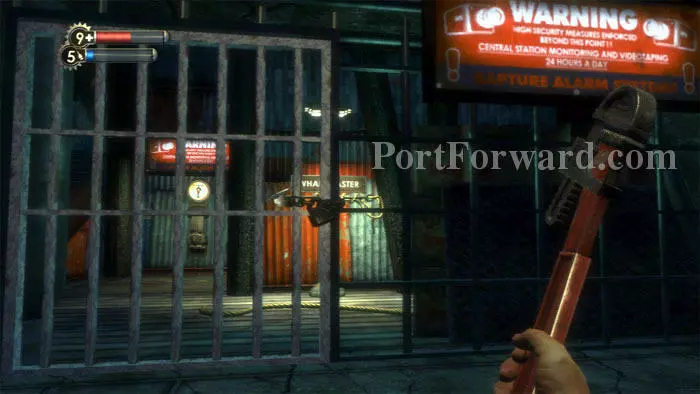
Follow the corridor to this door. You can hack it or enter the code 5380 which you'll find in a bit. Inside is Sullivan's grizzly audio log Timmy H. Interrogation along with a smuggler's crate and Machine Gun Rounds. The body may be searched for some decent loot, and Telekinesis can pull buckshot and Pistol Rounds from behind the bars.
Return upstairs to the unlocked Wharfmaster's corridor. Many Splicers are ahead -- ready your Enrage! if you've got it. Note the EVE Hypo on the floor ahead/left.
After the area calms down, find buckshot on the left and this hole in the floor to the right.
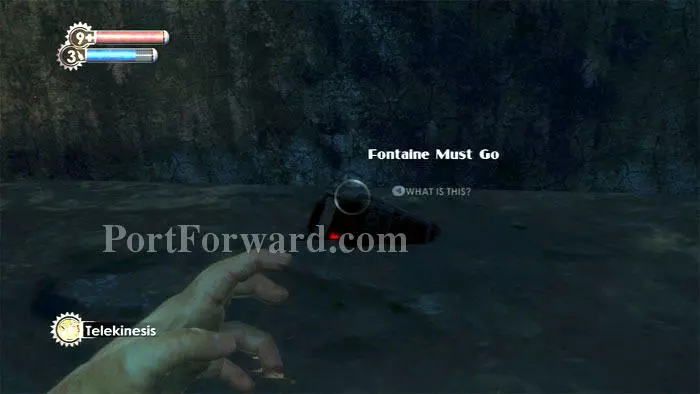
Crawl beneath to find health, ammo, EVE, and Andrew Ryan's audio diary, Fontaine Must Go.
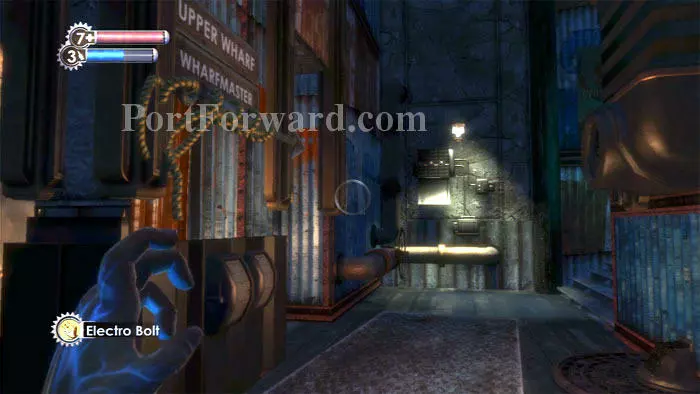
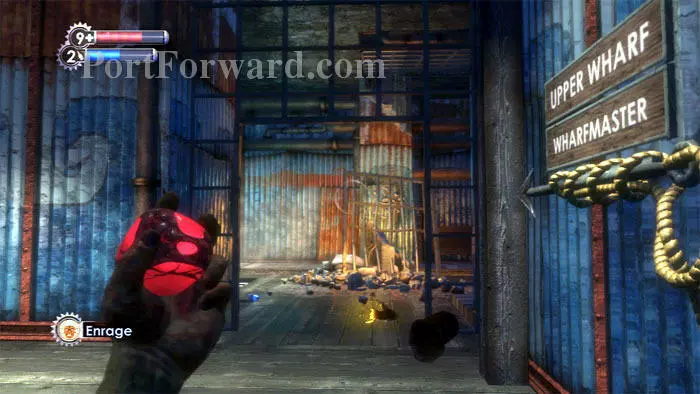
Ascend the stairs to the Upper Wharf, finding a Health Station and crate to the left at this landing. Another crate is behind the Wharfmaster sign. Continue up the stairs to find proximity mines, pistol rounds, buckshot and cash.
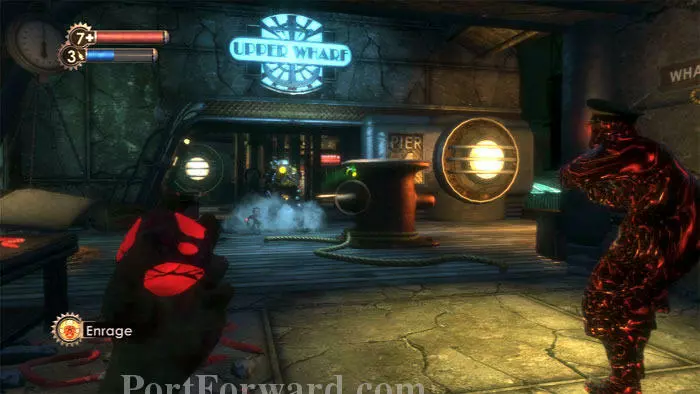
A Big Daddy and Little Sister wander the area on the left. I Enrage a Leadhead Splicer to shave some health off the Big Daddy (and consequently kill the Leadhead) while I search the area on the right.
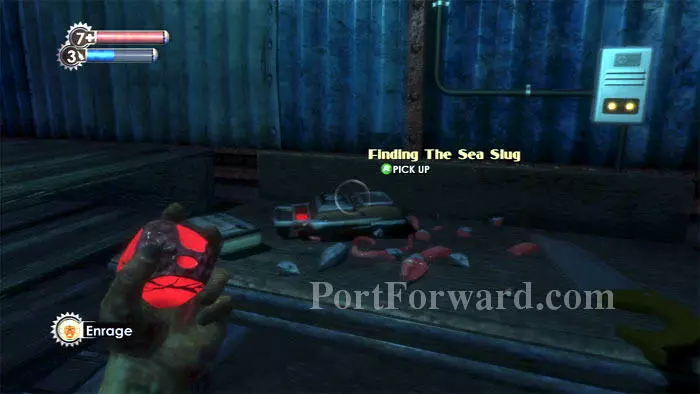
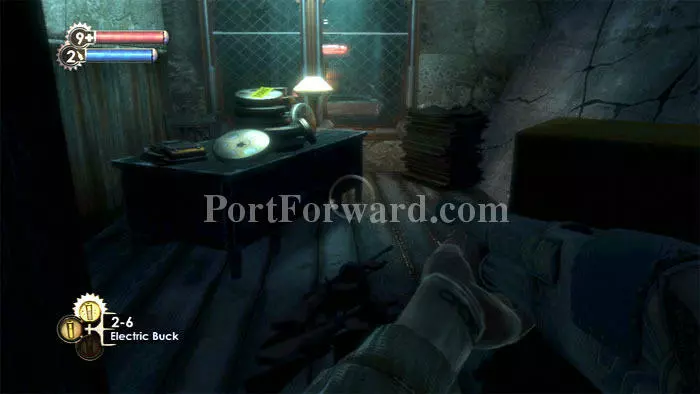
Here on this table to the right is Tenenbaum's audio diary Finding The Sea Slug. A First Aid Kit and a crate are also found here.
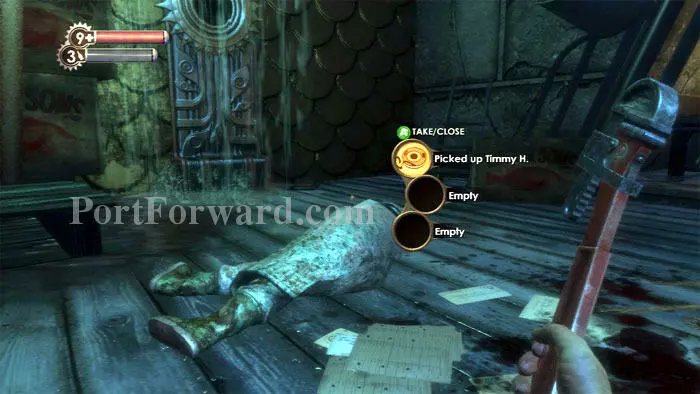
Search this body for Sullivan's Picked up Timmy H. audio diary, revealing the code 5380 for the gate we saw earlier. Another audio log, Masha Come Home, is by the Hidey Hole ahead, and reveals code 7533 for room 7 at the upcoming Fighting McDonagh's.
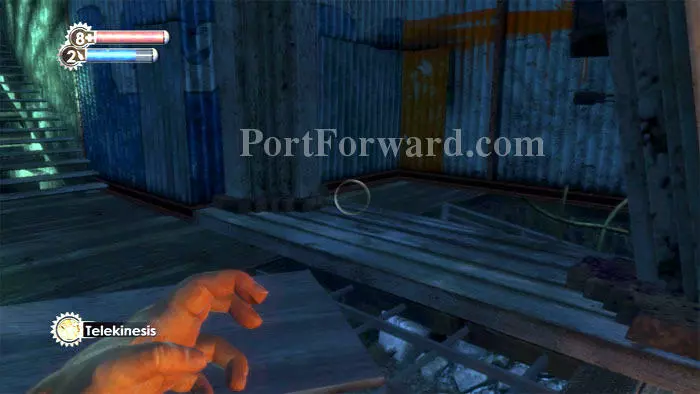
Find a Lockbox then hop over the adjacent ledge to find yourself on the rooftops of the Lower Wharf. Two EVE Hypos are seen in this shot, and a First Aid Kit is here. There's also Pistol Rounds on a post ahead/left, and a very nice supply crate on an awning to the left.
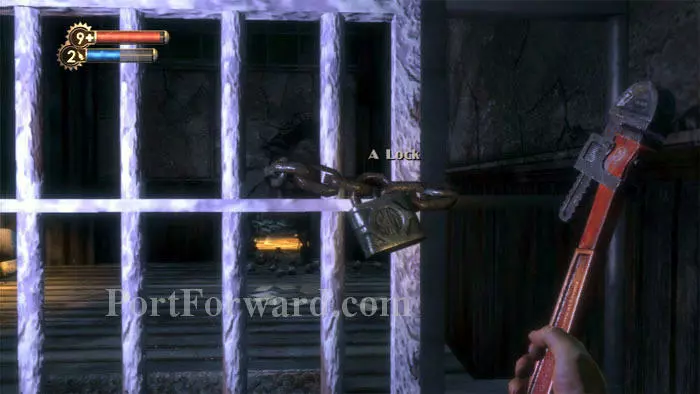
Smash the lock on this gate then defeat the Splicer on the other side. Machine Gun and Pistol Rounds are to the right.
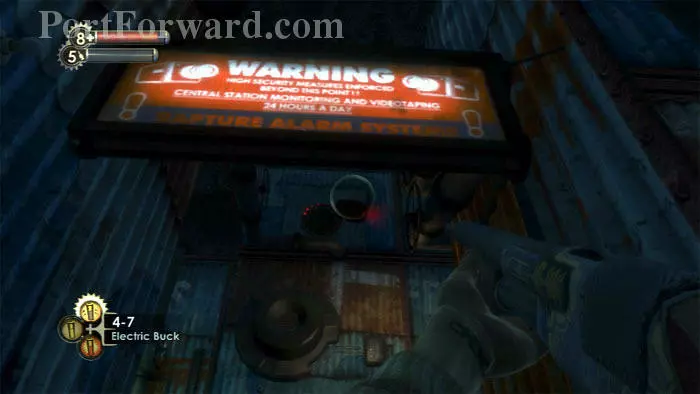
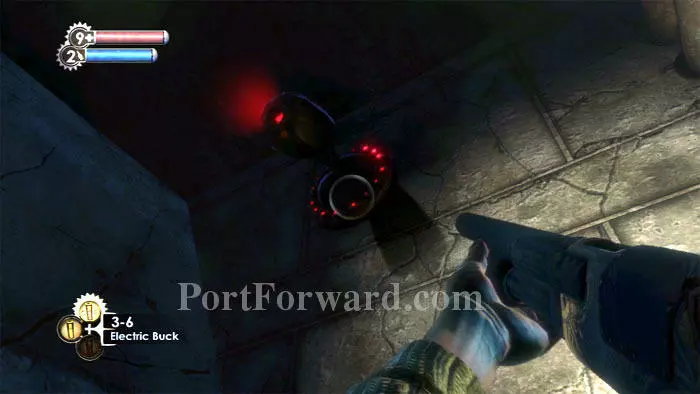
Some bait is on the left, but don't bite until you've taken out this security camera near a Vita-Chamber at the first landing up the stairs. It's too high up to hack, so I resorted to destroying it with a single up-close shot of Electric Buck. Another, easier-to-reach security camera is at the top of the stairs, above some smuggler's crates and left of two frag grenades.
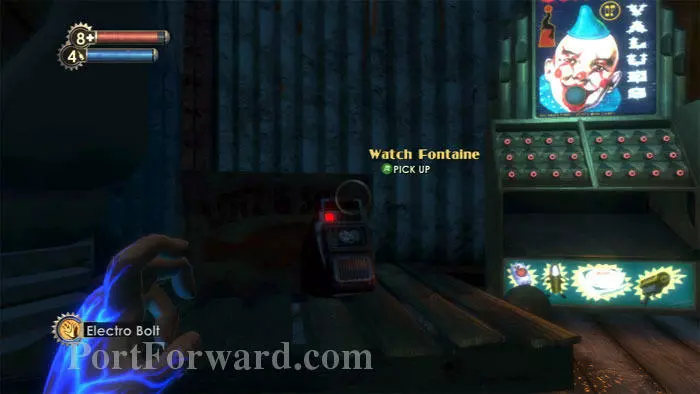
You can now safely search this supply crate, hack the Circus of Values and listen to Andrew Ryan's audio log Watch Fontaine. A Frag Grenade can be pulled via Telekinesis from the upper-left ledge.
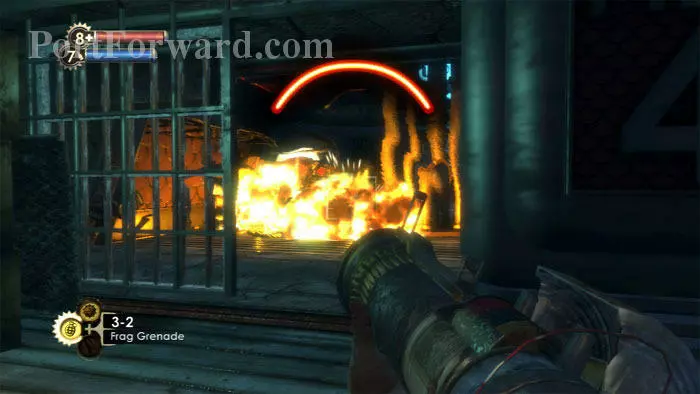
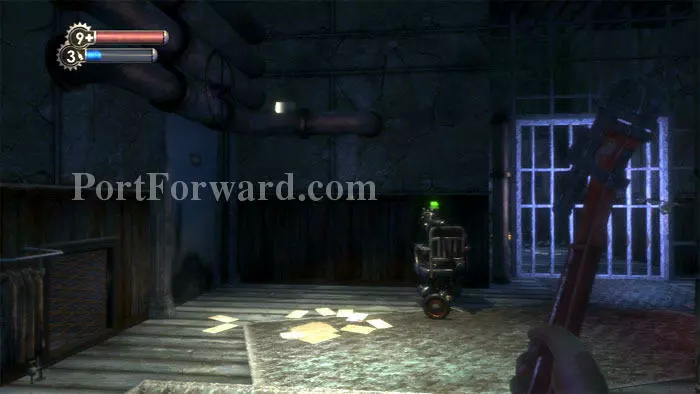
Now that you've got a security camera on your side, plus a nearby Vita-Chamber, I'd say it's a good time to confront that Big Daddy we passed a moment ago. Your Grenade Launcher is your best bet against the Big Daddy. Hit him then run up the stairs to your security camera.
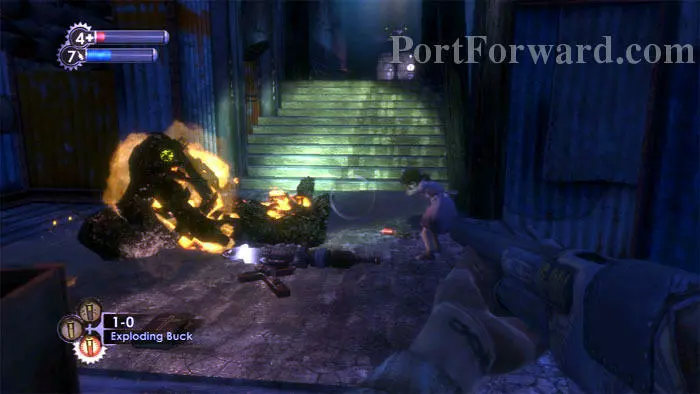
The combination of your grenades, security bots, Exploding and Electric Buck, brings down Rosie before too long.
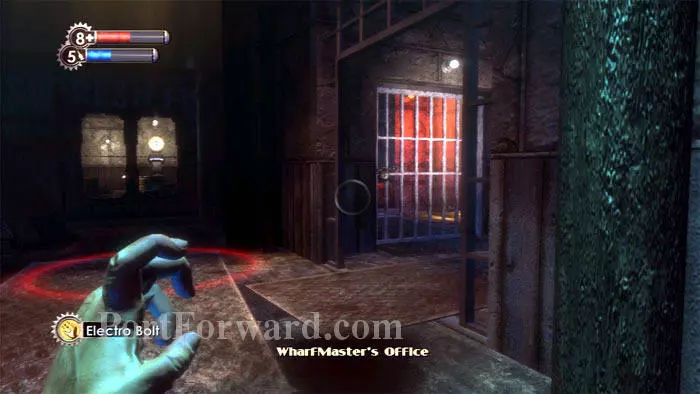
Lots of turrets and security cameras are up here so proceed carefully. The office straight ahead is currently inaccessible. Instead, smash the lock on the gate to the right.
Speed is essential, especially if you intend to hack these turrets instead of shoot them with your Electric Buckshot. This turret is directly ahead from the locked gate and will fire on you immediately. Hit it with your Electro Bolt to temporarily disable it, then rush it and either hack or shoot.
To the right is another turret plus a security camera. Again, move quickly. At the end of the corridor you'll have another turret to the left and yet another on the right. Be careful to not get caught in the crossfire while the turrets are of mixed loyalty.
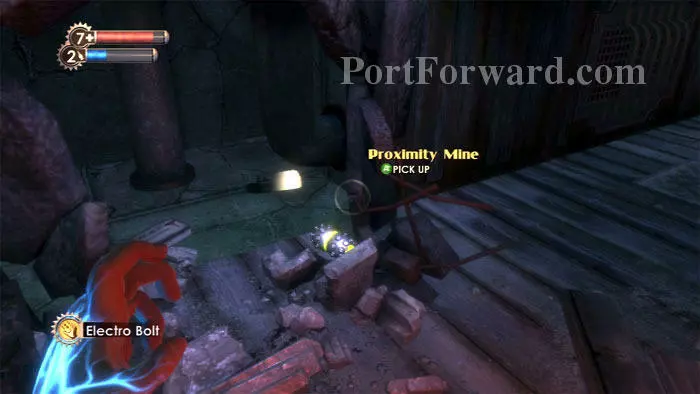
Two First Aid Kits and a Proximity Mine are found here. Bandages and an EVE Hypo are found near the toilet, and a fallen Big Daddy holds excellent loot.
The Research Camera is found behind the locked gate on the right, but going there triggers a scripted sequence that prevents your return. Instead, proceed by smashing the air vent on the left wall and climbing inside. Note the buckshot on the pipe above/left.
You're now inside the locked office you spotted earlier. This security camera on the right is too high to hack. Have your Shotgun ready to blast the camera as you emerge from the vent.
Lots of good stuff in here, all inaccessible if you had grabbed the camera first: two Machine Guns, a Grenade Launcher, a Safe, plus Sullivan's audio diary Have My Badge.
Exit back through the vent. Now you can break the lock on this gate.
Crawl through this hole in the wall. A Gene-Bank, buckshot, Pistol and Machine Gun Rounds are on the other side.
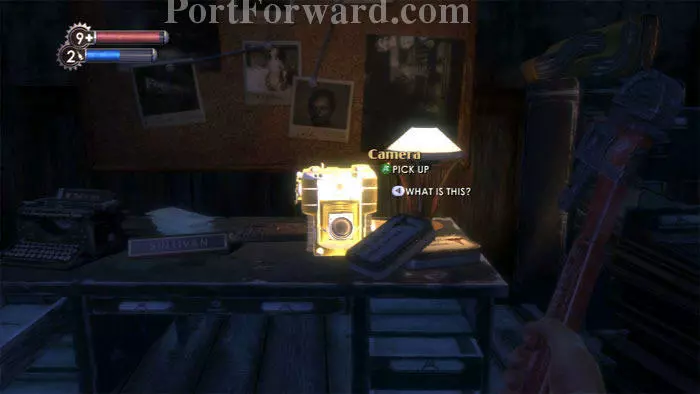
Follow the corridor to a doorway and find the Research Camera here, alongside two First Aid Kits.
You receive a new goal to photograph three Spider Splicers. Snap your first shot through the nearby window to capture this Spider Splicer on film. I thought this was a good shot, but only earned a "B".
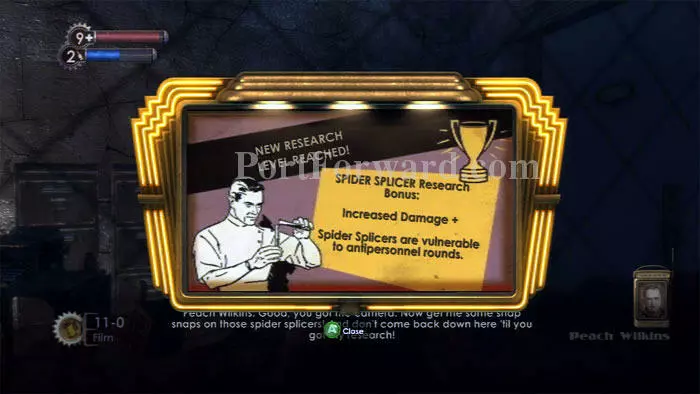
No problem. Even a "C" shot will net you enough research progress to earn increased damage. Note the "+" after, "Increased Damage." Each time the progress bar reaches its maximum, you earn another "+" or a reward until a maximum of "+++" is achieved.
Exit to the hallway and an explosion prevents you from backtracking further. Snap a picture of a Leadhead Splicer to learn they are vulnerable to antipersonnel rounds then exit out this broken window.
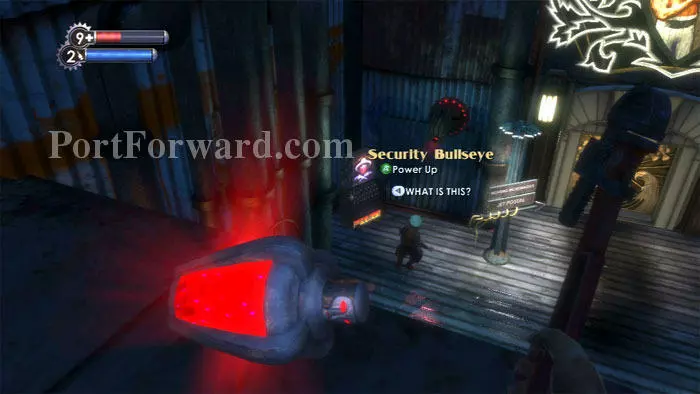
Find a Security Bullseye Plasmid on the ledge. You can use it on the lonely Leadhead Splicer below to make him a target of the security camera. You'll still need to hack the camera to make it your permanent ally, though.
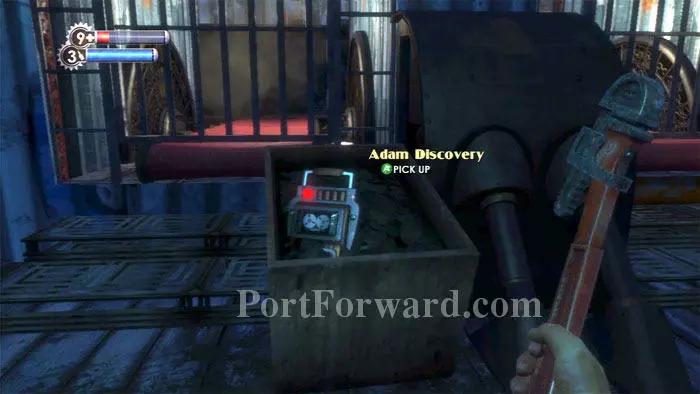
Find an EVE Hypo where you land plus ammo behind the pipes on either side of the room. Tenenbaum's Adam Discovery audio diary can be found here. Continue through the door to the left.
Find McDonagh's Eden Leaking audio diary next to a lock box and some Antipersonnel Auto Rounds. A First Aid Kit is to the left, and a Health Station and another door are to the right.
More Leadhead Splicers are in the next tunnel. Beneath the security camera on the right is Tenenbaum's Fontaine's Smugglers audio diary. A Pep Bar is by a garbage can on the left. (Thanks to Abebil for providing the correct screenshot.)
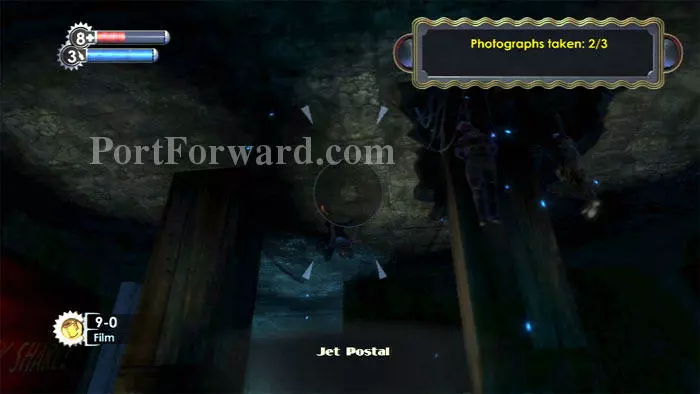
Jet Postal is to the right, and the Fighting McDonagh's Tavern is to the left. Behind the door to each is a Spider Splicer, so have your camera ready before entering. This is the Spider Splicer in Jet Postal -- look up immediately upon entering.
The Spider Splicer at the Fighting McDonagh's will quickly leap away so be sure to snap quickly once the door opens. This should complete the goal to snap pictures of three Spider Splicers.
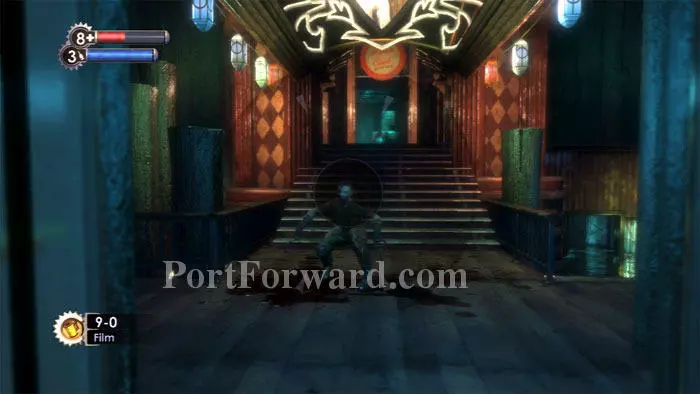
You'll still want to keep snapping photos to research the many Splicers inside Jet Postal and the Fighting McDonagh's. You'll find a Circus of Values inside the entrance to each.
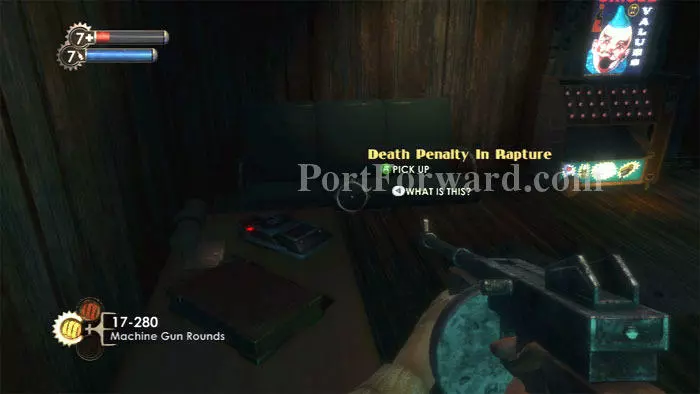
Find Andrew Ryan's Death Penalty In Rapture audio diary at the Jet Postal entrance.
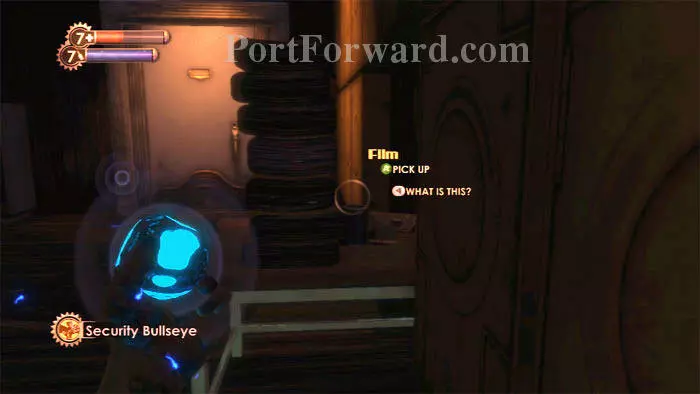
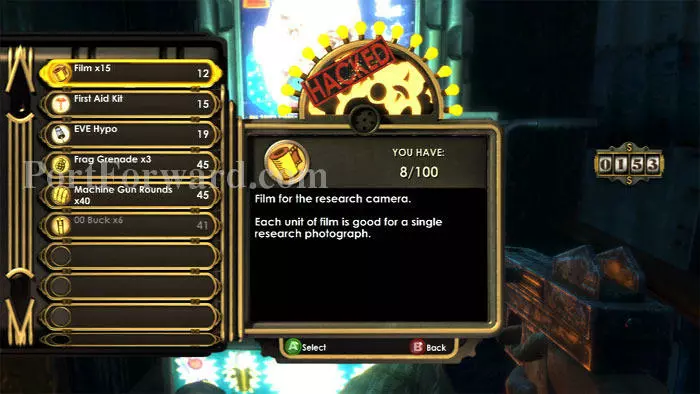
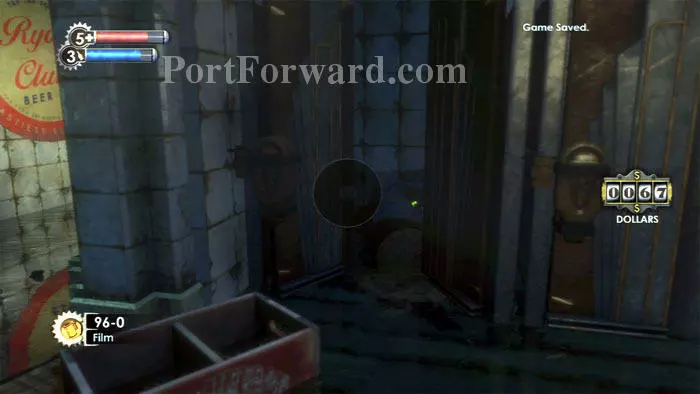
Find Film behind these stacks then equip your Security Bullseye before using the door ahead.
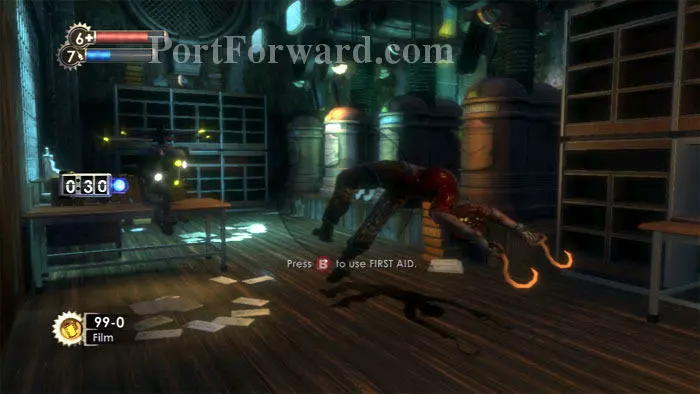
Watch the ceiling for this Spider Splicer then target it with Security Bullseye. Snap photos of the ensuing hilarity to learn that Splicer organs can be used as First Aid Kits. Cash, ammo health and Film is plentiful in this room.
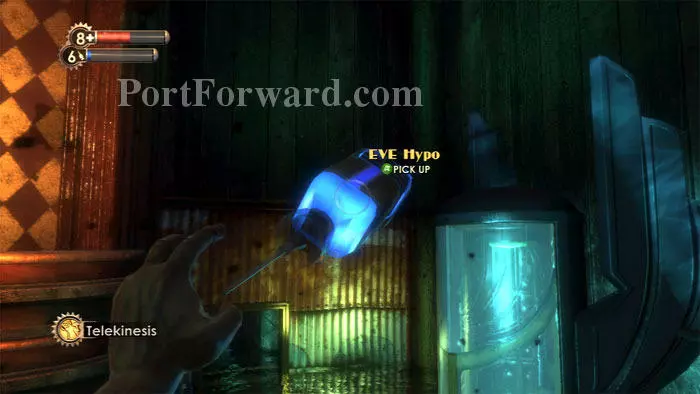
Over at The Fighting McDonagh's you'll be able to use Telekinesis to snatch this EVE Hypo from the ledge above the air vent. Machine Gun Rounds are under the floorboards at your feet and there's a Gene-Bank on the right.
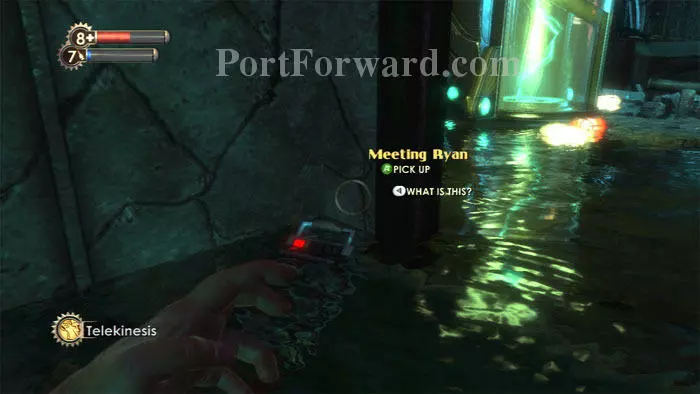
Just inside the vent is McDonagh's Meeting Ryan audio diary.
Find Pistol Rounds and Buckshot before smashing your way through the exit grate. Zap these two Leadheads then hack the security camera and Health Station. Find bandages and film in the barrels to the left before ascending the stairs.
Continue through this door on the right.
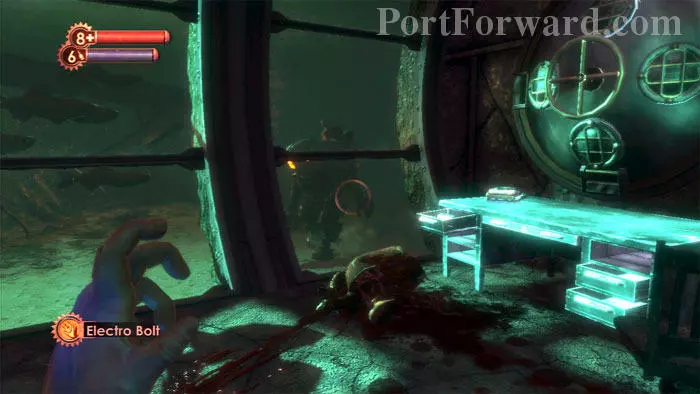
McDonagh's audio diary Rapture Changing is on the desk. Looking out the window is fun; notice how the school of fish realistically scurries away when disturbed. Film is in the desk drawer.
A First Aid Kit and this crawl space are found behind a stack of crates. Defeat the turret and hack the safe for supplies. Frag Grenades are found in this room as well.
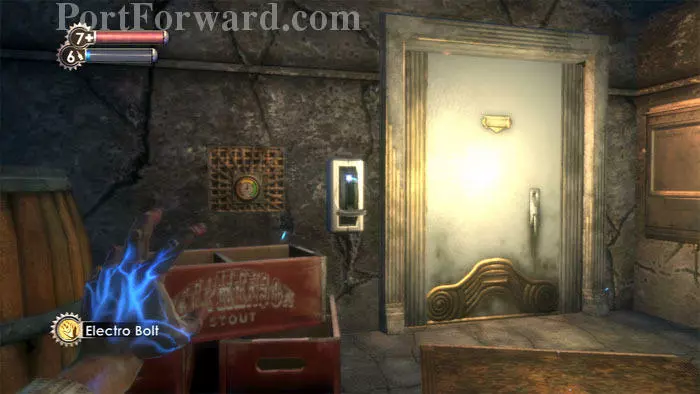
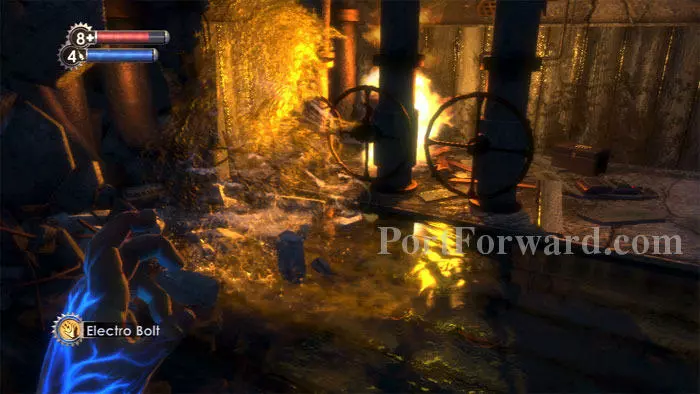
Electro Bolt unlocks this door opposite.

Ready your camera as you enter. Two Leadhead Splicers are inside. Remember to photograph enemies, including turrets and security cameras, before you attack them for maximum research.
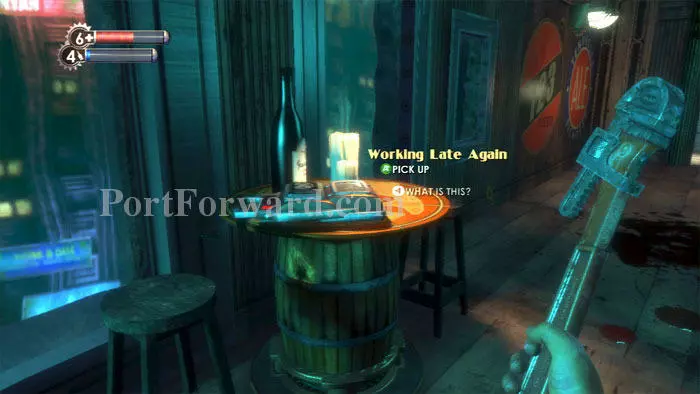
Andrew Ryan's audio diary Working Late Again is found on this table.
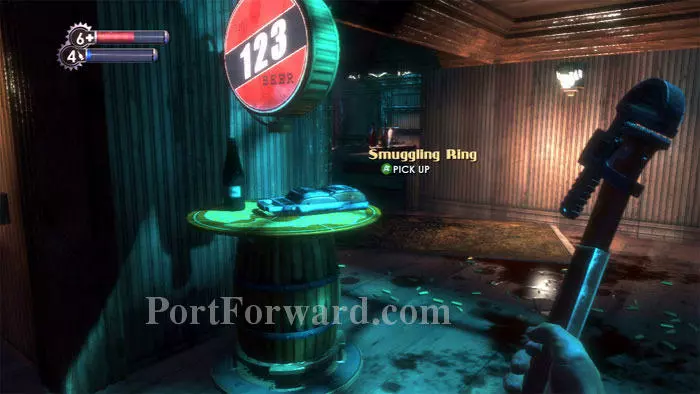
Sullivan's audio diary Smuggling Ring is located on this table. A First Aid Kit is found under a spraying pipe around the corner.
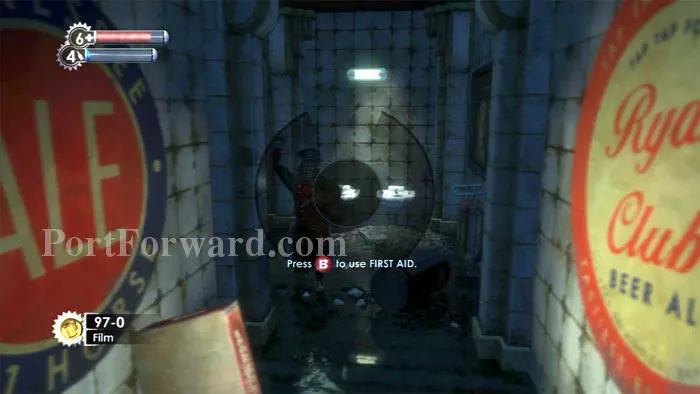
Ready your camera before entering the bathroom. This Nitro Splicer is waiting inside.
These bathroom stalls require five credits to unlock. Proximity Mines and an EVE Hypo are in the left stall. Machine Gun Rounds are found in the right stall.
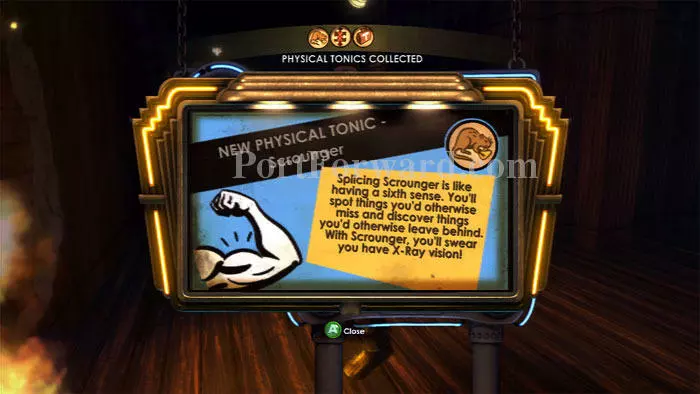
Upstairs you'll battle Nitro, Spider and Leadhead Splicers. Earn a Scrounger Physical Tonic for researching the Leadhead Splicer. This Tonic allows you to search containers a second time for different loot.
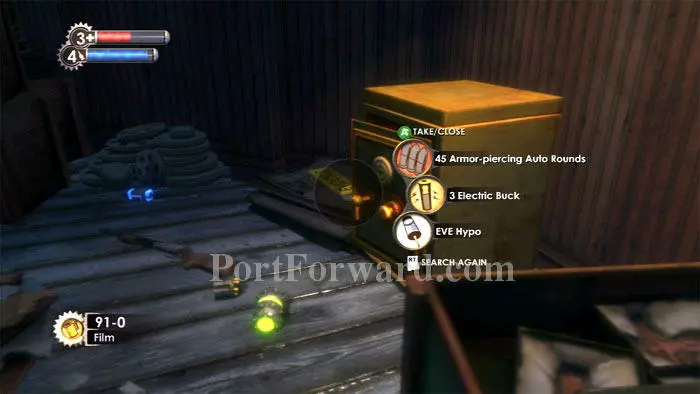
Room 5 has a safe, a Proximity Mine, Armor-Piercing Pistol Rounds, a Shotgun and an EVE Hypo.
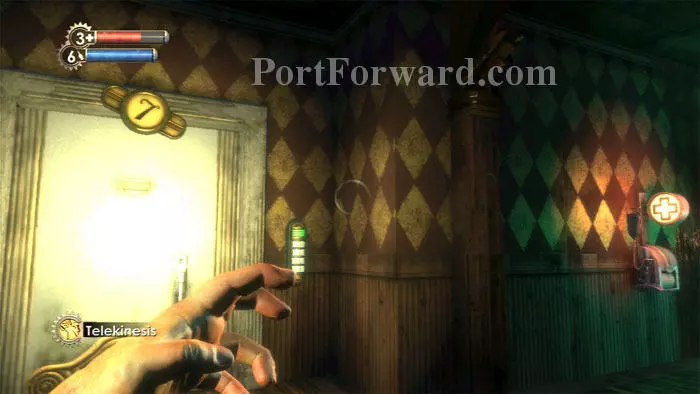
Find a Health Station at the top of the stairs then enter code 7533 to enter room 7.
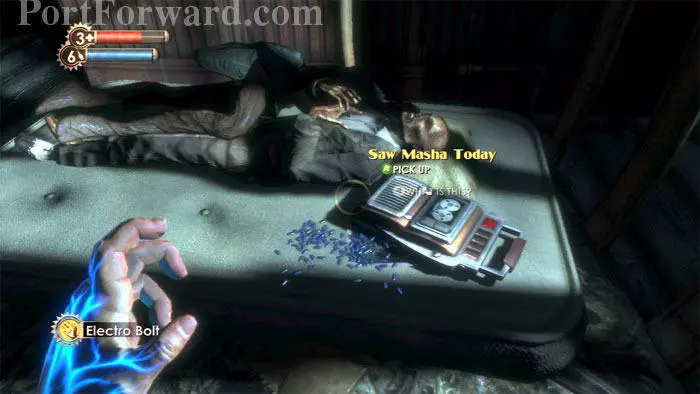
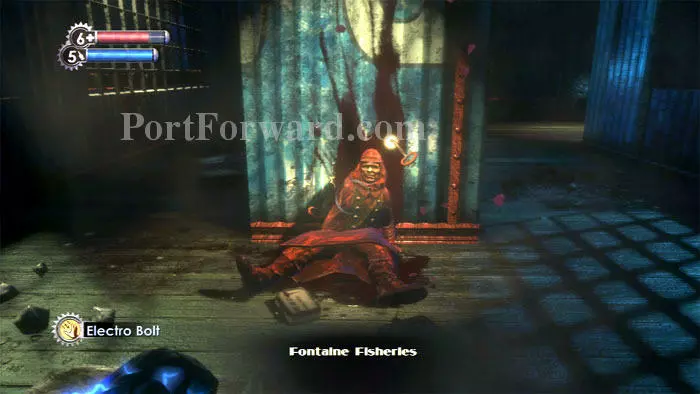
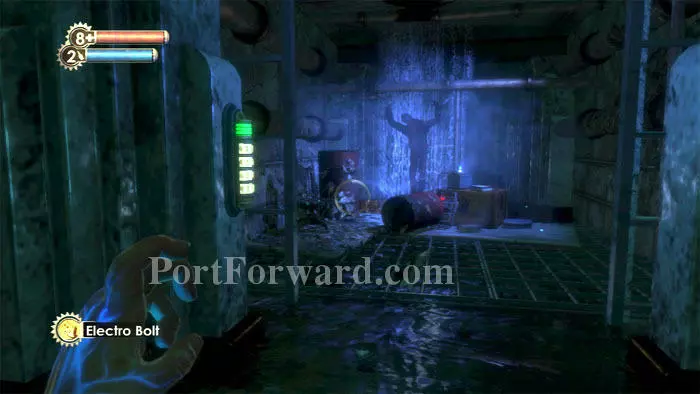
Inside is this heart-wrenching scene and Mariska Lutz's audio diary Saw Masha Today. Turn around to find cash.
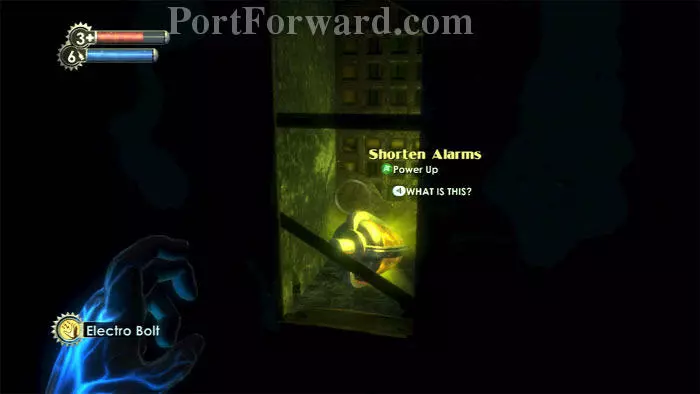
Don't miss the Shorten Alarms Engineering Tonic here in the wall.
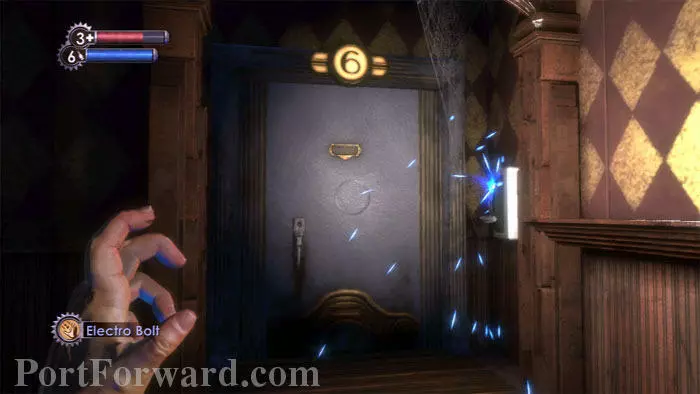
Use Electro Bolt on this control switch to unlock room 6.
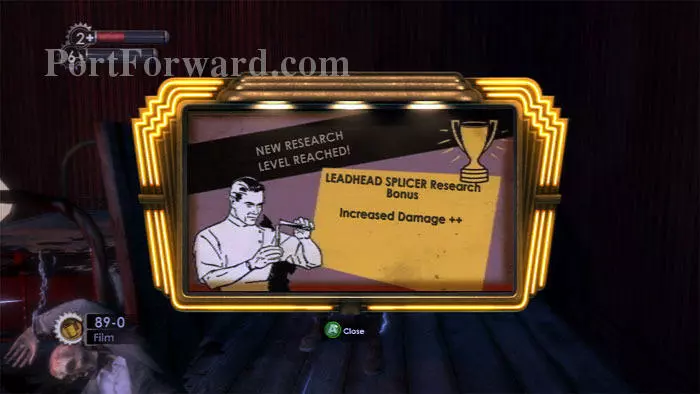
A Leadhead Splicer spawns behind you, and another is waiting behind the bed. Photographing him earned me Increased Damage ++. Armor-Piercing Pistol Rounds and a First Aid Kit are on the shelves behind him. More Leadheads spawn through the door; be sure to photograph them as well.
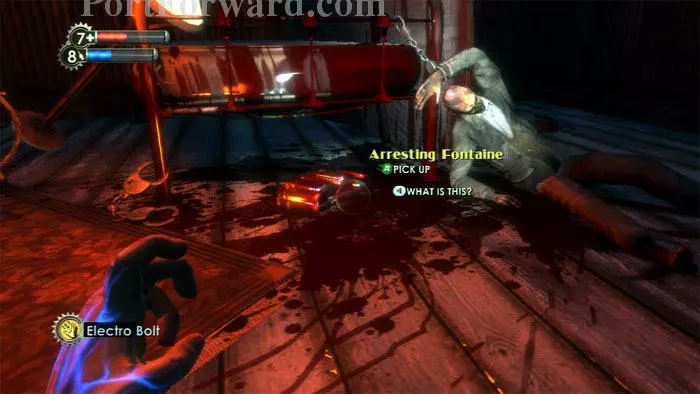
Find Sullivan's Arresting Fontaine audio diary here. An EVE Hypo and film are in the corner behind you.
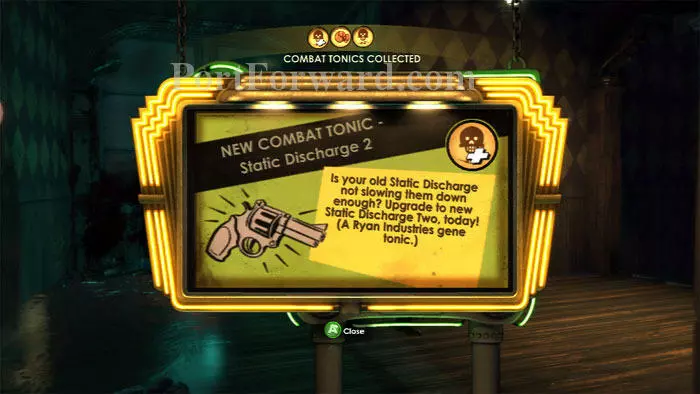
Return to Fontaine Fisheries, snapping photos of enemies as you go. Here I earn the very useful Static Discharge 2 Combat Tonic for researching Leadhead Splicers.
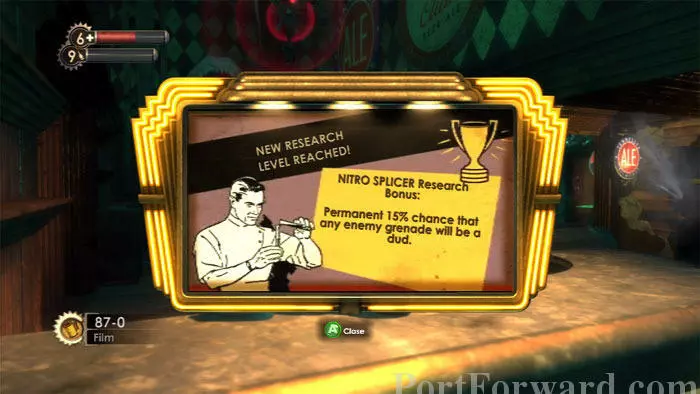
Nitro Splicer research reduces effectiveness of enemy grenades.
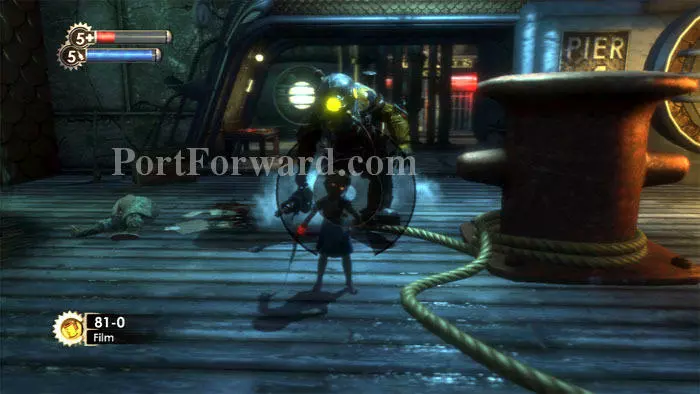
Don't forget to photograph Little Sisters and Big Daddies. Little Sister research yields increases in max health and EVE. Here's the third Little Sister of the level. She may alternately spawn in Fighting McDonagh's. I save the ADAM I extract from this Little Sister until I can purchase new upgrade slots.
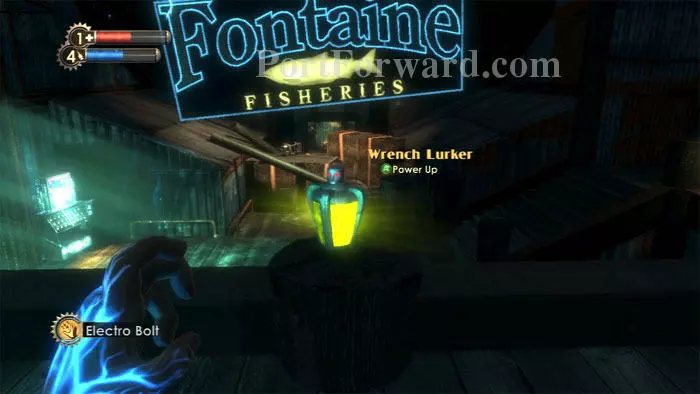
Once back at Fontaine Fisheries, find a Wrench Lurker Combat Tonic here. This tonic quiets your footsteps, and increases damage from melee attacks on unaware opponents. Defeat a particularly nasty Spider Splicer then once again pass through the door behind the debris ahead.
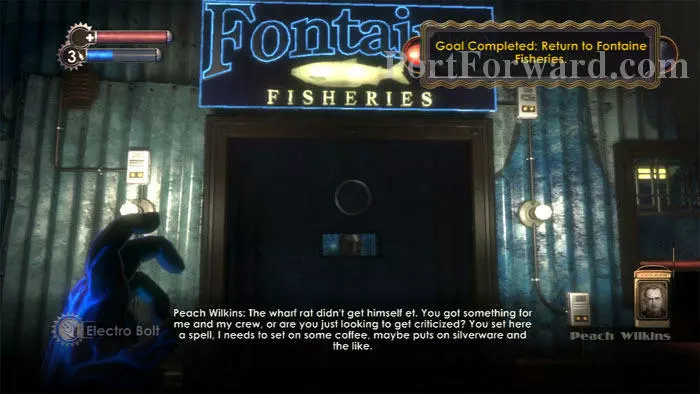
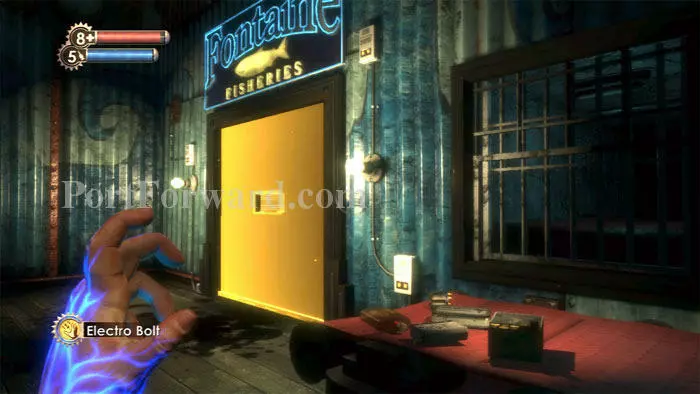
Knock on Peach Wilkins' door and he'll let you in now that you've photographed three Spider Splicers.
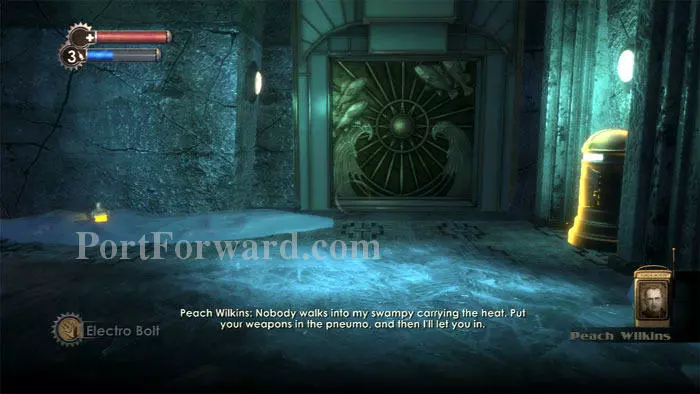
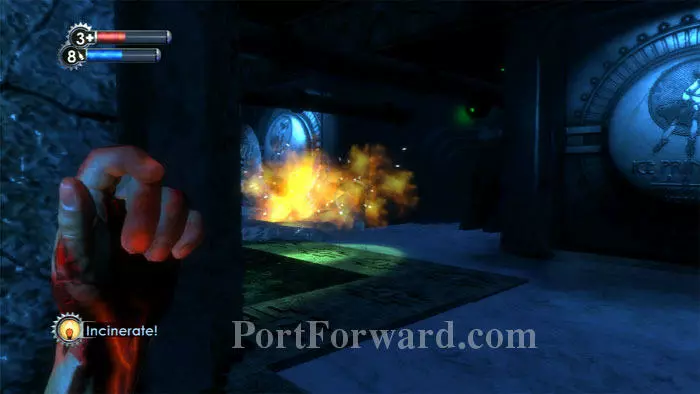
Peach insists that you deposit your weapons in the pneumatic tube before he'll open the next door, but first you'll want to grab that Focused Hacker Engineering Tonic stuck in the ice. Focused Hacker reduces the number of overload tiles when hacking by two.
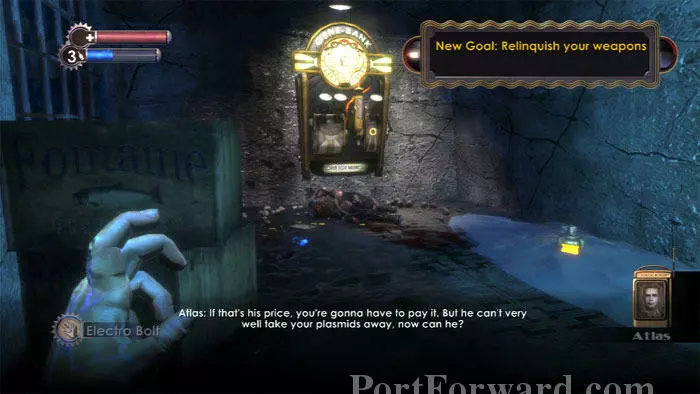
The nearby Gene-Bank will let you equip Incinerate if you don't have it currently equipped. Melt the ice and grab the tonic. You'll also want to equip any Plasmids and Tonics that will help you defeat Peach in the upcoming boss battle. Incinerate, Telekinesis and Electro Bolt make this a quick fight.
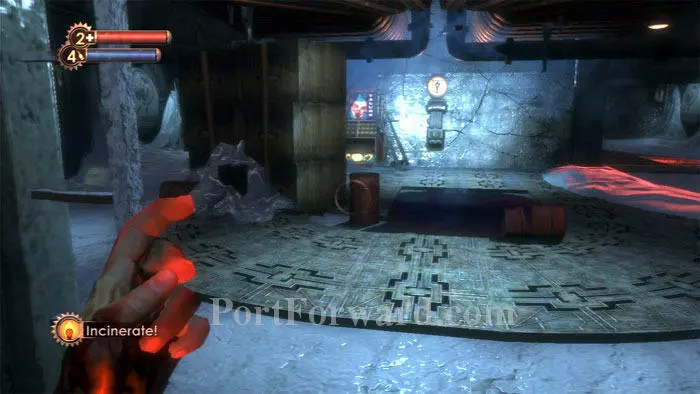
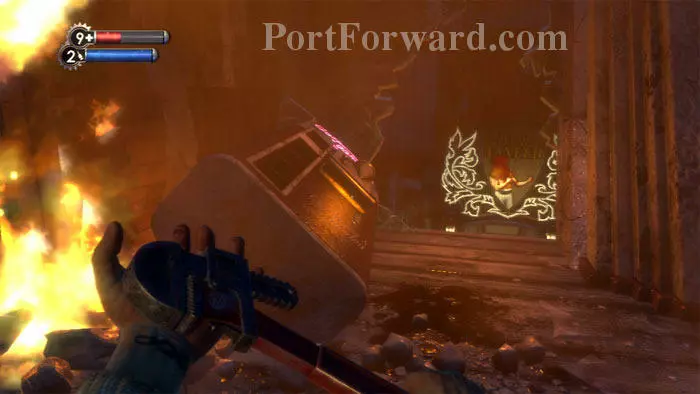
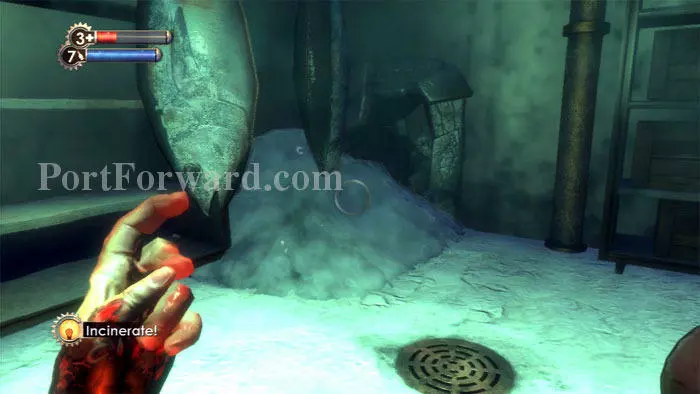
Deposit your weapons in the pneumo and step through the door as it opens. Melt the ice around an Automatic Hack Tool and a First Aid kit on the right, then melt the ice around the barrels ahead/left.
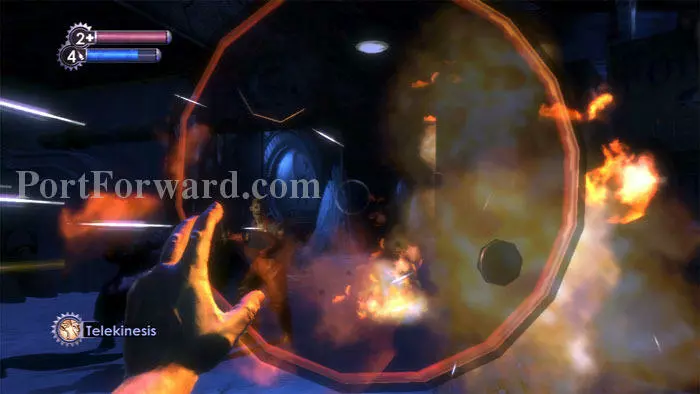
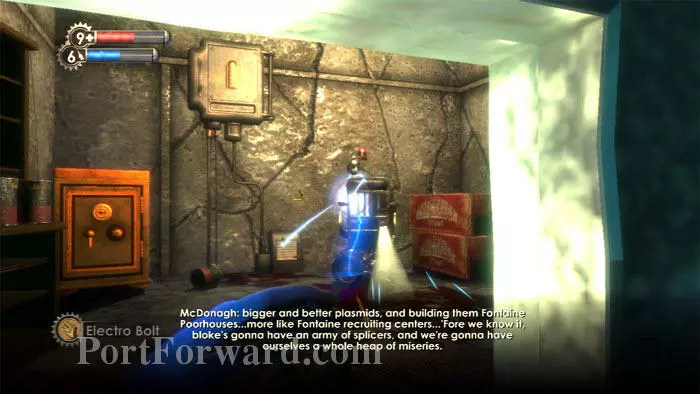
The barrels make great weapons against Peach once he's finished his speech. There are a lot of them and they cause plenty of damage.

Peach is aided by Leadhead Splicers. Telekinesis can toss their dead bodies at Peach for awesome damage as well. Fire users will appreciate the oil slick in front of the Circus of Values to the right.
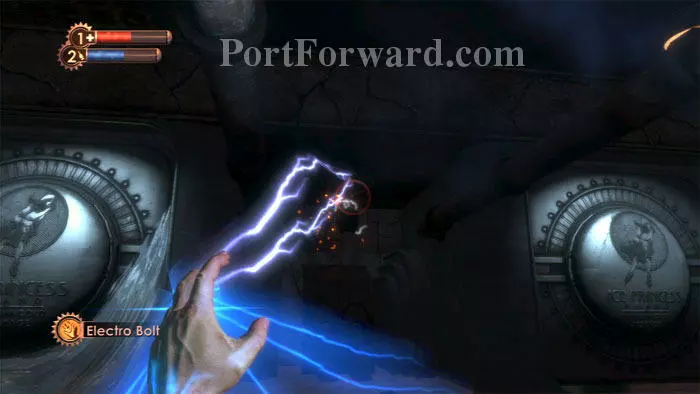
Electro Bolt will help you get close enough to hack the single turret and security camera in the room. (Find a First Aid Kit to the right of the turret.)
There's a Health Station here as well, and the nearby Vita Chamber makes for quick resurrections. Be sure to search Peach's corpse for good loot once he's down.

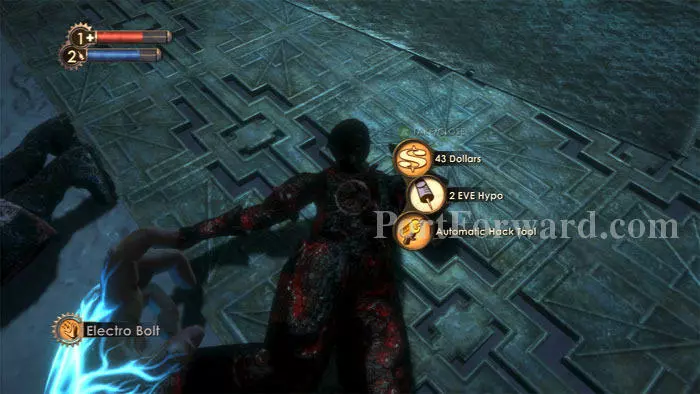
Find a First Aid Kit and an EVE Hypo between these frozen pressure doors, both leading to the same room. Melt the ice and head inside to find a Leadhead splicer, a First Aid Kit, EVE Hypos, and some frozen corpses with good loot.
Likewise, these frozen doors on the right lead to a room with lots of loot. The door on the right leads to a blocked path, but a corpse can be searched.
Enter the door on the left then melt this ice to reveal a crawlspace leading to plenty of cash and an Automatic Hack Tool. img(206874); Descend these stairs and use the Pneumo to retrieve your weapons. img(206875); A Power to the People station is ahead. You can choose which weapon upgrade you want, but only one. img(206876); Here are the options. I feel the Machine Gun becomes much more usable once the kickback is reduced, so that's my preference here. A Machine Gun and Pistol are frozen underneath the stairs behind you. img(206877); Melt this ice blocking the room on the left. Inside is a Leadhead Splicer and a Nitro Splicer. Use Enrage! for an entertaining, though lengthy, battle. img(206878); Also here is this safe, and to the right is Peach Wilkins' Putting The Screws On audio diary. img(206879); Here is your exit. Melt the ice blocking this door, then enter and melt another patch of ice to advance to Smuggler's Hideout.
More BioShock Walkthroughs
This BioShock walkthrough is divided into 15 total pages.


