
This BioShock walkthrough is divided into 15 total pages.
You can jump to nearby pages of the game using the links above.
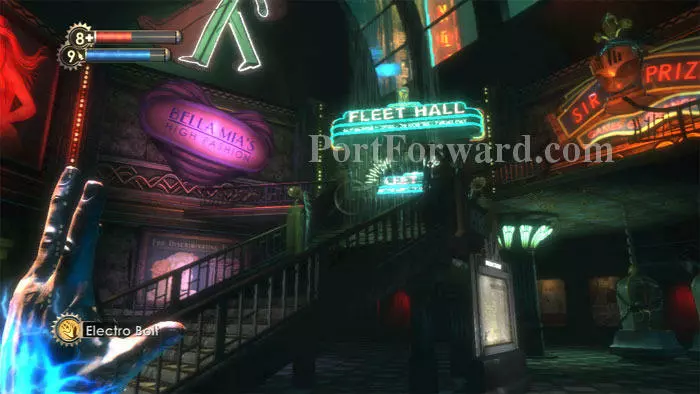
Fort Frolic
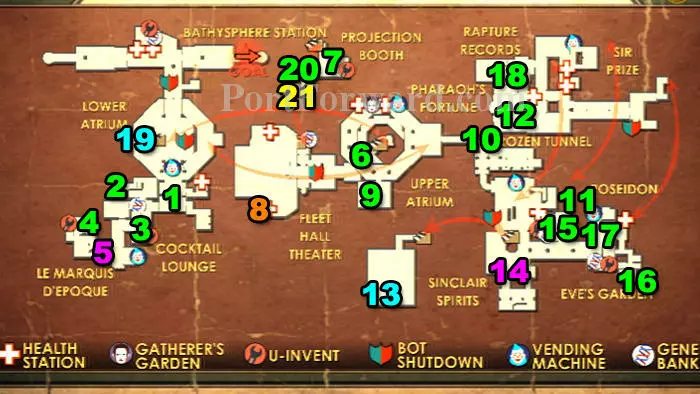
Here's a map of the level. Map - Fort Frolic
- Come To The Record Store - Audio Diary
- The Wild Bunny - Audio Diary
- Artists' Feud - Audio Diary
- Fancy Cigarettes - Audio Diary
- Power To The People - Weapon Upgrade
- Stood Up Again - Audio Diary
- Musical Insult - Audio Diary
- Alarm Expert - Engineering Tonic
- The Doubters - Audio Diary
- The Iceman Cometh - Audio Diary
- Fontaine's Army - Audio Diary
- Bump Culpepper? - Audio Diary
- Extra Nutrition 2 - Physical Tonic
- Power To The People - Weapon Upgrade
- Guns Blazing - Audio Diary
- Pregnancy - Audio Diary
- It's A Gift - Audio Diary
- Ryan's Stableboy - Audio Diary
- Medical Expert 2 - Physical Tonic
- Requiem For Andrew Ryan - Audio Diary
- Electric Flesh - Combat Tonic -- Frozen Field - Combat Tonic (Location Varies)
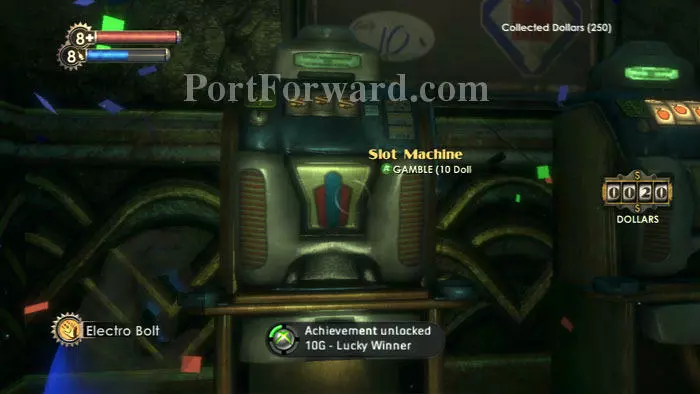
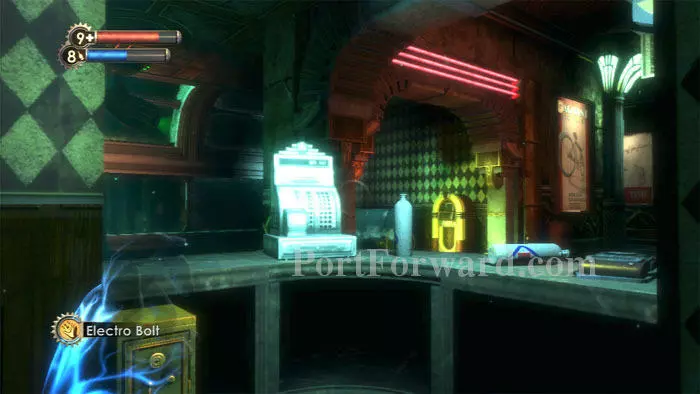
Here's something worth spending your money on. Hit the jackpot and earn the Lucky Winner Achievement. Save before you begin as well as each time you're ahead and always walk away a winner.
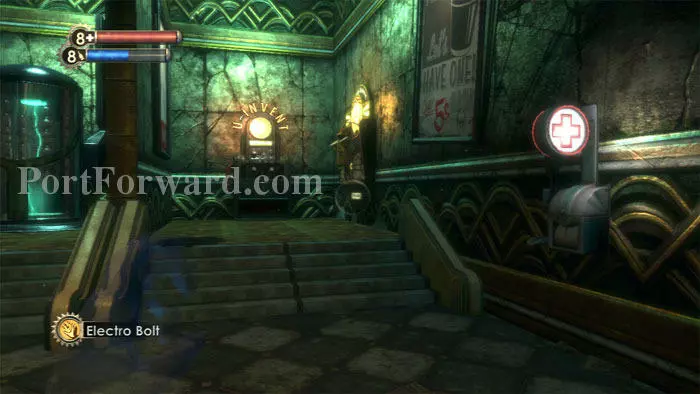
Find a First Aid Kit along the left wall, then hack the Health Station on the right. Use the Gene-Bank to equip Shorten Alarms and Natural Camouflage if you've got them.
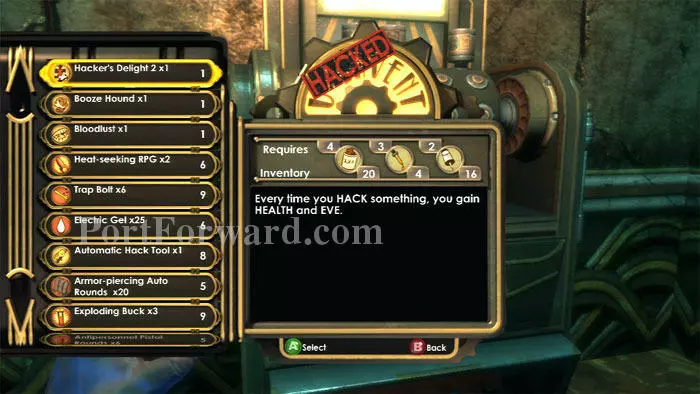
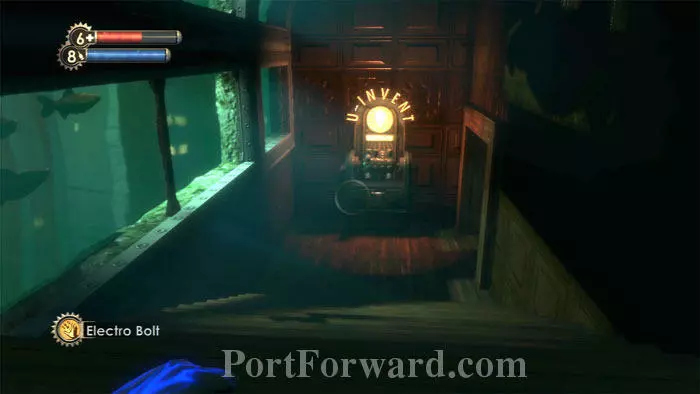
The U-Invent has many new items for you to create. I create the Hacker's Delight 2 Physical Tonic.
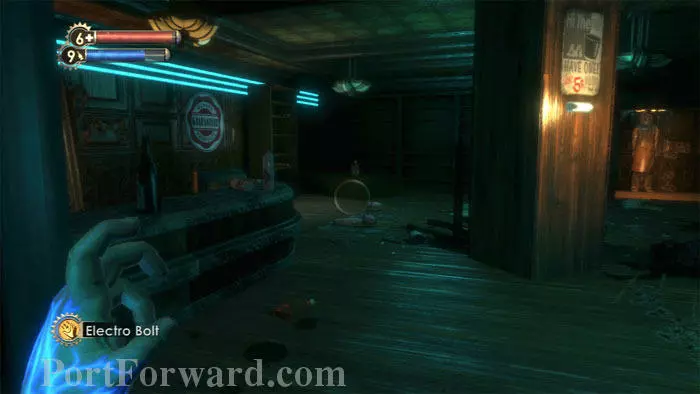
Keep left and smash the two display windows at the Apothecary. Find two First Aid Kits and an EVE Hypo.
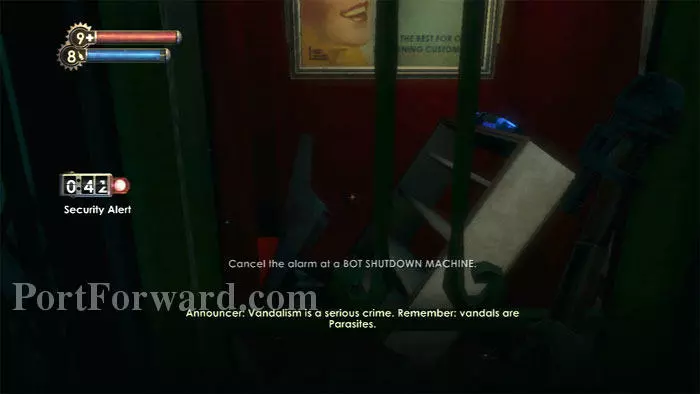
Stand still and the security bots won't notice you. Once the timer counts down, return to the Gene-Bank and configure your character as you like. Alternately, use the Bot Shutdown Station across the hall, across from a corpse and an EVE Hypo.
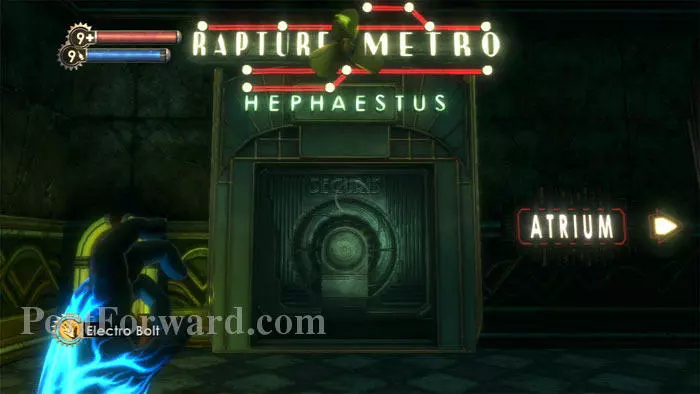
Search the numerous Storage Crates then continue through this Metro door, expecting to travel to Ryan's office in Hephaestus.
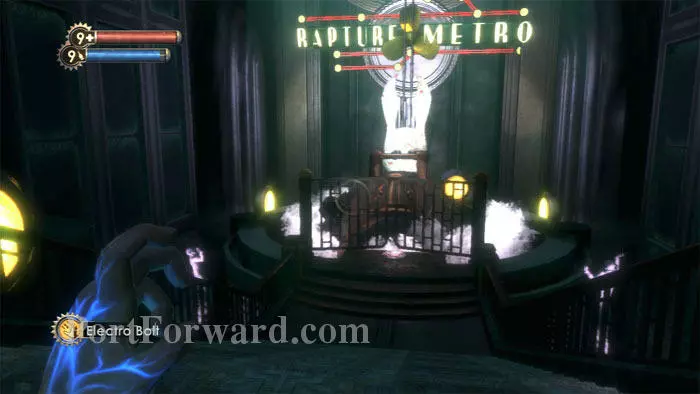
The Bathysphere sinks into the water and the gates close. Hephaestus will have to wait.
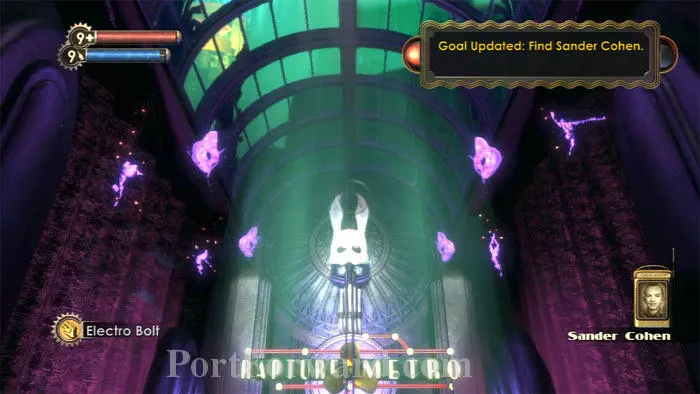
Rapture's resident artiste and all-around nutcase is lonely - and he wants to meet you - after a little test. Ready your Research Camera.
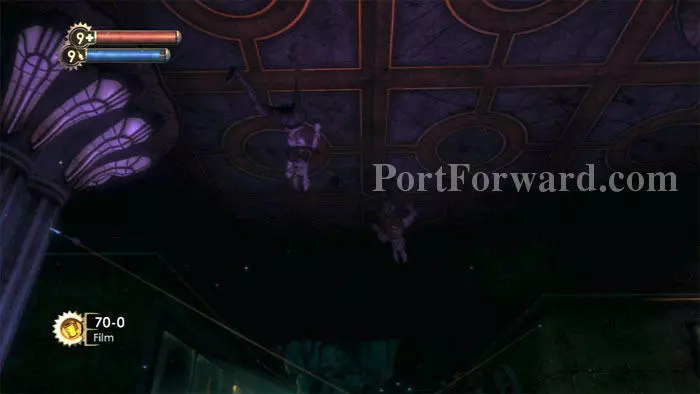
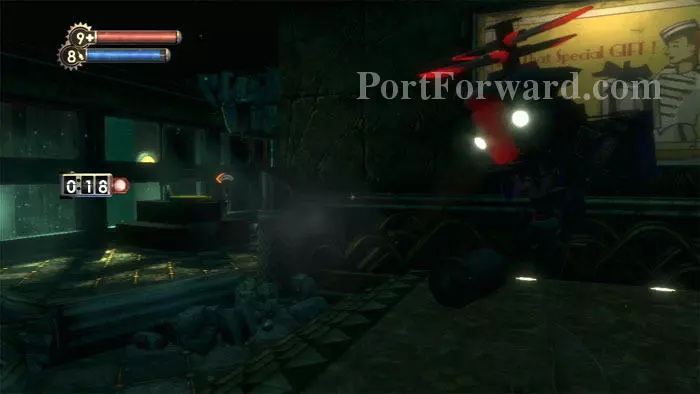
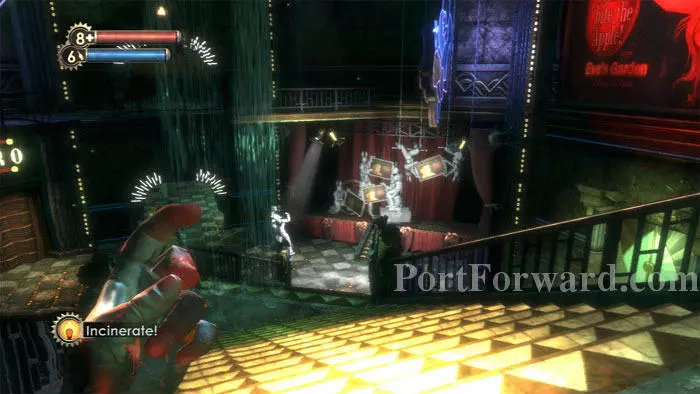
Return to the Metro door and watch the ceiling. Cohen is sending several waves of Spider Splicers after you.

Start snapping photos. If you get enough good shots, you can earn the Extra Nutrition 3 Physical Tonic, and later complete the Spider Splicer research.
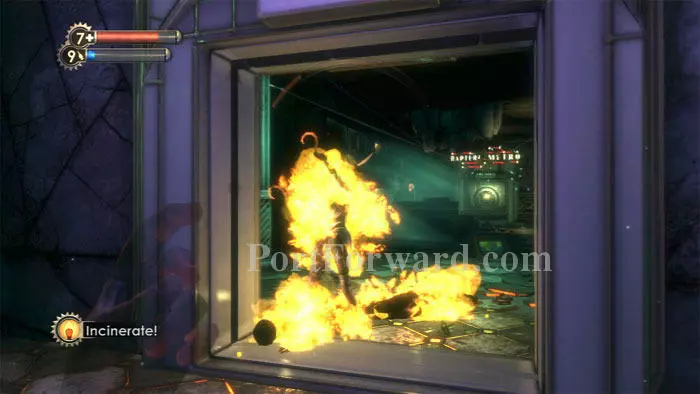
Incinerate! is my firepower of preference for this battle. There is plenty of room to move around and avoid the Splicers, so it's easy to ignite one, dodge his attacks, then ignite another. They'll also tend to bunch up around this door, making things even easier. Once the Spiders are defeated, Sander sends you a new goal to meet him in Fleet Hall.
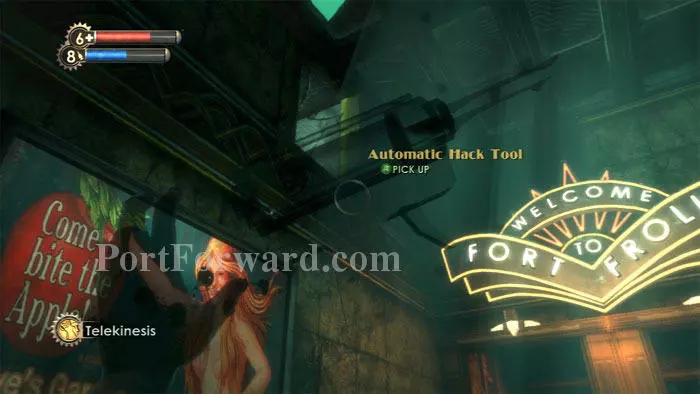
Keep left then use Telekinesis to grab this Automatic Hack Tool from the upper ledge. Continue through the now-unlocked doors beneath the "Welcome to Fort Frolic" sign to find more slot machines and a Circus of Values.
Before heading upstairs to Fleet Hall, explore the shops downstairs.
That's a Medical Expert 2 Physical Tonic on the right. It and the prizes to the left are unavailable, for the moment. Hack the Health Station to the left, and loot the corpse beyond that.
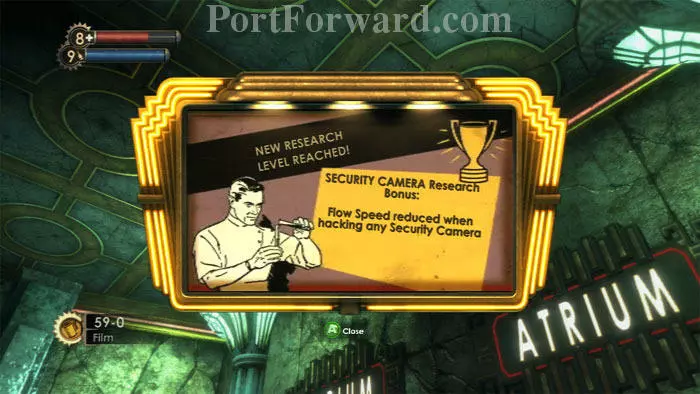
A security camera guards the outer hallway. I snapped a photo to continue my research and was reward with reduced flow speed when hacking. Hacking this camera now is a good idea. There's a Circus of Values here with a leftover First Aid Kit.
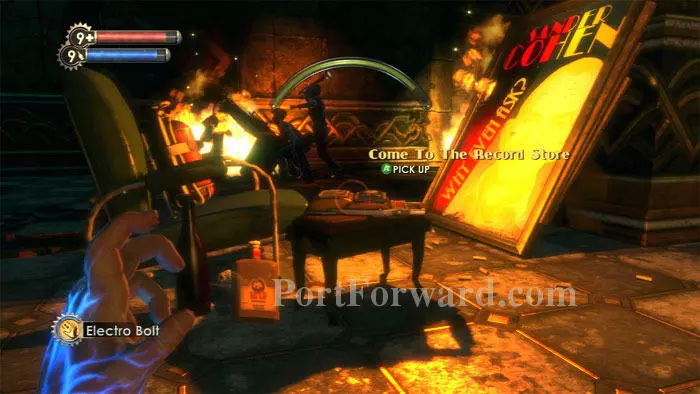
Find Cobb's audio diary Come To The Record Store directly across the hall. Several Splicers battle it out in the background. A rather odd art installation is in the men's room to the left. The ladies' room has a machine gun turret and Liquid Nitrogen.
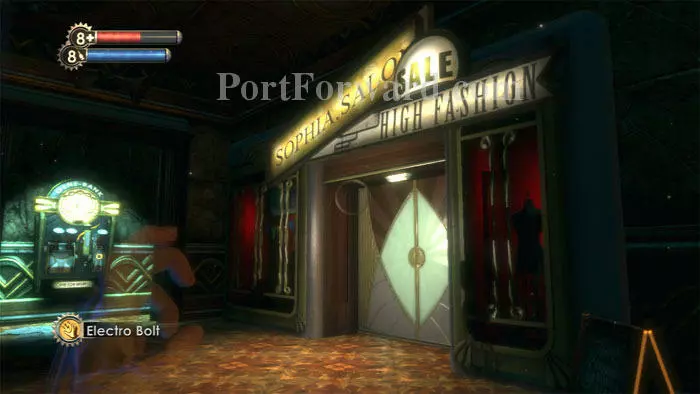
Keep right, then enter Sophia Salon.
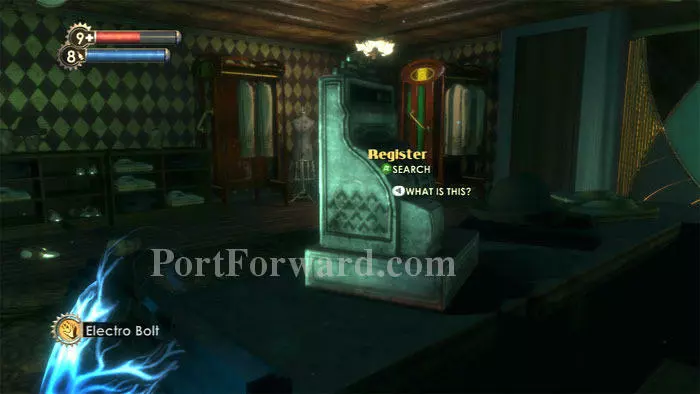
Find Film and a First Aid Kit on the shelves seen to the left. This Register turned up empty for me.
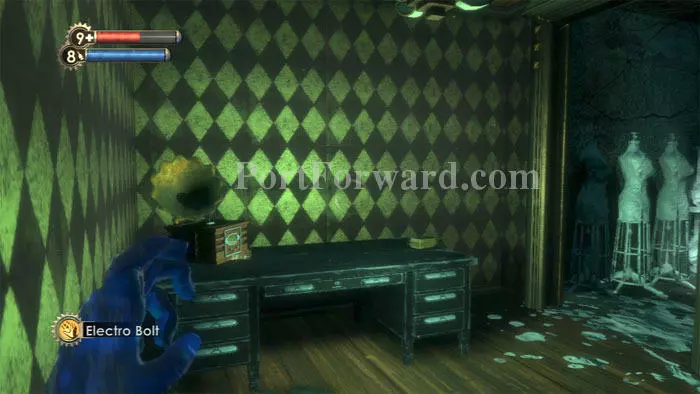
Find cash under the Victrola and a Creme-Filled Cake on the right. Search the desk before entering the room on the right.

Listen to Sander Cohen's audio diary The Wild Bunny to confirm your suspicions that he's a hyper-emotional nut job.
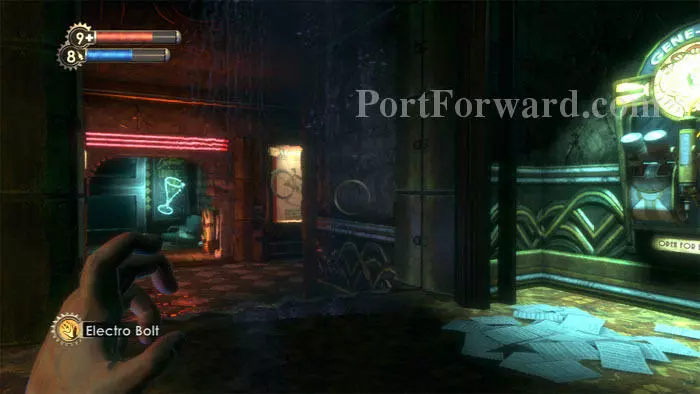
Exit to find a Gene-Bank on the right. A corpse and an EVE Hypo are beneath the Cocktail Lounge sign ahead.
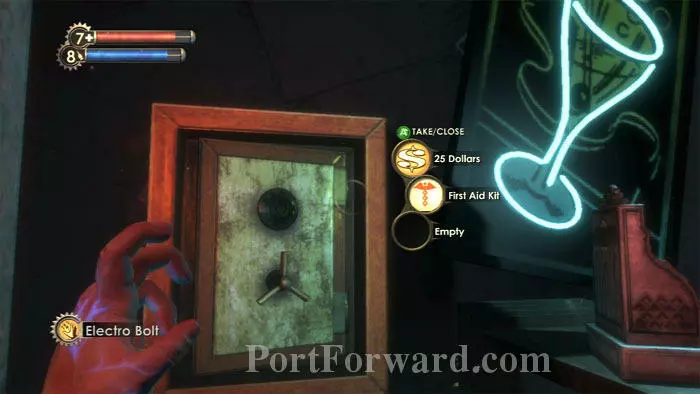
Hack the security camera on the left then find Sullivan's Artists' Feud audio dairy on this counter. Jump over to hack the safe on the left.
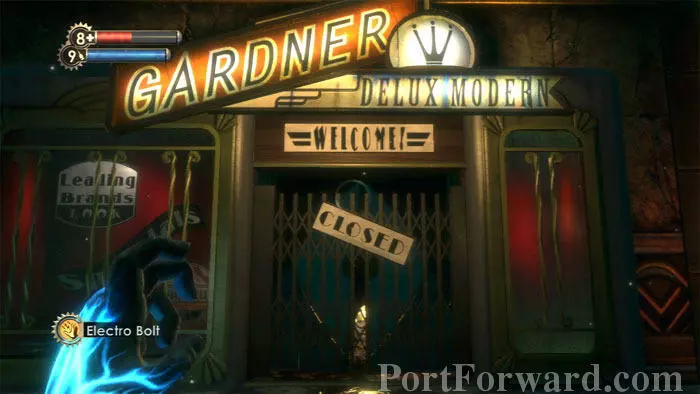
Keep right to find this closed store front. I don't really know what a "Delux Modern" is, but if you smash the left display window you can grab Machine Gun Rounds; just be read for the security bots.

Defeat several Splicers then enter Le Marquis D'Epoque.
Beware a machine gun turret directly behind the pillar in the center of the room. I photographed it to complete the turret research.
Descend either staircase to the lower level.
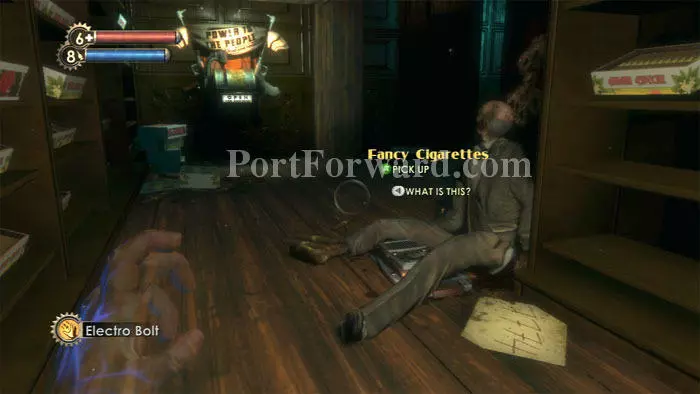
Explore this cigar room to find Albert Milonakis' Fancy Cigarettes audio diary. Bandages are behind me in this shot. Notice the Power to the People station ahead. The code 7774 next to the body will come in handy later.
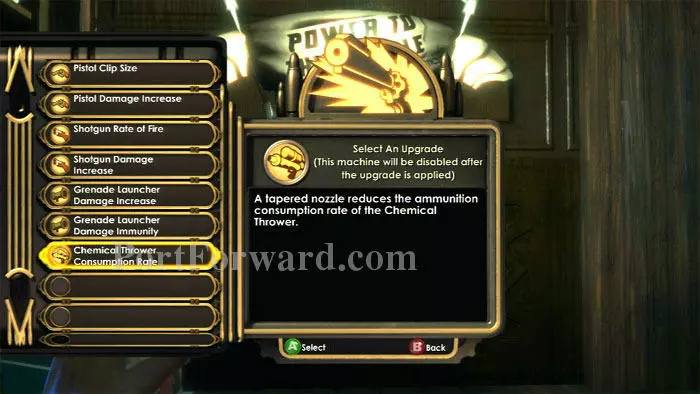
I choose to upgrade the Chemical Thrower Consumption Rate.
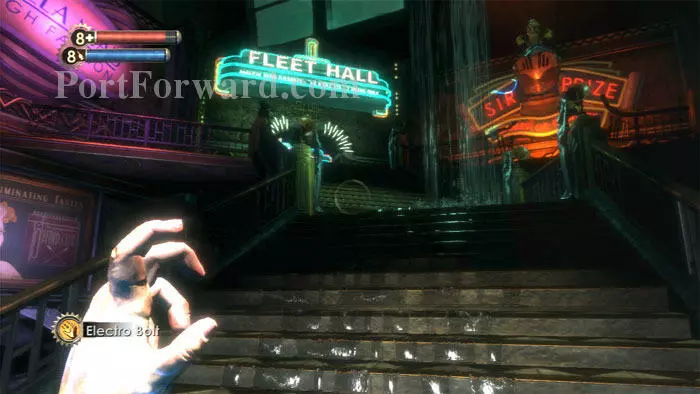
Now it's time to ascend the atrium stairs.
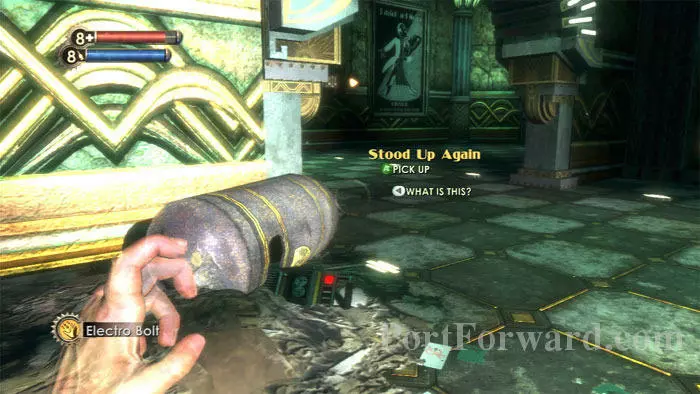
Find sappy Diane McClintock's Stood Up Again audio diary at the top of the stairs. Approach the poster seen ahead.

Notice the names "Patrick" and "Moira" are also the names of Atlas' children. Now, would you kindly enter Fleet Hall?
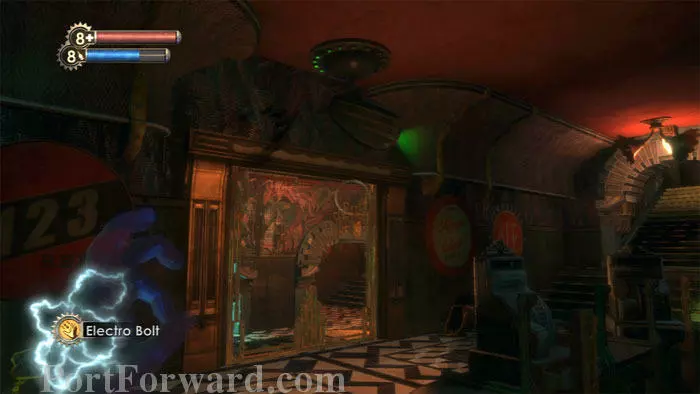
Descend either set of stairs then hack the security camera. Potato Chips and Coffee are found behind the bar. Search crates under the stairs on the right before heading up.
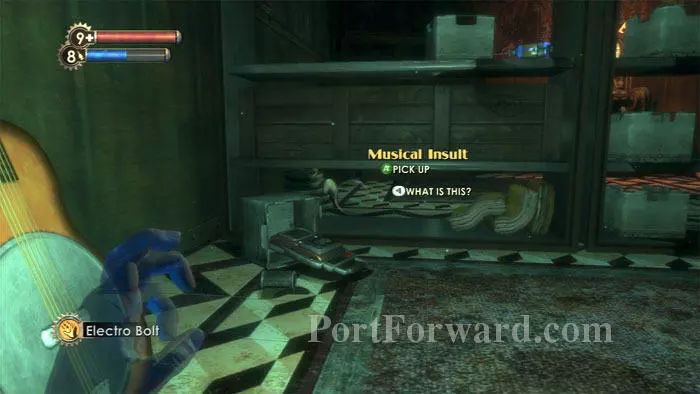
Sander Cohen's Musical Insult audio diary is located here. Film and a guitar you can play are to the left. An EVE Hypo is visible on the shelf ahead, and a U-Invent machine is against the far wall.
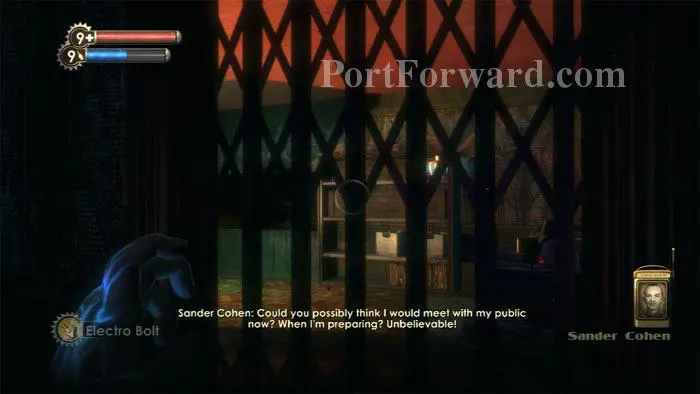
Up a short flight of stairs is the projection room, locked. Sander is inside and he doesn't want to see you yet. A tempting tonic is visible through the gate.
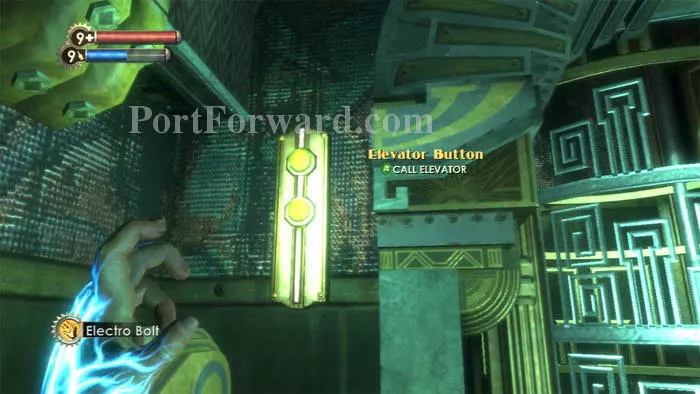
Return downstairs and call this elevator.
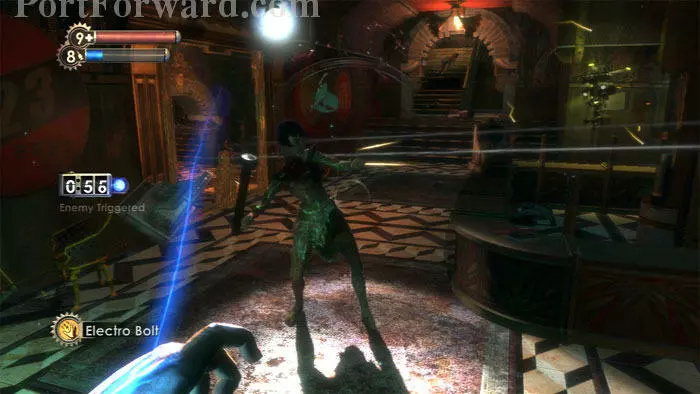
Splicers spawn on the stairs. I prefer to Enrage! them and Electro Bolt the victor while my bots do the rest.
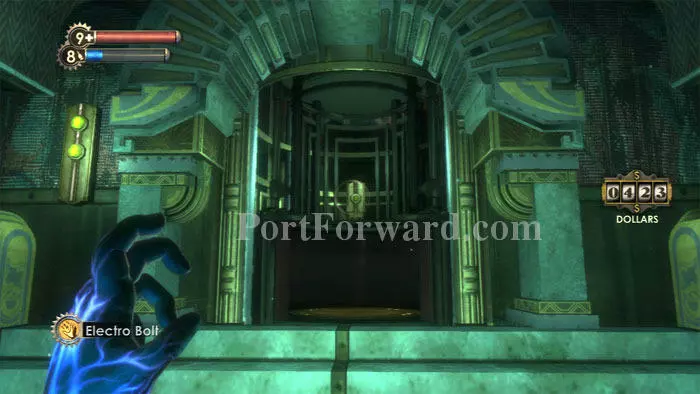
Step inside the elevator then press the button in the back to ride it up.
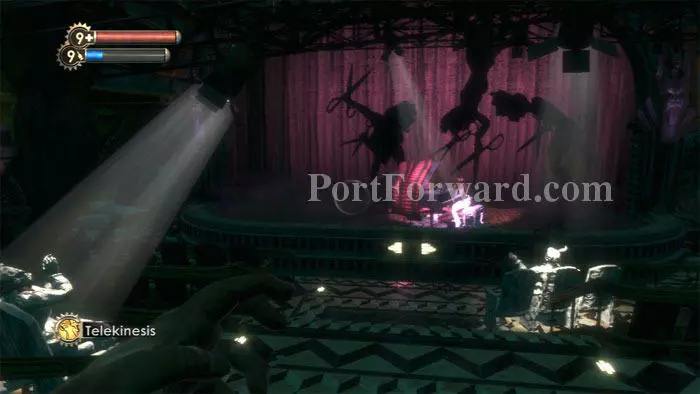
Anyone who hated piano lessons will be able to commiserate with this guy.
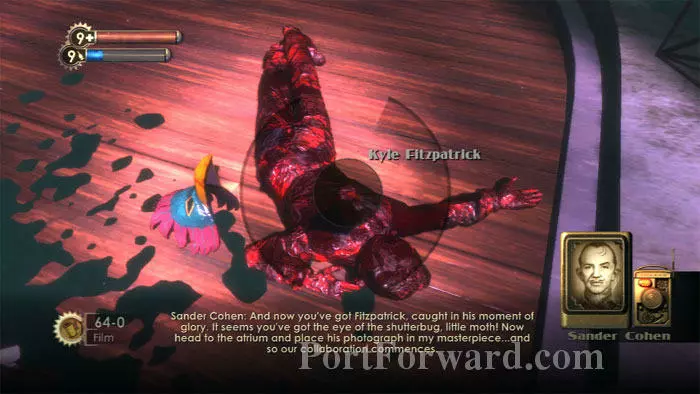
Hop on stage and photograph the body for Cohen.
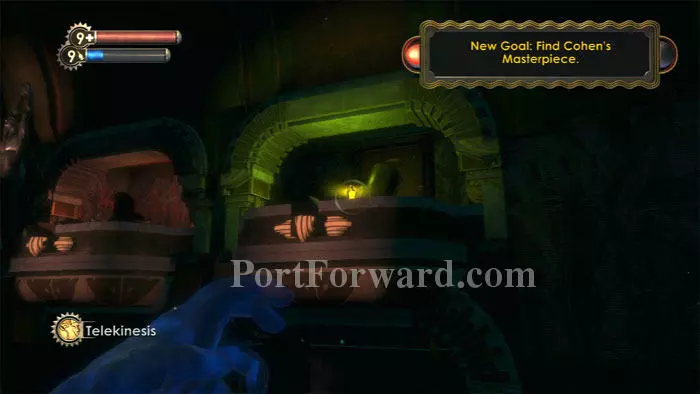
Spy a yellow Tonic while Cohen issues a new goal. Telekinesis won't work on this object -- you'll have to grab it yourself.
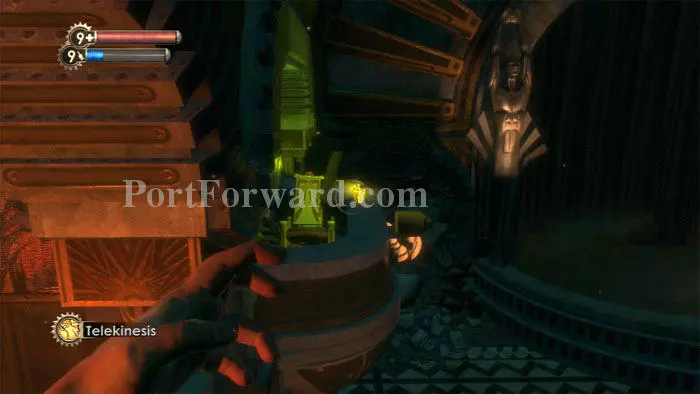
Search the boxes for Potato Chips, an EVE Hypo, and a Pep Bar. The door to the Alarm Expert Engineering Tonic is blocked, so you'll have to jump from this neighboring balcony. A corpse and Exploding Buck are to the left.

Incinerate! this Houdini Splicer while being careful to dodge the fireballs. Machine Gun Rounds and a Storage Crate are in the hallway.
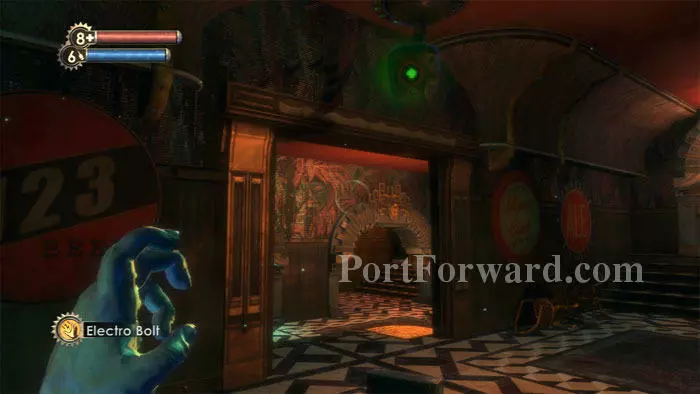
Ride the elevator back down (or just jump from the box seats) and find this previously-locked door is now open.
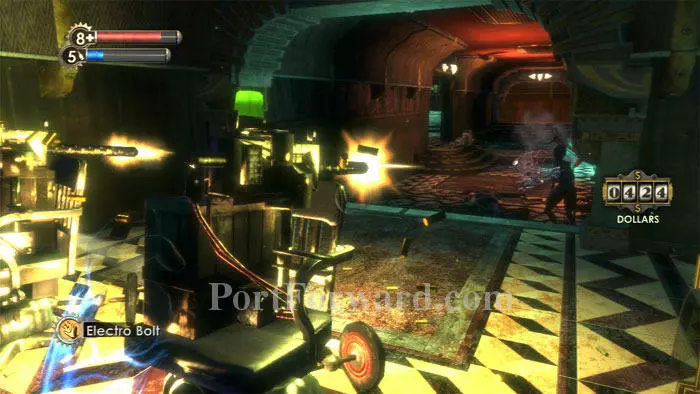
Hack these turrets and take protection behind them as they tear up any Splicers heading your way. A cash register, safe, and Creme-Filled Cake are to the right. A Circus of Values is ahead.
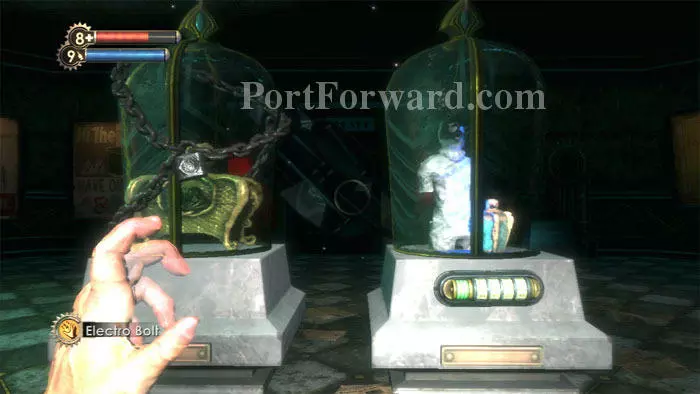
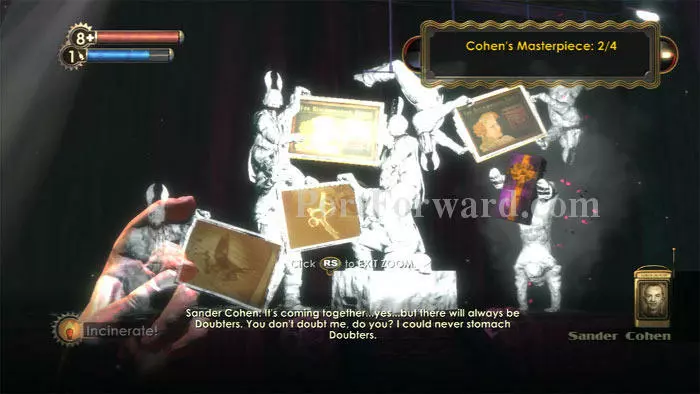
Descend the atrium stairs to find Cohen's bizarre masterpiece, the quadtych.
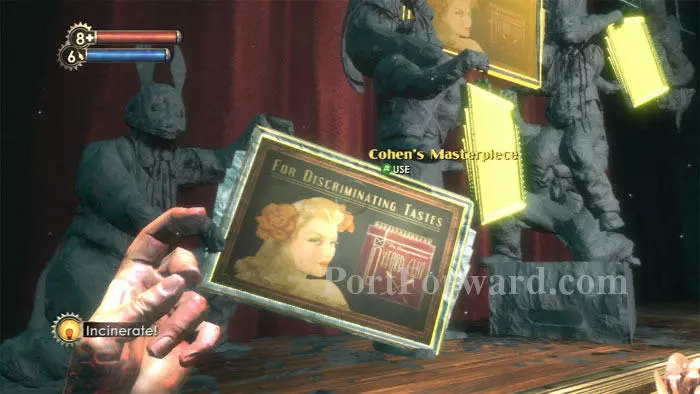
Cohen wants you to make it even more twisted by placing photographs of his four former disciples in the four frames of the quadtych - after they've been killed. Place the photo of Fitzpatrick in one of the frames.
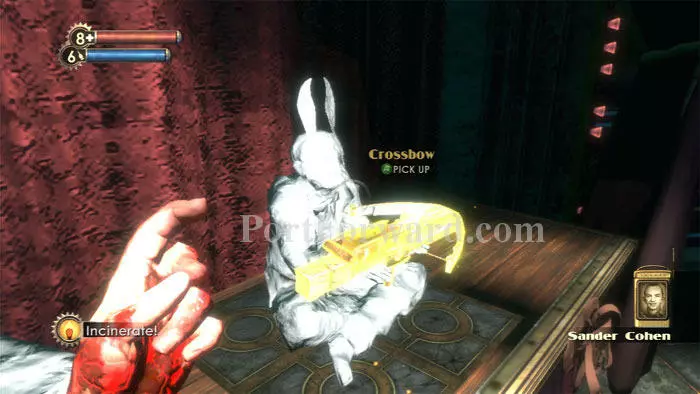
Cohen rewards you with your final new weapon type of the game, the Crossbow, sure to come in handy in completing your new goals: kill Silas Cobb, Martin Finnegan, and Hector Rodriguez.
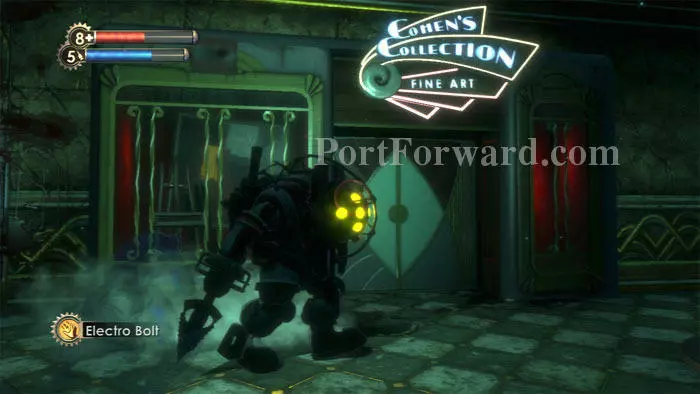
Before beginning your new career as an assassin, however, head upstairs to Cohen's Fine Art Collection, just left of Fleet Hall. A First Aid Kit can be found in the display window.
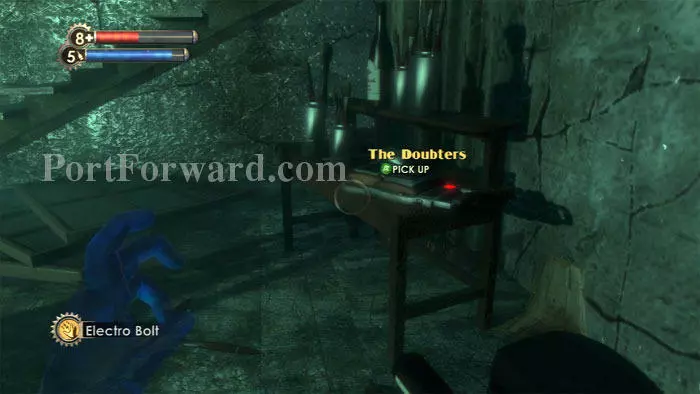
Listen to Cohen's The Doubters audio diary before ascending the stairs.
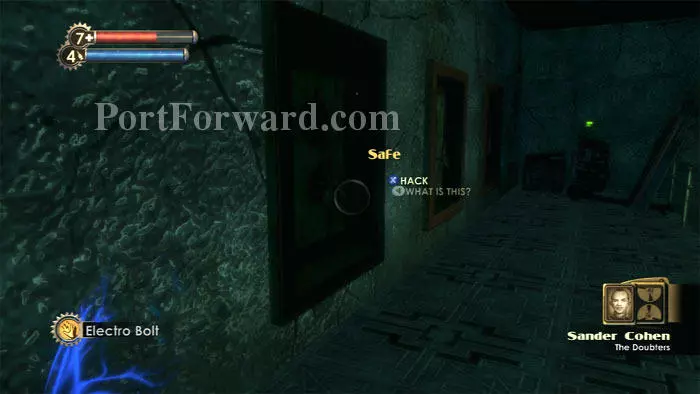
Hack/destroy the machine gun turret and find three wall safes -- be prepared to battle a Houdini Splicer as you hack each safe. When the area is looted you are ready to move on.
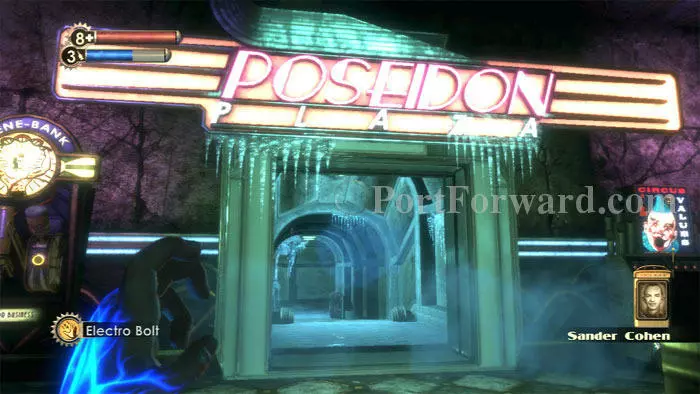
Follow the signs to the Poseidon Plaza entrance. Cohen unlocks the door. Purchase Incendiary Bolts at the Circus of Values.

Martin Finnegan's The Iceman Cometh audio diary is found here. You don't need to thaw it out to grab it. Search the body above and the Trash Can on the right for supplies.

Head through another Securis door and catch a brief glimpse of Finnegan before he disappears. Melt this ice on the left to reveal a Health Station, Crossbow, First Aid Kit and an Automatic Hack Tool.

Finnegan traps you in a block of ice, then inexplicably sets you free.
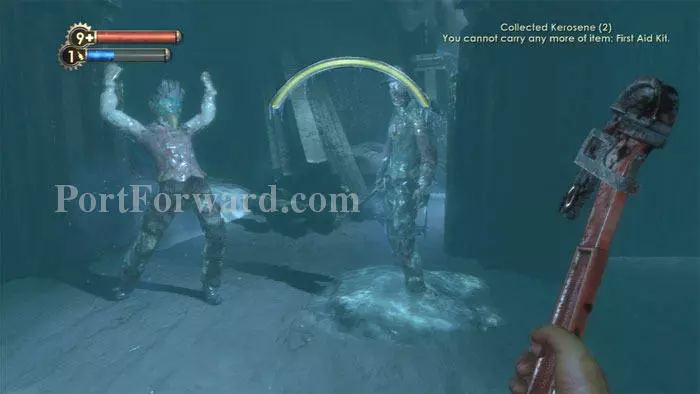
Finnegan is joined by a collection of frozen Splicers around the room. You can ignore them, photograph them, smash them with the wrench, or melt them then search their bodies for loot after defeating them.
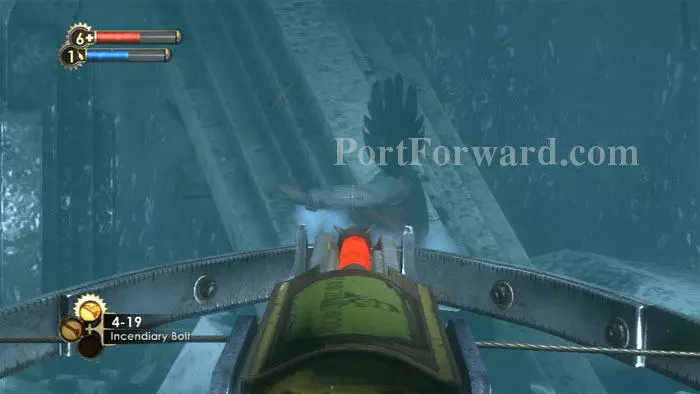
Finnegan himself can be defeated with a couple of your Crossbow's Incendiary Bolts, especially if you have Human Inferno equipped. Clicking the right-stick zooms the Crossbow into a sniper scope as seen here.
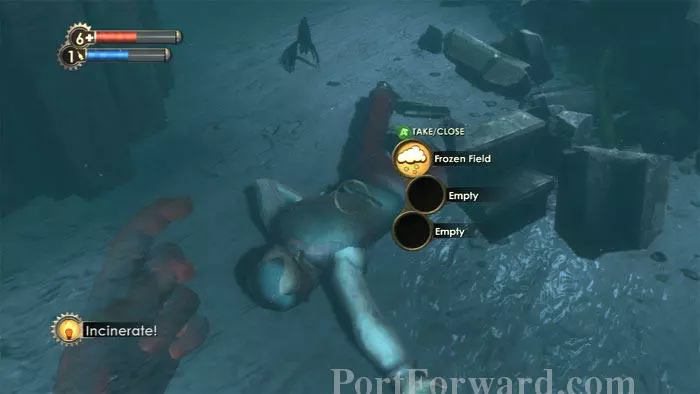
Snap a photo of Finnegan once he's down. Recover your bolts then find a Frozen Field Combat Tonic on Finnegan's body.
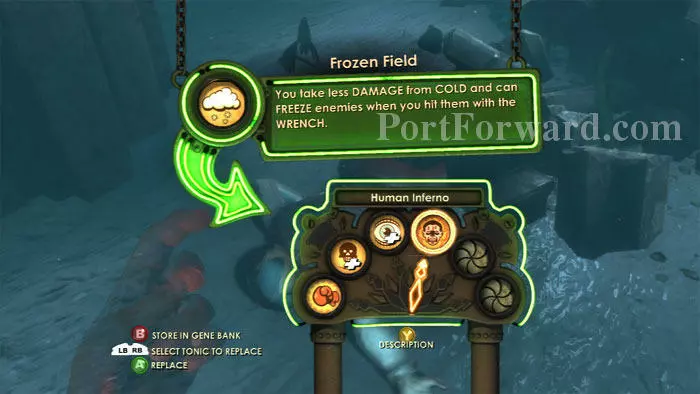
Frozen Field is to ice attacks what Human Inferno is to fire attacks, with the difference that instead of doing increased cold damage, it can freeze foes that you strike with the wrench. I choose to keep Human Inferno installed.
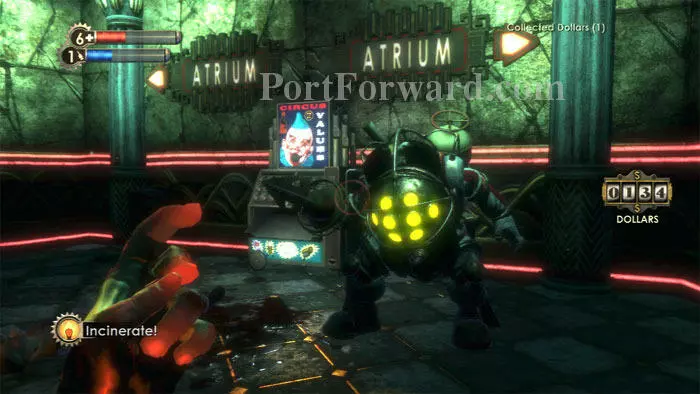
You can either move on to your next target, or do as Cohen says and place Finnegan's photo in the quadtych. I prefer to place the photos in the quadtych as I take them, because Bouncers are likely to be nearby. You haven't seen this type of Big Daddy since early in the game and will likely want to research them.
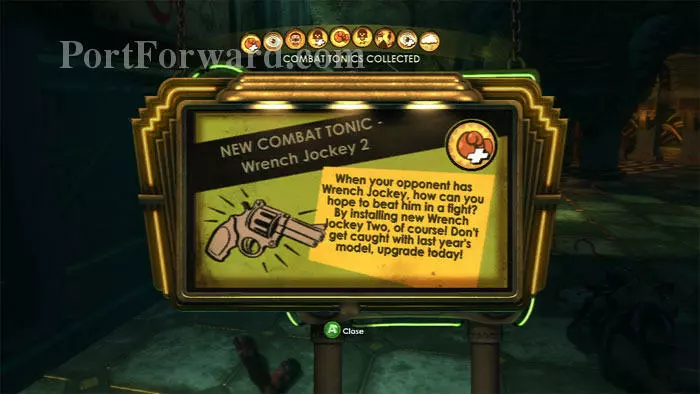
Bouncer research reveals that they are vulnerable to Armor-Piercing Rounds, and also earns you this Wrench Jockey 2 Combat Tonic.
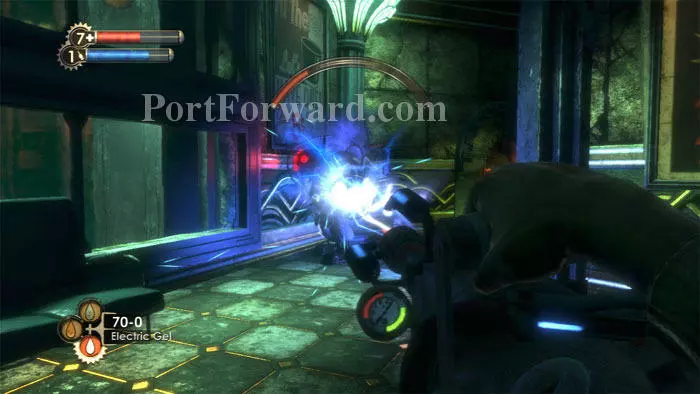
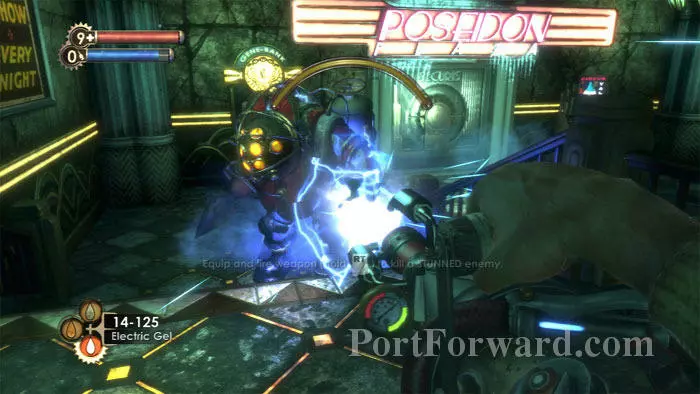
If you haven't tried the Chemical Thrower's Electric Gel on a Big Daddy, you'll be in for a treat when you try. Electric Gel locks the Big Daddy in place while his health depletes. This is the safest way to defeat a Big Daddy that I've tried. Just make sure you're full-up on ammo before pulling the trigger.
Post Finnegan's photo and receive a new gift of supplies.
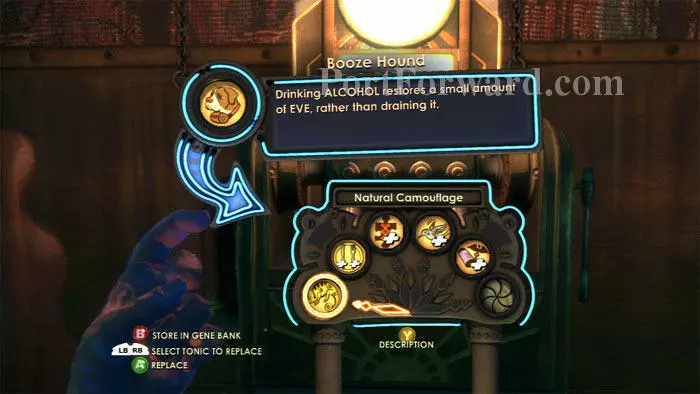
After harvesting the Little Sister, I backtrack to the U-Invent machine in Cohen's dressing room and manufacture a Booze Hound Physical Tonic, as well as more Electric Gel.
Upon arriving at the Gatherer's Garden to buy a slot for my Booze Hound, I hear another Little Sister at the Poseidon Plaza entrance. Harvesting her brings me to 340 ADAM.

The Gatherer's Garden is just left of the Poseidon Plaza entrance. I purchase a Physical Tonic Slot for my crafted Booze Hound Tonic, an Engineering Tonic Slot for my banked Alarm Expert Tonic, plus Health and EVE Upgrades.
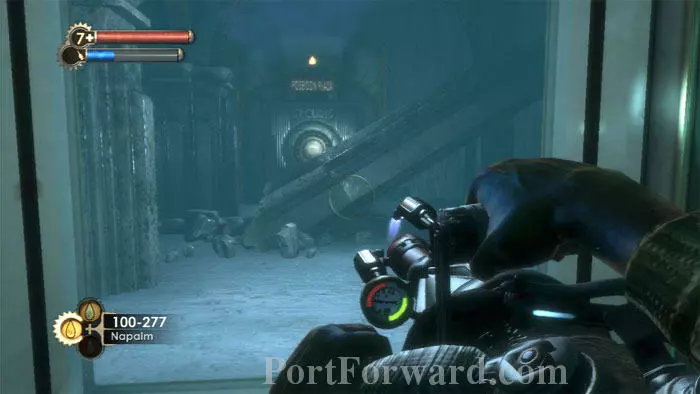
Return through the frozen tunnel then continue through the door ahead to find another short tunnel. Ready your weapon of choice for dealing with lots of Spider Splicers.

Napalm is my preference. Both the Circus of Values and the Ammo Bandito in this room sell Napalm if you need more. Keep an eye on the ceiling for the half-dozen or so Spider Splicers that attack.

Silas Cobb is upstairs in Rapture Records, and Hector Rodriguez comes out of hiding once you visit Eve's Garden, but both of these guys are runners. You'll have an easier time chasing them if you've already visited and pacified the rest of Poseidon Plaza. Let's start with Sir Price, where you'll find Steel Bolts and snacks in the display window. Electric Gel is in a hole in the wall to the left.
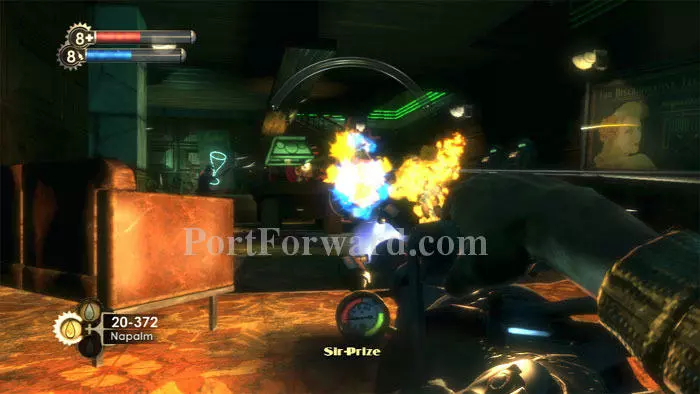
Pretty much blanket everything with Napalm once the door opens. Sir Prize is a busy place.
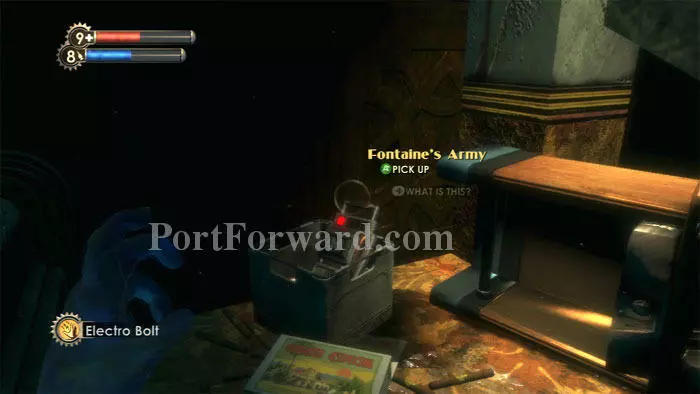
A First Aid Kit is on the pool table, a safe is behind the bar, and McDonagh's audio diary Fontaine's Army is found here in the far-right corner. Film is also in the container.
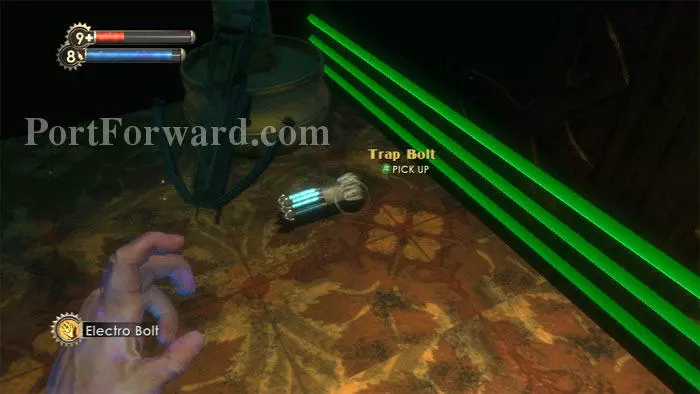
This Crossbow and Trap Bolts are found atop the stairs.
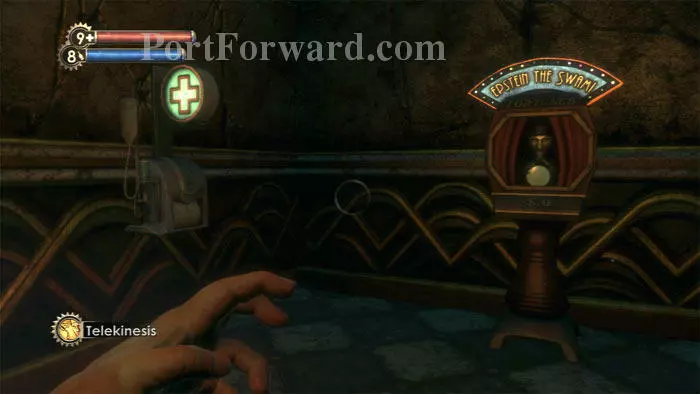
Clear the room of Trap Bolts, gamble if you need the cash, then exit to the second floor hallway and hack this Health Station.
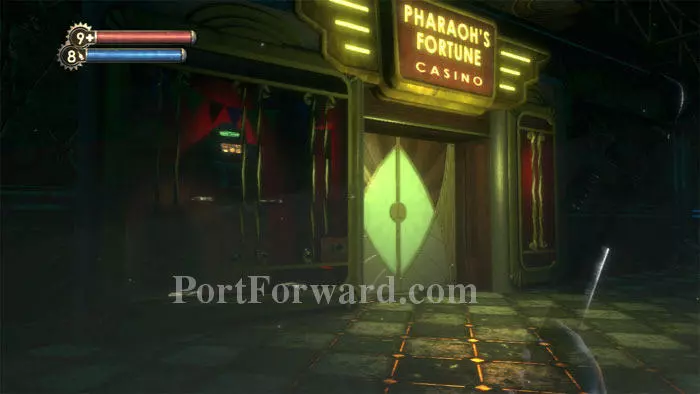
At the opposite end of the hall is Pharaoh's Fortune Casino. Lots of cash is in the display window.
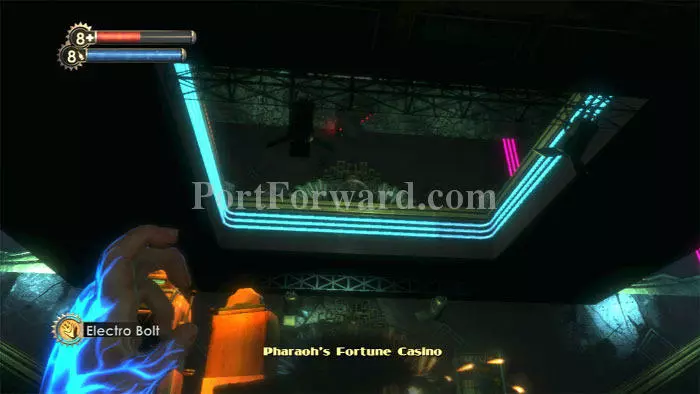
Inside are several Splicers, and be sure to hack this security camera on the second floor ceiling.
Find this safe downstairs by the cocktail sign.
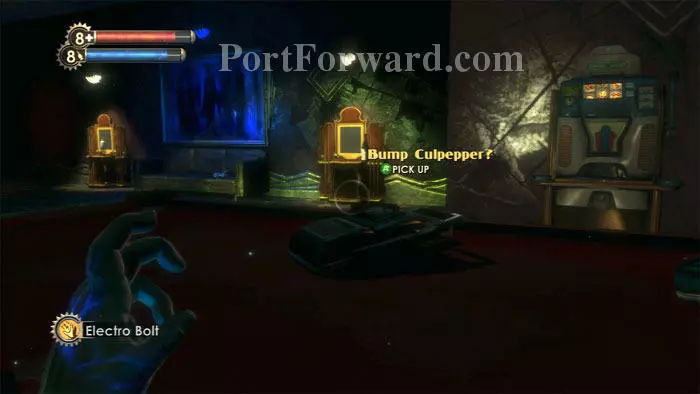
Sullivan's Bump Culpepper? audio diary is on the pool table upstairs next to a First Aid Kit. An EVE Hypo and Armor-Piercing Pistol Rounds are on the couch ahead/left. A Gene-Bank is also found up here.
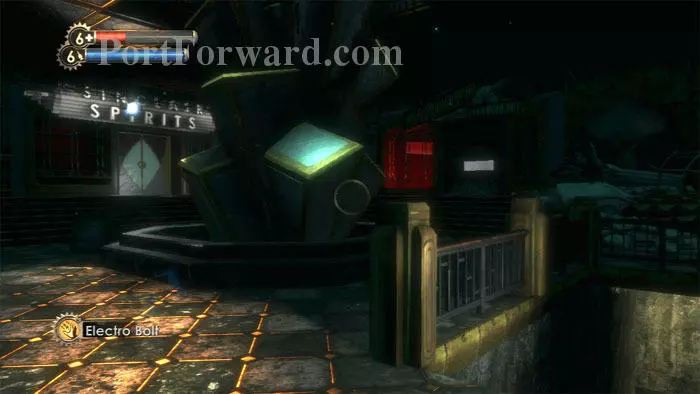
Head back to the hallway and go downstairs to find Sinclair Spirits at the end of the corridor. Before entering, though, descend these stairs seen on the right.
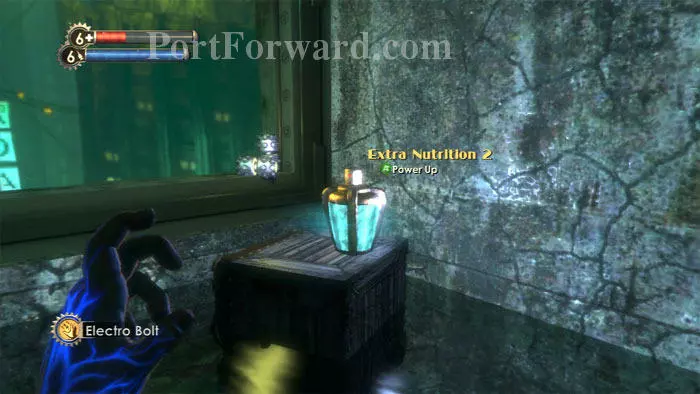
Find an Extra Nutrition 2 Physical Tonic in the far corner. I already have Extra Nutrition 3, so this isn't much of a get. Defeat several reanimated statues before exiting.

Return upstairs and find an EVE Hypo in Sinclair Spirits' display window before entering. Pass by some strange statues then hack this security camera on the ceiling to the right.
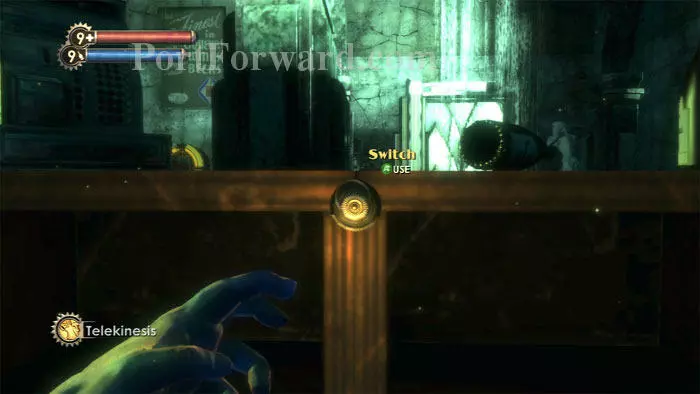
Behind the counter is this switch -- press it to open the door ahead/right. Search a storage crate to the right of the door before heading through.
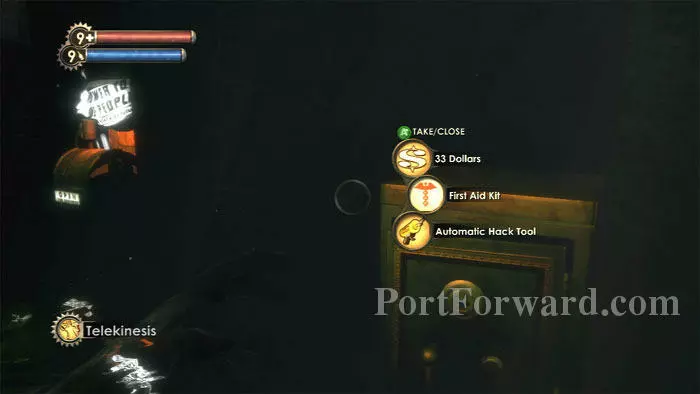
Descend the stairs and find this safe, plus a bonus Power to the People Station!
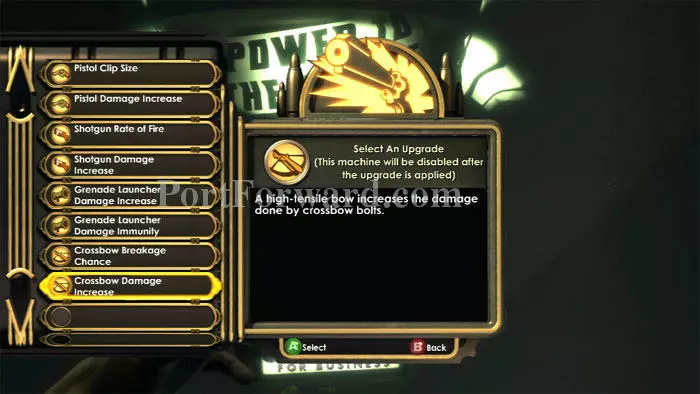
My choice here is Crossbow Damage Increase.

Turn around and use your newly-improved weapon to take out this reanimated statue.
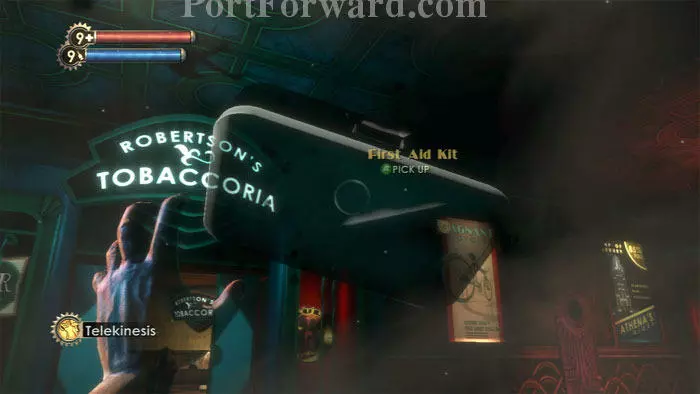
Farther down the hall is Robertson's Tobaccoria. Use Telekinesis to grab this First Aid Kit before entering.
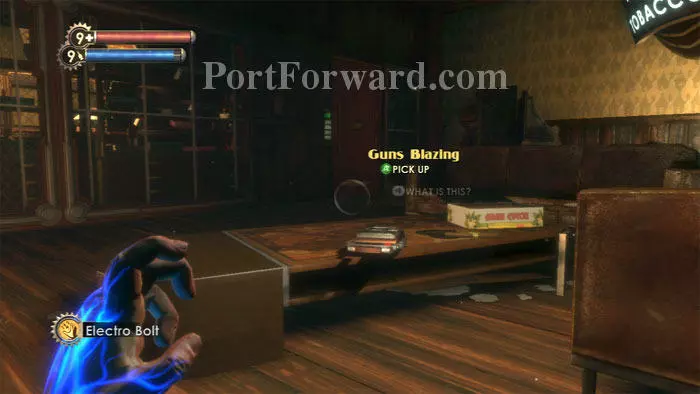
McDonagh's Guns Blazing audio diary is found here. An EVE Hypo is behind the counter on the right. Use the code 7774 on the door ahead. Inside you'll find a security camera, Electric Buck and cash.
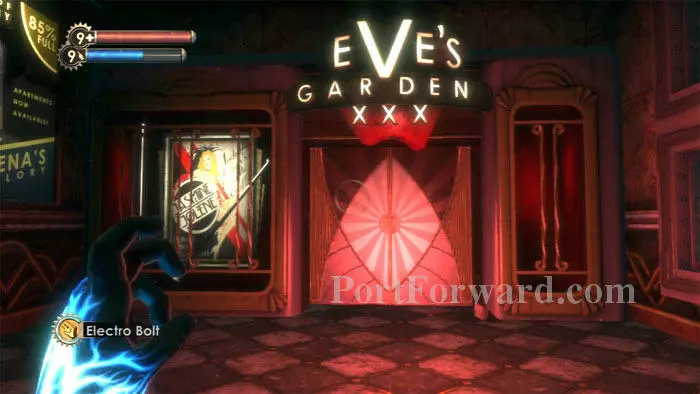
Now it's time to head into EVE's Garden XXX. A First Aid Kit is to the right of the door.

Enjoy a pole dance from Jasmine Jolene's apparition. Before following her through the stage door ahead, search the room for buckshot and booze. A Health Station is atop the stairs on the left, and money is on the stage ahead.
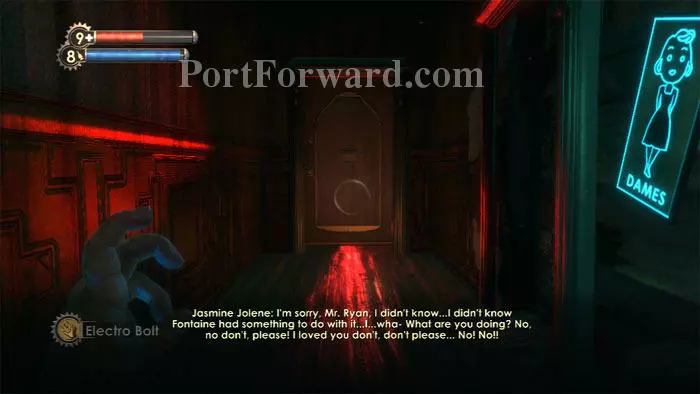
The drama remains behind closed doors at Eve's Garden.
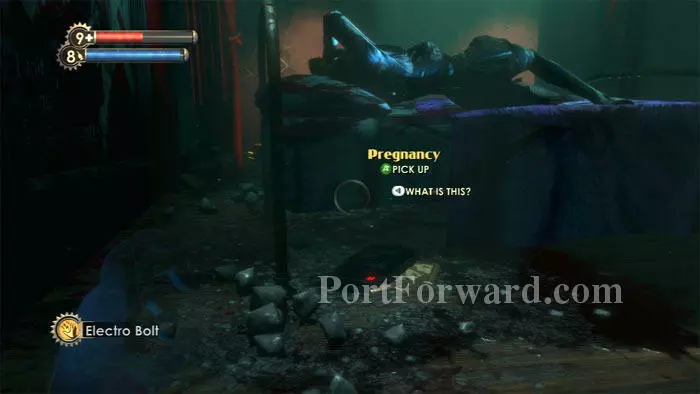
Once the door opens, find Jasmine Jolene's Pregnancy audio diary under the bed. Fine Gin is on the body, and a safe is in the corner.
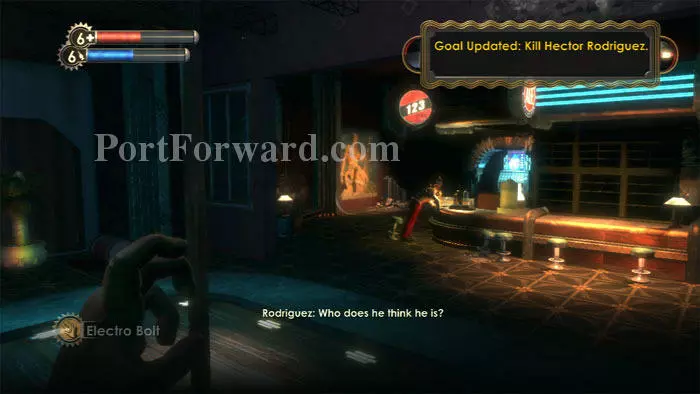
When you emerge, find Hector Rodriguez at the bar, where's he leaves behind his It's All Grift audio diary. This is a good time to save your game.
Rodriguez runs ahead of you and sometimes you'll lose sight of him. You'll at least have more confidence knowing you can go back to a saved game if you can't find him.

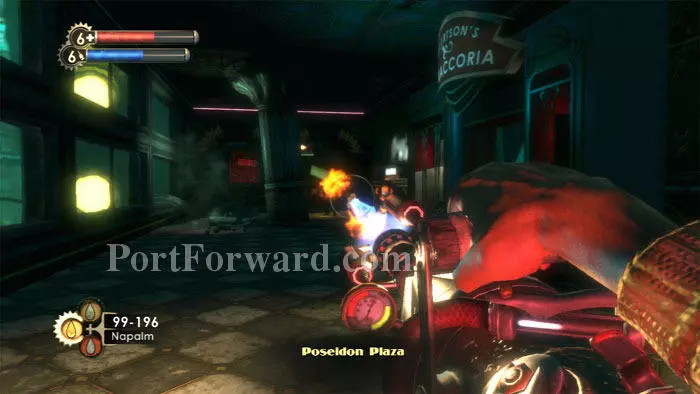
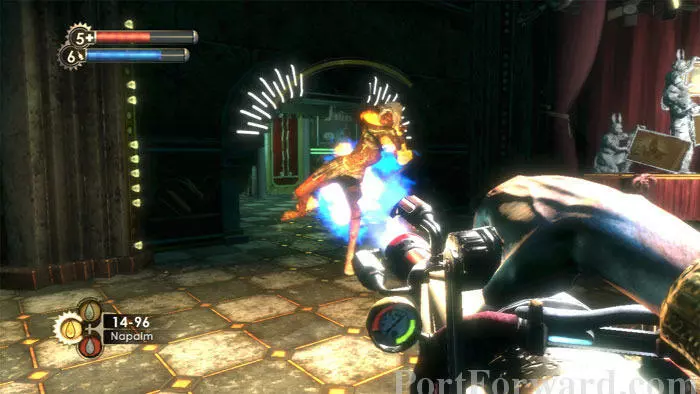
Keep after him with the Chemical Thrower's Napalm ammunition and you won't have much trouble drawing his health down.

Once he falls, photograph the corpse for Cohen.
Ready your preferred weapon of mass destruction before placing Rodriguez on the quadtych. Cohen is about to have a tantrum and he'll be sending several waves of Splicers at you.

The lights dim, Tchaikovsky plays, the atrium is my canvas and flaming napalm is my paint!

Once Cohen's Splicers are defeated, he apologizes and gives you a gift of more supplies.
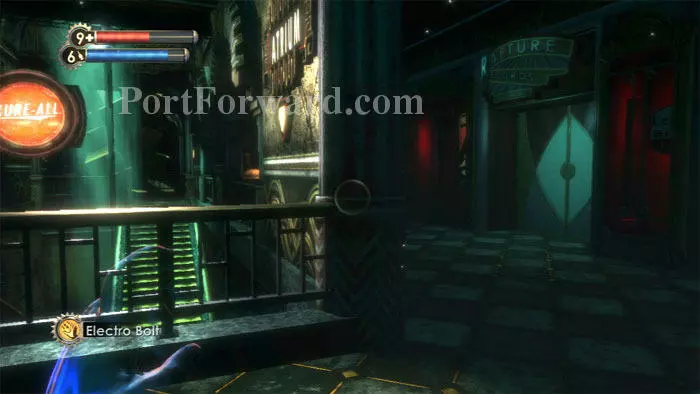
Now it's time to find Silas Cobb inside Rapture Records, upstairs in Poseidon Plaza.
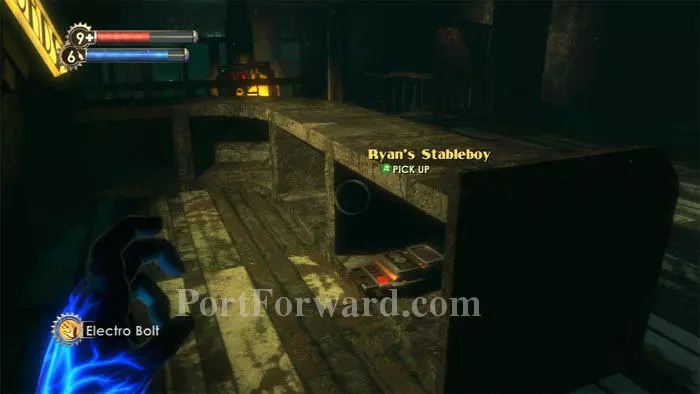
Anna Culpepper's audio diary Ryan's Stableboy is here on the left. Drop over the ledge to the floor below.
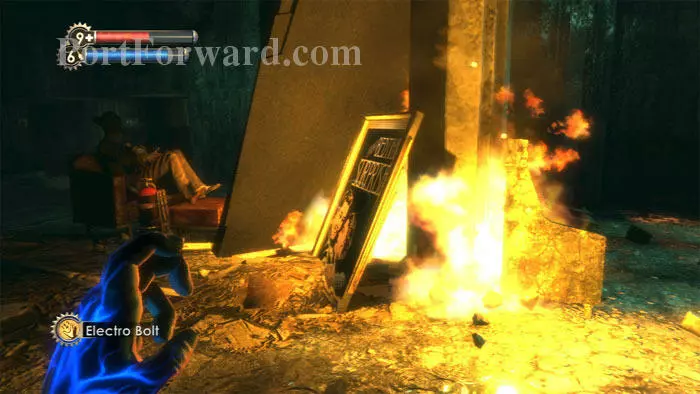
Approach the body to trigger the ticking, then step back to avoid becoming injured when the bomb finally explodes. Continue through the vent in the right corner after looting the bomb for any remaining Napalm. img(207160); Find a First Aid Kit before exiting the vent on the upper level, then begin the chase. Cobb is the easiest of the lot in my opinion. He has little health and as a Nitro Splicer is quite vulnerable to flame. Again, Napalm is my choice as he runs. img(207161); After photographing the body, Little Sister number three appeared. Headshots from the Crossbow's Steel-Tip Bolts brought down this Bouncer fairly quickly. I'm banking the ADAM for now. img(207162); Post Cobb's photo to the quadtych and be treated to Cohen's eccentric ecstasy. img(207163); Cohen rewards you with the Medical Expert 2 Physical Tonic. img(207164); If you like, you can hunt him down now (Antipersonnel Auto Rounds work well) to get his Muse Key, allowing you to recover the loot seen here, but you'll miss out on Cohen's appearance later in Olympus Heights that allows you to explore an additional area and earn an additional achievement. img(207165); On the other hand, if you do choose to kill Cohen, be sure to photograph his body to earn the aptly-named Irony Achievement. img(207166); Before exiting to the Hephaestus Bathysphere station, return to the now-unlocked projection room and find Sander Cohen's Requiem for Andrew Ryan audio diary, as well as the Electric Flesh Combat Tonic. Film, an EVE Hypo and Moonbeam Absinthe are some of the additional items found here.
More BioShock Walkthroughs
This BioShock walkthrough is divided into 15 total pages.


