This Bionic Commando Rearmed walkthrough is divided into 24 total pages.
You can jump to nearby pages of the game using the links above.
Area 07 - The POW Camp
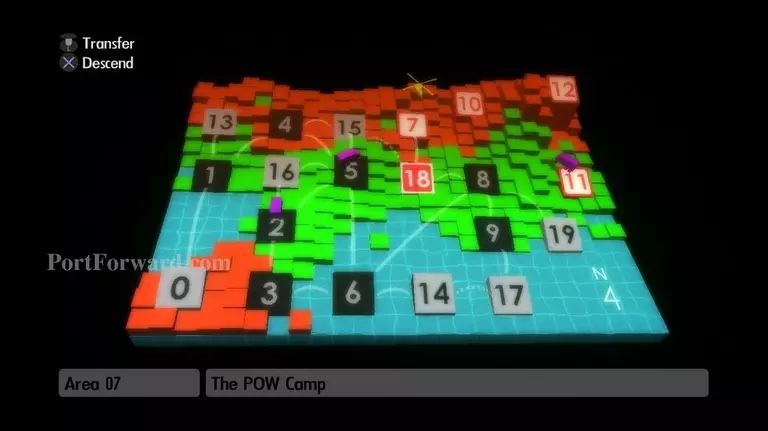
Descent into Area 07, The POW Camp.
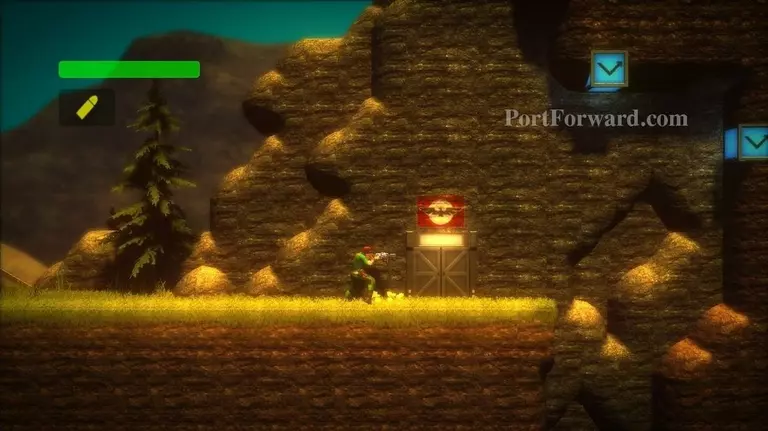
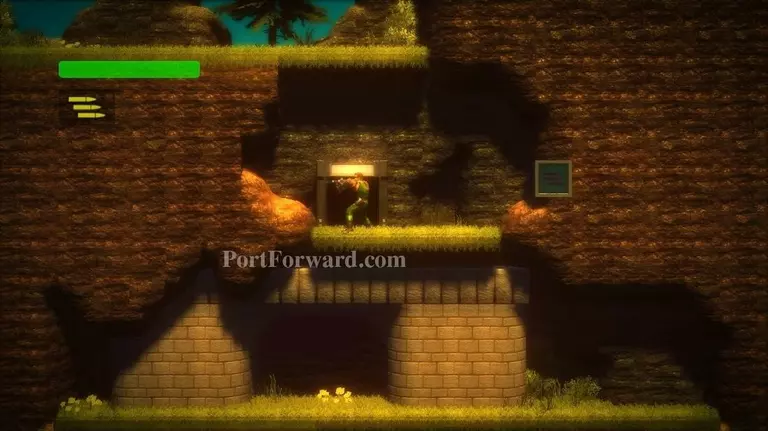
You'll find a door, but it's locked.
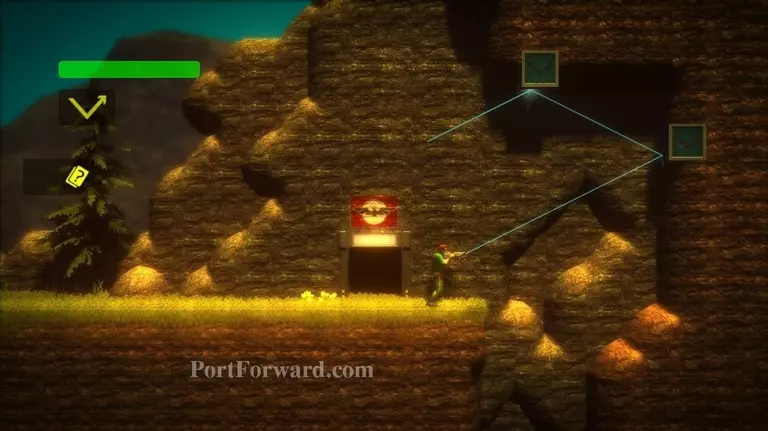
Use your Vector Cannon to shoot the blue switches.
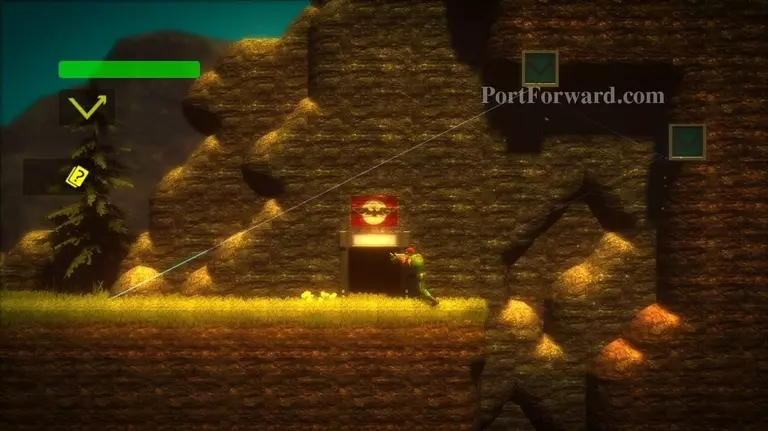
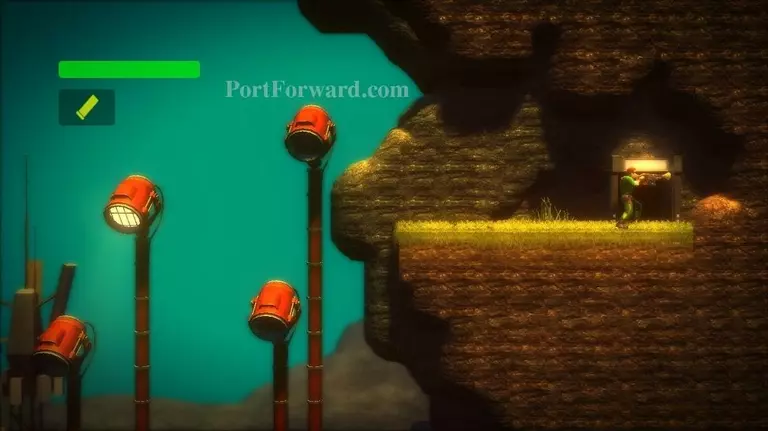
Enter the door.
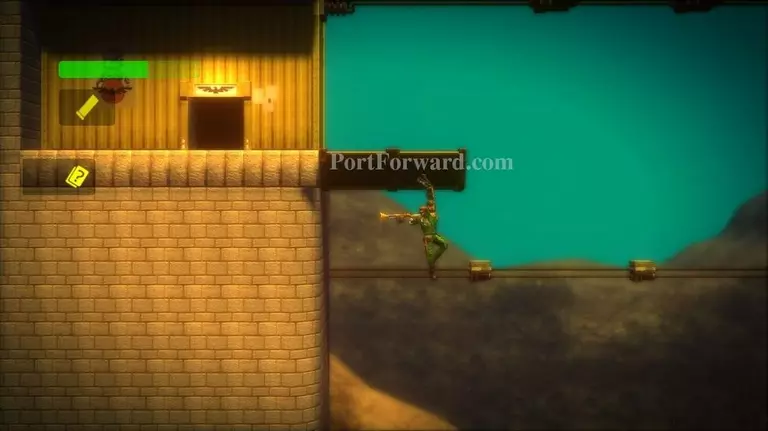
Remove the cement pillar with your grapple.
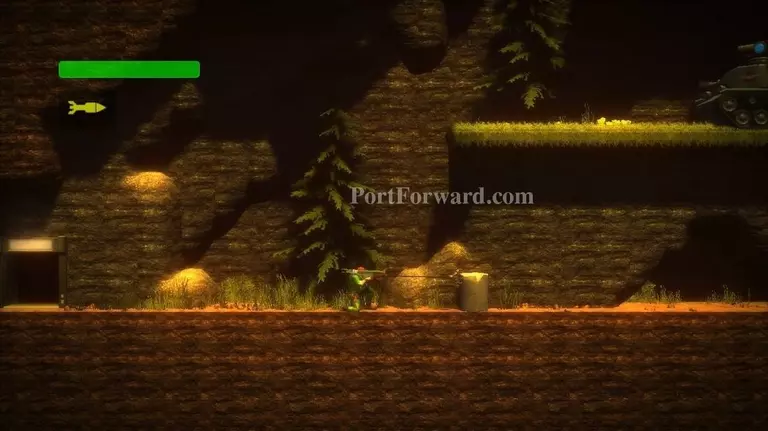
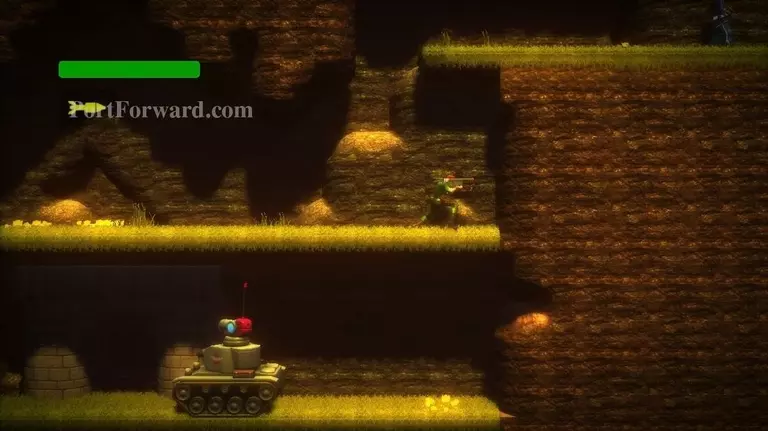
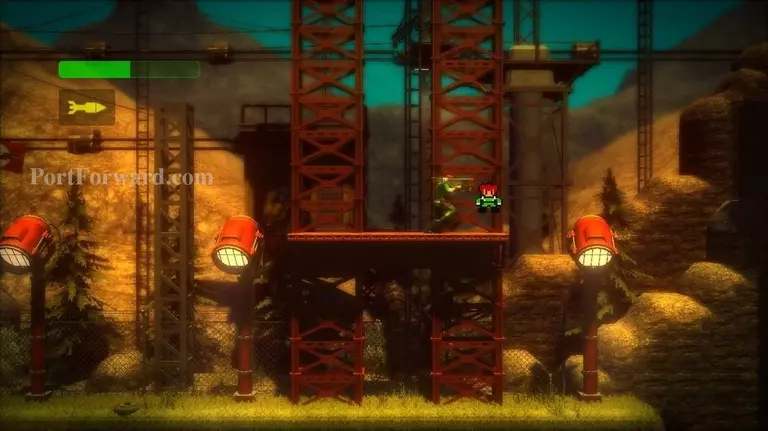
Climb up in front of the Tank Droid.
Destroy it with your Bazooka.
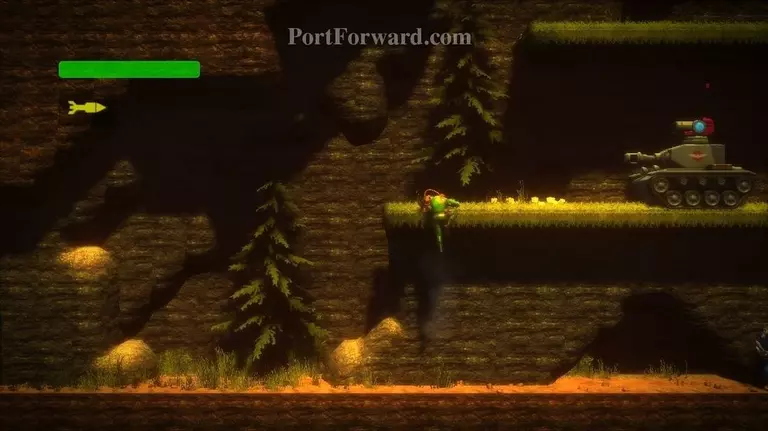
Continue climbing, destroying the tanks along the way.
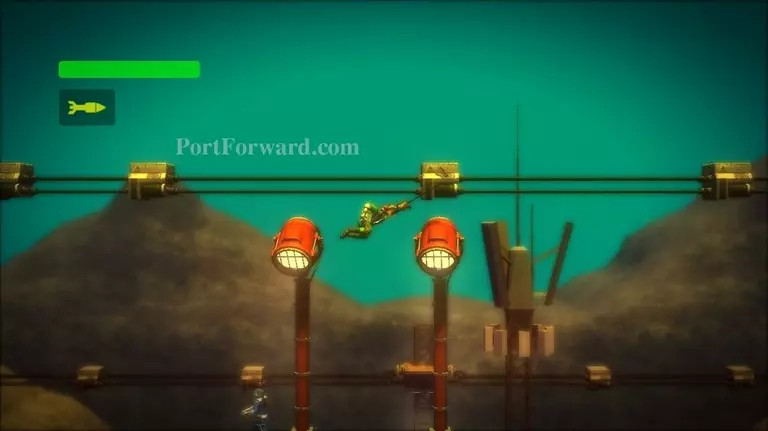
Head to the upper-right.
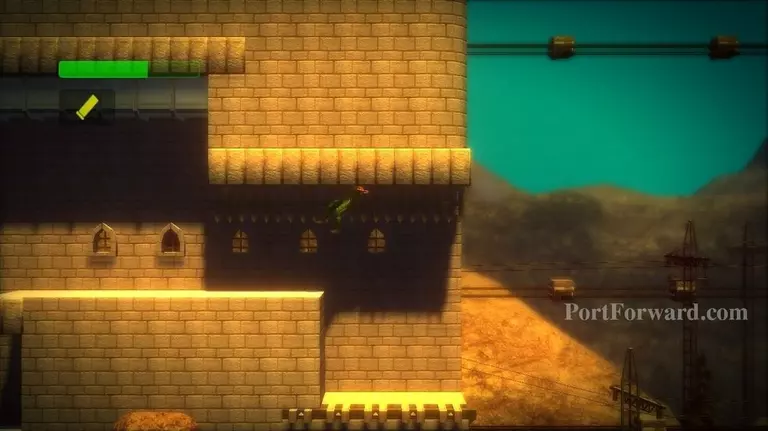
You will eventually reach a red tower.
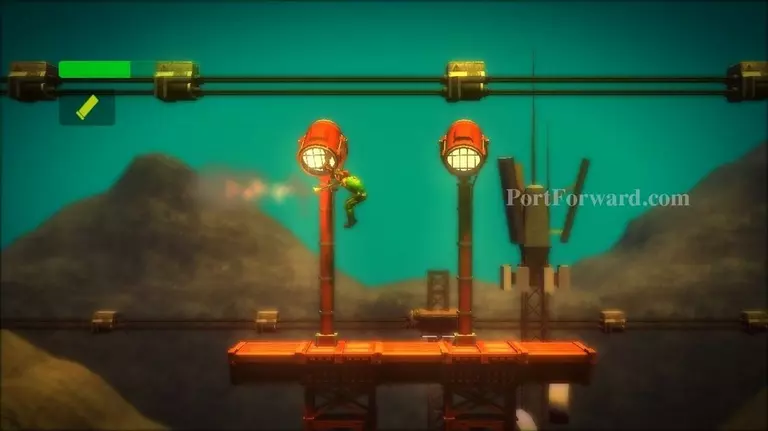
Climb up the tower.
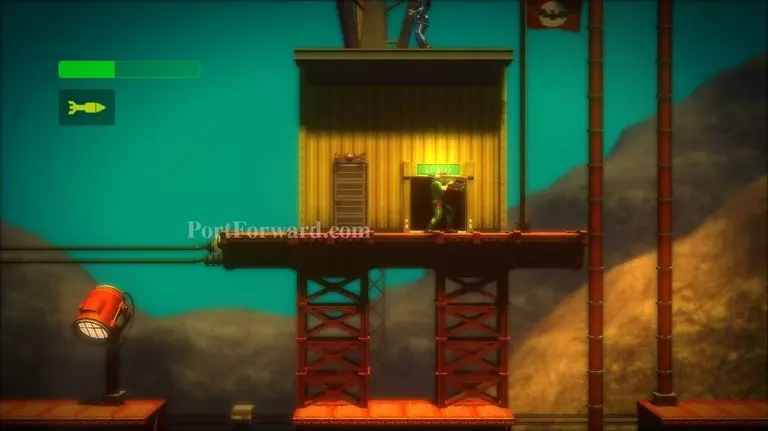
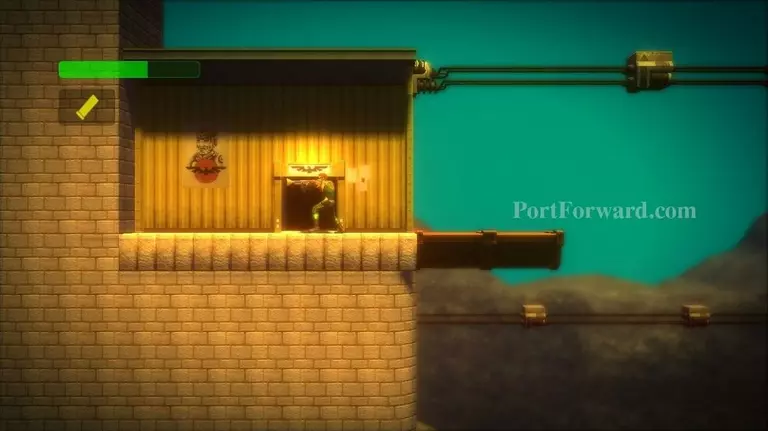
You'll find a Communications Room at the top. Go in and talk to HQ.
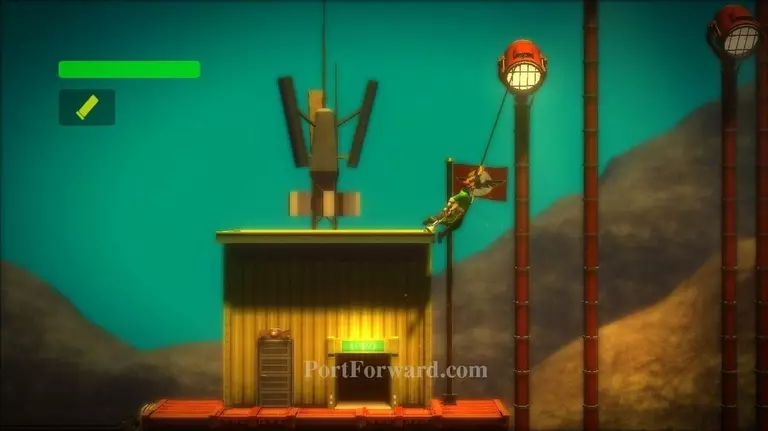
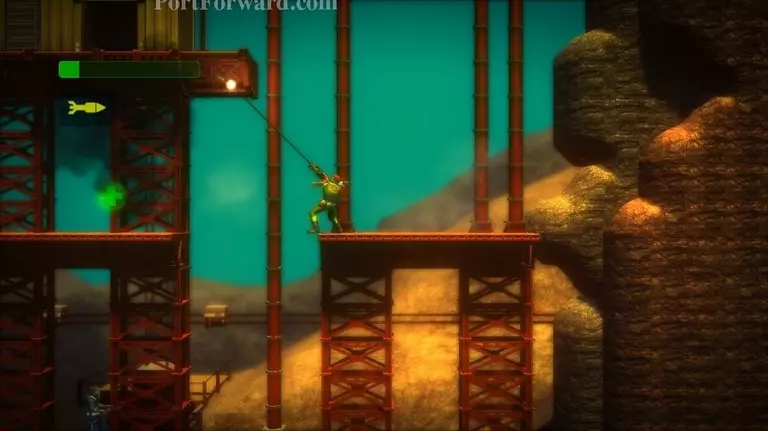
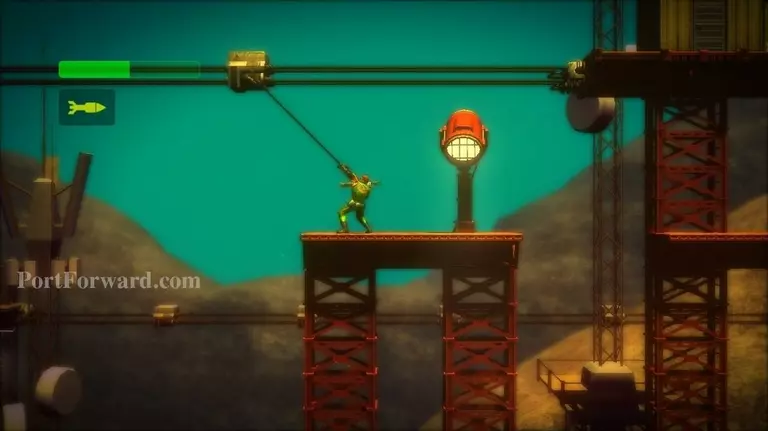
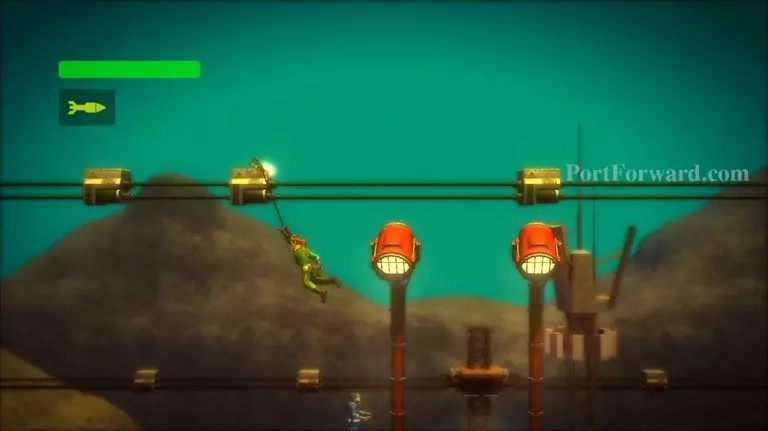
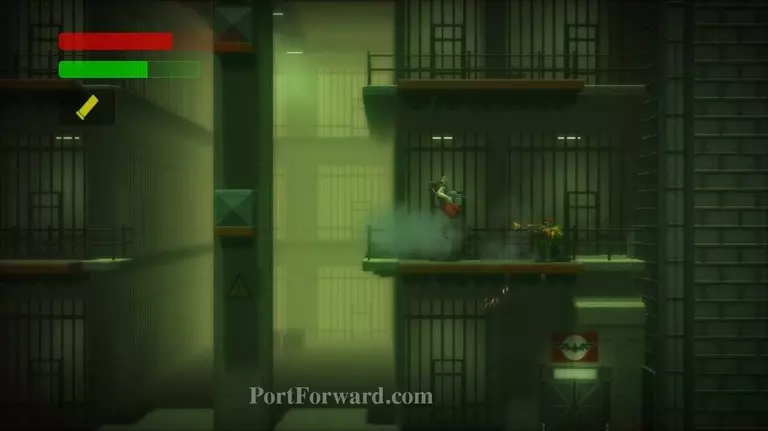
Get on top of the building the Communications Room is in. Grab the lamp in the upper-right and swing to the right.
Grab onto the lamp to the right.
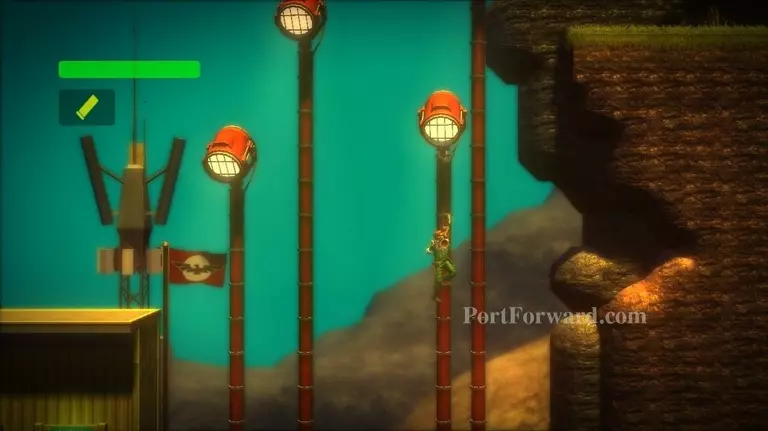
Pull yourself up and use the shotgun to start swinging again.

Swing left, grabbing the lamp to your upper-left.
Swing off that lamp to the lamp in the upper-right.
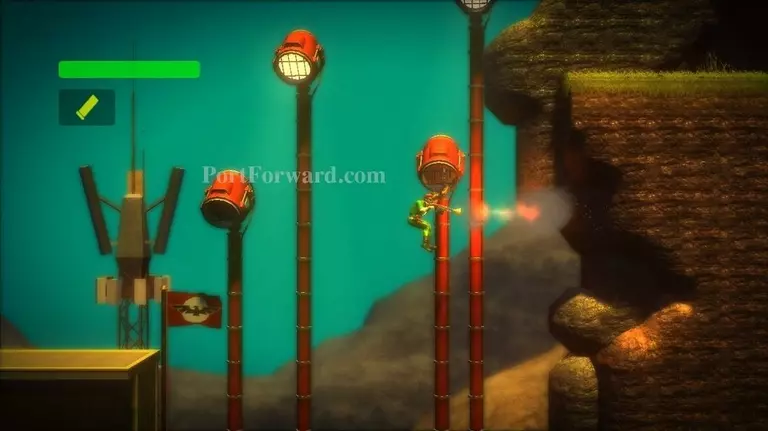
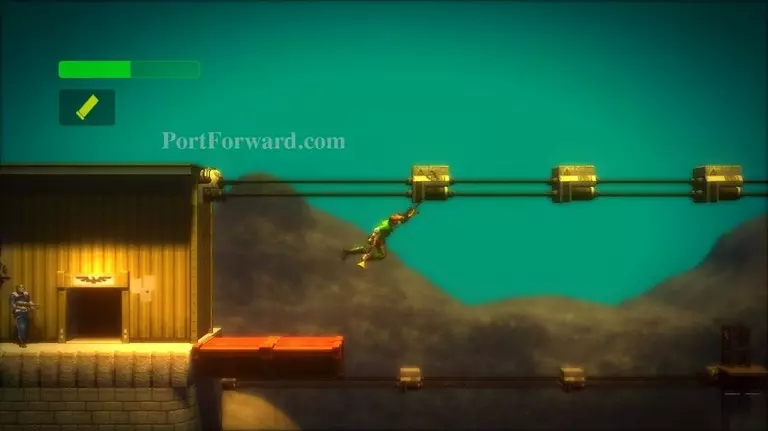
Swing onto the ground to the right. Enter the door found there.
Grab the item here. It unlocks Secret Challenge 6.
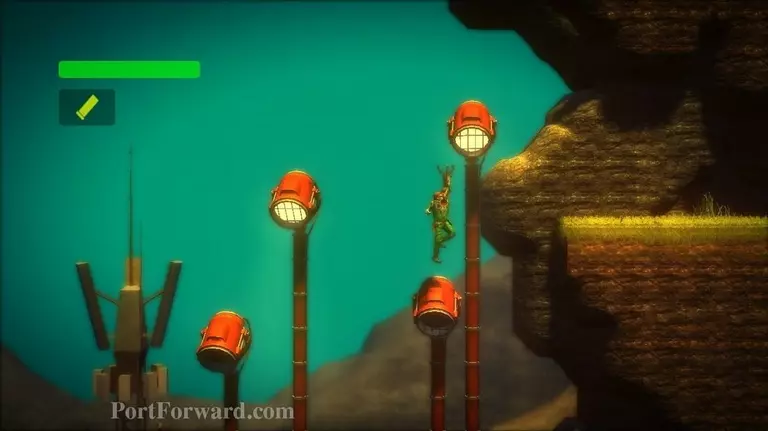
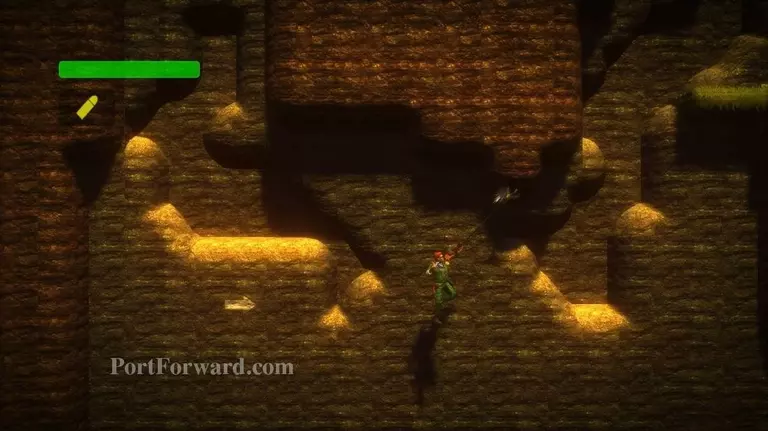
Go to the upper-left of the red tower. Grapple to the tiny platform and swing left.
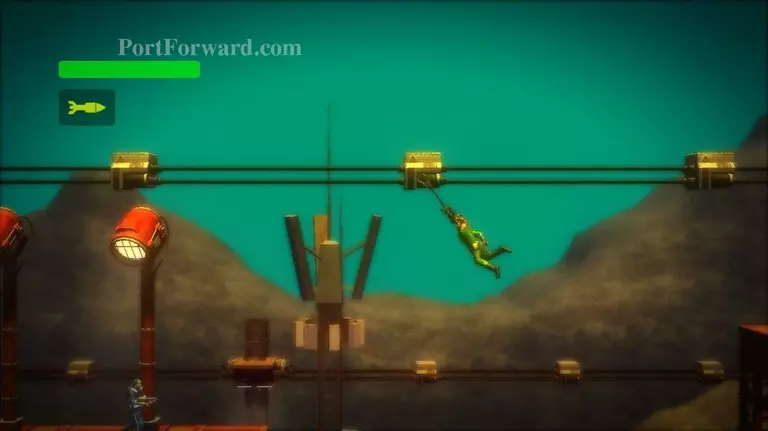
Grab the next tiny platform here. Continue swinging left.
Attempt to continue swinging left.
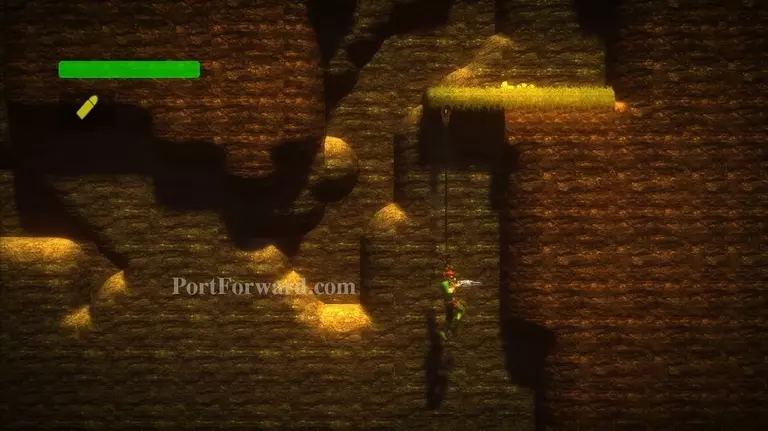
The lamps may knock you down to the platform below. If they do grab onto the left lamp, retract your arm, and use your shotgun to swing left, grabbing the tiny platforms.
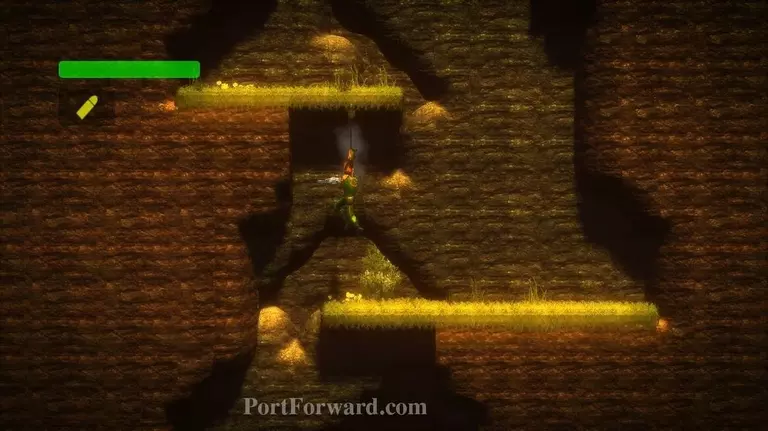
Swing leftward. Skip the next platform and grab the one after it.
Last tiny platform! Swing left to safety. Don't enter the Boss Room just yet.
Walk off the right side of the platform, then turn around and grab it with your grapple. Be careful not to hit the wall. If you do, try to immediately grapple upward. Retract your arm so you don't swing. Face left and then fall strait down.
Attempt to grab the roof of the tunnel you come across.
In here you'll find the Yashichi. Grab it and then exit to the right and fall down the rest of the way.
You'll find a bunch of landmines (if you didn't before now.) You can use your grenades to destroy them if you wish.
You'll find an extra life to the right. Walk right and drop down off the grass to the path below. Go rightward and upward. You'll come to the red tower again. Scale it and make your way back to the Boss Room.
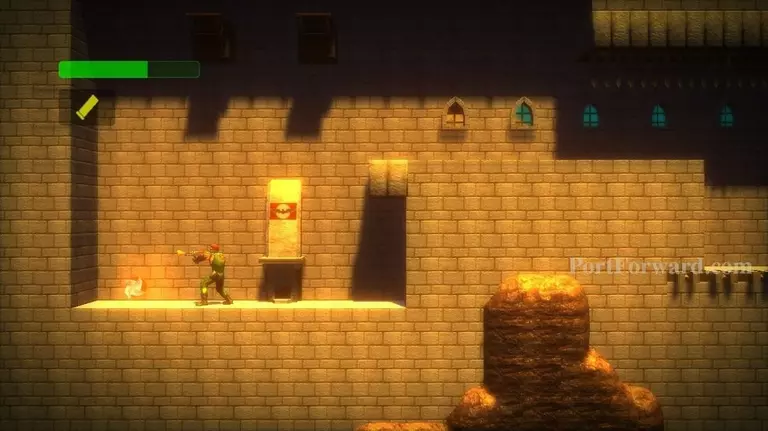
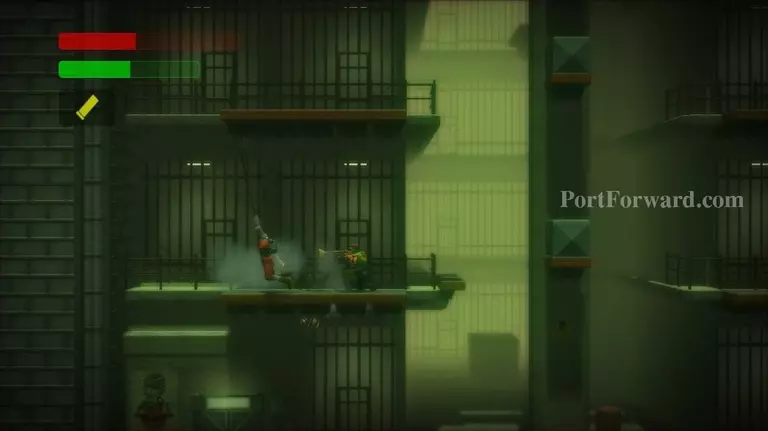
Enter the Boss room.
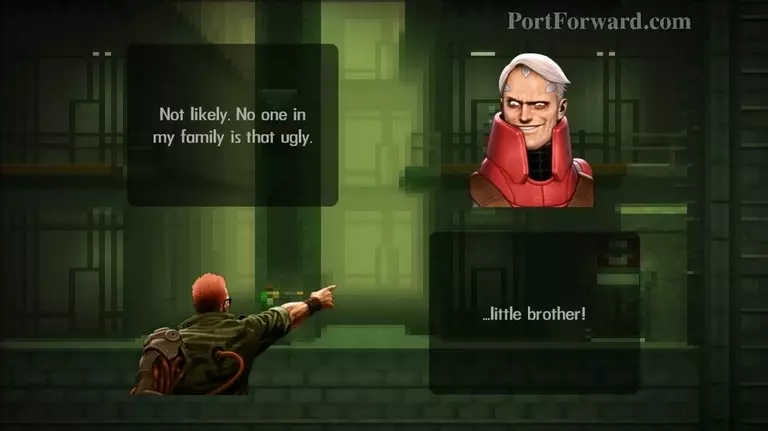
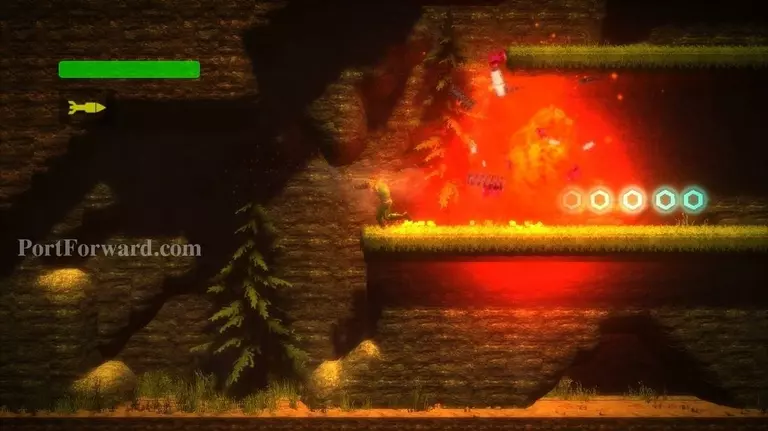
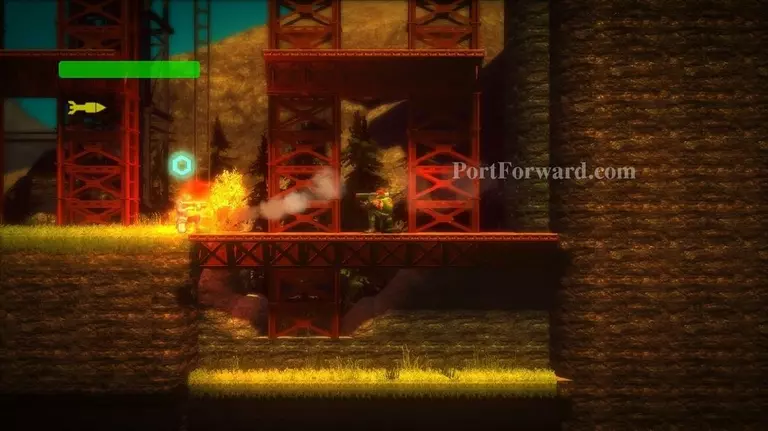
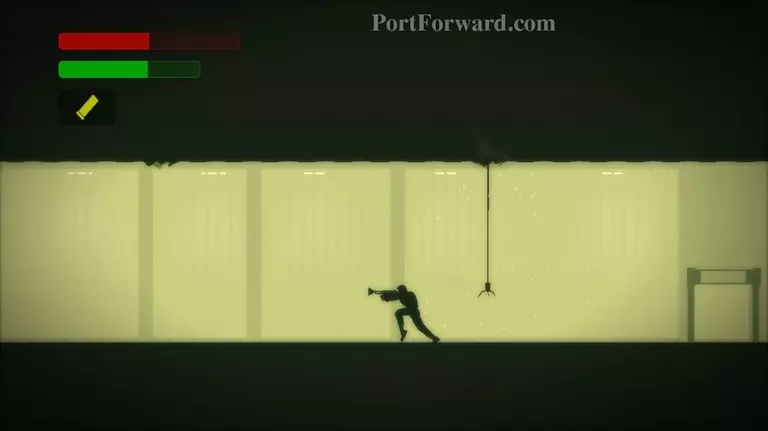
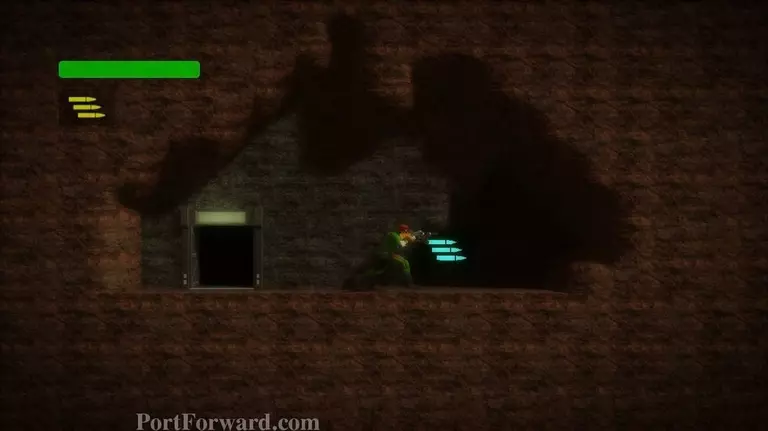
You'll find Gottfried Groeder here to fight.
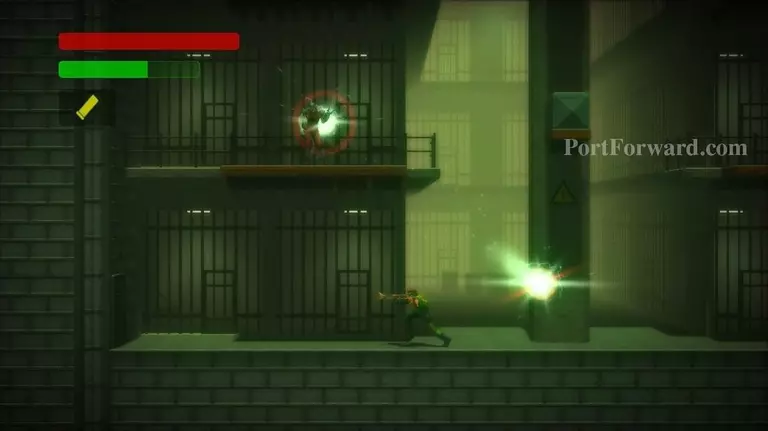
Avoid his energy blasts. As long as you keep moving it's very easy.
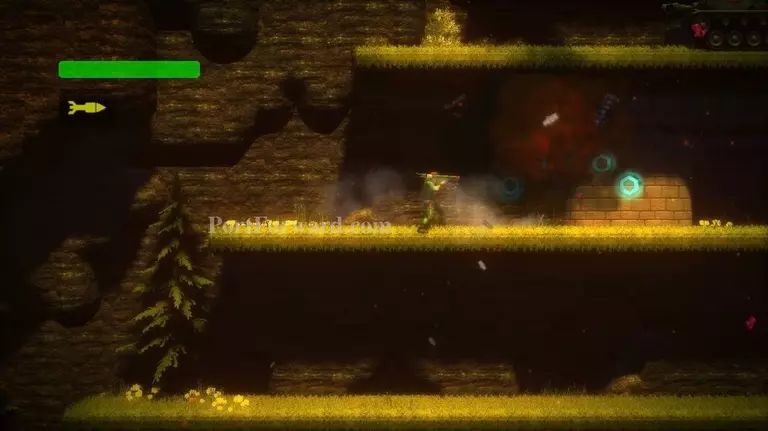
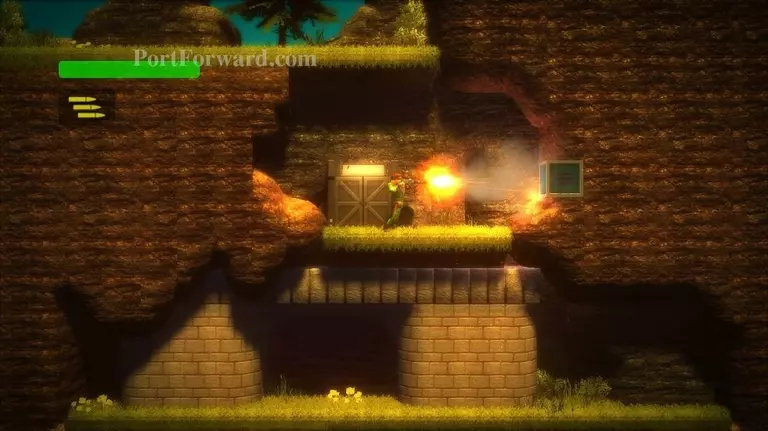
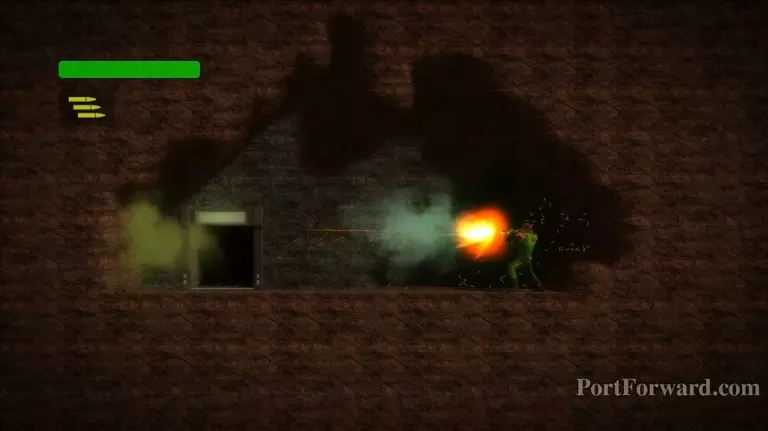
Follow him and try to sneak up behind him and use your Shotgun on him.
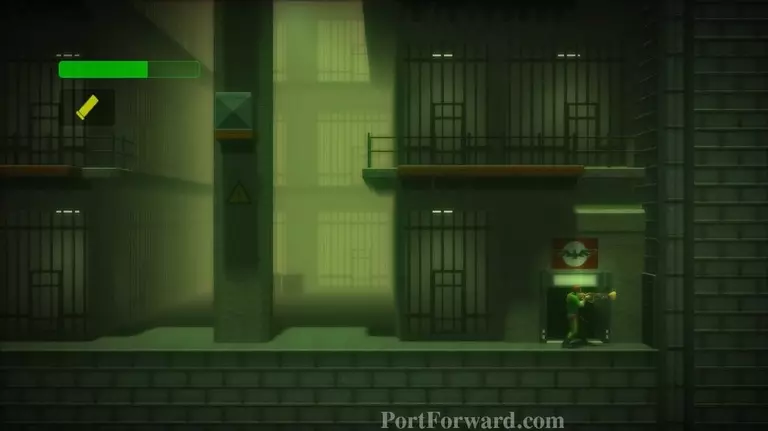
After you do enough damage, he'll run out a door in the lower right. Follow him.
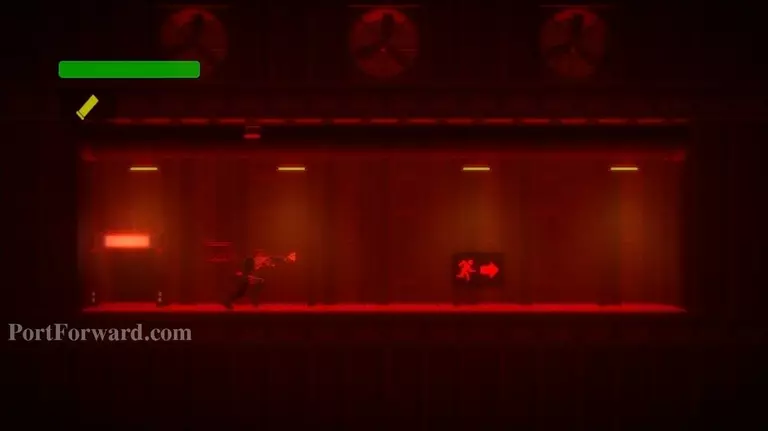
Go through the hall, avoiding the enemy's bionic arm that pokes through the roof at you.
Enter the door at the end of the hall.
Now you will fight the boss some more. Just use the same tactics as before. It's slightly harder, but not much.
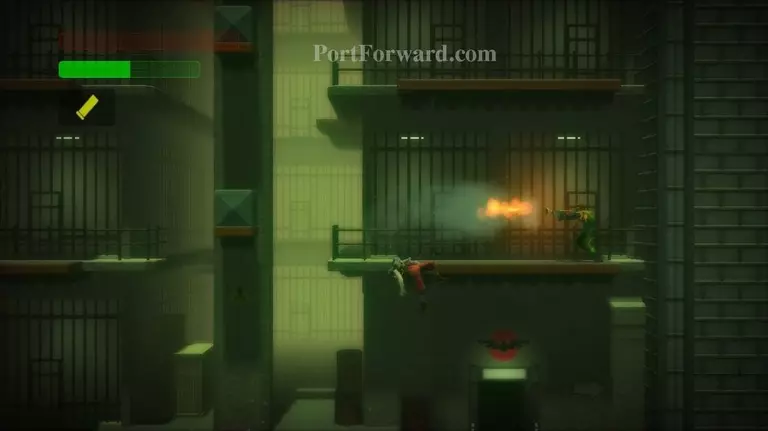
This time he'll die when you shoot him enough.

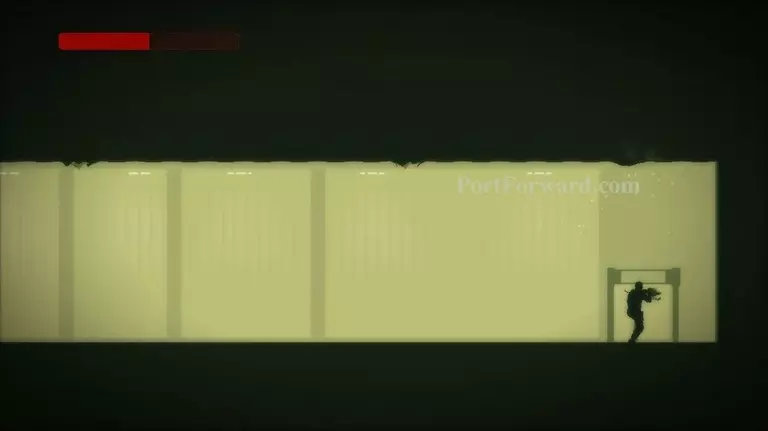
Enter the room in the lower-right corner.

You rescue Super Joe!
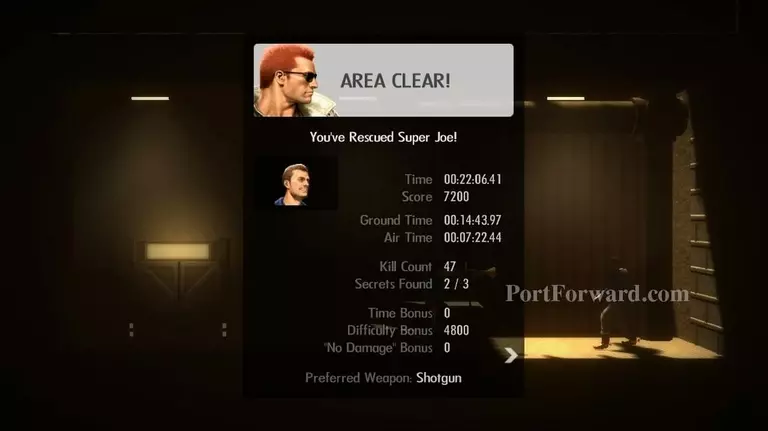
Area Clear!

Haley tells you that Joe provided coordinates for Area 10 and 11. Continue on to Area 18 and then come back to Area 07 for a secret weapon upgrade (see below.)

Fall down the pit to the right of the first door in this area.
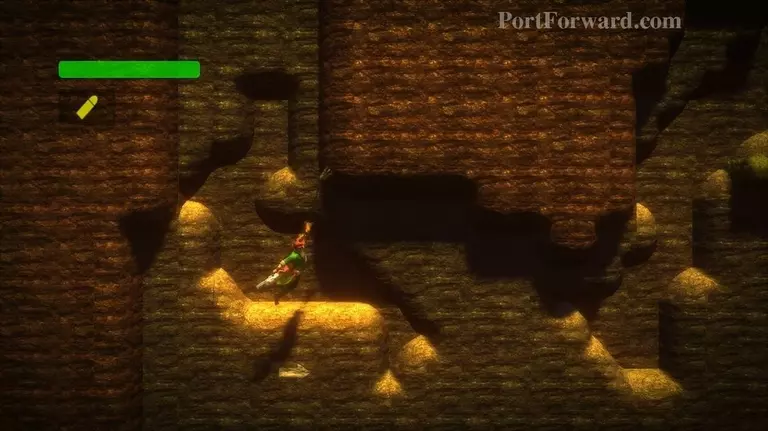
Grab the ledge to the right as you fall.
Swing rightward and try to catch the lower part of this rock.
Swing right and grapple upward to catch the grassy platform.
Grapple upward.
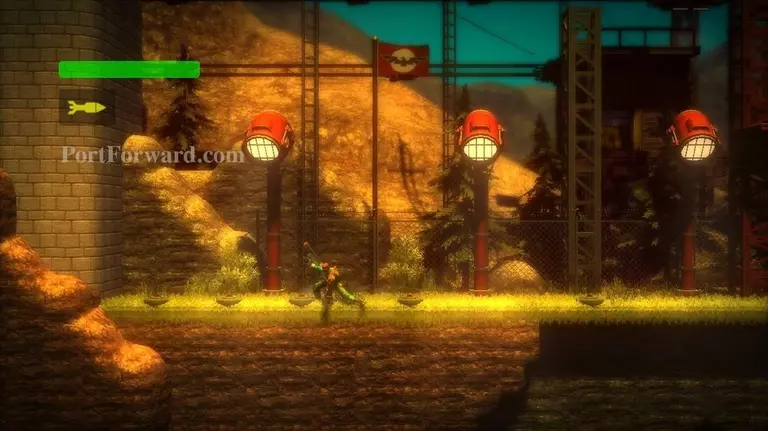
You'll reach a locked door and a blue switch. Shoot the blue switch with Joe's Machine Gun.
The door will open. Enter it.
Grab Joe's Machine Gun Upgrade here.
Now your machine gun is more powerful. Call for extraction.
More Bionic Commando Rearmed Walkthroughs
This Bionic Commando Rearmed walkthrough is divided into 24 total pages.