This Bionic Commando Rearmed walkthrough is divided into 24 total pages.
You can jump to nearby pages of the game using the links above.
Secret Tunnel 15-18
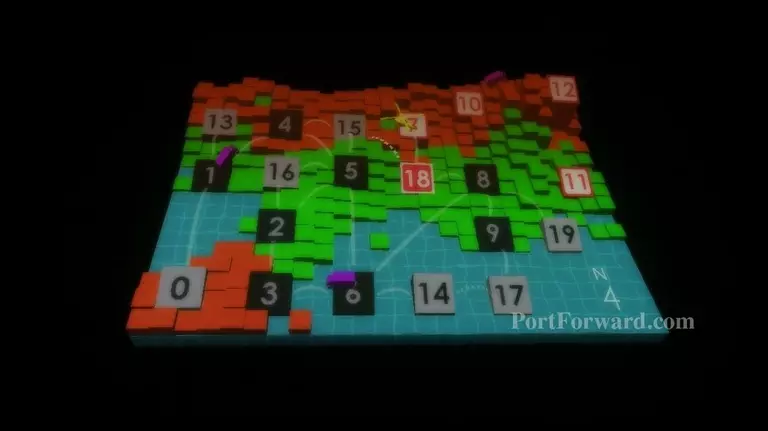
Move your helicopter between Area 15 and 18 to enter the second secret tunnel.
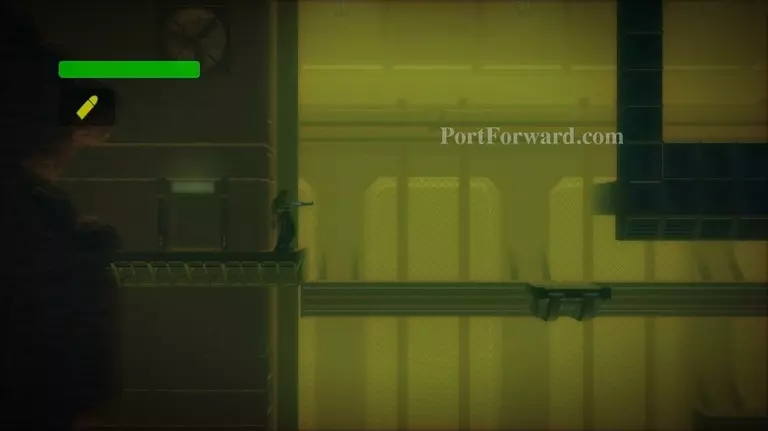
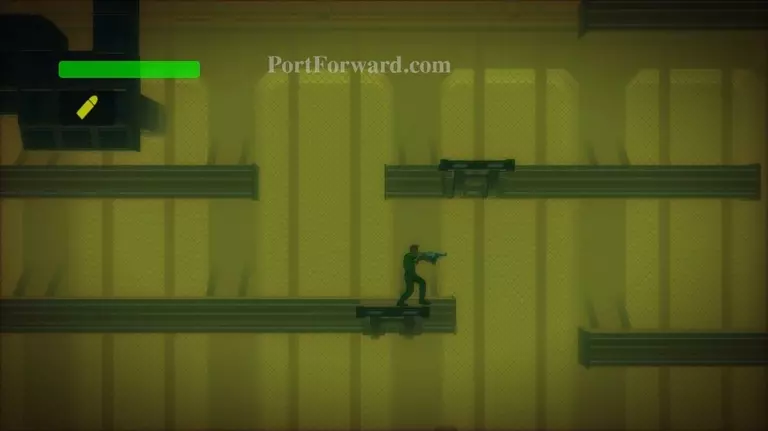
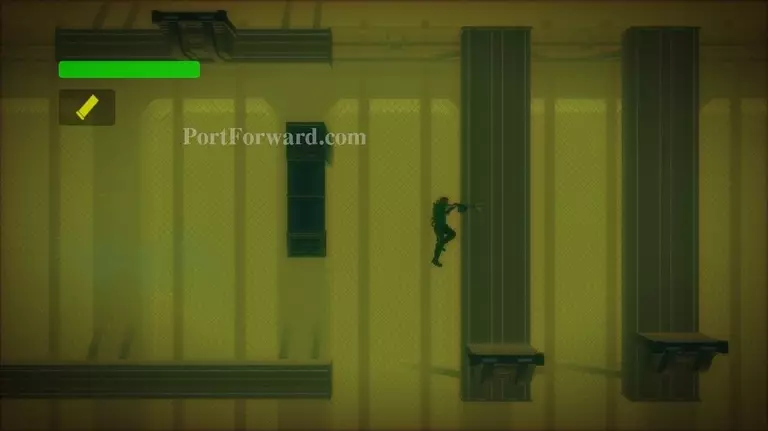
Wait for the platform to come close.
Fall to the right and grapple onto the bottom of the platform. Retract your arm, but remain under the platform.
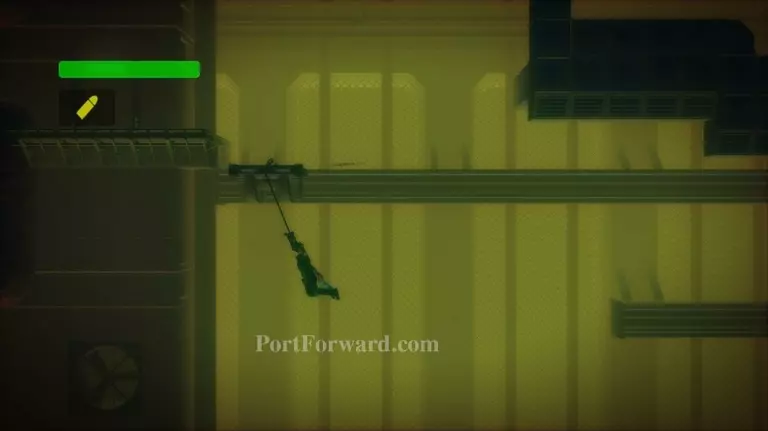
When the platform passes over another one, drop down onto the lower platform.
When this platform is on the right side of its track, grapple up to the platform above you.
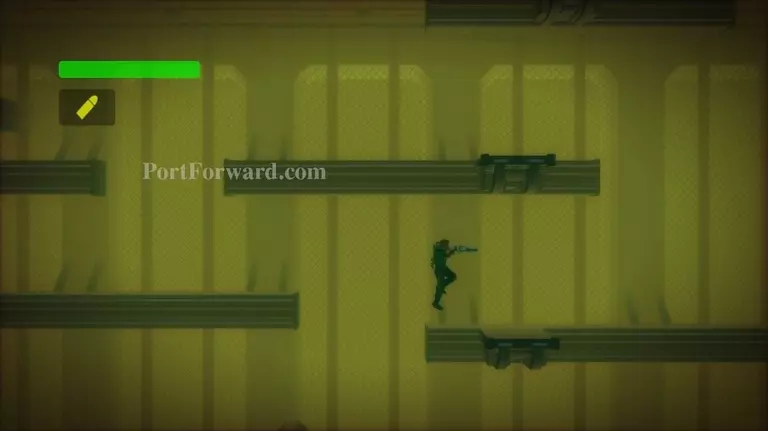
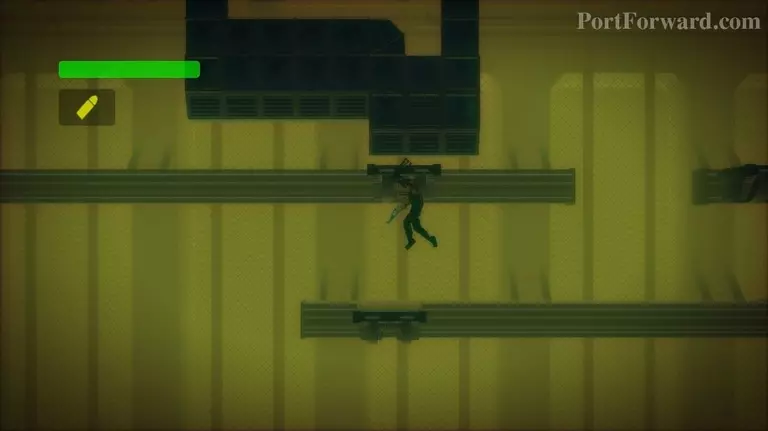
Drop down from this platform, catching onto the one below.
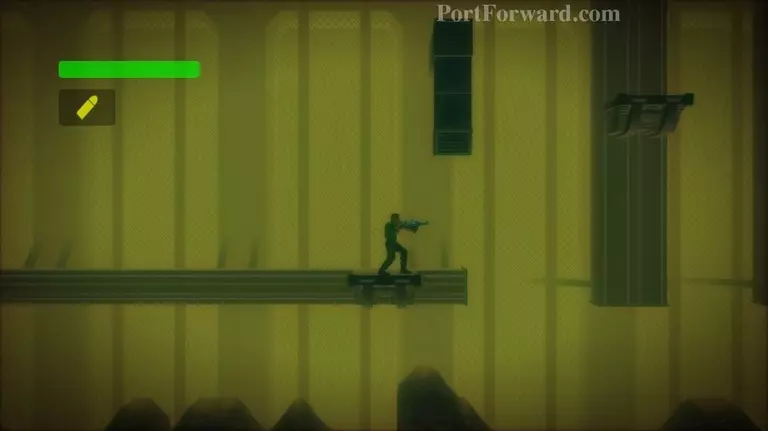
Grapple to the vent.
If you need to swing, use your shotgun to start moving.
Swing onto the first vertical moving platform.
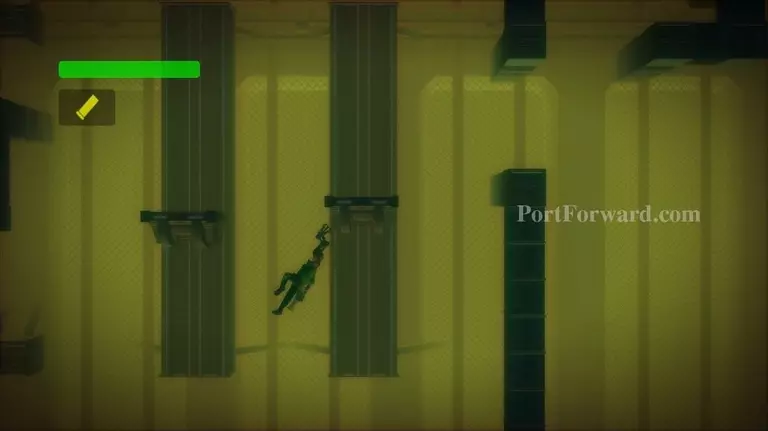
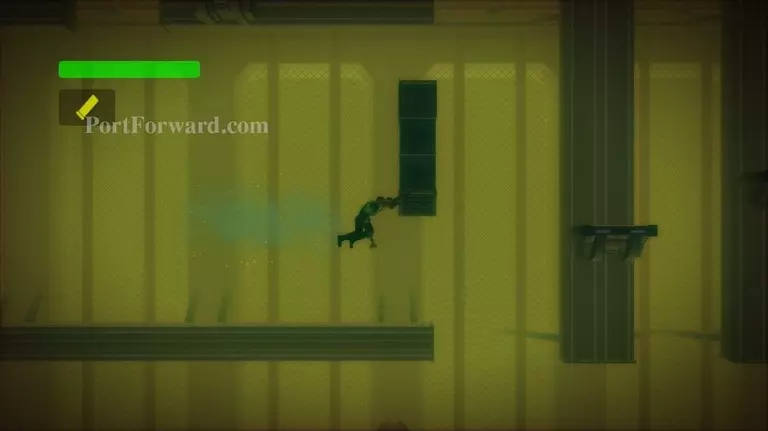
Grapple onto the bottom of the second vertical moving platform, then climb on top of it.
Latch onto the top of the duct to your right.
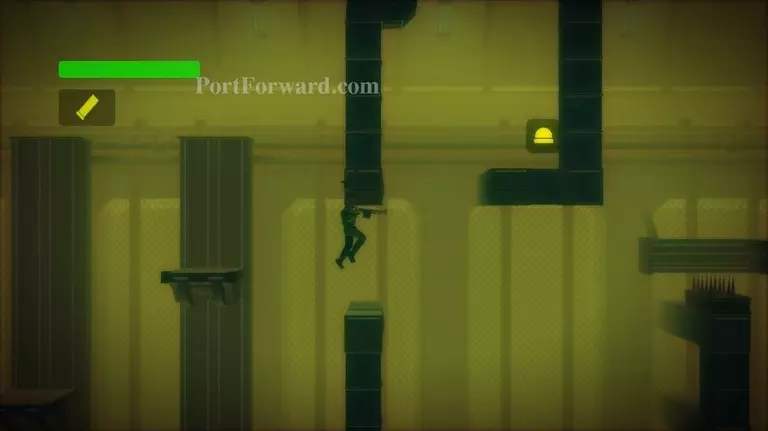
Quickly pull yourself up to prevent hitting the lower duct and falling.
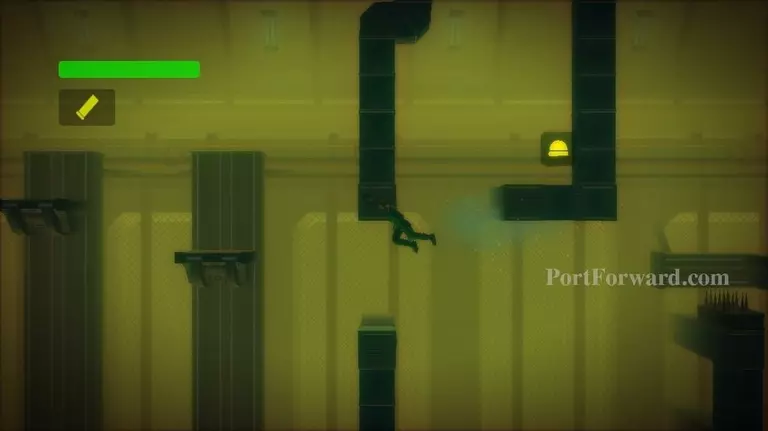
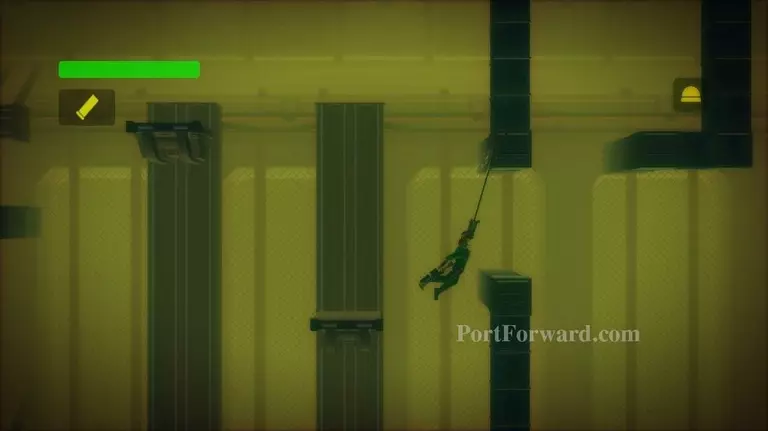
Use the shotgun to start swinging again.
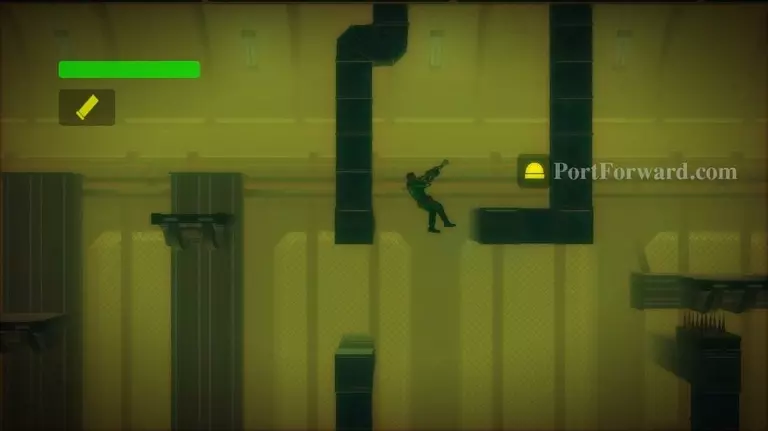
Swing to the right.
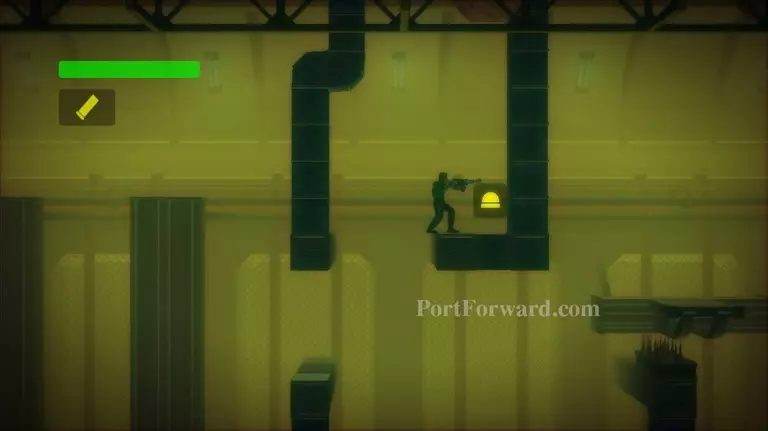
You may land right next to the Helmet, if not use your grapple to climb up to it. Get the Helmet and call for extraction.
More Bionic Commando Rearmed Walkthroughs
This Bionic Commando Rearmed walkthrough is divided into 24 total pages.