This Bionic Commando Rearmed walkthrough is divided into 24 total pages.
You can jump to nearby pages of the game using the links above.
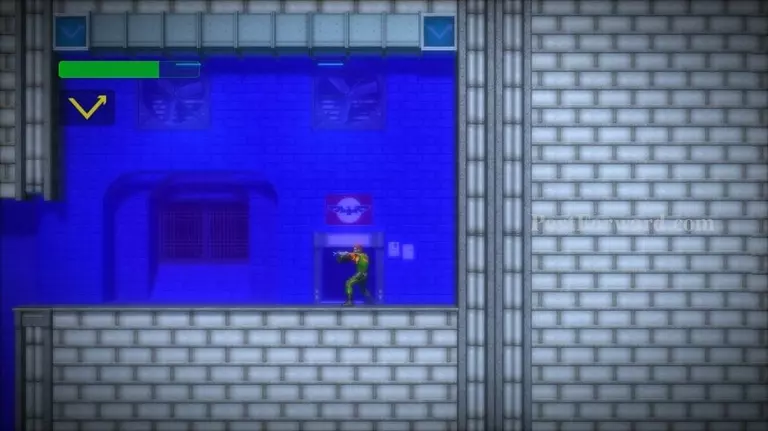
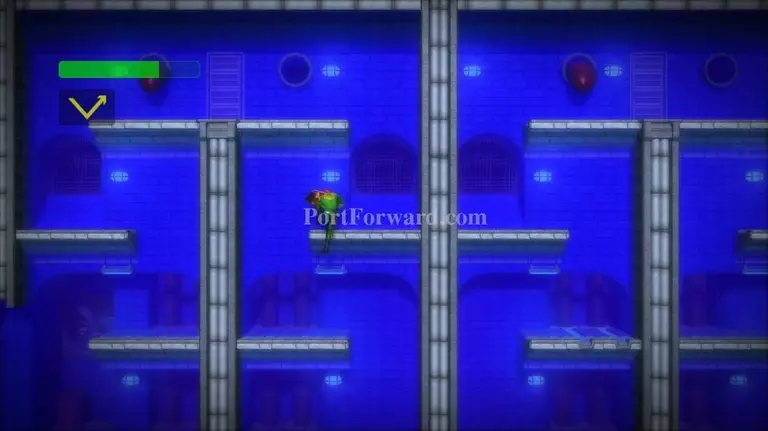
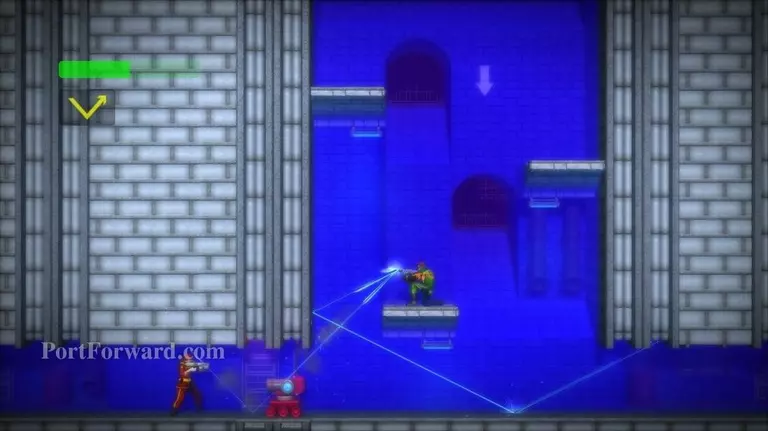
Area 10 - The Tech Assembly Plant

Descend into Area 10, The Tech Assembly Plant.
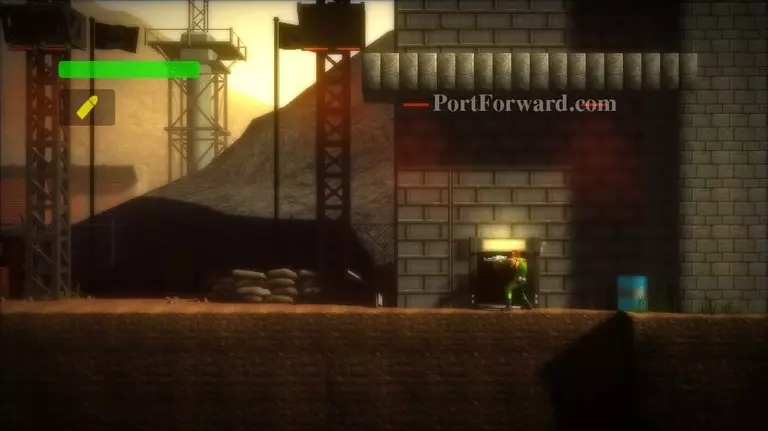
Enter the door on your right.
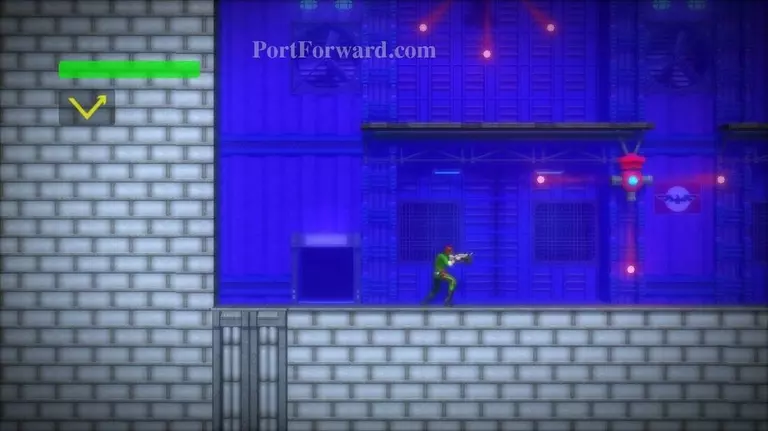
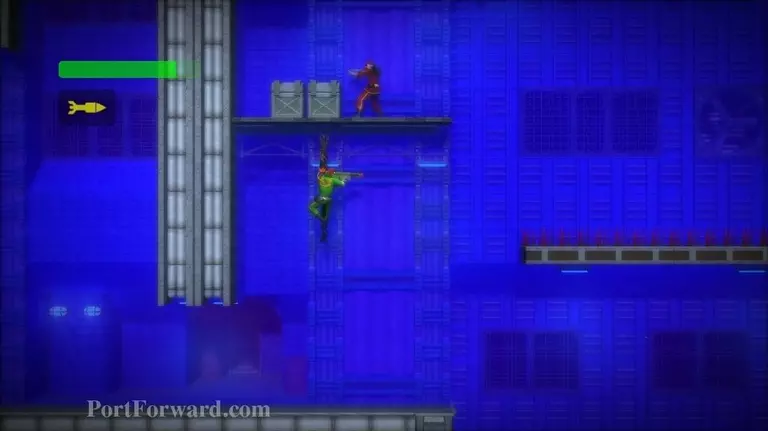
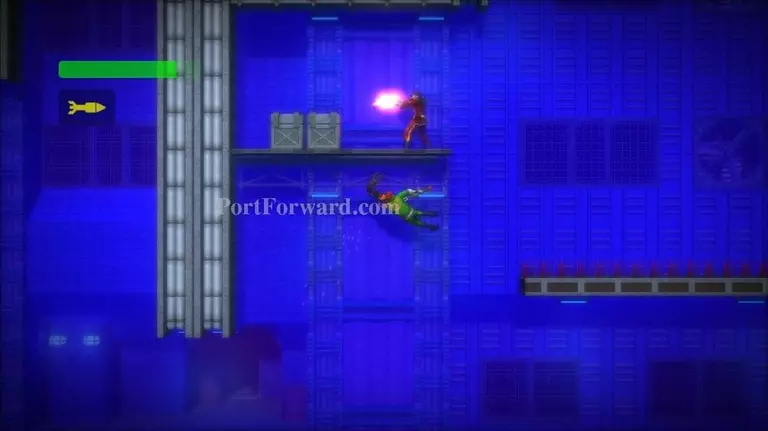
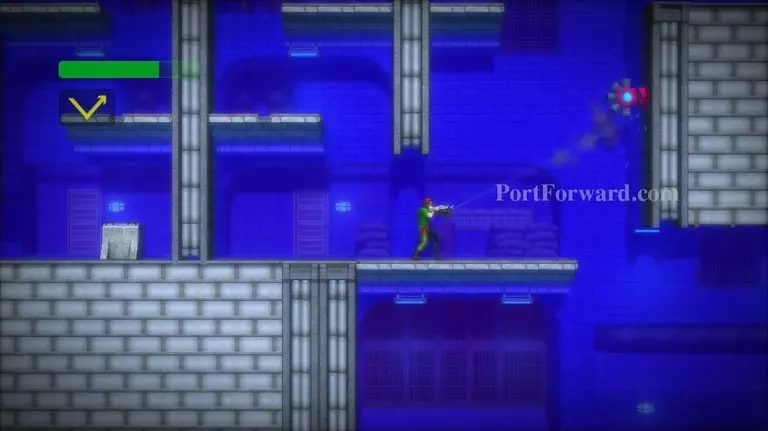
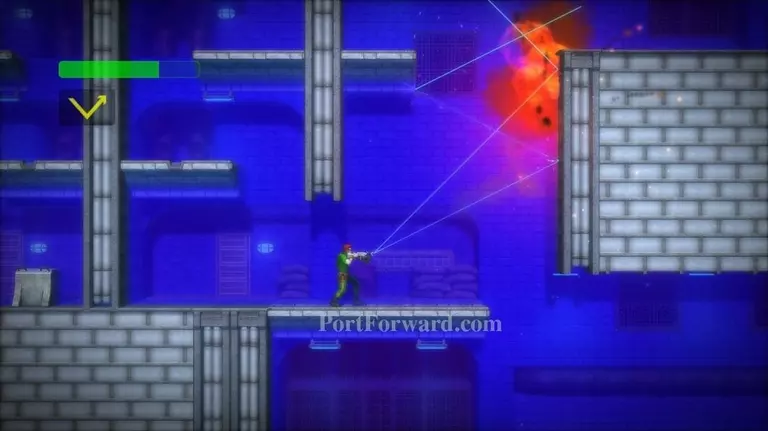
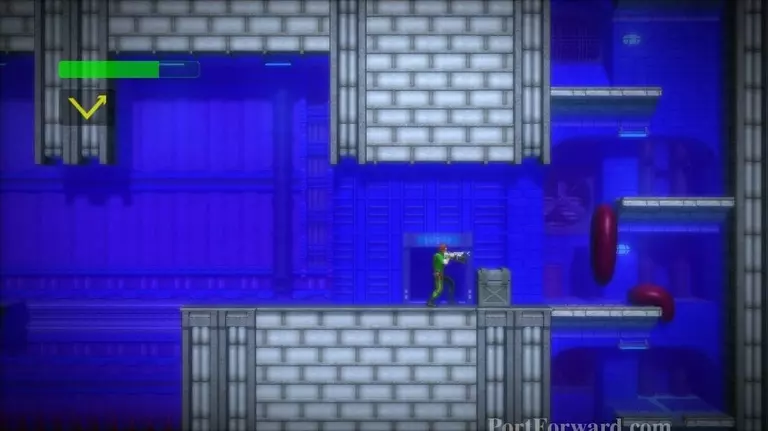
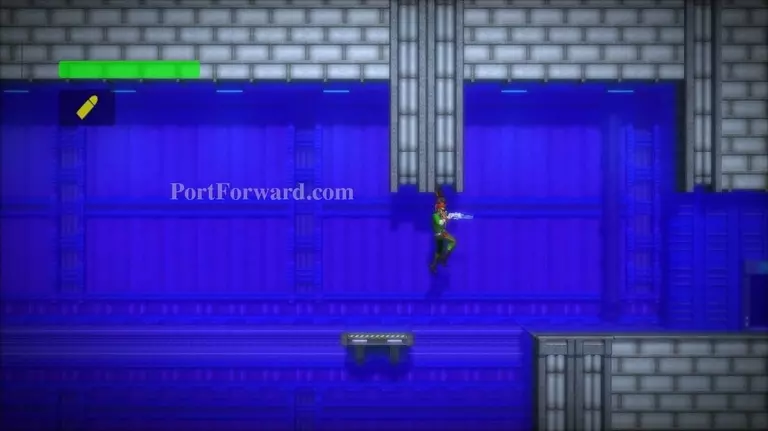
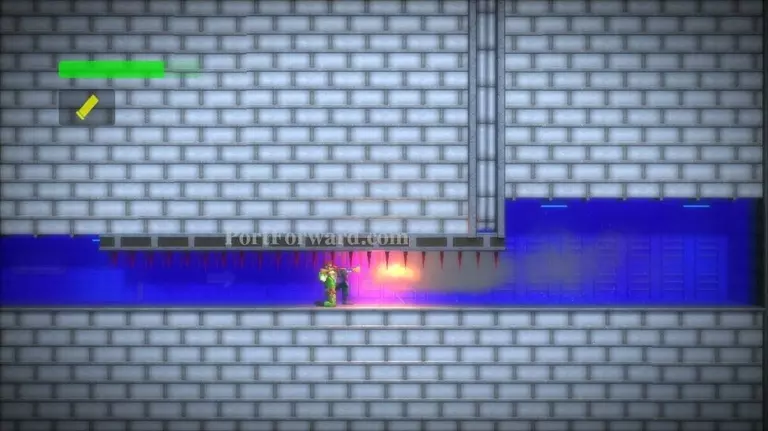
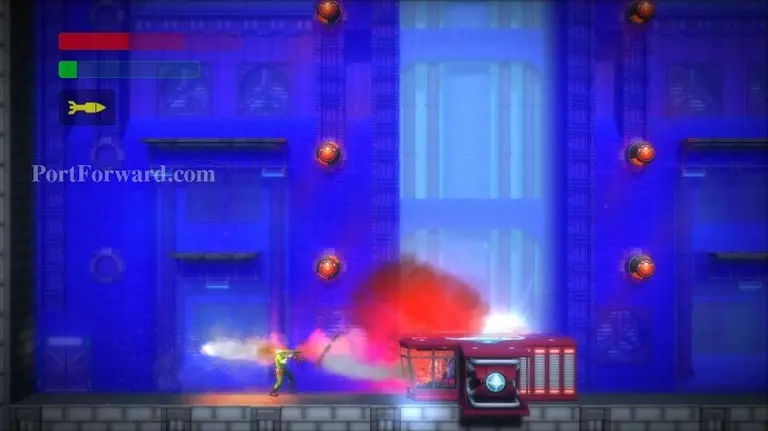
Droid Sprinkler Cannons will shoot in multiple directions throughout this room.
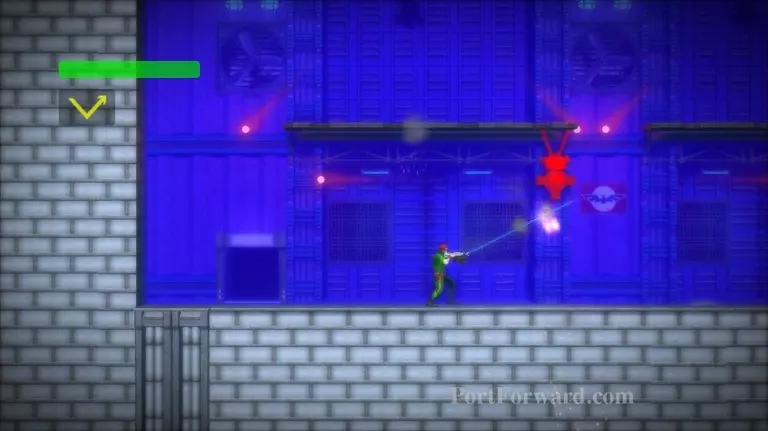
Use the Vector Cannon to destroy them.
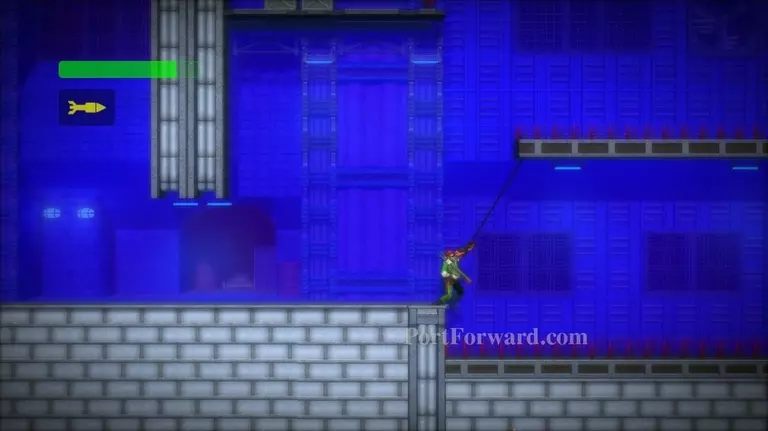
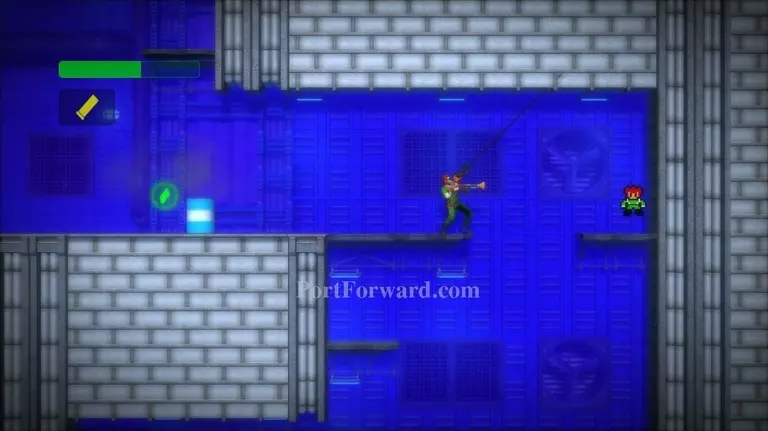
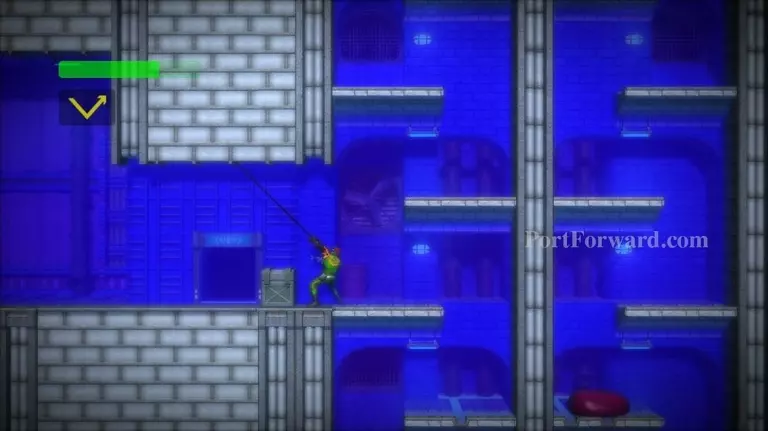
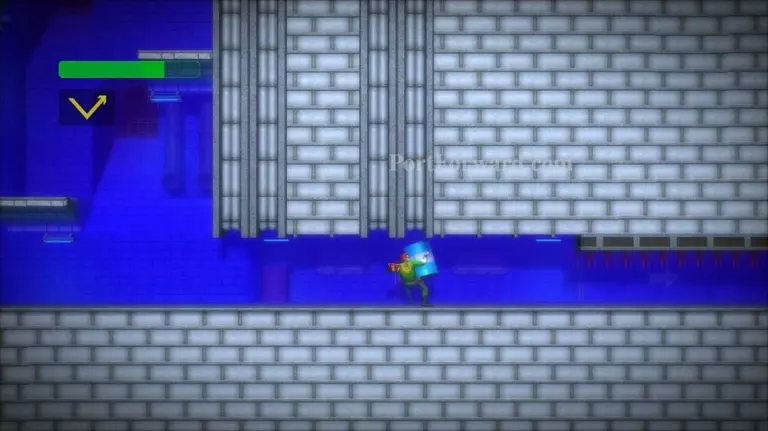
Continue right until you find a spike pit. Grapple to the ledge above it.

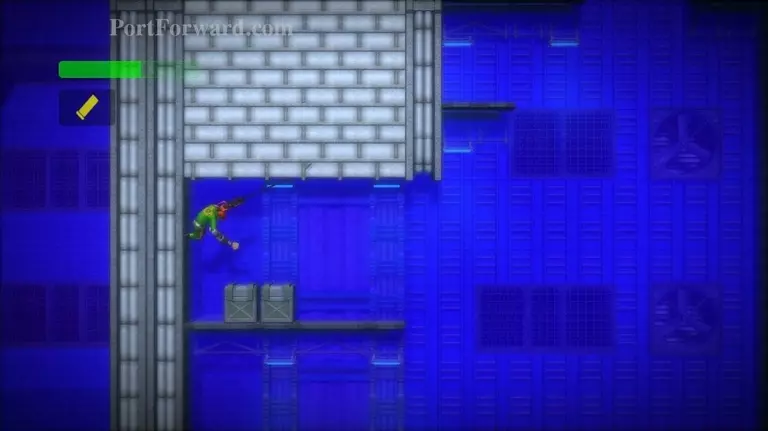
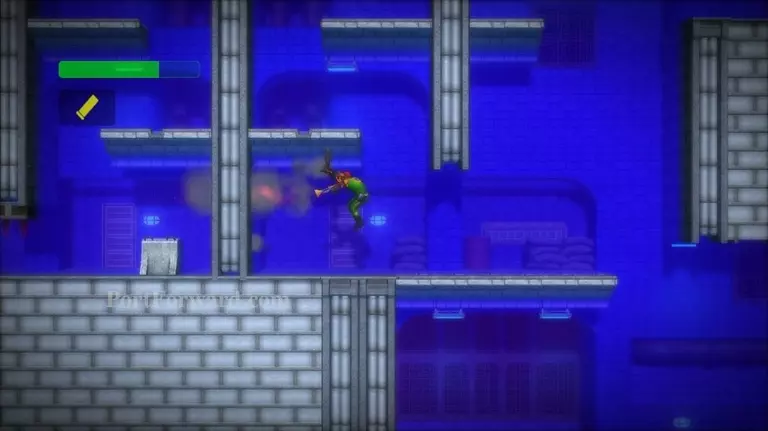
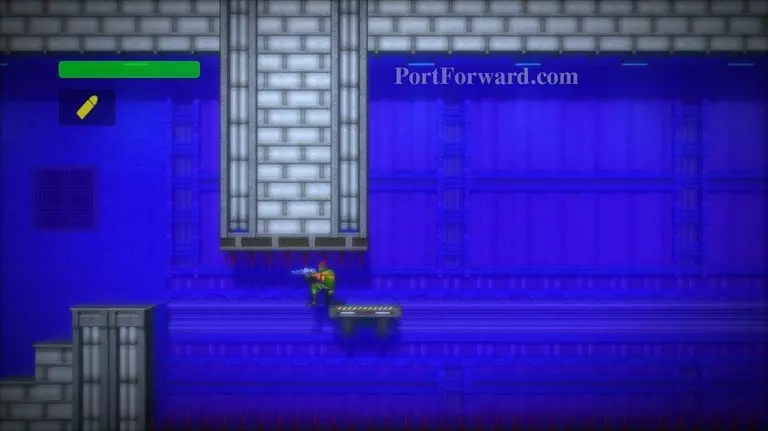
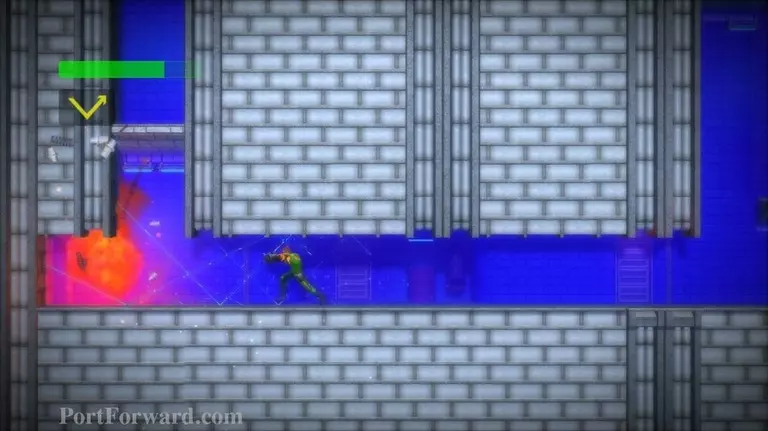
Swing left and grapple upward to latch on to the platform above.
Retract your arm.
If you're under the crates. Drop and quickly latch on again. You should now be past them.
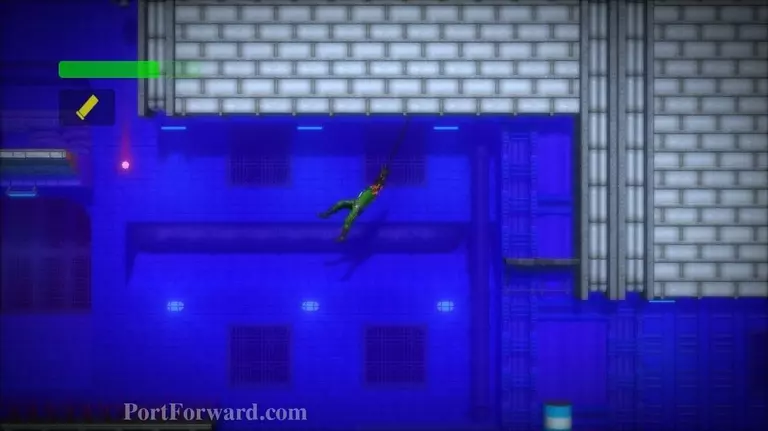
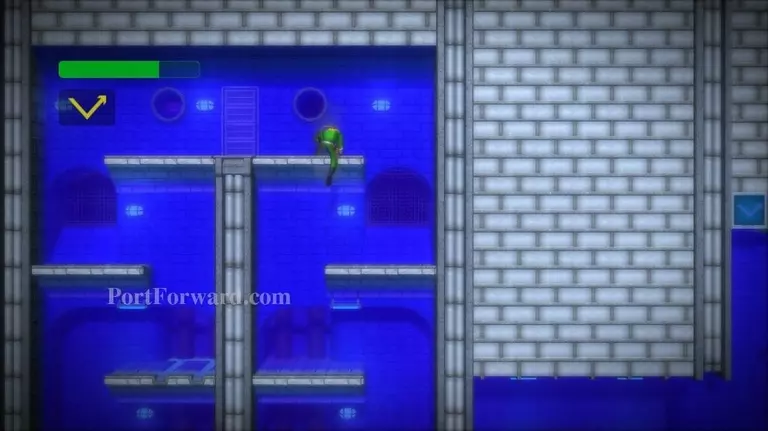
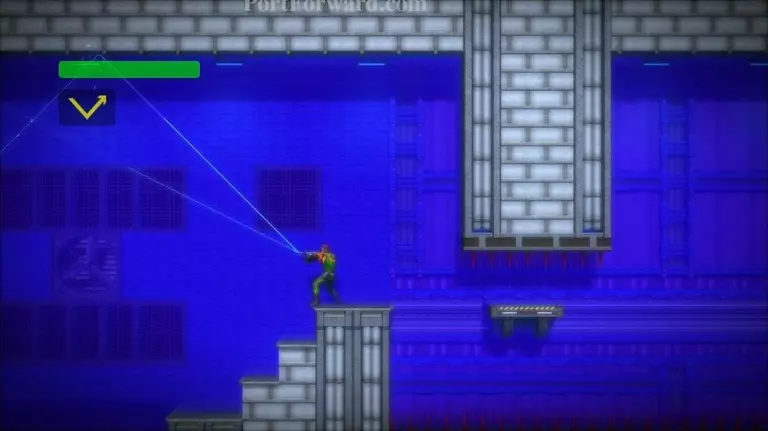
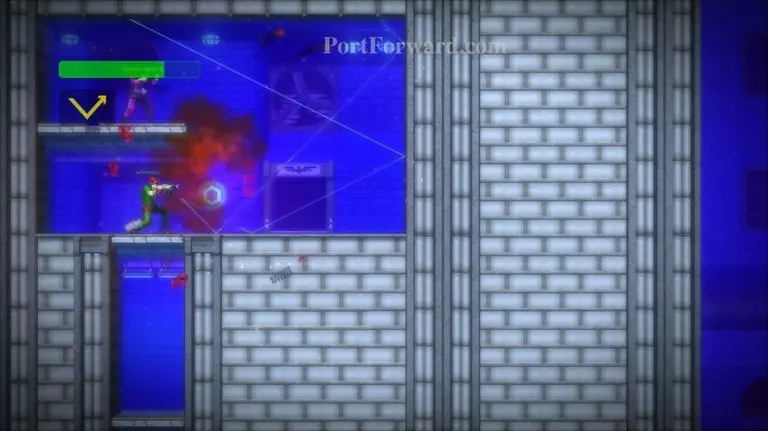
Latch on to the roof above and swing right.
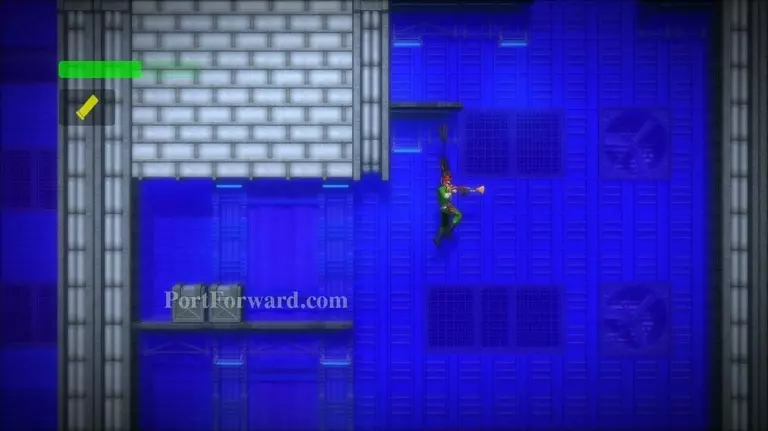
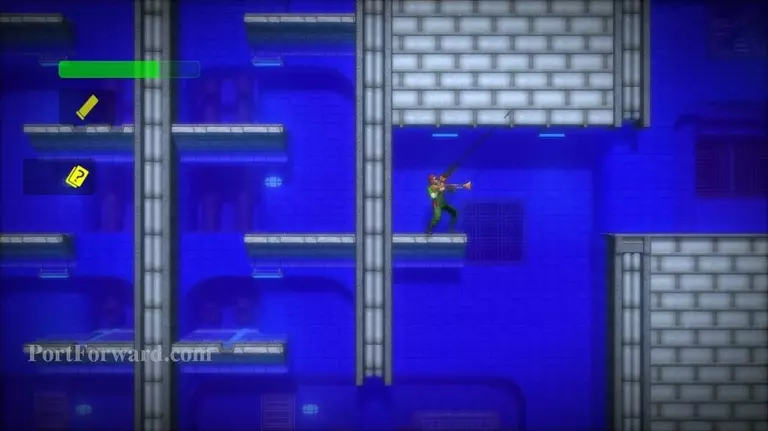
Grapple upward to catch the small platform.
Continue upward. You'll find an extra life here.
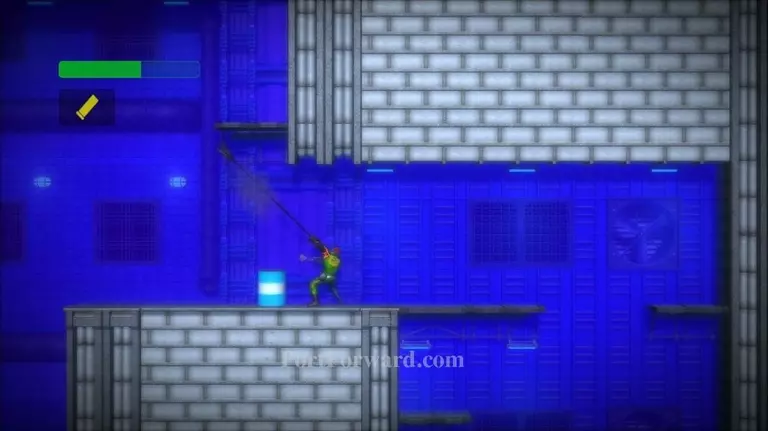
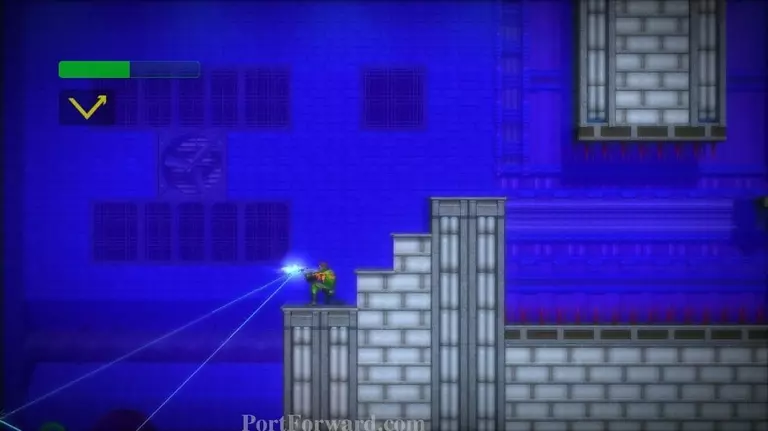
Grapple to the platform above the blue barrel and climb up.
Swing leftward from the platform.
As you swing left, grab the left edge of the roof. Then swing left onto the platform above. If you miss, quickly grapple onto it and pull yourself up.
Use your Vector Cannon to take out the Sprinkler Cannon.
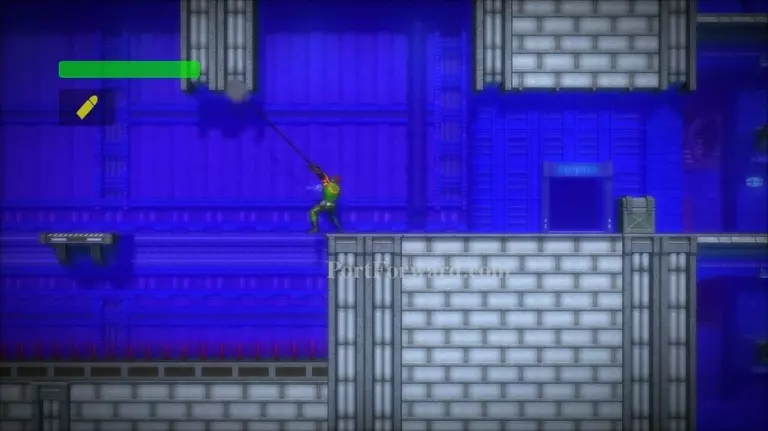
Latch onto the right side of the platform on your left. Retract your arm and use the shotgun to start swinging.

Swing left and grapple upward, catching the platform above. Pull yourself up onto the platform.
Swing right, across the pit.
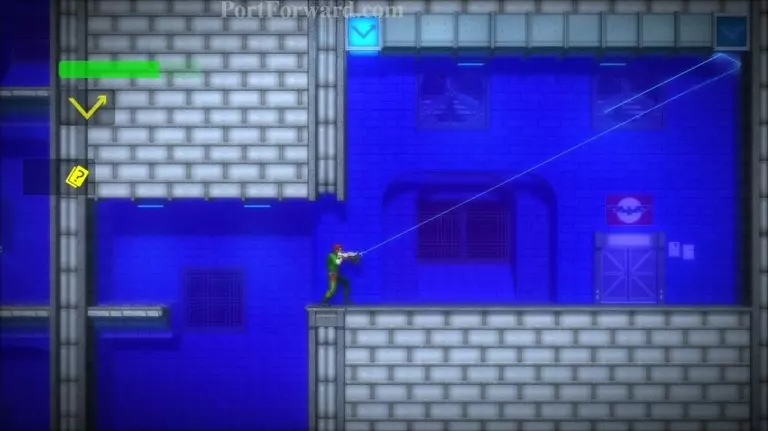
Use the Vector Cannon to hit the blue switch.

Then hit the other blue switch as well.
The door in the background will open. Enter it.

Inside you'll find a Vector Cannon Upgrade. Exit the room, heading left.
Now your Vector Cannon will shoot two shots at once.
Climb up the platforms on your left.
Go down the next platforms on your left. Duck and use the Slime Blobs to carry you under the spike. If no slimes come, you can use your Shotgun as well.
Climb up the platforms on your left.
Then go down the platforms on your right until you find a path going left. Careful the Slime Blobs down carry you down to the spikes. Swing over the crate.
Enter the Communications Room found here and talk to HQ.
Grapple to the upper-left, over the spike pit.
Retract your arm. Wait for the platform to come over and drop on it.
Get on the left side of the platform. Duck when the platform goes under the spikes.
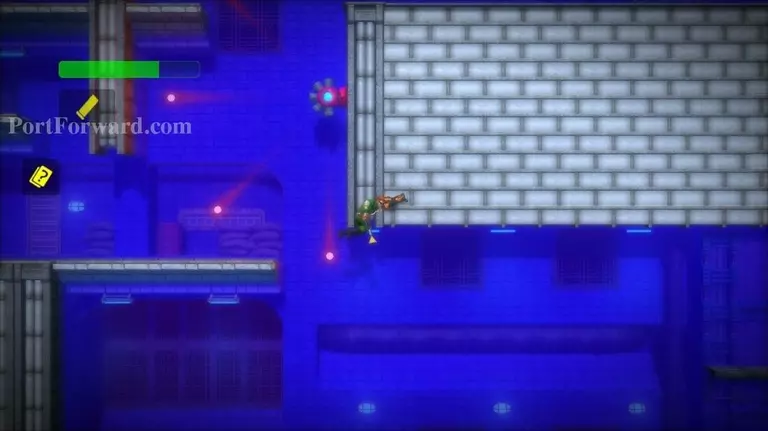
Once you are past the spikes, stand up and walk off the platform onto the floor to your left. Use your Vector Cannon to take out the Sprinkler Droid.
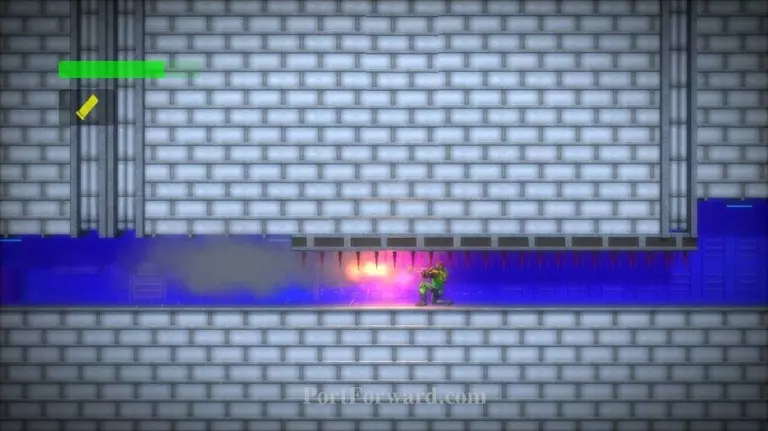
Go to the bottom step and repeatedly fire the Vector Cannon while ducking. This should destroy an enemy that launches explosive droids.
Fall down the pit and defeat the enemies.
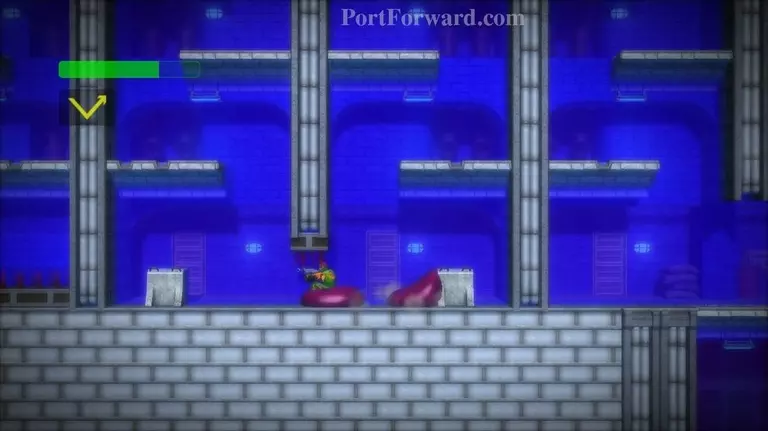
Toss the blue barrel on your right.
Face left and duck. Use the Shotgun to push yourself under the spikes.
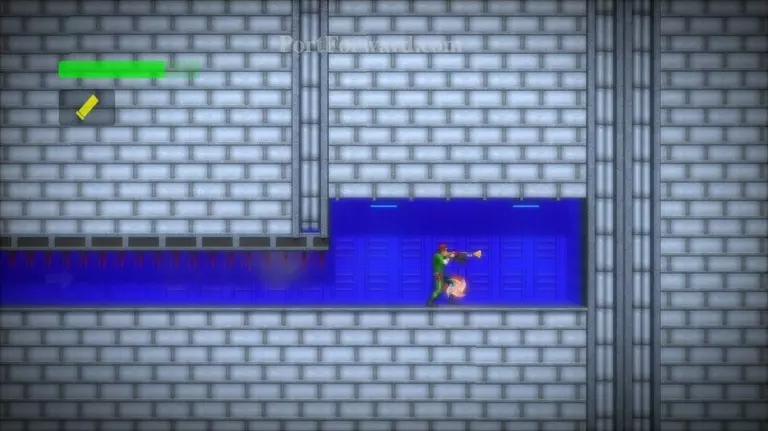
Collect the Yashichi.
Use the Shotgun to get back under the spikes again.
Run leftward while repeatedly shooting your Vector Cannon.

Grapple upward when you reach the end of the hall.
Take out the enemies at the top and enter the Boss Room.

The boss you'll fight is Power Pod v2.
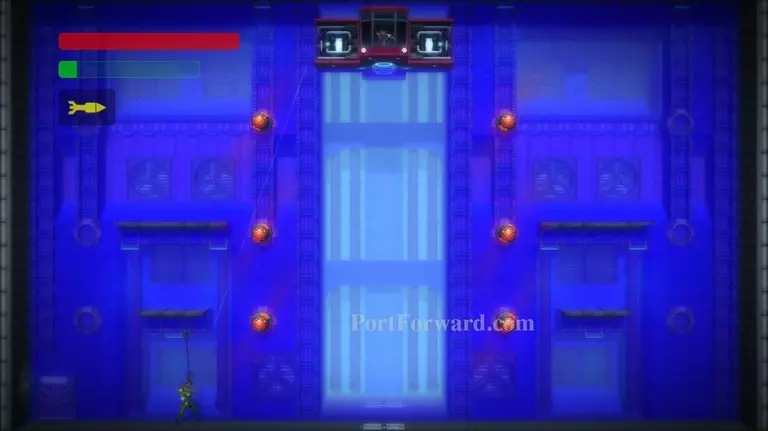
Climb up the platforms, avoiding Power Pod's energy beams.
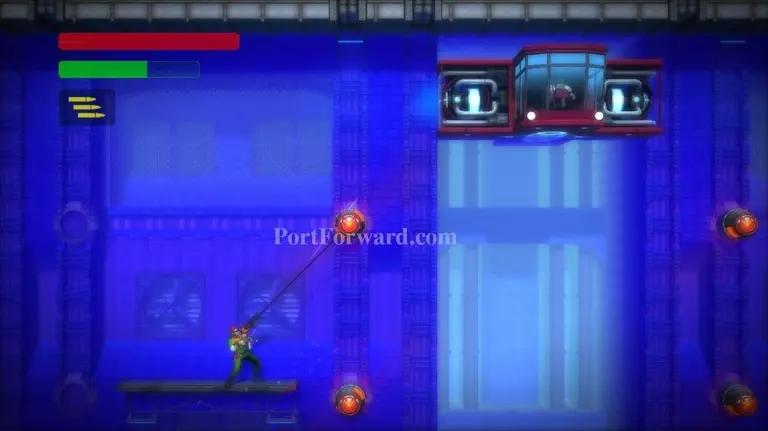
Swing toward Power Pod, using the lights on the wall.
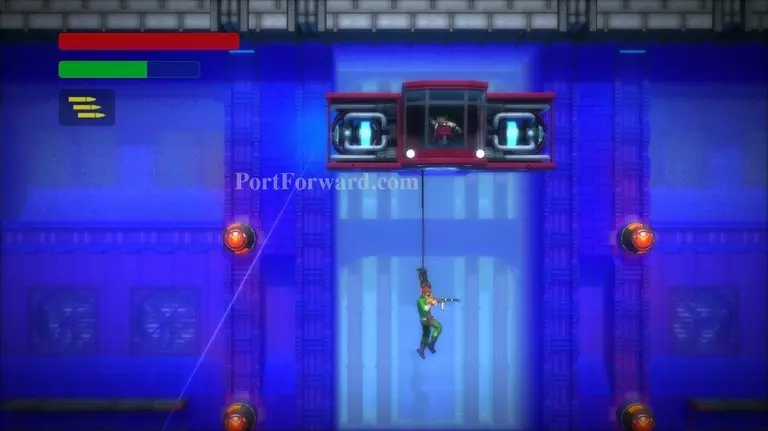
Grapple upward to catch onto the bottom of Power Pod.
Retract your arm. Use the Plasma Rifle to take care of the explosive droids flying around.
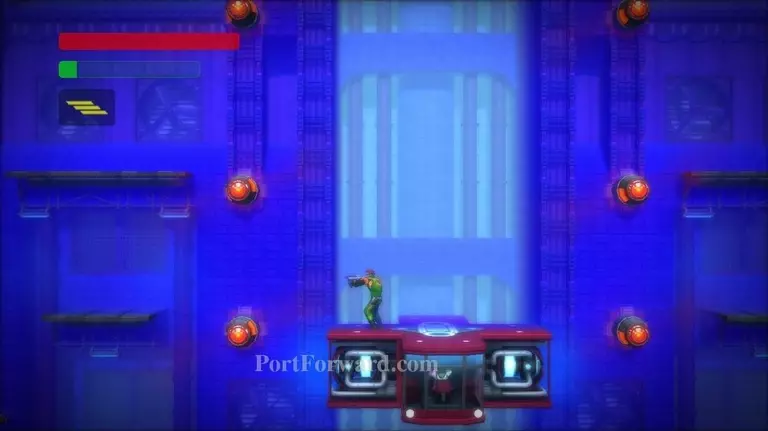
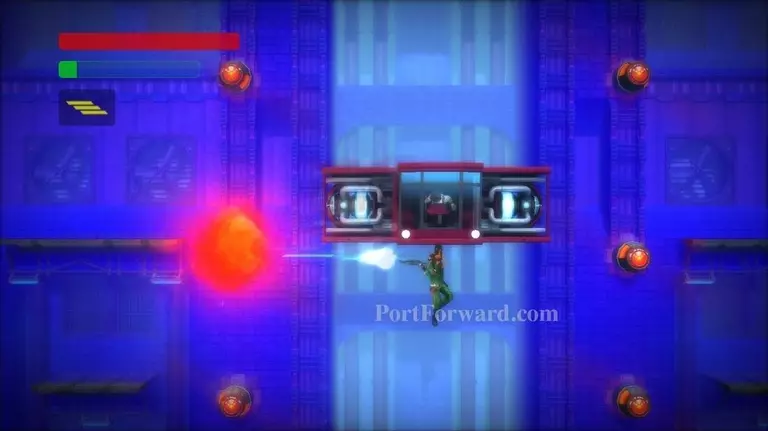
After you pull Power Pod to the bottom. Climb back up the platforms so you can use the lights to swing onto him. Stay on the left side of Power Pod.
When Power Pod hits the ground the left side will be exposed. Use your Bazooka to damage the boss badly. Repeat these steps until you defeat Power Pod.
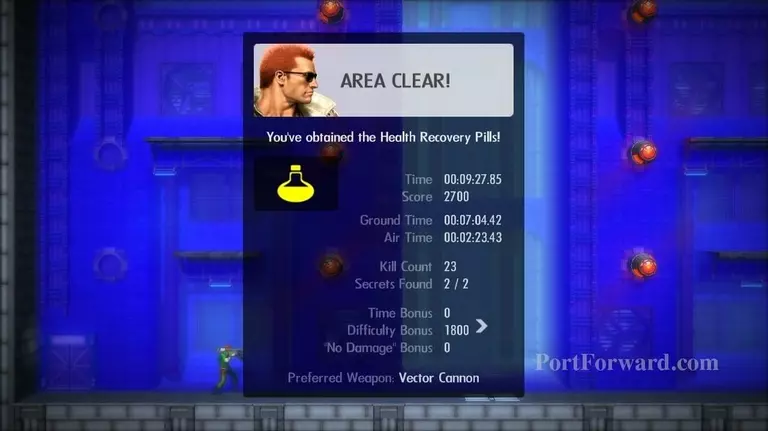
Area Clear! You obtained the Health Recovery Pills.

Haley tells you that the Health Recovery Pills extend your maximum health level.
More Bionic Commando Rearmed Walkthroughs
This Bionic Commando Rearmed walkthrough is divided into 24 total pages.