This Bionic Commando Rearmed walkthrough is divided into 24 total pages.
You can jump to nearby pages of the game using the links above.
Area 12 - The Imperial Headquarters

Descend into Area 12, The Imperial Headquarters.
Take the elevator to your right downward.
When you reach the bottom head left.
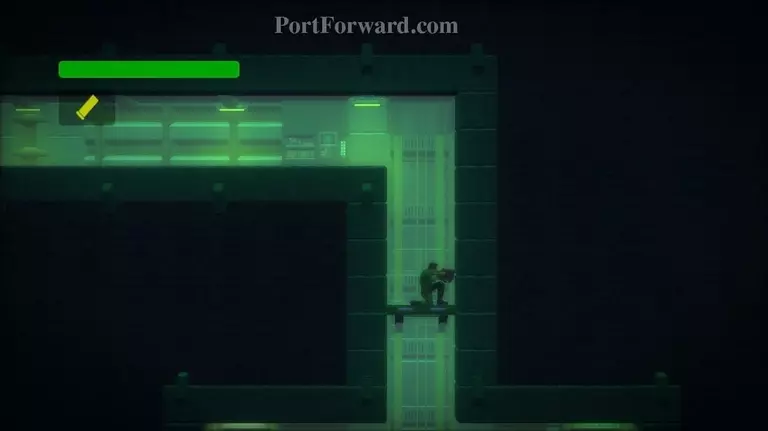
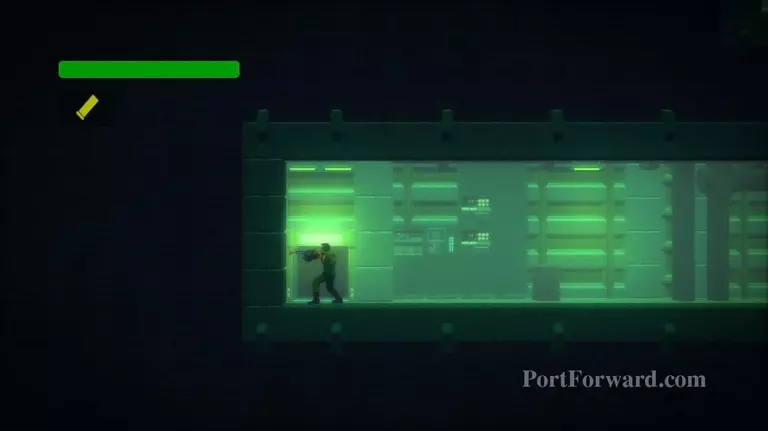
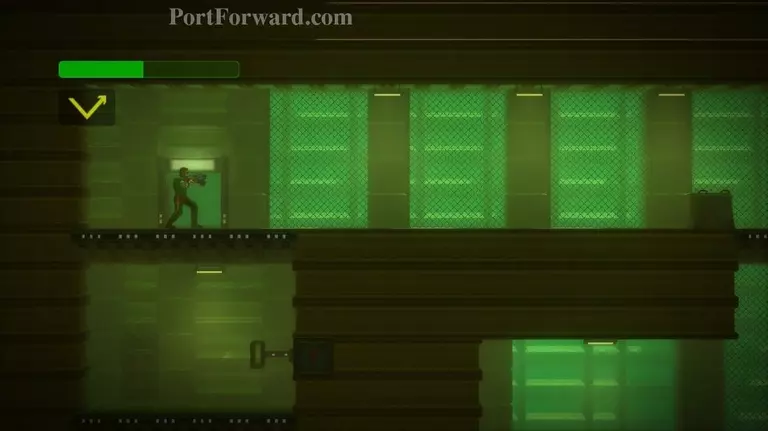
Enter the door at the end of the hall.
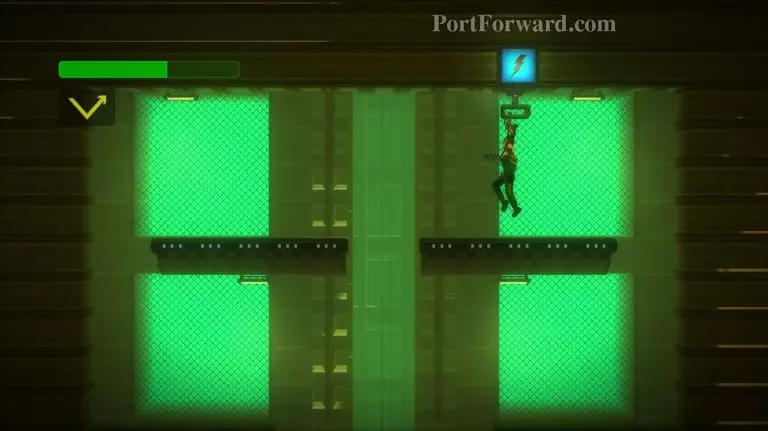
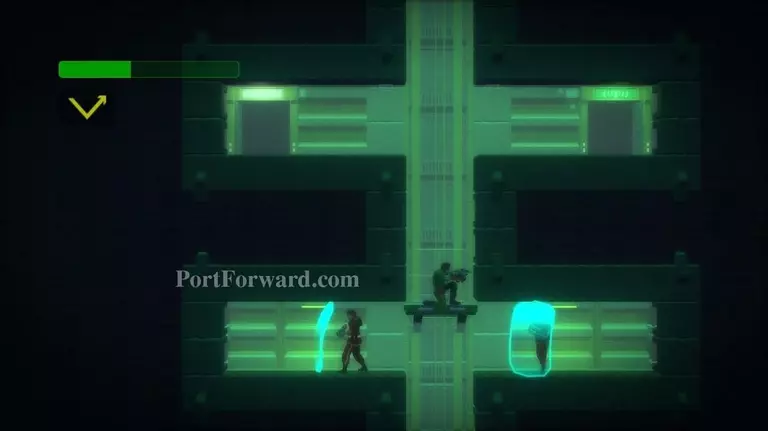
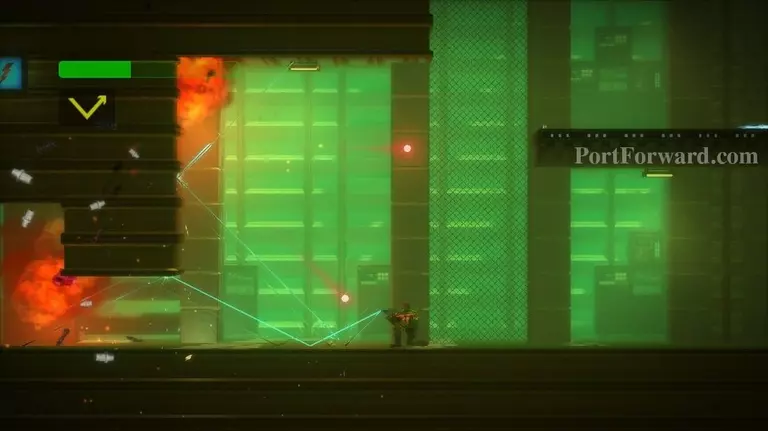
Destroy your enemies and then climb onto the platforms on the left side of the room. Collect the extra life found here.
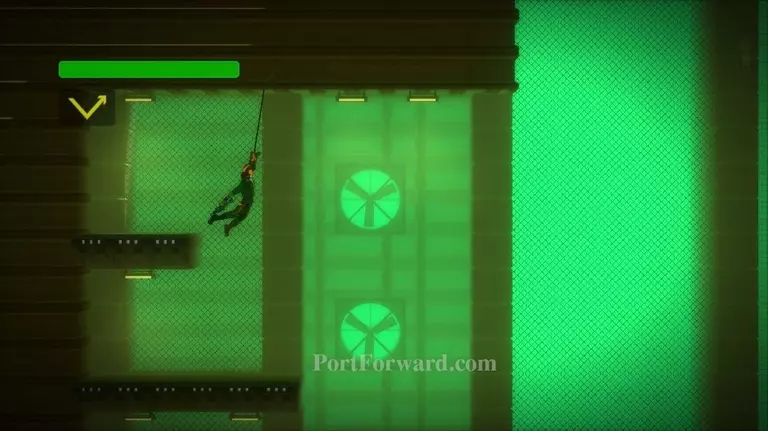
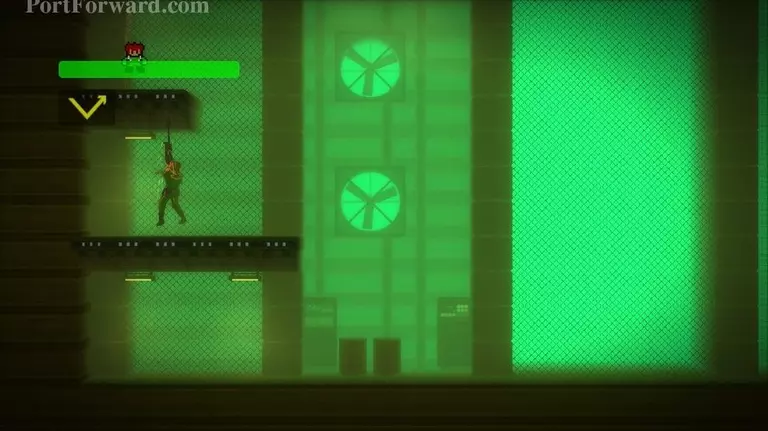
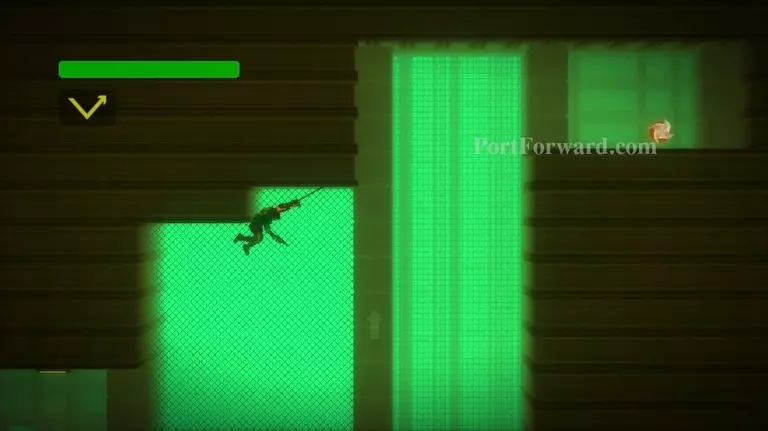
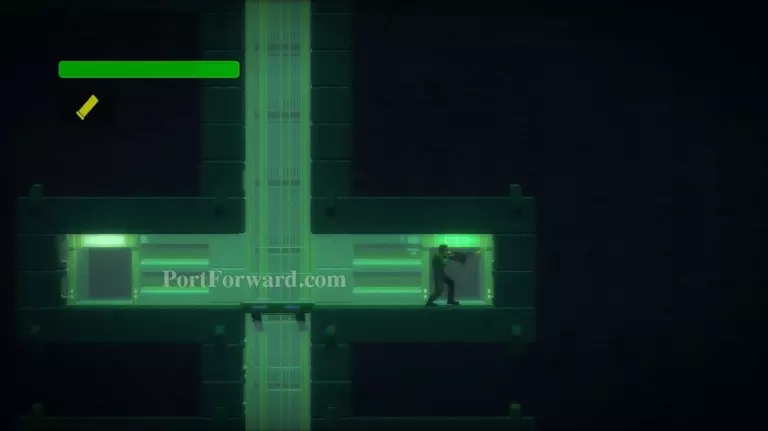
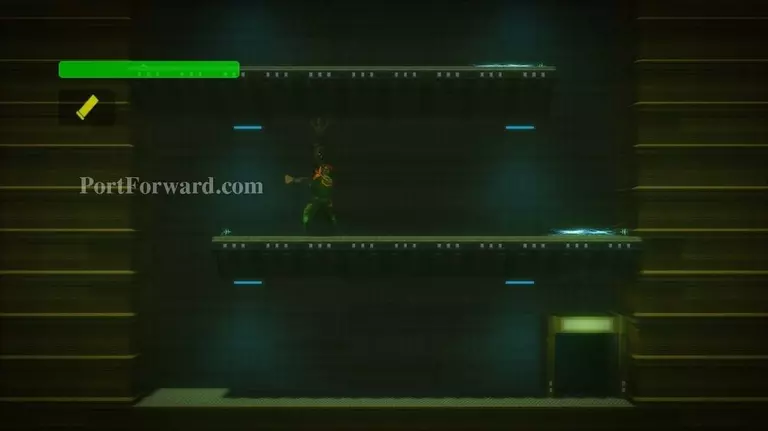
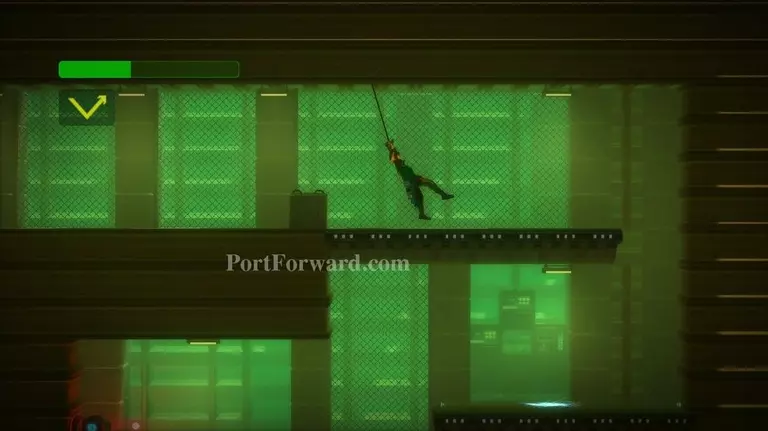
Swing rightward along the roof.
Try to grapple near the right edge.
Swing right, then grapple up to latch on to the upper ceiling.
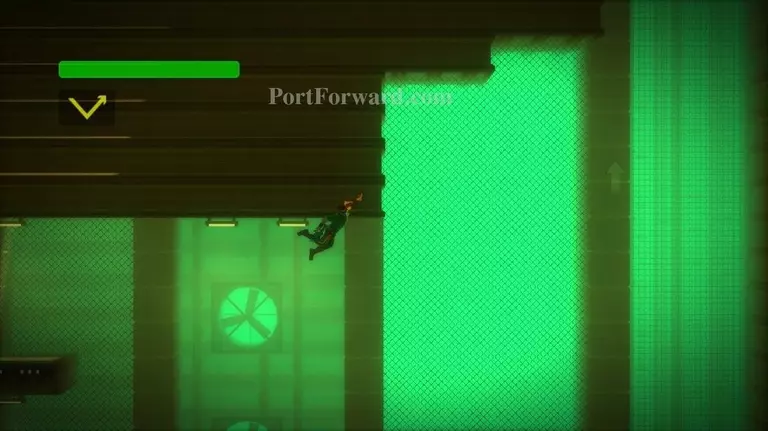
Retract your arm.
If you aren't somewhat close to the right edge of the ceiling, release your grip and quickly grapple to your upper right again.
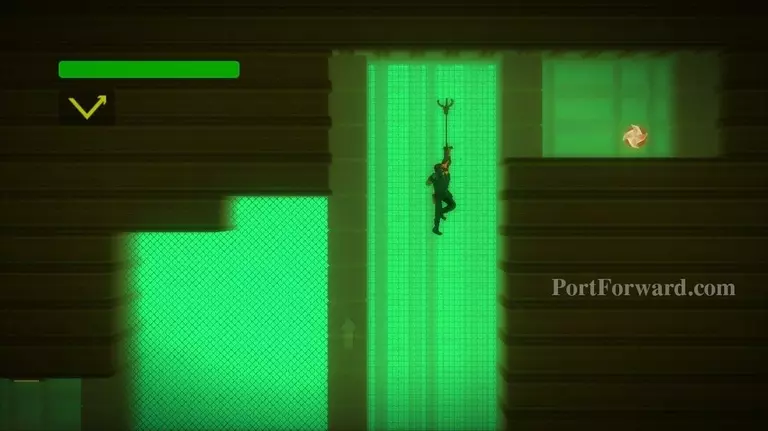
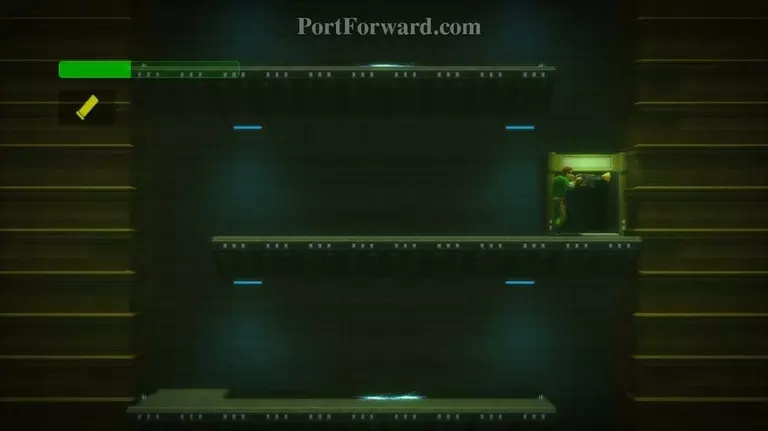
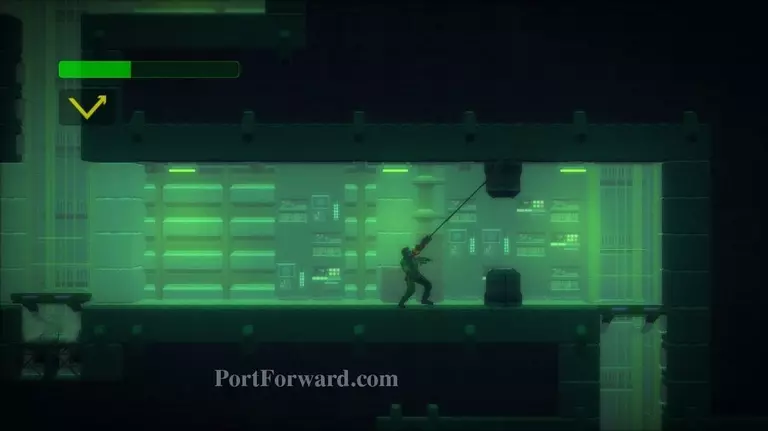
Swing right and grapple upward to latch on to the upper roof.

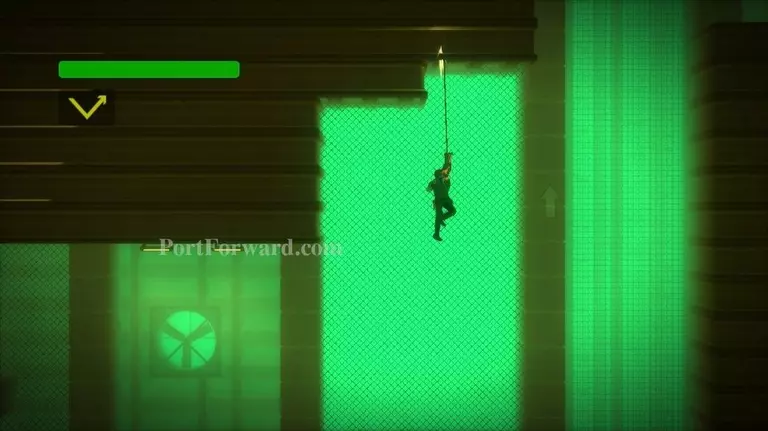
Use the shotgun to start swinging.
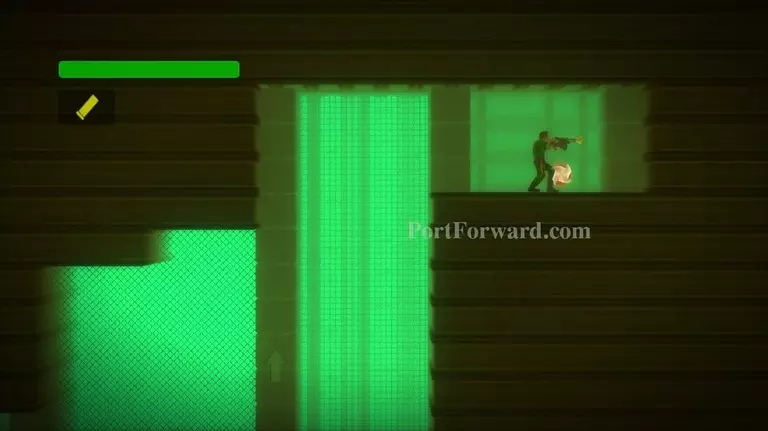
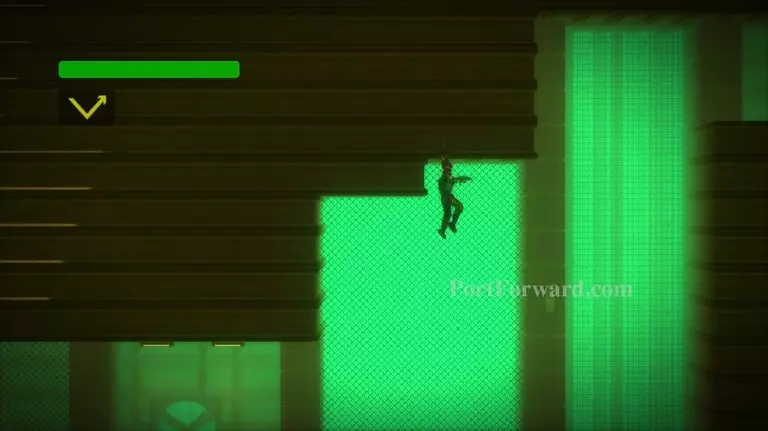
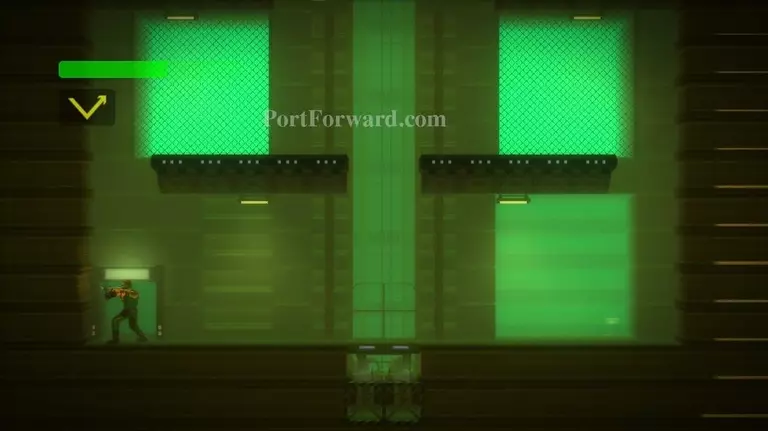
Swing to the right and collect the Yashichi. If you've been collecting them along the way, this should be your final one. Drop down and exit the room through the door you came in.
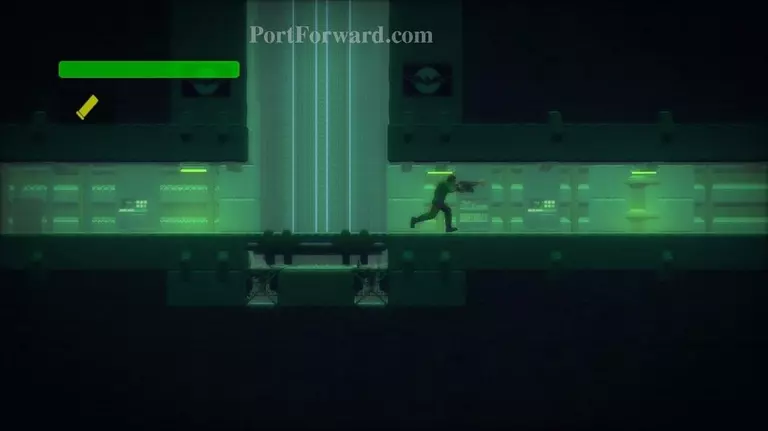
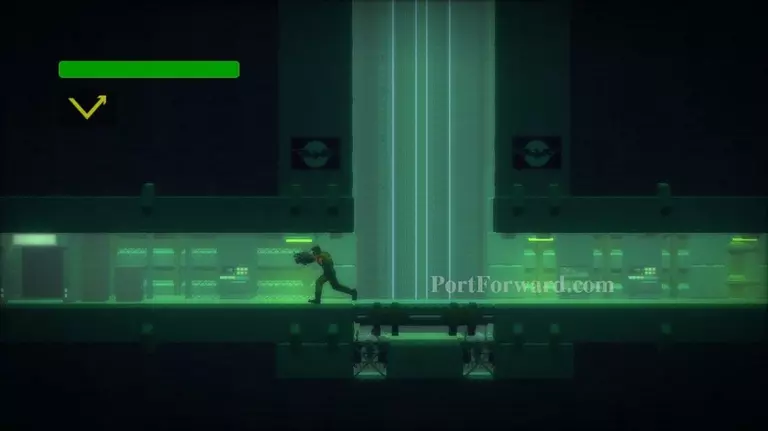
Head rightward, past the elevator.
Take the next elevator downward.
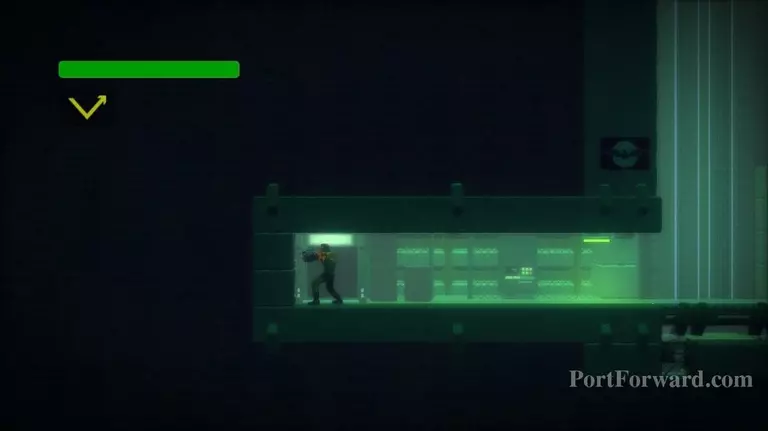
Go in the Communications Room on your right. Talk to HQ.
Continue down the elevator.
When you reach the bottom, run left.
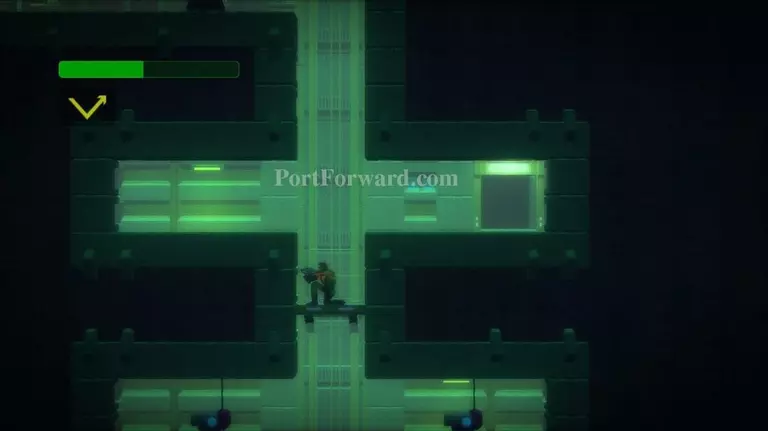
Enter the door at the end of the hall.
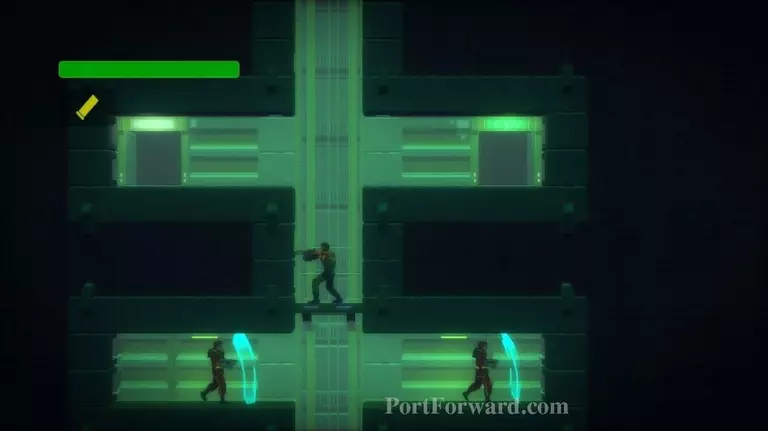
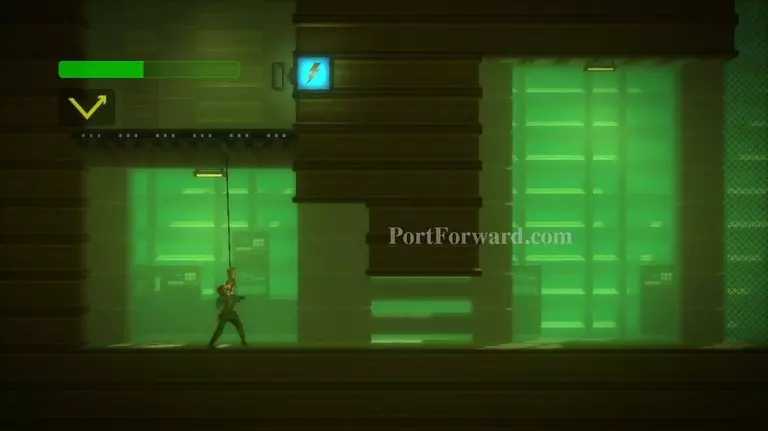
Climb up the platforms here. Do your best to avoid the electricity moving along the floor.
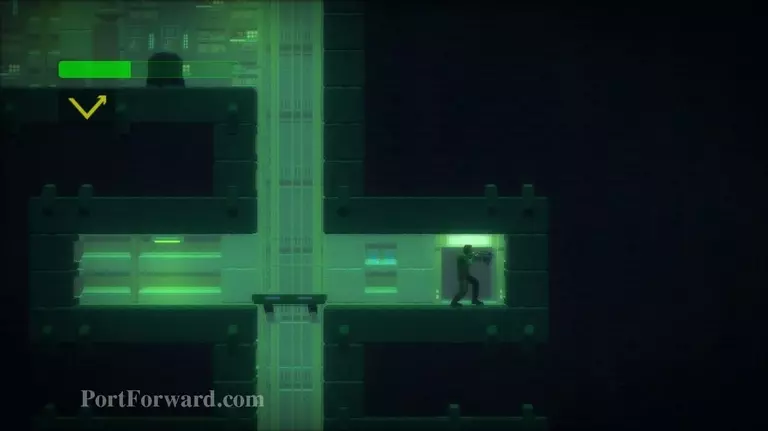
Enter the door you find on your right as you climb up.
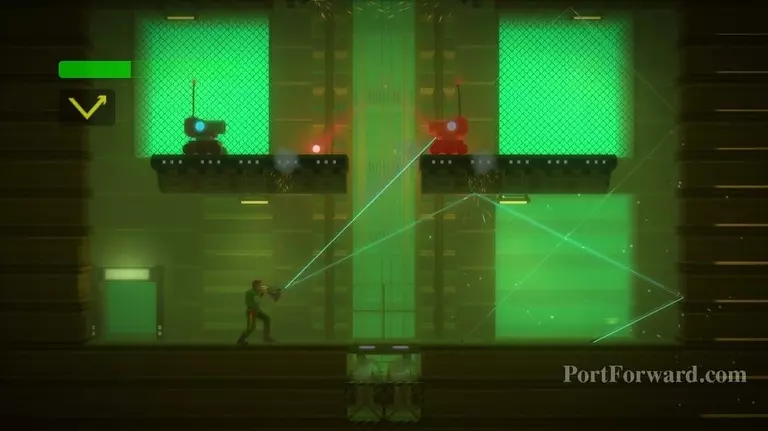
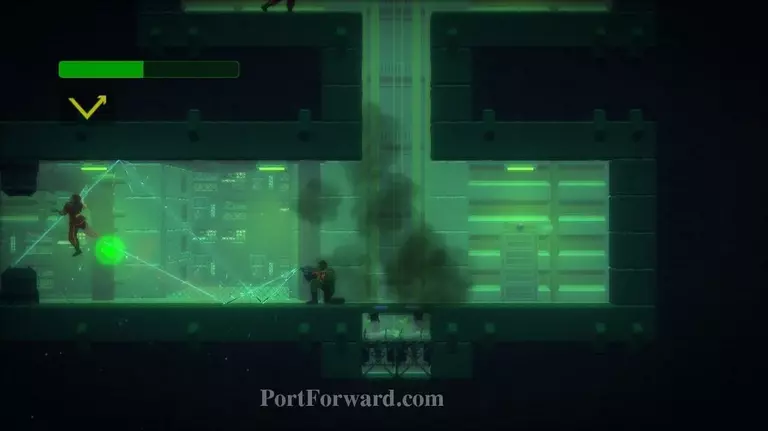
Use the Vector Cannon to destroy the enemies here.
Climb to the top of the room and hang from the blue switch to deactivate it.
Drop back down and exit back out the door you entered with.
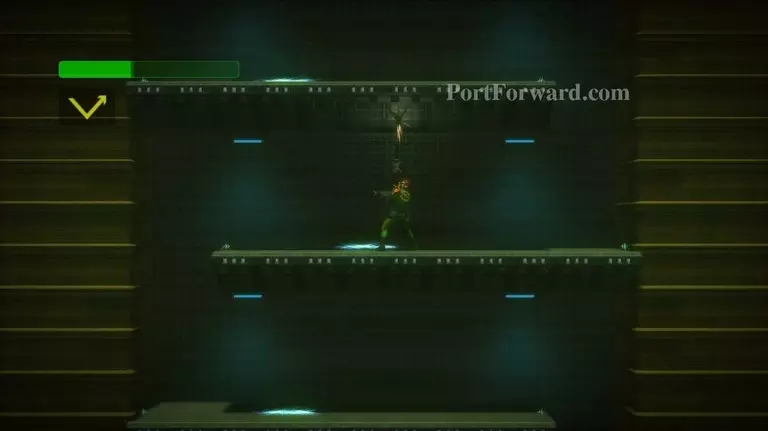
Continue to climb up the platforms, avoiding the electricity.

Enter the door at the top of the room.
You'll exit near the Communications Room.
Take the elevator down again.
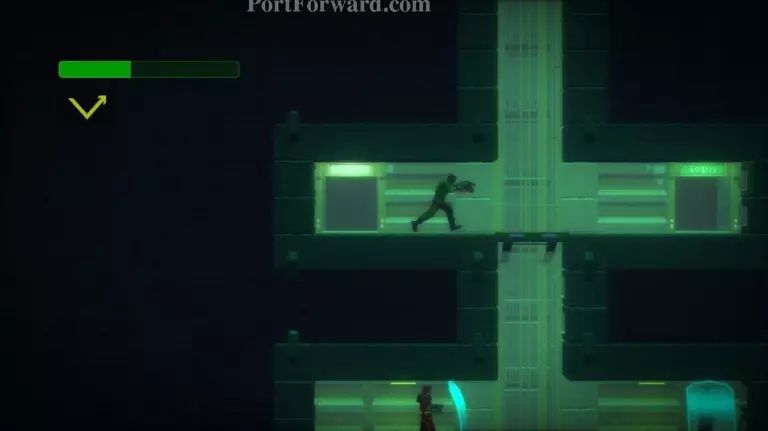
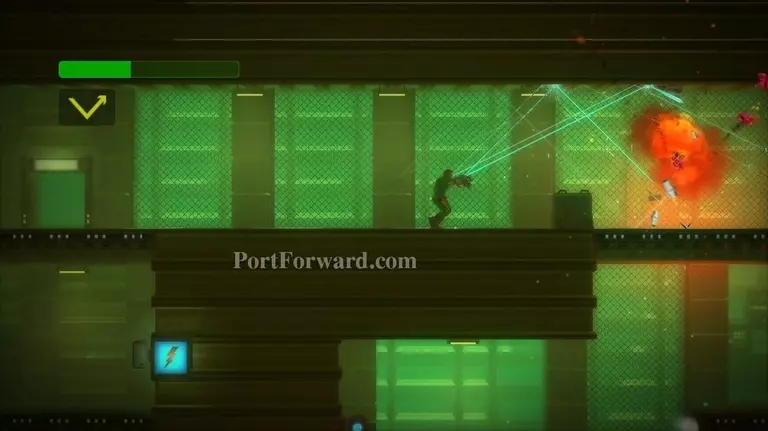
Once you reach the bottom, head right. Use your grapple to get past the obstacle.
Take the elevator down a bit and enter the door on your right.
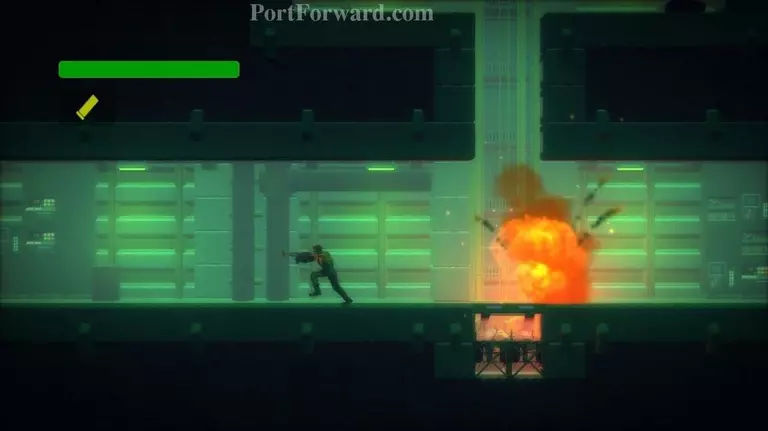
Use your Vector Cannon to make quick work of the enemies here.
Swing over the cement block. Continue downward to the bottom of the room.
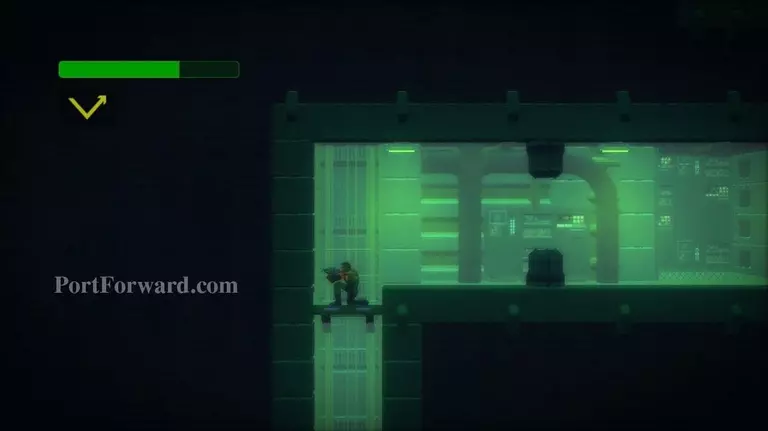
Use your Vector Cannon and move leftward.
Grapple up to the switch.
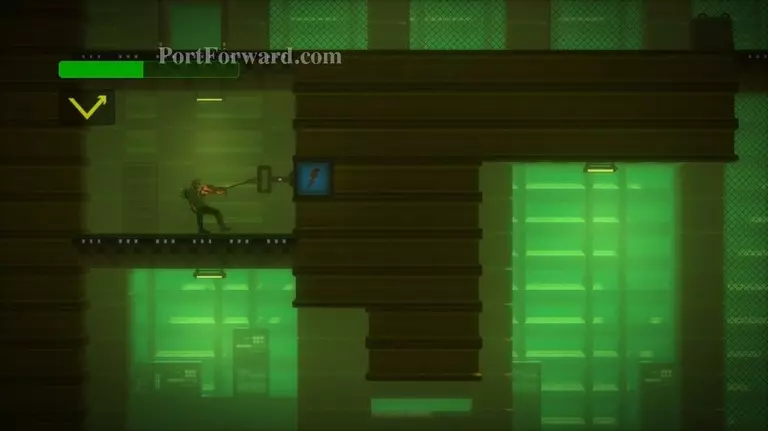
Pull the switch with your arm until it deactivates.
Climb upward and exit the room.
Continue down the elevator.
When you reach the bottom, take out the enemies and head left.
Swing past the obstacle and go down the elevator.
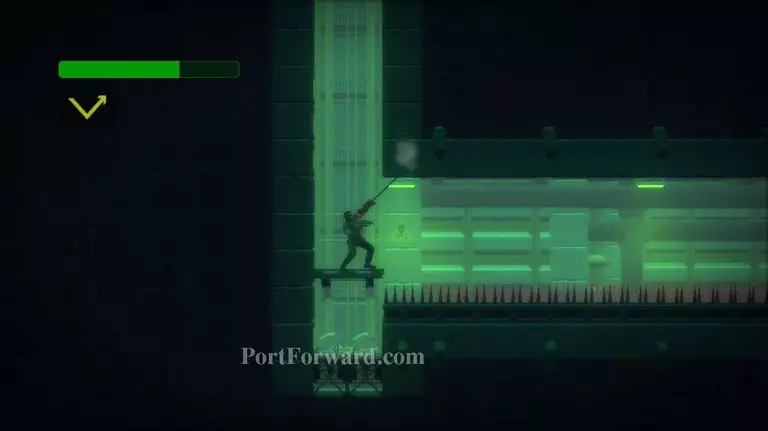
You'll come to a floor of spikes. Grapple the roof to your right.
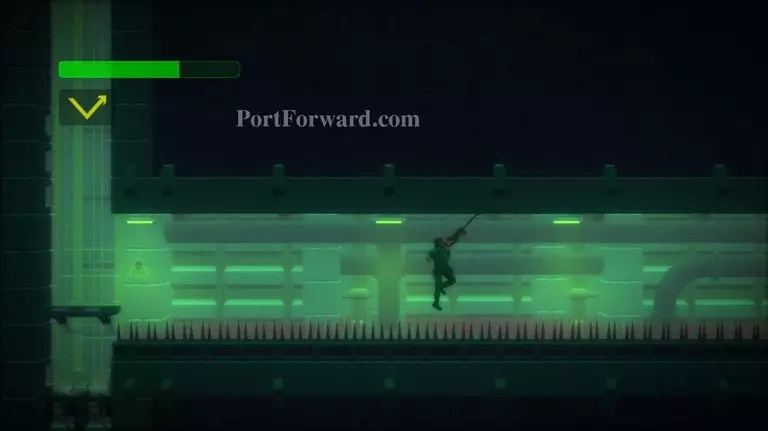
Swing across the roof, avoiding the spikes.
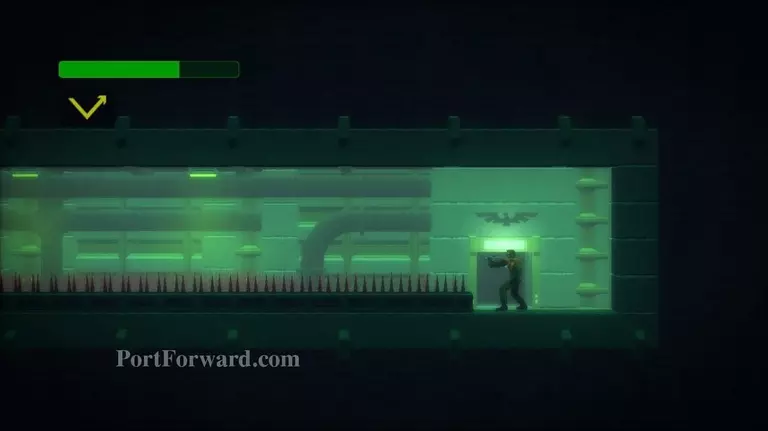
Enter the Boss Room.

You'll have a cut scene, but no boss battle.
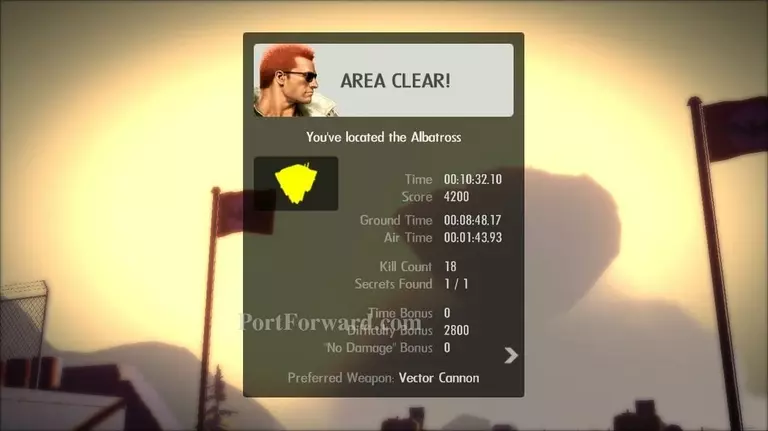
Area Clear! You've located the Albatross.

Haley will tell you to go to the next area. You can now backtrack to Area 00 to get the BC Purple Matrix.
More Bionic Commando Rearmed Walkthroughs
This Bionic Commando Rearmed walkthrough is divided into 24 total pages.