
This Bionic Commando Rearmed walkthrough is divided into 24 total pages.
You can jump to nearby pages of the game using the links above.
Area A - The Albatross
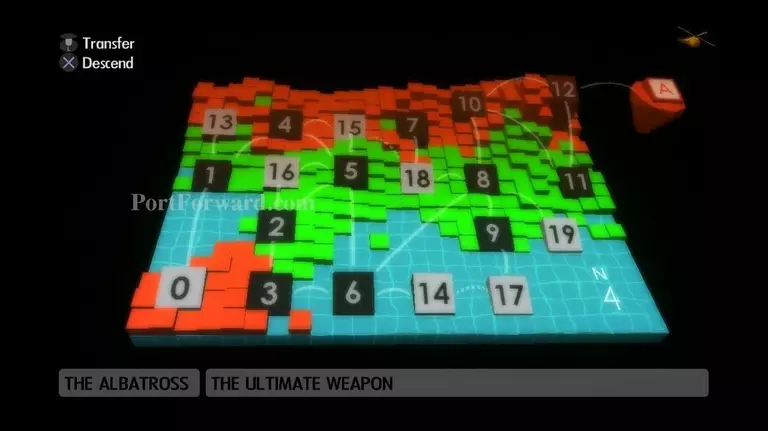
Descend to Area A, The Albatross - The Ultimate Weapon.
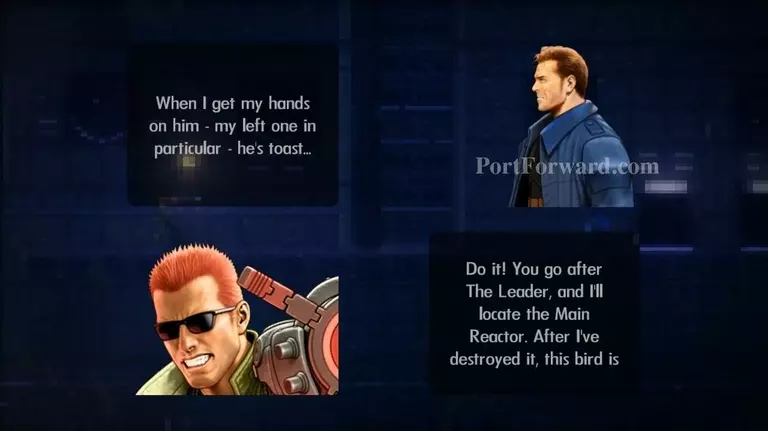
Super Joe will land with you. He'll take out the Main Reactor while you go after The Leader.
Super Joe will enter the first door. Enter the second one.
Go up the elevator.
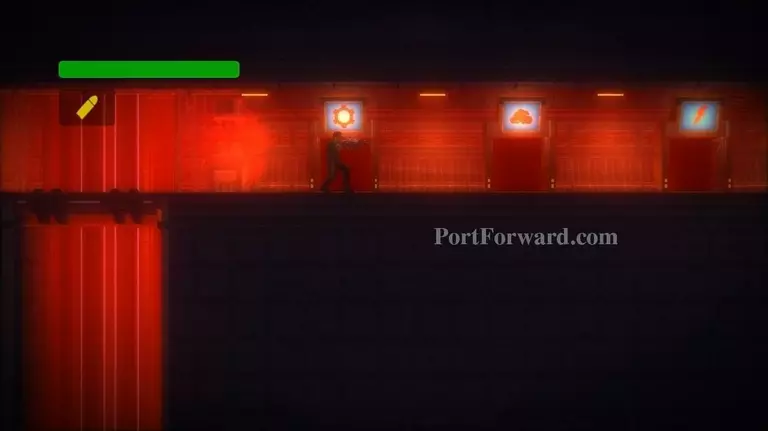
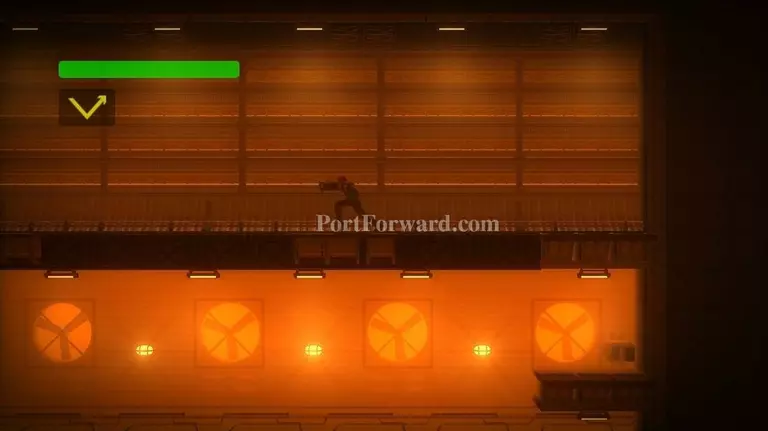
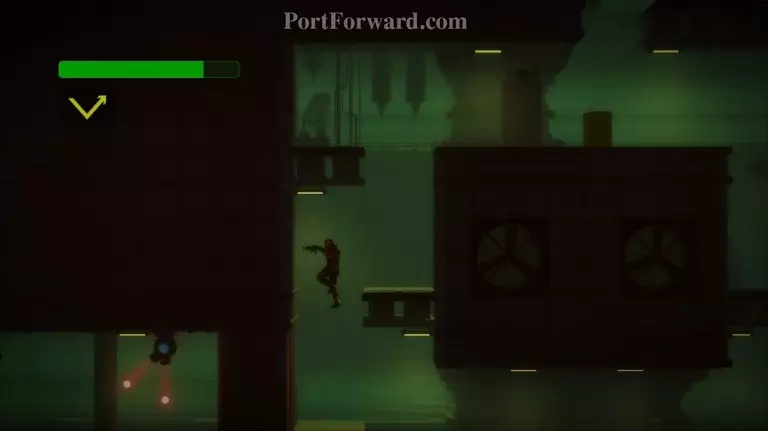
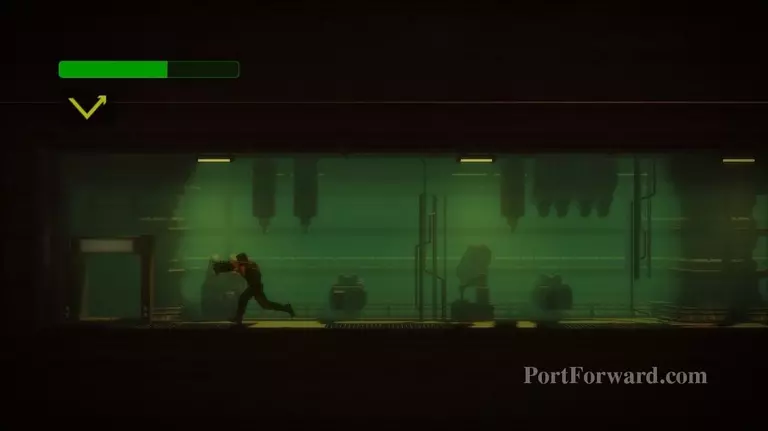
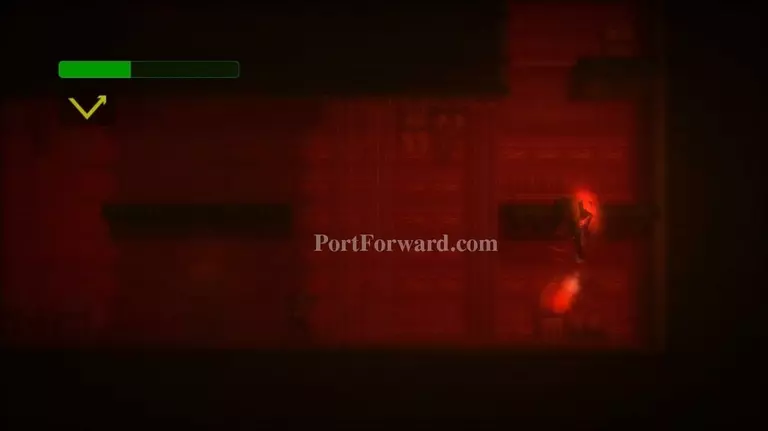
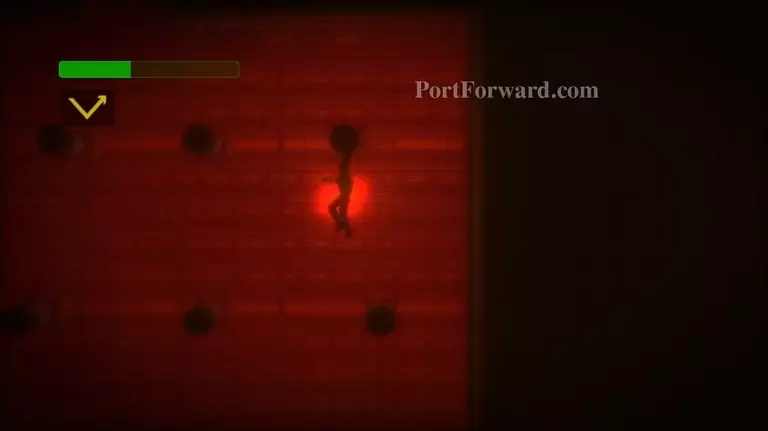
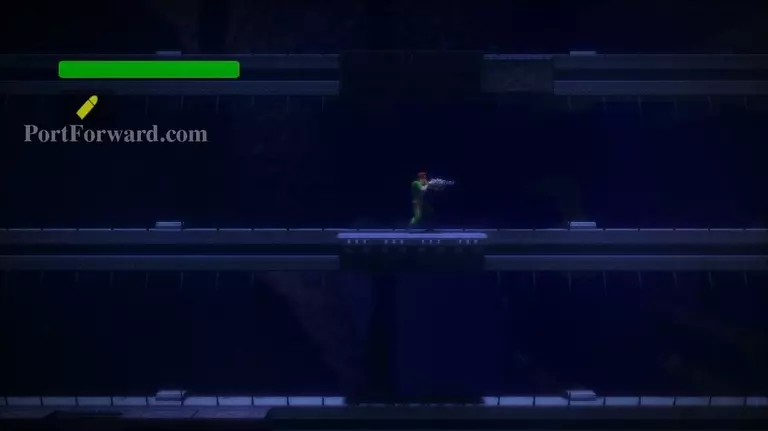
Enter the first door, which has a picture of a gear overhead.
Run leftward.
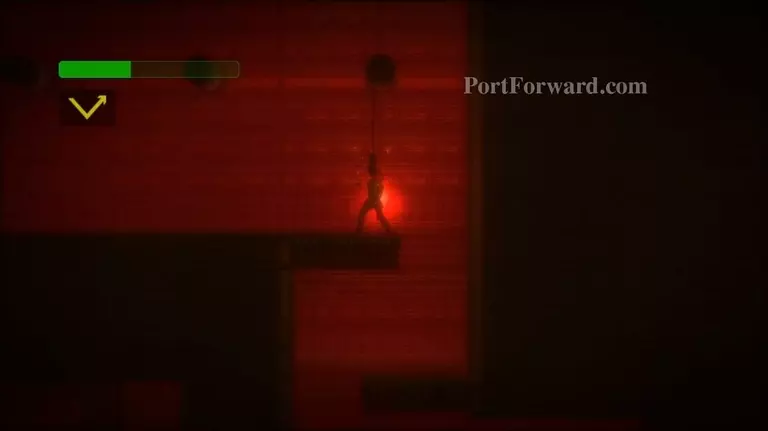
Drop down the pit, then continue to platform downward.
Enter the door you find at the bottom, on the left.

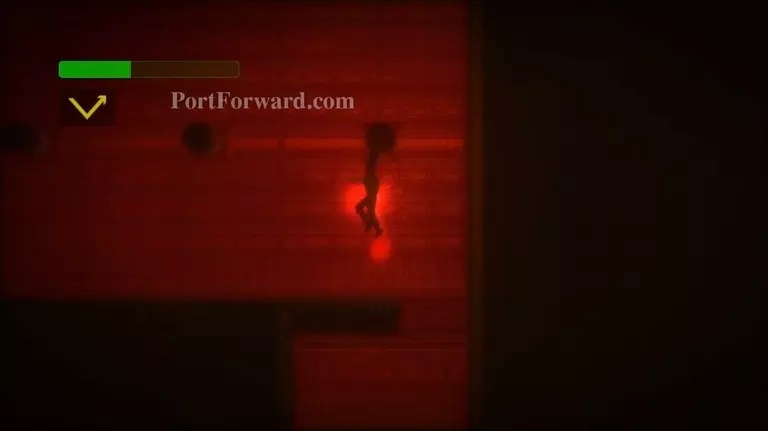
Head right.
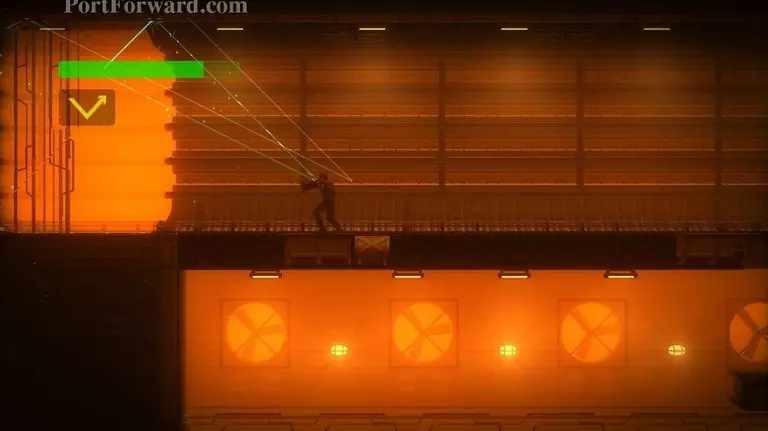
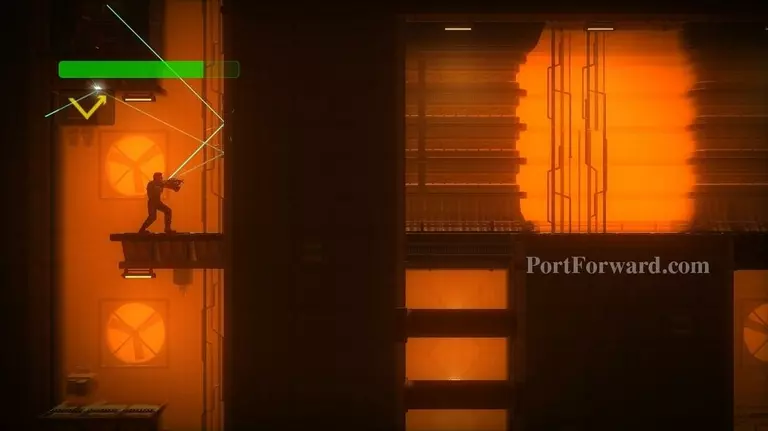
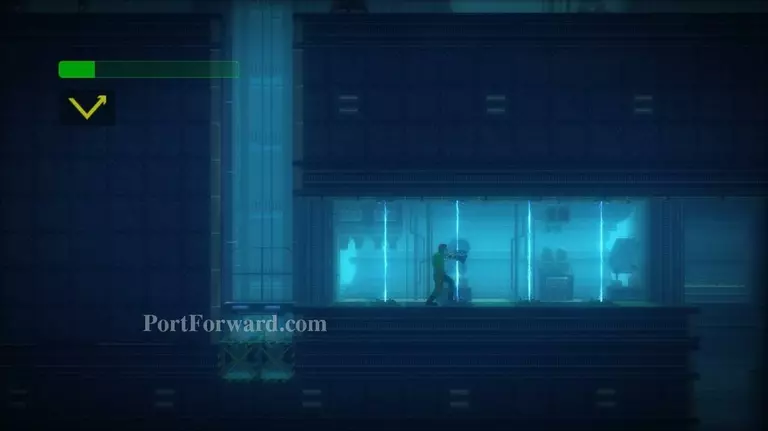
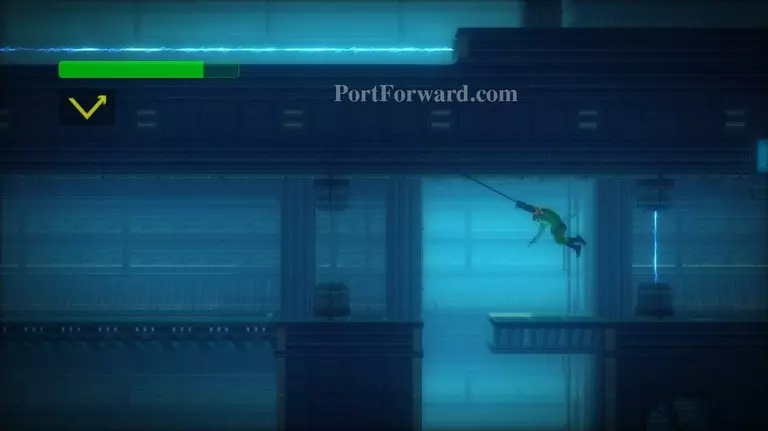
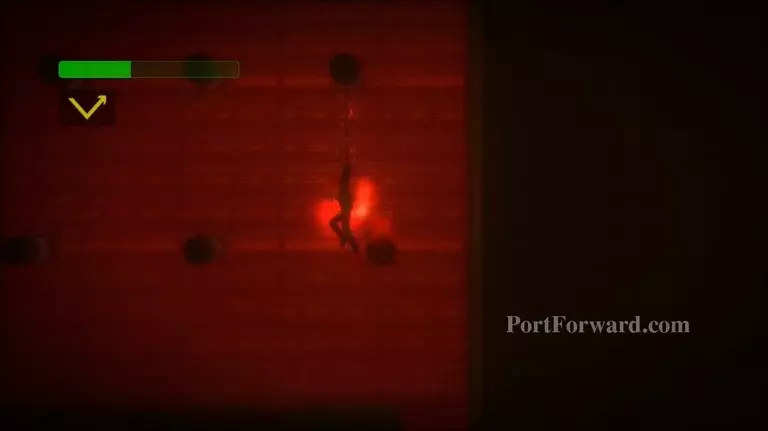
Hang from the switch to disable it. Exit the door and head right.
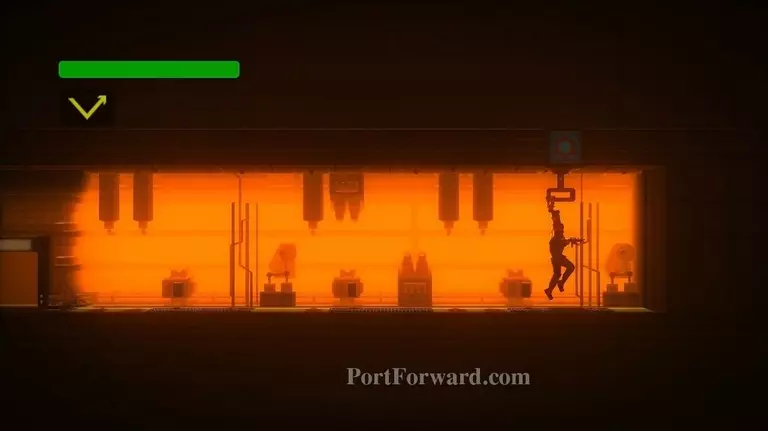
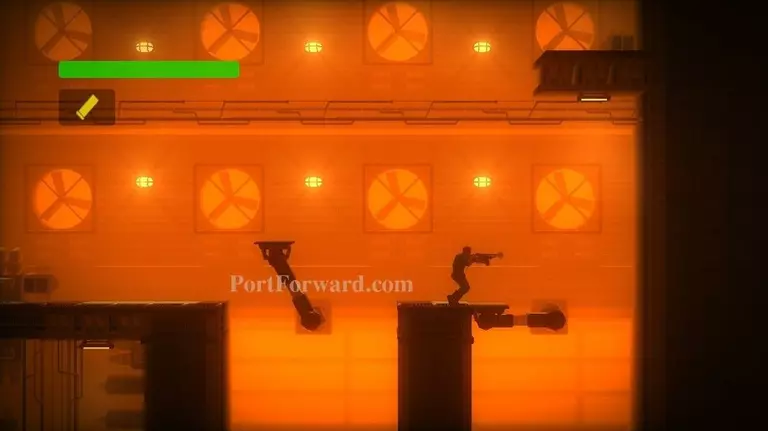
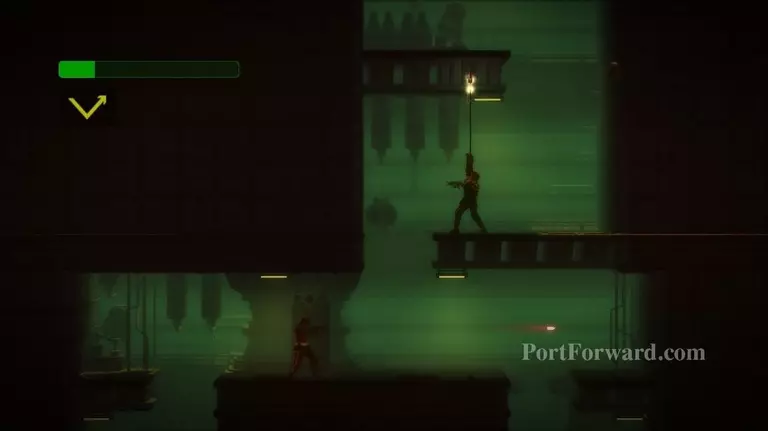
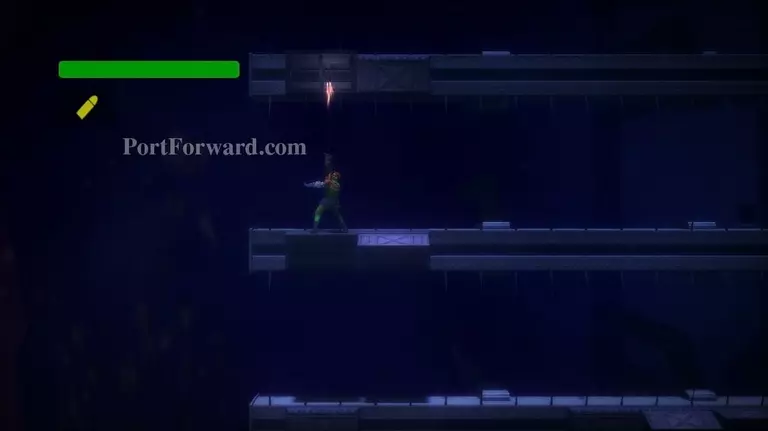
Careful not to get smashed by the crunchers. Use the very right cruncher to grapple to the platform above.
Climb to the upper platform.
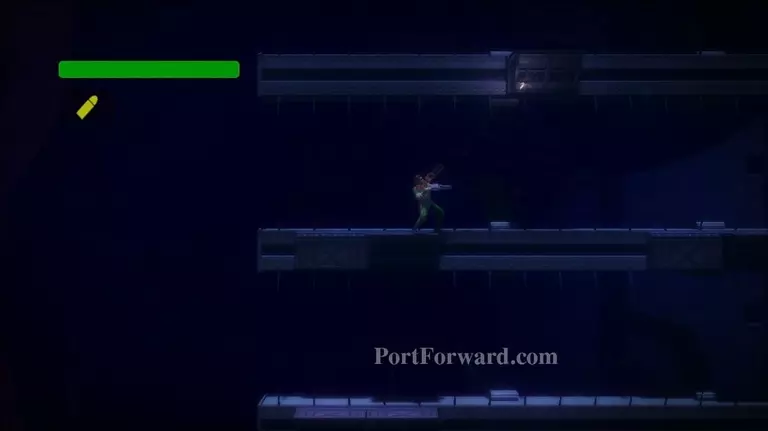
Walk right, onto the moving platform.
When it reaches the right side, walk off to your right and get on the second moving platform.
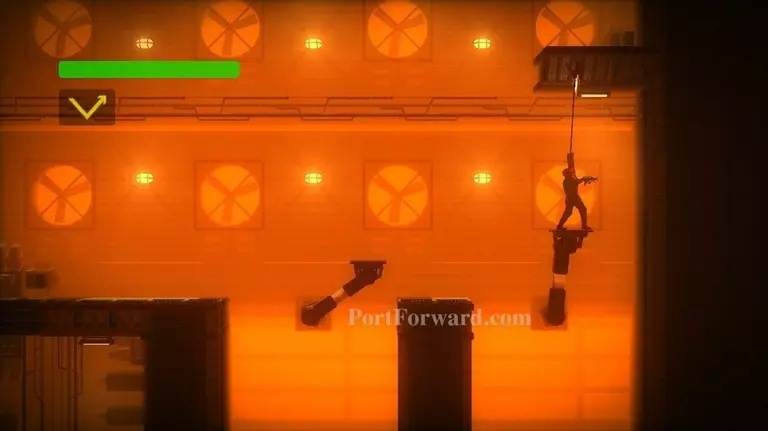
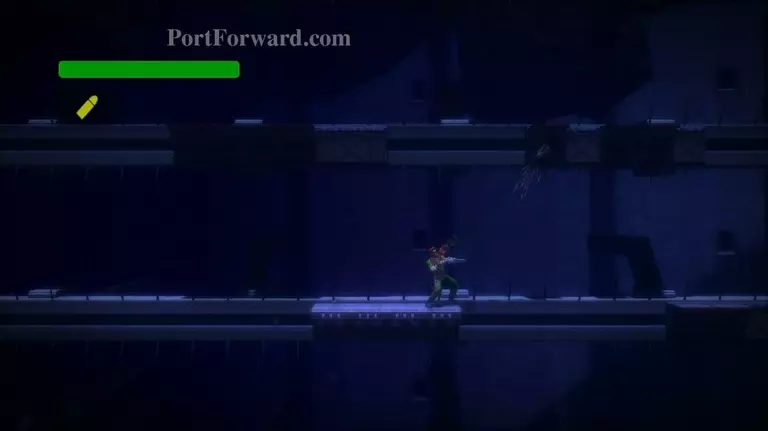
When the second moving platform has you high enough, grapple to the platform above it.
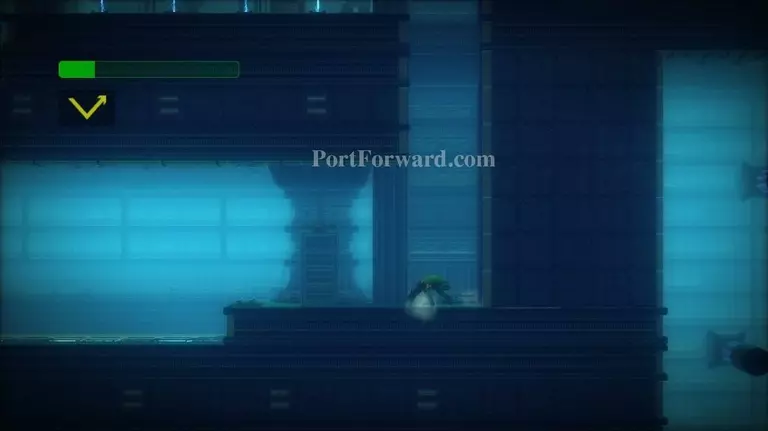
Climb upward.
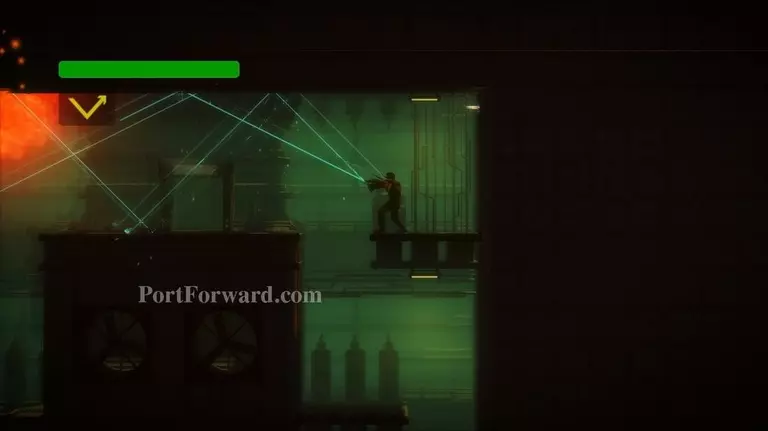
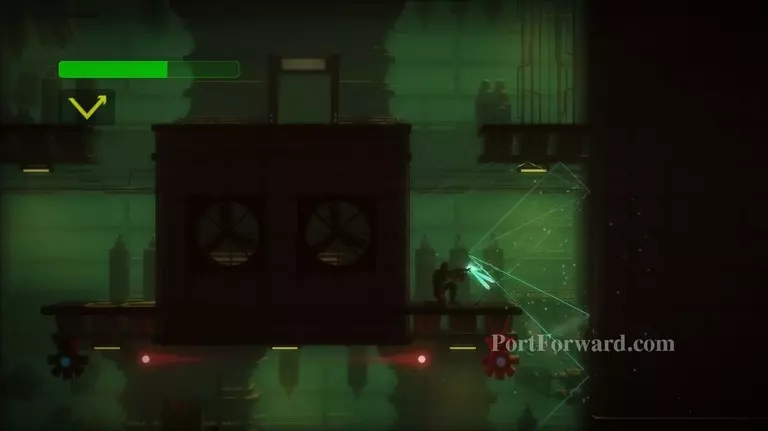
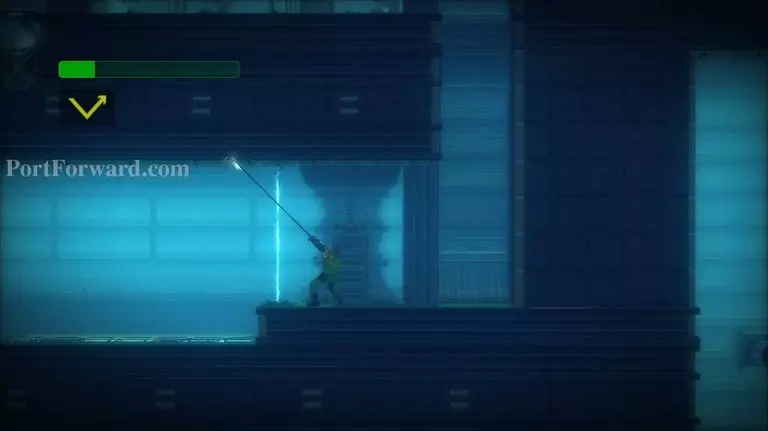
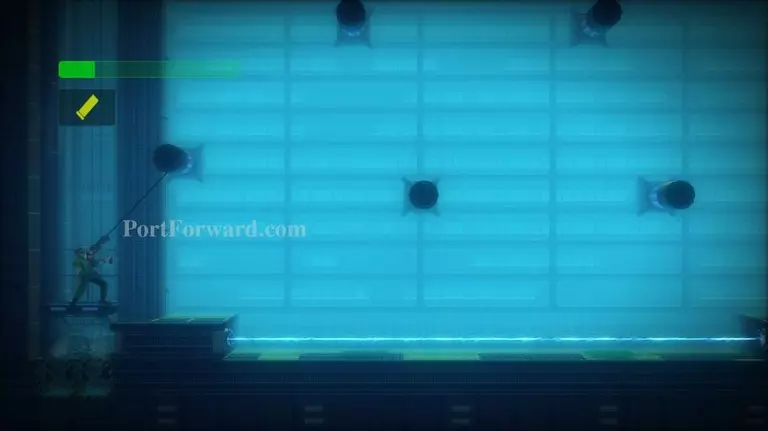
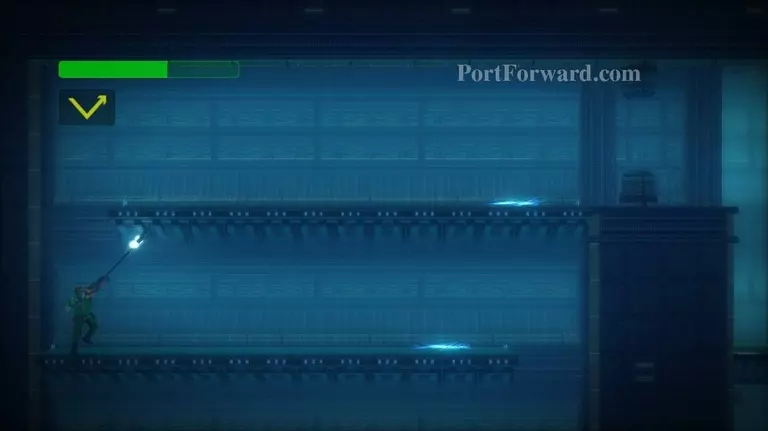
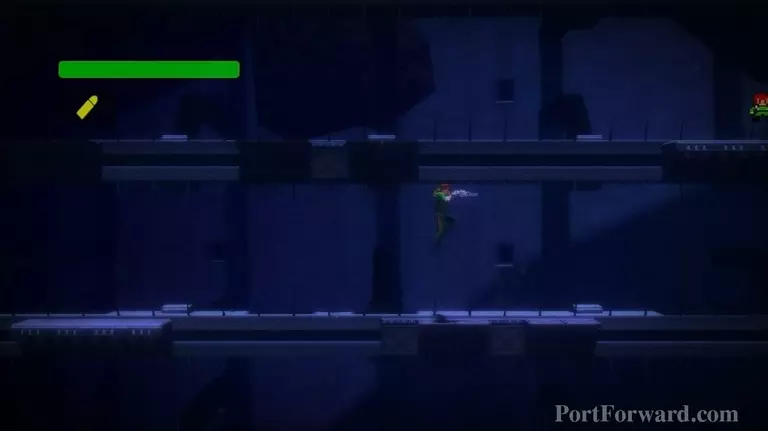
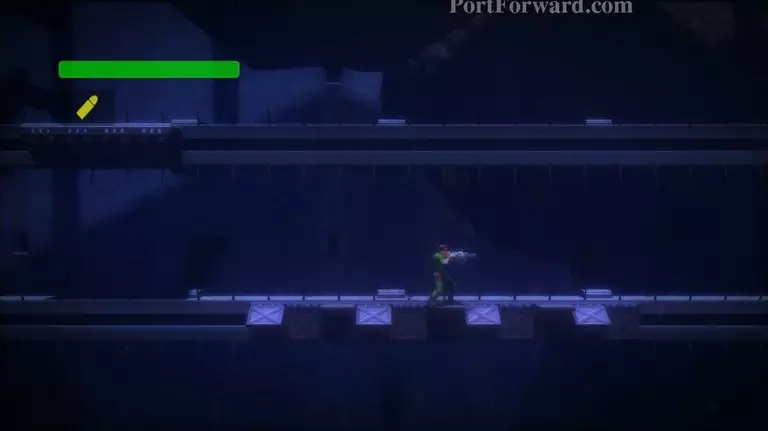
Use the Vector Cannon to destroy the Sprinkler Cannons.
Walk left, across the retracting platforms. Whenever one pops up, quickly move onto it before yours retracts.
Use the Vector Cannon as you walk to take out more Sprinkler Cannons.
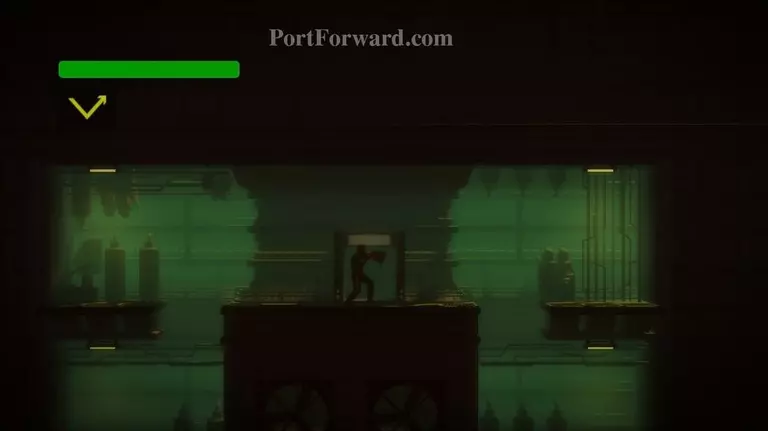
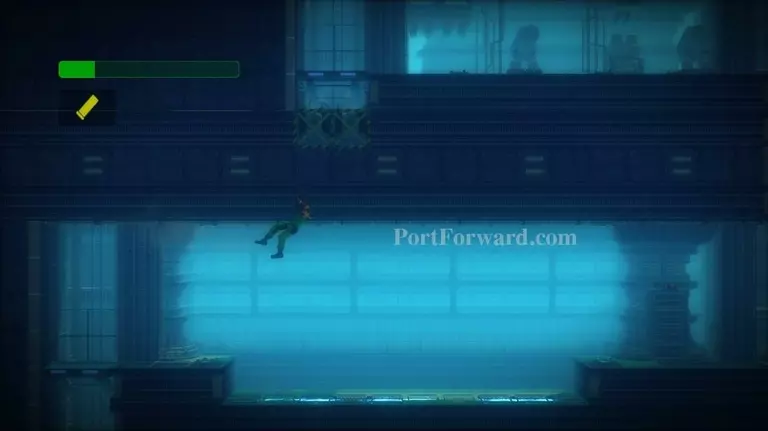
Drop onto the top horizontal Cruncher. Try to land on it, then just let yourself fall as it retracts into the wall.
You should drop onto the ledge below.
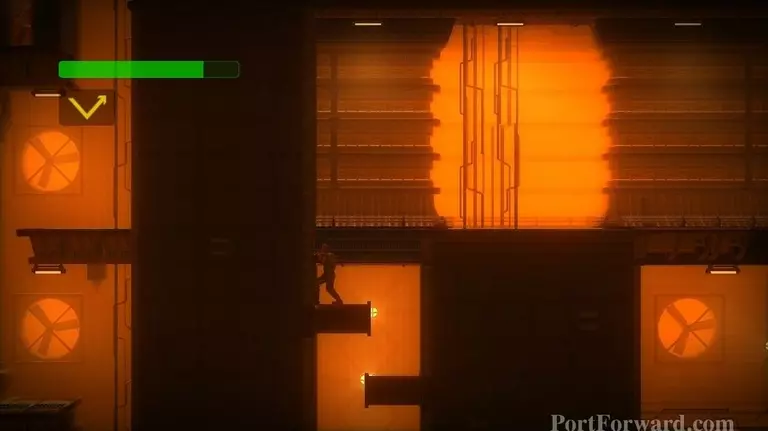
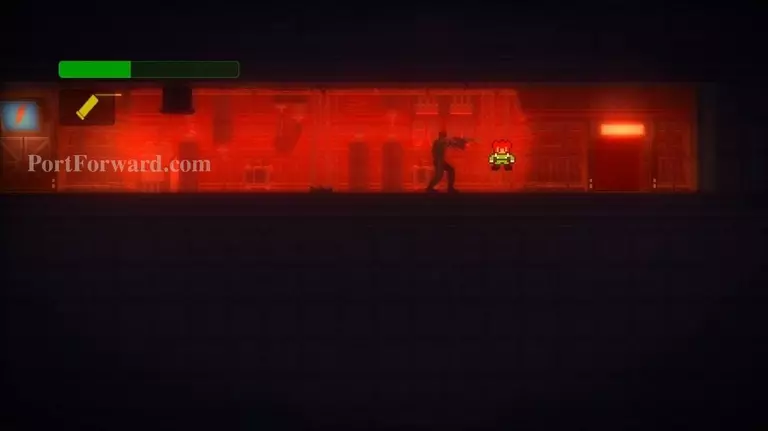
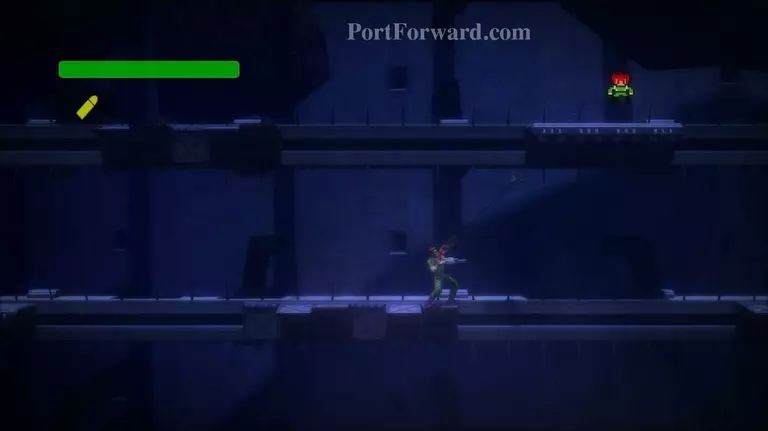
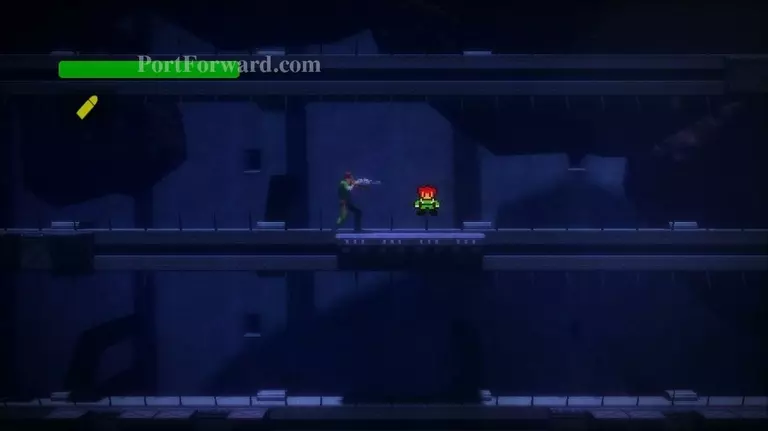
Climb up the left path and either use the Vector Cannon to destroy the soldiers that come out the door, or just grapple quickly past them.
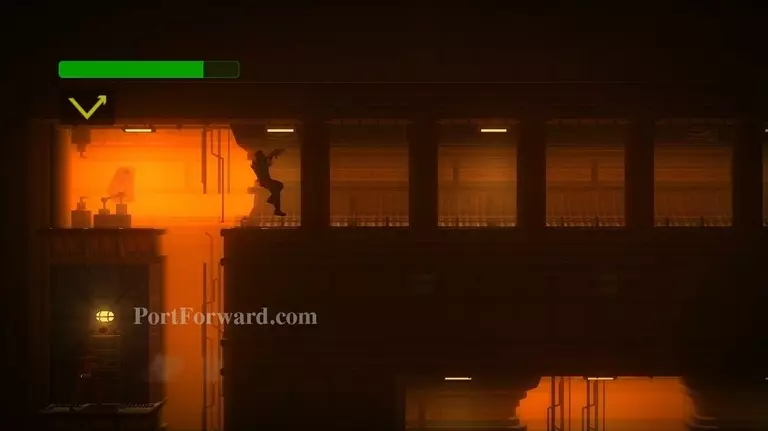
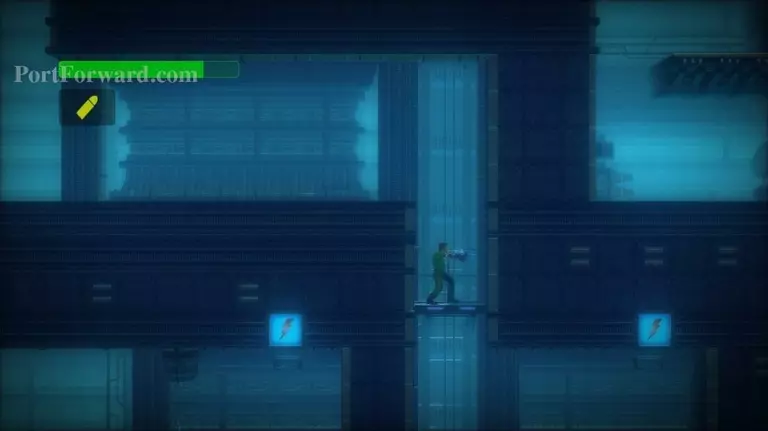
Swing over to the right, where you'll see some Crunchers.
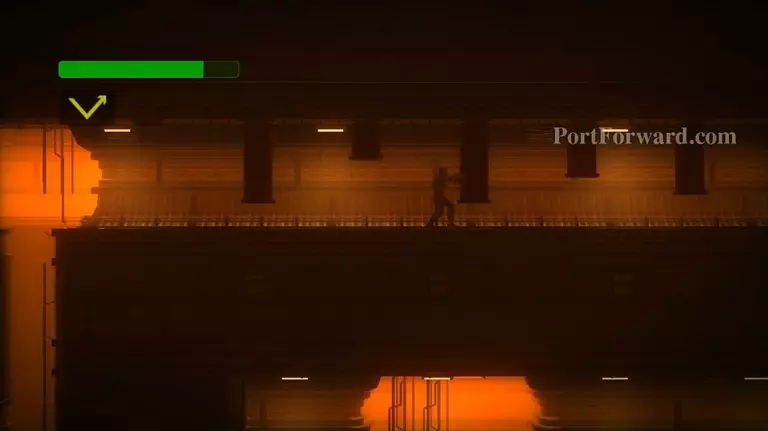
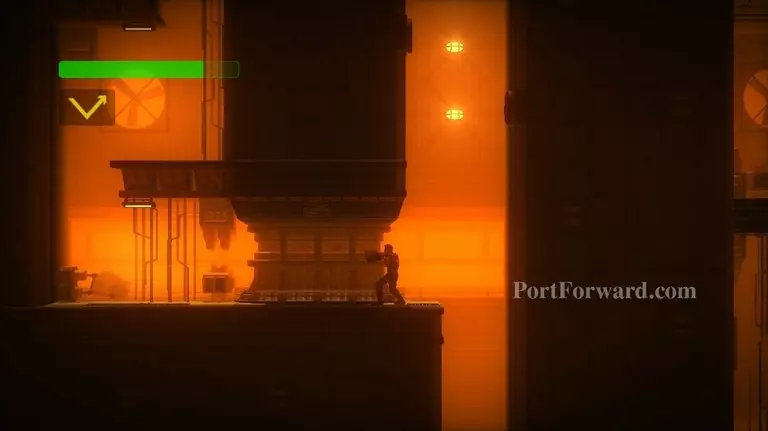
Walk rightward, past the Crunchers, being careful not to get squished.
Exit the room on your far right.
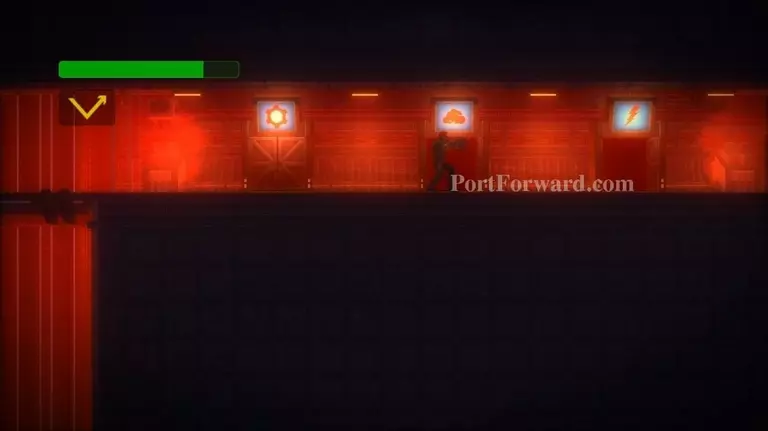
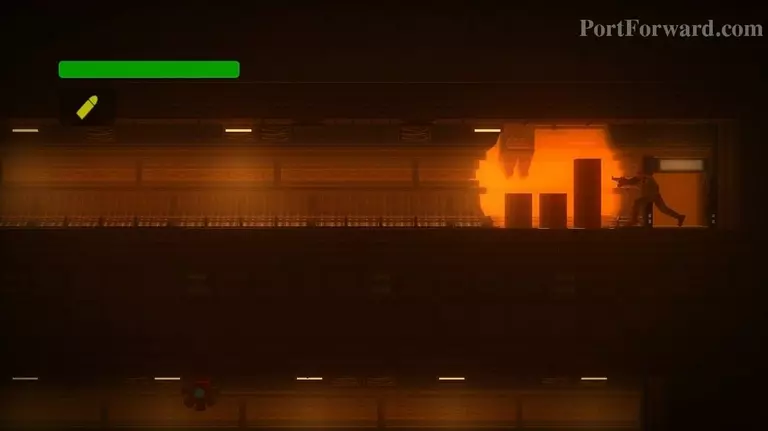
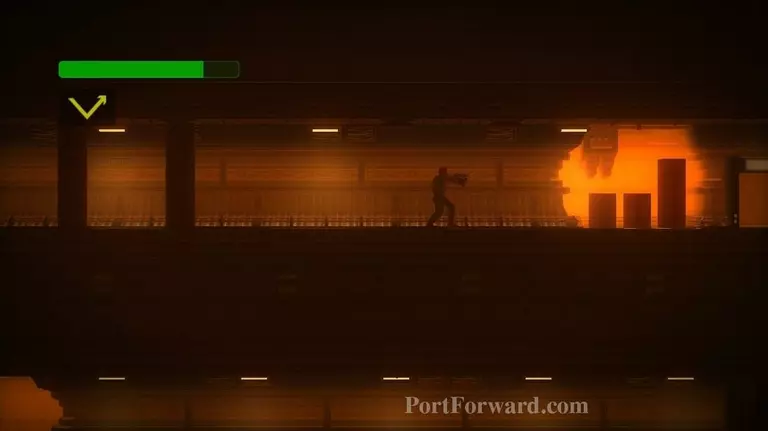
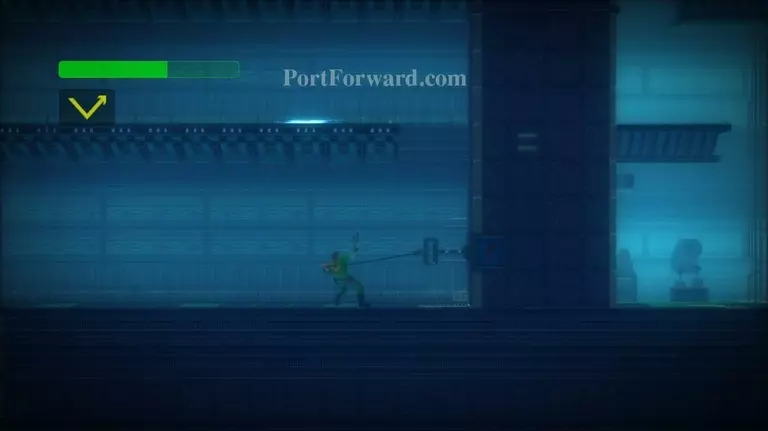
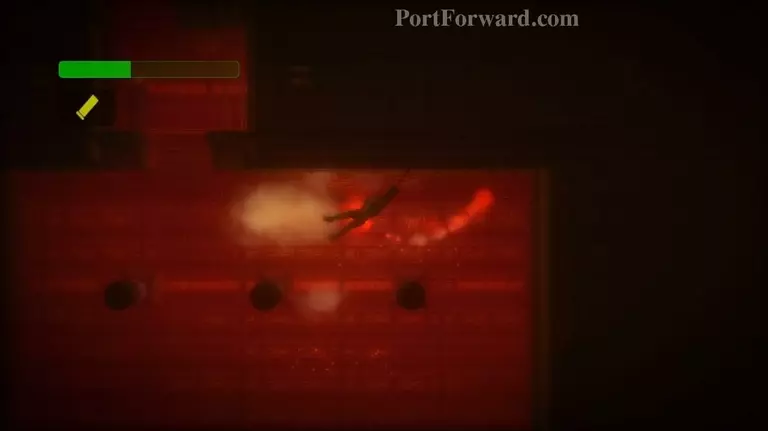
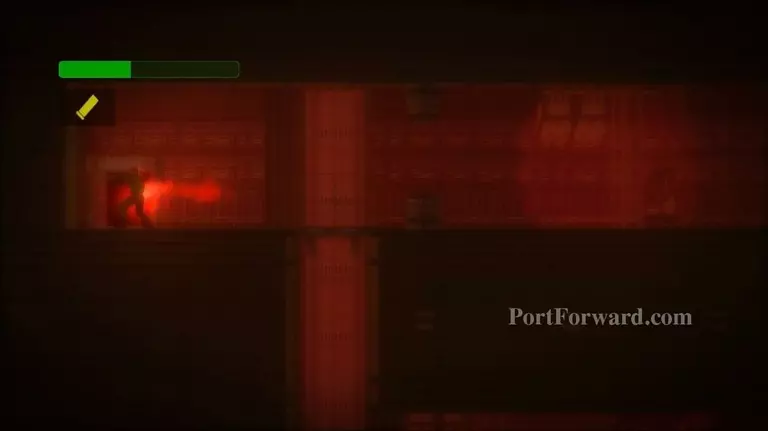
Enter the second door, which has a gas symbol above it.
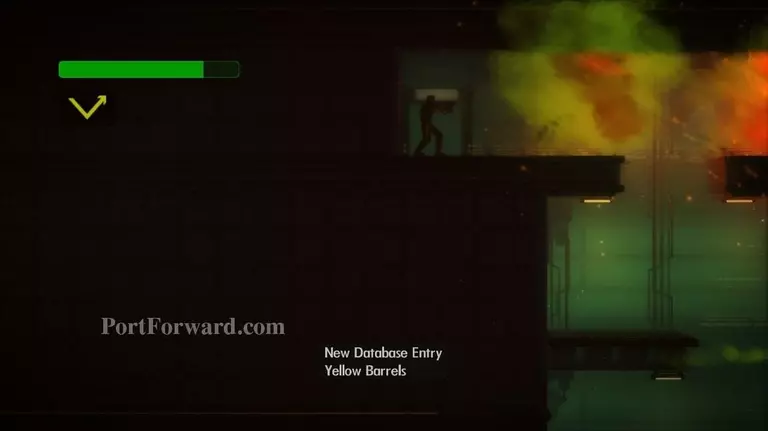
Shoot or avoid the Yellow Barrel in front of you. The gas from the explosion will damage you if you get too close.
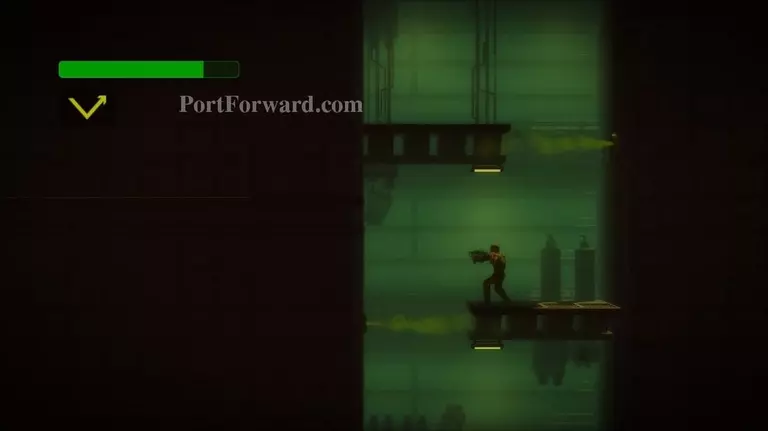
Fall down the pit and continue downward. Drop down the ledges when the gas stops.
You'll come to a barrel and two passages downward.
Drop down the left path.

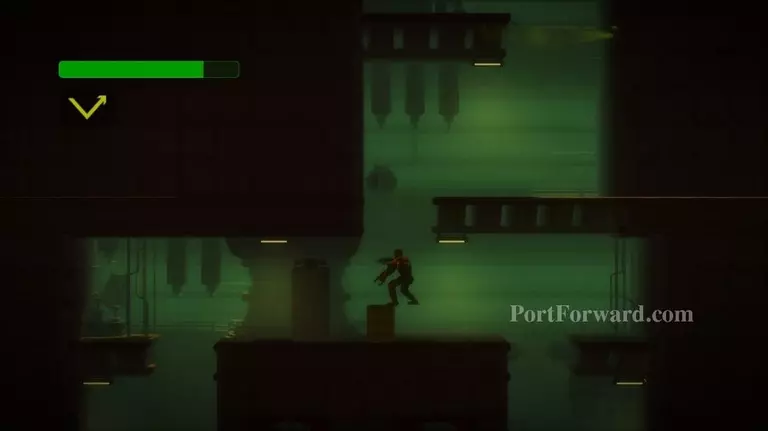
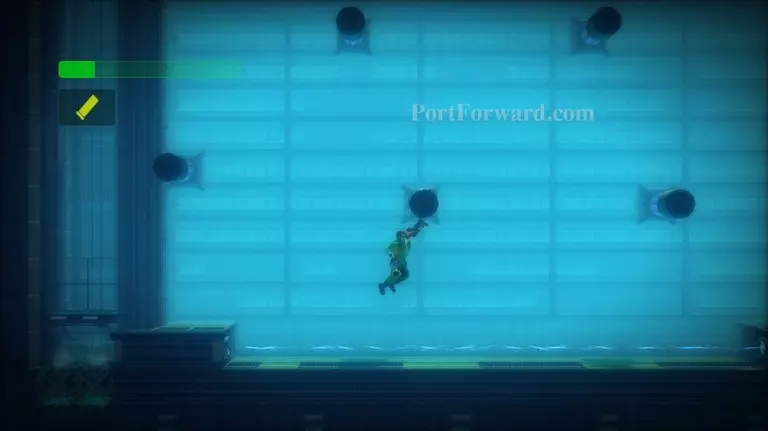
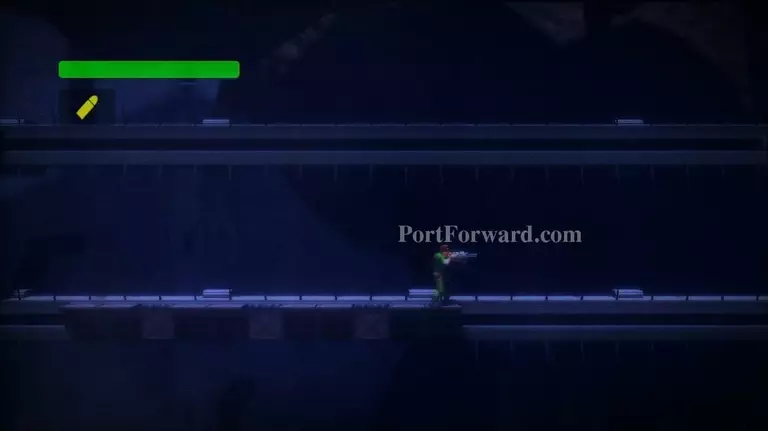
Use your Vector Cannon to try to destroy as many Sprinkler Cannons as you can.
Then walk left, but don't stop because the floor will retract after a bit once you touch it. Keep shooting the Vector Cannon to try to clear any enemies from your path.
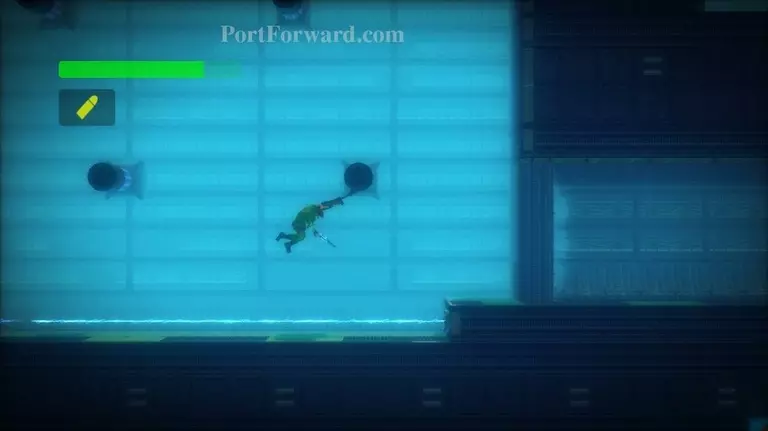
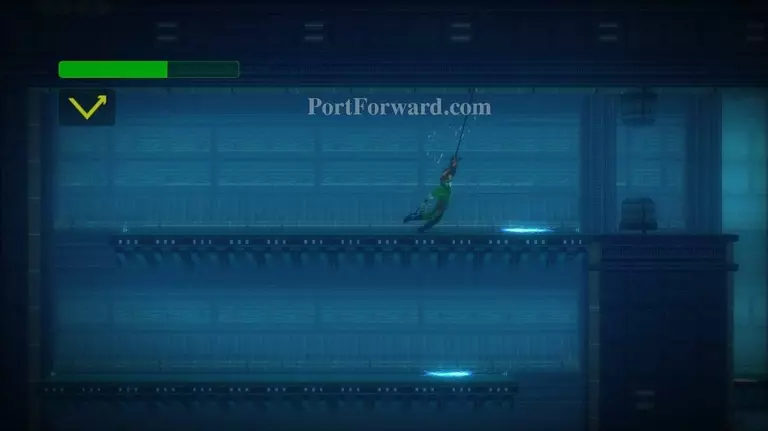
Grapple up to the platform at the far left. Continue to climb up.
Use the Vector Cannon to destroy the Sprinkler Cannons.
Climb up either left or right path and destroy the Sprinkler Cannons at the top.
Enter the door.
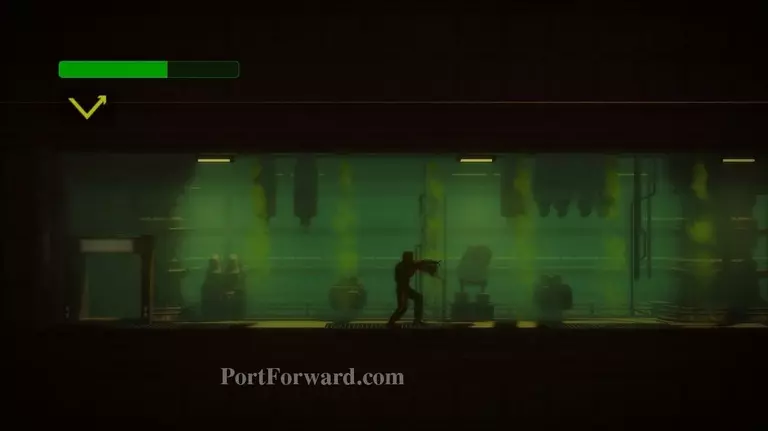
Head to your right, avoiding the gas.
Hang from the switch to disable the gas in this area.
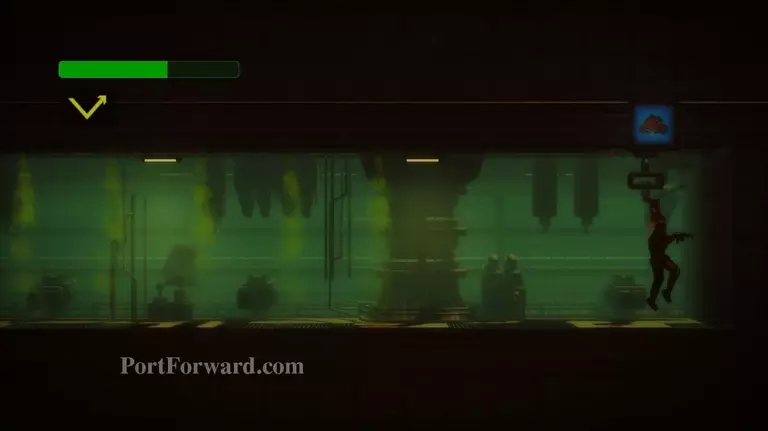
Walk left and exit the room.
Go back down the way you came.
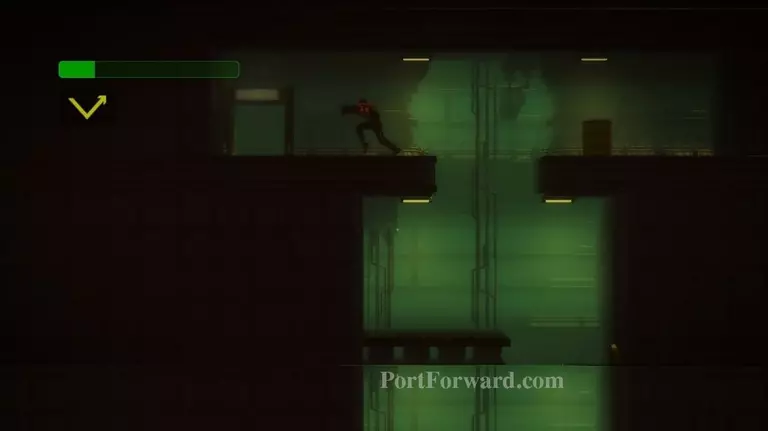
Walk right, over the retracting floor.
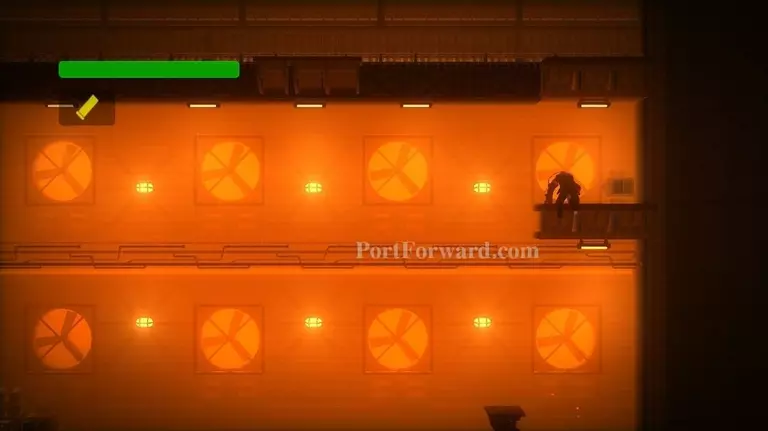
Climb up the platforms on your far right.
Keep climbing to the top of the area.
Exit via the door on your left.
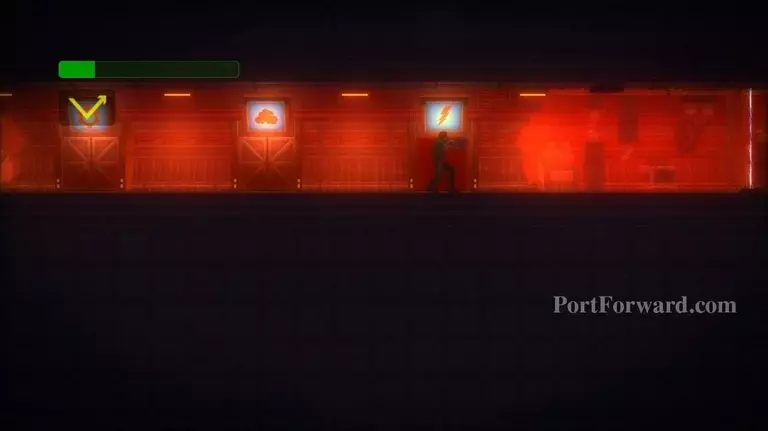
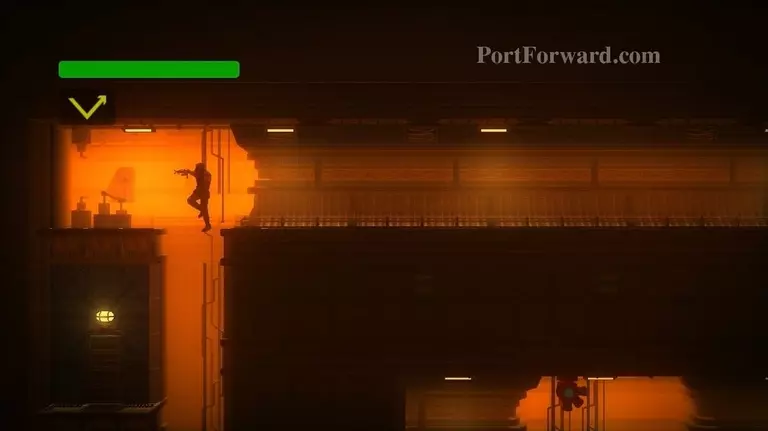
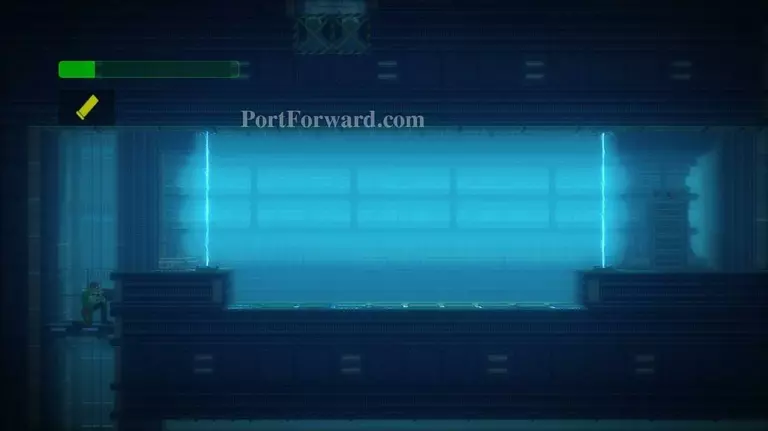
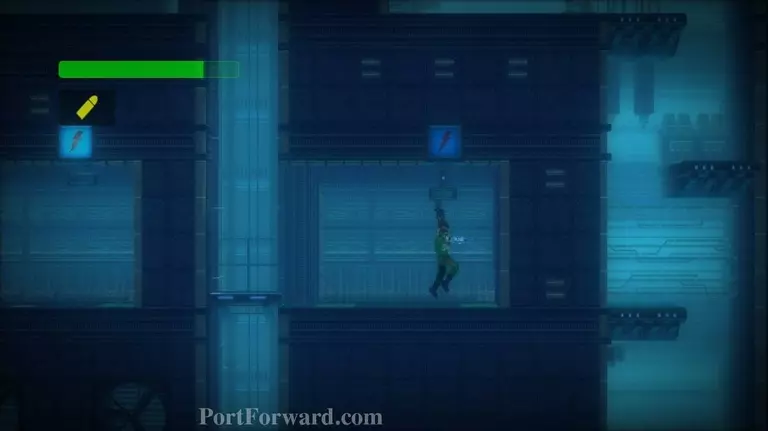
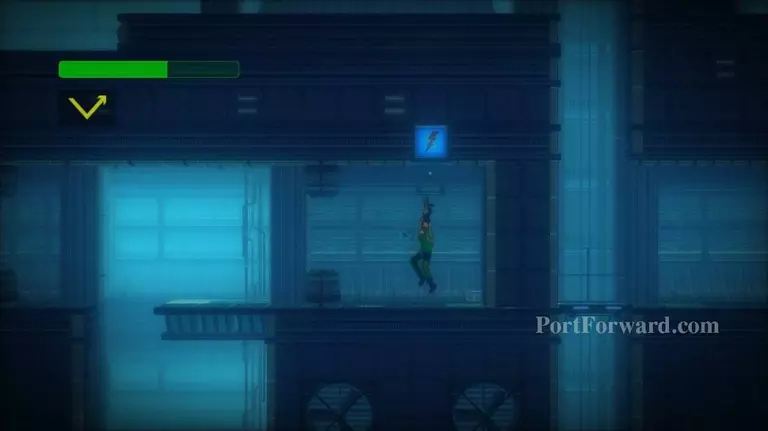
Now enter the room with the lighting bolt on it.
Go down the elevator on your left.
Carefully go right, past the electric beams.
Drop down the pit.
Grapple the roof and wait for the electric beam to shut off, then swing leftward.
Grab the roof again. Try not to fall into the electrified floor below.
Swing left past the second electric beam when it shuts off. Go down the elevator on your left.
Grapple onto the first cylinder.
Swing right and catch the second one. Avoid falling onto the electric floor.
Swing right again and catch the third cylinder, then swing to safety on your right.
Go down the elevator, found on your right.
At the first right, hang from the switch to disable it.
Continue to the bottom of the elevator. Carefully go left, avoiding the electric beams.
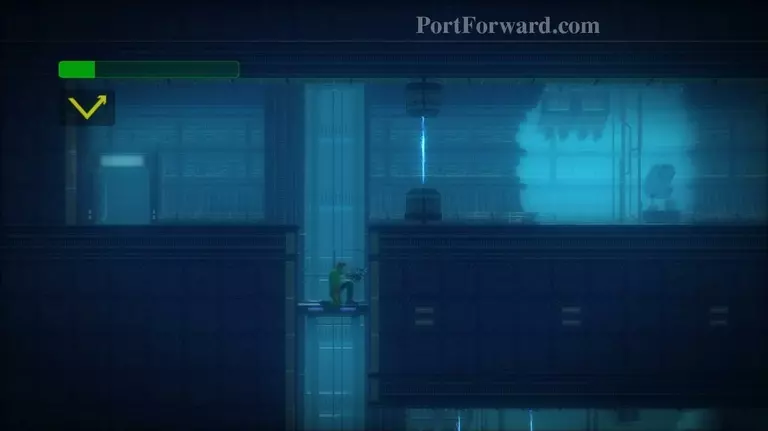
Grapple up the platforms.
At the top, swing left.
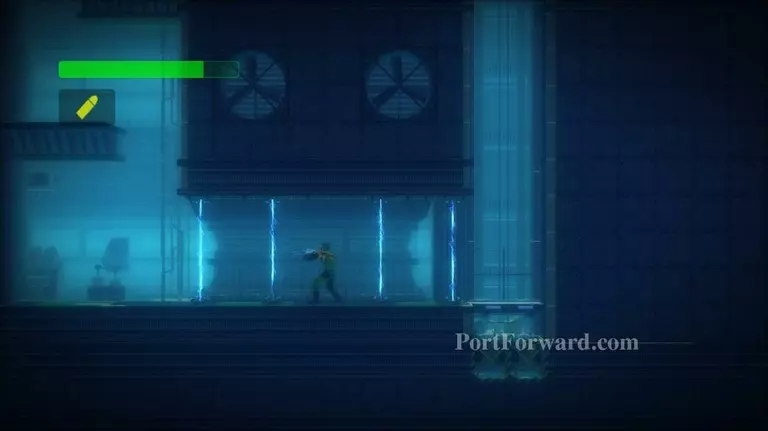
Go down the platforms, avoiding the electricity traveling along the floor.
Pull the switch, found at the bottom-right.
Climb upward, avoiding the electricity on the floor, then swing right, over the barriers and pit.
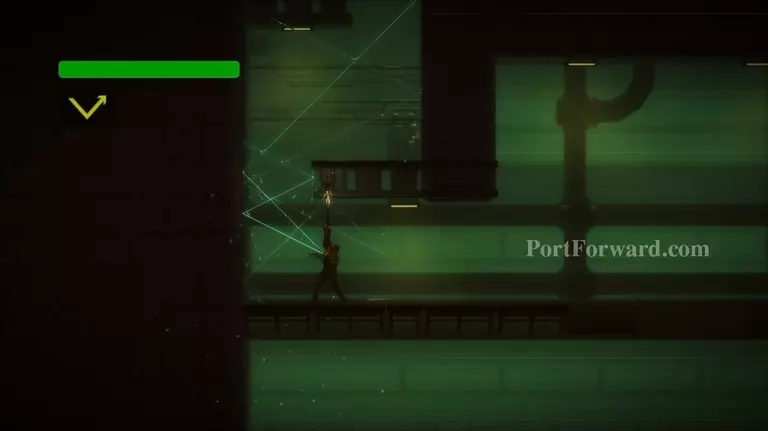
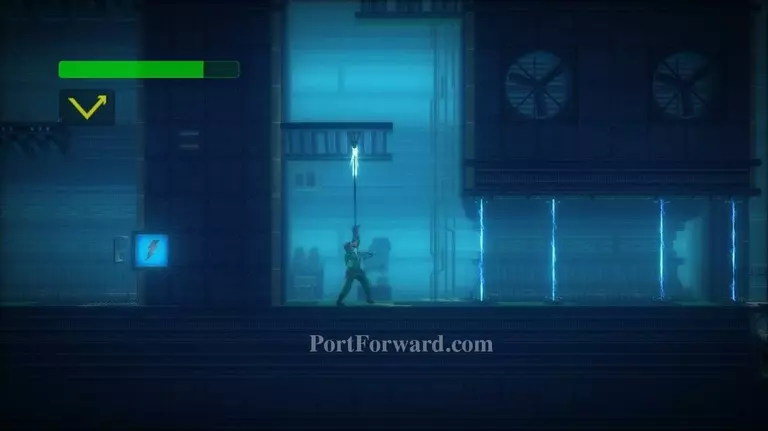
Hang from the switch found here.
The power will go off. you'll use your torch.
Swing back over the pit to your right and head downward.

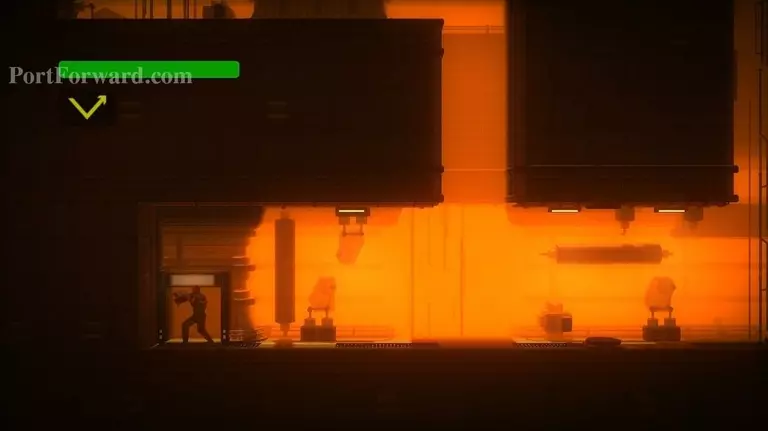
Drop down the hole at the bottom-left side.
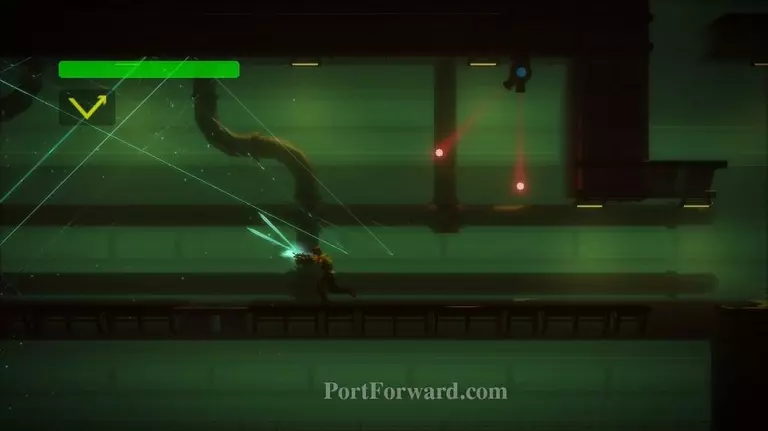
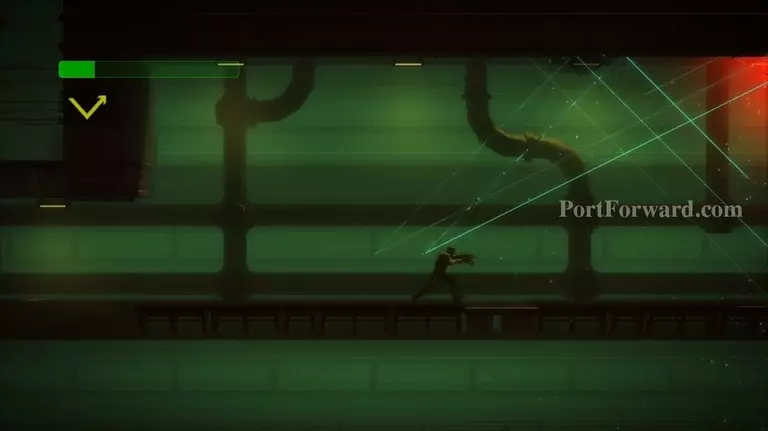
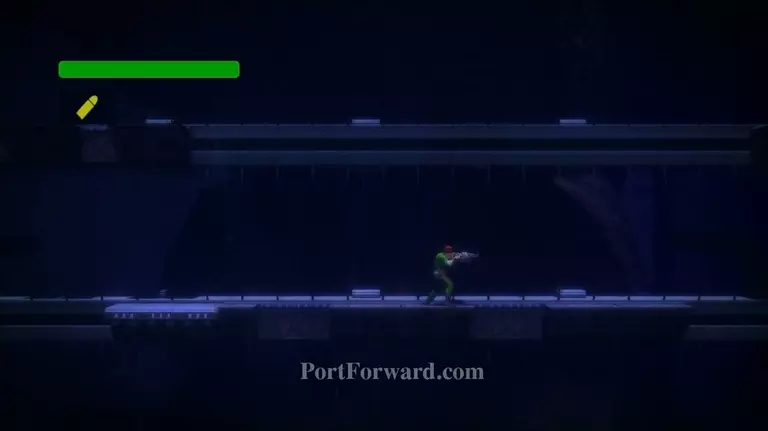
Use your Vector Cannon to take out enemies as you head rightward.
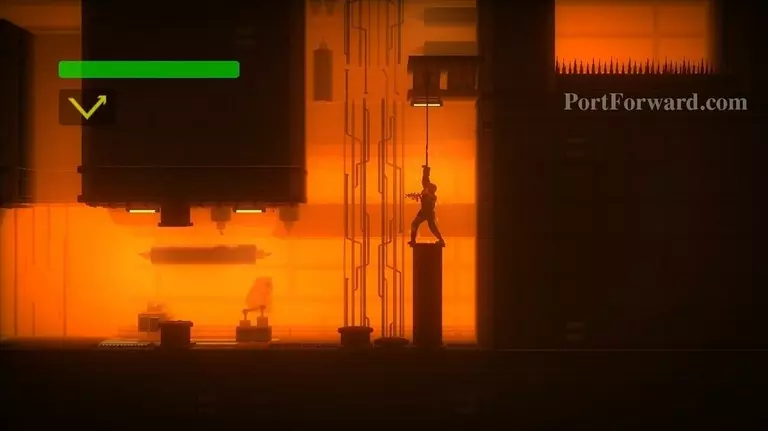
At the far right, climb up the platforms.
Eventually, you'll reach some cylinders above you. Grapple upward, attaching to the left side of the cylinder.
Retract your arm.
Pull yourself up and you should start falling off the left side of the cylinder. Quickly grapple upward to latch onto another cylinder above you.
Retract your arm.
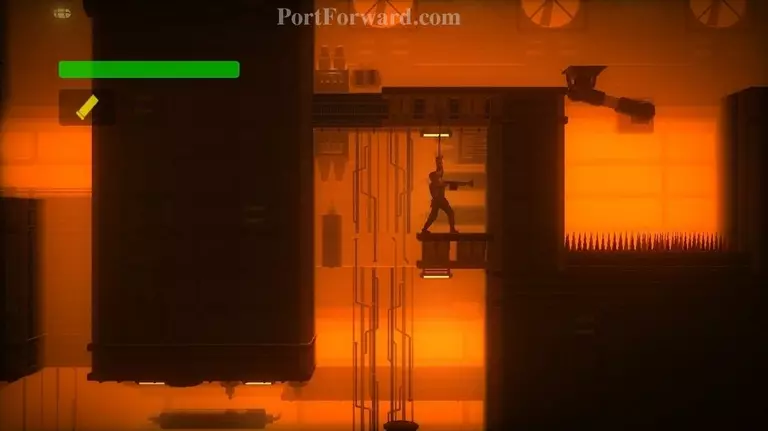
Pull yourself up and quickly grab to the ceiling above you. Retract your arm and use the shotgun to being swinging.
Swing left and latch onto one of the small platforms.
Climb upward.
Exit via the doorway on your left.
Go right and collect the extra life.
Enter the door at the end of the hall.
This area can be quite difficult. Grapple to your upper-left to grab onto the platform. This platform will retract after a few seconds, so don't hold on too long. Swing leftward off the platform.

Latch onto the permanent platform to the left of the one you swung off of. Climb on top of the platform.
Grapple to your upper-left, then swing left.
Grab onto the permanent platform to your left and climb on top of it.
Grapple straight up to the retracting platforms above.
Each time a platform extends, walk leftward onto it.

Stand on the left edge of the final retracting platform, then let yourself fall when it retracts.

Make is so that you fall between the two retracting platforms below. If you stand between two of these platforms there will always be one extended to keep you from falling.
Continue leftward across the retracting platforms. When you reach the left edge of the area, grapple upward.
When you reach the top platform, grapple to your upper-right and quickly swing rightward.

There are some retracting platforms that you may land on. If you don't, be ready to grapple to your upper-right to a permanent platform that's found on your lower-right (you may land on it.) Get on the right retracting platform and just let yourself fall, landing onto the permanent platform.
Grapple to the upper-right, onto some small retracting platforms, then swing right.
You should hopefully land on some more small retracting platforms. If you miss, try to grapple onto them and climb up. Walk rightward across them as they extend.
Grapple to your upper-right, to a permanent platform.
Climb up and grab the extra life.
Walk off the right edge of the permanent platform, then turn around and grapple onto it.
Swing right, hopefully landing on the small retracting platforms. If you fall, attempt to grapple onto them and pull yourself up.
Walk rightward across the small retracting platforms as they extend.
Stand on the final platform and let yourself fall. You should fall onto a permanent platform below.
Walk rightward across the retracting platforms.
When you reach the right edge, grapple to your upper-right, onto a permanent platform.
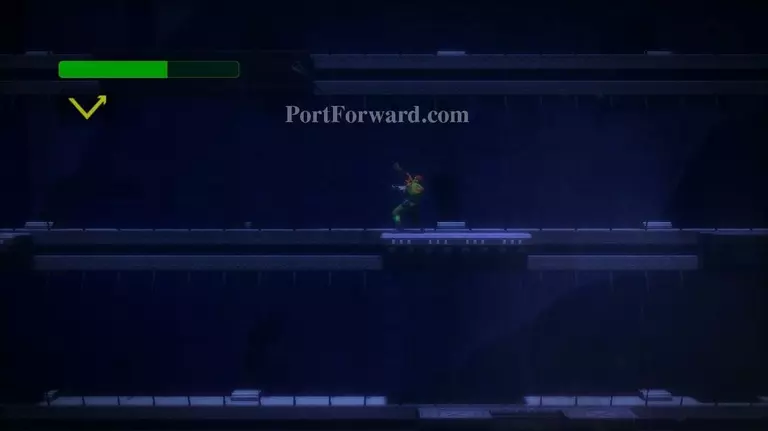
Climb on top of the permanent platform.
img(130675);
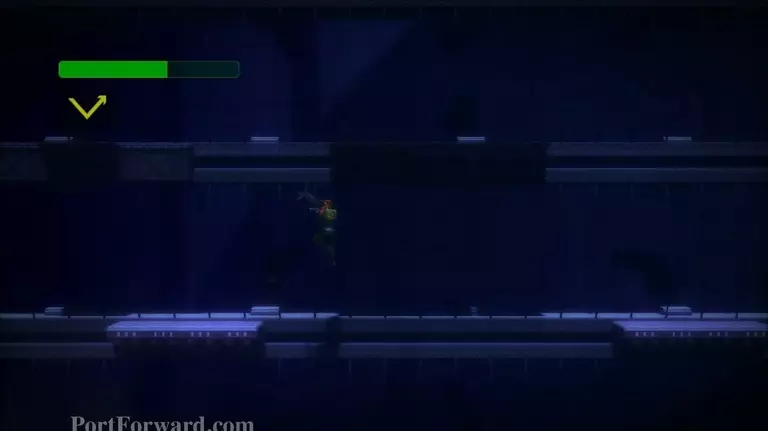
Grapple upward twice, onto the retracting platforms.
img(130676);
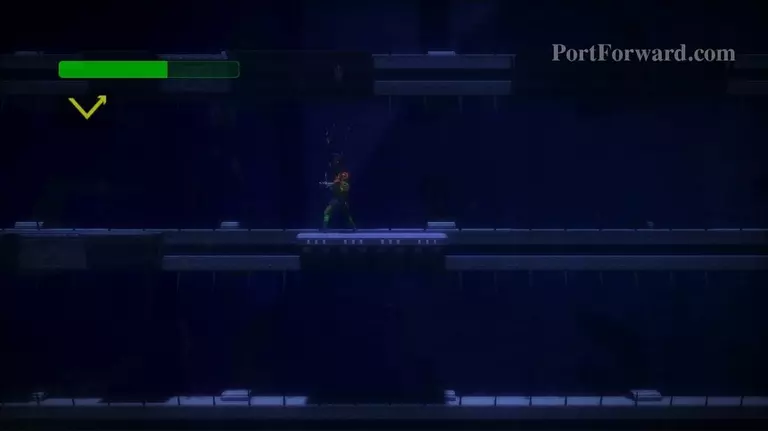
Walk left along the retracting platforms.
img(130677);
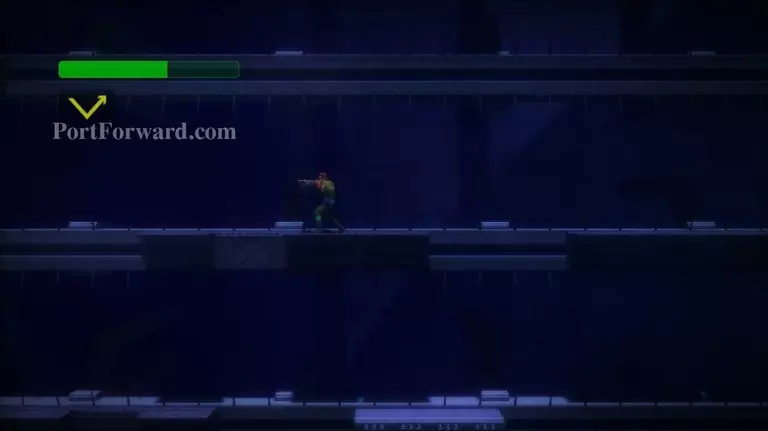
Grapple upward and climb onto the retracting platform.
img(130678);
Walk leftward, across the retracting platforms as they extend.
img(130679);
Let yourself drop off the left edge of the very-left platform when it retracts. You should land on the retracting platforms below. Try to land between two platforms to be safe.
img(130680);
Walk leftward, across the retracting platforms as they extend.
img(130681);
Grapple to the upper-left, onto the permanent platform.
img(130682);
Pull yourself up and go through the door.
img(130683);
Head a small bit to the right and then climb the platforms.
img(130684);
You'll find an extra life in the upper-left corner of this room.
img(130685);
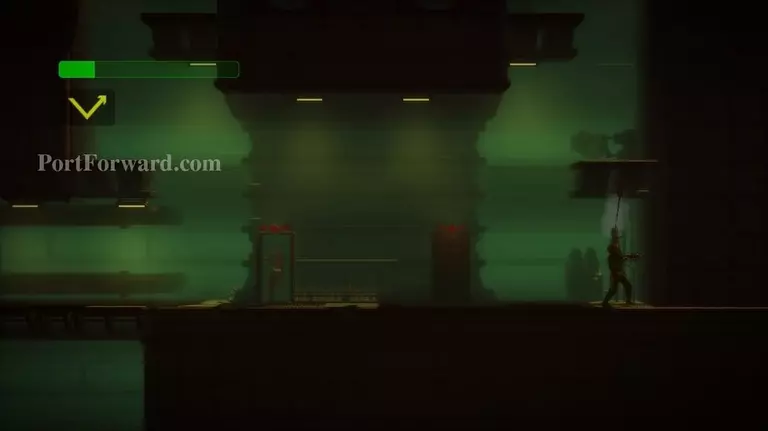
Head back to the right. The Vector Cannon is useful in this area.
img(130686);
Grapple onto the roof and swing to your right. Grapple to get up to the elevator on your upper-right.
img(130687);
Take the elevator as high as you can.
img(130688);
Use your Vector Cannon to take out the shielded soldier.
img(130689);
Climb up and pull the blue switch in the upper-right corner.
img(130690);
Go back down the elevator and go left, down the hall that is now accessible.
img(130691);
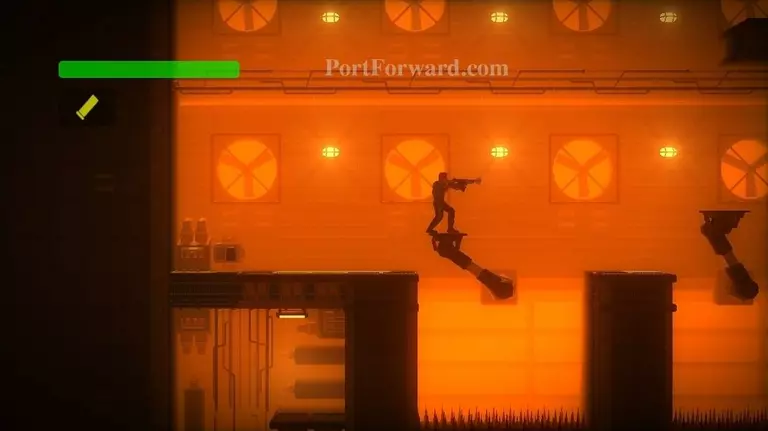
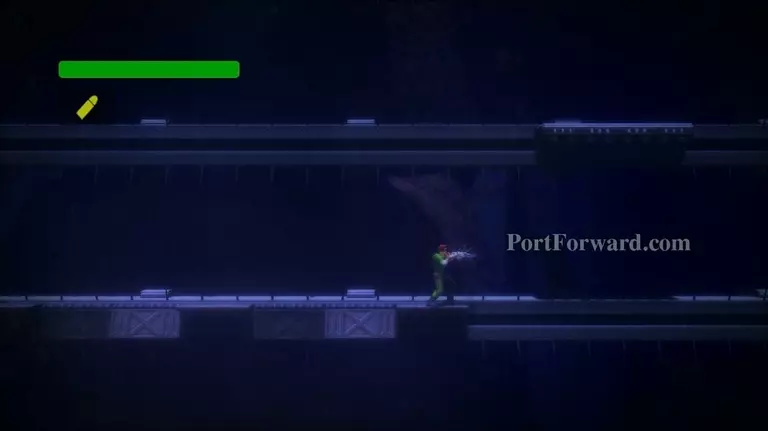
Use the Vector Cannon as you run left.
img(130692);
Pull the blue switch that you come to.
img(130693);
Head back to the right and enter the door.
img(130694);
Right right, using your Vector Cannon.
img(130695);
Climb up the platforms, then swing leftward.
img(130696);
Pull both the blue switches.
img(130697);
Exit the room.
img(130698);
Go up the elevator.
img(130699);
Climb to the top, where the switch is. Swing leftward, landing on the upper platform.
img(130700);
Walk off the left edge, falling onto the moving platform.
img(130701);
Drop off the platform and grapple under it. Quickly retract your arm, so you don't hit a wall.
img(130702);
Drop to the moving platform below when they line up.
img(130703);
Duck when it goes under the wall.
img(130704);
Grapple up onto the platform on the left side of the wall. Climb up onto it.
img(130705);
Grapple to your upper left and retract your arm.
img(130706);
When the moving platform is under you, drop onto it.
img(130707);
This part can be tricky. When the moving platform is on the left side of the wall you see below it, drop off and grapple onto the platform, quickly retracting your arm. If possible drop onto the platform below, or onto the lower edge of the wall to your left. If you can't do it, then climb back up onto the moving platform before you hit the wall on your right.
img(130708);
When the lower platform is on the left edge of it's path, climb up.
img(130709);
Continue climbing upward, taking out enemies in your path.
img(130710);
Walk to the right and pull the switch you find.
img(130711);
Now you can optionally go back to the last elevator, take it down where the door is, but head leftward.
img(130712);
Collect the FSA icon. Now head back to the last switch you pulled.
img(130713);
Continue rightward from that last switch. Use your Vector Cannon to defeat enemies.
img(130714);
Swing past the cement block. When you reach a barrier on the right, grapple upward and retract your arm. Use the shotgun to start swinging, then swing rightward.
img(130715);
Go up the elevator.
img(130716);
Go leftward.
img(130717);
Take the next elevator upward.
img(130718);
Then run rightward.
img(130719);
Go in the door on your far-right.
img(130720);
You will now continue from here. Climb upward.
img(130721);
Walk left.
img(130722);
Haley will show up and talk to you.
img(130723);
Her helicopter will be destroyed.
img(130724);
Grab the Bazooka upgrade on your left.
img(130725);
You'll come to a blue switch. Use the Bazooka to shoot the blue switch. You can control the rocket with your right analog stick. Make it go up and then left to hit it.
img(130726);
Go past the elevator and hit the other blue switch with your Bazooka.
img(130727);
Go up the elevator.
img(130728);
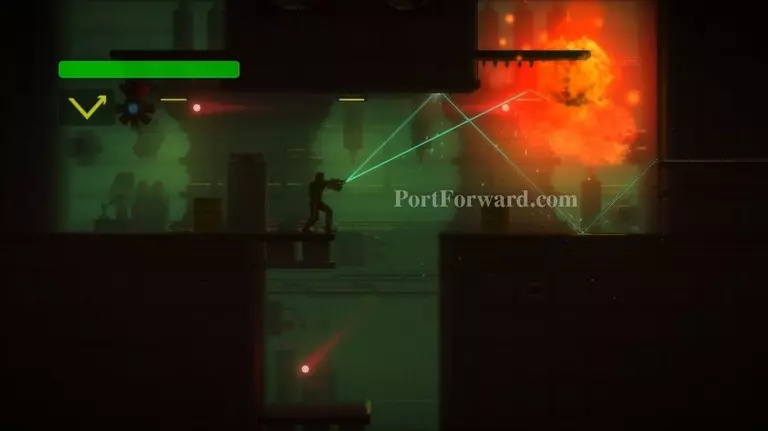
You'll come to the final boss, The Leader's Helicopter. He'll shoot rockets at you. Watch which direction they are coming at you. You'll need to use your grapple in the opposite direction to destroy the rockets before they hit you.
img(130729);
Run from the bullets fired.
img(130730);
Fire your Bazooka and use the right analog stick to guide the rocket into the windshield.
img(130731);
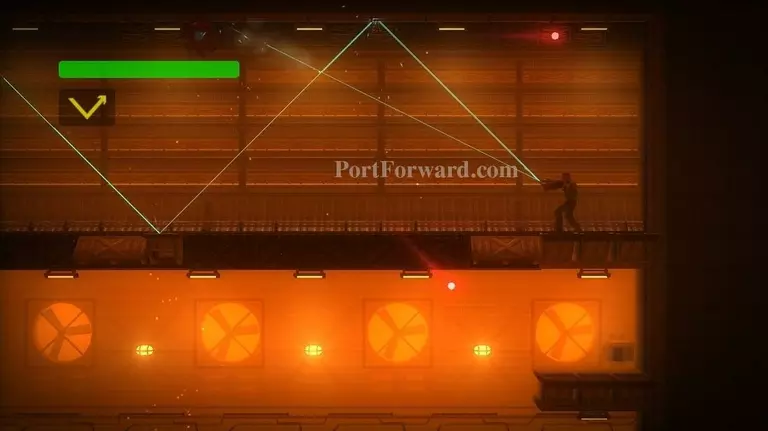
Occasionally, the boss will prepare to fire some heavy lasers at you.
img(130732);
Run whichever way the helicopter is leaning. He'll often repeat this pattern three times.
img(130733);
On your third rocket hit, the action will slow for a dramatic conclusion to the fight.
img(130734);
The boss will be destroyed.
img(130735);
Joe will tell you that he's destroyed the main reactor.
img(130736);
The Albatross is falling. You only have so much time to get out before you'll die. Go down the elevator.
img(130737);
Go in the door to the left of the bottom of the elevator.
img(130738);
Run rightward.
img(130739);
Climb up the platforms and start walking left.
img(130740);
You'll find Groeder again. This is an optional fight. It would be extremely difficult to actually kill him and get out alive. If you die and still have lives, you'll start at the doorway to this room.
img(130741);
Rockets will heavily damage him. Avoid his shots.
img(130742);
When he gets on the platforms, you can guide your rockets into him.
img(130743);
Your best bet is to just avoid Groeder and climb up the platforms on the left.
img(130744);
When you get to the top of the platforms, you'll watch the Albatross crash into the water.
img(130745);
Mission accomplished!
More Bionic Commando Rearmed Walkthroughs
This Bionic Commando Rearmed walkthrough is divided into 24 total pages.


