This Bionic Commando Rearmed walkthrough is divided into 24 total pages.
You can jump to nearby pages of the game using the links above.
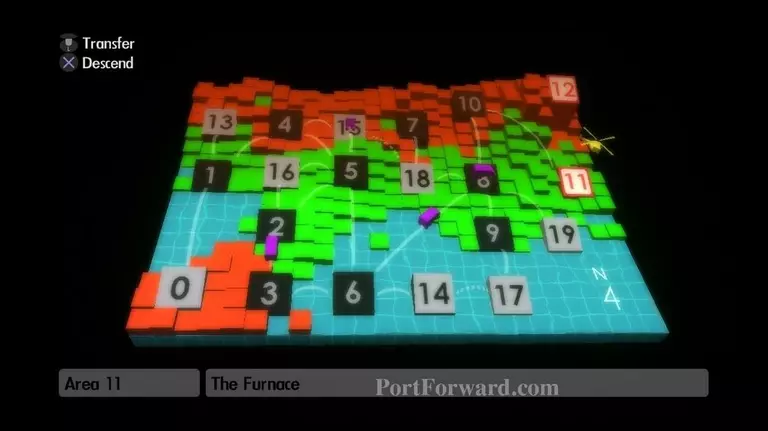
Area 11 - The Furnace
Descend into Area 11, The Furnace.
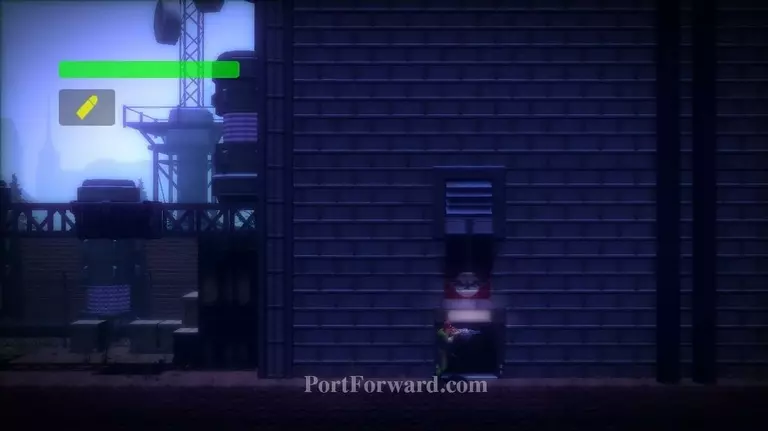
Enter the door to your right.
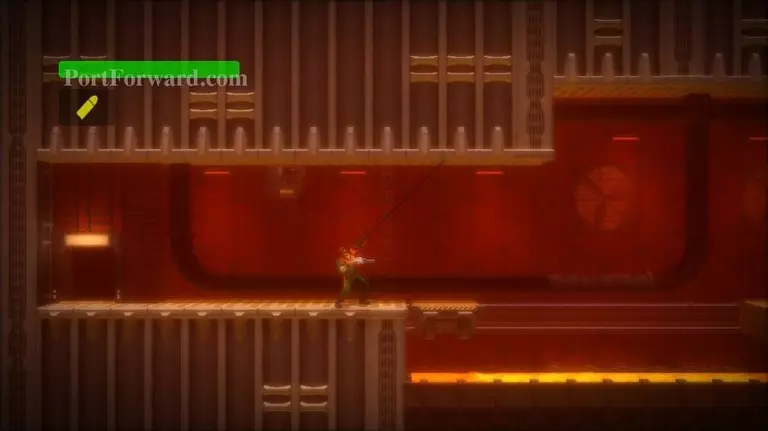
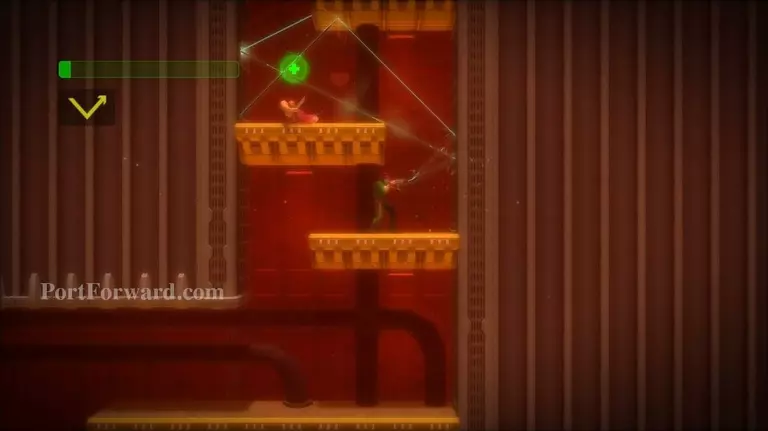
Grab the roof and swing right.
Continue swinging along the roof to your upper-right.
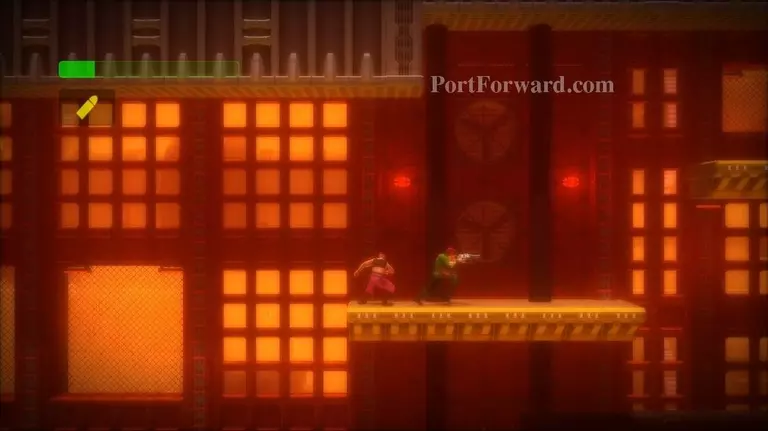
Once you reach a platform with a Close Combat Soldier on it, you can drop down.
Platform rightward.
Collect the extra life, found against the right wall.
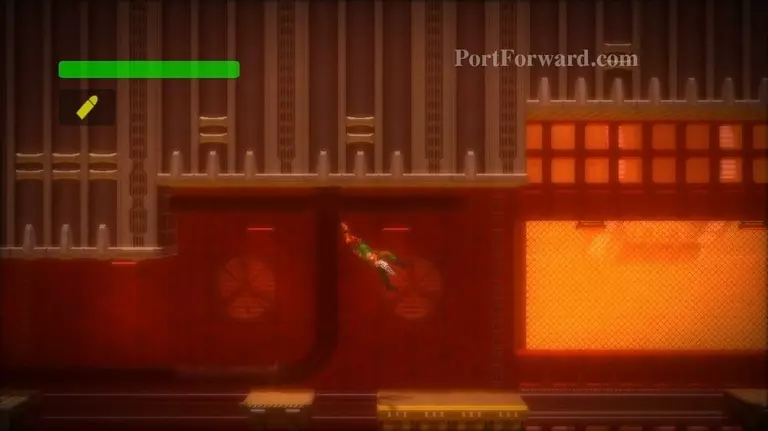
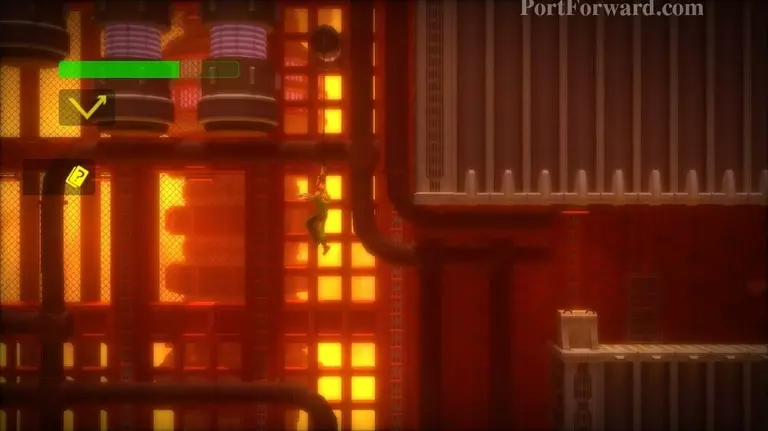
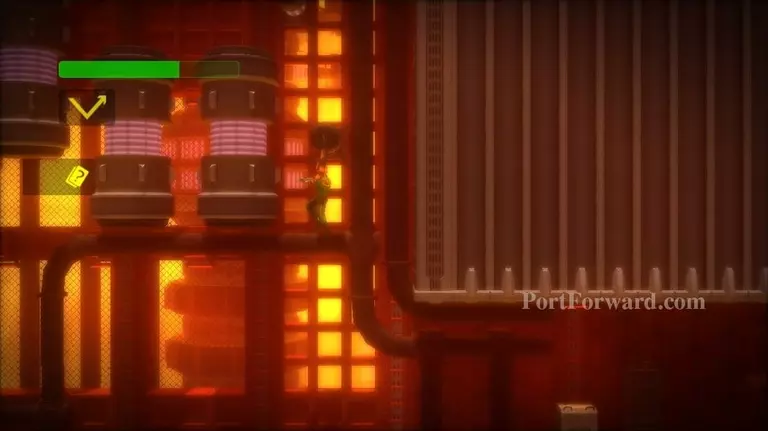
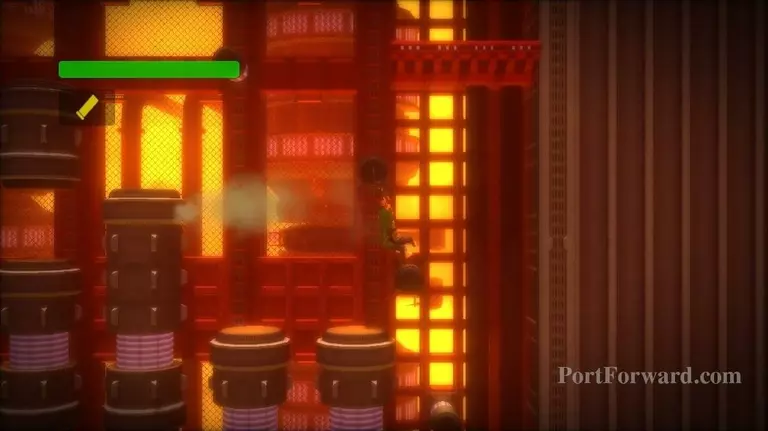
Climb upward. use the fans here to blow yourself up high enough to grapple upward.
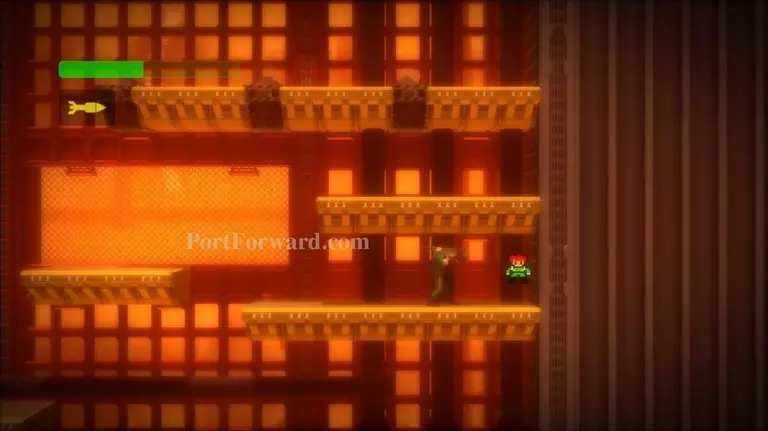
Use the Vector Cannon to kill the Close Combat Soldiers as you climb upward.
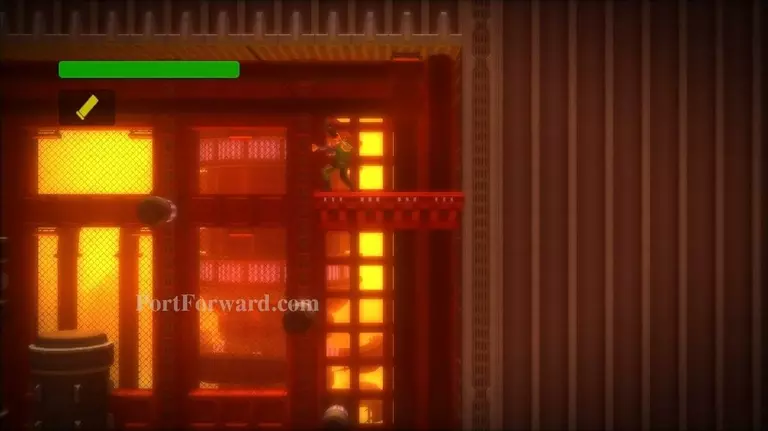
When you reach the top, Swing over to the right and enter the Communications Room. Talk to HQ.

Go left from the Communications Room. Grapple above the cement block you come to. Retract your arm and drop on top of the block.

Get to the left side of the cement block. Grapple to your upper-left from the block.

Swing leftward.
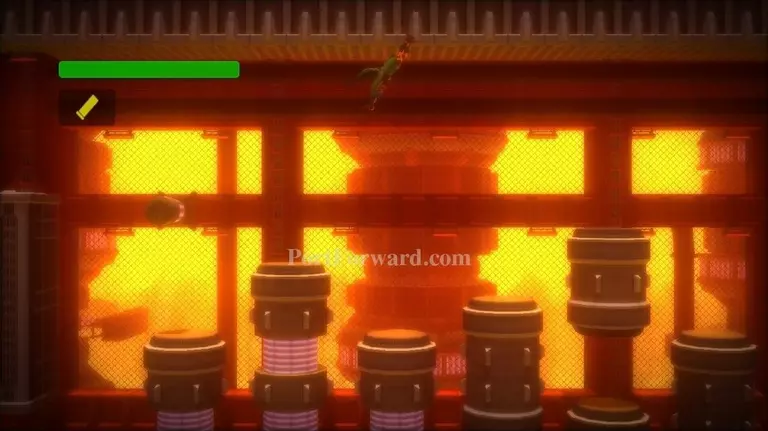
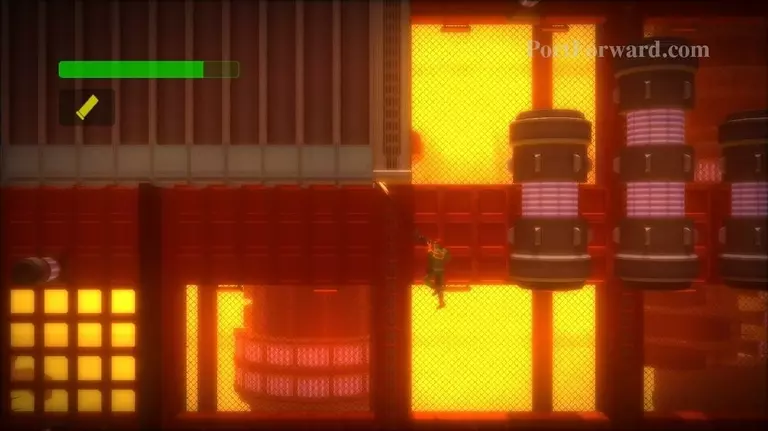
Grapple upward to attach to the circle above. You want to grab the left half of it if possible.
Retract your arm and pull yourself up onto the circle.

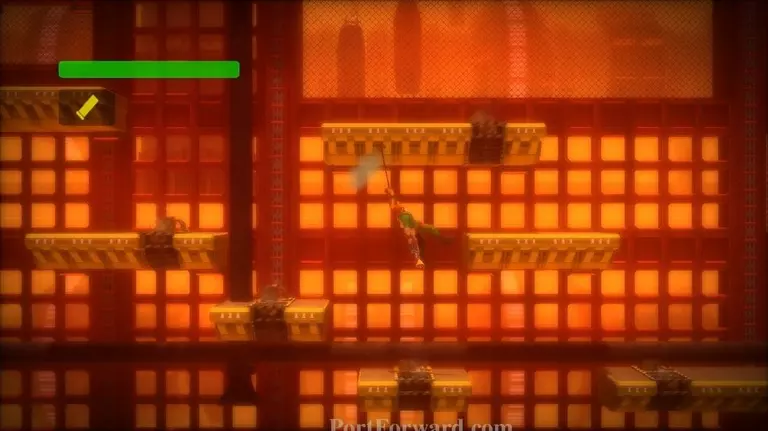
You should fall off the circle to the left. Grapple upward to the next circle.

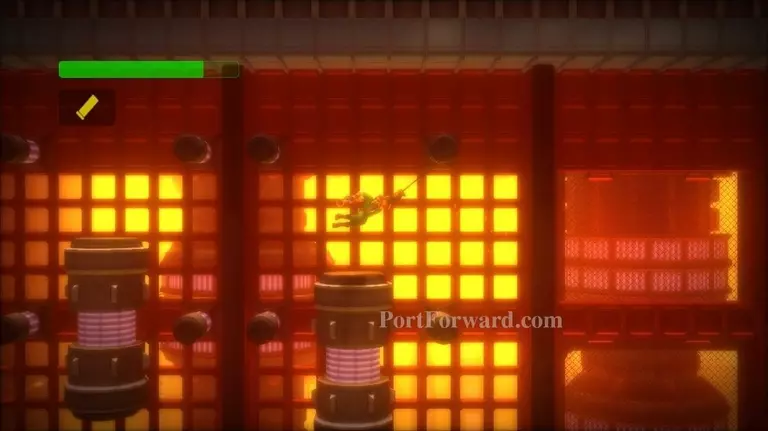
Retract your arm and use the Shotgun to swing.

Swing left, landing on the cylinders.

Grapple to the third circle and retract your arm.
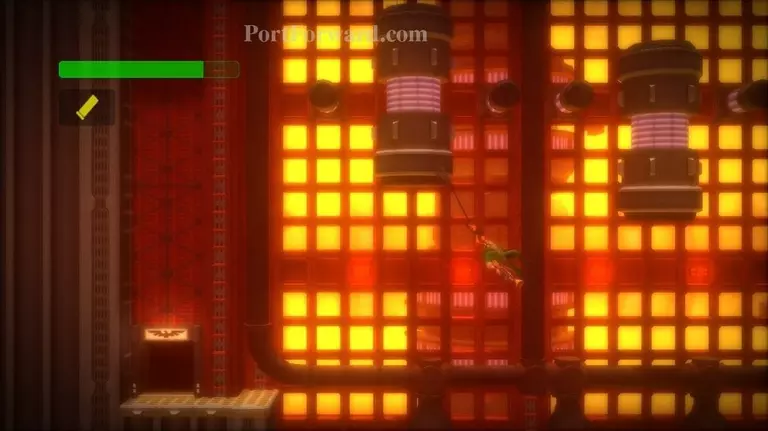
Shoot your shotgun to get swinging.

Swing right and grapple upward to the platform, then pull yourself up.
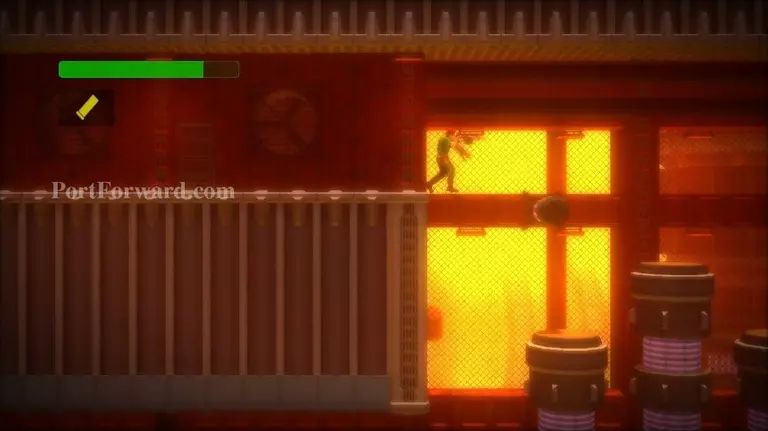
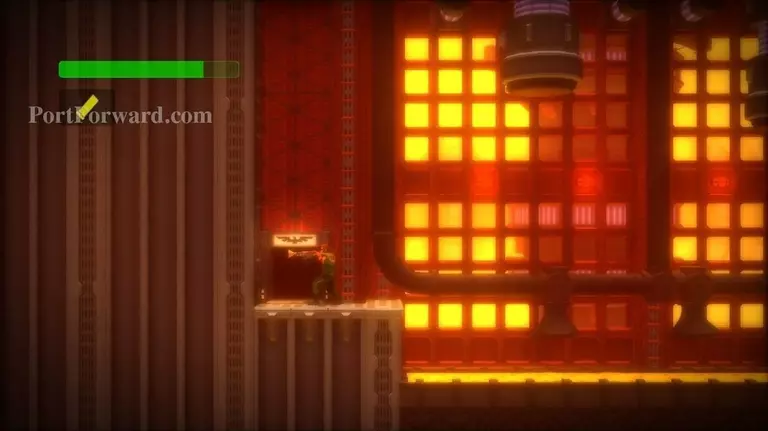
Grapple leftward along the roof.
Continue leftward across the roof, past all the cylinders.

Swing into the hallway on the left, killing enemies as you continue leftward.

Grab the Yashichi at the end of the hall.
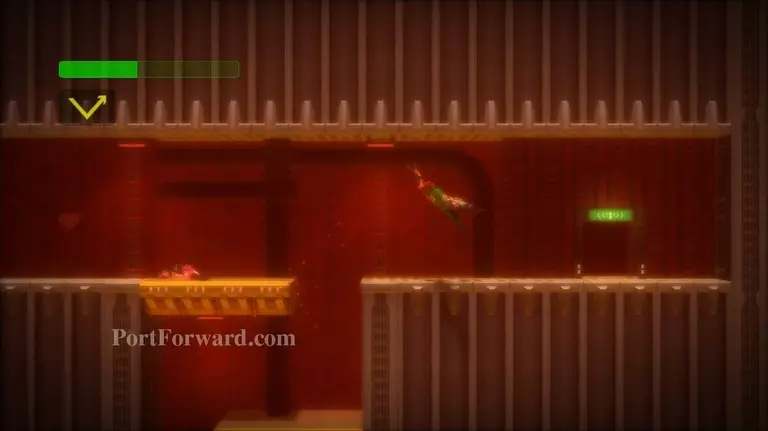
Head right and fall off the right edge of the hall.
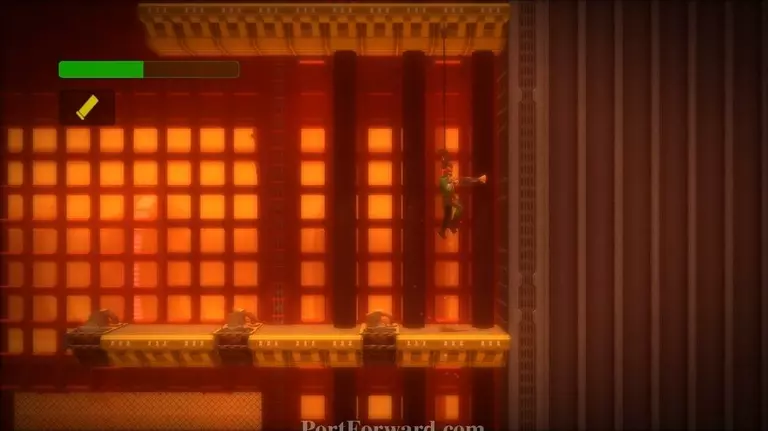
As you fall, grapple leftward, onto the bottom of the wall. If you need to get back here from the Communications Room, you can swing along the bottom of the cylinders until you reach this point.
Swing leftward, grabbing whatever you can to stay swinging.
Continue swinging leftward. Land on the platform with the Boss Room door.
Enter the Boss Room.

You'll fight the Fabricator v2.

This time the Fabricator will light up three places around it's inside. These lights indicate which order spikes will attack you in.
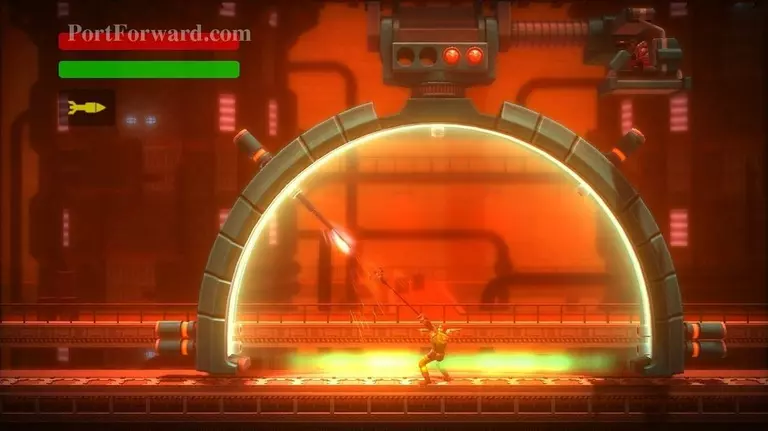
Use your grapple to block the attacks. If you miss any of the three, the process will start over again.
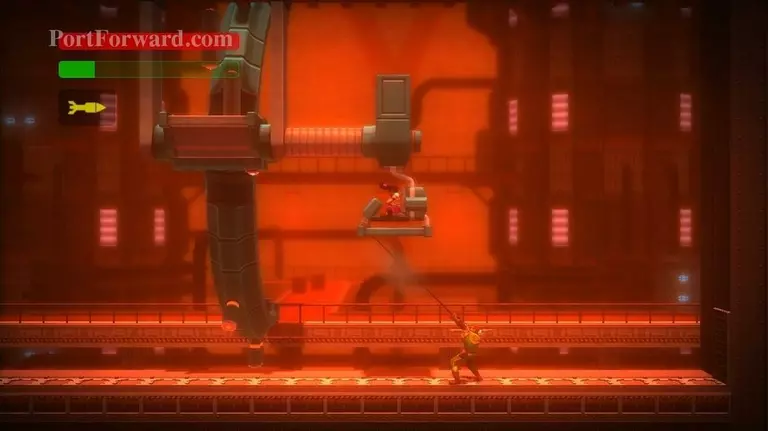
After a while, the Fabricator will need to recharge. Grapple onto the driver's seat and swing left.
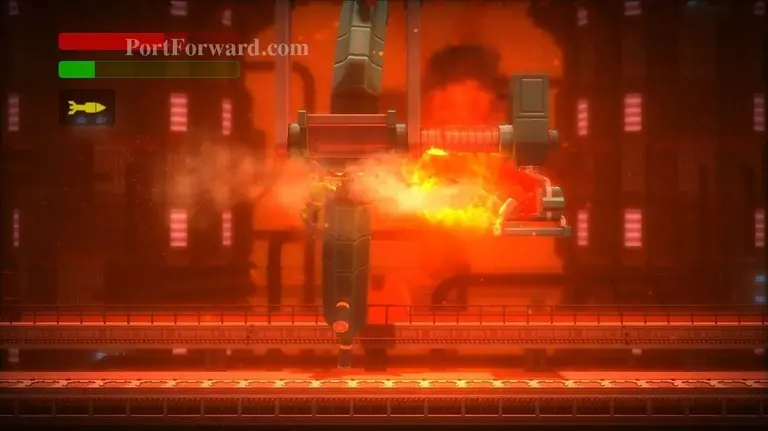
Grapple upward and retract your arm. Use your Bazooka to hit the driver.

Continue this pattern until the boss is defeated.
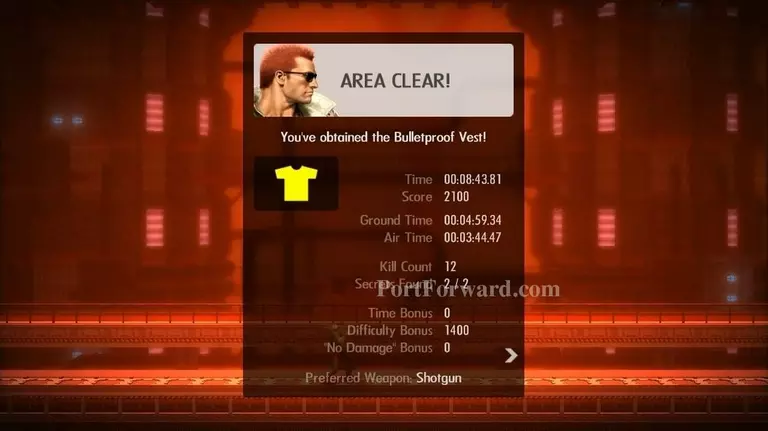
Area Clear! You'll obtain a Bulletproof Vest.

Haley will explain that the vest will soak up a lot of damage.
More Bionic Commando Rearmed Walkthroughs
This Bionic Commando Rearmed walkthrough is divided into 24 total pages.