
This Bionic Commando Rearmed walkthrough is divided into 24 total pages.
You can jump to nearby pages of the game using the links above.
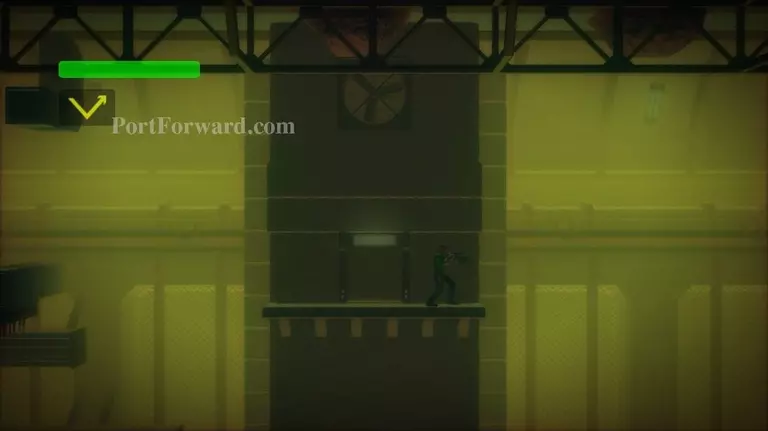
Secret Tunnel 14-17
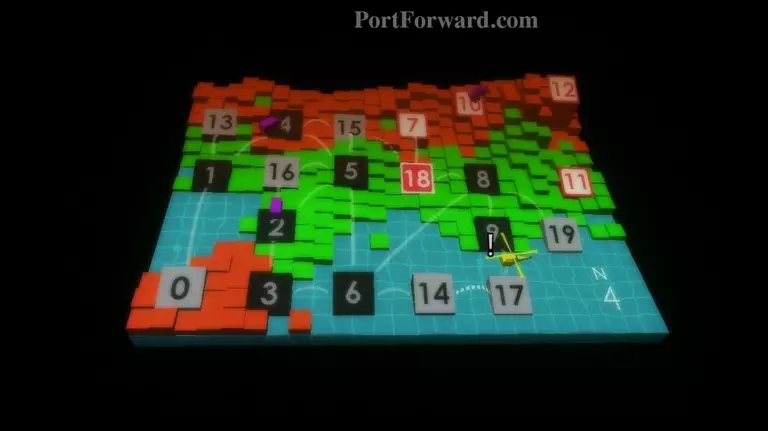
Move your helicopter between Area 14 and 17. You'll enter a secret tunnel.
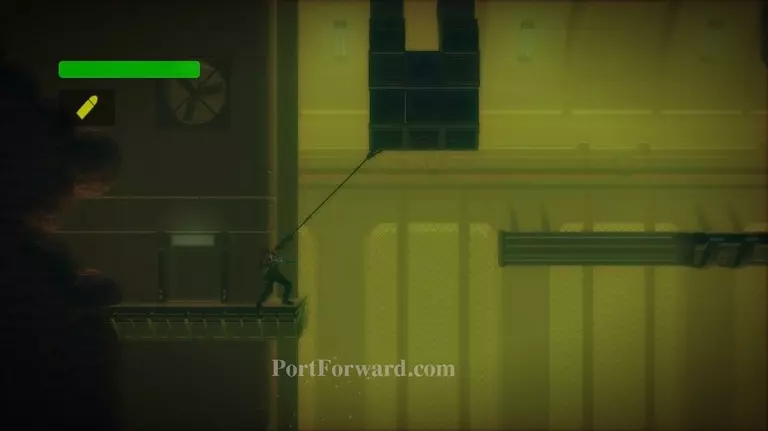
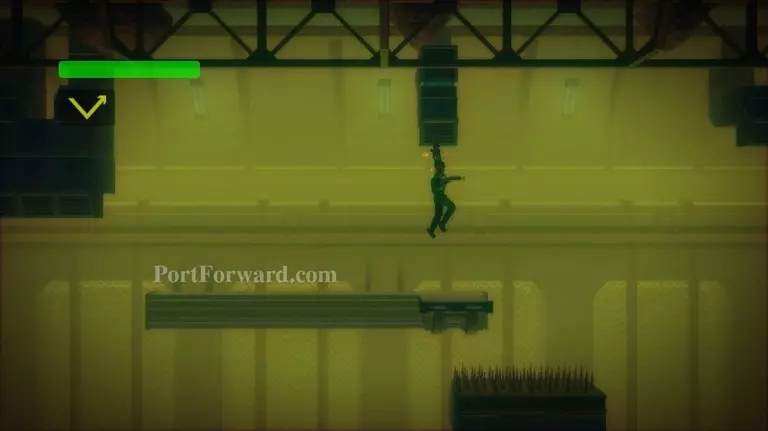
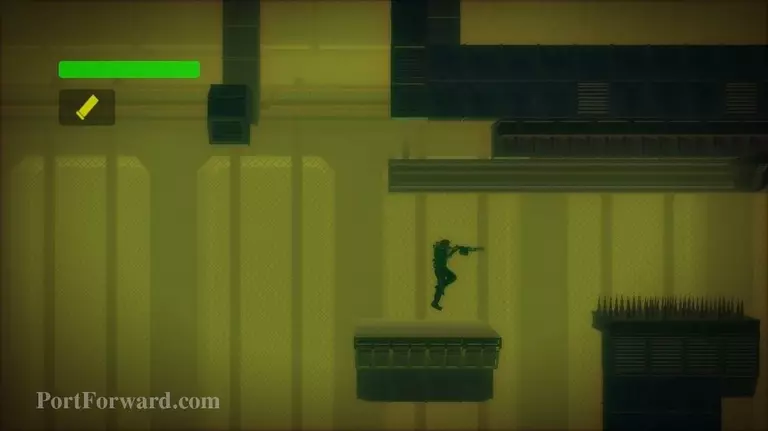
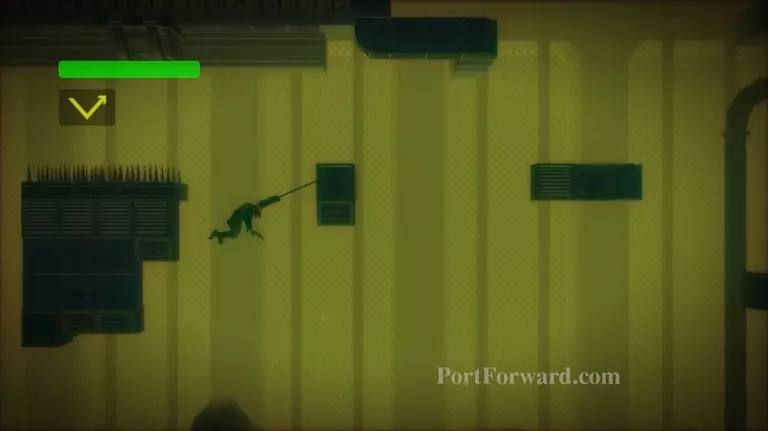
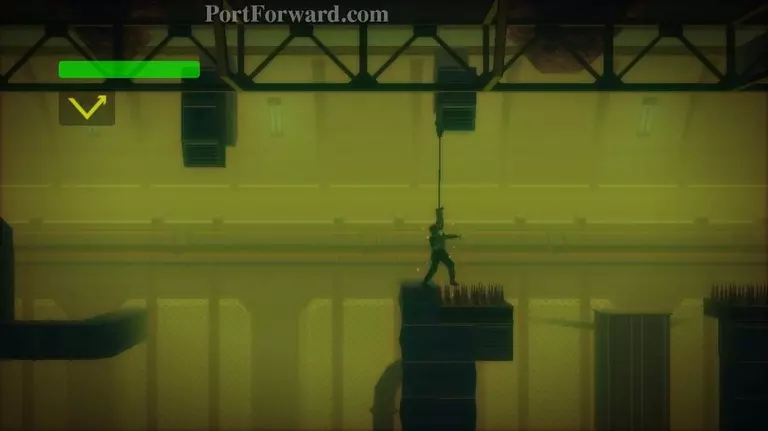
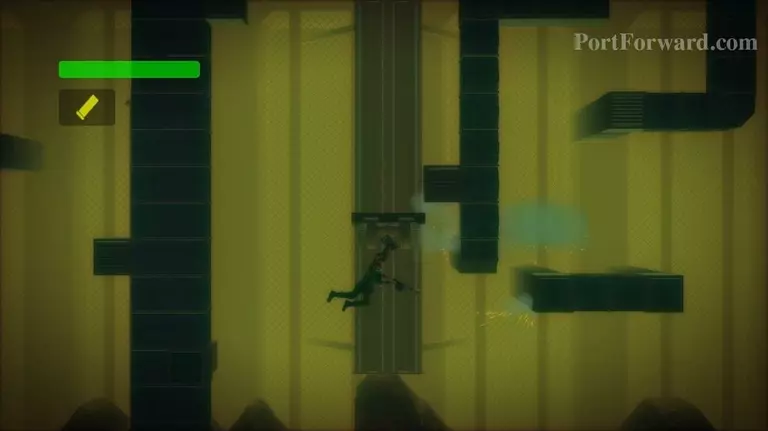
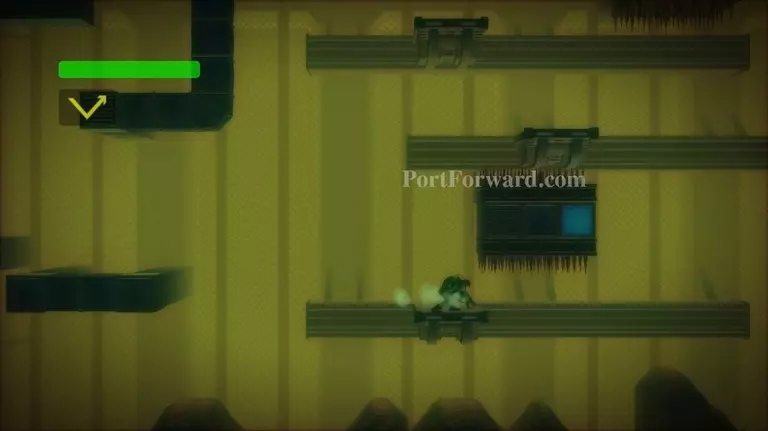
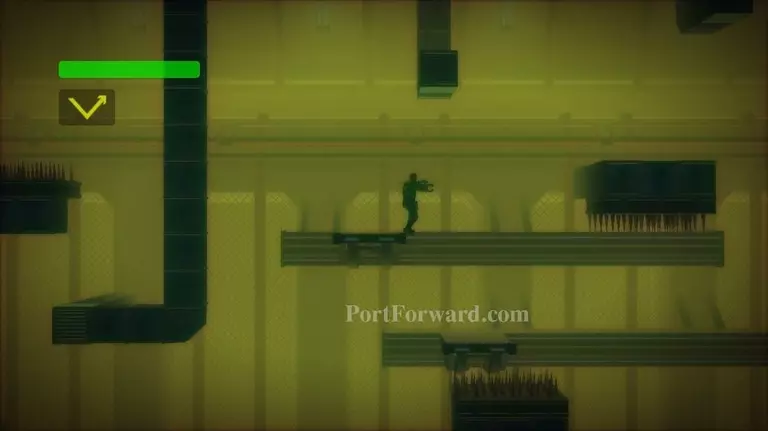
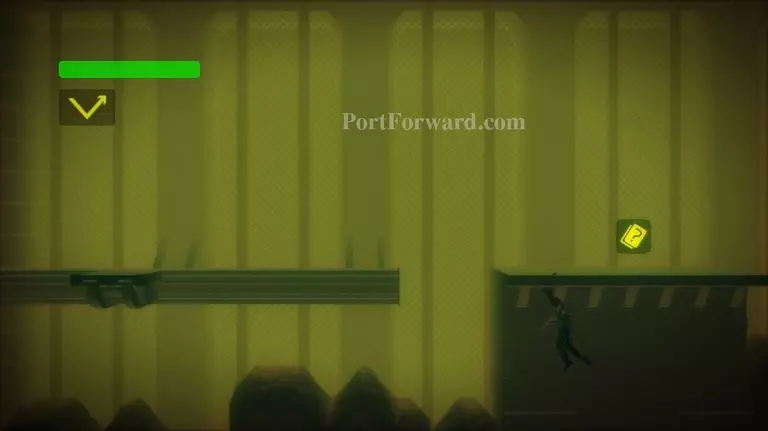
Grapple to the upper-right.
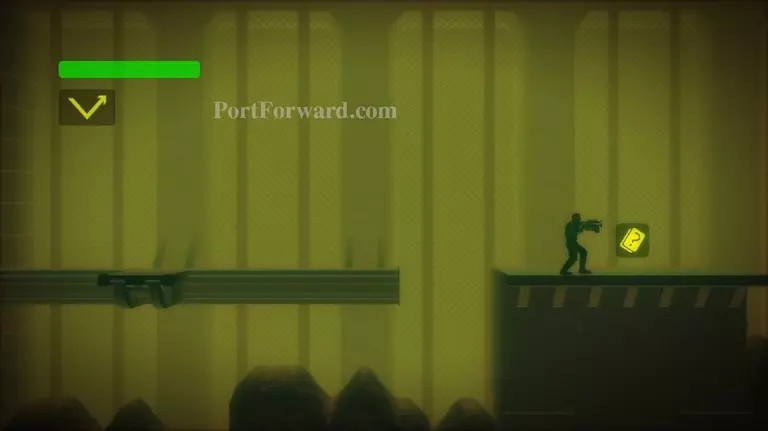
Swing onto the platform on your right.
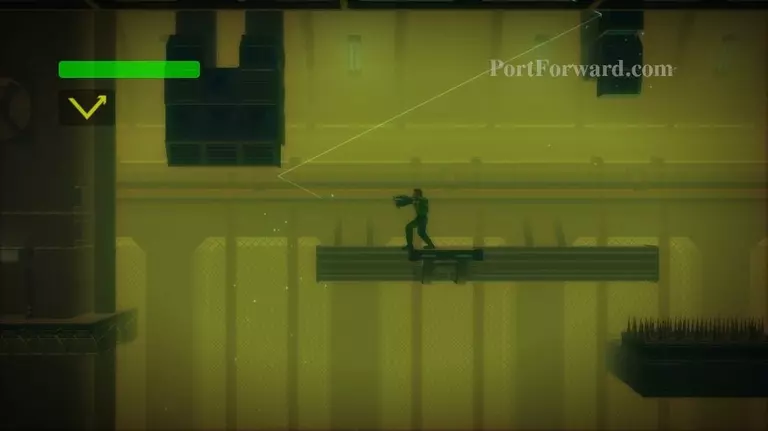
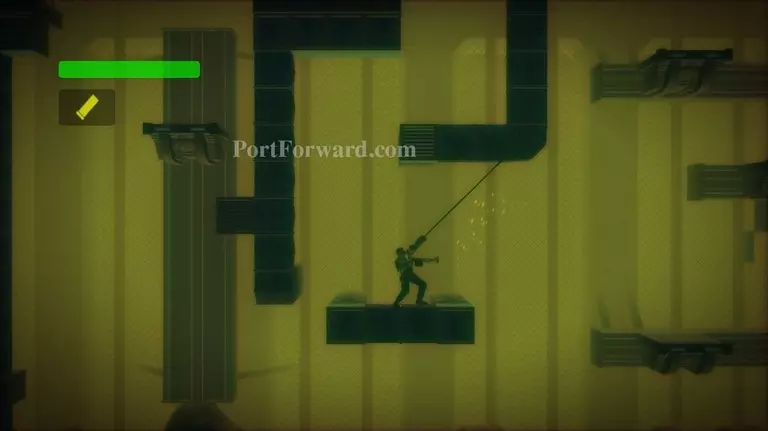
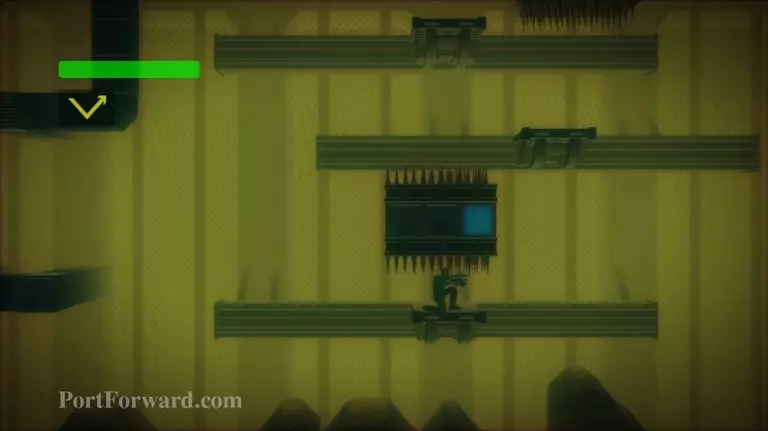
Use the Vector Cannon to shoot the blue switch.
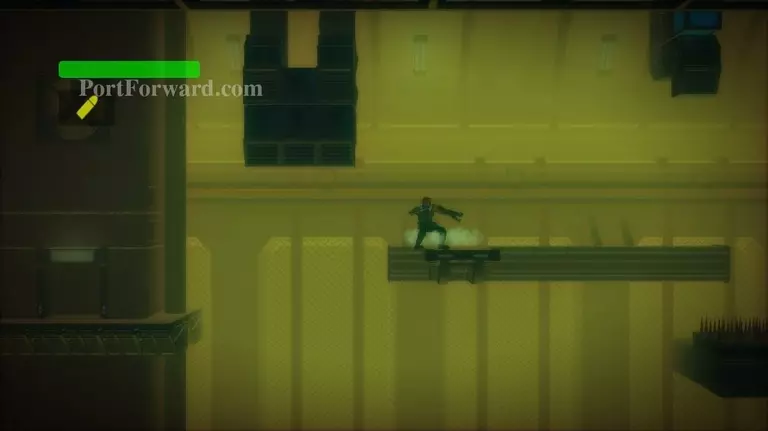
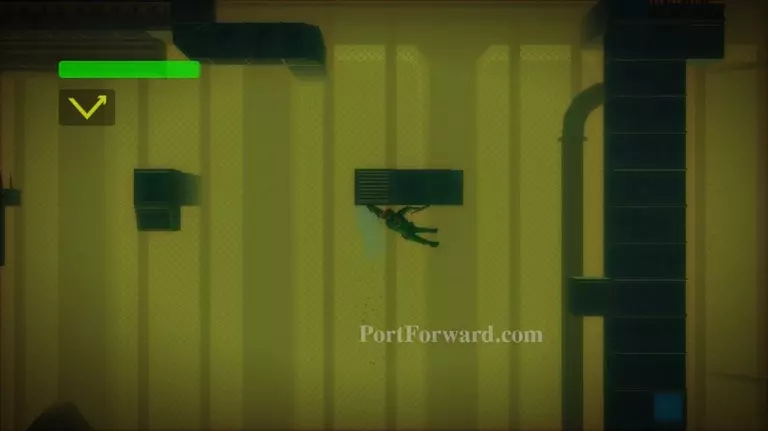
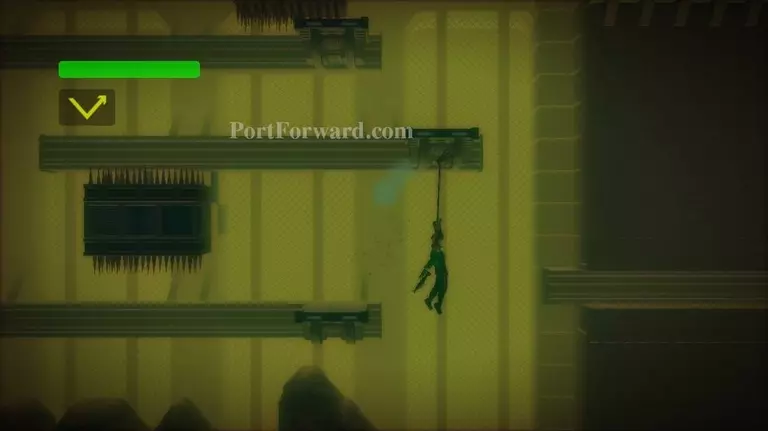
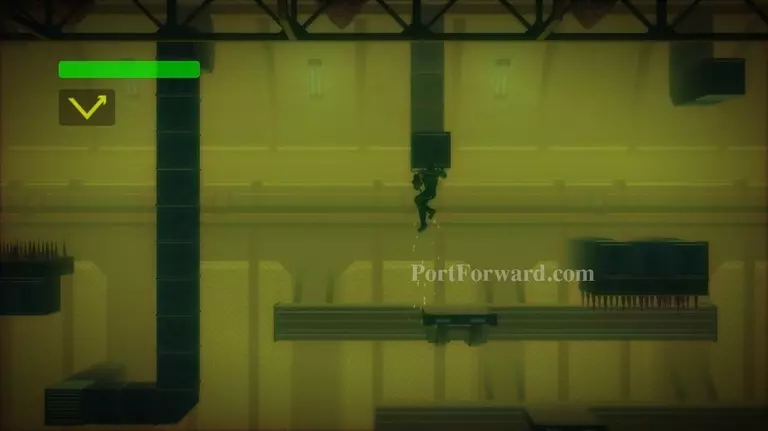
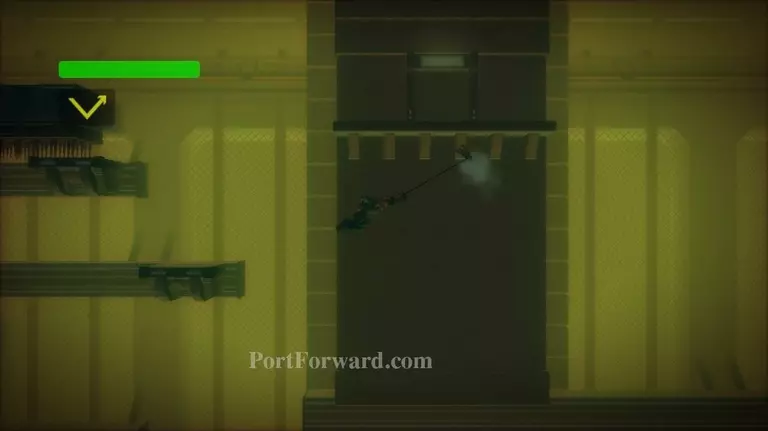
Grapple upward onto the vent above, reeling your arm in quickly.
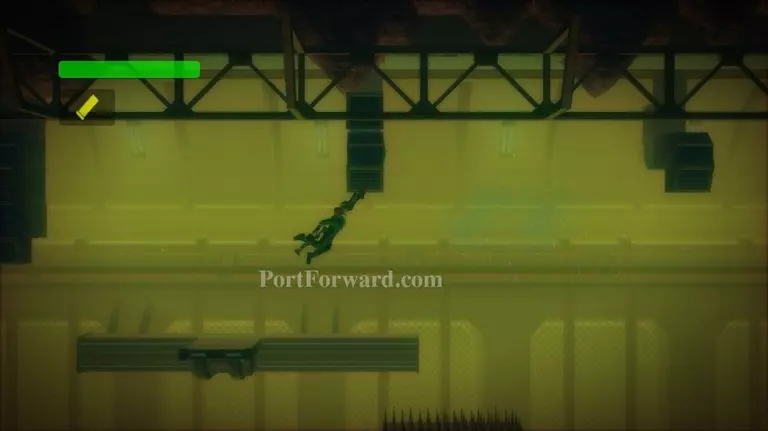
Use the Shotgun to make yourself swing.
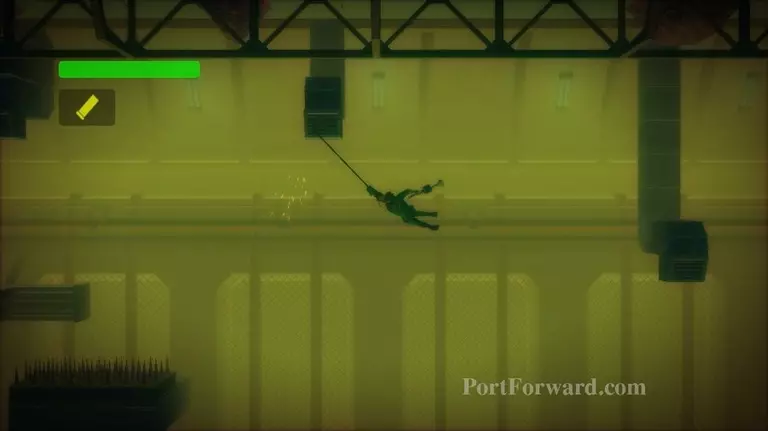
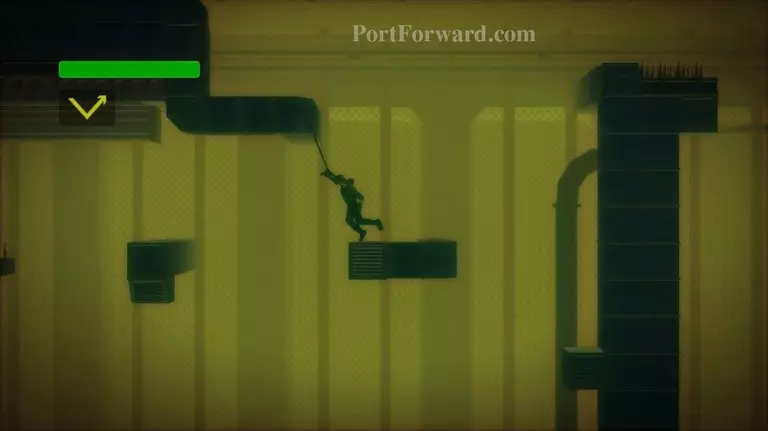
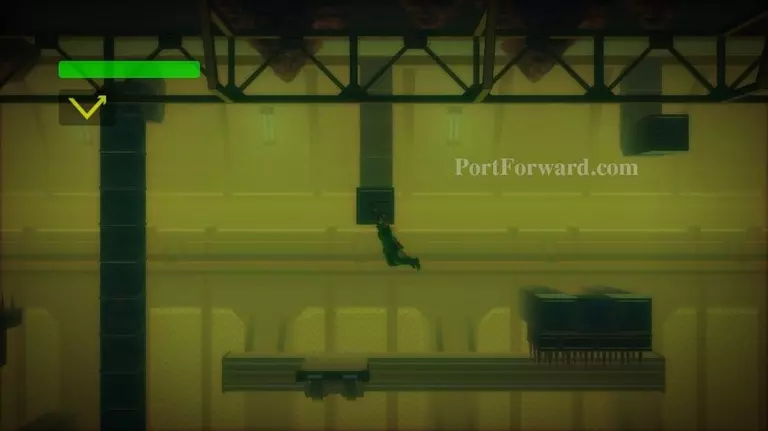
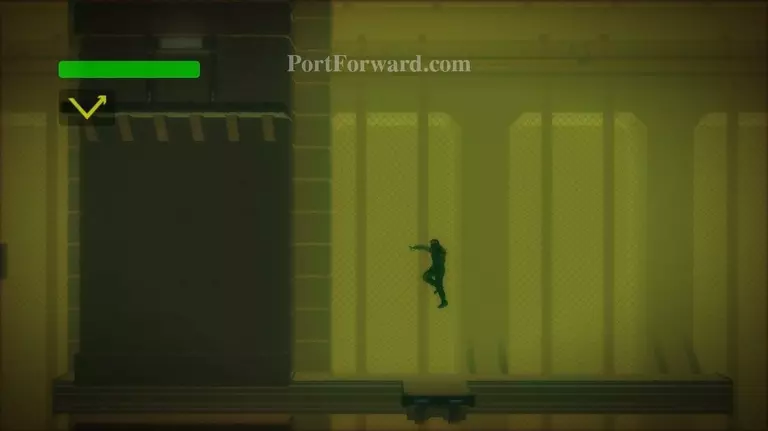
Swing to the right and grab the next duct you see.
Swing again to the next duct to the right.
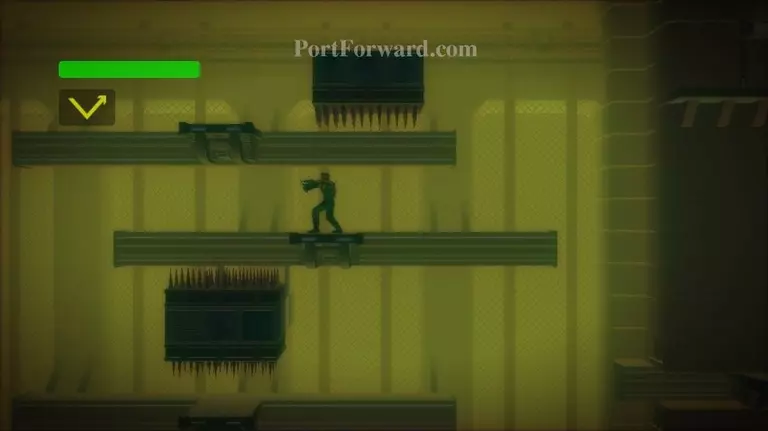
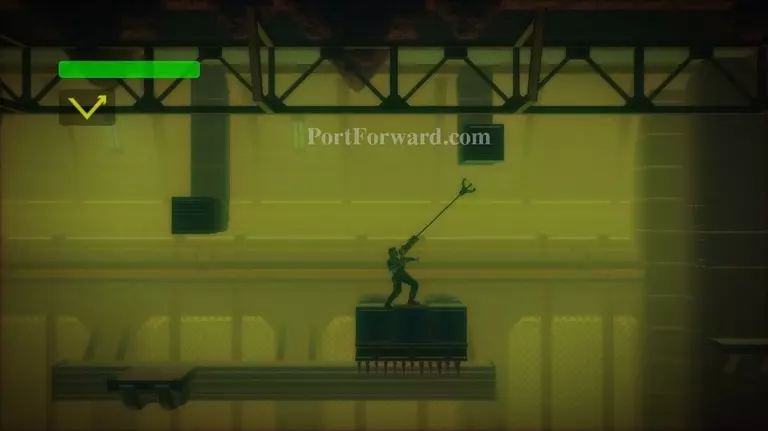
Swing right and land on a platform, to the left of some spikes.
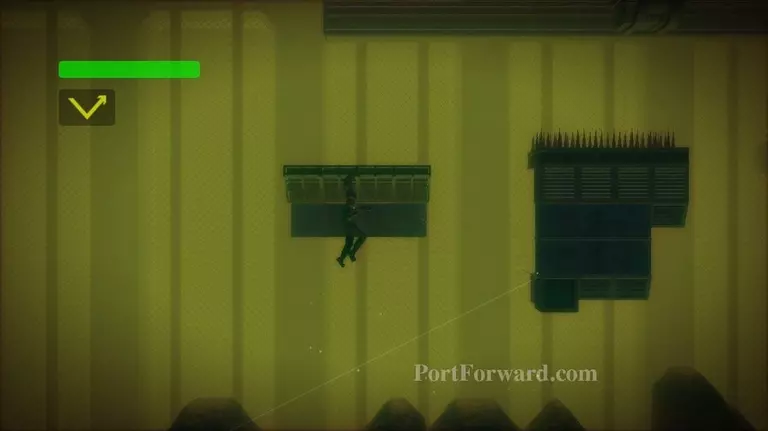
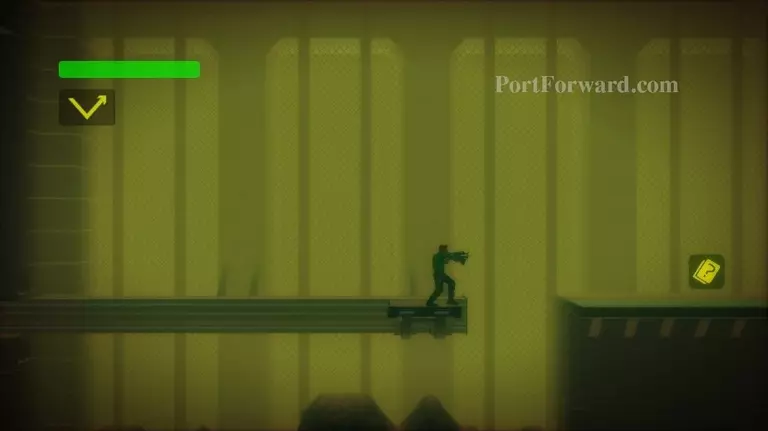
Walk off the left edge of the platform, turn around and grapple the underside of it. Shoot your Vector Cannon here to hit the blue switch. Climb back up on the platform.
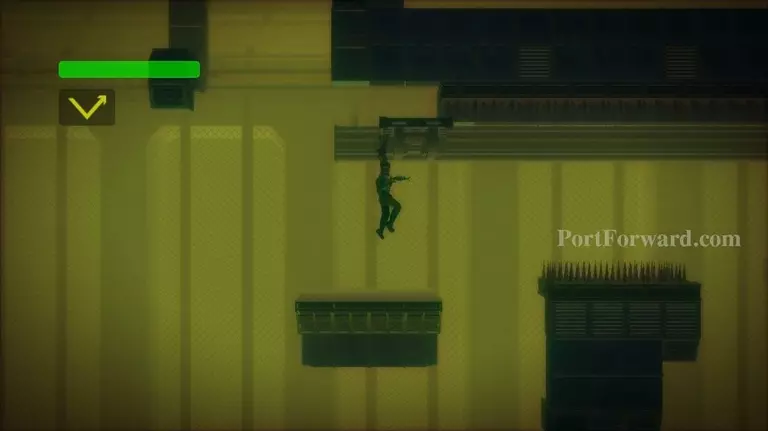
Grapple the underneath of the moving platform above you.
Drop when you reach the right side of the spikes.
Grab the vent with your arm.
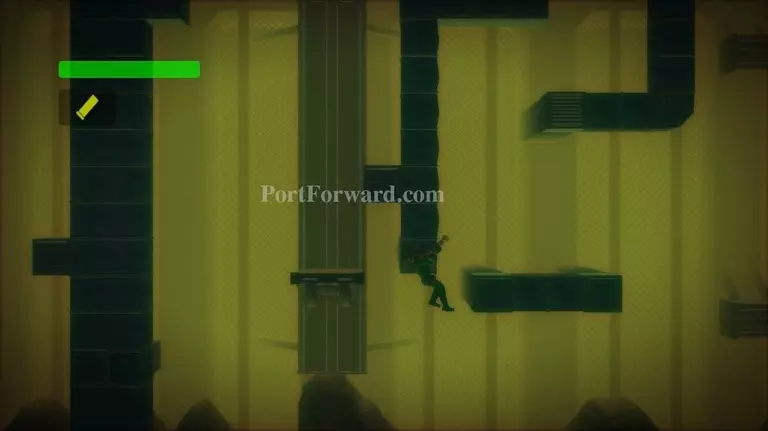
Swing over to the platform on your right. Pull yourself up onto it.
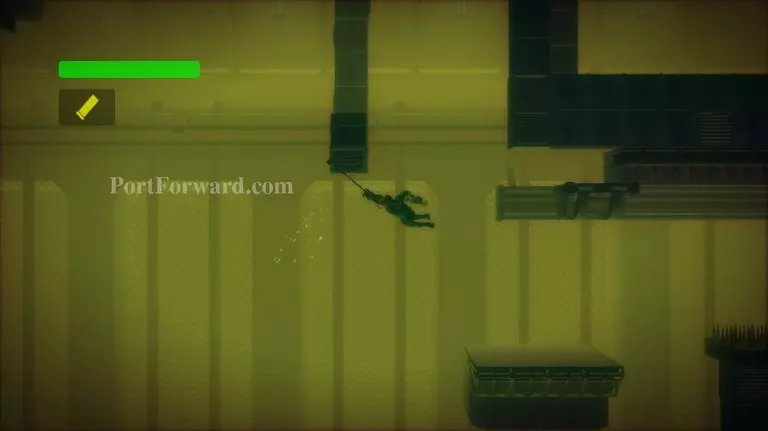
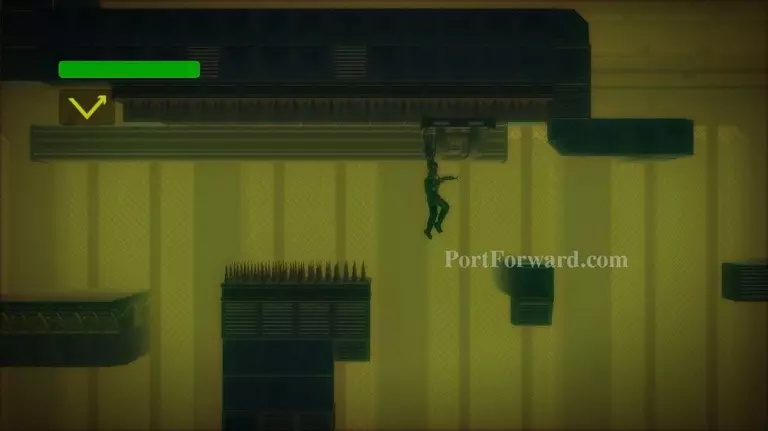
Grapple to the duct to the upper-left and climb on it.
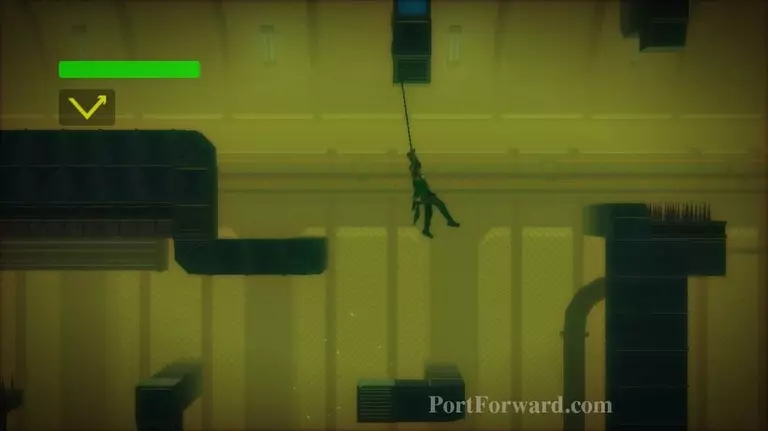
Use the duct with the blue switch above it to swing to the right.
You'll land near some spikes. Carefully inch your way closer to them until you can grapple up to the vent above.

Shoot the blue switch on your left with the Vector Cannon. Then use the Shotgun to begin swinging again.
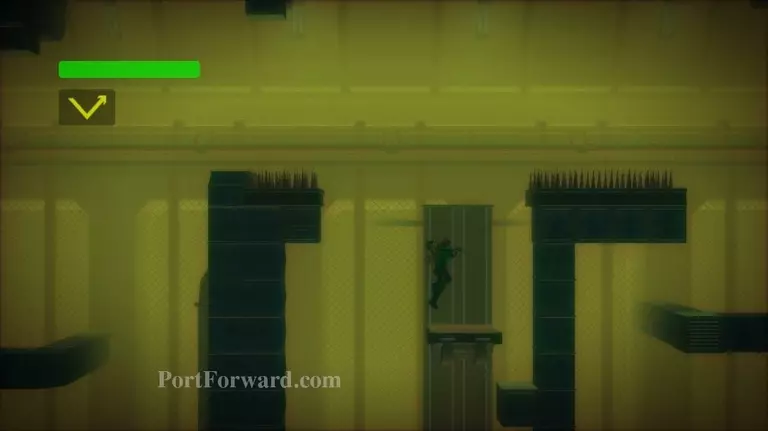
Swing to the right and get on the vertically-moving platform.
Duck and shoot the Vector Cannon to the left to hit a blue switch.
Get on the single block to the right of the moving platform. When the platform goes above you, grapple underneath it.
Use the shotgun to start swinging.
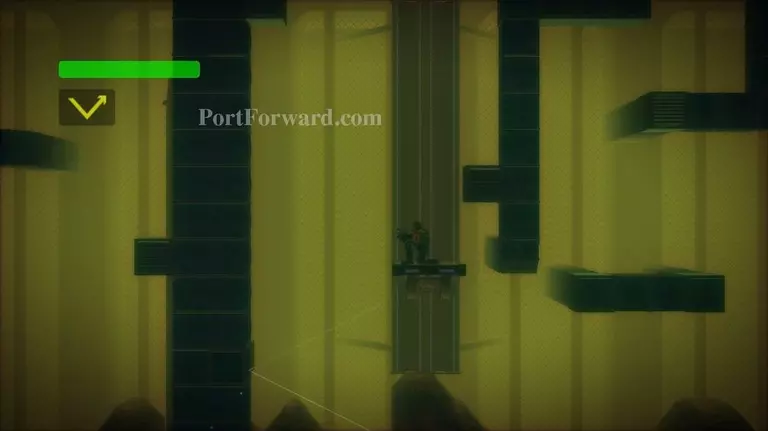
When the moving platform is near the bottom of the screen, swing right and grab the platform. Pull yourself up.
Grapple the duct above.
Begin to swing. When the timing is right, swing rightward.
You should hopefully land on a platform, or at least be able to grapple it.
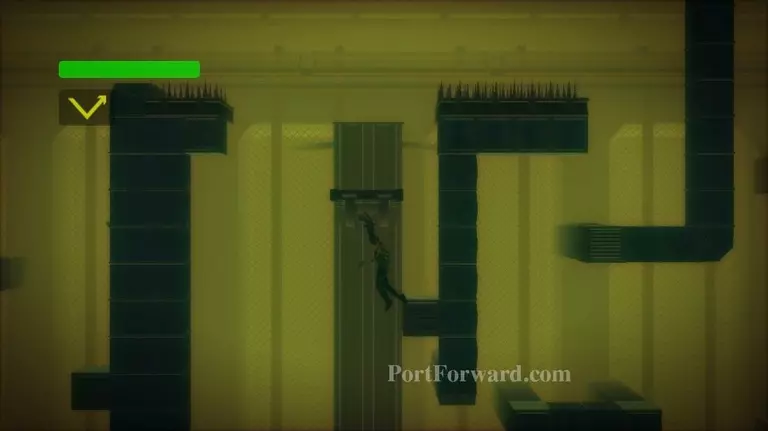
Duck under the spikes as it moves. When it's on the right side of the spikes, use the Vector Cannon to hit the blue switch.
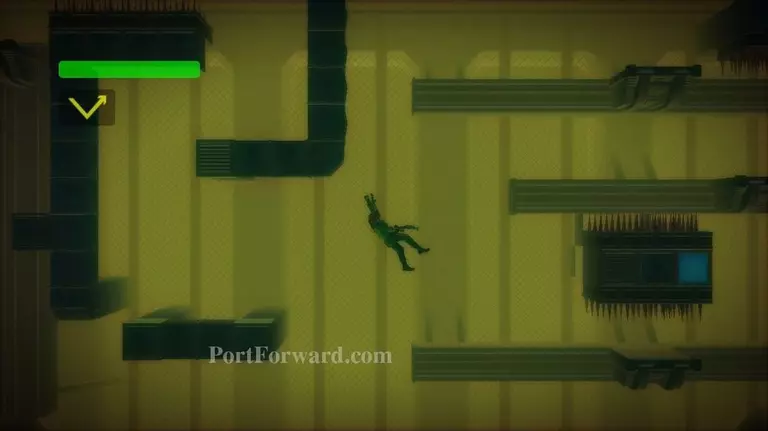
Grapple diagonally to the next moving platform above you.
Quickly climb up to avoid hitting the spikes or falling.
When the top platform is to the left of the spikes, grapple to it and climb on to quickly.
Grapple upward onto the vent.
Walk off the side of the vent, turn around, and grab it. Swing to the platform on your right.
Grab the vent in the upper-right. Swing to the right.
You'll land at a door. Don't enter yet.
Walk off the right edge of the platform. Turn around and grapple the platform you walked off. Try to make your arm as long as possible so you can see the platform below.
When the timing is right, let go and swing over to the moving platform.
When you're to the far right, walk off the right side of the moving platform.
Grapple the underneath of the platform on the right.
Pull yourself up and collect the Secret Dossier. Now you can just call for extraction or kill yourself. You'll keep the Dossier.
More Bionic Commando Rearmed Walkthroughs
This Bionic Commando Rearmed walkthrough is divided into 24 total pages.


