
This Blocks That Matter walkthrough is divided into 39 total pages.
You can jump to nearby pages of the game using the links above.
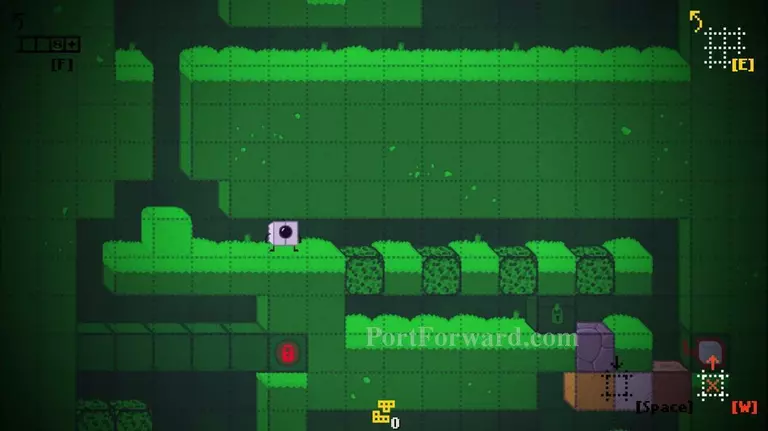
The Freezer
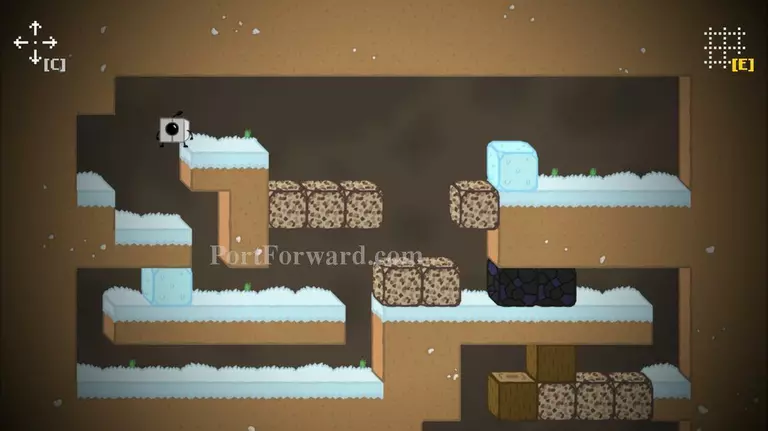
Jump over on only the 2nd and 3rd gravel block from the right and sprint jump over ot the left.

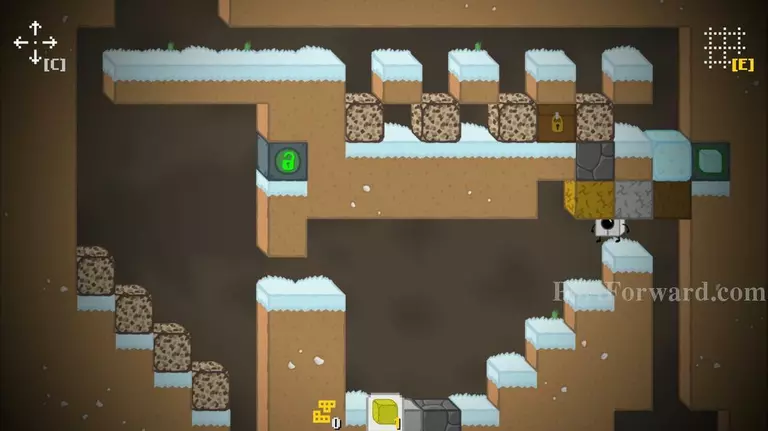
Jump over to the ice but don't jump on the gravel block next to the ice then move the ice and get all in one line.
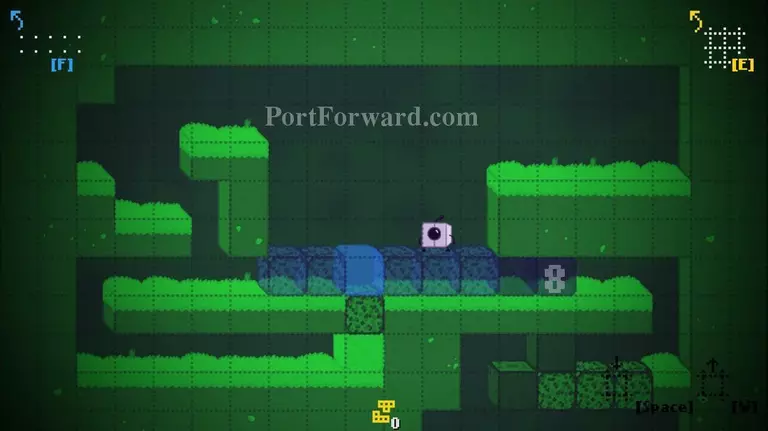
Then destroy the line.
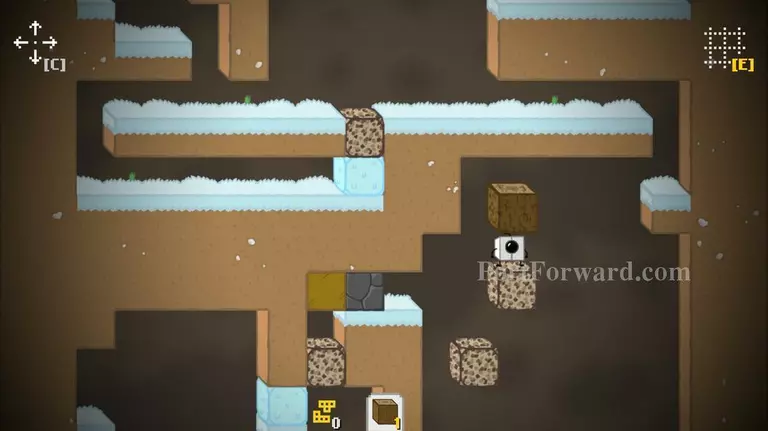
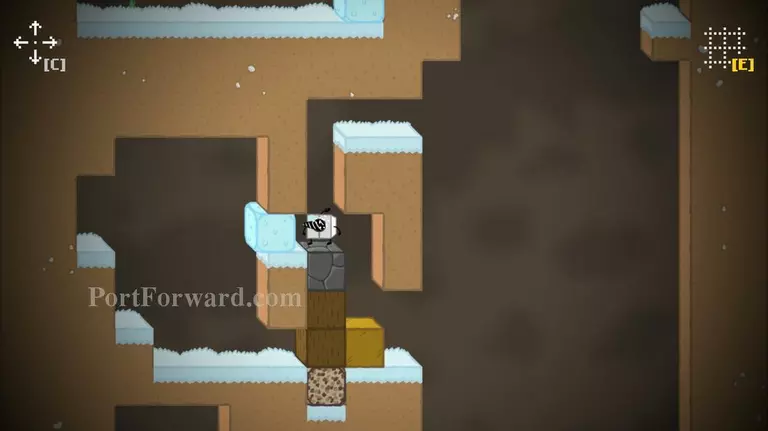
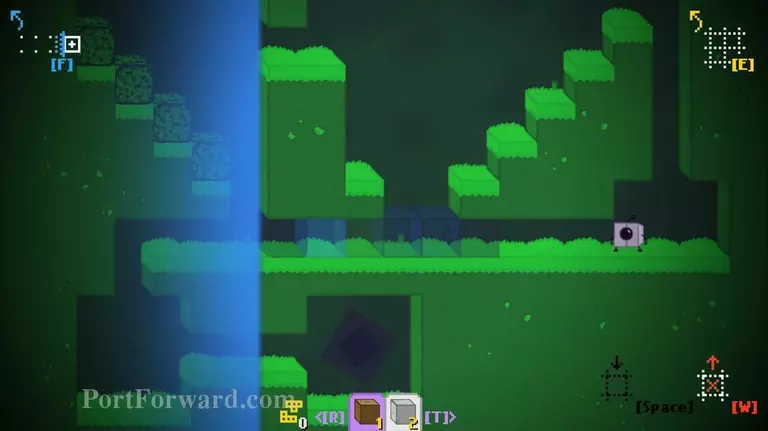
Jump left then quickly right and the Jump-Break the wood block and then jump on the left gravel block then jump quickly left.
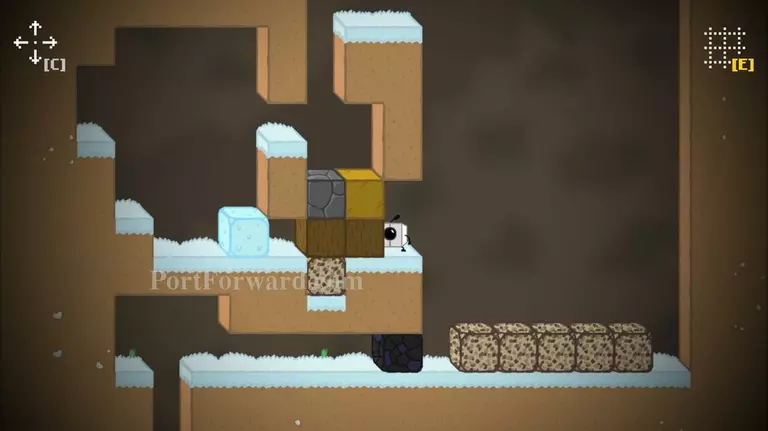
Break the blocks then go left onto the gravel block.
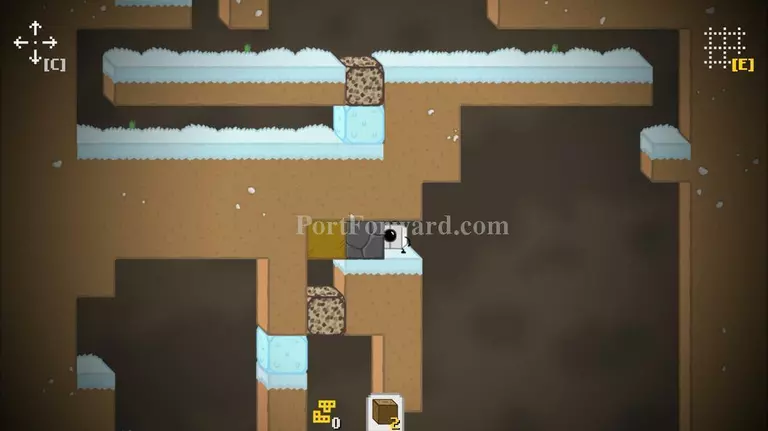
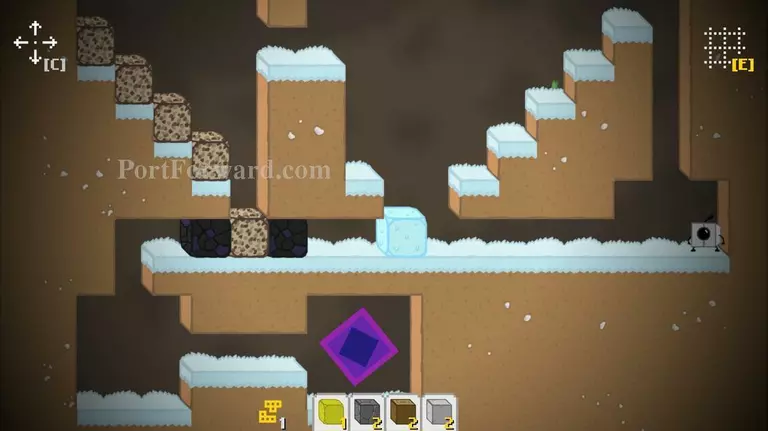
Place an L-Shape and move the ice then break the L-Shape.
Place a Square-Shape.
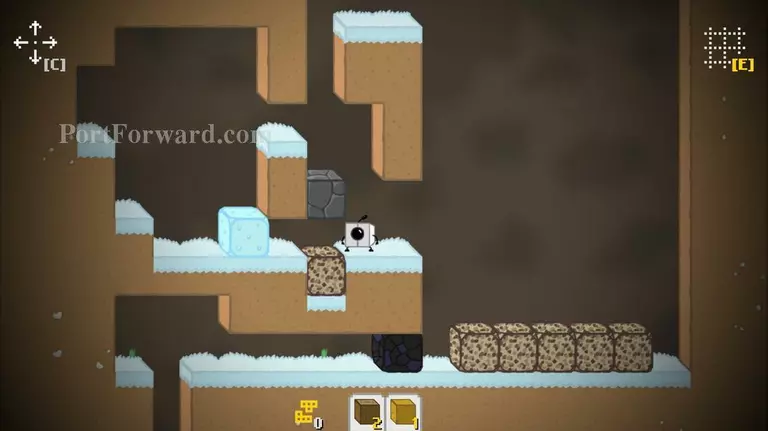
Break the block on the right and the two on the bottom.
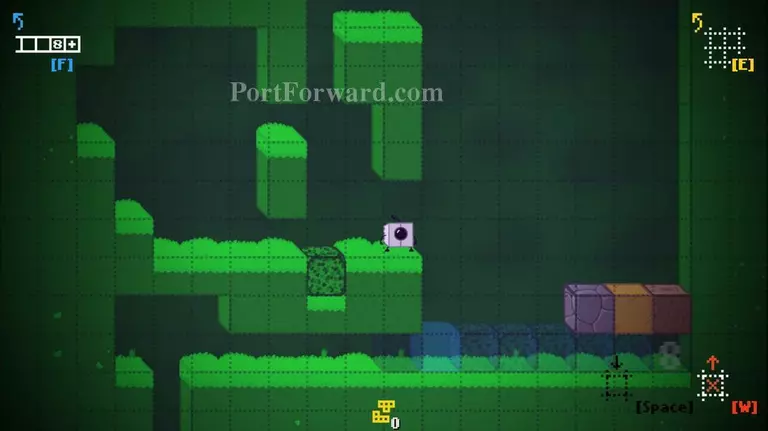
Jump over and move the ice block and place an L-Shape in the right corner,Then first gather the blocks and then break the line.
Place an L-Shape beneath the that red transmitter.
Gather the blocks and go down.
Move the ice block to the left.
Destroy the line, Then go to the next stage.
More Blocks That Matter Walkthroughs
This Blocks That Matter walkthrough is divided into 39 total pages.


