
This BloodRayne walkthrough is divided into 40 total pages.
You can jump to nearby pages of the game using the links above.
Act 2 - Argentina: Infiltration and Execution

Rayne prepares for her mission. DarkMan gives her nazi commanders as targets for assassination.
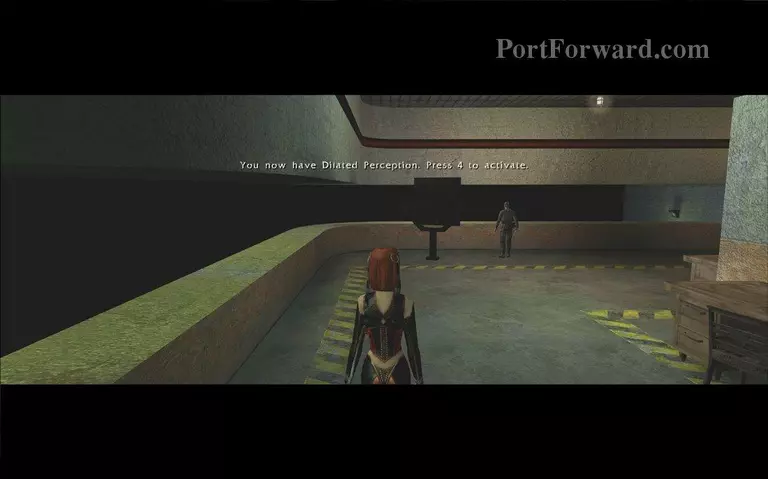
Dilated Perception is your slow motion ability. It is unlimited so use it whenever you like.
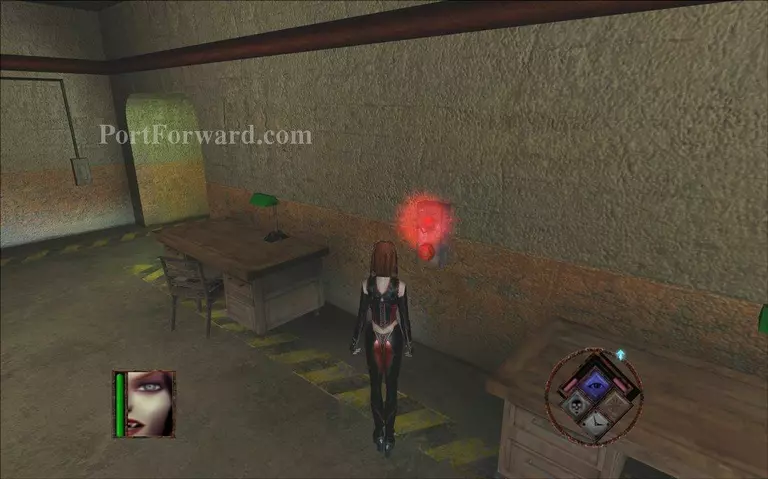
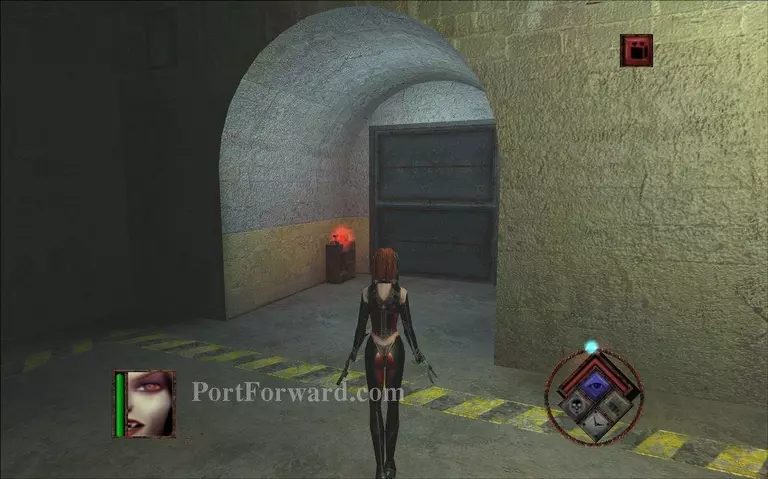
The red lamps are alarms. If a soldier reaches them he will call for backup. You can destroy them if you wish.
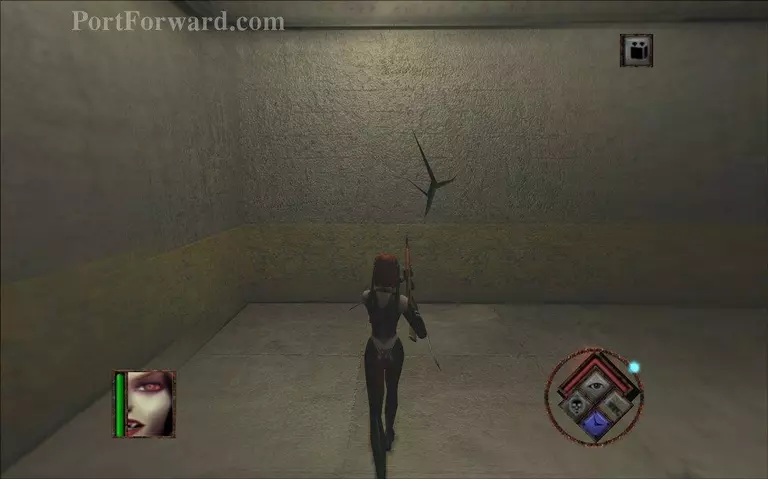
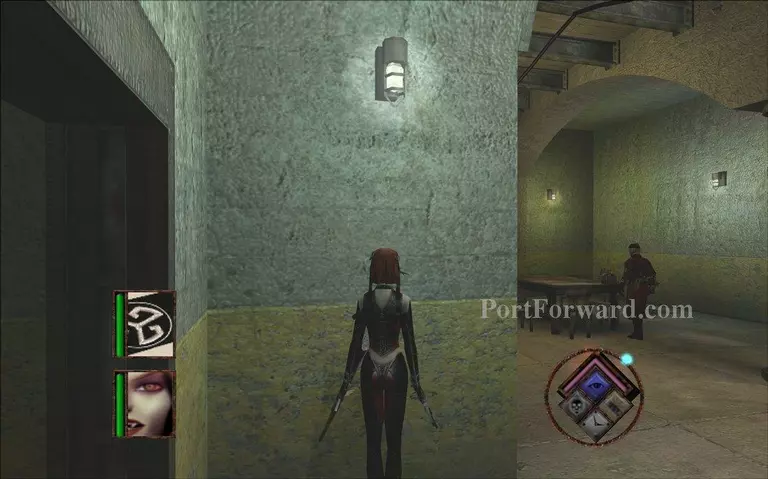
To find your first target follow the corridor to your right.
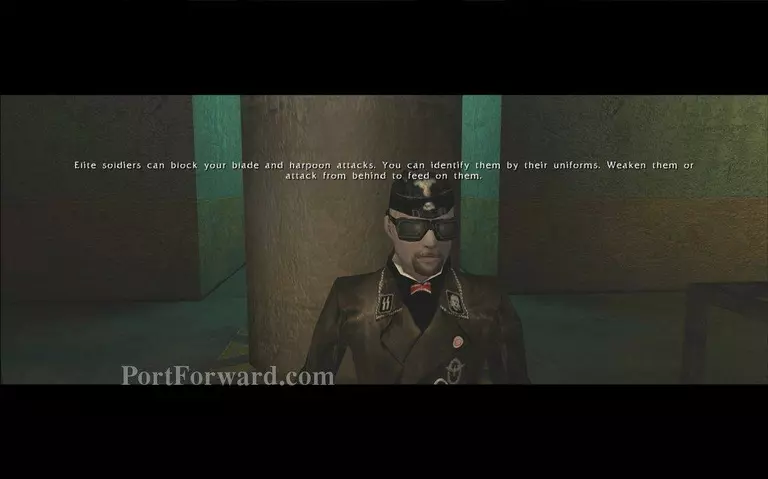
The soldiers in black uniforms are a bit tougher. Shoot them with guns to kill them faster.

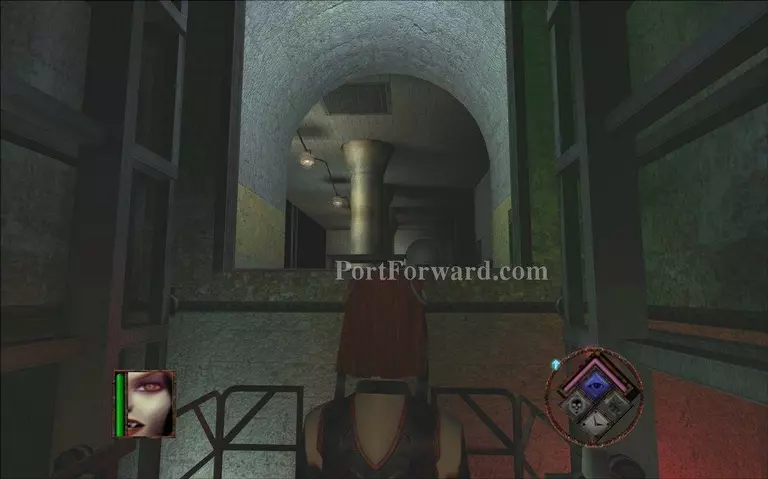
Continue down the corridor and go past the big pillar.
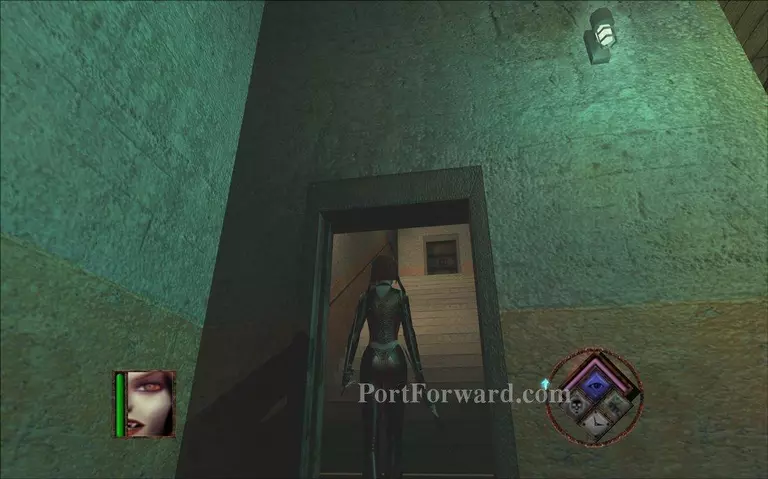
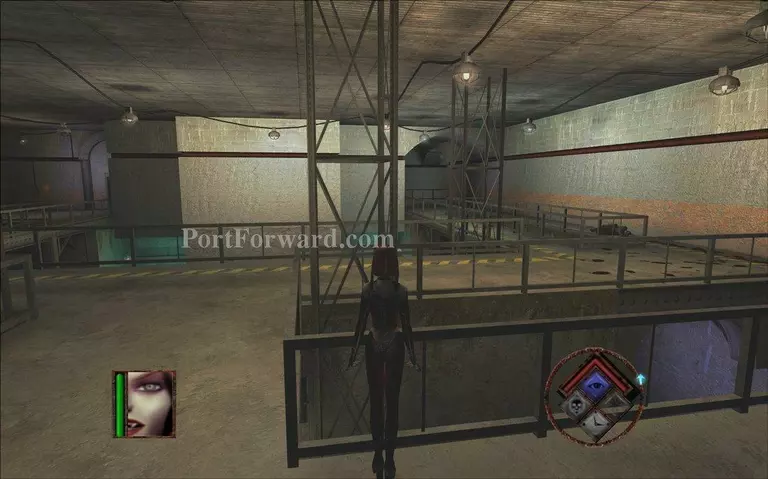
On your right you will find a door that leads to the upper floor.
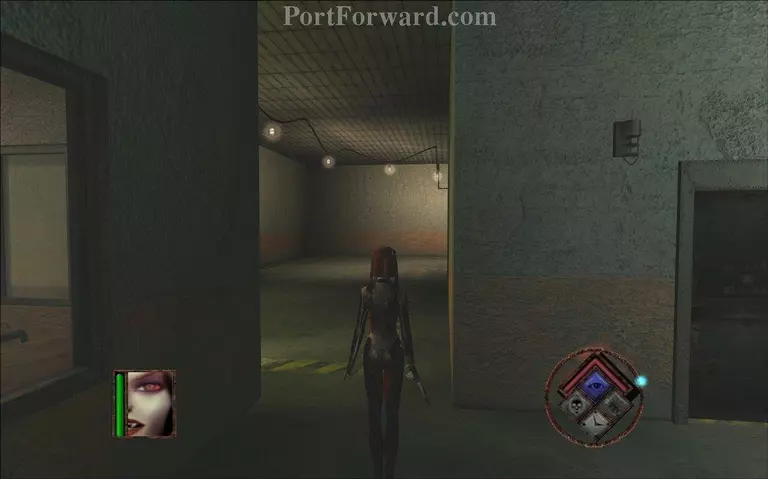
Go forward and then to your right.
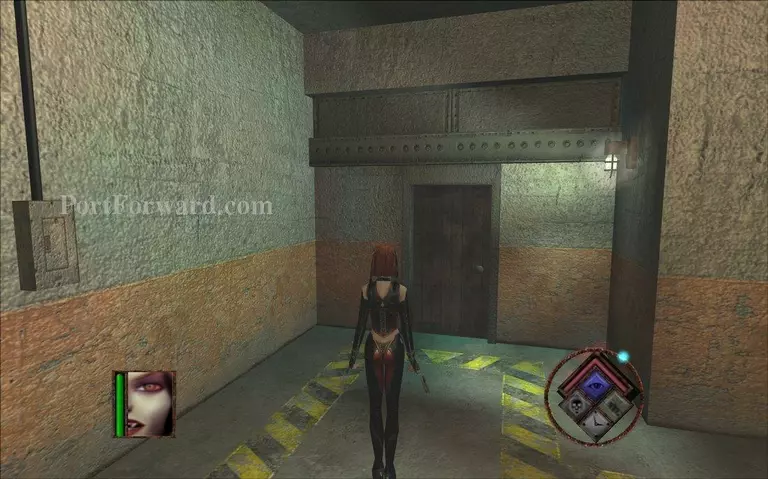
You will find your first target beyound this door. Use your spinkick to crash in. The commanders in red uniforms are your targets and they have much more health that the normal soldiers.
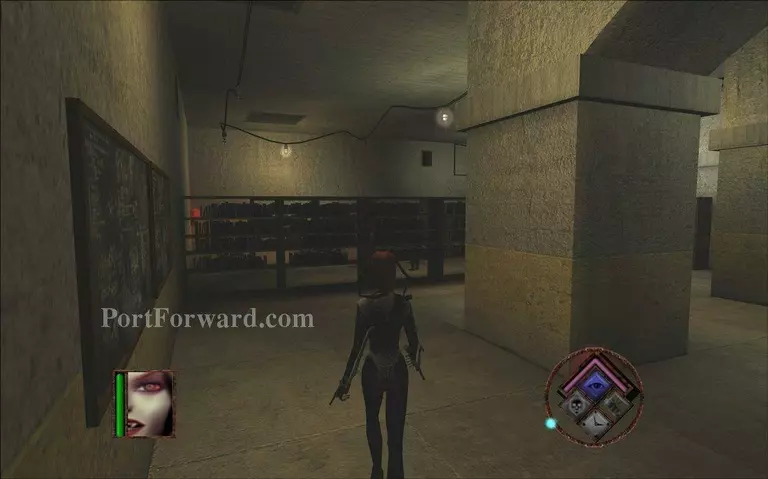
Go through the library to find your next target.
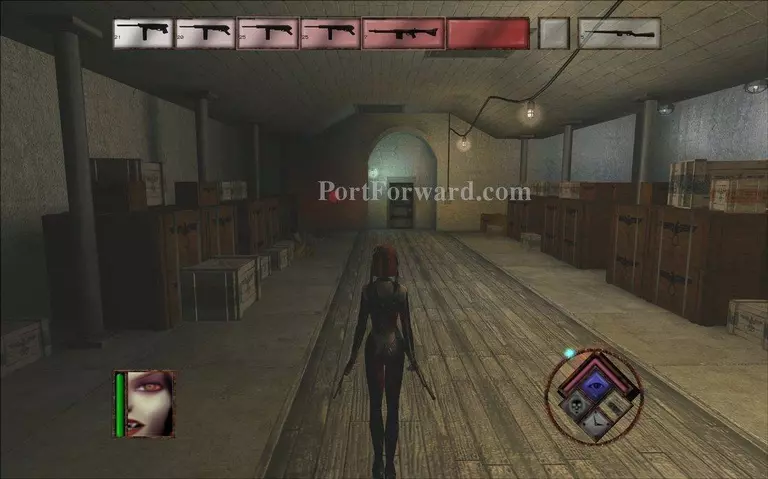
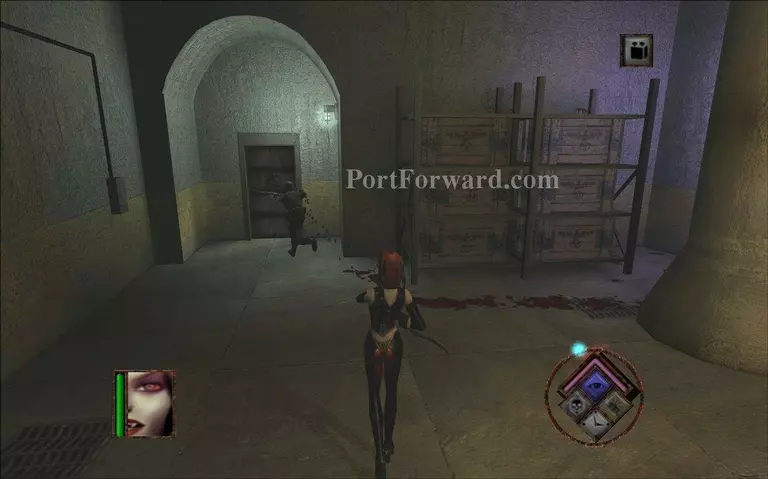
Move past the storage room. You might find some guns in crates you destroy.
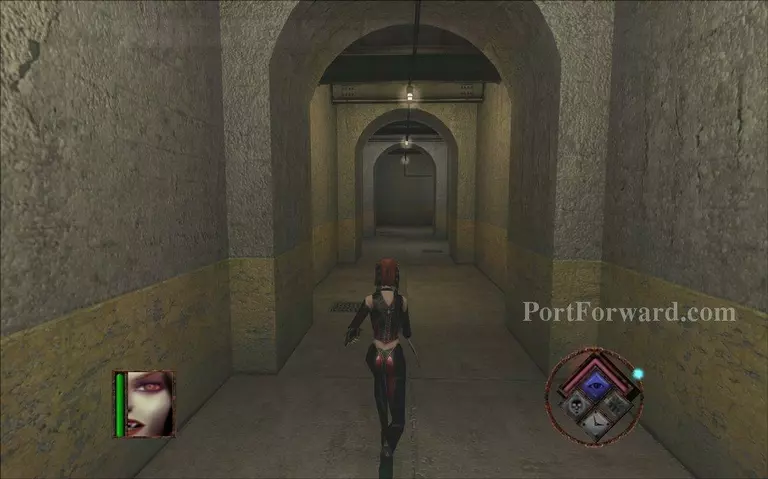
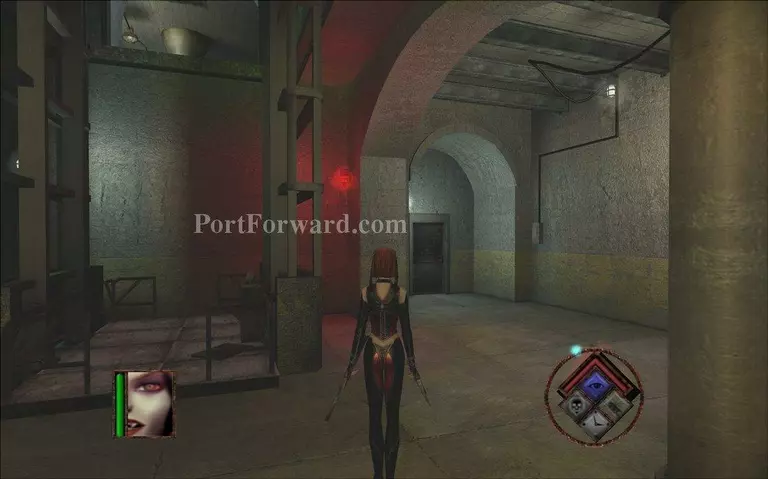
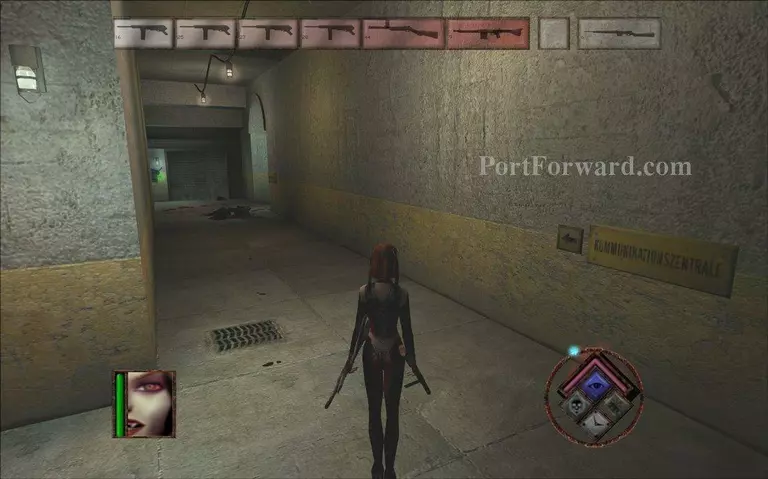
Continue down the long corridor.
You will see one of your targets running away. The soldier will take the lift battery with him so you can't follow your target.
Go to the right and enter the door.

Many soldiers will try to stop you along your way but they are no match for you. Continue to the left.
Make a path through the crack in the wall.
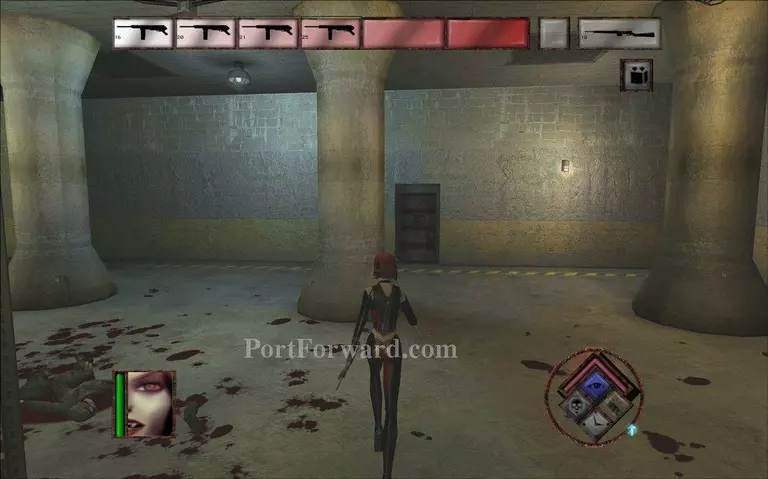
When you enter the storage area you will find the soldier with the battery hiding behind a pillar. Approach his corpse to get the battery.
Backtrack to the lift and hit the red light to place the battery.
When you go down continue through the door on the right.
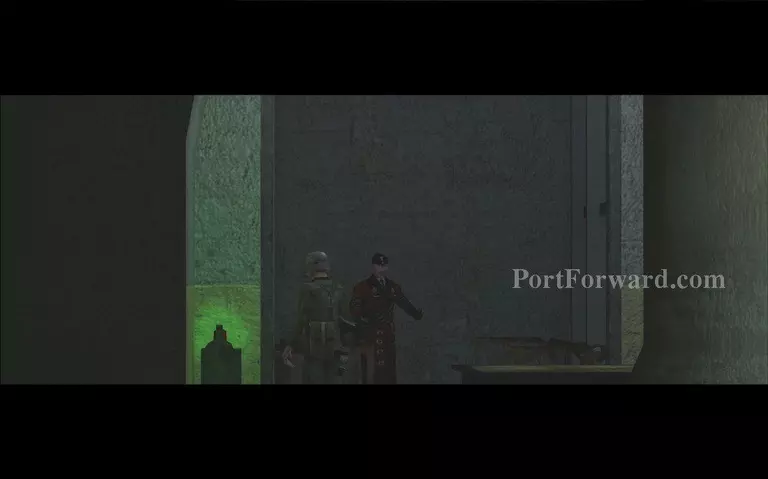
You will find your target talking on a radio. Time to surprise him.
Get back up the lift and move forward to where you came from.
Go to your left to enter the next area.
More BloodRayne Walkthroughs
This BloodRayne walkthrough is divided into 40 total pages.


