
This BloodRayne walkthrough is divided into 40 total pages.
You can jump to nearby pages of the game using the links above.
Act 2 - Argentina: The Dock
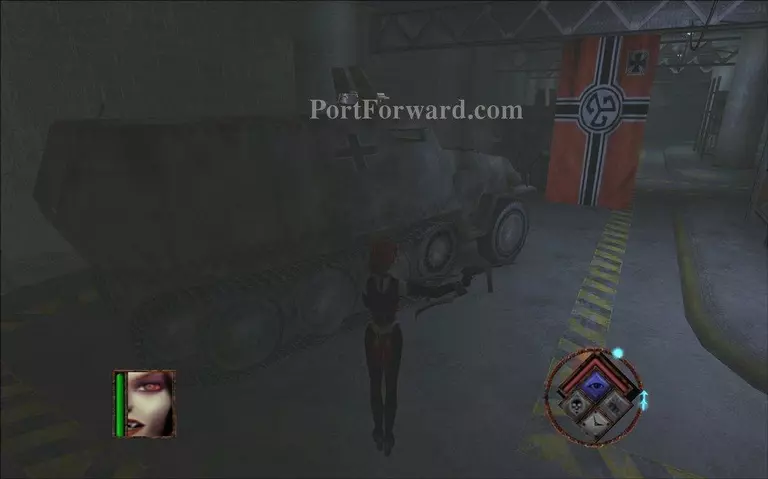
You can find heavy weapons placed on the halftracks sometimes. Keep an eye for them as they are the most powerful weapons in the game.
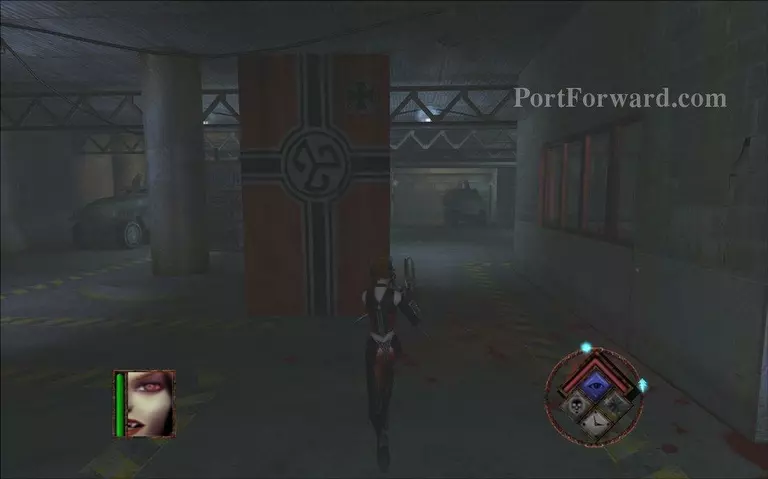
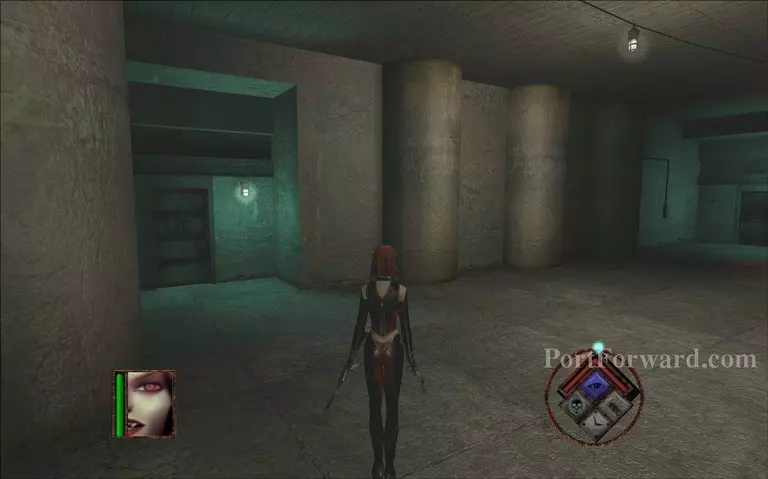
Continue down the garage and go right.
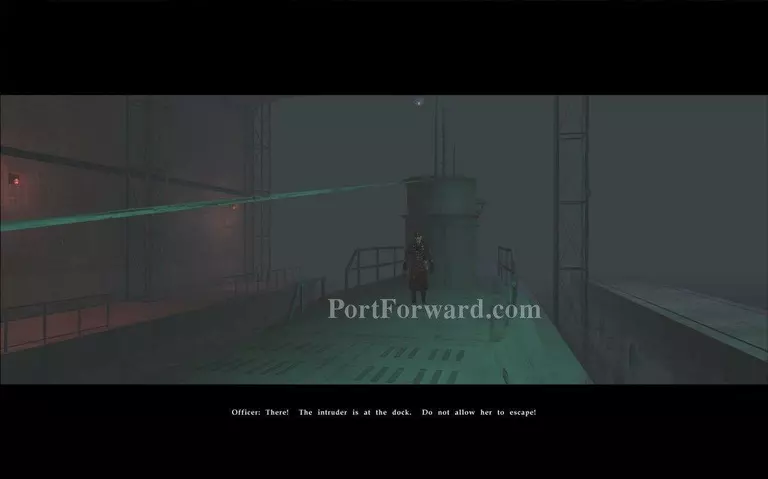
As soon as you enter the next area a cutscene will play. Your next target is on the submarine. You will find heavy resistance here so it's better to kill the weaker soldiers before you go for the guy in red uniform.
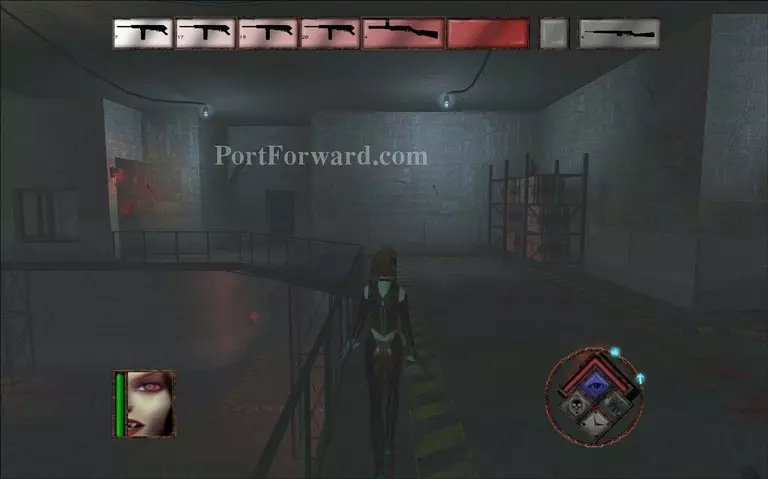
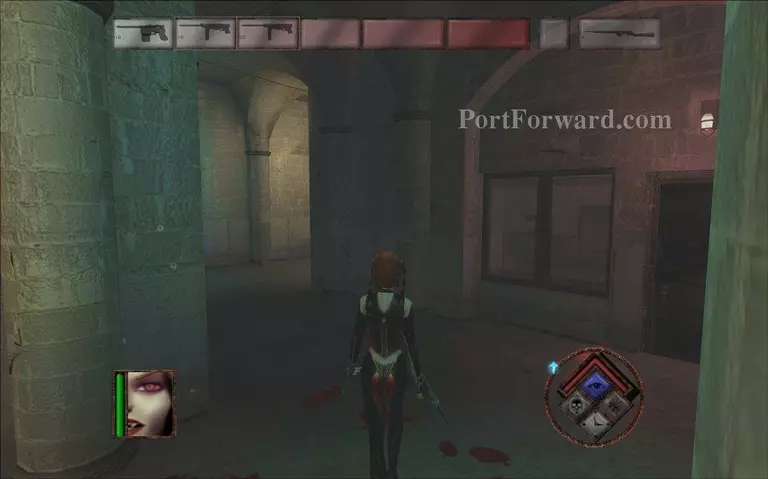
Jump on the second floor of the submarine area and go through the door on the right.
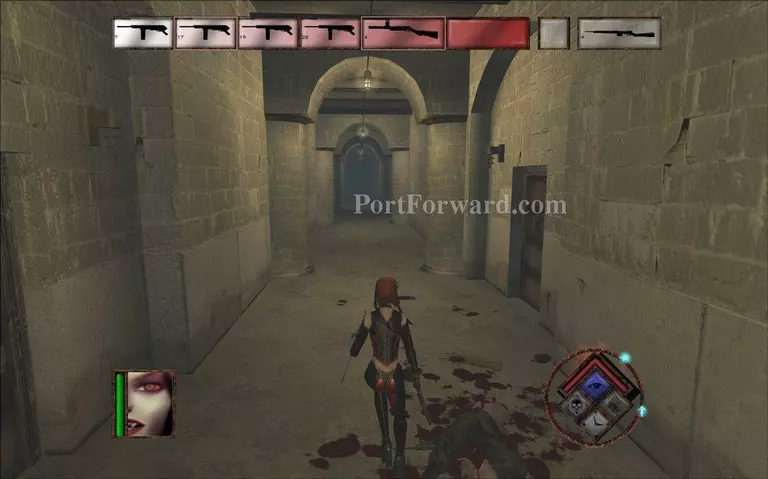
Reach the end of the long corridor.
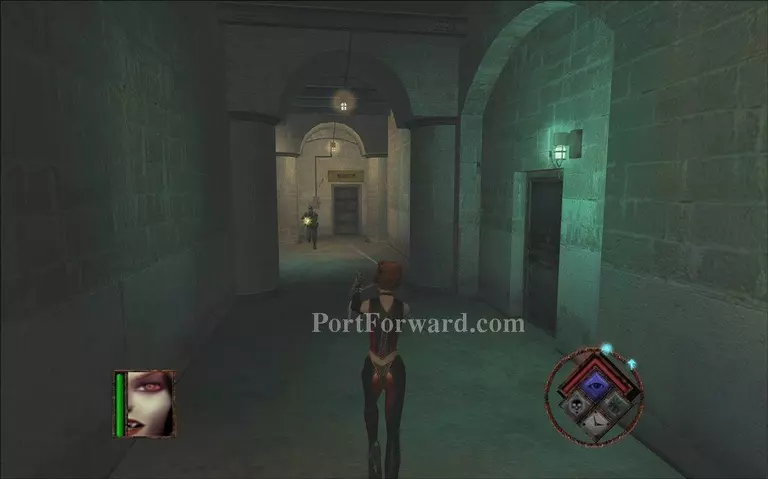
Then go right and enter the room with sign in front of you.
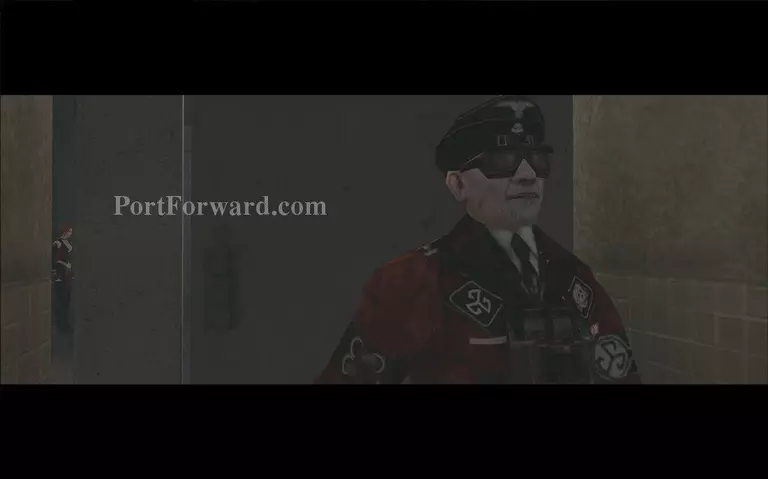
This officer is in the bathroom.
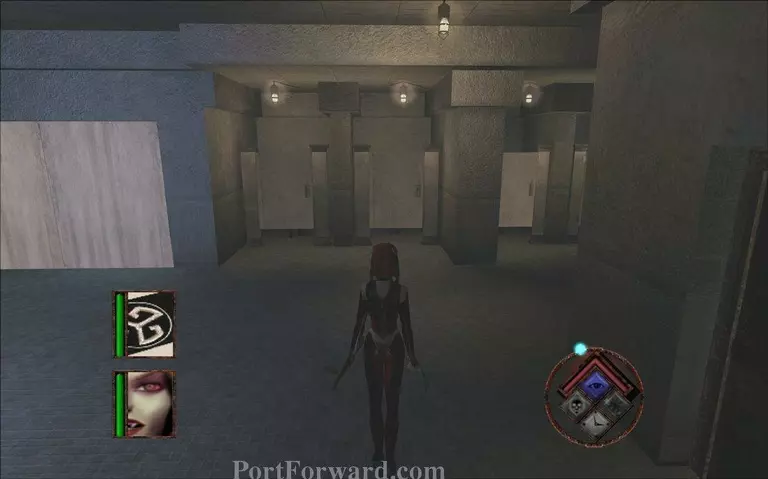
Destroy the bathroom door on the left to get to him.
Backtrack a bit and move past a door with alarm.
Go through the corridor on your right.
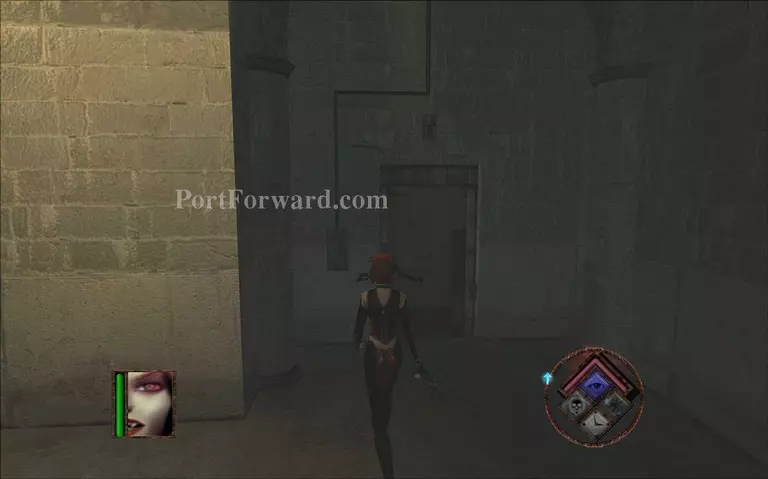
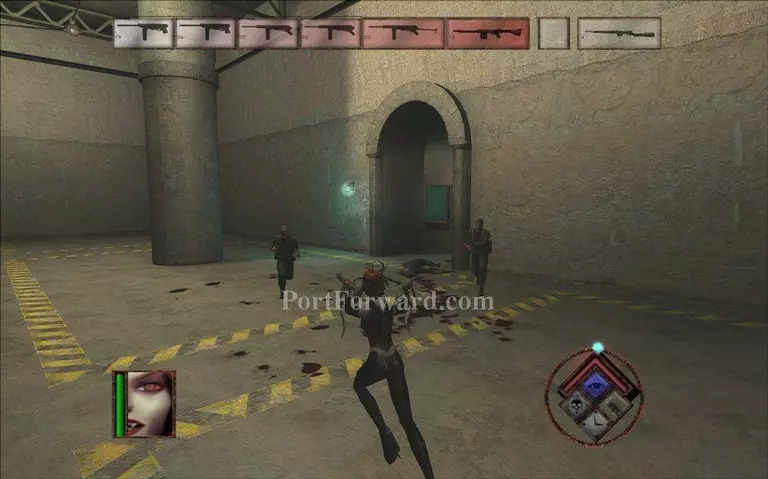
You will reach a destructible door. Get ready to face your next target in this hall but beware the soldier that uses a rocket launcher.
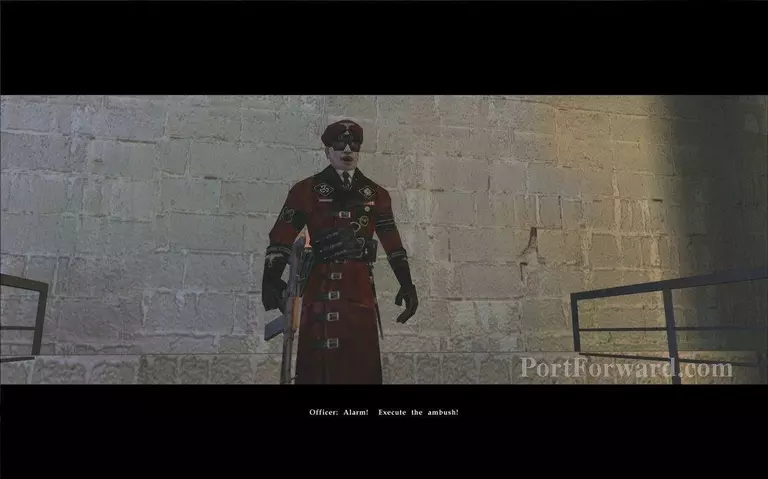
As soon as you enter the officer shouts for ambush. Kill the soldier with the rocket launcher and use it against your target for best results.

The naval area is dealt with. Backtrack to the previous area through the big gate.
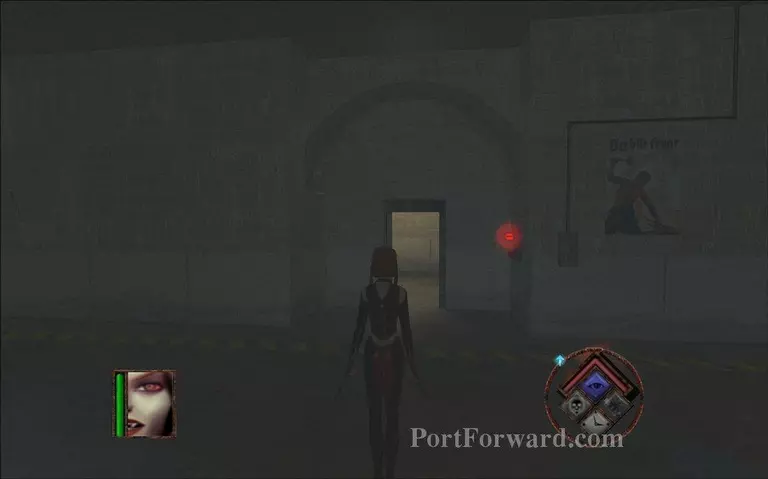
When you go back to the first area go to the main hall after your point of insertion.
Enter a door with an archway to reach the barracks.
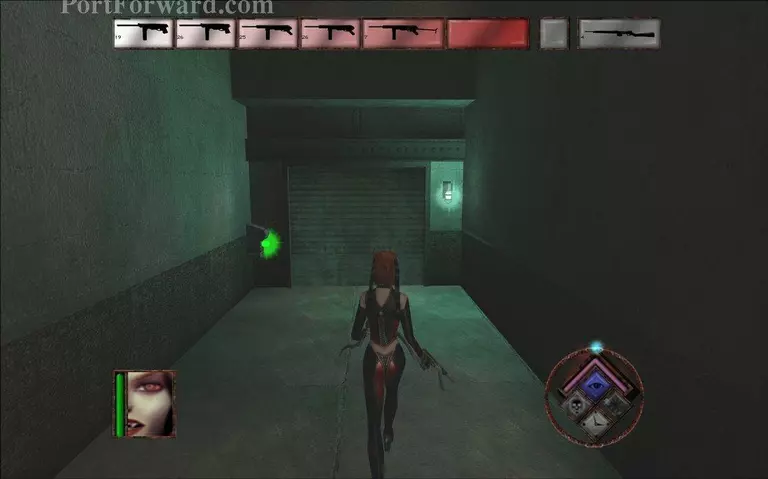
Use the green switch to enter the barracks.
More BloodRayne Walkthroughs
This BloodRayne walkthrough is divided into 40 total pages.


