
This BloodRayne walkthrough is divided into 40 total pages.
You can jump to nearby pages of the game using the links above.
Act 2 - Argentina: Death's Quarters
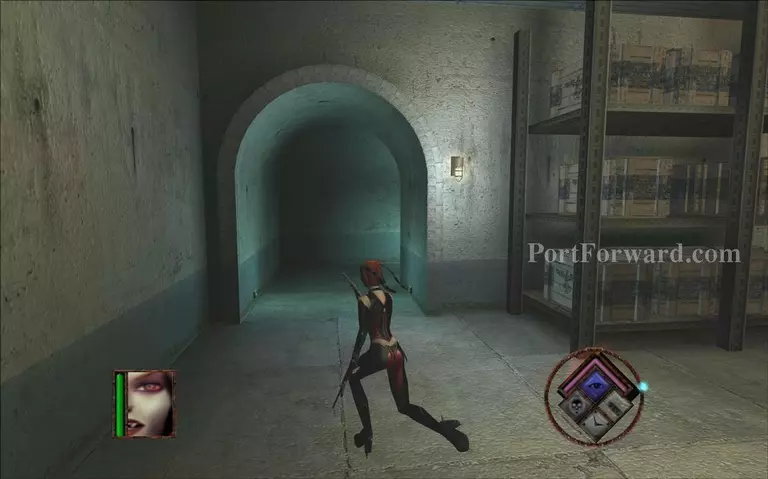
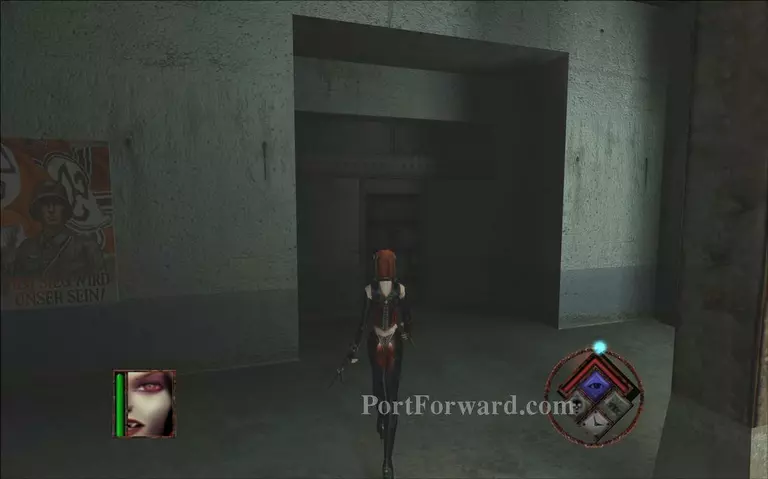
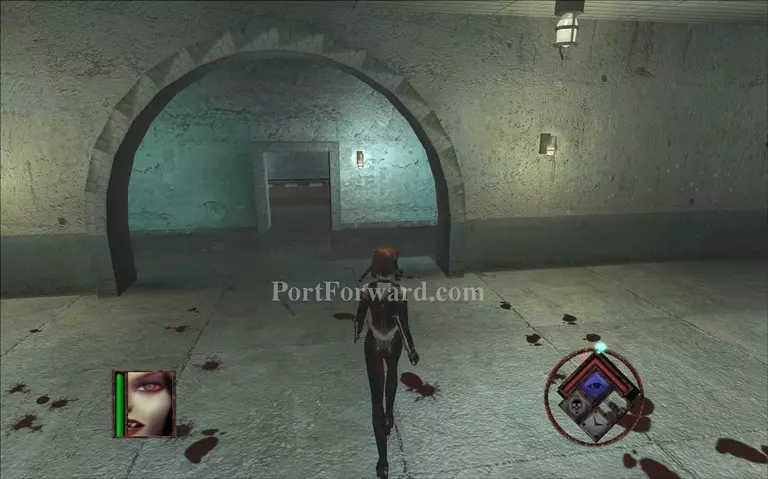
Go through the arched passage.
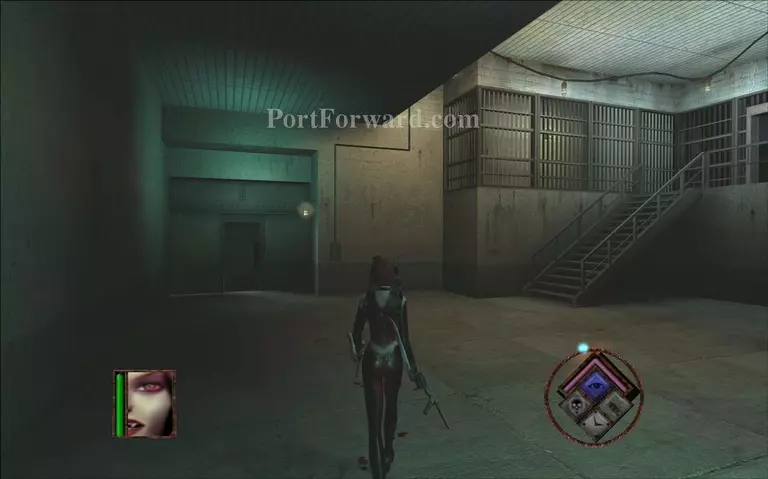
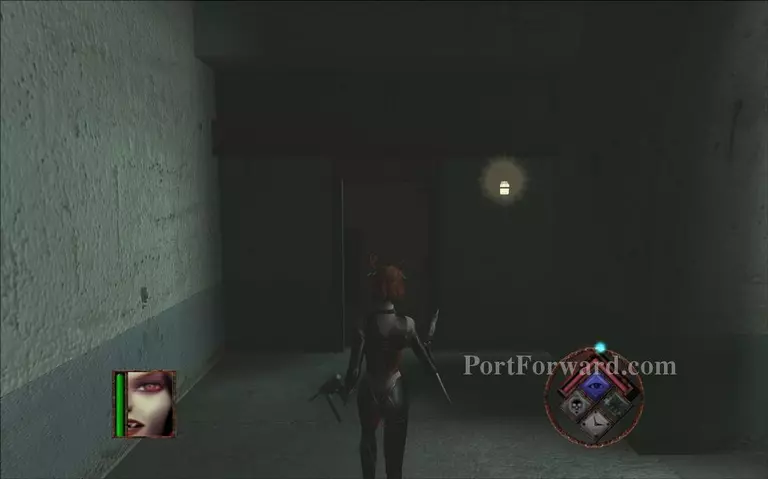
Continue through the door on the left.
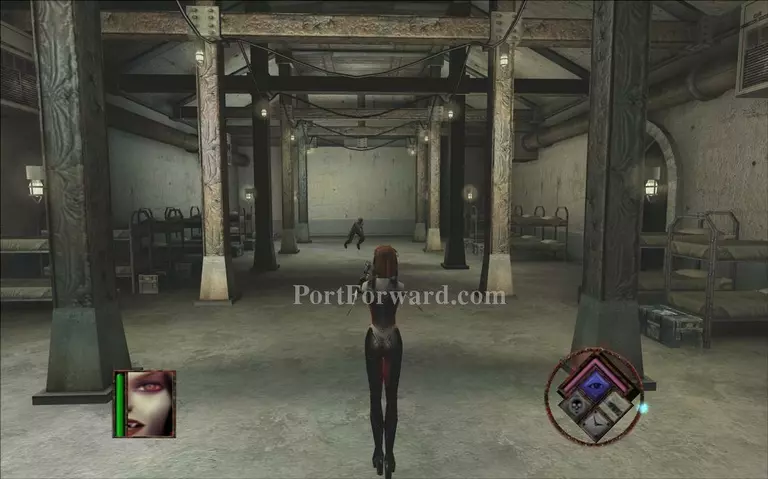
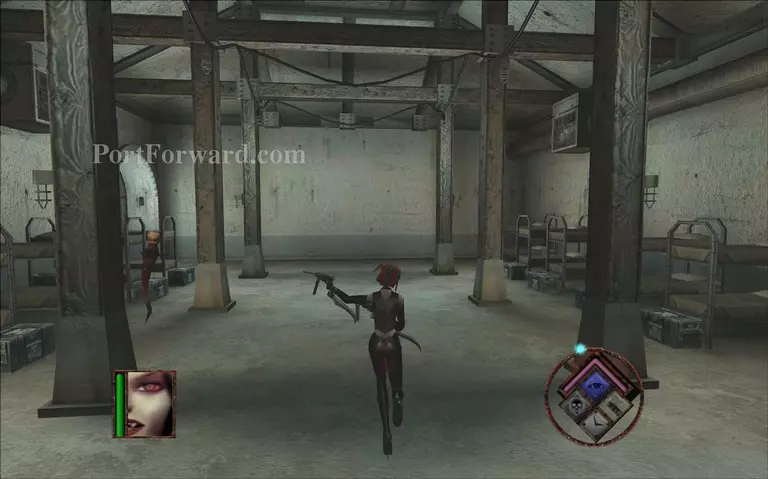
Pass the first room with bunks.
Pass another room with bunks and go towards its other end where you will see a door.
When you pass the door prepare for a fight.
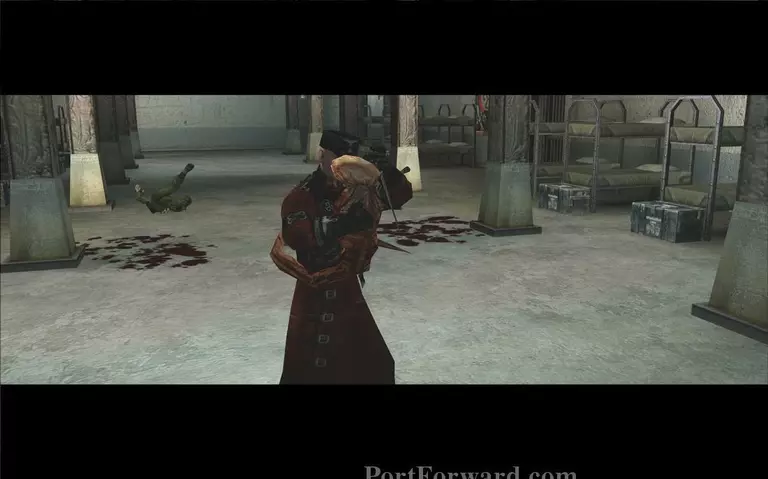
The officer you were chasing runs out of luck. The daemites take over his group.
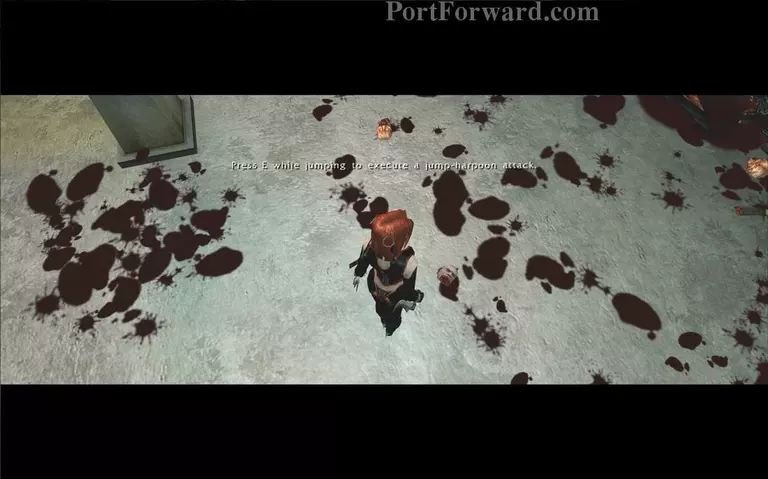
When you defeat him Rayne will learn to use the harpoon ability while jumping.

Continue through the gate with bars.
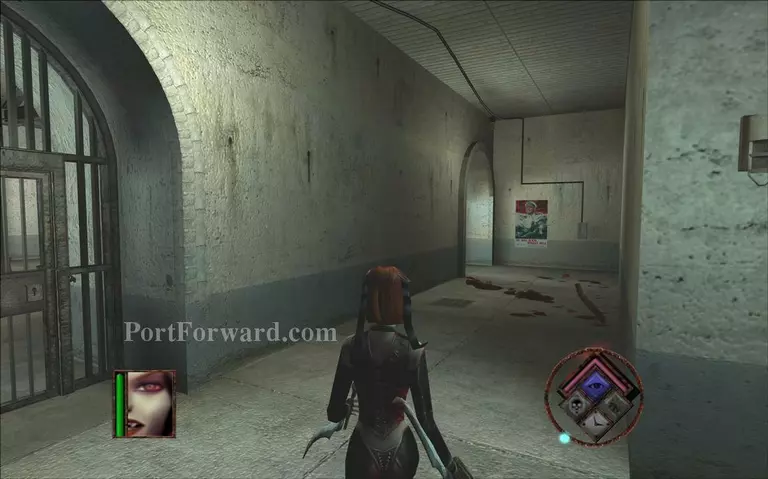
Go right.
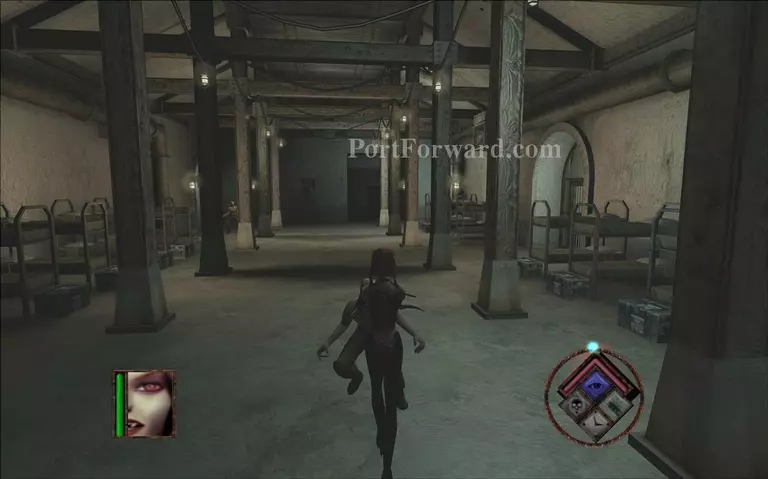
Pass another area with bunks. The daemites will keep coming from vents and shafts here so it is best to just keep running.
Pass another door to enter the bathrooms.
Enter the archway and go right.
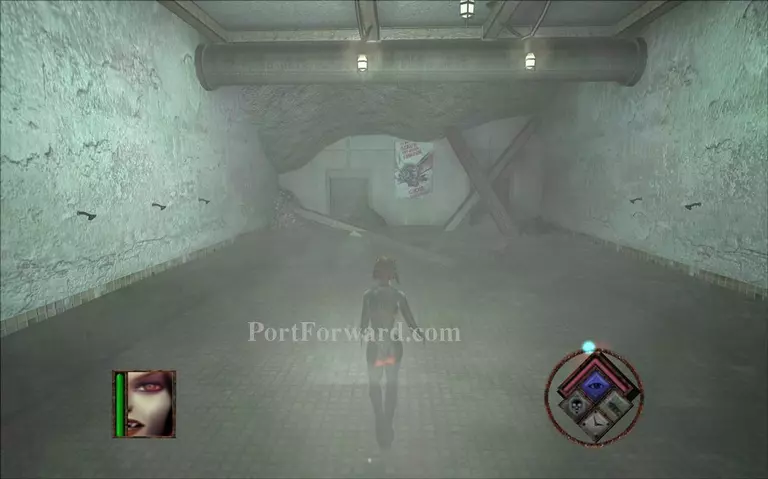
Go towards the dead end on the right.
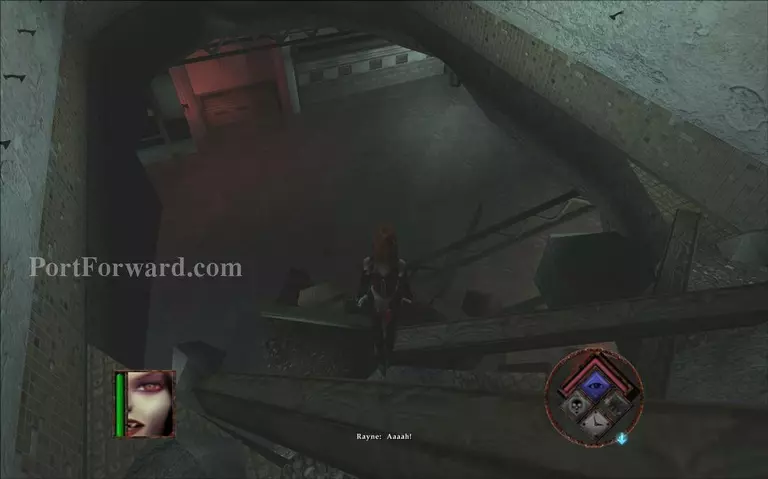
The floor will collapse. Jump down there.
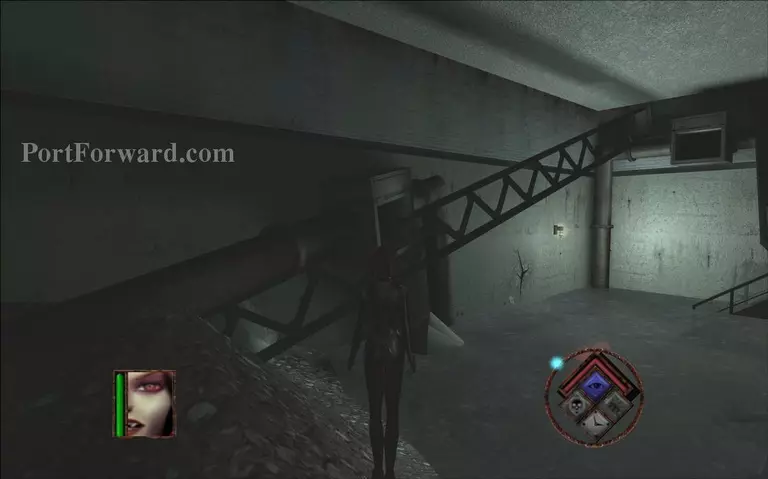
Destroy the wall you will see on your right.

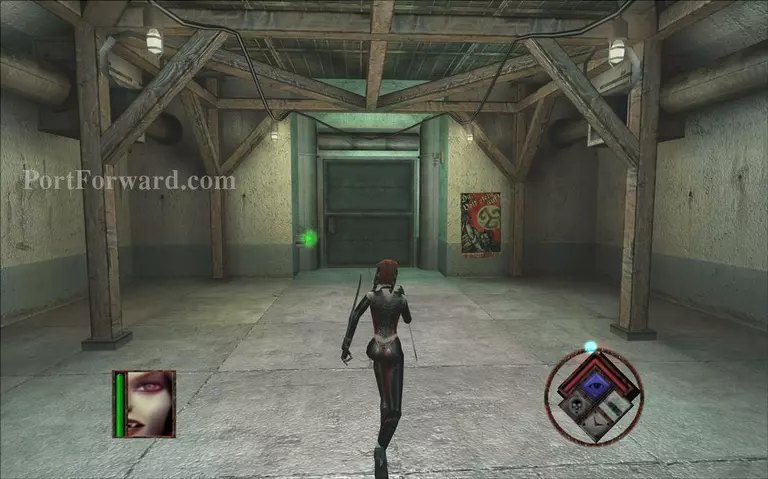
When you climb up some stairs Rayne will say that her guns are useless and she will leave them all behind.

Continue down the long corridor.
Hit the switch to continue to the next area.
More BloodRayne Walkthroughs
This BloodRayne walkthrough is divided into 40 total pages.


