
This BloodRayne walkthrough is divided into 40 total pages.
You can jump to nearby pages of the game using the links above.
Act 2 - Argentina: Hell Hall
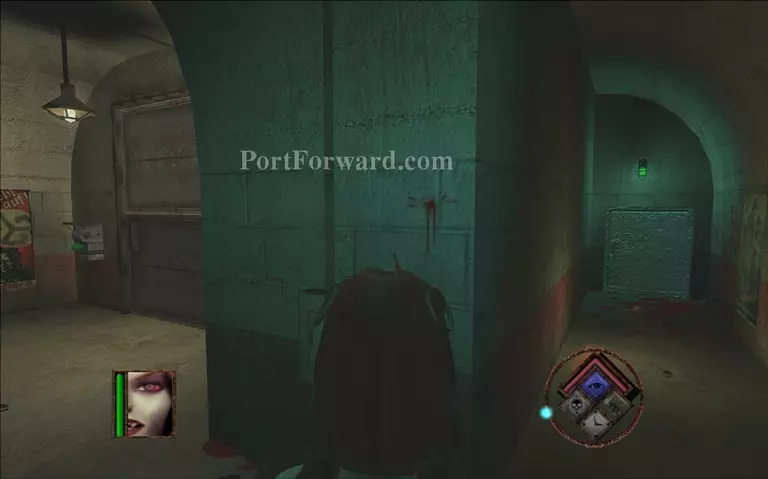
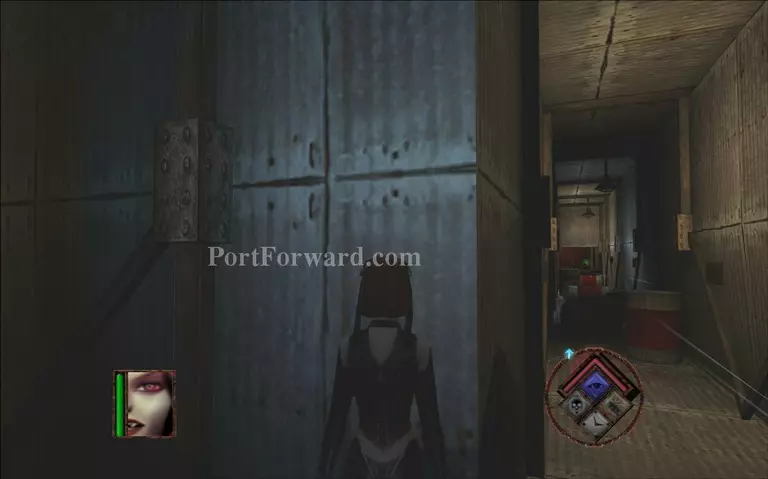
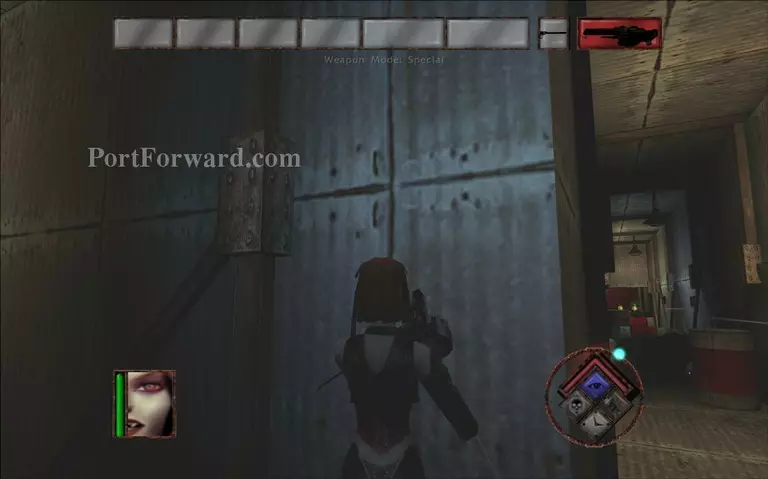
Go to your left when you enter the level and go through the small passage.
Hit the blue switch to open a gate.
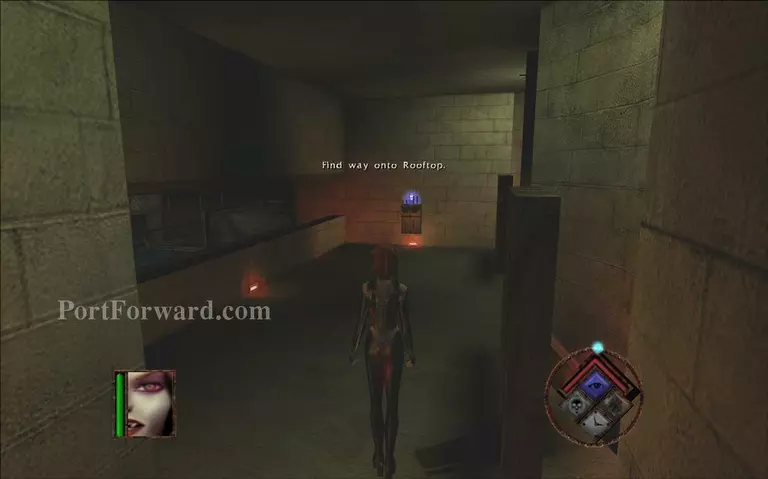
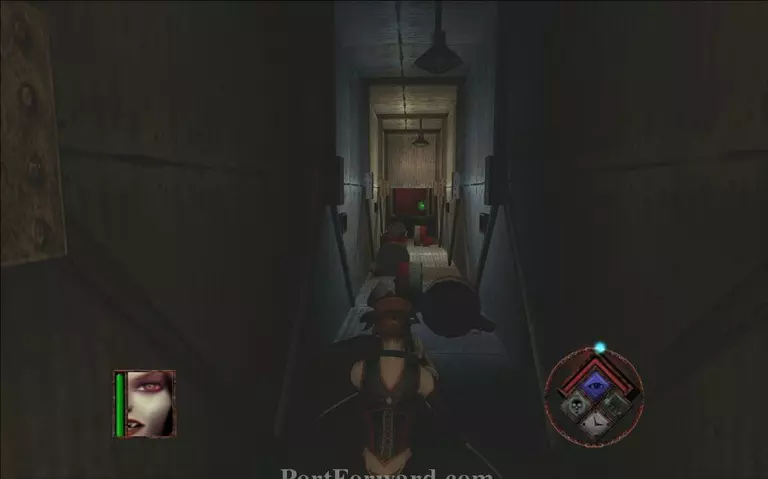
Get back to the start of the level and go to your right to enter the gate you just opened.
The daemites break through the gate behind you. Time to run like hell.
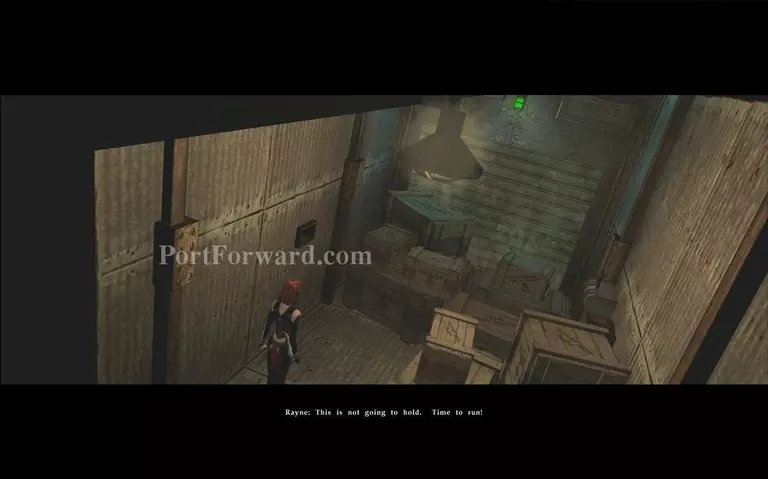
Rayne tries to block their way but to no avail.
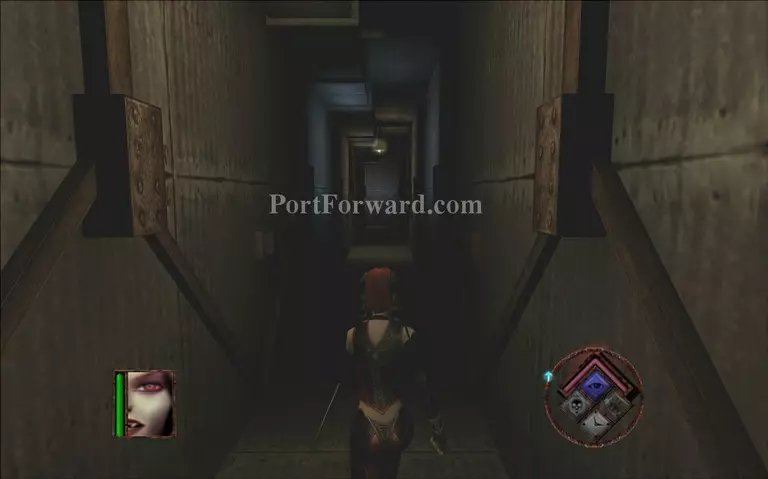
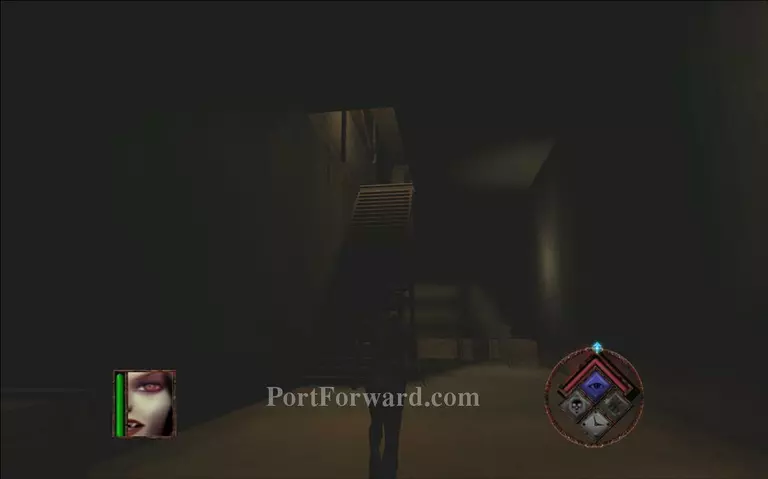
Run down the corridor and don't look back. The daemites are swarming behind you.
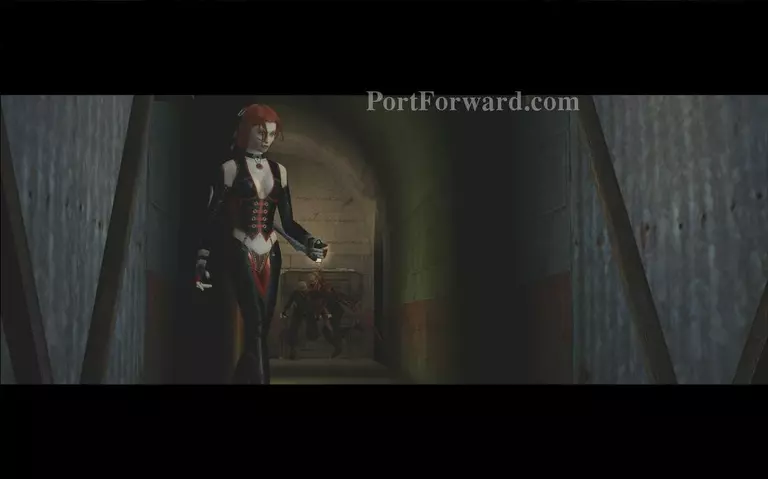
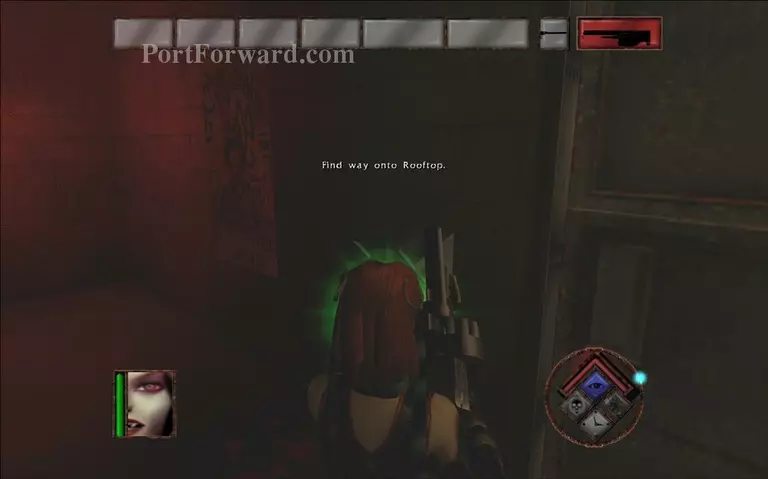
After some running a cutscene will play.
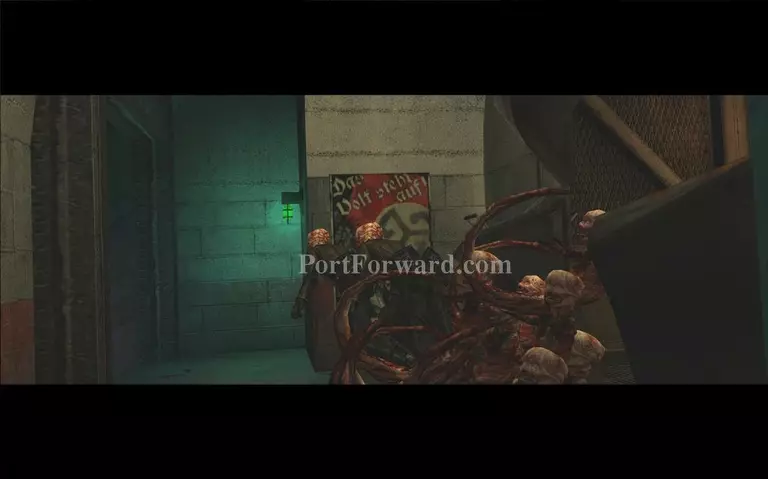
Two daemites have barricaded one corridor.
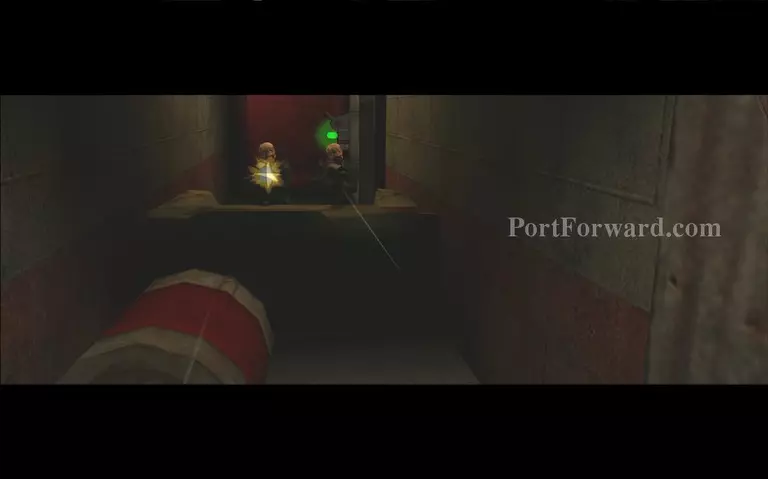
You cannot pass through there now. You will have to go to your left and search for some grenades you can throw at the red barrels.
Hit the big switch to stop the crushing machine briefly. Don't stand on it for too long because it starts back on automatically.
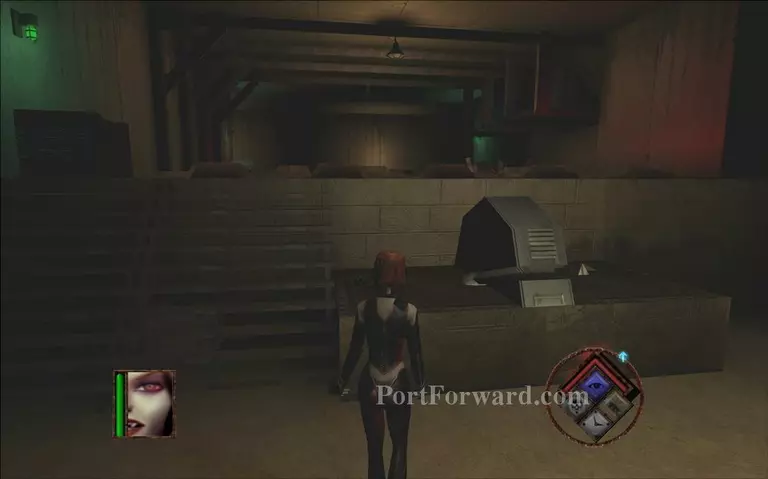
Get up some stairs after the crusher.
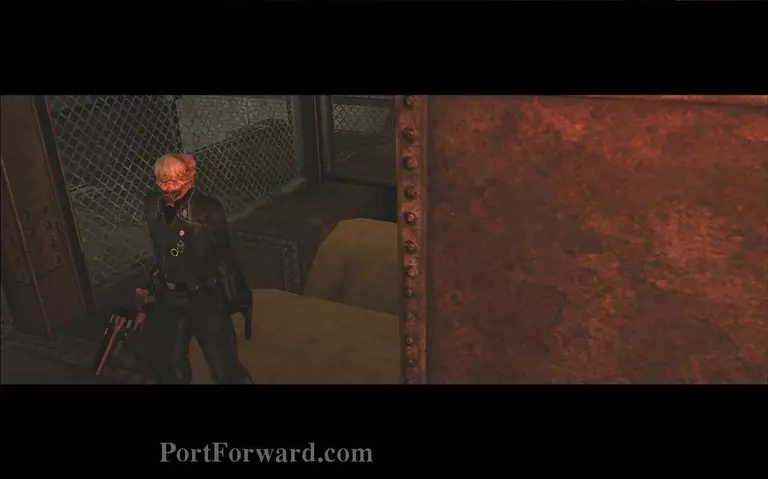
On the second floor you will see a daemite with a grenade launcher. Attack him and he will fall down the crushing rollers.
Downstairs he will drop some grenades in a sachel. Go down and take them.
Go back to the barricaded corridor. Select your grenade launcher and shoot around the corner to blow up the barrels and the daemites.
You can go through the corridor now.
Hit the green switch to proceed.
More BloodRayne Walkthroughs
This BloodRayne walkthrough is divided into 40 total pages.


