
This BloodRayne walkthrough is divided into 40 total pages.
You can jump to nearby pages of the game using the links above.
Act 2 - Argentina: The Mill Mile
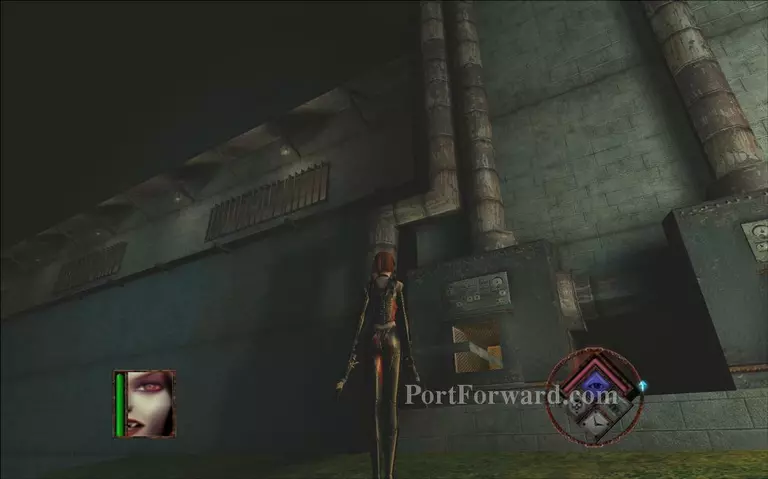
Look up and jump on the pipes first then on the ledge near the windows.
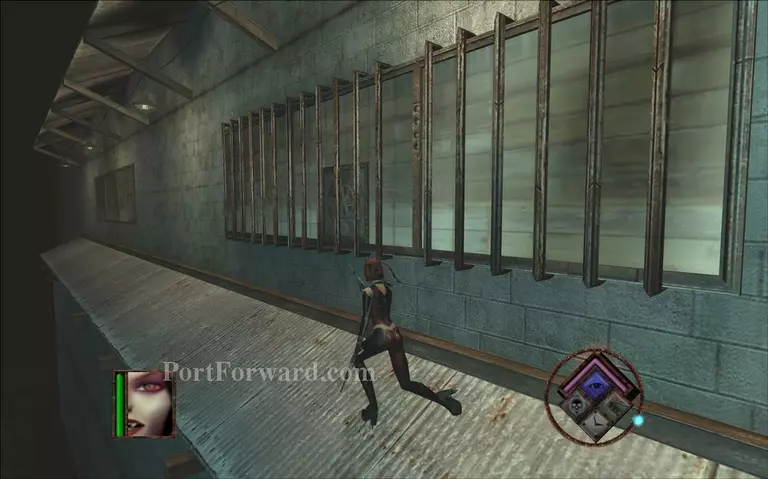
Run to your left across the ledge.
Jump through the windows without bars.
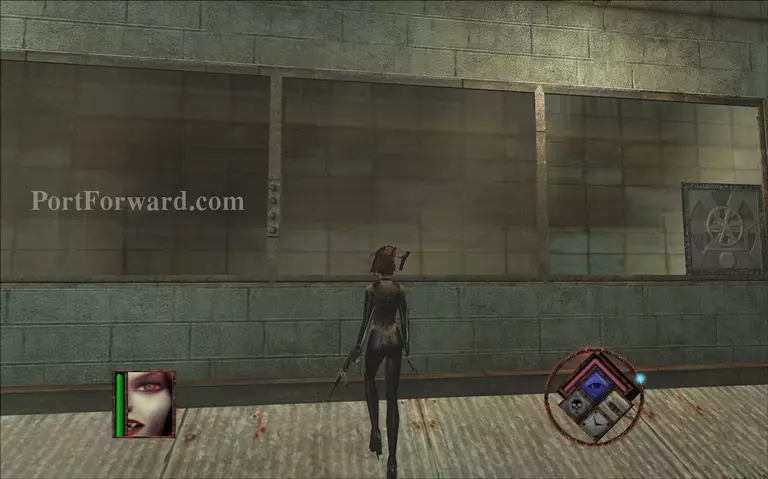
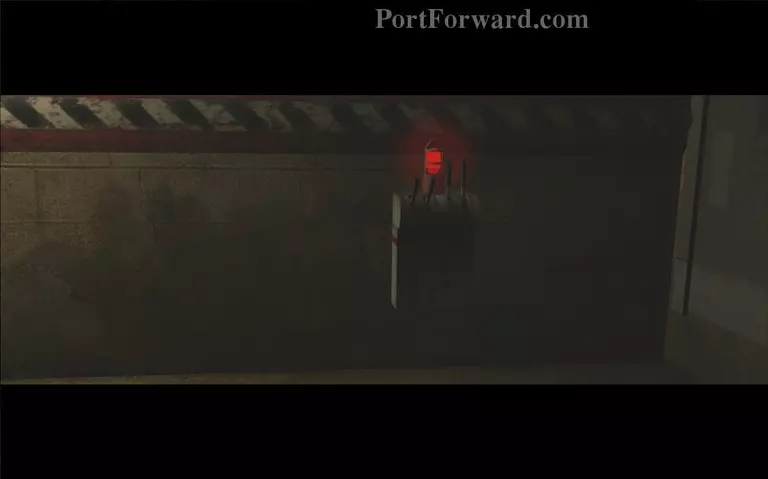
Go to the left of the room and find a switch to hit at its center.
The switch will activate the crushers. Move through there.

To pass safely under each crusher use your slow motion ability.
Go through the passage without rollers.
Then pass through the destroyed conveyor.
Hit a switch on the right side of the room to open the exit.
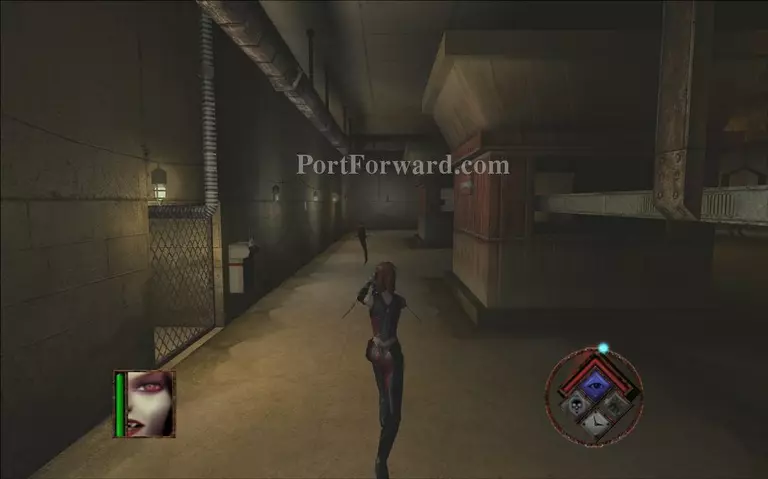
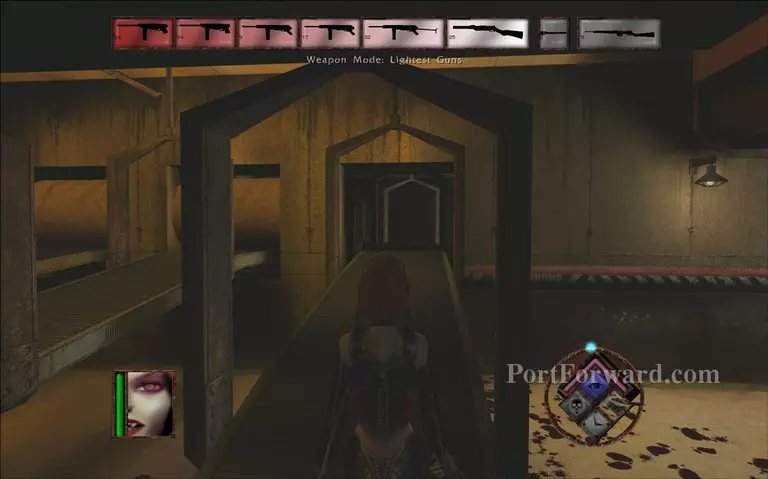
Next hall has a lift on the left. To use it you need a battery. Go to your right to find it.
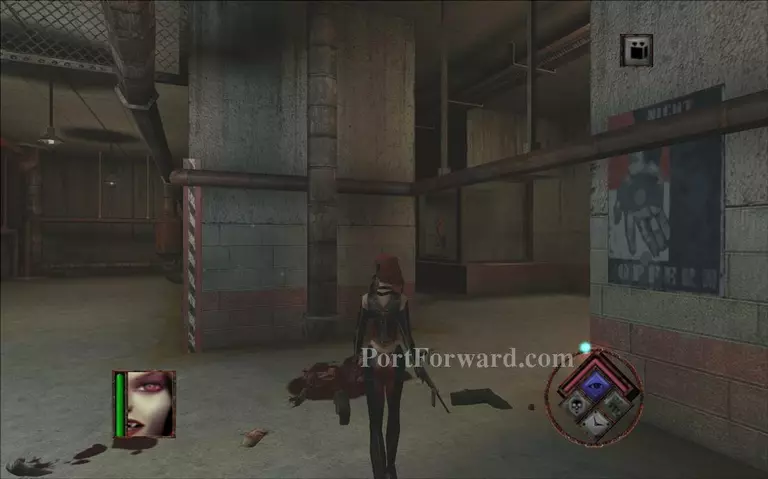
Go to your right and pass the glass containers.
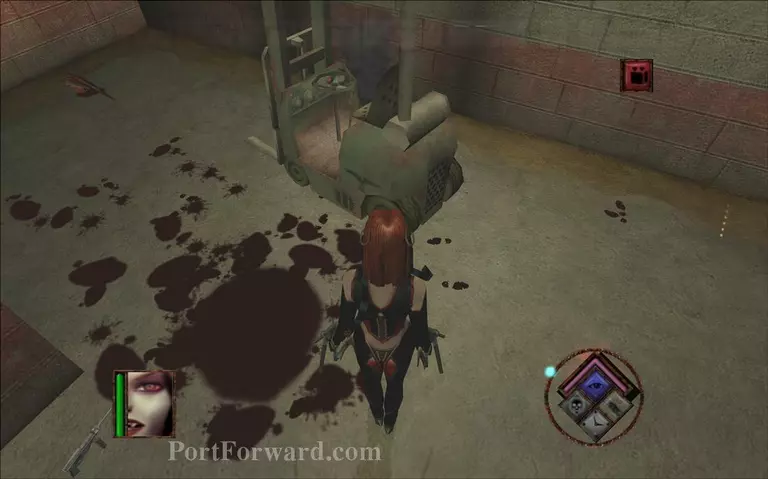
Pick up the battery from the forklift. Afterwards go back to the lift and use it.
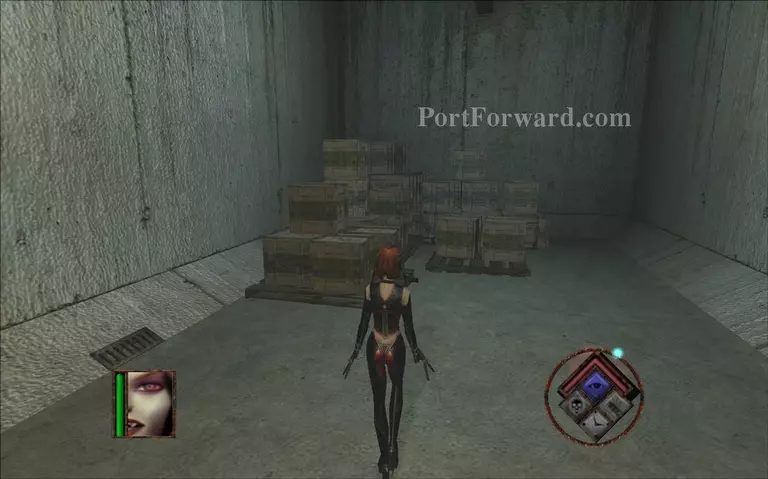
You will pass by some crates. Destroy them to find a single rocket launcher.

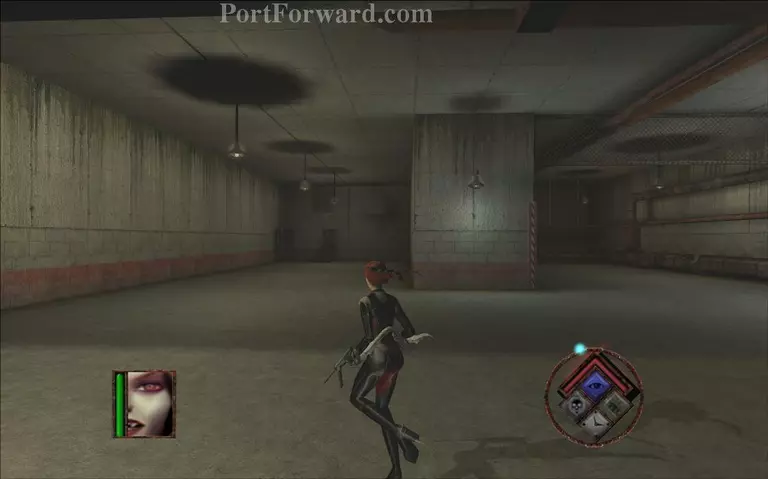
Continue forward.
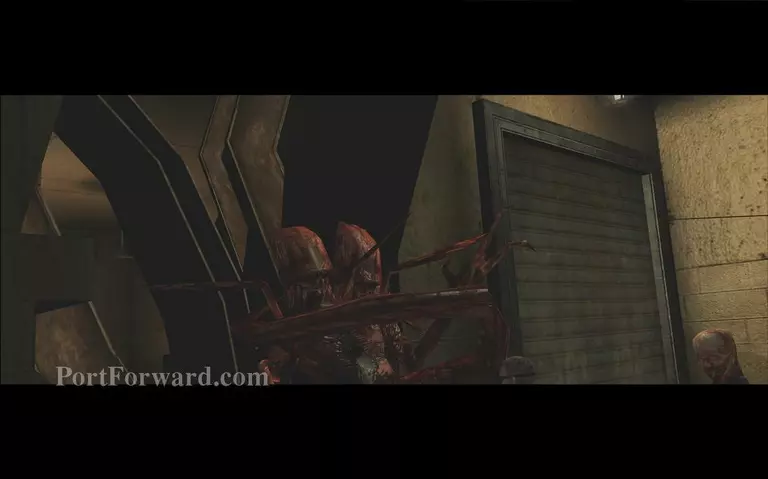
A cutscene will play. The daemite guardians will crash through a wall and kill the nazis.

You need to kill two of the guardians to proceed. Use your blood rage when they are close together to kill them fast.
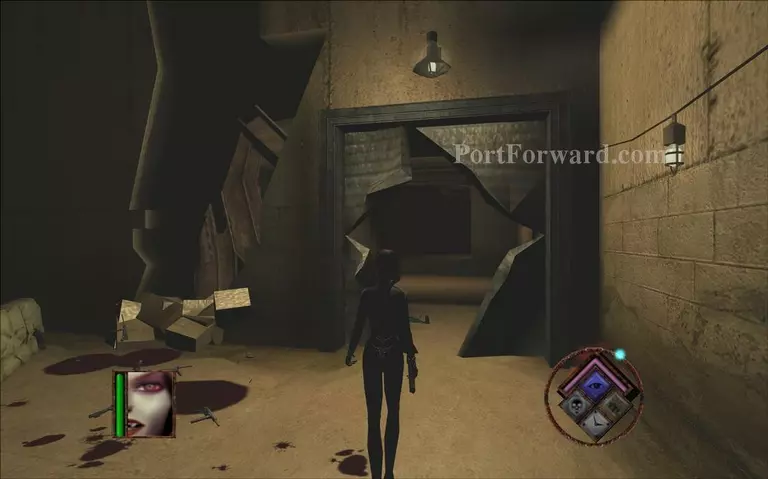
Go through the destroyed gate. You don't need to kill the third guardian to go to the next level.
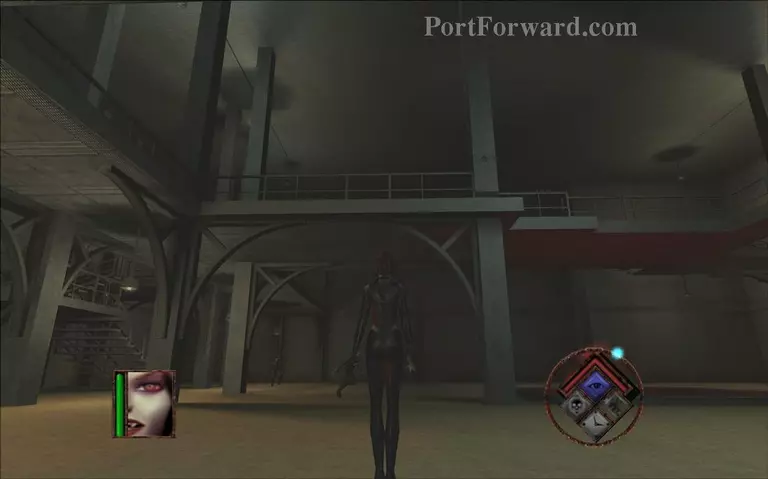
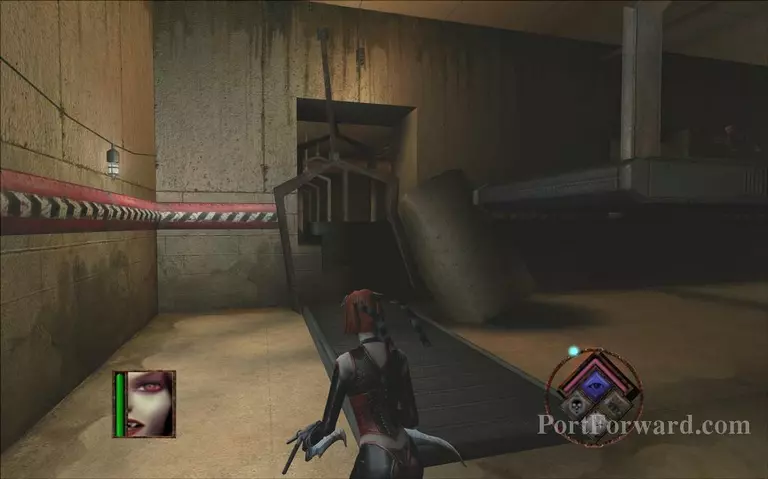
Jump on the second floor in this hall.

Hit the big switch on top to call the big lift at the center of the room.
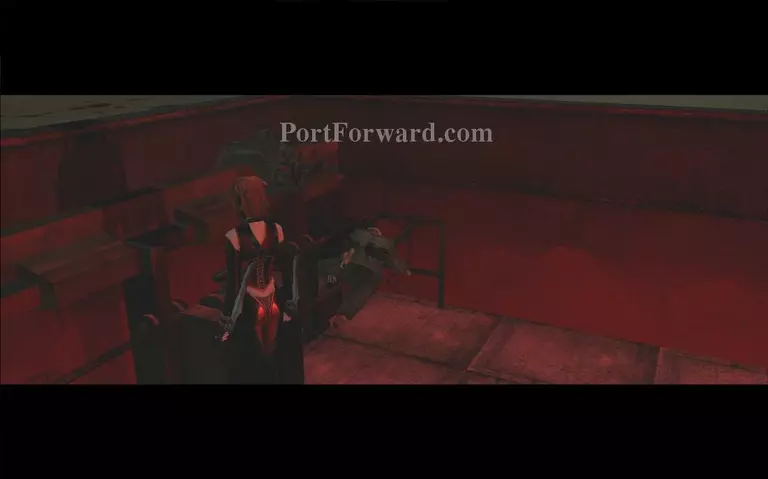
Use the lift to go lower.
More BloodRayne Walkthroughs
This BloodRayne walkthrough is divided into 40 total pages.


