
This BloodRayne walkthrough is divided into 40 total pages.
You can jump to nearby pages of the game using the links above.
Act 2 - Argentina: Deeper
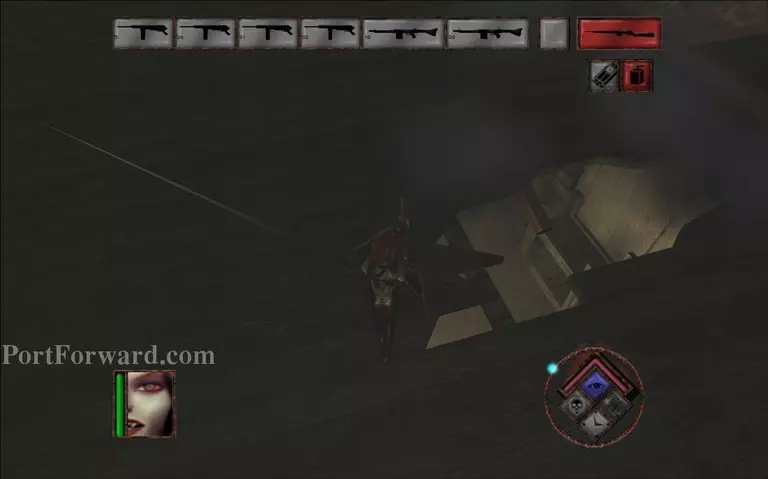
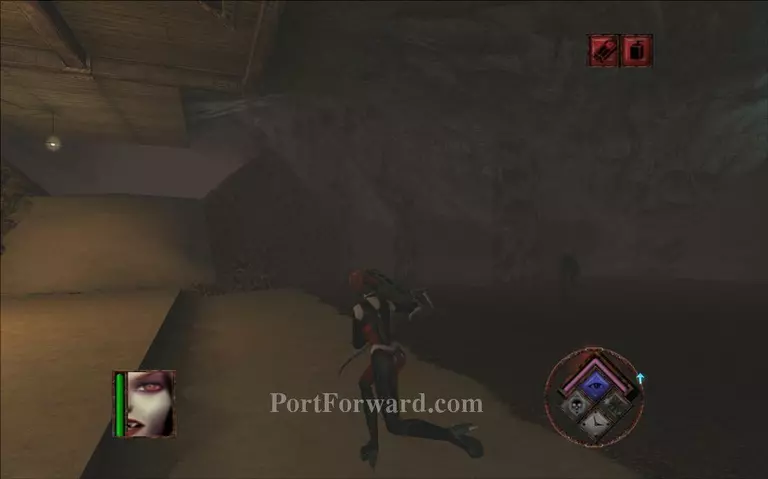
Jump over the hole.
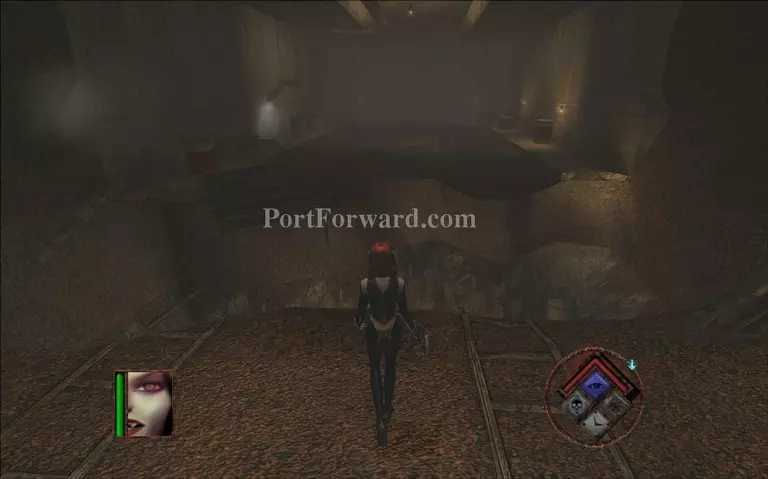
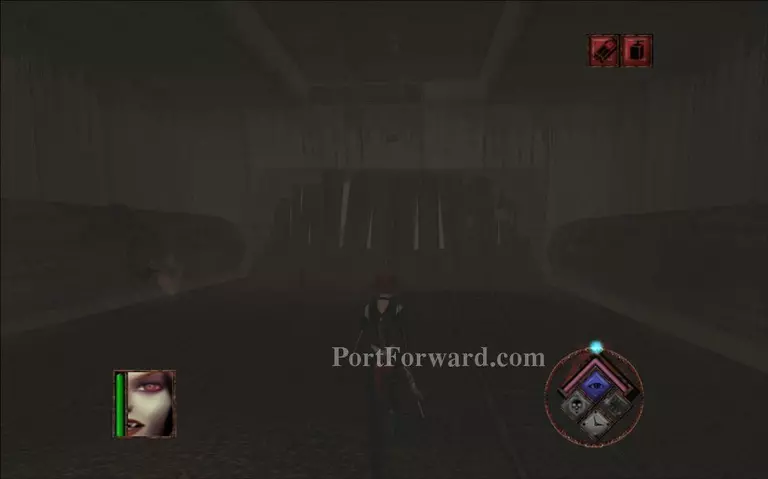
Proceed down the mine.
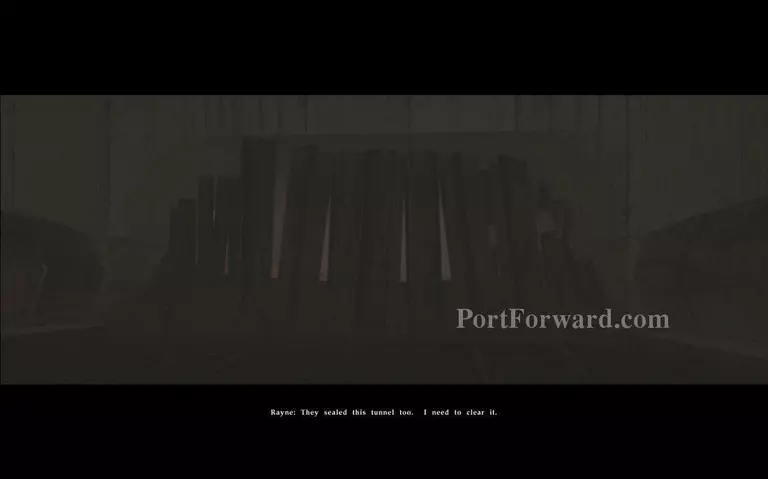
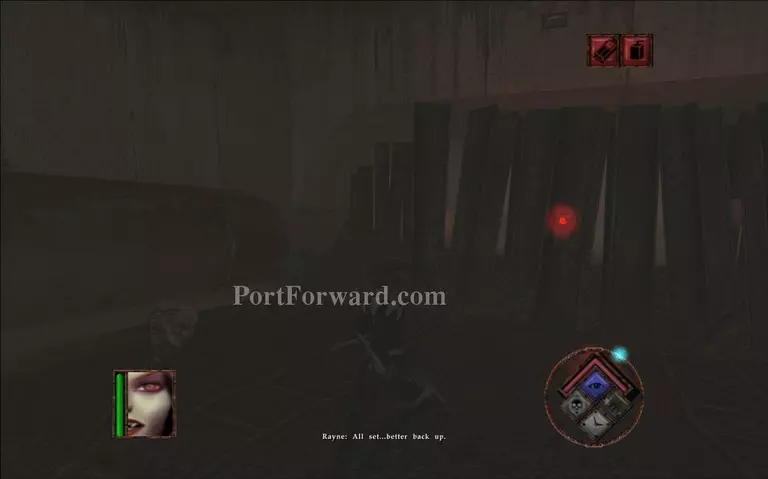
A cutscene will play. You need to find a detonator and explosives again.
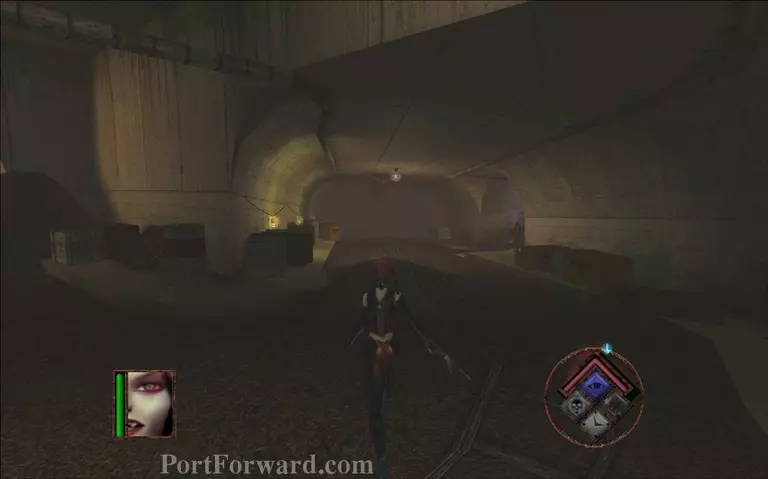
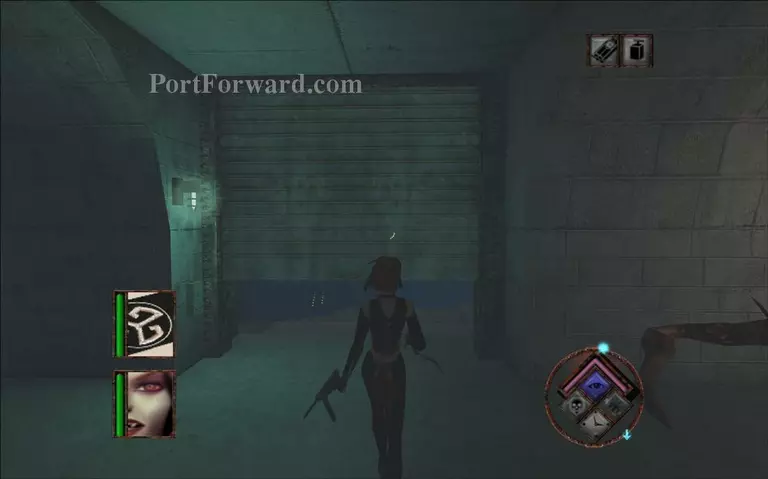
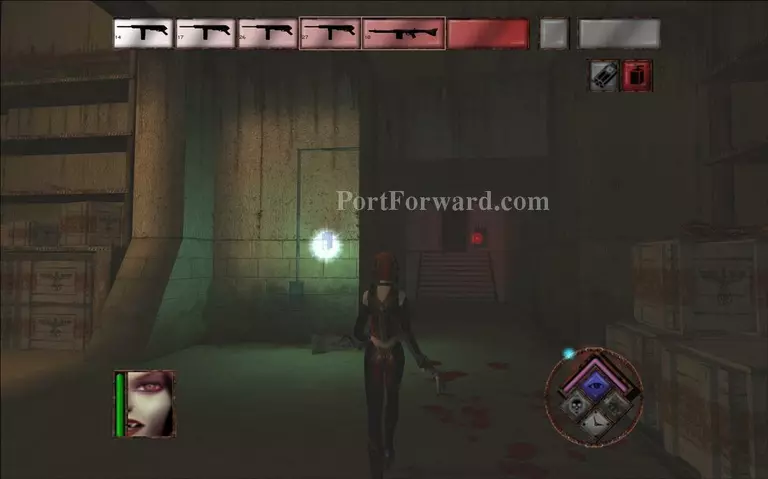
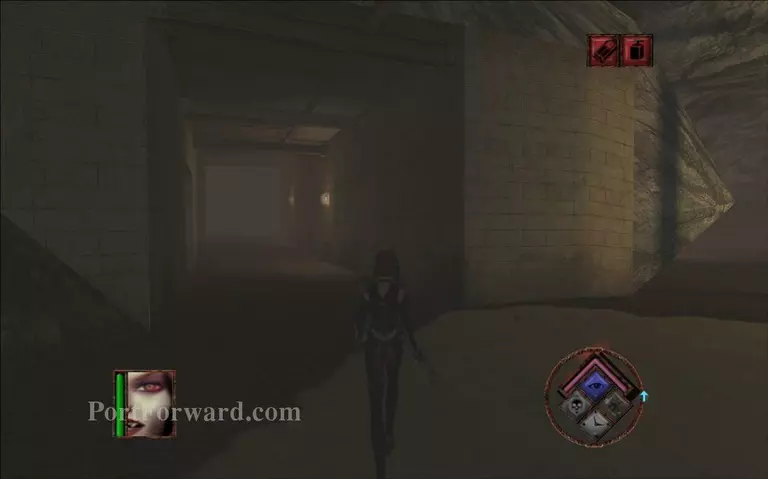
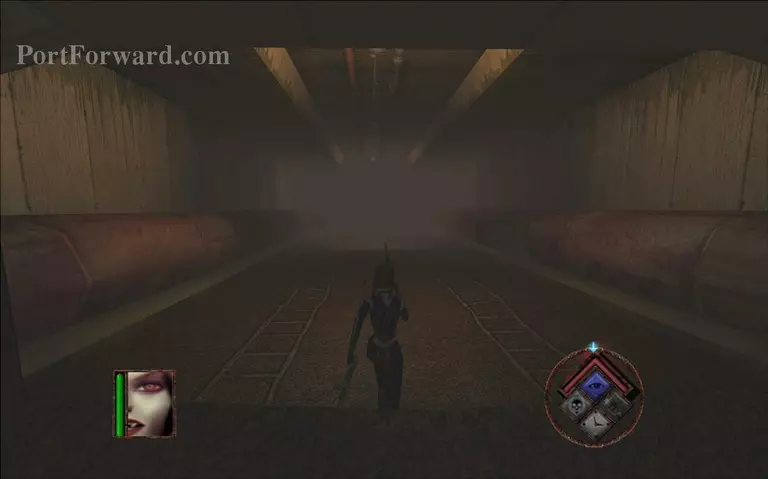
Go through the tunnel on the left.

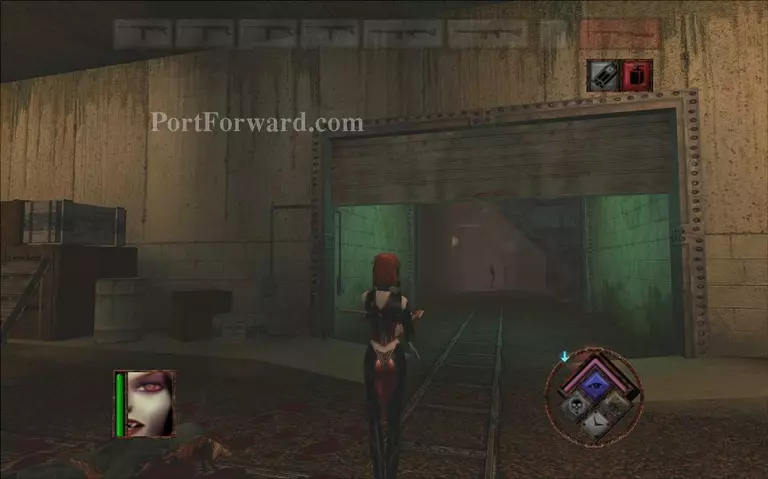
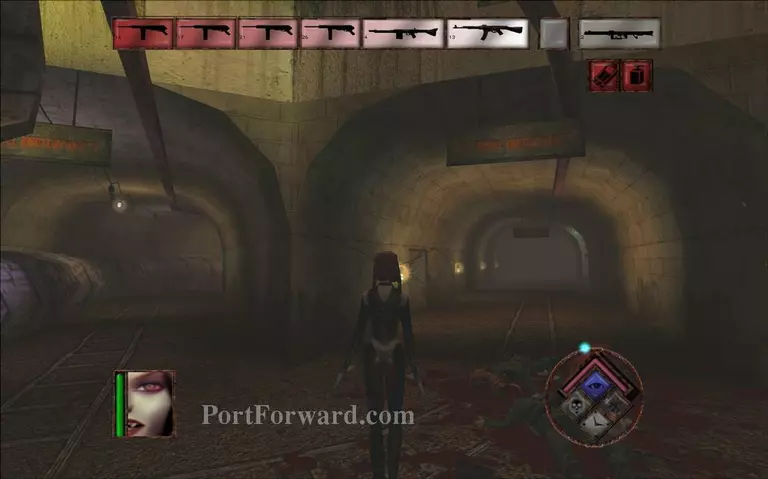
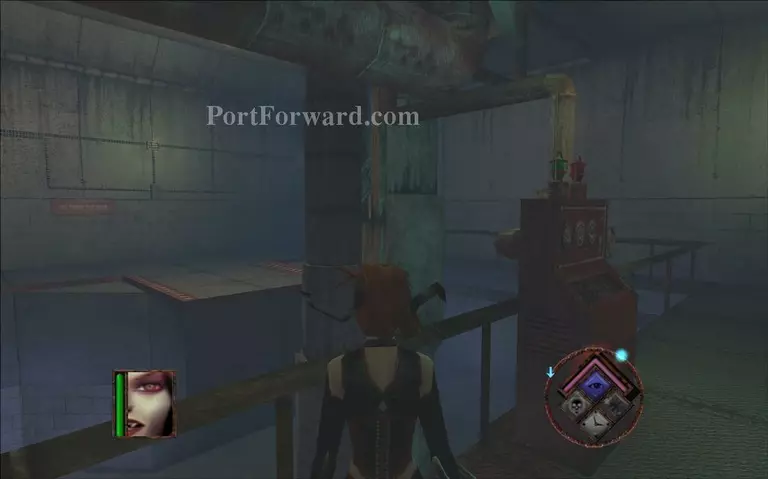
Destroy the barricades to enter this pump station.
When the gate opens you will find a target.
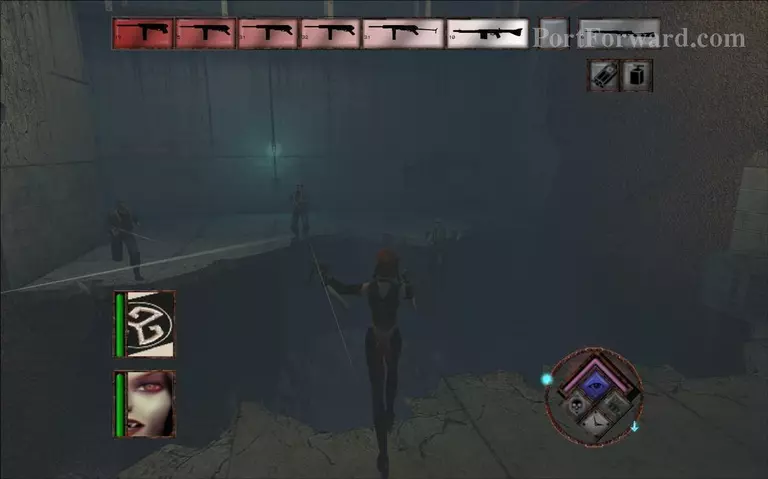
Jump over the crevice to find your target.
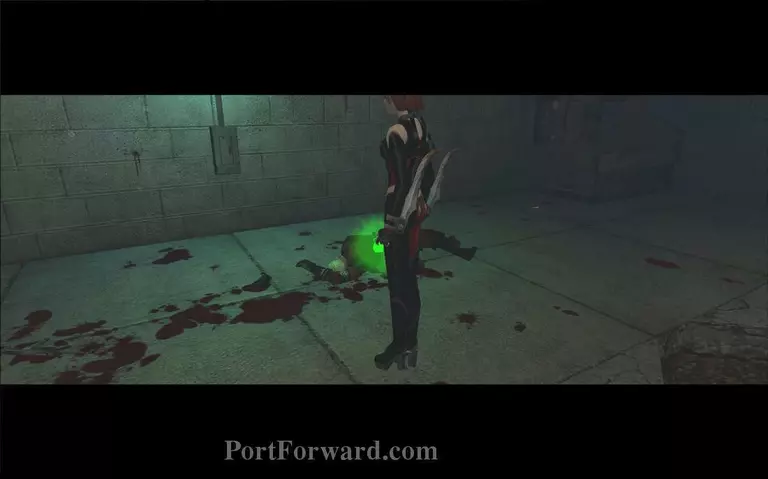
Get the detonator when you kill him.
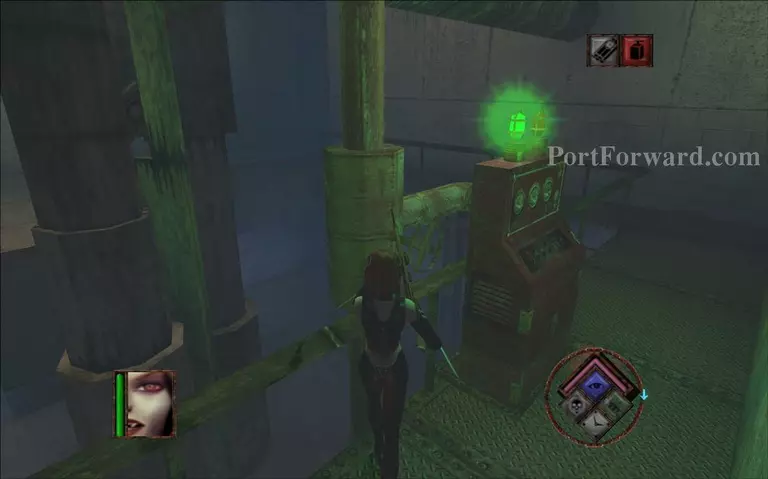
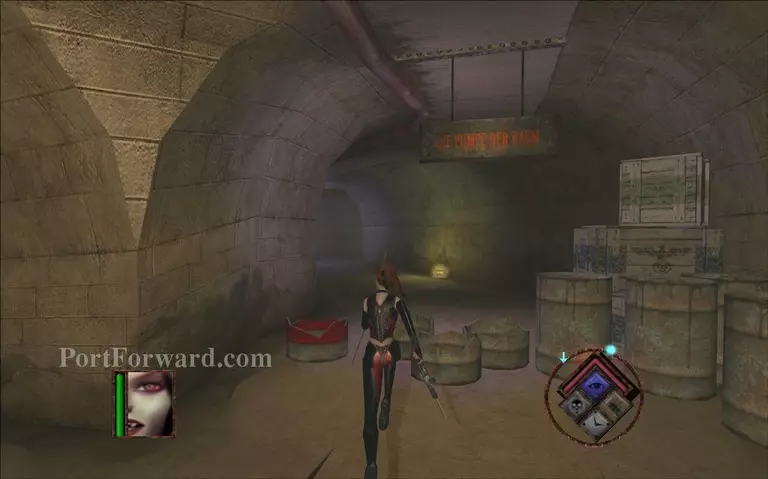
Go in the next room and hit the controls to start the first set of pumps. This will drain the flooded mine you need to enter by half.
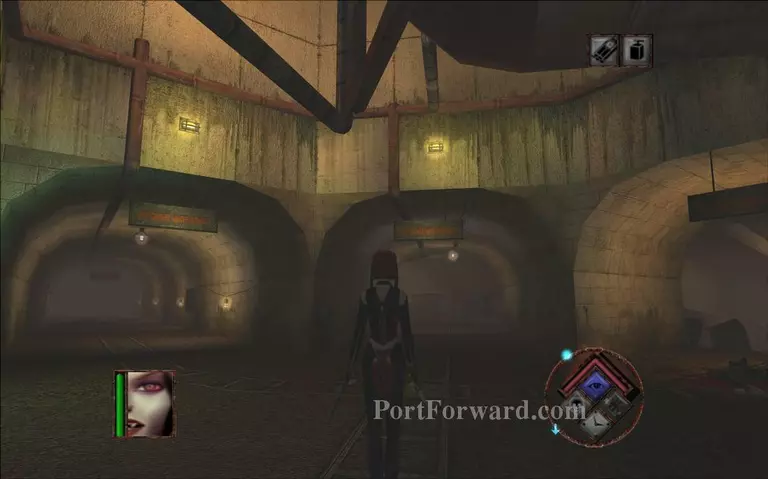
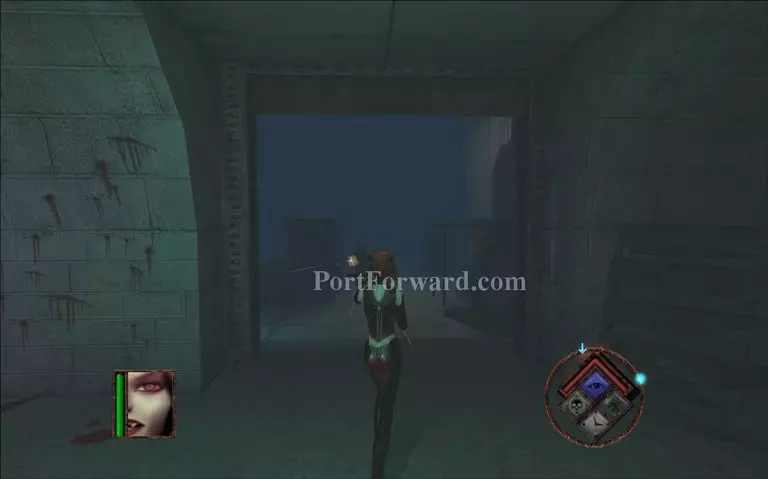
Backtrack to the main corridor you were in and proceed down. Open a gate and go through there.
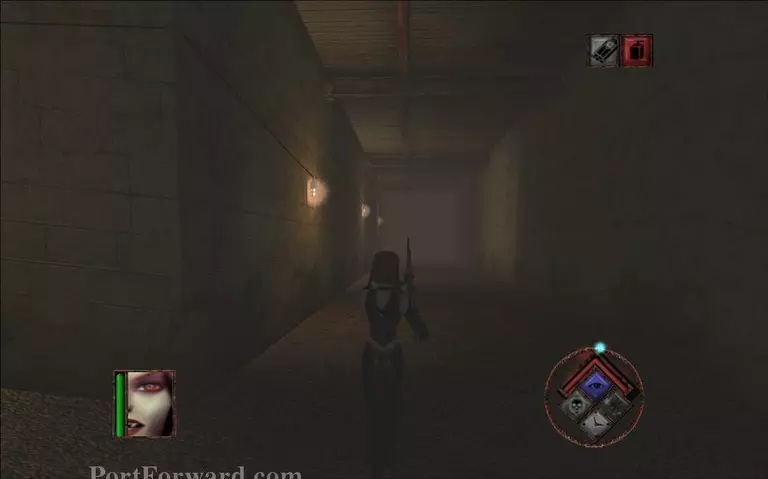
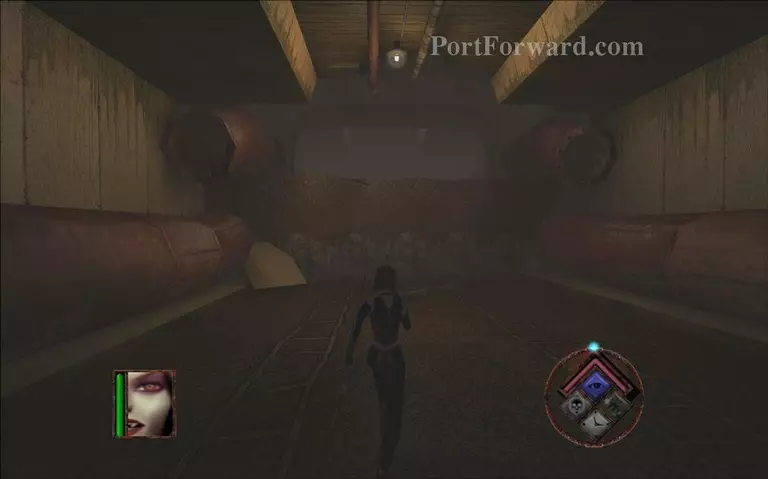
Keep going forward.
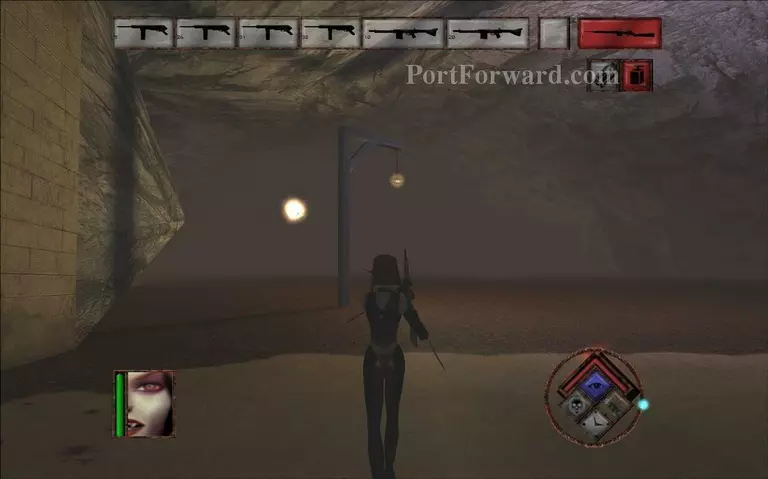
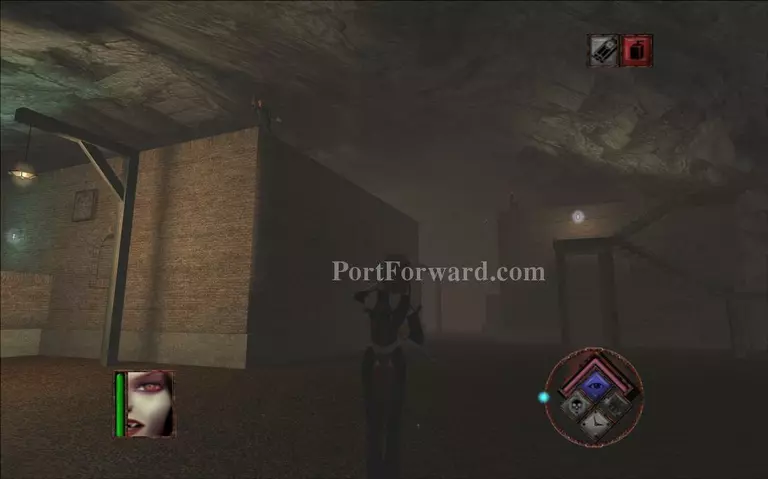
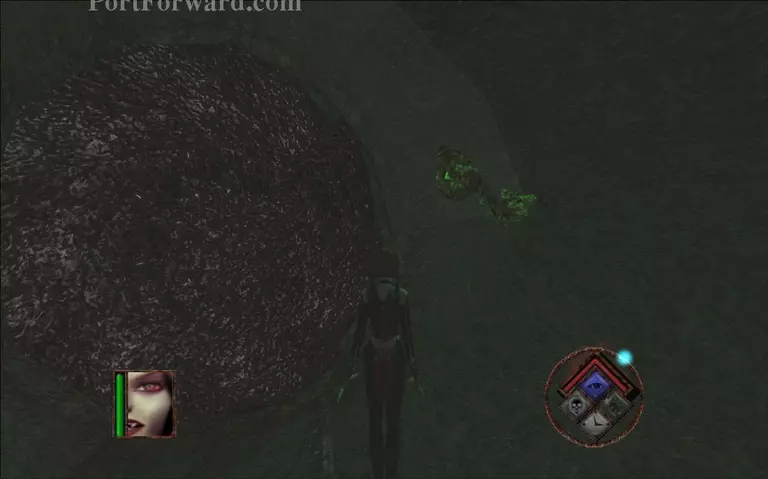
You will end up in a cave like area. Beware the soldier that shoots rockets from the building on your left. You can ignore him for now if you want and just go to your right.
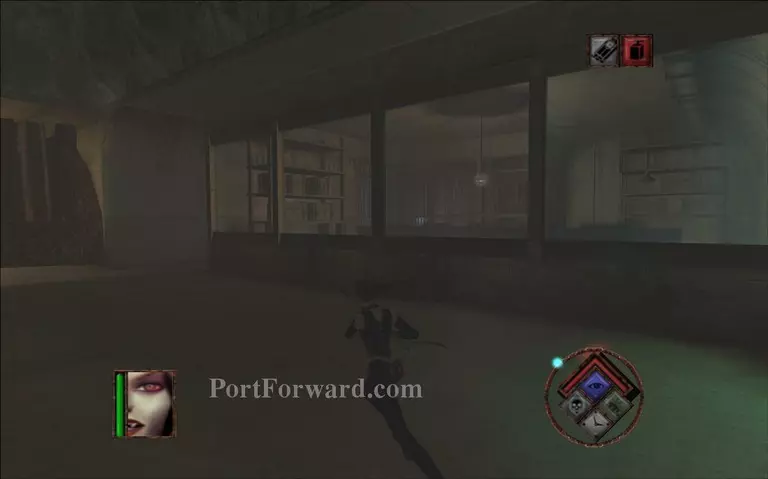
Jump through the windows.
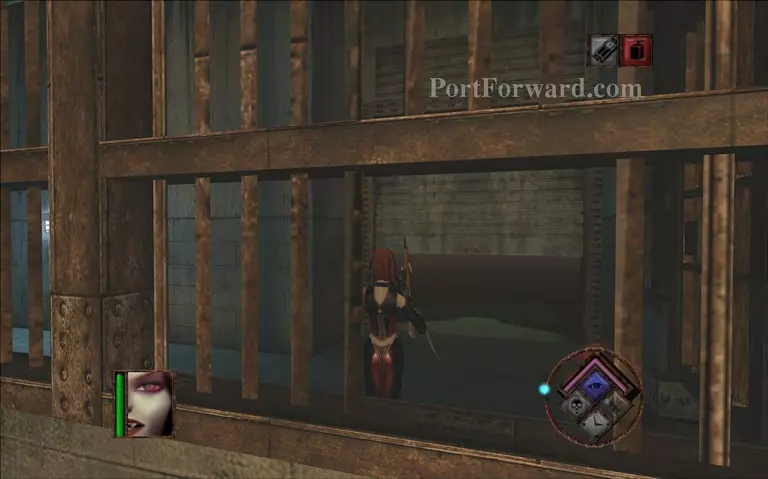
Enter the gate beyound the bars.
You will end up below two other buildings in a cave. Jump on top of the building on your left.
Fall down inside the building through a crack on the roof.
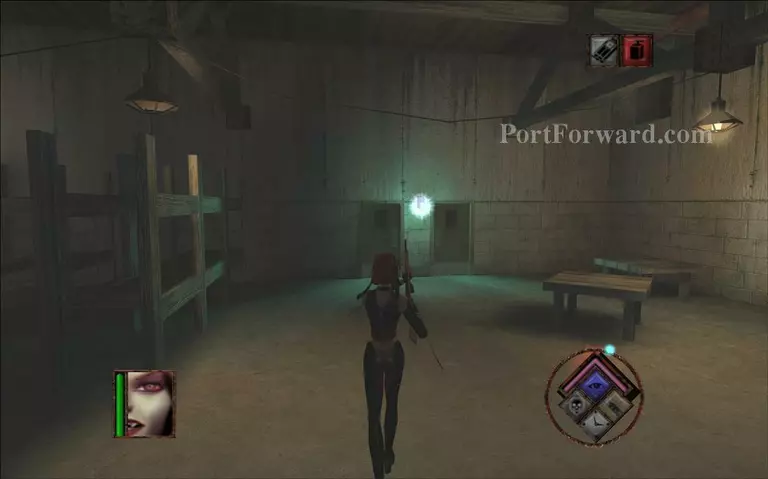
Enter the small doors.
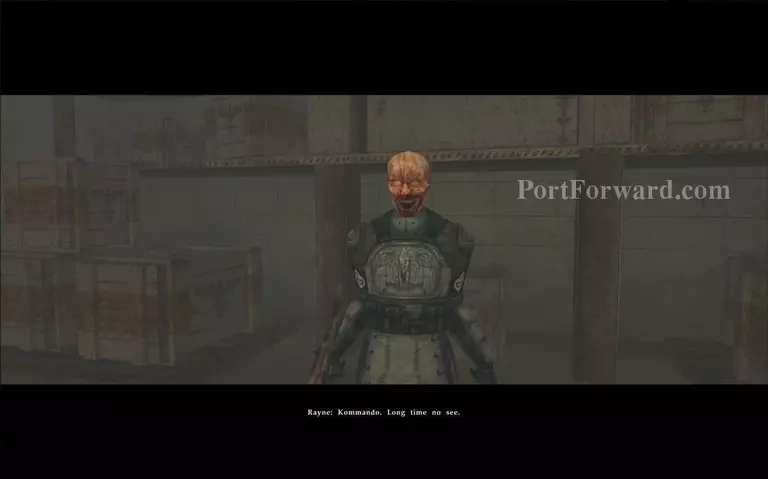
You will encounter Kommando again for a round two. This time the daemite controls him so he won't be using any flashbangs. If you are lucky you can shoot the daemite with guns and headshot him to kill him instantly.
Go through the gate on your left after you kill Kommando.
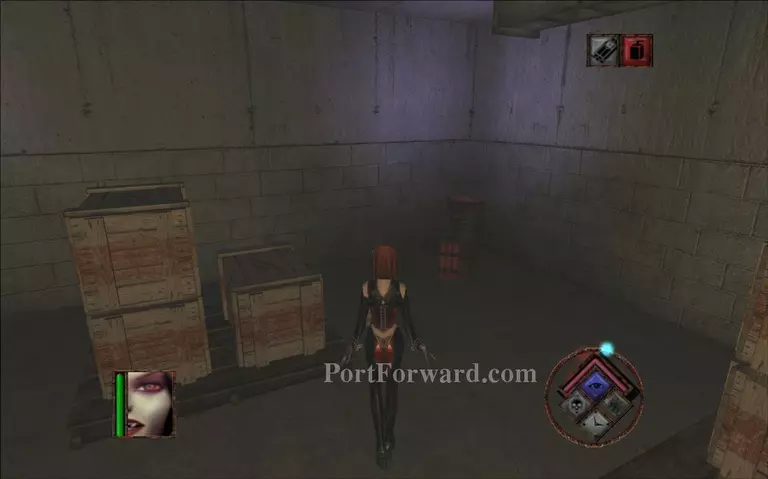
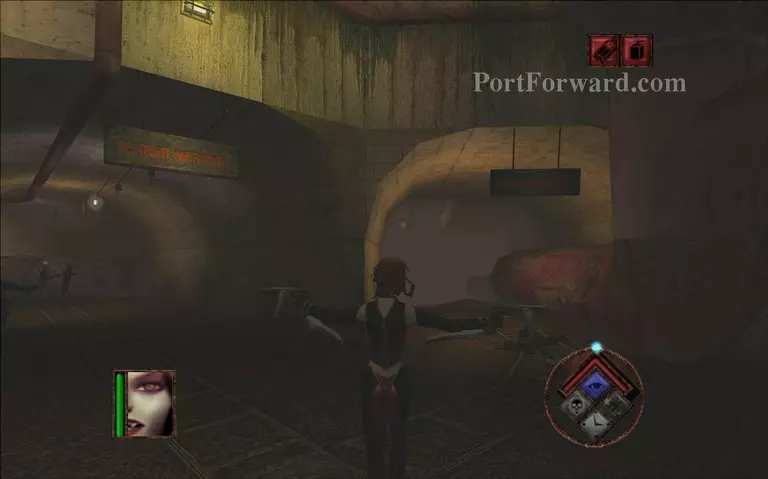
Pick up the explosives from the storage.
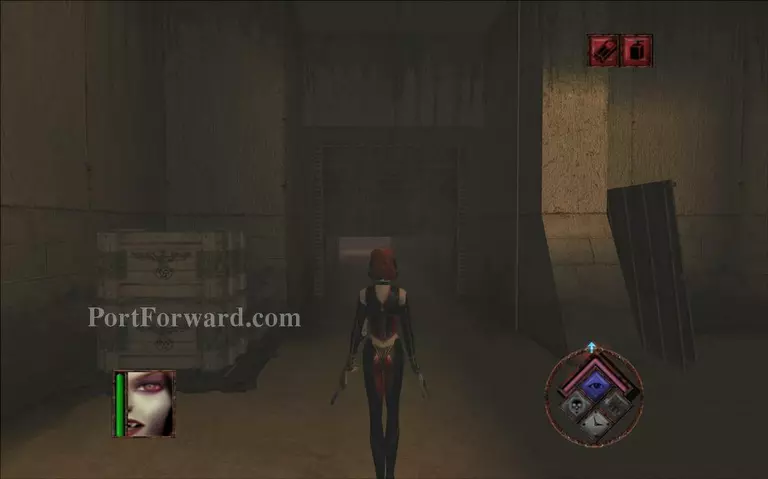
Backtrack and use a gate to exit the building.
An explosion will open a shortcut for you on the left. Go through there to get back faster to the tunnel you need to blow up.
Backtrack through the long corridor you came in before.
Get back through corridor on the left.
Then turn around and go through corridor on the right.
Set up the explosives here.
Run back. You have to backtrack to the start of the of the tunnels to activate one more pump.
Enter the pump room through a blocked tunnel.
Go through the gate.

A red sign will show you the way to the pump.
Hit the red machine to start the second pump.
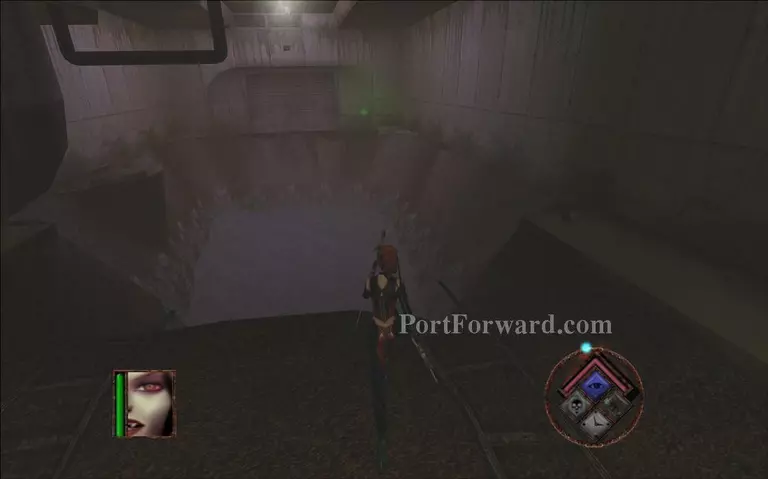
Go back to the tunnel you blew up now that it is drained from water.
Jump up here.
Jumping in water is not advisable. Run near the ledge on the right to reach the other side.

Hit the switch to go even deeper.
Hit this eye thing to open the next gate.
More BloodRayne Walkthroughs
This BloodRayne walkthrough is divided into 40 total pages.


