
This BloodRayne walkthrough is divided into 40 total pages.
You can jump to nearby pages of the game using the links above.
Act 2 - Argentina: Communication Breakdown
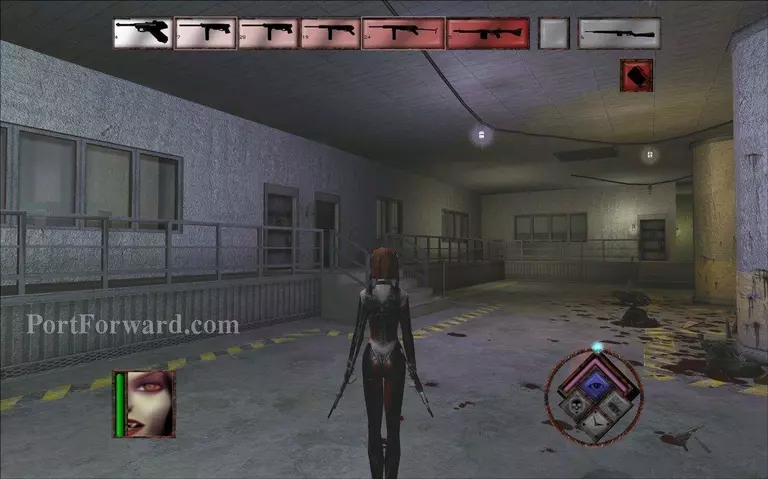
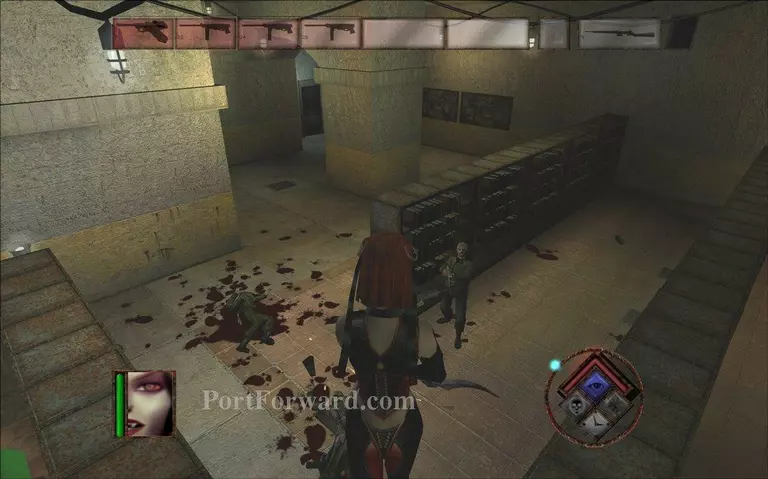
Enter the offices on your left.
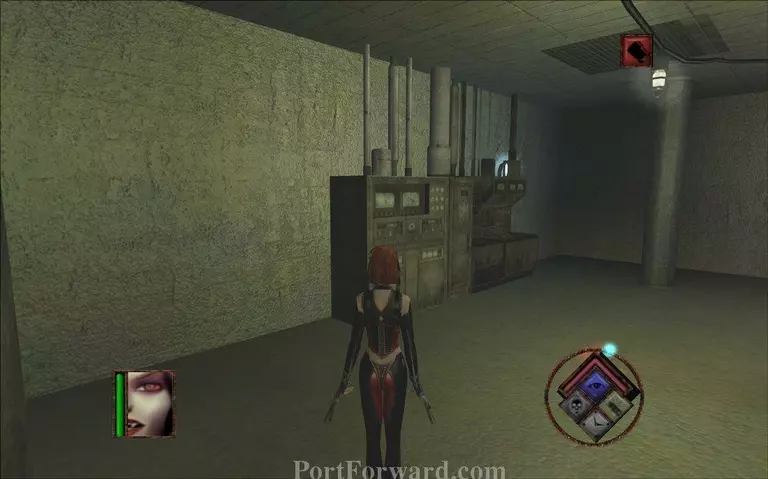
Approach this machine to talk to your boss.
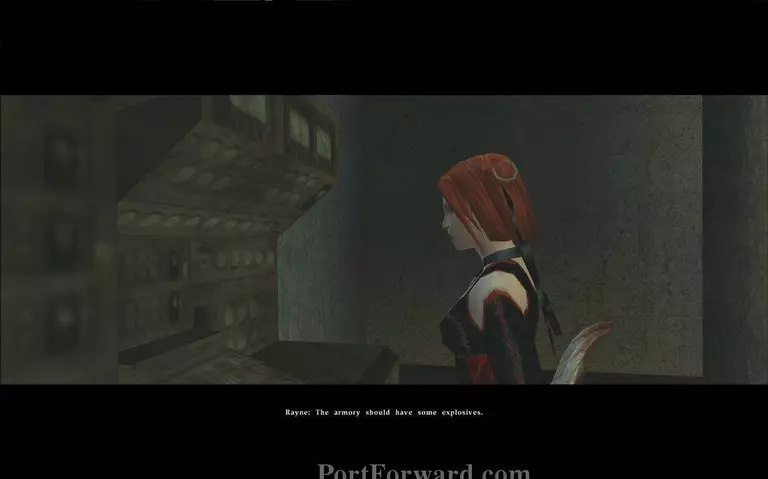
DarkMan tells Rayne that she must destroy the communications machine.
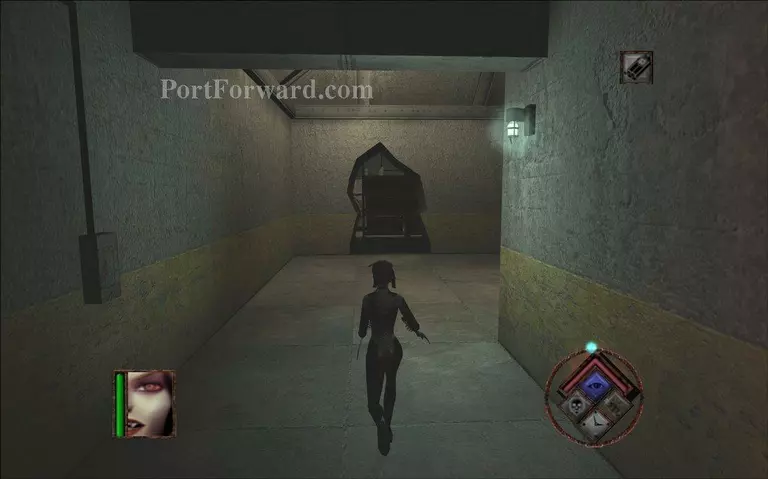
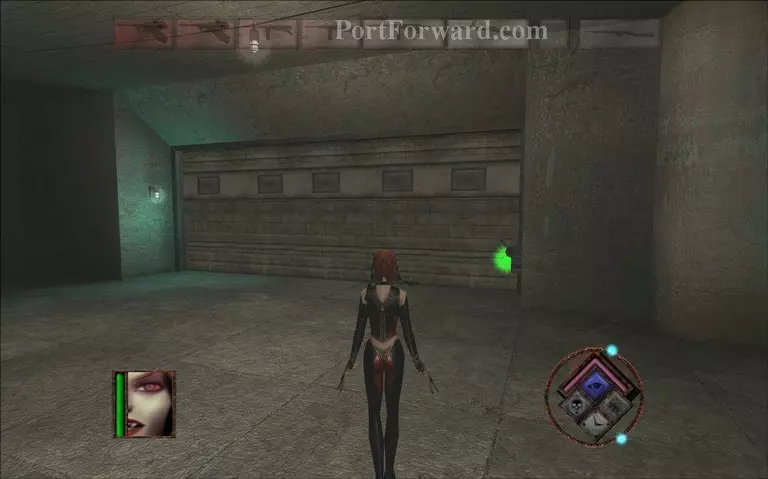
Go to the storage area with the path you made in the wall.
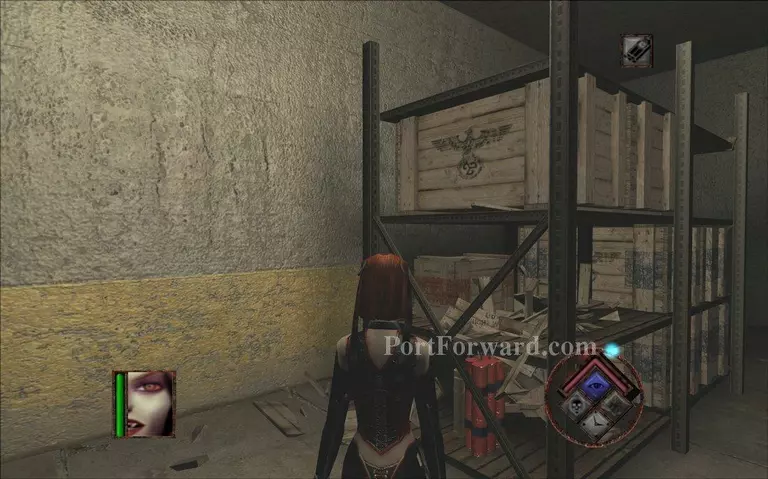
Pick up the explosives from a crate in there.
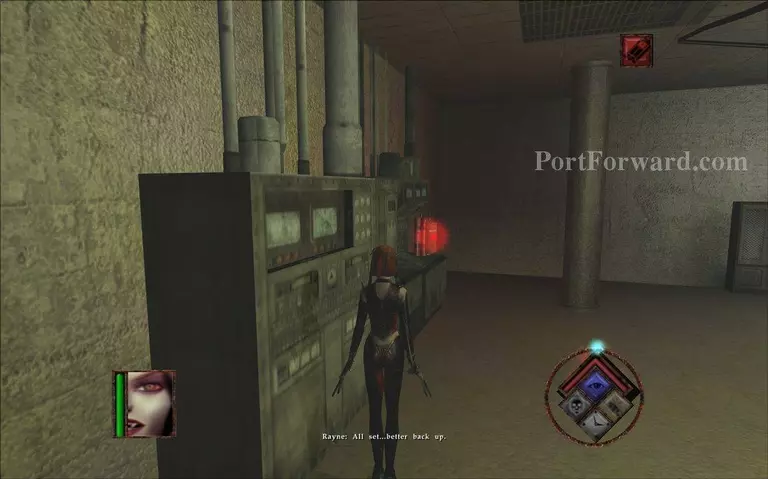
Get back to the comm machine to place the explosives and then run away.
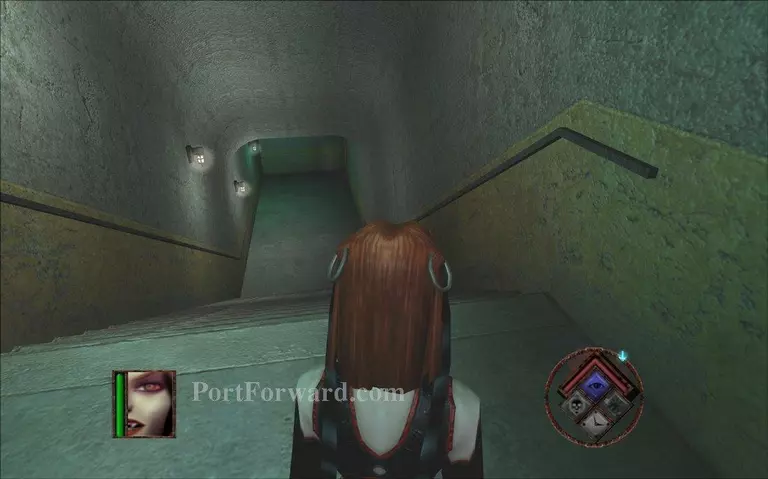
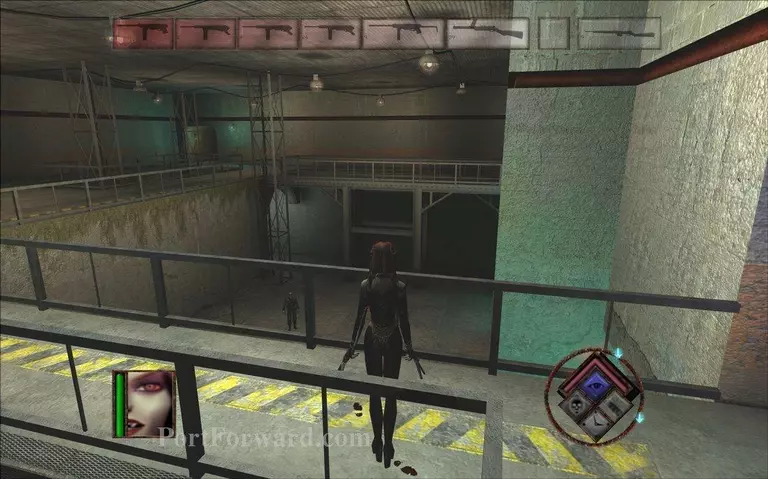
To reach your next target go down one floor.
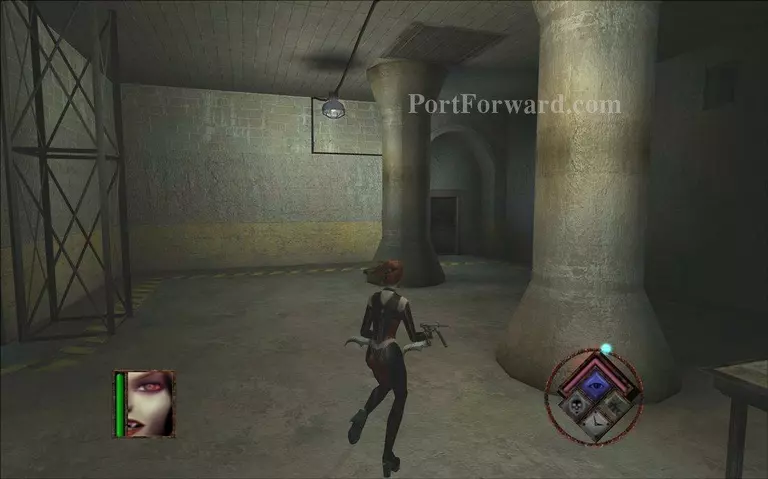
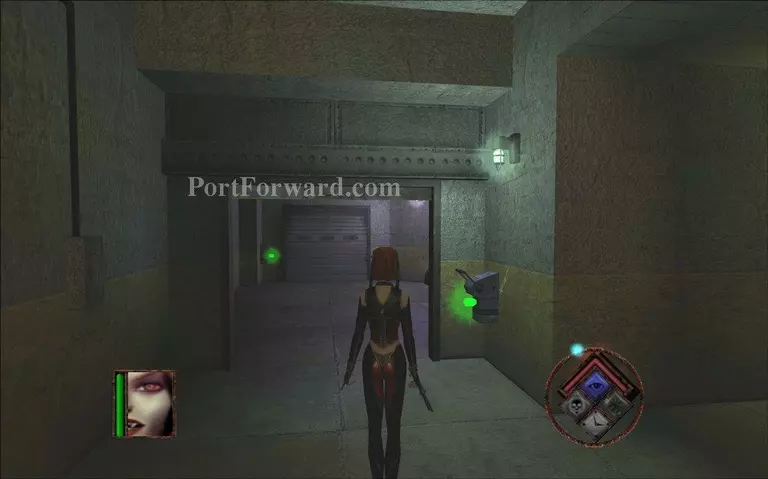
Go through the door on your left past 2 pillars.
Backtrack through the library.
Use the green switches to go back to the first area.
Jump down here.
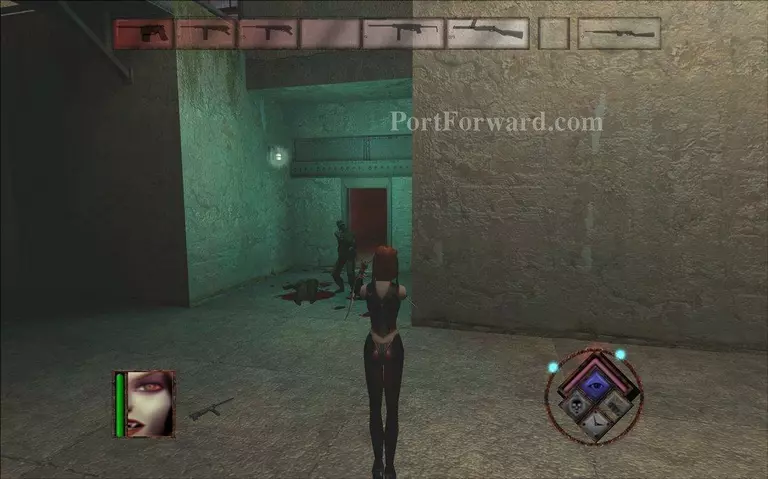
Go through the second door on your left when you jump down.
To enter the naval area go through the big gate.
More BloodRayne Walkthroughs
This BloodRayne walkthrough is divided into 40 total pages.


