
This Braid walkthrough is divided into 7 total pages.
You can jump to nearby pages of the game using the links above.
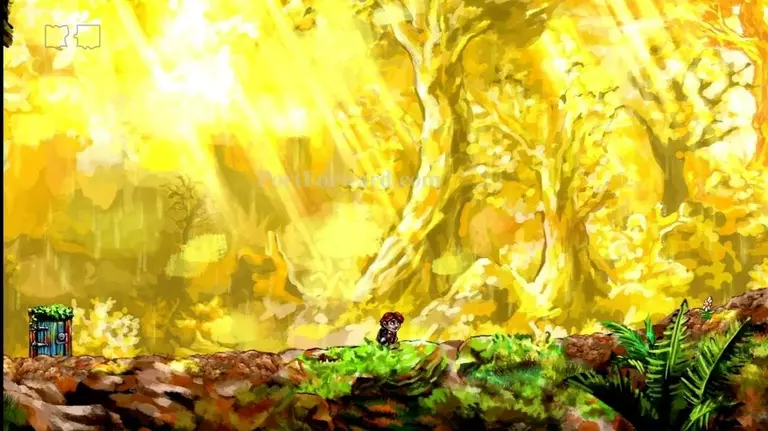
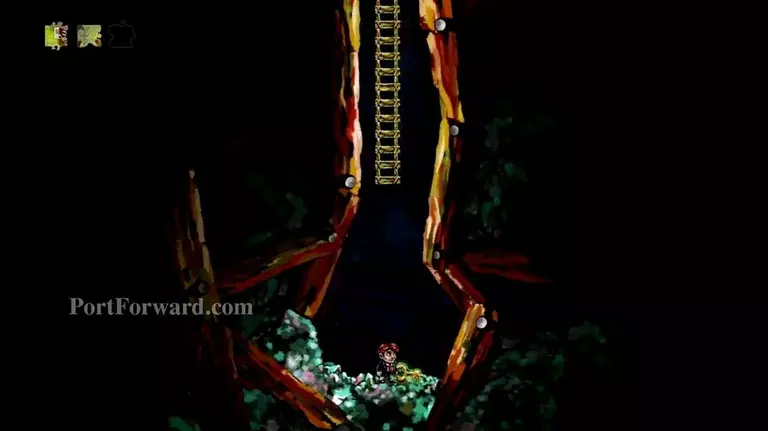
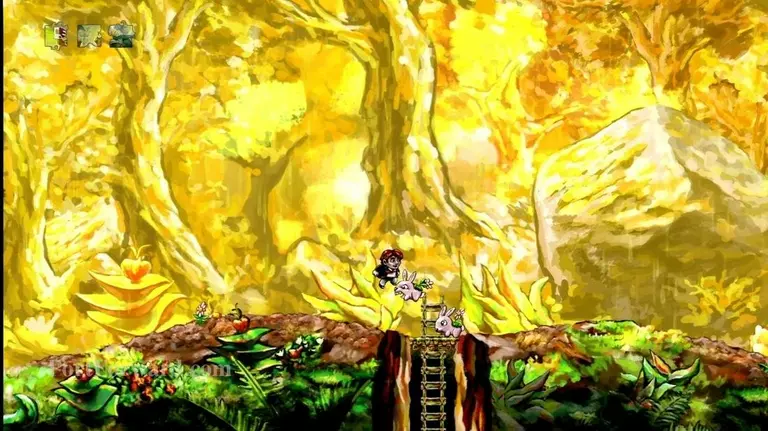
World 3
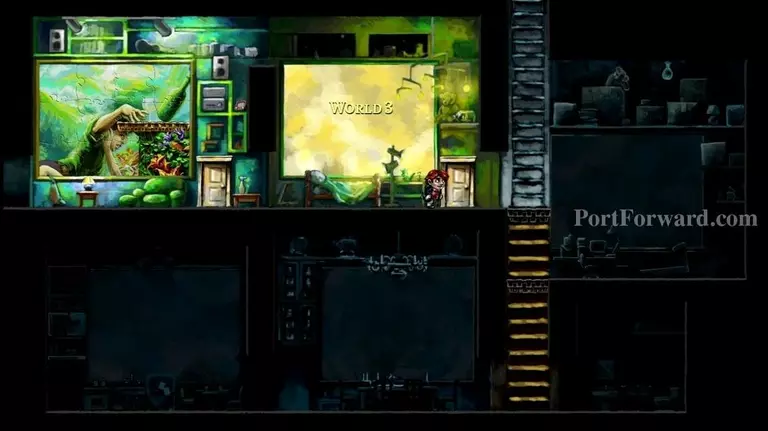
Enter the door to World 3.
Read the books for some back story.
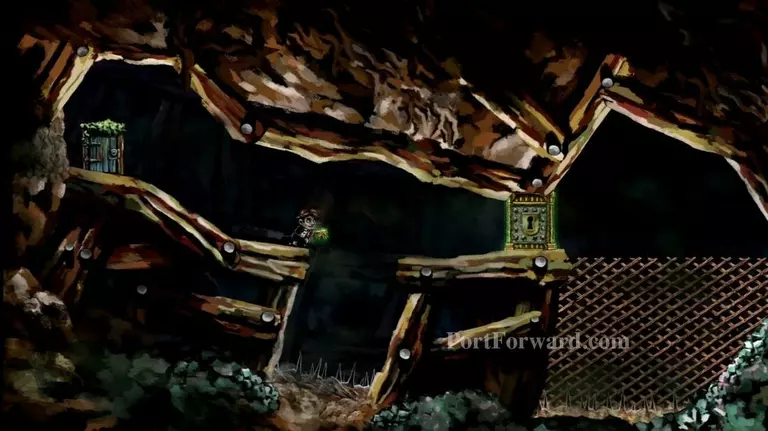
Enter the first door on the right.

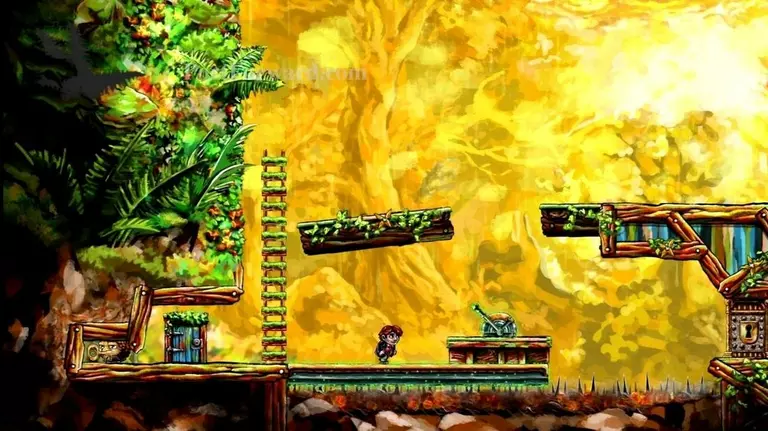
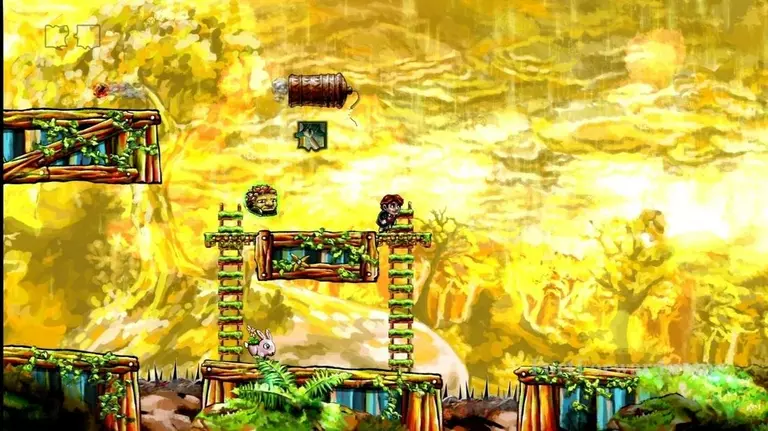
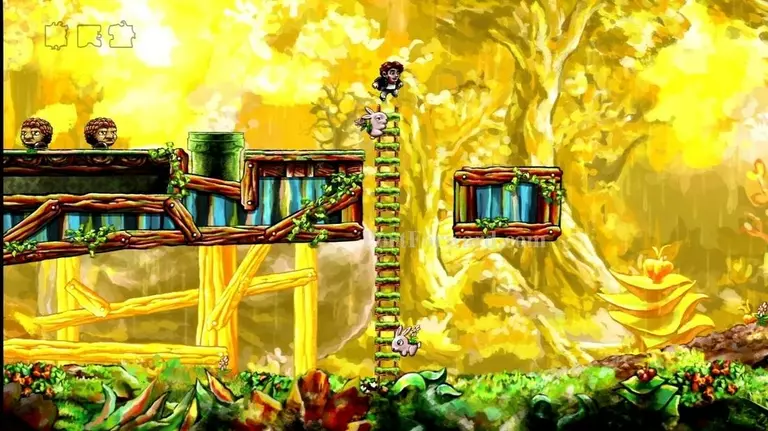
This brings you to level 2-1, "The Pit".

Jump into the pit.
Stomp on the enemy's head.
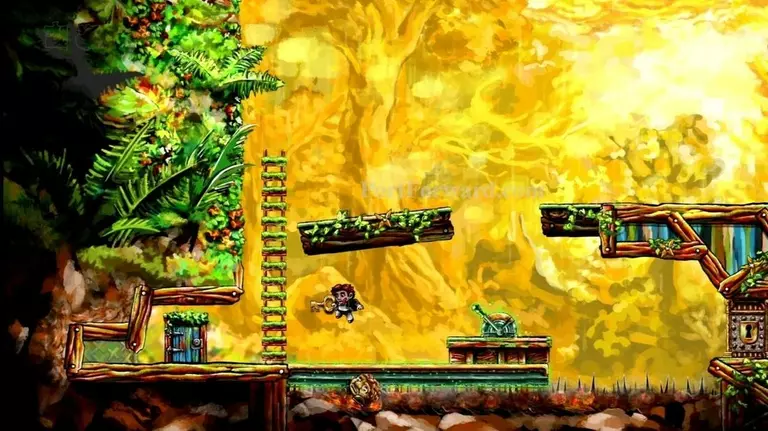
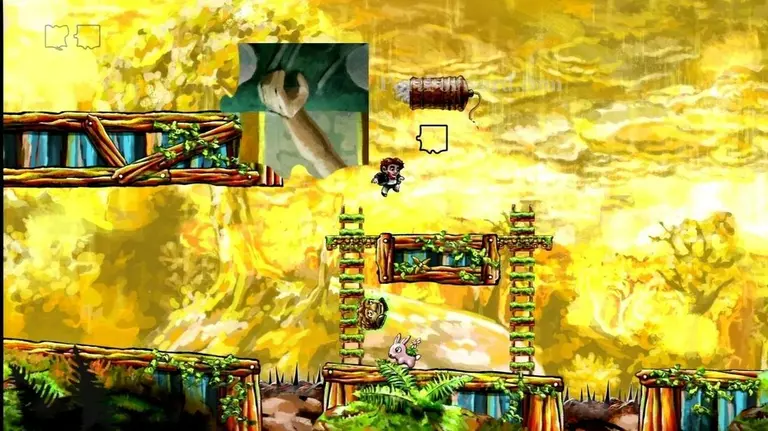
Take the key. Notice the green glow around it. This means it is unaffected by rewinding time.
Rewind yourself up to the ledge. The key will stay with you.
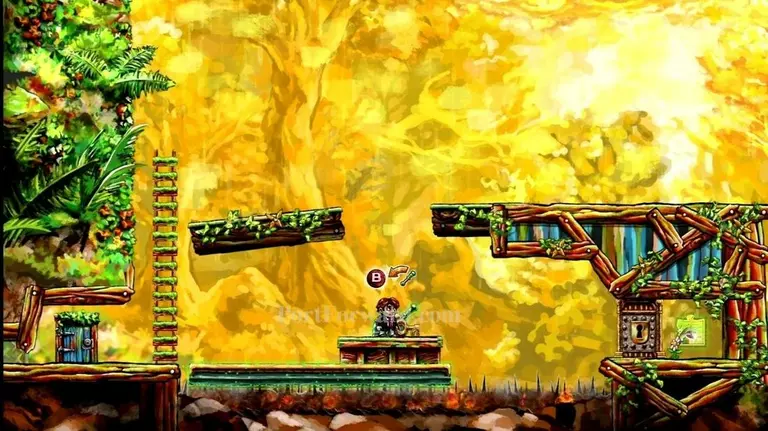
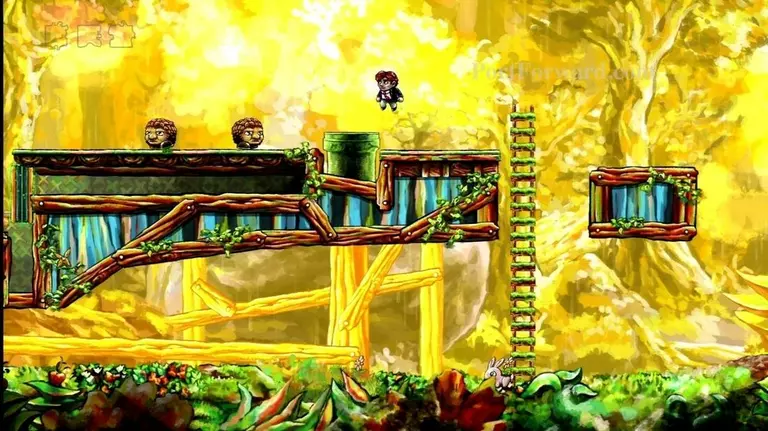
Open the locked door with the key.
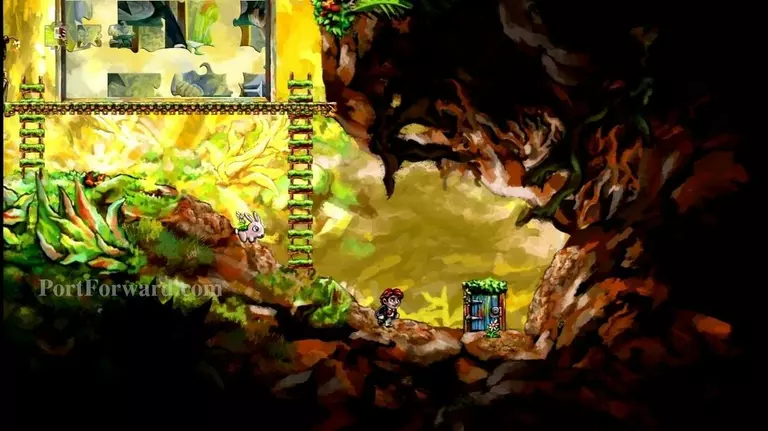
Exit the level through the door on your right.

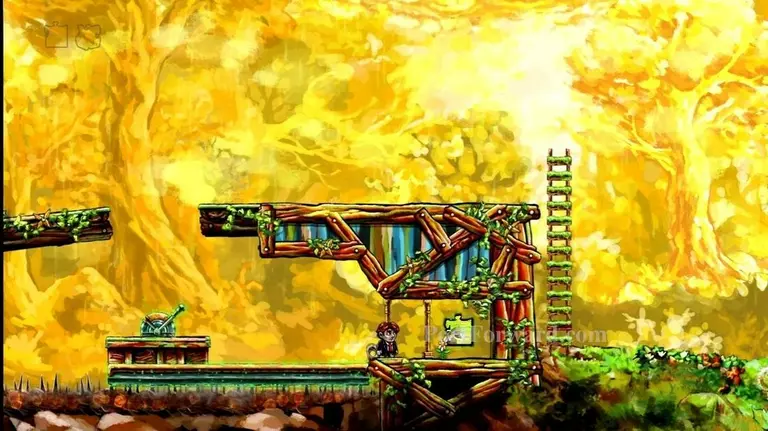
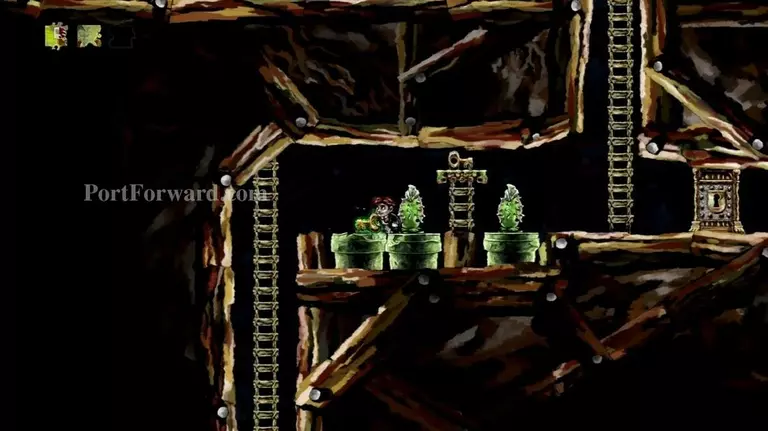
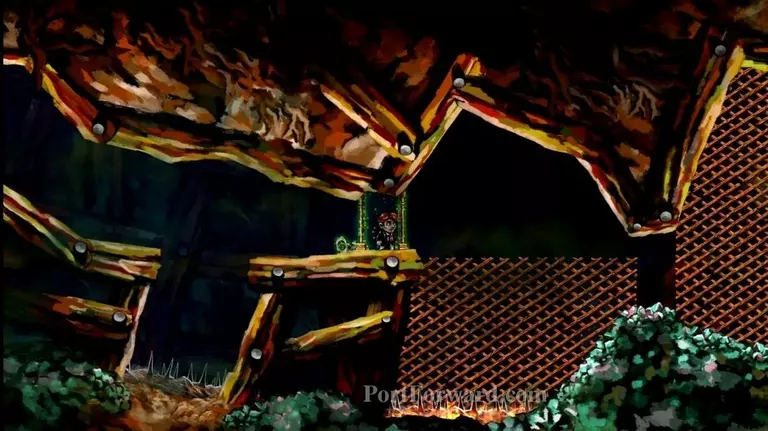
Now we are at level 2-2, "There and Back Again".
Notice there is a wall slowly moving downward, which will end up blocking the locked door.
Climb up the lattice.
Jump off and grab the key.
The key is unaffected by time. Once you have the key, rewind back to the start, when the moving wall is at its highest point.
Climb the lattice to reach the locked door, then open it.
Take the puzzle piece and get out of there before the moving wall blocks you in.
Exit through the lower-right door.

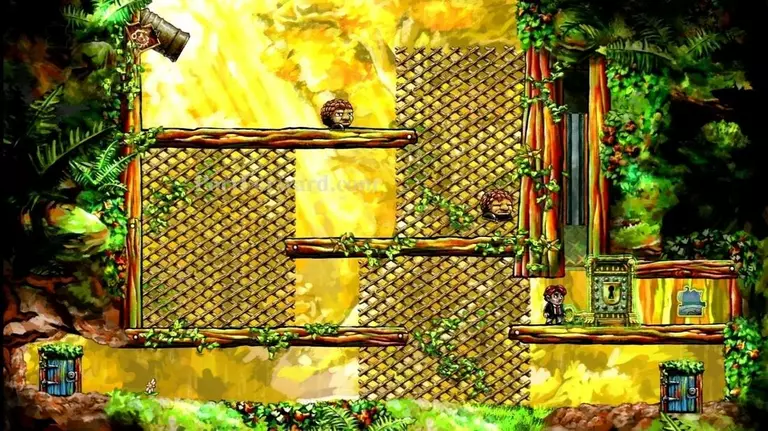
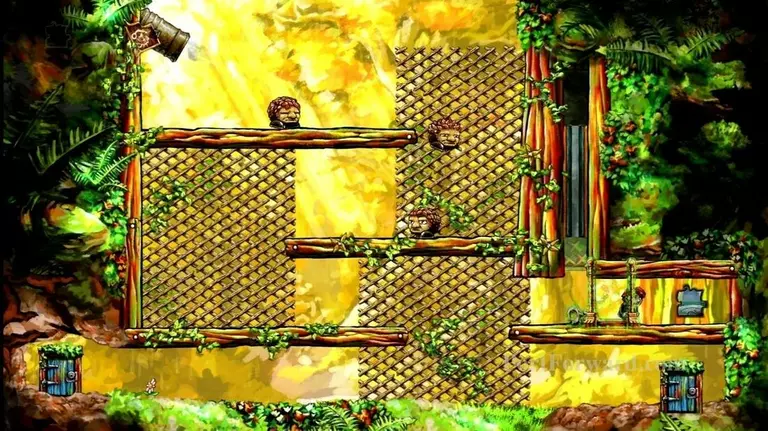
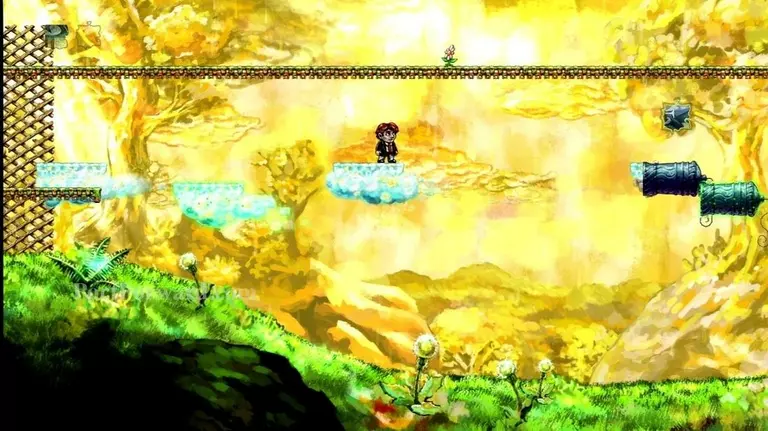
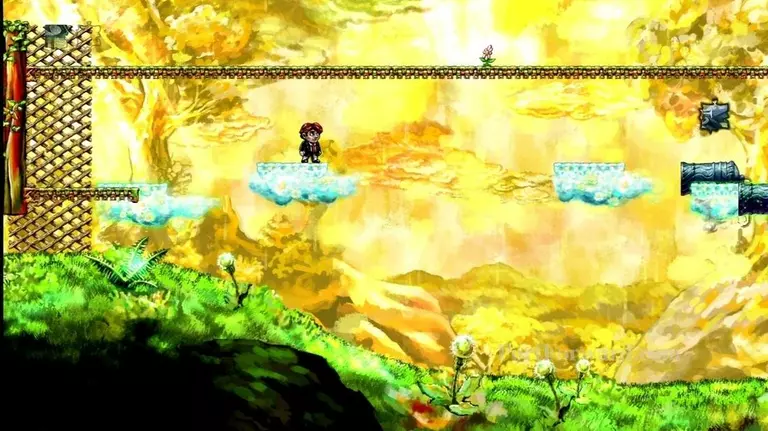
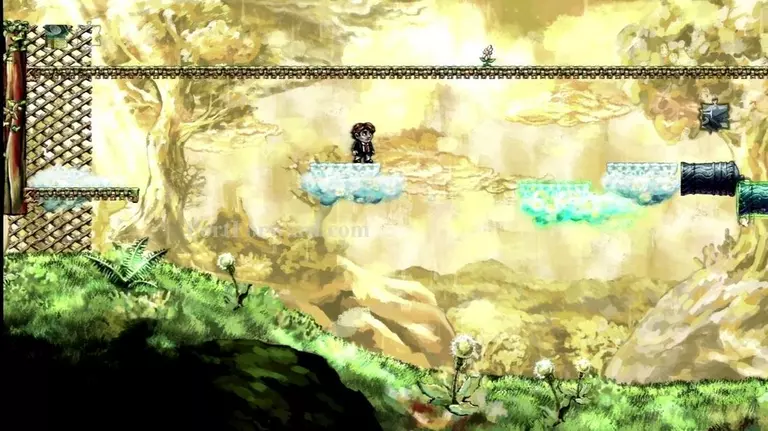
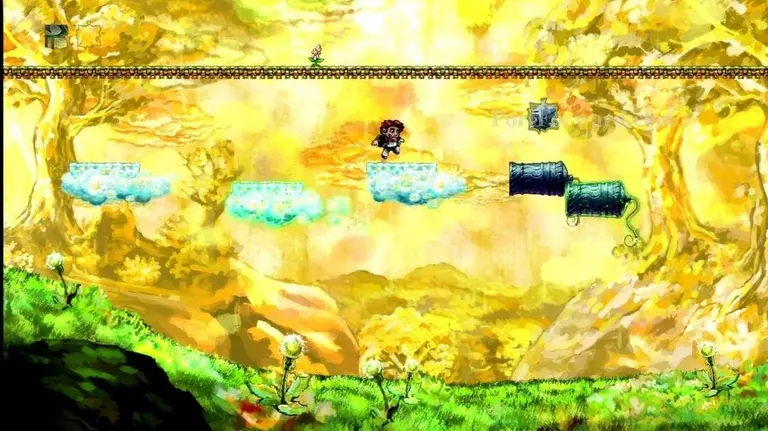
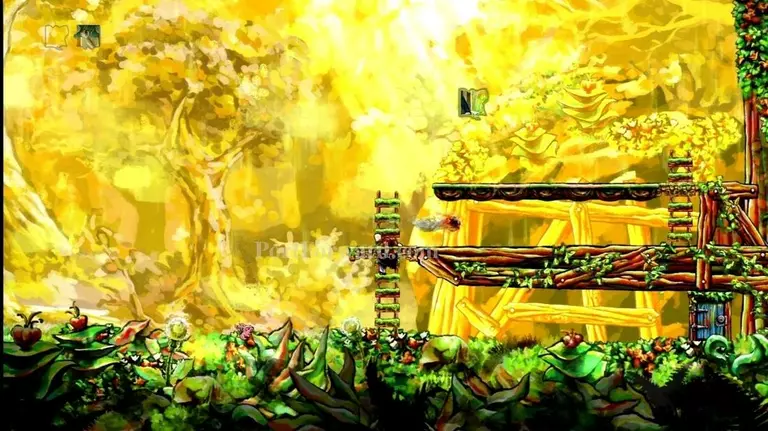
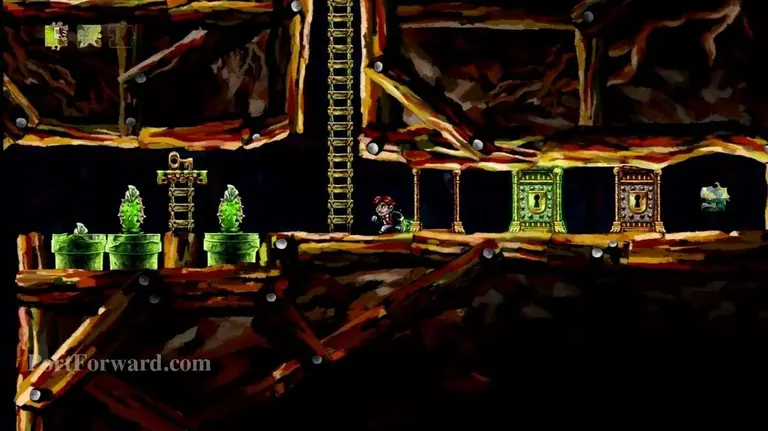
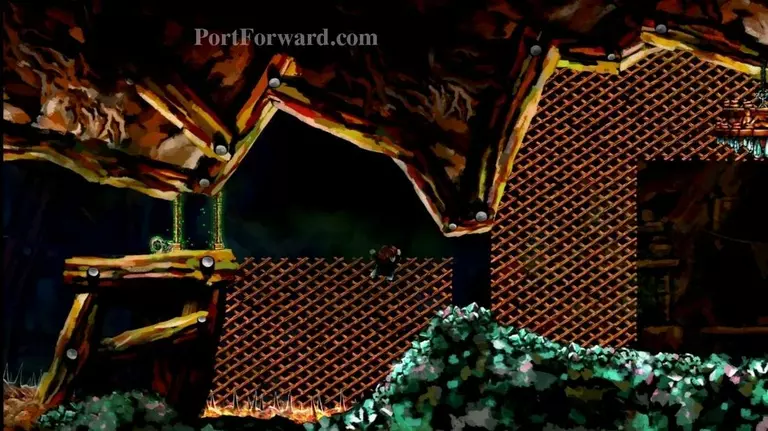
Now you are in level 2-3, "Phase".

Climb the lattice and get on the platform.
The green-glowing clouds are unaffected by time, but the others are. Rewind time until the clouds are evenly spaced.
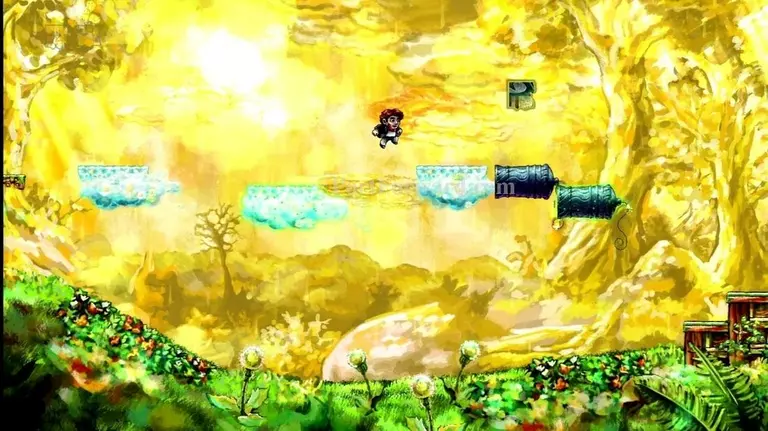
Now you should be able to just jump across them.
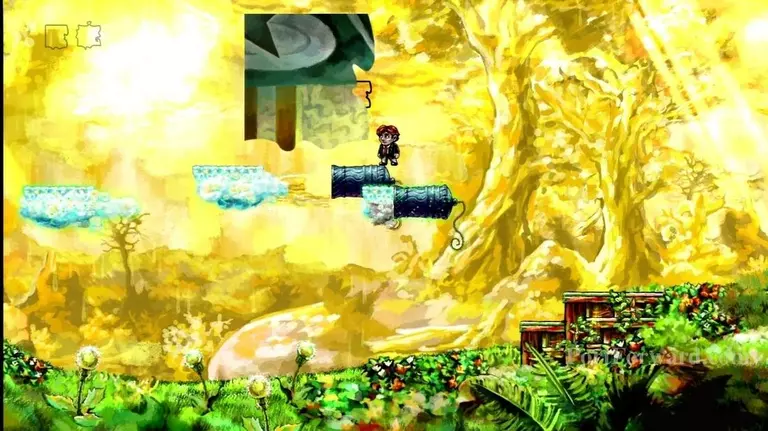
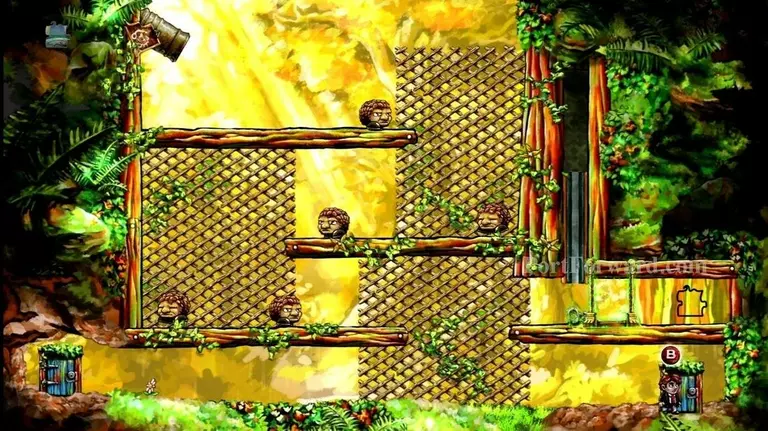
Get the puzzle piece from above the cannon.
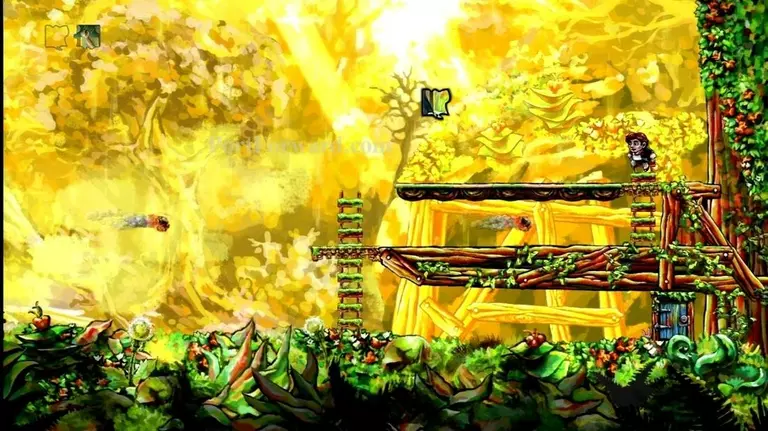
Head over the the right. You'll find some more clouds.
Rewind time to get three of the clouds to line up evenly.
Jump across to the third cloud, which should not be glowing green.
Just stand on the cloud for a bit, waiting for another green-glowing cloud to be shot out of the lower cannon.
Once you see the green cloud, rewind time to get it between the two white clouds.
Now jump across the clouds. Repeat this until you can jump onto the cannon.
Collect the puzzle piece from here.

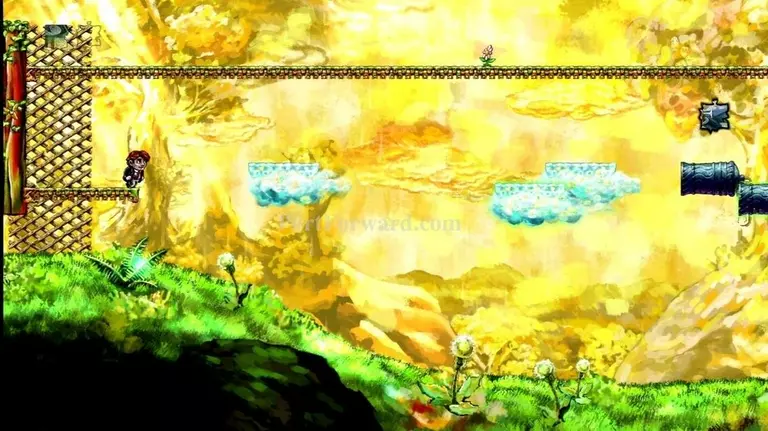
Exit through the door on the right.

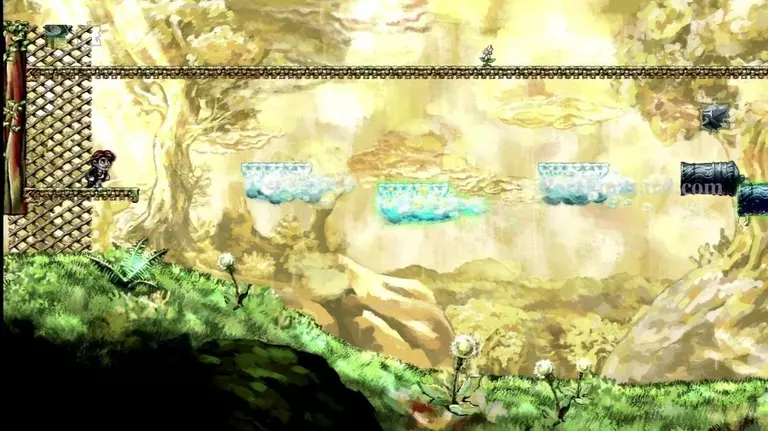
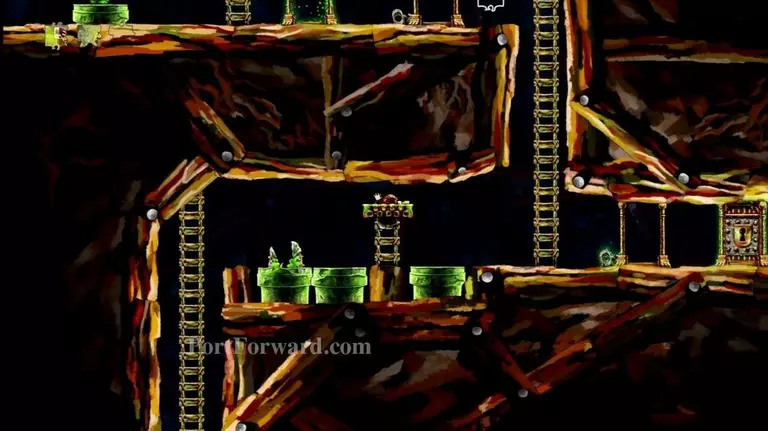
Now you'll be at level 2-4, "The Ground Beneath Her Feet".
When this level starts, you'll see an enemy fall into the spikes.
Climb the ladder and jump down to the switch.
Pull the switch and the platform below will move leftward.

Rewind time, bringing the enemy back to life. The platform and switch are glowing green, so they will not rewind.
Now the enemy will not walk into the pit, but instead go left until it grabs the key for you.
Take the key from the enemy.
Flip the switch to bring the platform to the right.
Open the locked door and take the puzzle piece.
Flip the switch again, moving the platform left. Then climb the ladder and head to the right, jumping over the gap.
Over to the right, you'll find another switch. Pull the switch to make the platform above move right.
Go up on the platform and stand above the puzzle piece for a few seconds (or maybe even better, the platform to the right of it.)
Go back down and flip the switch.
Rewind time, taking you back to where you were standing before.

You will now be able to get the puzzle piece.
Now rewind again, to get yourself back to safety. Luckily, this puzzle piece was glowing green, meaning it is unaffected by your time manipulation.
If you rewind back to the switch, just pull it and have the platform go back to the right.
Now you can exit through the door on your right.

Now you are on level 2-5, "Tight Channels".
Make your way to the right.
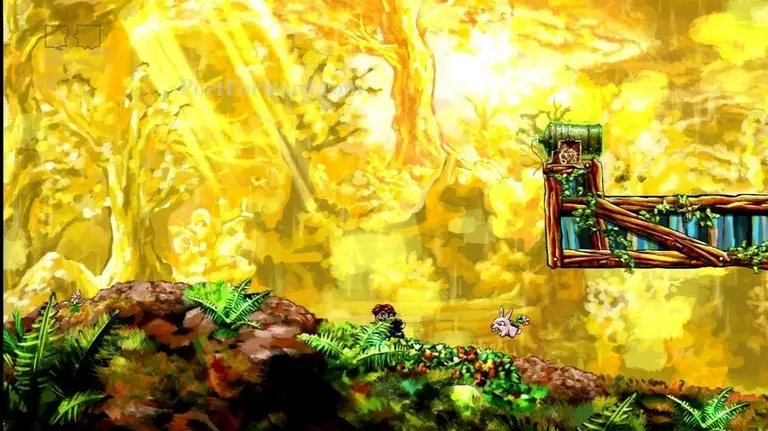
Careful of the rabid rabbit. Bounce on his head to kill him.
You need to keep the enemy above from being killed by the fireballs. Start by going to the right and climbing up on the platform where a puzzle piece is, then come back here. You'll need to rewind time every once and a while to keep the fireballs away from him.
Keep rewinding as needed, until you and the enemy are back up on the platform the ladders lead to.
Now jump on the enemy's head.
This should bounce you high enough to reach the puzzle piece.

Continue rightward, ignoring the bunnies that start chasing you. Go past the snapping plant when it hides.

You'll run past a cannon. Jump over the fireballs as they come at you, while still continuing rightward. The cannon should take care of most of the bunnies for you.
You'll eventually reach a ladder. Climb partway up the ladder and wait for a fireball to go by.
Then immediately run to your right and climb the other ladder.
Collect the puzzle piece to your left.

Exit through the lower-right door.

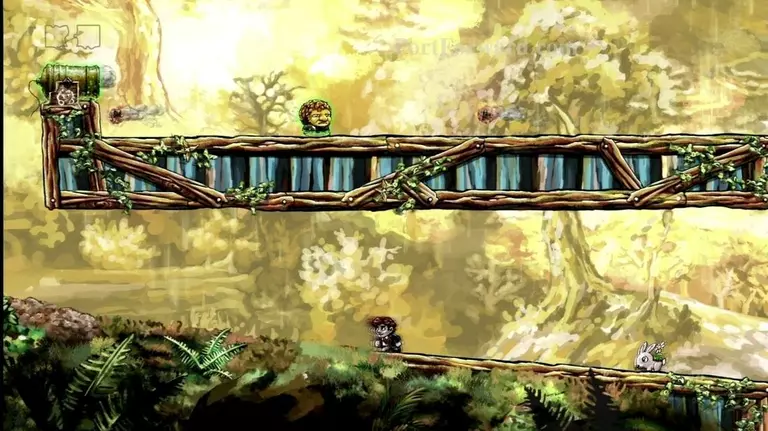
You are now on level 2-6, "Irreversible".
At the start of this level, you want to do everything you can not to reverse time. This is because of the two platforms moving toward each other. Once is affected by time, the other isn't. Stomp on the enemies.
You need the left-moving platform to pass above the upward moving platform. If you end up reversing time, go through the door and come back to try again.
Once the left-moving platform has moved a good amount past the upward-moving platform, continue to your right.
Climb up the ladder and kill the bunnies. If you need to rewind, you can do so now, just not too far.
Jump past the snapping plant when it hides in the pipe.

Go left, past the enemies, and collect the puzzle piece.
Now head right. You'll find a ladder that goes underground. Climb down it.
Jump past the snapping plant and grab the key.
Open the first door. It is protected from the reversal of time.
Reverse time to get your key back.
Now open the second door and grab the puzzle piece.
Go left, past the snapping plants. Just ignore the key above them for now.
Go down the ladder and grab a green-glowing key.
Now rewind time to get yourself back up the ladder.
Open the first door with this key.
Now go past a snapping plant and climb up the short ladder to get another key.
Use this key to open the second, time-protected door.
Rewind time to get the key back.
Now open the third door and collect the puzzle piece.
Climb your way back out of here.
Careful of the bunnies.
Exit through the door on the right of this level. DO NOT put any of the puzzle together on that puzzle board yet. If you do, you may not be able to get one of the hidden stars.

You have reached your first boss fight. This is level 2-7, "Lair".
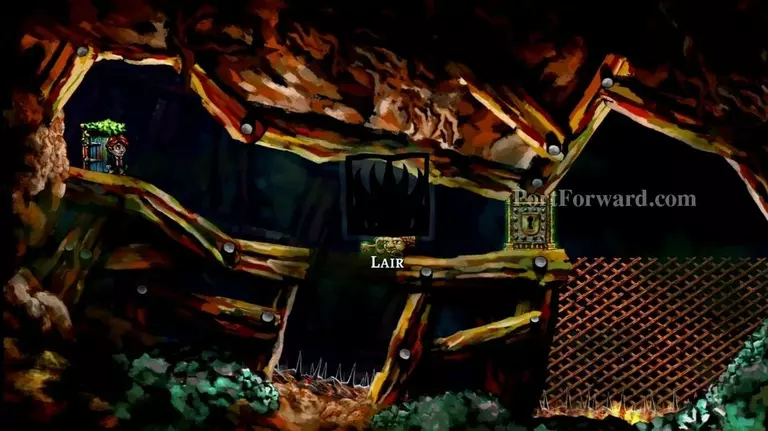
You'll see an enemy holding a time-protected key.

The enemy will die in the spikes, leaving the key in the pit.
Jump down onto the key, dying in the process.
Now reverse time. You should take the key with you as you do.
Jump over the pit and open the door.
Go rightward, using the lattice.
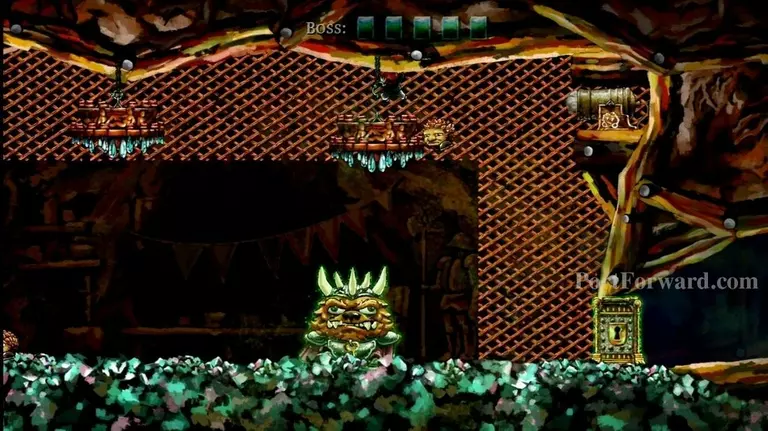
The boss will wake up when you get close to him.
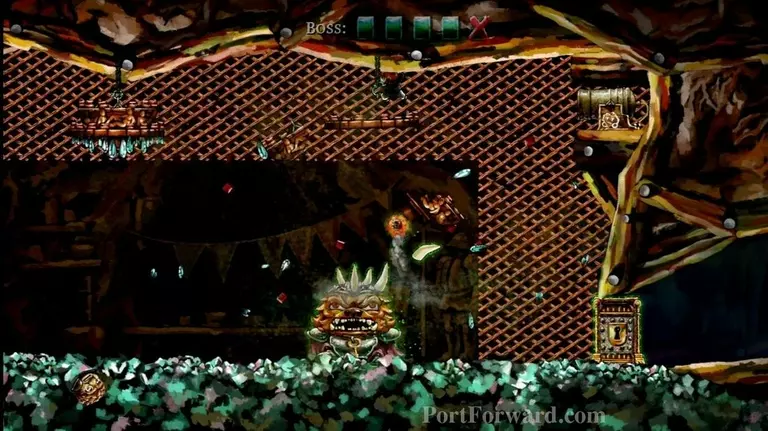
You're goal is to drop the chandeliers on his head.
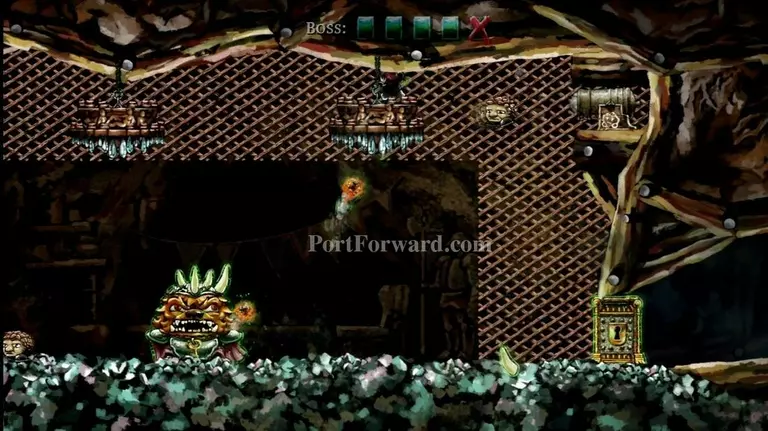
After you drop one, rewind time to bring it back up to the ceiling. The damage done to the boss won't reverse, since he is protected from the effects of time.
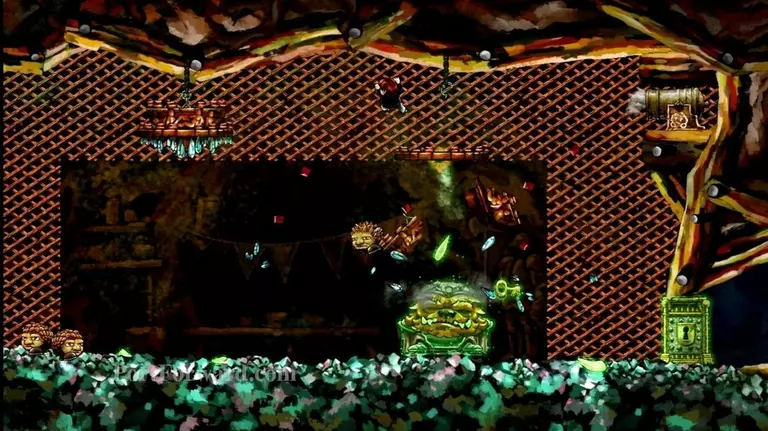
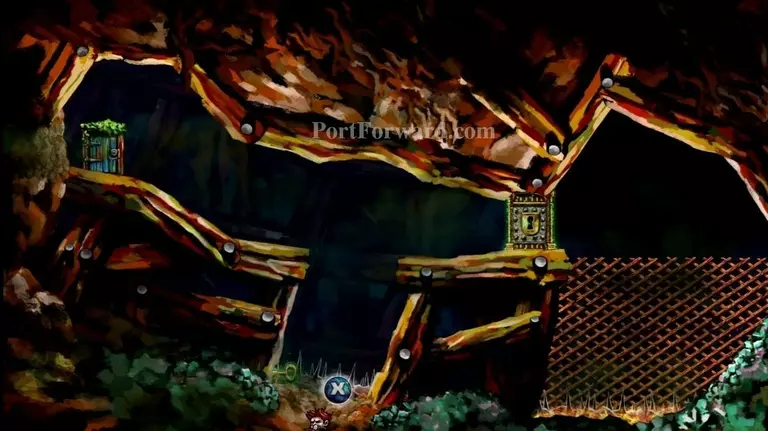
Continue hitting him until all the spikes are removed from his head. He will then die and drop a time-protected key.
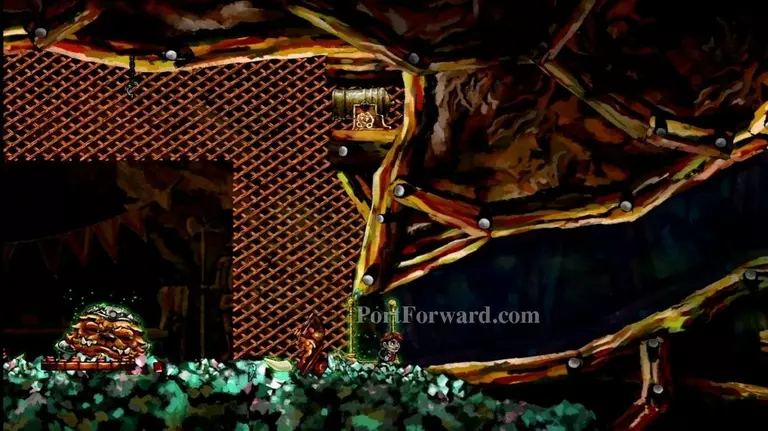
Grab the key and unlock the door on your right.
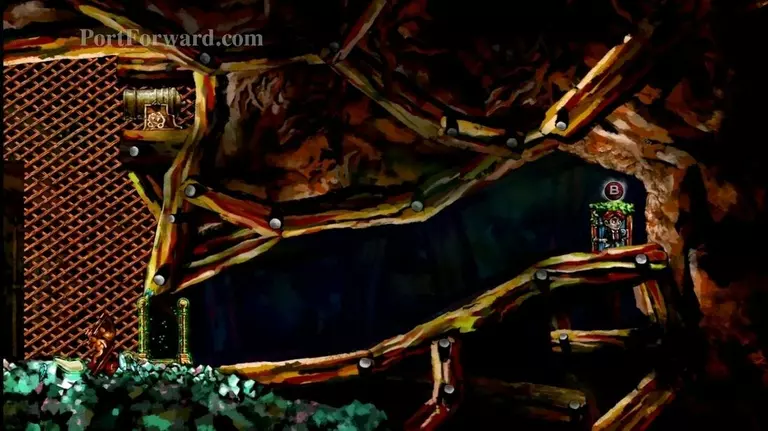
Exit through the door on the far-right.

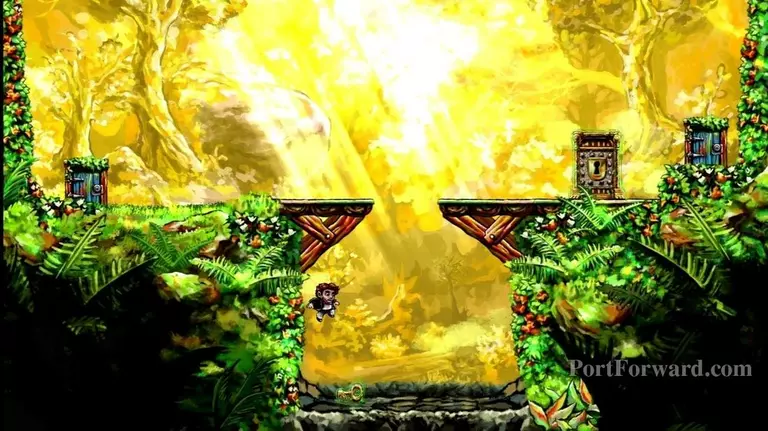
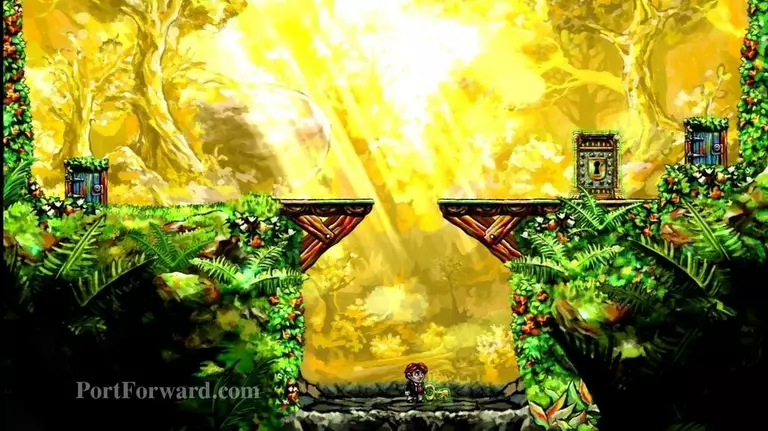
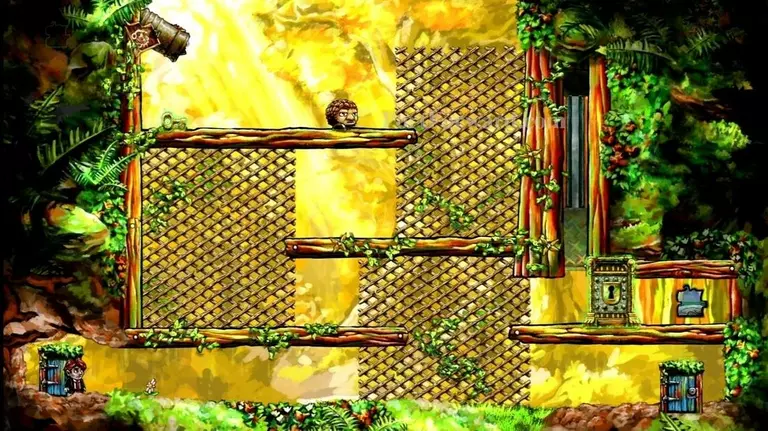
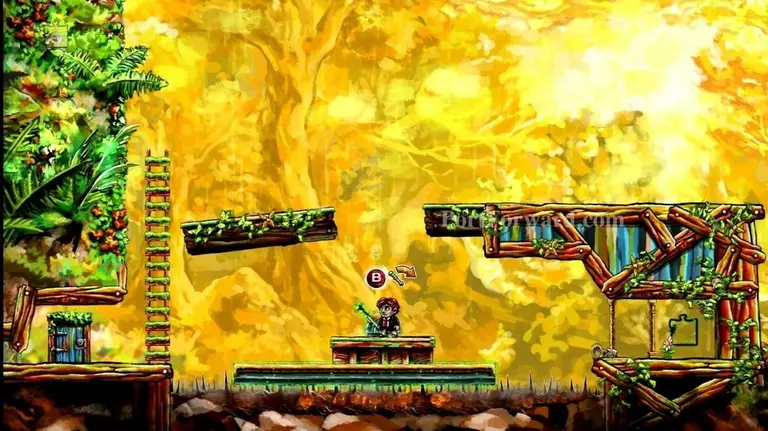
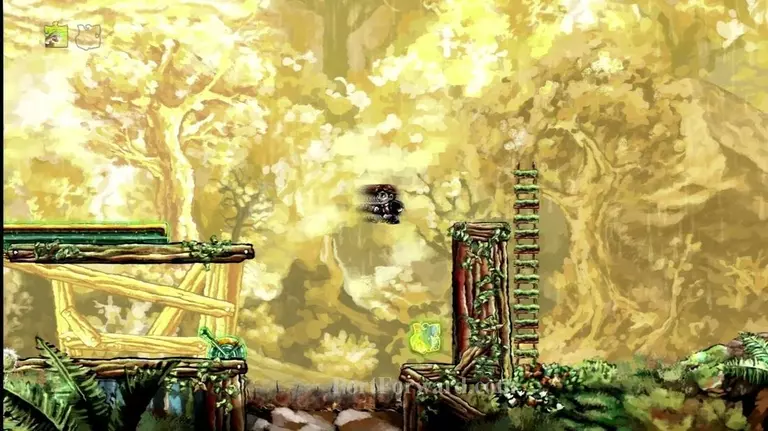
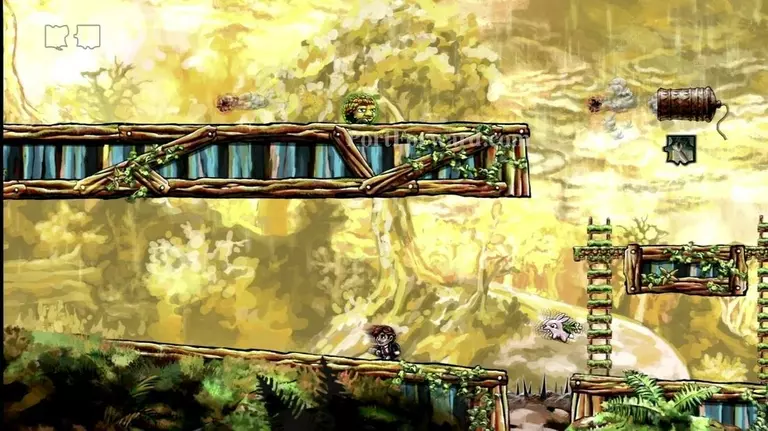
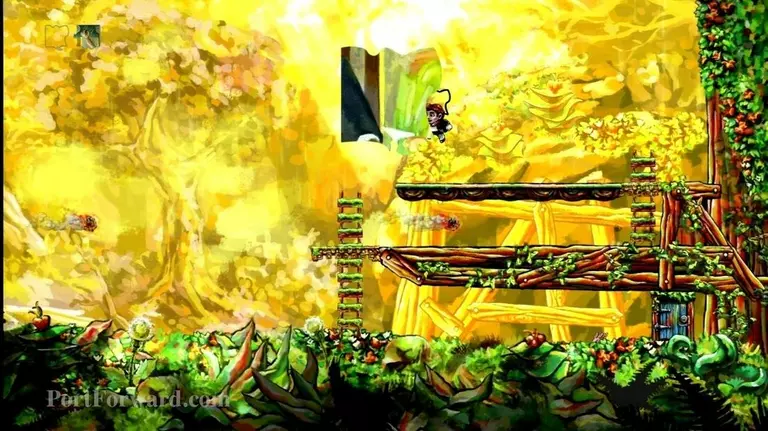
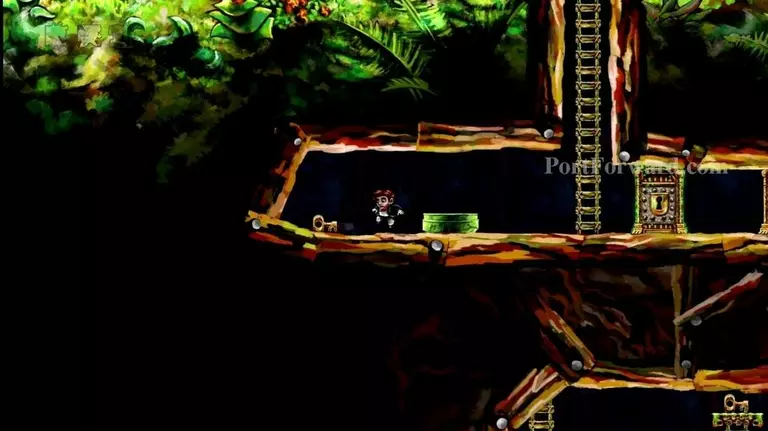
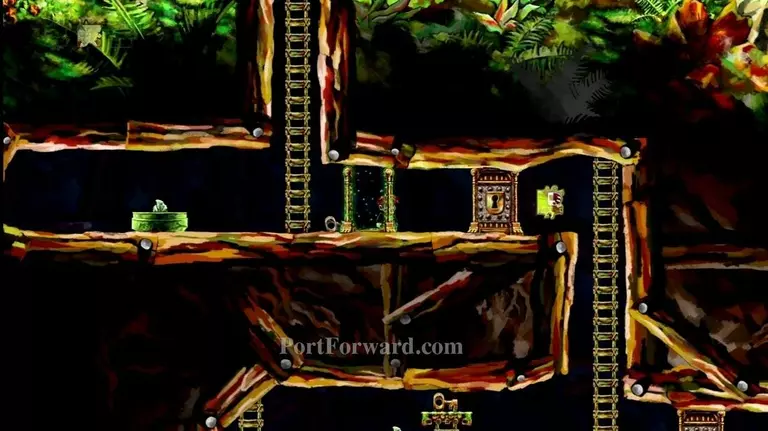
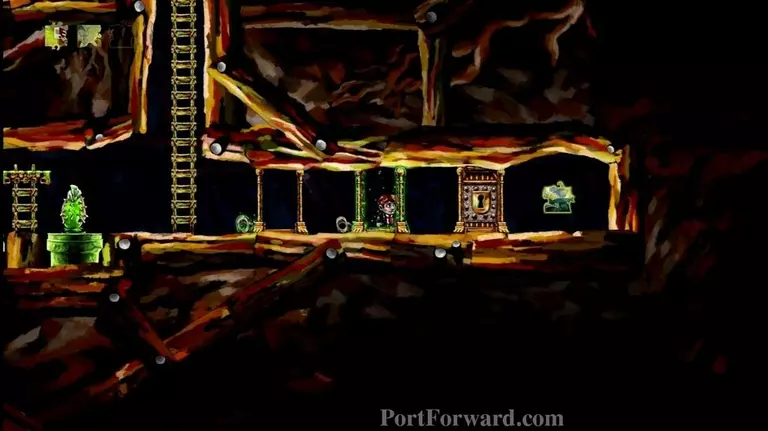
And now for the final level in World 3. This is level 2-8, "A Tingling".
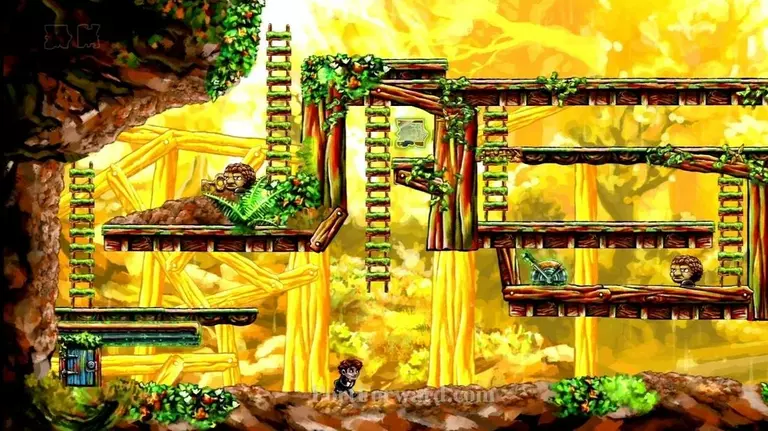
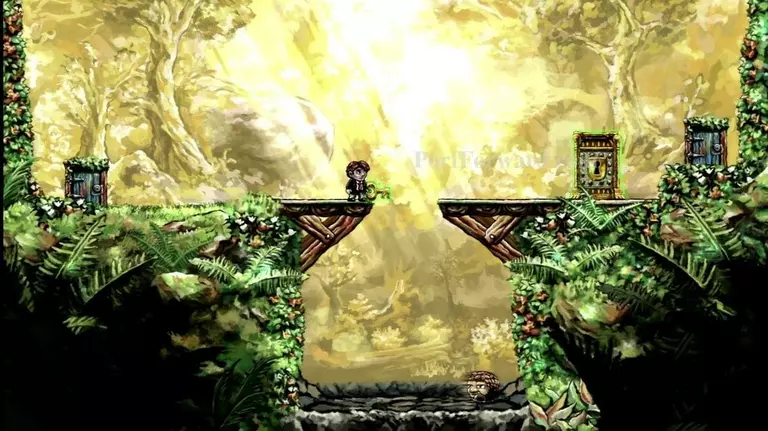
Walk over to your right.
img(130929);
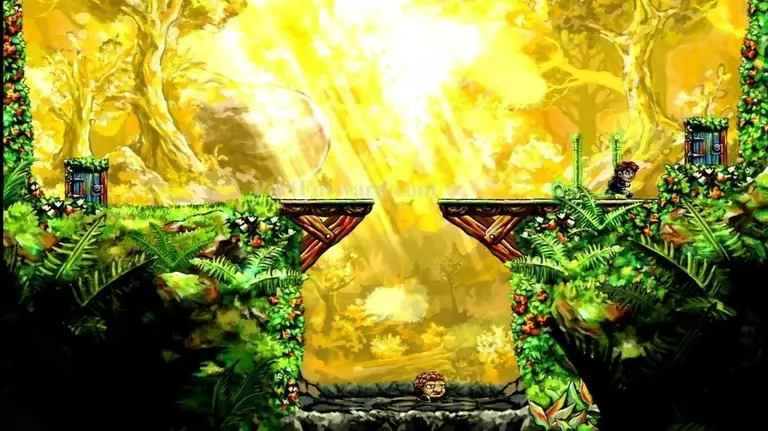
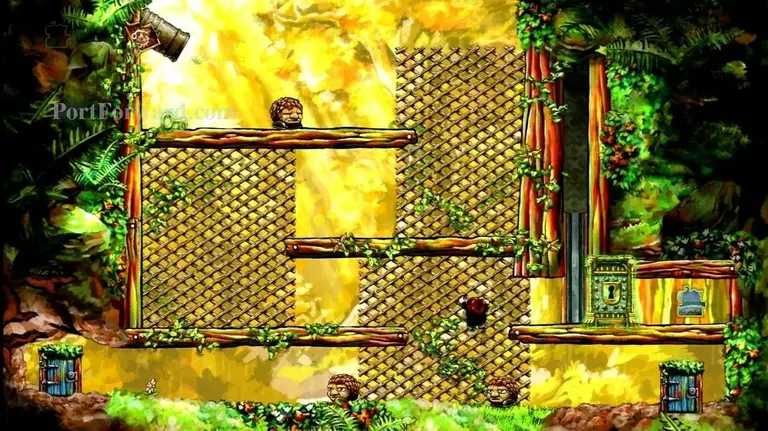
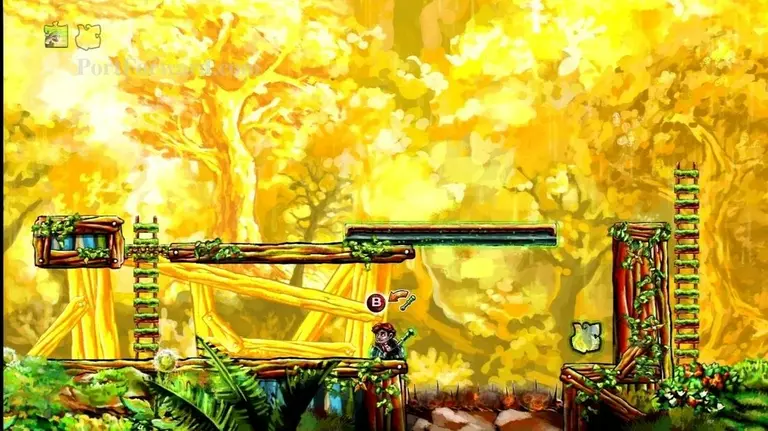
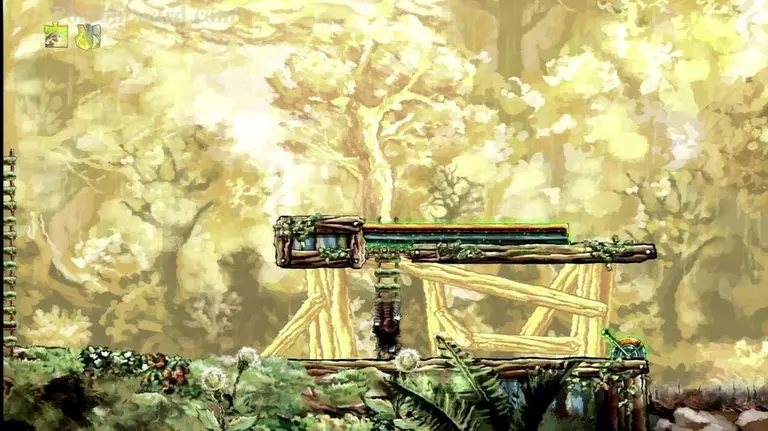
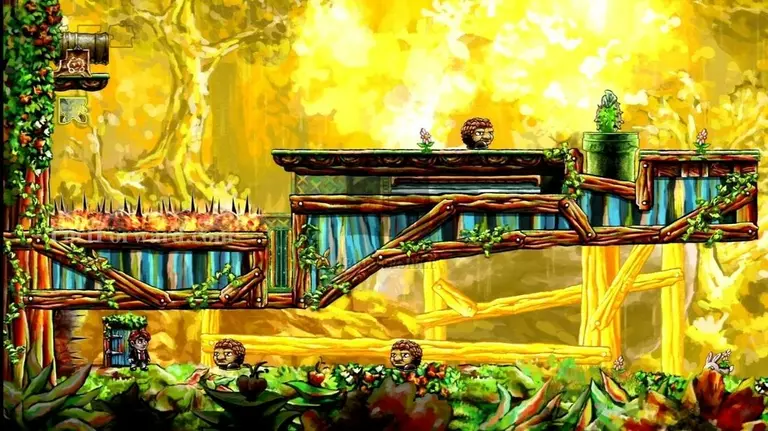
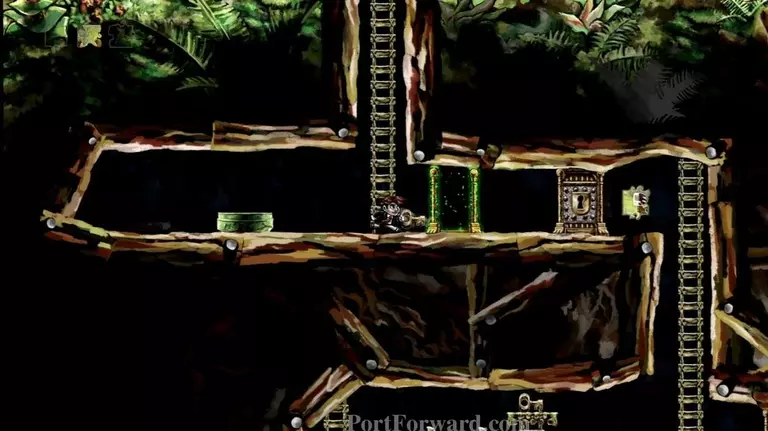
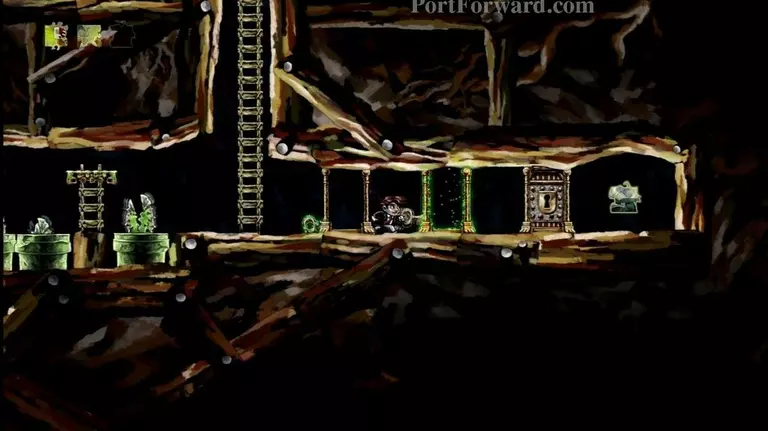
Climb the first ladder you come to, then go down the two ladders to your left. Kill the enemy and pull the switch.
img(130930);
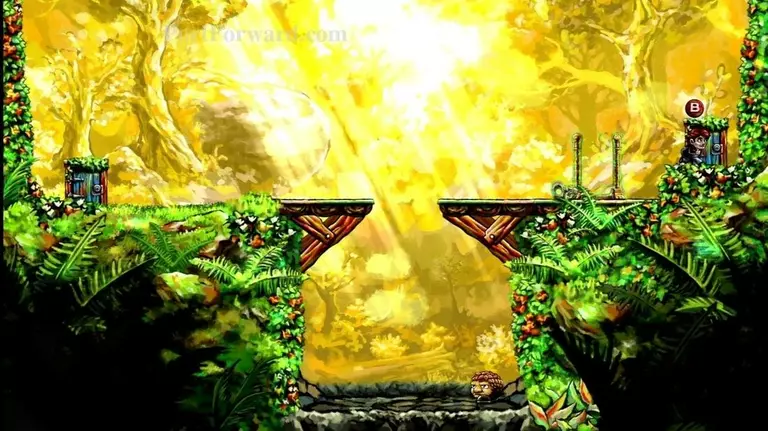
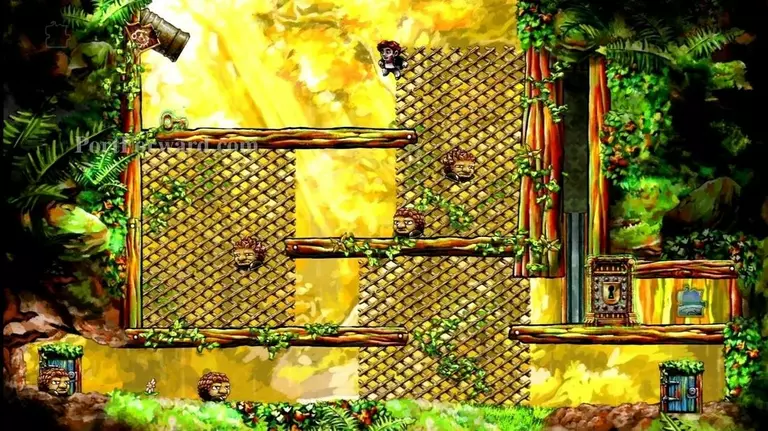
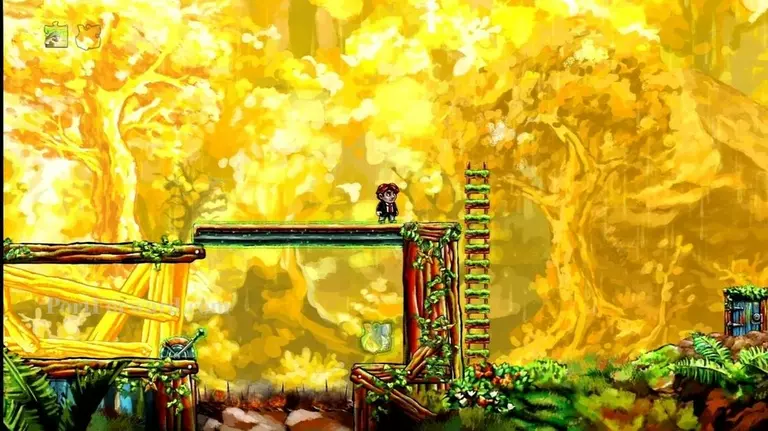
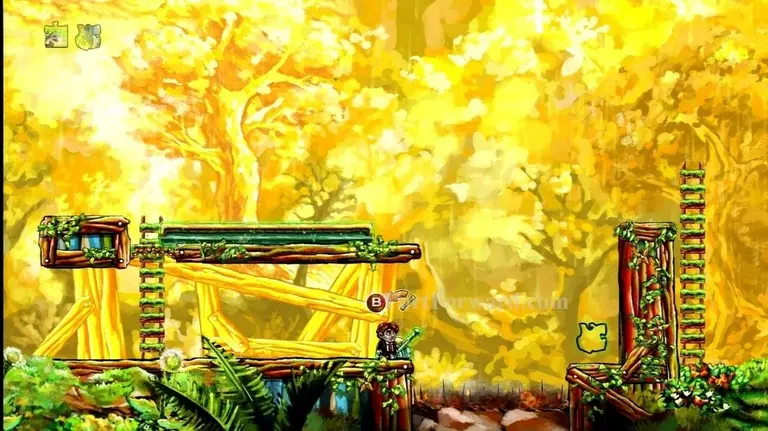
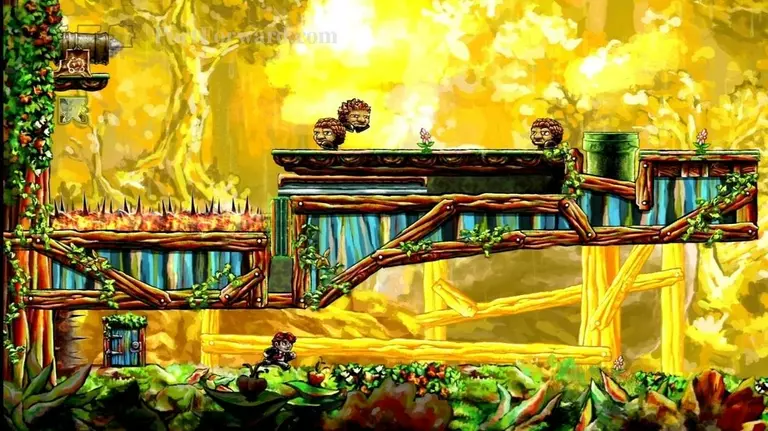
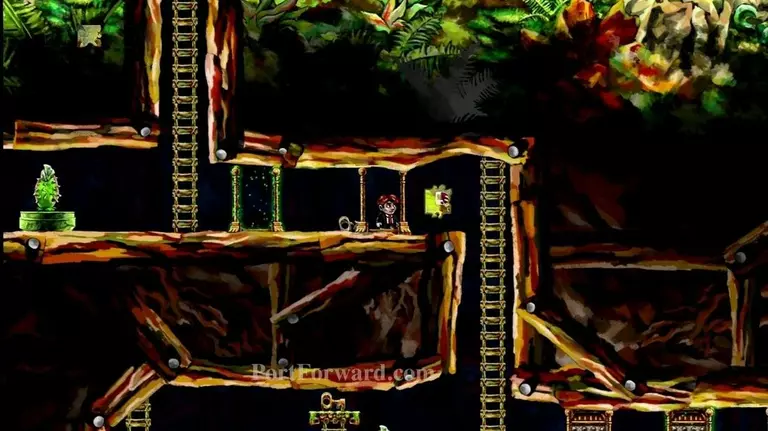
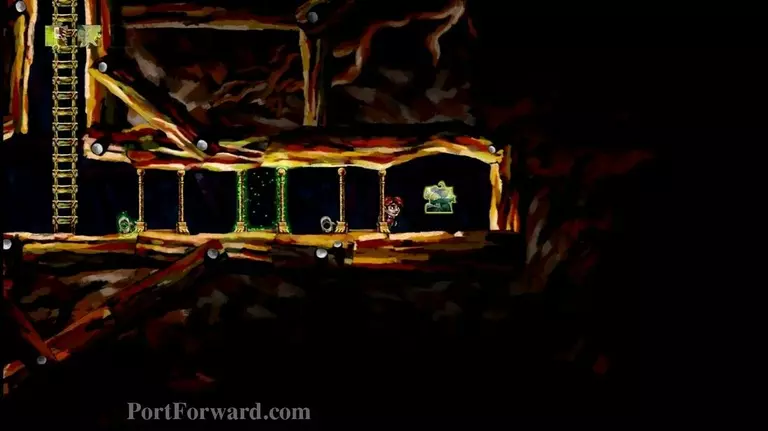
Climb up the ladders to the top platform.
img(130931);
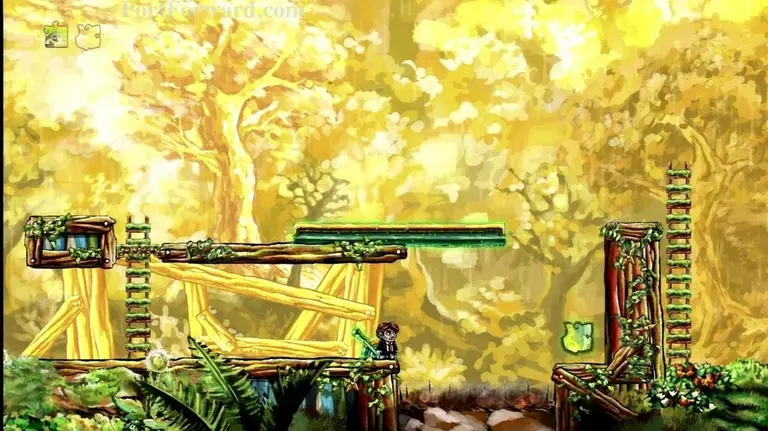
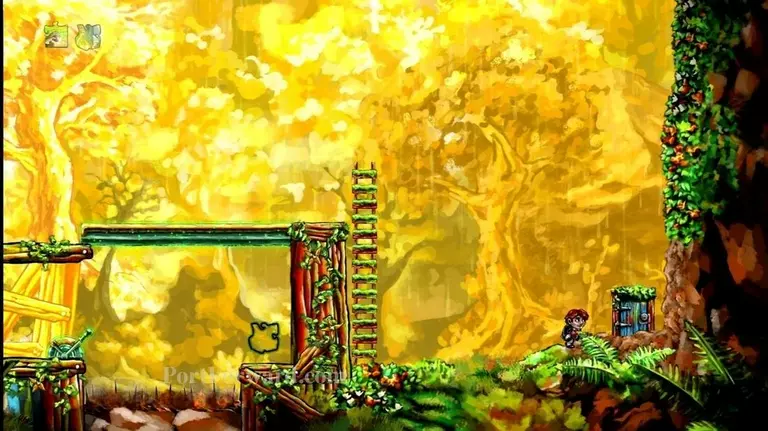
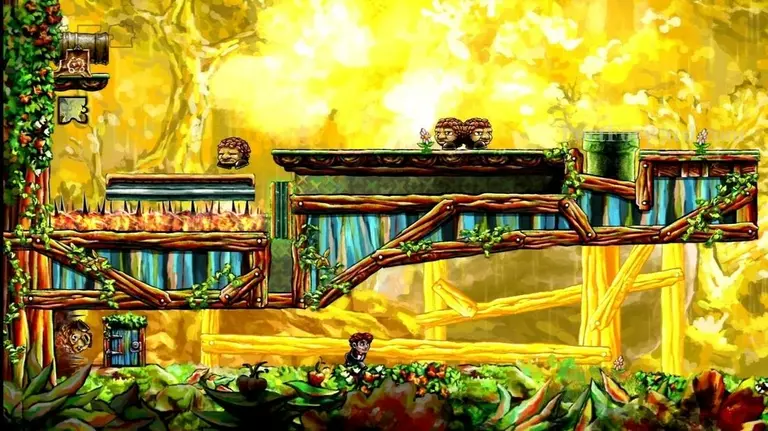
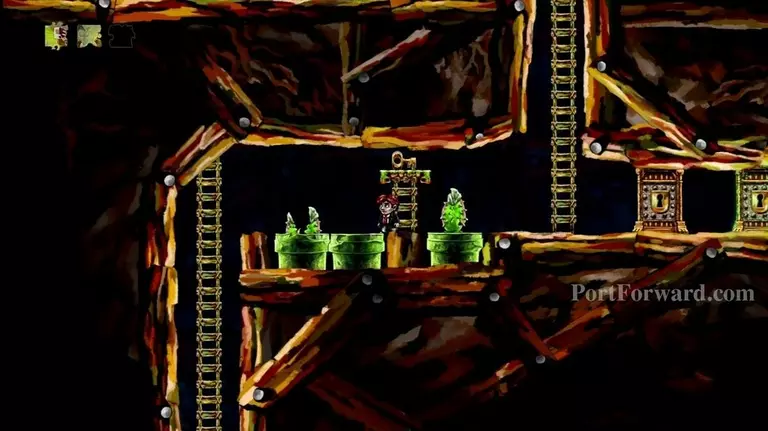
Climb down the ladders on your left and stand on the lower-left platform for a few seconds to use it as a rewind spot.
img(130932);
Now climb back up and head back to the switch, pulling it again.
img(130933);
Rewind quickly to the spot you stood on the lower-left platform.
img(130934);
As the moving platform gets near, get on it.
img(130935);
Jump onto the ladder and collect the puzzle piece.
img(130936);
Now go back to the switch and pull it again.
img(130937);
Get on the moving platform when it butts up next to the locked door. Unlock the door and go through.
img(130938);
Climb the ladder and head rightward across the lattice.
img(130939);
Climb down the ladder, then jump onto the mesh down below. Careful of the many obstacles.
img(130940);
Drop down to the lower-left corner and pull the switch.
img(130941);
This will raise up a time-protected platform. Rewind yourself back up to the lattice.
img(130942);
Stand on the time-protected platform.
img(130943);
Rewind time until the moving wall, seen on the left, is completely up.
img(130944);
Now quickly go along the lattice to the right and climb the ladder. You don't have much time, so if you get hit you may just want to get back on the time-protected platform, then rewind and try again.
img(130945);
Go leftward, along the top lattice.
img(130946);
Climb down the ladder and quickly grab the puzzle piece and get out before you are trapped. If needed, you can rewind and try again.
img(130947);
You can now exit this area to your right.
img(130948);
You'll talk to the dinosaur-like creature again.
img(130949);
Now we are back in your house. DO NOT solve the World 3 puzzle just yet...
img(130950);
Go into the puzzle board and look for two pieces that have part of a star on them. Position them as I have, near the upper-left corner.
img(130951);
Once you get them in the right spot, a star will appear.
img(130952);
Go to the World 2 puzzle board.
img(130953);
Move the puzzle down, so that the platform is at the bottom of it.
img(130954);
Now you can jump onto that platform.
img(130955);
Jump in the air, and press B at the top of your jump.
img(130956);
Move the puzzle upward, but not further than your jump.
img(130957);
If done correctly, you should land on the platform again.
img(130958);
Continue jumping and raising the platform up.
img(130959);
Once you are high enough, you should be able to Jump onto the black wall that divides World 2 and World 3. Then just jump onto the star to collect it.
img(130960);
Now you can enter the World 3 puzzle board to solve it.
img(130961);
It should look like this when complete.
img(130962);
You should also put the second puzzle back in position.
img(130963);
If you go look outside, you'll now see our second star light up the sky!
More Braid Walkthroughs
This Braid walkthrough is divided into 7 total pages.


