This Braid walkthrough is divided into 7 total pages.
You can jump to nearby pages of the game using the links above.
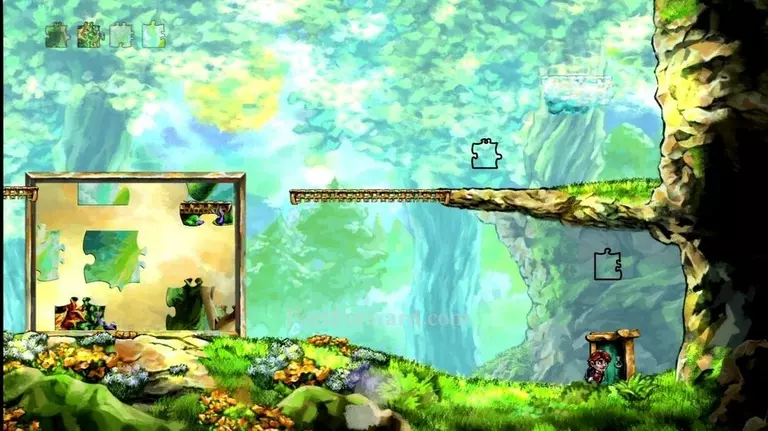
World 2
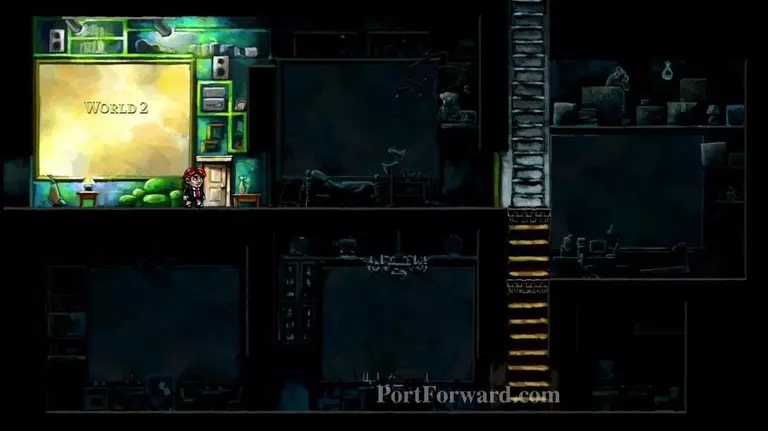
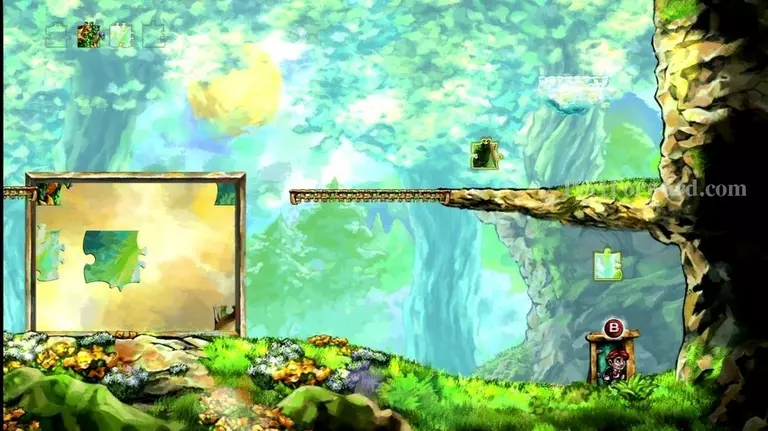
The rooms of your house light up as you can access them. Enter the door in the upper-left of your house, leading to "World 2".
Walk rightward, through the books. Stop and read them to get some back story.

When you are ready, enter the first door on the right.

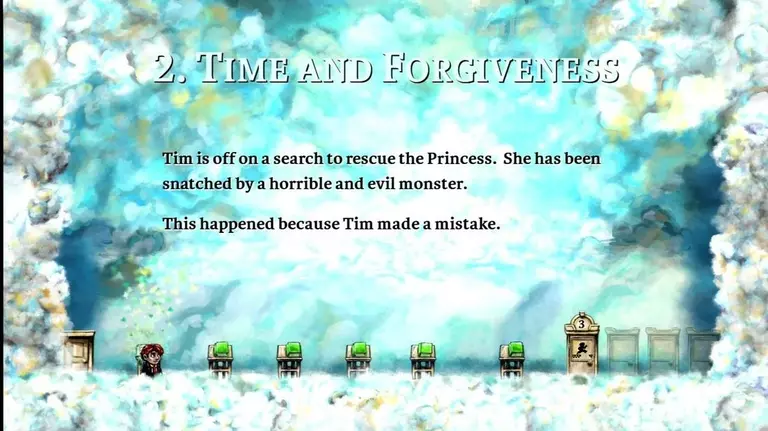
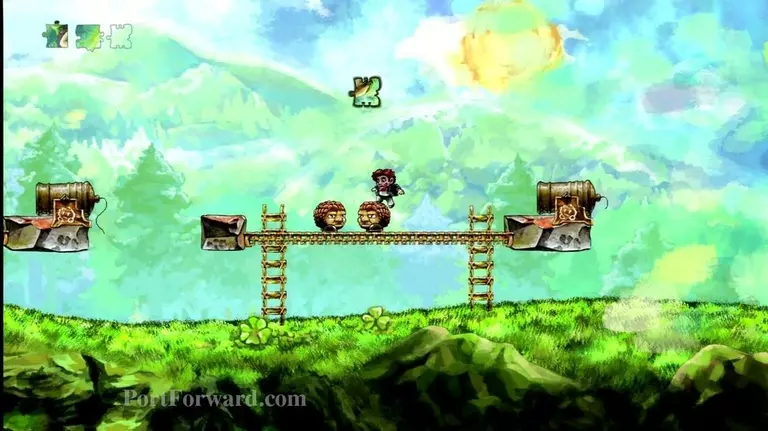
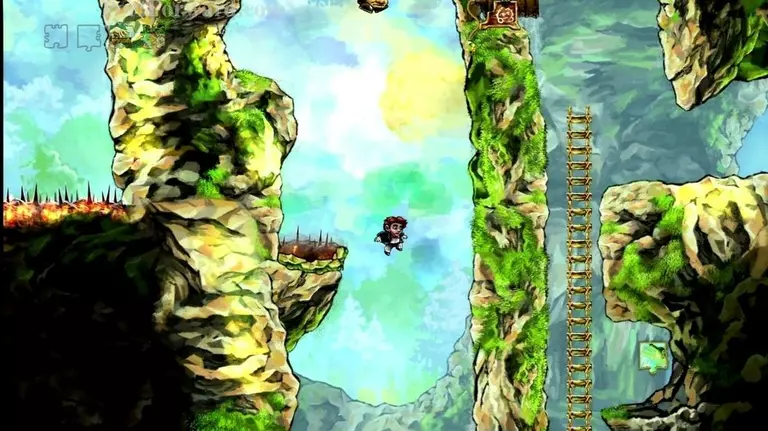
This will begin level 1-1, "Three Easy Pieces".
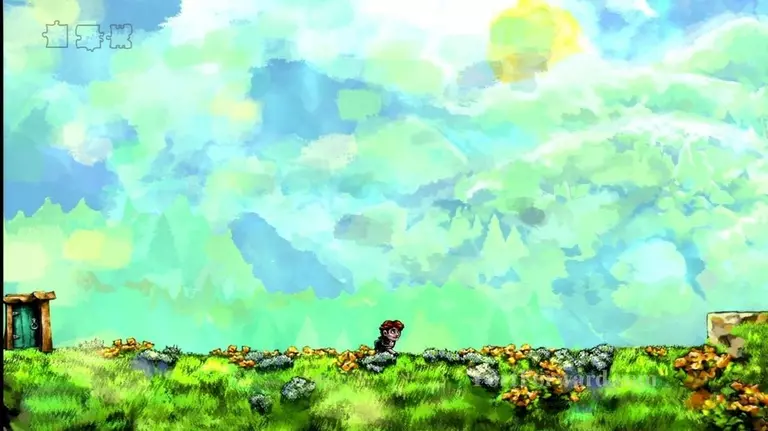
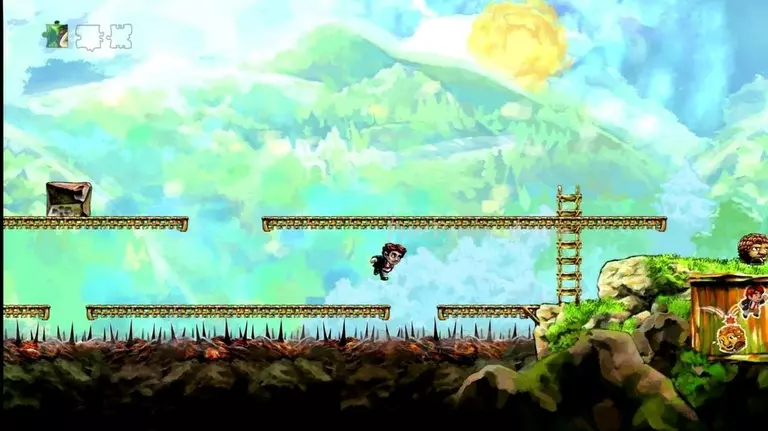
Walk rightward.

You'll come to some steps, just press the jump button to get past them.
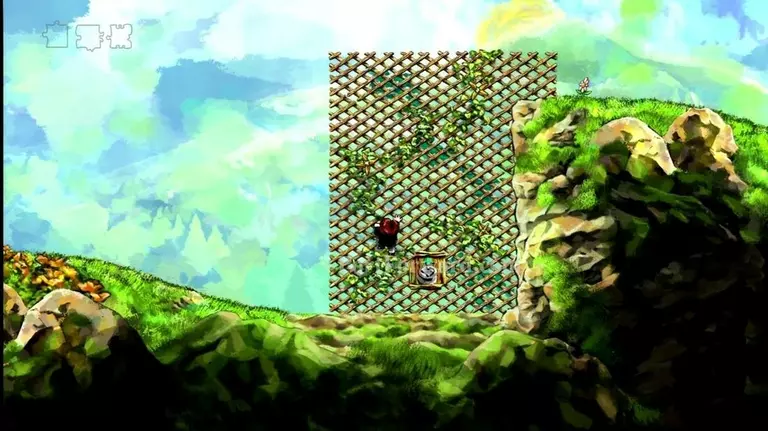
Climb up the lattice that you come to, then continue right.
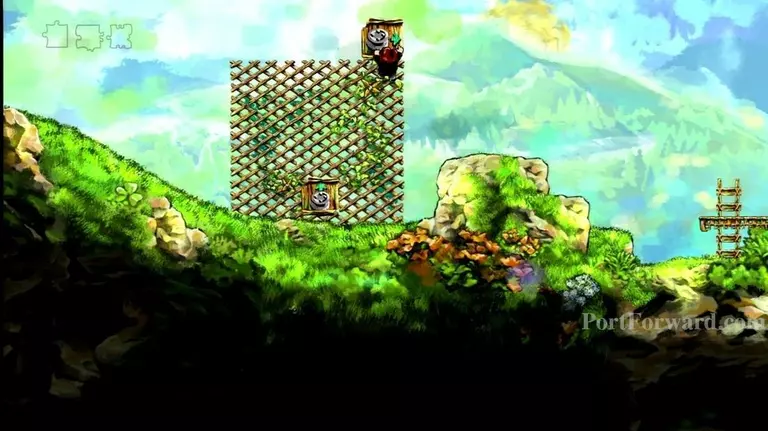
You'll come to some more lattice. Climb up to the top of it, then just walk off the right side of it. You should land on the top of the rock to your right.
Climb up the ladder you come to.
Then jump over the rock to your right.
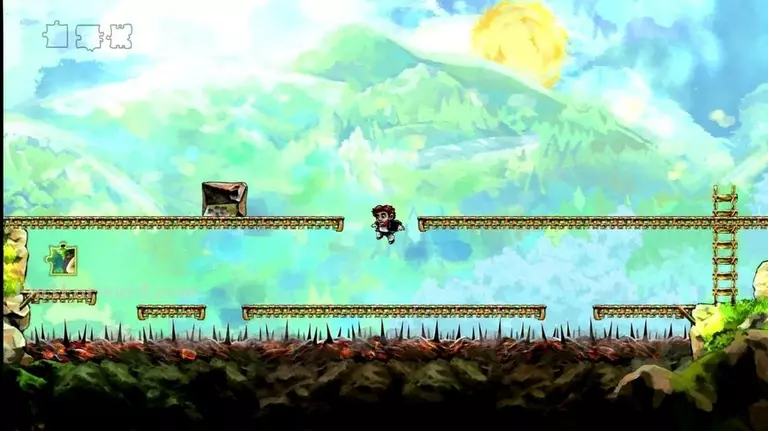
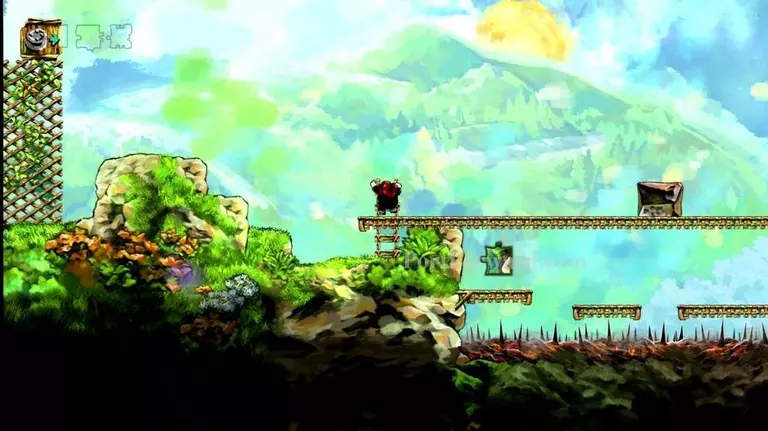
Fall down the gap in the platform.
You want to make your way leftward, to the puzzle piece. If you die trying, don't worry, just press X to rewind yourself back onto the platform.
Now you can try to jump the gap again.
Collect your first puzzle piece.
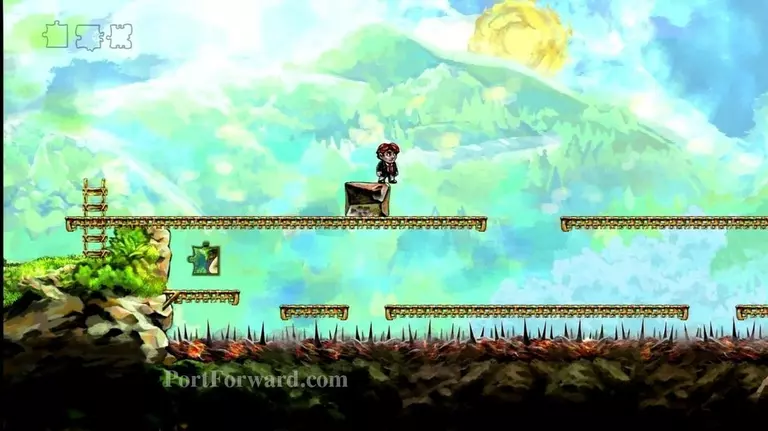
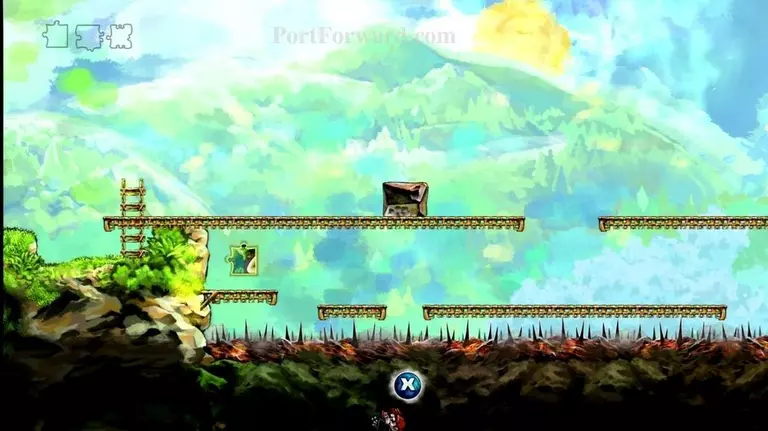
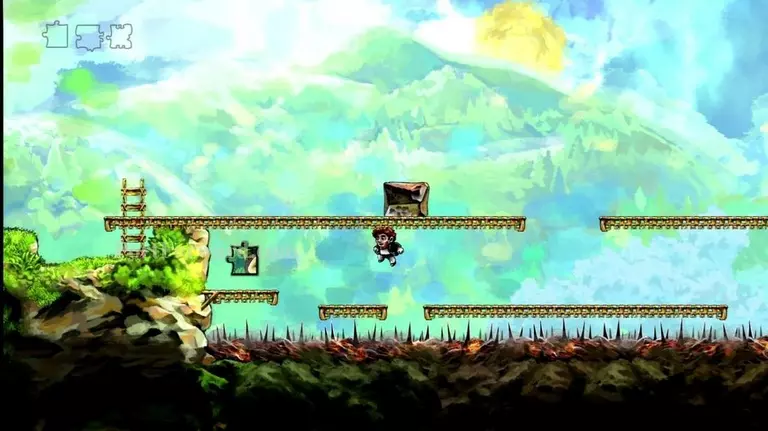
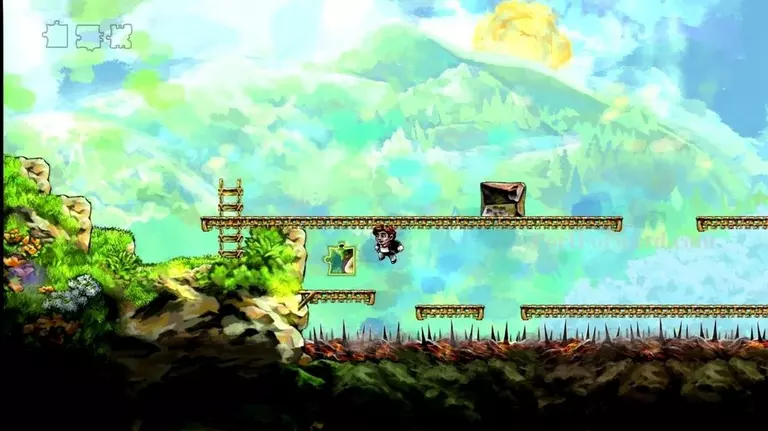
Now continue rightward, jumping over the pits, then climb the ladder.
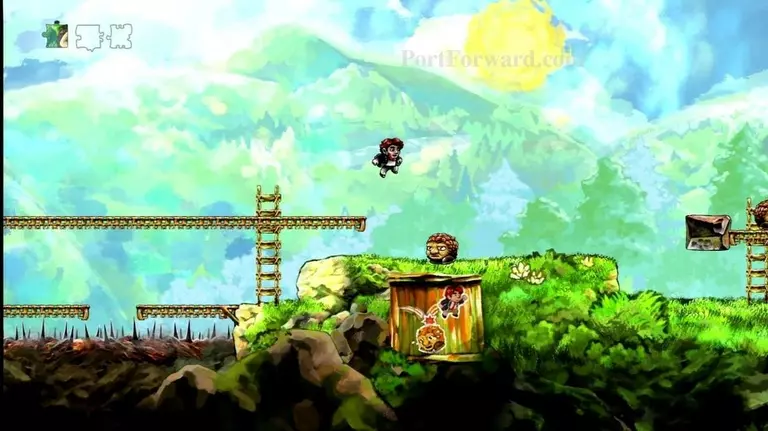
Your first enemy! This isn't mandatory, but you may want to try jumping on his head to kill him. Continue rightward after you are done.
Climb up the ladder you come to. You'll run into another enemy. Jump on his head.
This will bounce you high enough to collect the puzzle piece. If you fail to collect the puzzle piece, just rewind and try again.
Now head a bit further to the right. You'll find another ladder to climb. There are two enemies here. Jump on the first one. This will bounce you up, but not high enough to reach the puzzle piece.
After bouncing off one enemy, you'll need to bounce off the second enemy (before hitting the ground.) This second bounce will send you a fair amount higher, enough to reach the puzzle piece!
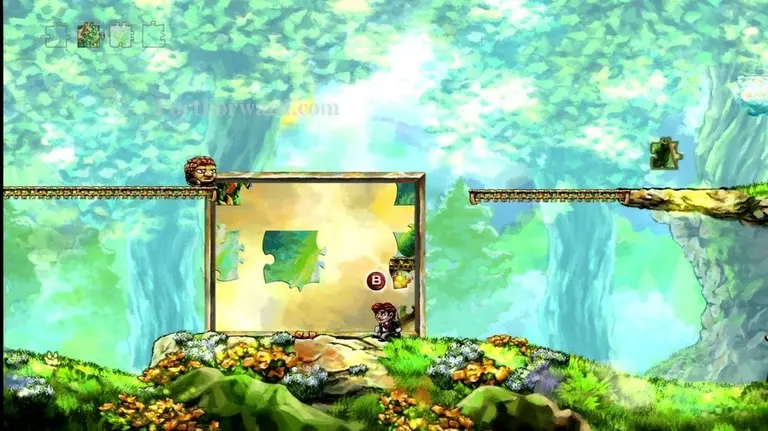
We've collected all three pieces in this area. Head right and jump up to the door found here. This will exit you to the next area.

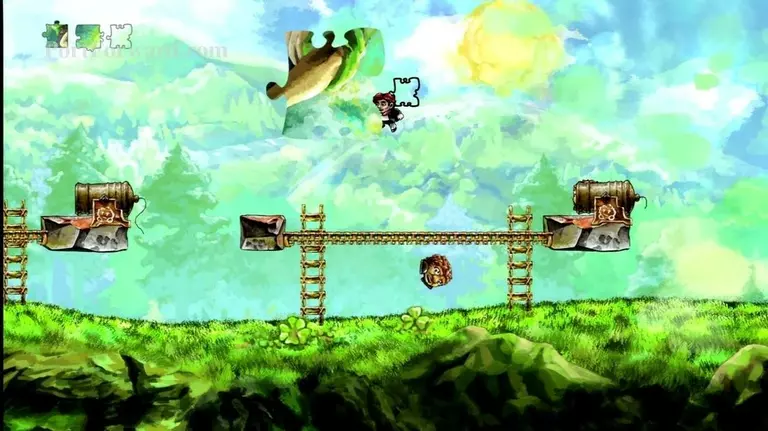
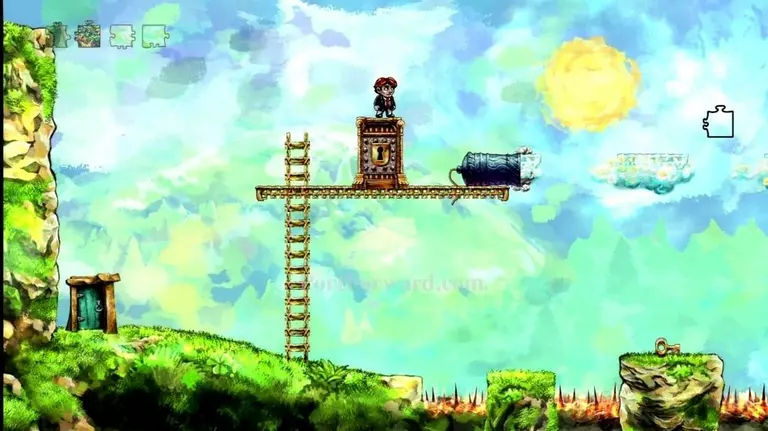
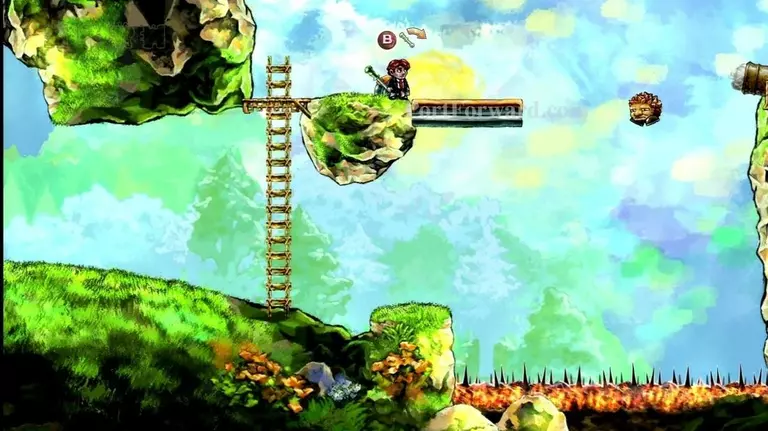
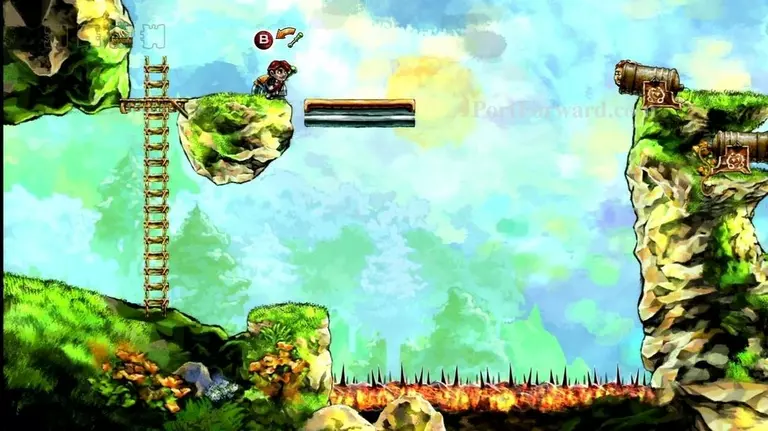
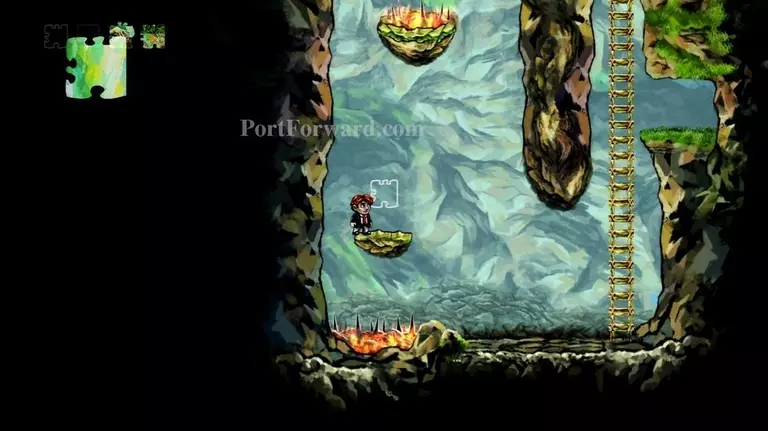
Now we'll be on level 1-2, "The Cloud Bridge".

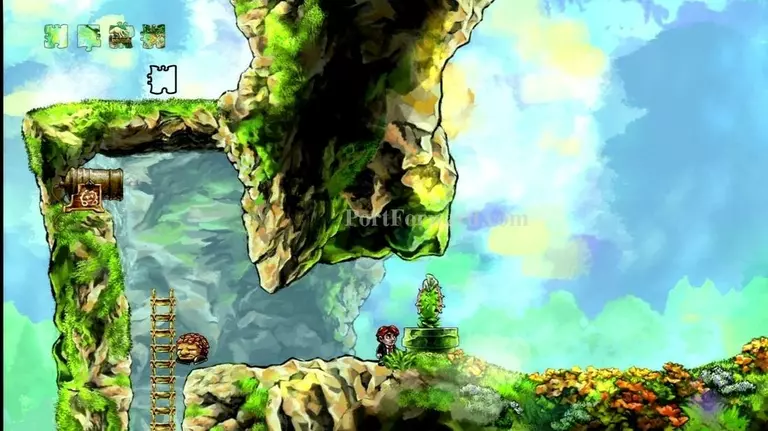
Jump over the fiery spike pits and grab the key.
Now jump back over to the left and climb the ladder. Walk into the locked door to open it.
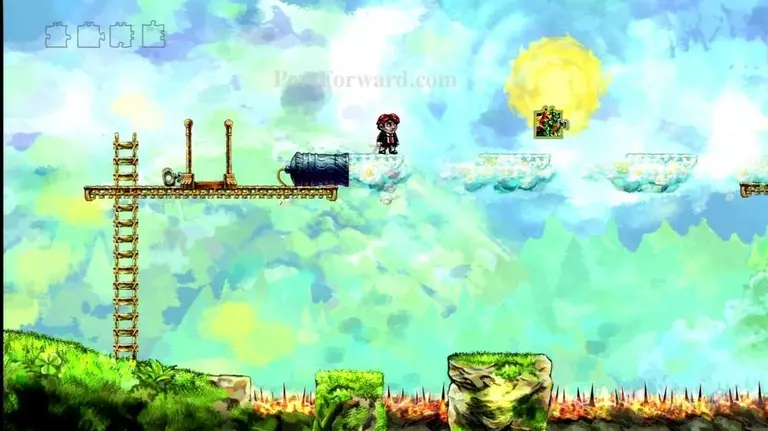
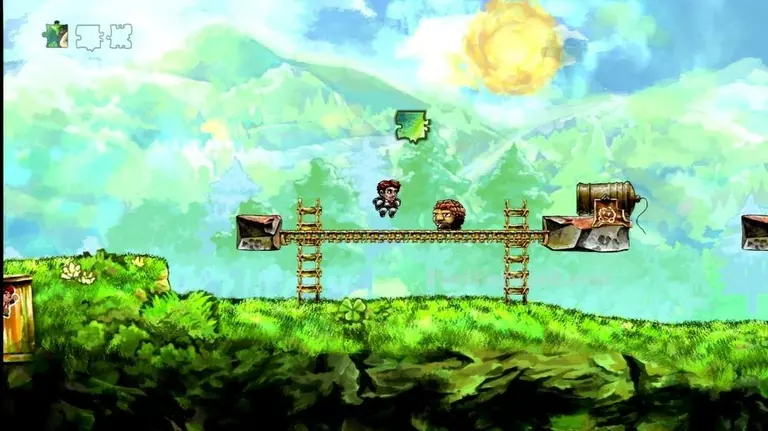
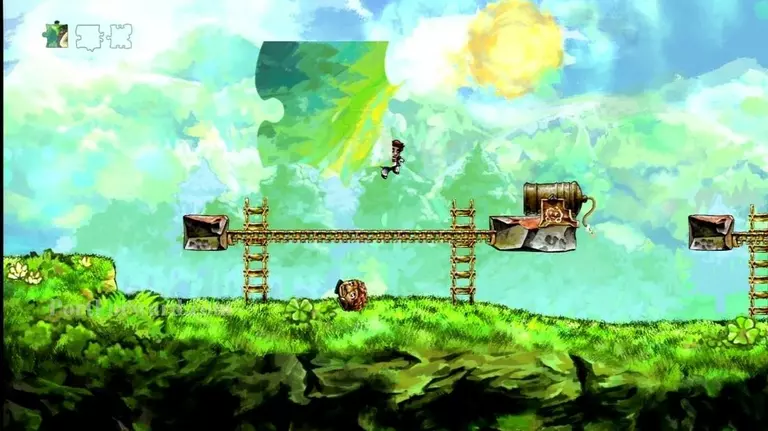
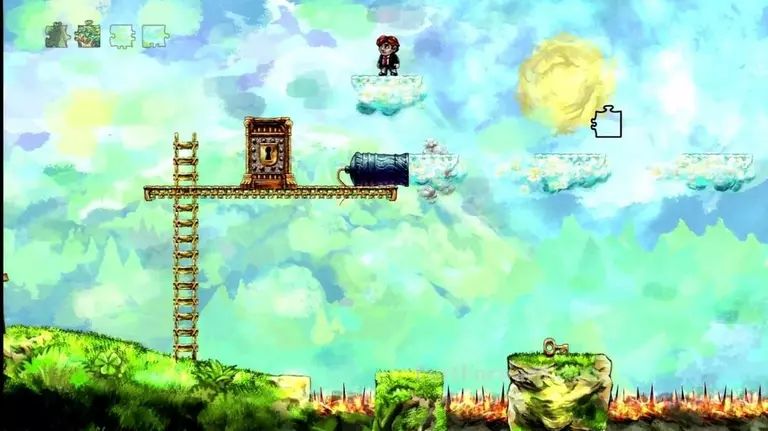
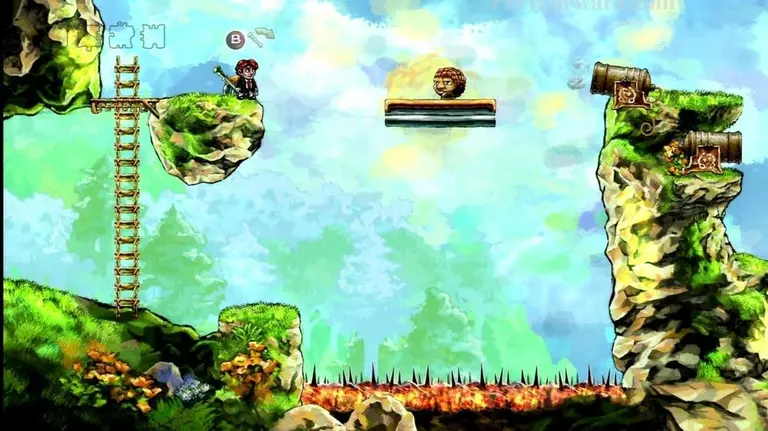
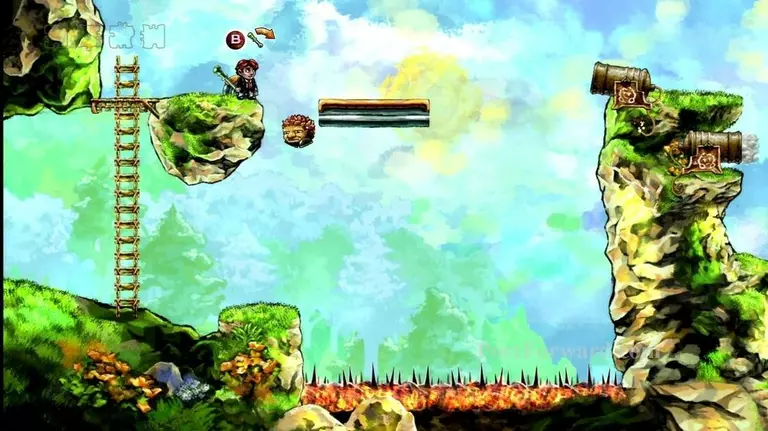
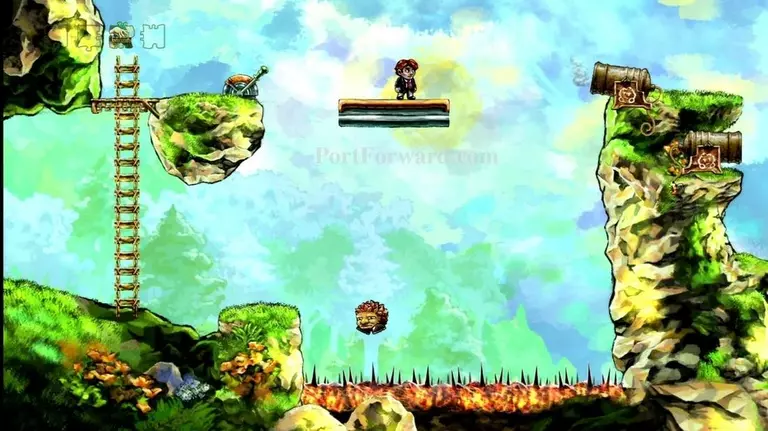
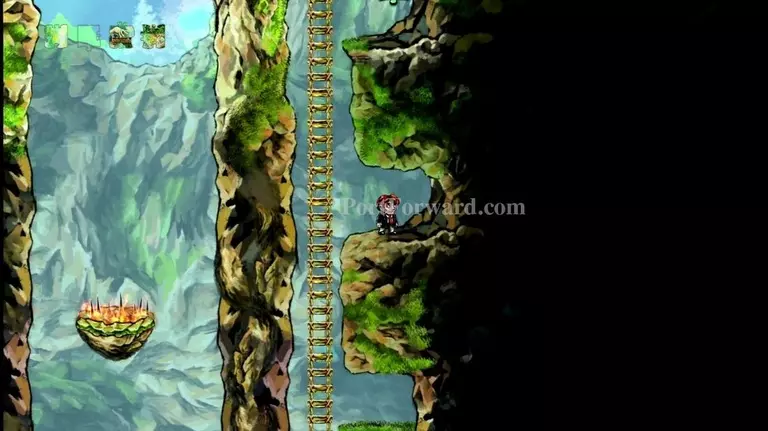
Jump on the cannon, then get on a cloud it shoots out.
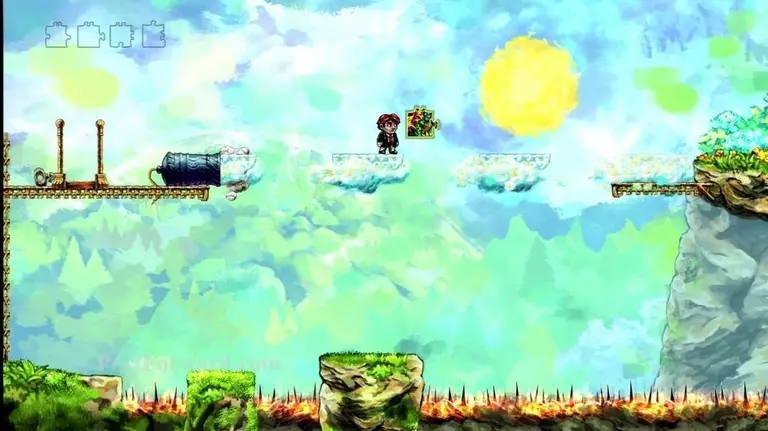
The cloud will carry you directly to a puzzle piece.
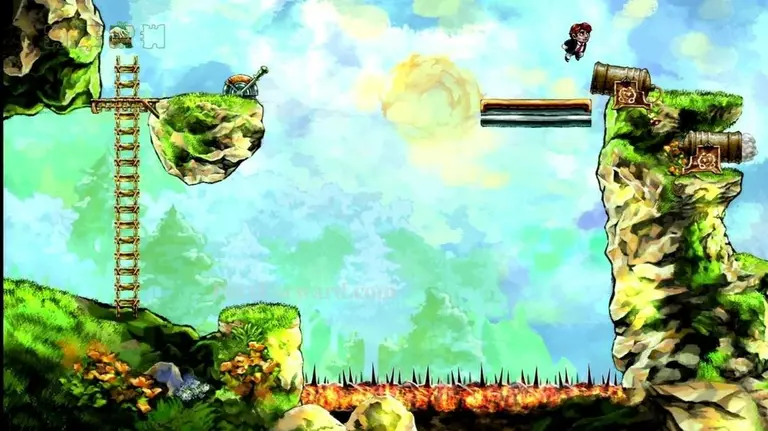
Next you'll come to more sets of clouds, this time moving toward you.

Just run right and jump to each cloud, then jump onto the cannon.
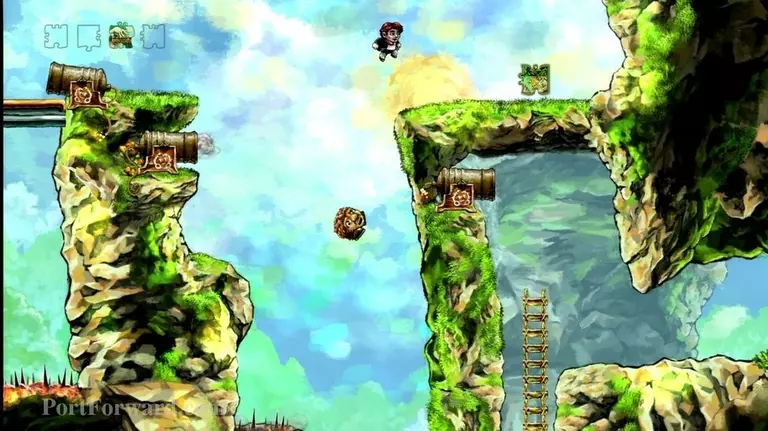
You'll collect a puzzle piece here. If you fall, just climb up the ladder and try again.
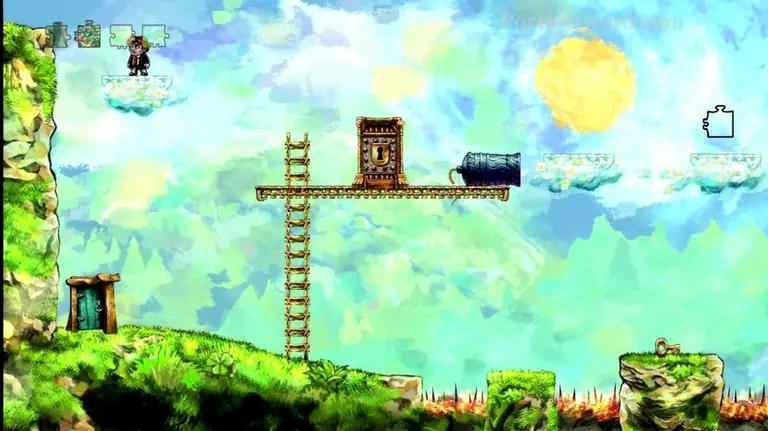
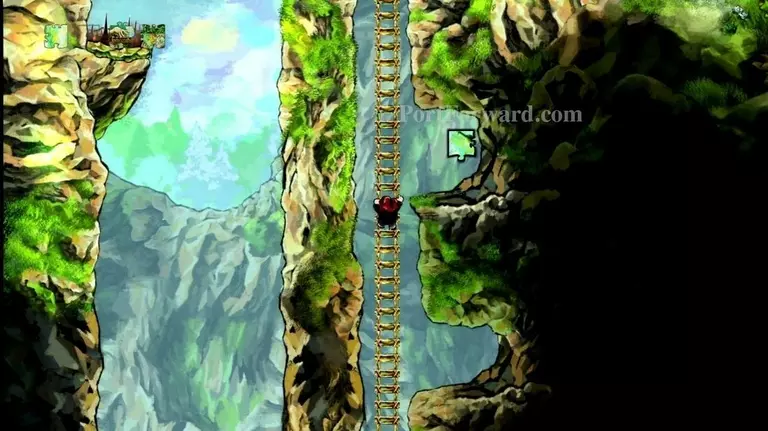
You'll see two more puzzle pieces, but they are out of reach for the moment. You need the puzzle piece from the next level to get to them. Go through the exit door on the lower-right.

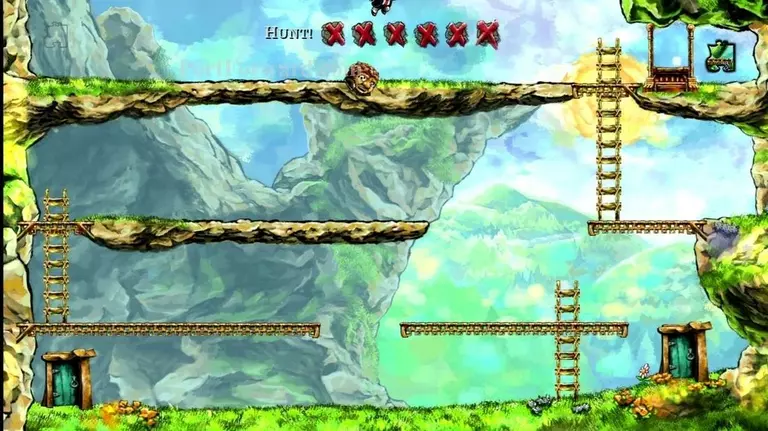
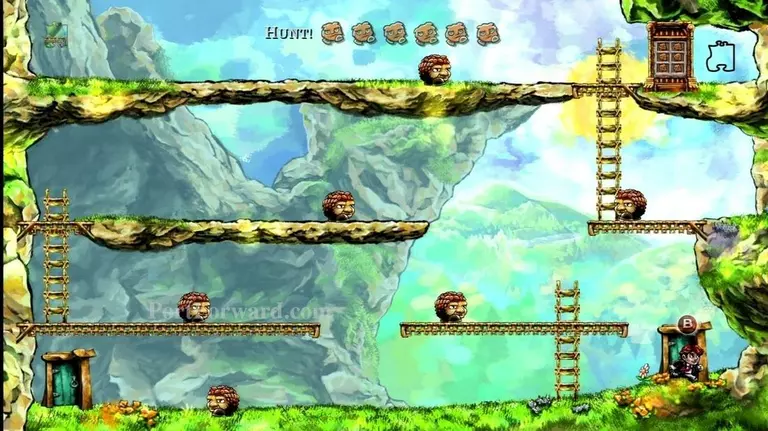
This is level 1-3, "Hunt!"
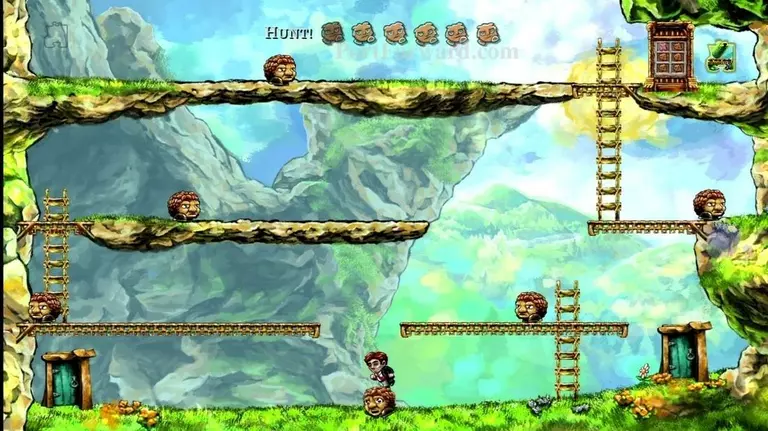
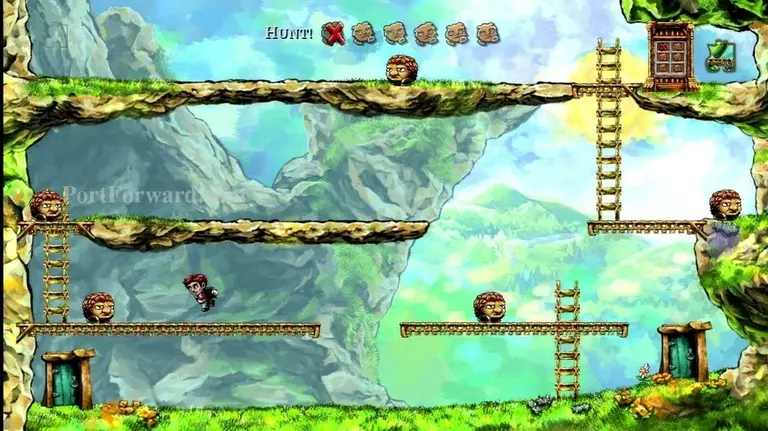
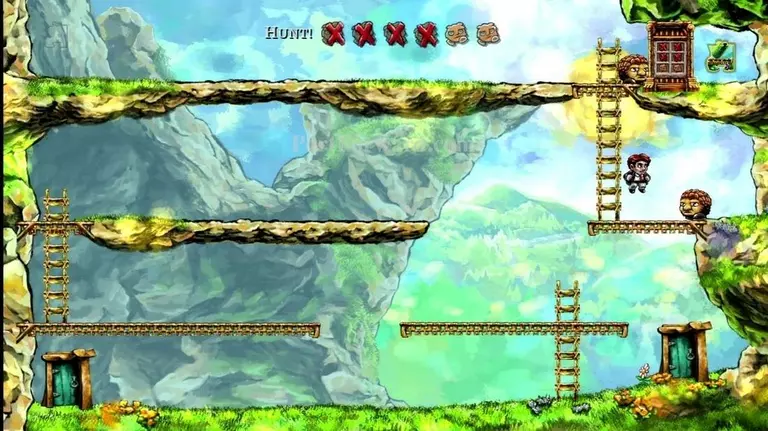
This level is fairly simple. Stop on the enemy on the ground level. If you look at the door in the upper-right corner, you'll notice it has six enemies on it. Every time you kill an enemy it marks them with an X.
Now climb up the ladder, but don't kill the enemy found on that platform. Instead, jump over to the platform on the left and kill that enemy.
Climb up the ladder on the left side, then kill the enemy on that platform.
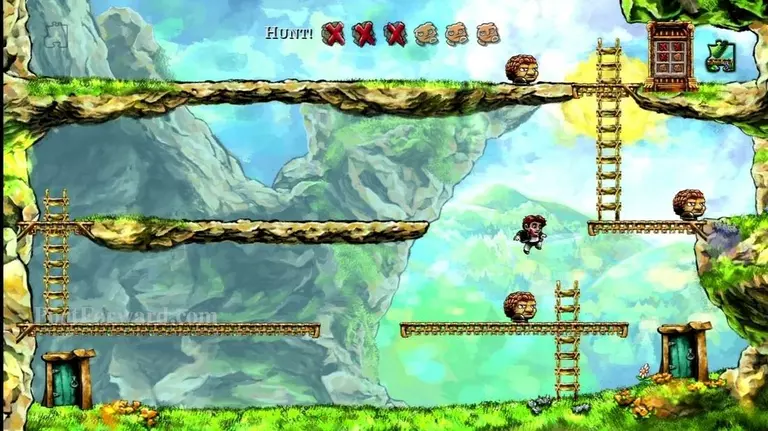
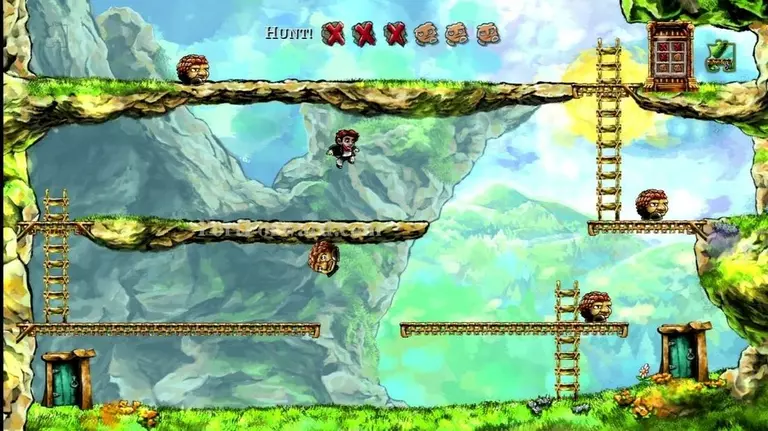
Now this is the trickiest part. Jump off the platform, landing on the enemy below.
You should get enough bounce to land on the platform to the upper-right. If you don't make it, just rewind and try again. Now you can stomp the enemy on this platform.
Climb up the final ladder and kill the enemy up here. Now that you've defeated all the enemies, the door will open.

Grab the puzzle piece.
Now that we have that puzzle piece, let's go back to the previous level. Go through the door in the lower-left corner.
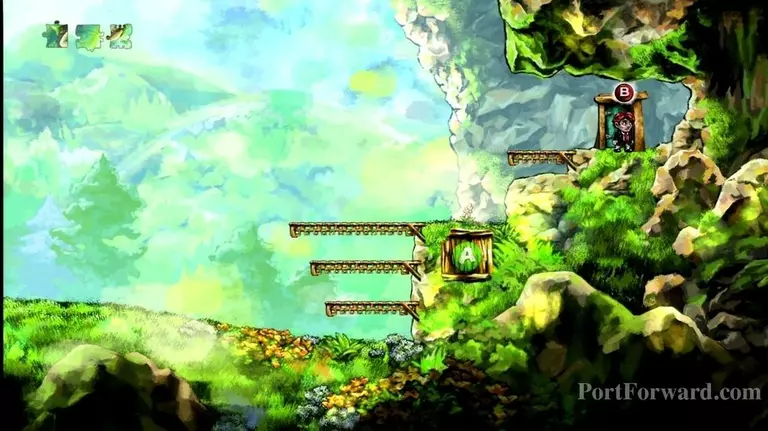
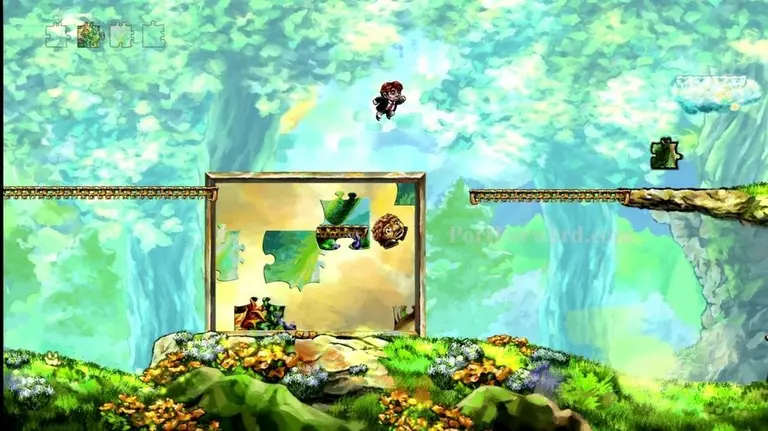
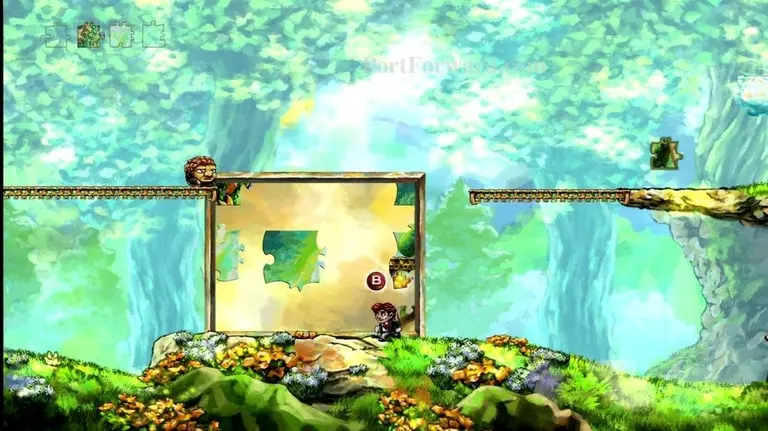
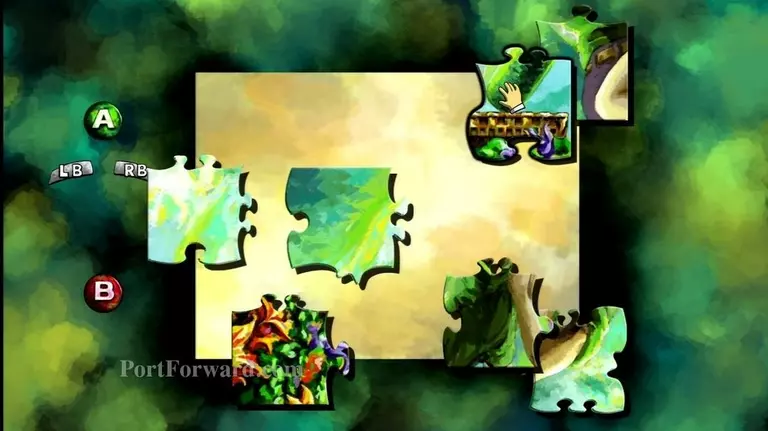
Walk in front of the puzzle board and press B to enter it.
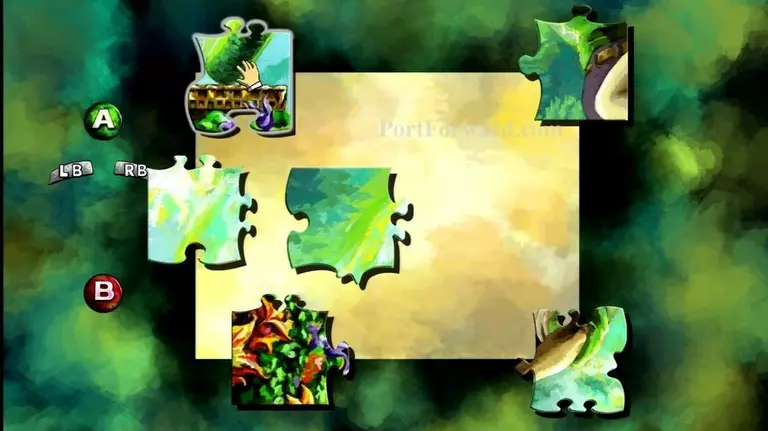
Move the puzzle piece with the platform on it to the upper-left corner. Rotate it if necessary using LB or RB.

When you line it up perfectly, the enemy will walk onto it. While the enemy is standing on it, press B to look at the puzzle board again.
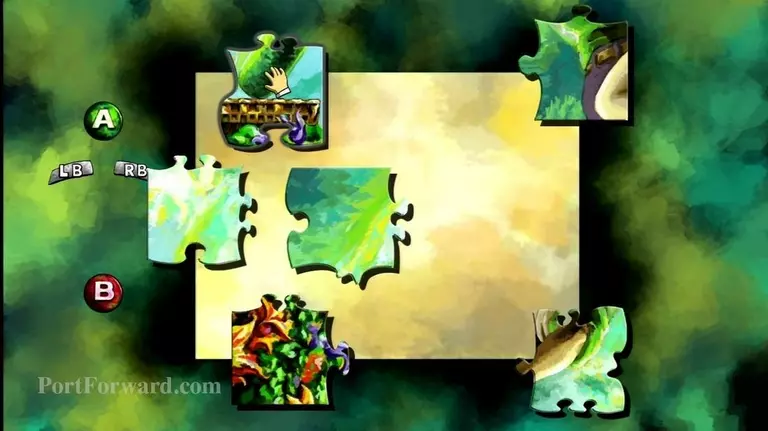
Now you can move the puzzle piece a bit to the lower-right.

The enemy should stay on it. If not, rewind and try again.
Continue moving the enemy until it is about halfway between the upper platforms. You want the enemy low enough to get a good bounce too. Now go left and climb the ladder and continue to the platform on the upper-left of the puzzle board.
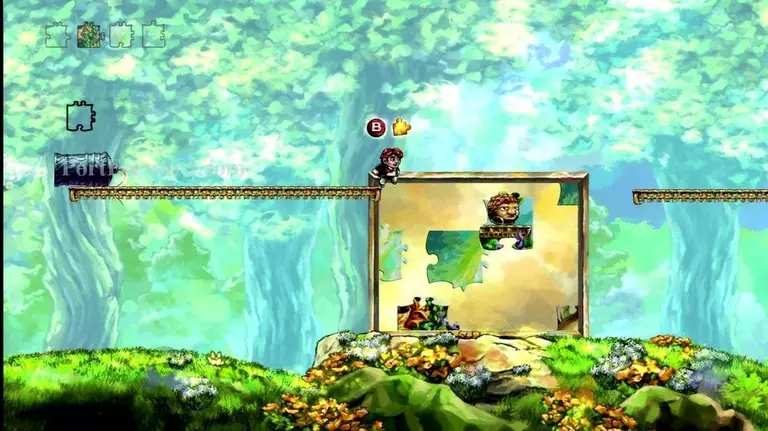
Jump onto the enemy, bouncing off it and hopefully reaching the upper-right platform. You can always rewind and try again if you don't make it.
Grab the puzzle piece.

Next, just go through the door that takes you to the next level, then come right back. This will bring back the enemy that we killed (If you rewind, you'll just rewind getting the puzzle piece too.)
Now go edit the puzzle board again.

Place the piece back to the upper-left.
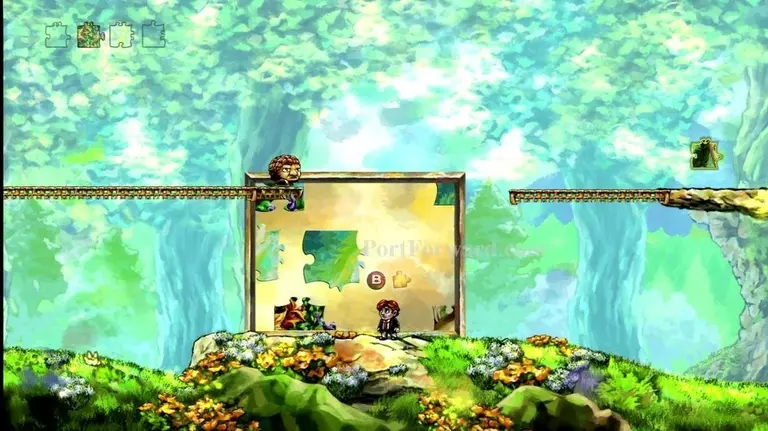
When the enemy walks on it, go edit the puzzle board again.
Now just move the platform piece far away.
This will make your enemy fall to the ground.
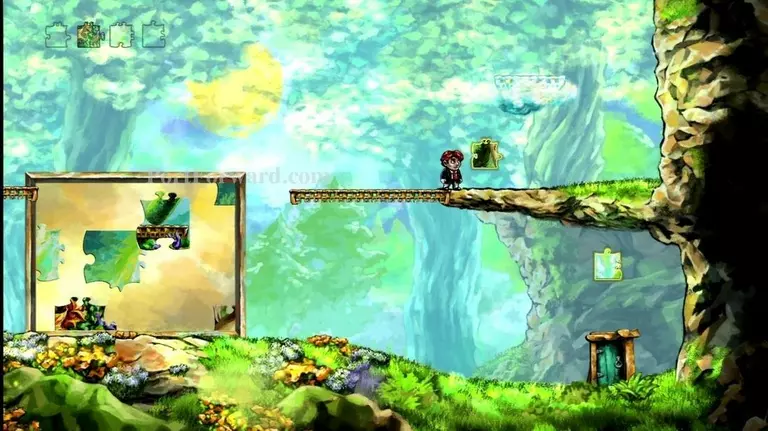
Head over to the right, near the exit. Jump on the enemy's head to bounce up and collect the puzzle piece.
Now, you may notice something else odd about this level. There is a cloud sitting in the upper-right corner. It is moving insanely slow, going leftward.
Go to the left and cross over the clouds, then jump from the left cannon, landing on the locked door. If you sit here for about an hour and forty-five minutes, eventually, the cloud will get to you.
Jump on the cloud, rewind if you miss.
Wait about fifteen more minutes to get close enough to the upper-left cliff, then jump onto it.
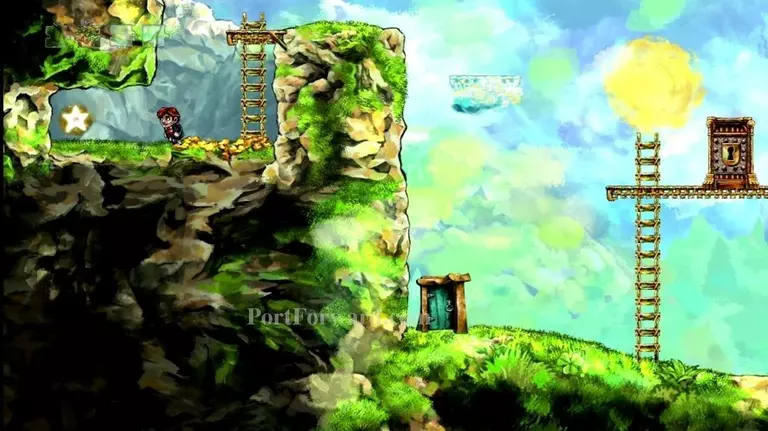
This will reveal a hidden star! Grab it.
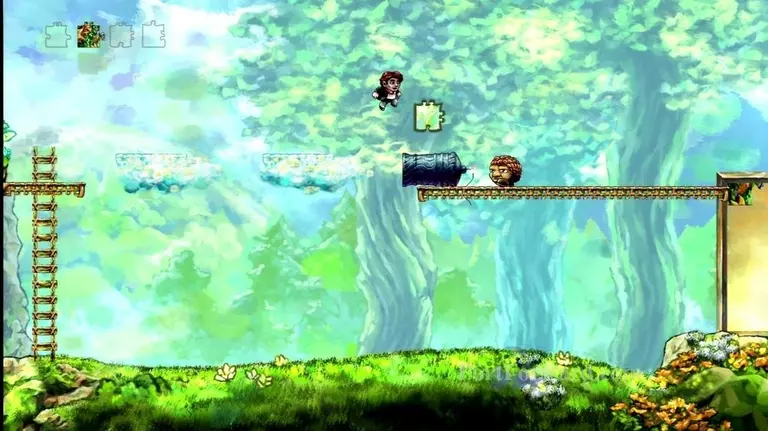
Now we are completely done with this level, exit through the right door.
We've already completed the "Hunt!" level too, so exit through the door in the lower-right corner.
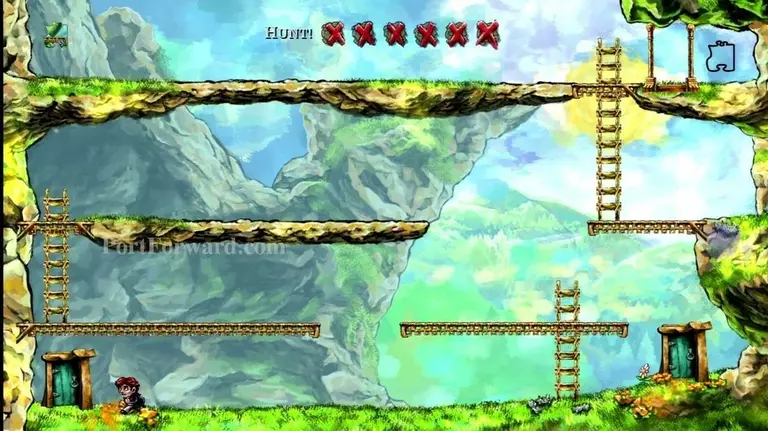
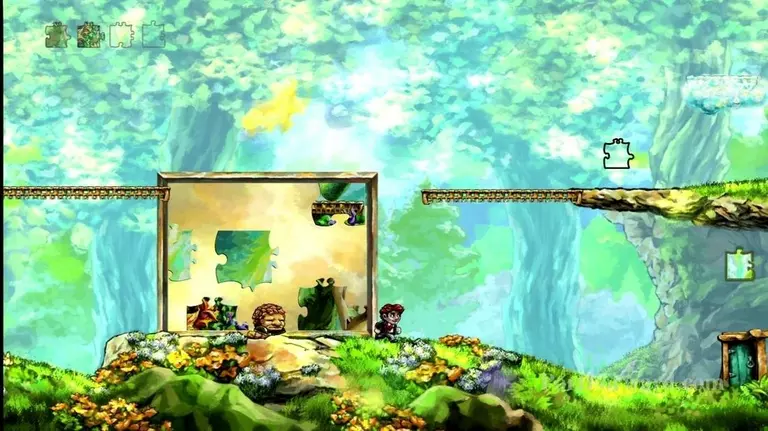
Now we move on to level 1-4, "Leap of Faith".
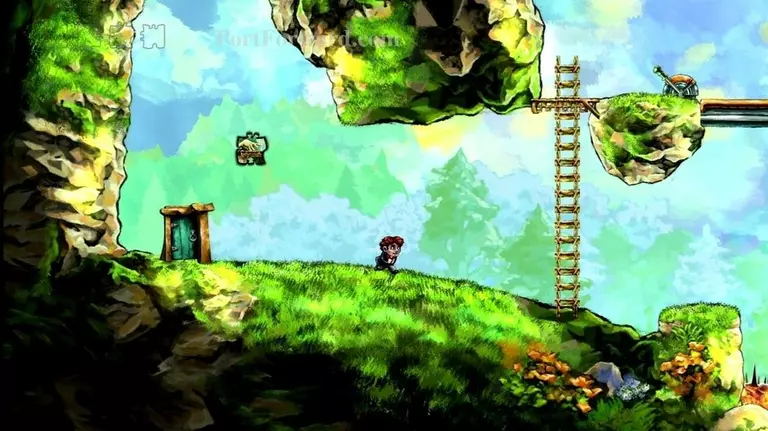
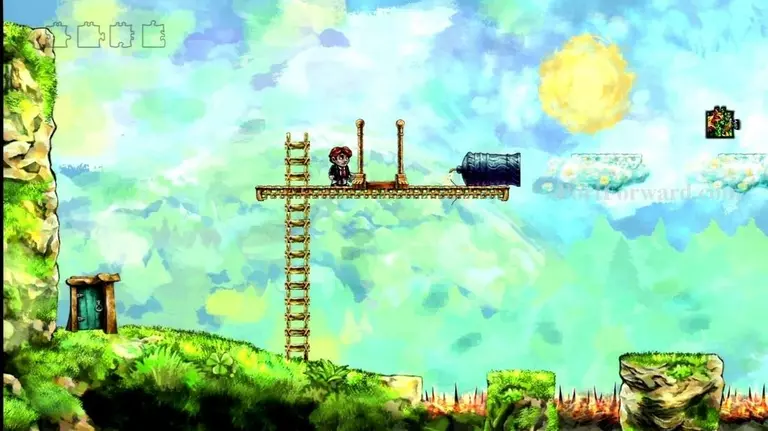
You'll see a puzzle piece out of reach, just head to your right and climb the tall ladder.
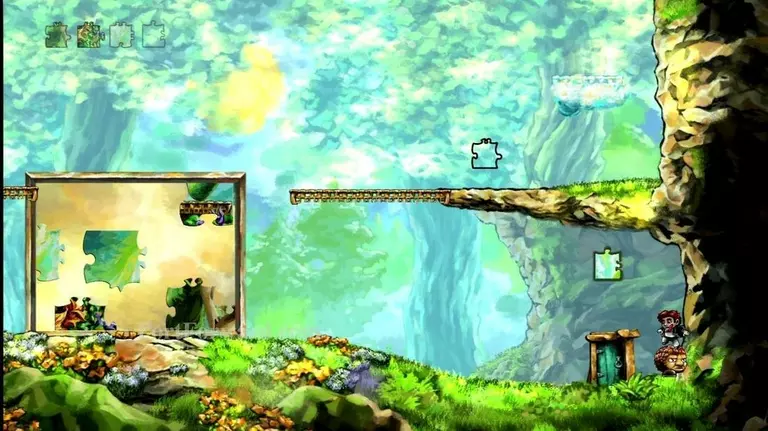
You'll see an enemy being shot from a cannon, then falling in the spikes. Let's help the poor fellow out. Press B on the switch and the platform will move rightward.
You want to catch the enemy on this platform.
Once you catch the enemy, make sure the platform starts heading left (if it isn't already.) This will hopefully get the enemy past the spike pit.
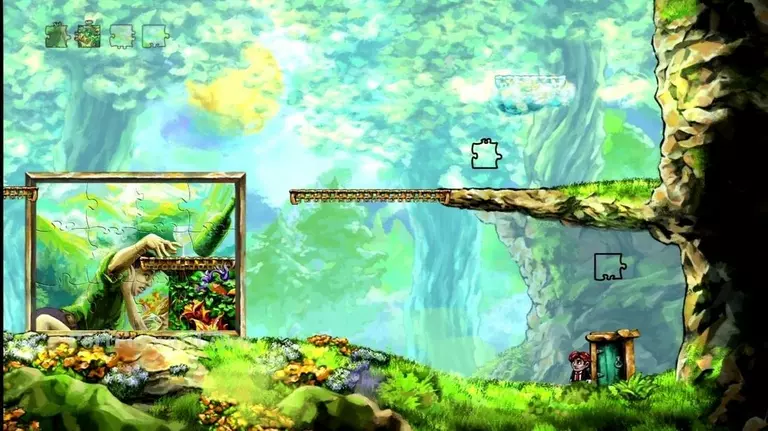
Now follow the enemy over to the puzzle piece on your left. Bounce off its head to reach the piece.
Now climb back up to the switch. Hit the switch to start the platform moving rightward.
Jump on the platform and ride it.
Jump off the platform when it reaches the right side.

This part is a bit tricky. You'll want to time a jump so you land on the head of an enemy that's shot out of the cannon below.
Bounce off the enemy and go collect the puzzle piece. You may need to rewind several times to get this one right.
Now we want to fall down the cliff. There will be a spike pit on the left to avoid. As soon as you get to it, steer left.
This will hopefully make you avoid another spike pit below you, and also make you land on a platform with your next puzzle piece.
Climb up the ladder on your right. Every one and a while, an enemy will fall down the stairs. You'll want to duck into the alcoves on the right to avoid this.
One of the alcoves also contains a puzzle piece to collect.
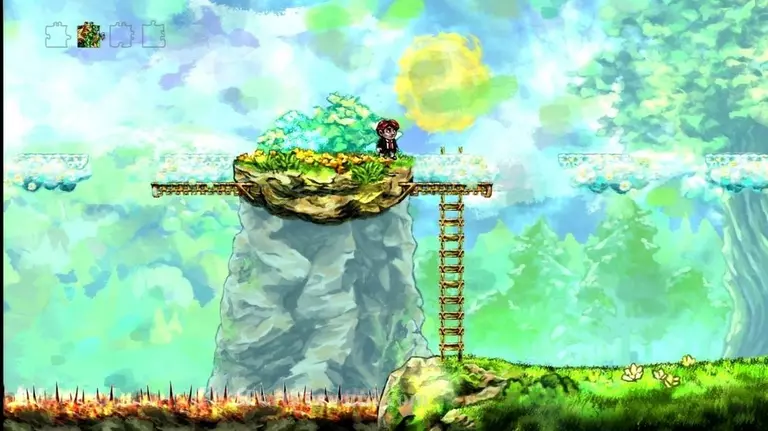
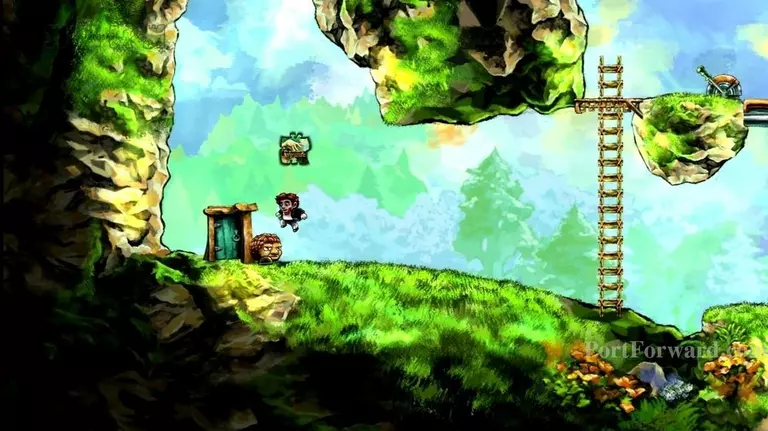
At the top of the ladder head right. You'll see a pipe with a snapping plant coming out of it. When the plant goes into the pipe, quickly jump over it.
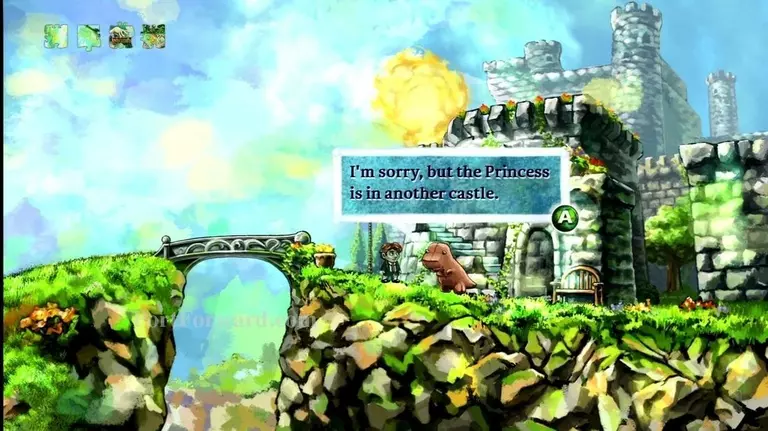
Further to the right, you'll find a flag and a castle. A dinosaur-like creature will greet you and tell you "I'm sorry, but the Princess is in another castle." Notice any Mario references yet? Ha ha.
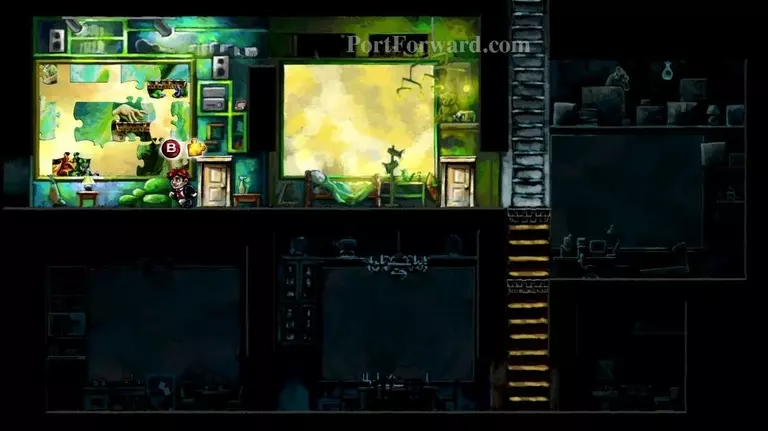
You'll now be back to your house. Press B on the puzzle board.
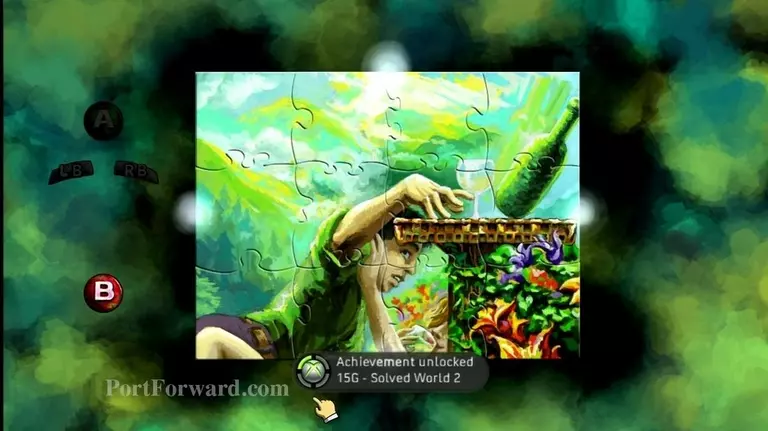
Put the puzzle together. Some pieces will need to be rotated using LB and RB. This is what it should look like when you're done. You'll unlock an achievement for this.
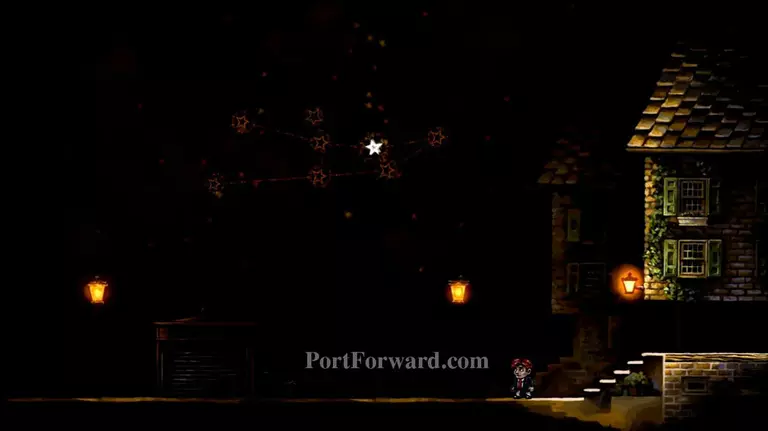
If you go out and look at the stars (and you collected that star we mentioned), you'll notice there is now a star lit up.
More Braid Walkthroughs
This Braid walkthrough is divided into 7 total pages.