This Braid walkthrough is divided into 7 total pages.
You can jump to nearby pages of the game using the links above.
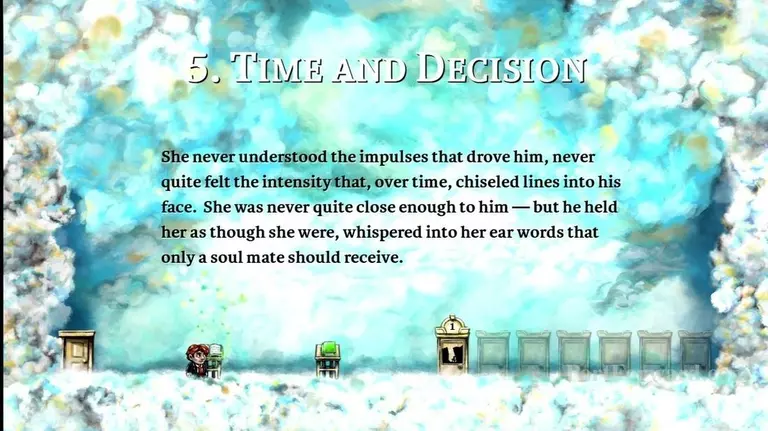
World 5
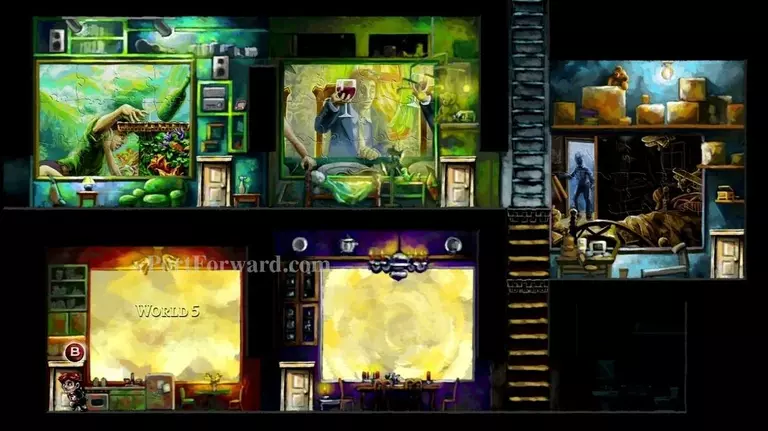
Enter the door for World 5, in the bottom-left corner of your room.
Read the books for some story.
Then enter the door on your right.
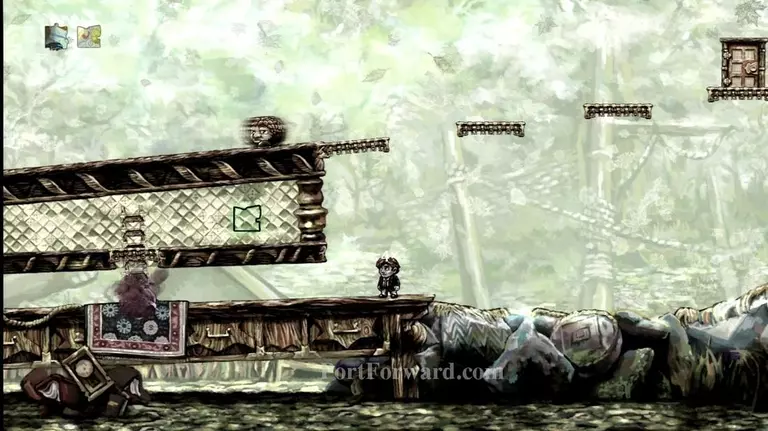
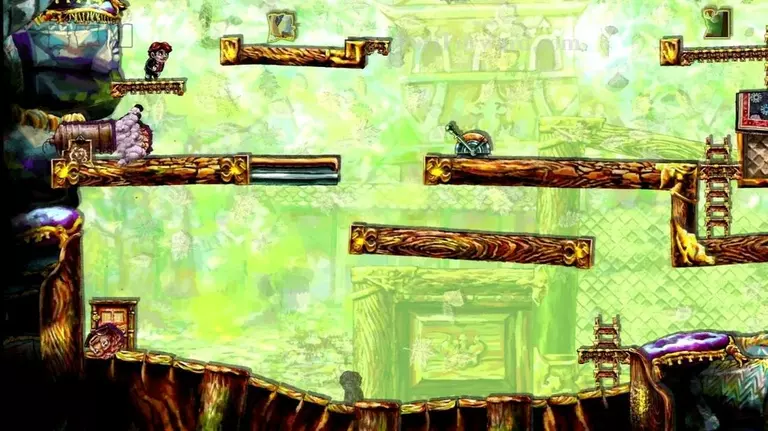
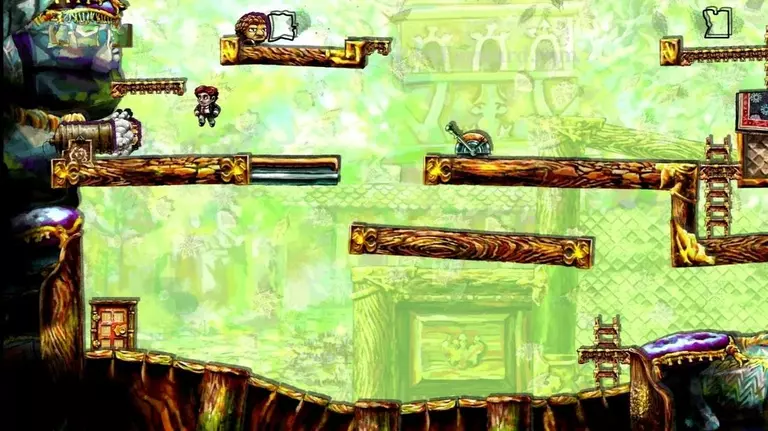
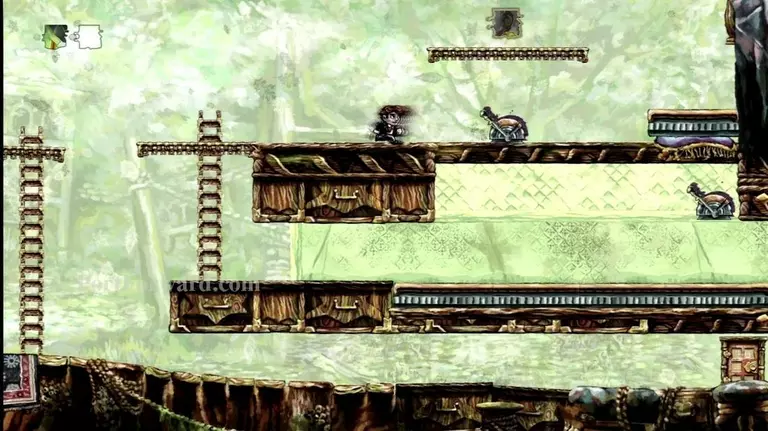
This is World 5-1, "The Pit".
Jump down into the pit and grab the puzzle piece.
Rewind yourself back out of the pit, thus losing the puzzle piece. Your shadow will retrace your steps, jumping back in the pit.

Your shadow will collect the puzzle piece for you.
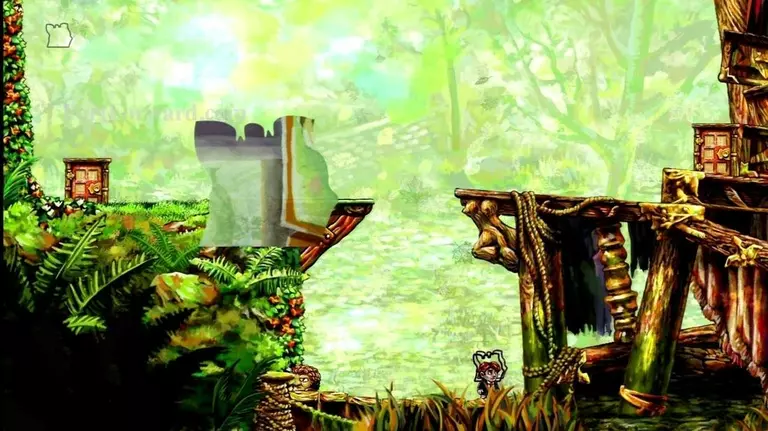
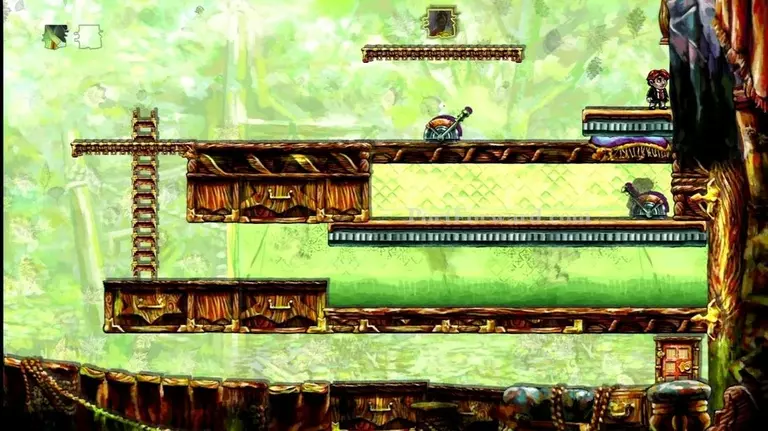
Jump over the pit and go through the door on your right.
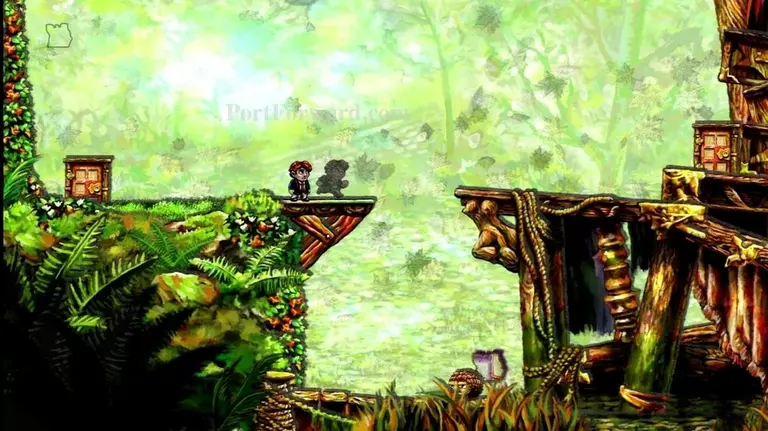
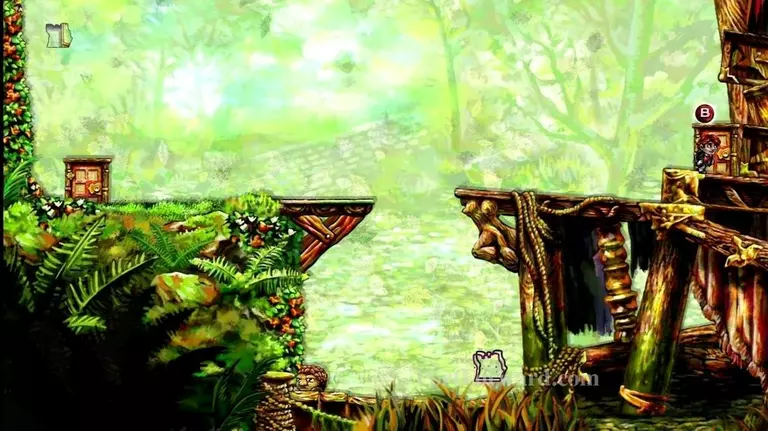
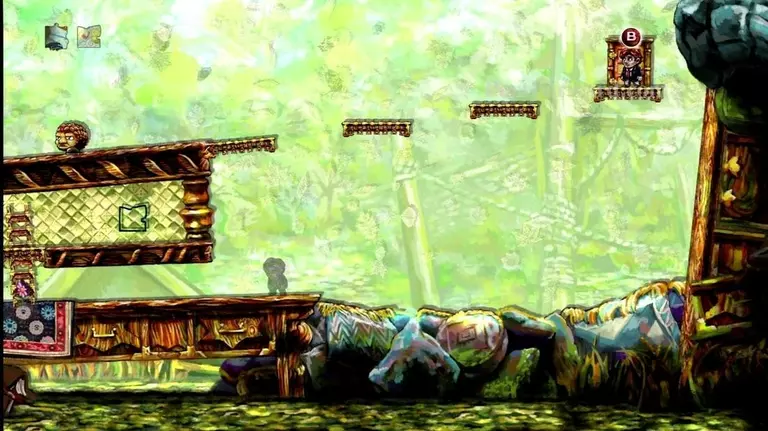
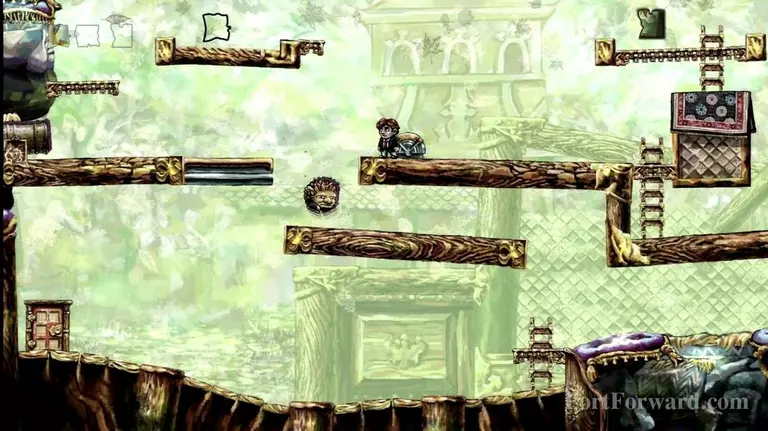
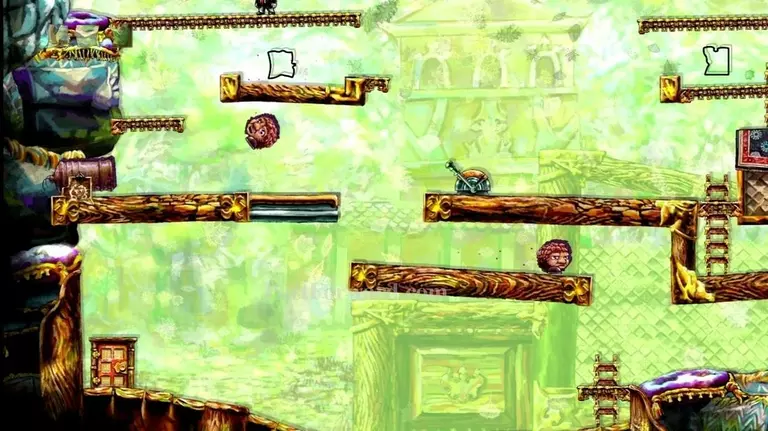
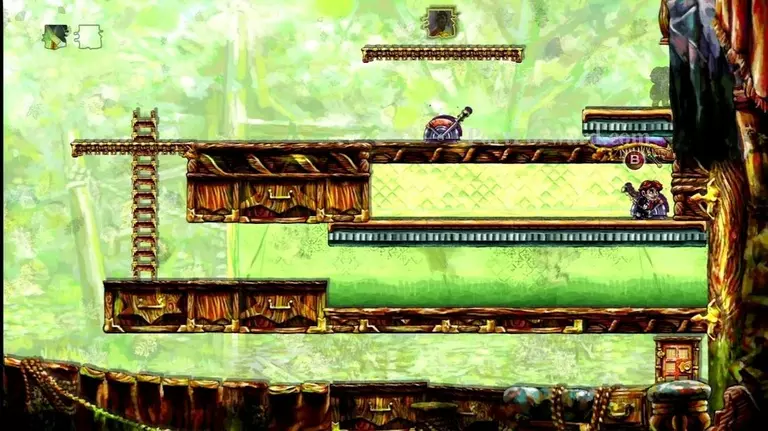
This will take you to World 5-2, "So Distant".
Go up the ladder and stand in front of the wall on your left for a few seconds.
Then walk back to the lever you passed. Pull the lever.
Rewind yourself back to the wall on your left.
You shadow will pull the lever for you, letting you pass.
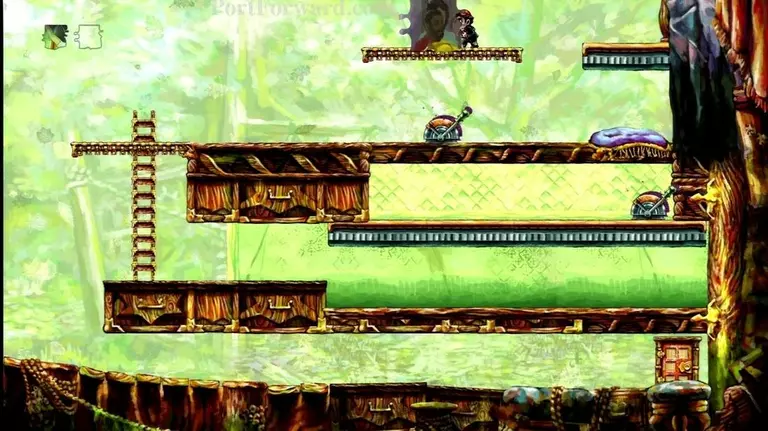
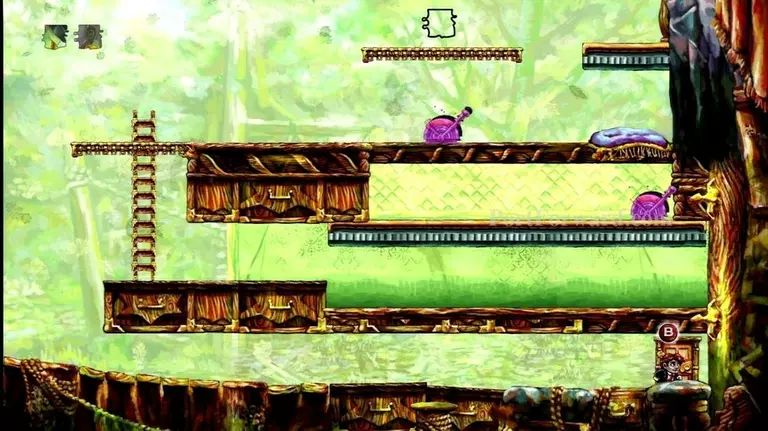
Go up the ladder and grab the puzzle piece.
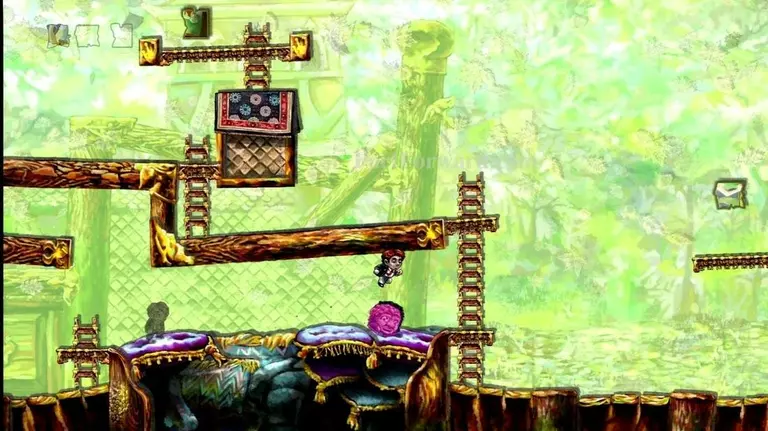
Jump on the enemy's head to get up to the switch.

Wait for a few seconds, then pull the switch.
Rewind to when the enemy was still alive. Now jump on the enemy's head to get to the left platform, with the movable wall.
The shadow should pull the switch, letting you through. Go up the lattice and grab the puzzle piece.
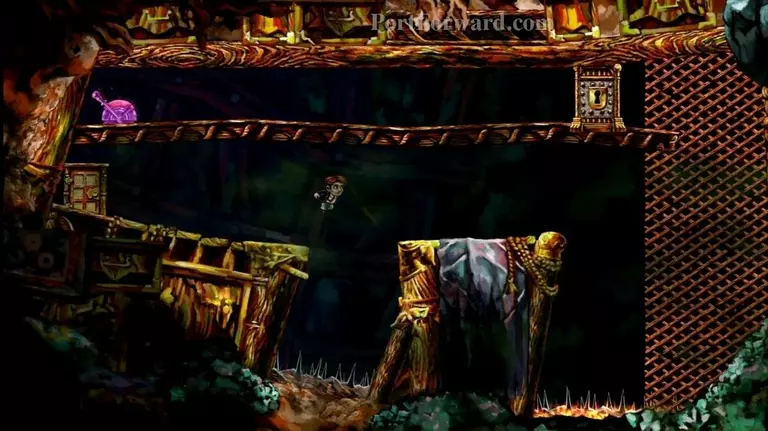
Go through the door in the bottom-right corner.

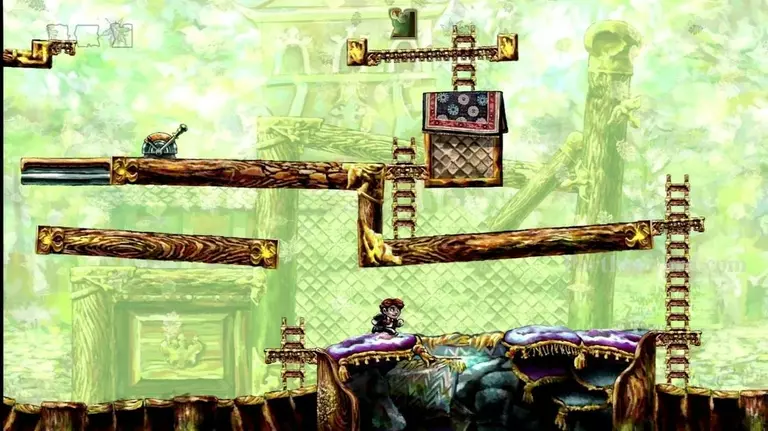
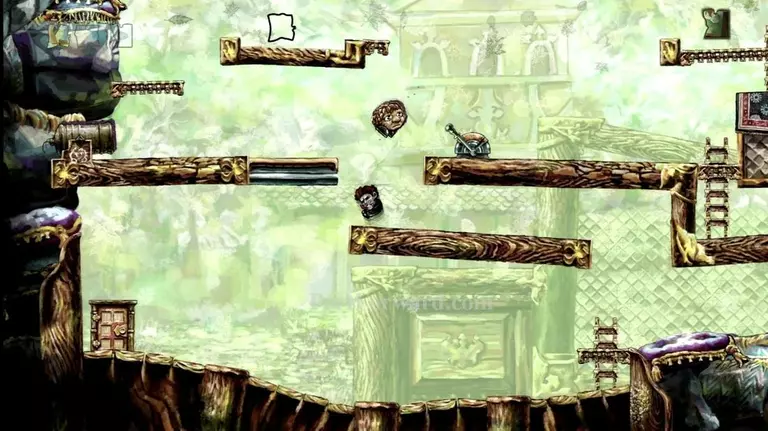
This is World 5-3. It has no name for some reason.
Go up the lattice and head to the right, dropping down and grabbing the key.
Jump over the spike pit on your left, making it as far over as you can. You'll die, but that's ok.
Rewind to the other side of the spike pit.
Your shadow will go pick up the key as you did, and jump into the spike pit.
If you are close enough to the edge of the spike pit, the shadow should give you the key.
Go up the lattice and open the door on your left, gaining a puzzle piece.
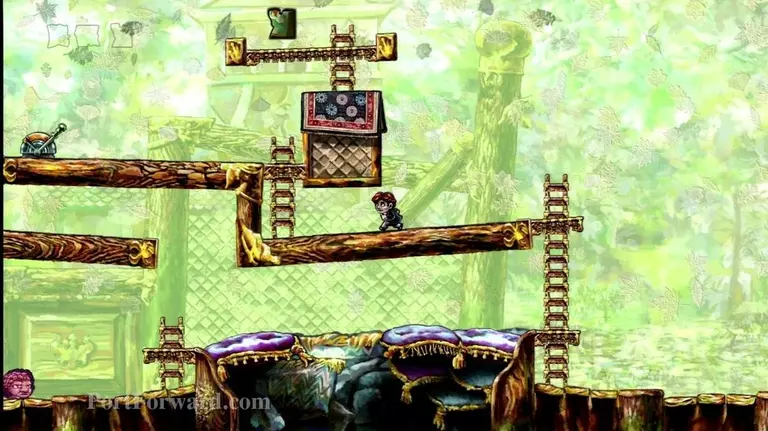
Head to the right. Jump over the gap.
Wait on the right side of this platform for a bit, then head back to the left.
Drop down in the gap and let the bunny attack you.
Rewind yourself up to the platform above.
Drop down to your right. The shadow should get the attention of the rabbit.

Quickly climb up the ladder before the rabbit comes after you. Grab a puzzle piece here.
Rewind yourself back to the platform above.
Platform to the upper-right. Go through the door found here.

This is World 5-4, "Crossing the Gap".
Go to the right, up a little ladder.
Then go up a bigger ladder on your right. Go left at the top of the ladder.
Go up the next ladder and get to a lever. Pull the lever.
Jump down and kill the enemy down here.
Rewind back up to the lever. Your shadow will go down and kill the enemy.
Made sure you're over to the left, near the cannon. A new enemy will pop out of it. Jump on its head to get to the platform above.
Jump over and grab the puzzle piece.
Make sure the platform is to the left.
Go down and kill the monster.

Rewind yourself back to the lever.

Get onto the platform below.
When the monster drops into the gap, jump and bounce it up to the right. This will kill you, so rewind.
Then your shadow will bounce the enemy.
When the enemy is near the rug, bounce on it, landing on the rug.
Grab the puzzle piece.

Now get to the right of the far-right ladder.
When an enemy comes, make it bounce off your head.
Rewind a bit.
Climb up the ladder and let your shadow bounce the enemy.
Jump on the enemy while it's up in the air. If successful, you should land on the platform with a puzzle piece.
Go back to the lever. You want to get the platform back to the left if it isn't.
Drop down and kill the enemy.

Rewind up to the switch.
Your shadow will kill the enemy.
Go onto the platform below you. Jump into the bottom of the enemy when it drops into the gap.
Rewind to the switch.
Now your shadow should bounce the enemy up to you. Jump into the bottom of the enemy to bounce it again, then rewind and have your shadow do it.
Continue bouncing the enemy until it hits a platform and turns around.
Then bounce the enemy to the left.
Eventually, the goal is to bounce the enemy to the upper-left platform, where there was once a puzzle piece.
Another enemy will shoot out of the cannon. Jump on it to get up to the other enemy.
Bounce off the enemy's head. You should land on a hidden platform above.
Jump up here and grab the hidden star!
Exit through the door on your lower-right.

This is World 5-5, "Window of Opportunity".
Climb up the ladder and head right.
Jump over the gap to your right.
Take the key from the enemy.
Go down the ladder. Head left and unlock the door.
Rewind back up to the platform where you got the key.
Jump off to your left and unlock the door.
Quickly jump onto the other locked door, before your shadow comes and unlocks it.

Get on the ladder to your left.
Drop down to the switch and pull it.
Go to the right and climb up the ladder, then jump over the gap to the left.
Go down the ladder and get the puzzle piece.
Climb back up the ladder and head right, jumping over a few gaps until you see another puzzle piece.
Wait for a few seconds and then pull the lever, then jump on the platform on your right.
Rewind a little ways before pulling the lever.

Quickly get down the ladder and over to the right before the floor starts going up.
Pull the lever on your right after you wait a few seconds.
Rewind yourself back up to the top.
Go pull the lever for your shadow below.
Get on the platform to the right. If all goes well, the floor will rise for your shadow and then he'll pull the lever.
This will make your platform go up. Jump over to the left and grab the puzzle piece.
Go through the exit in the bottom-right corner.

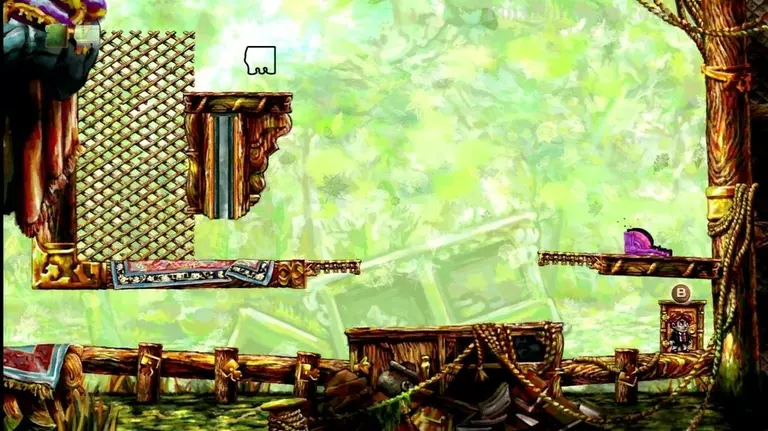
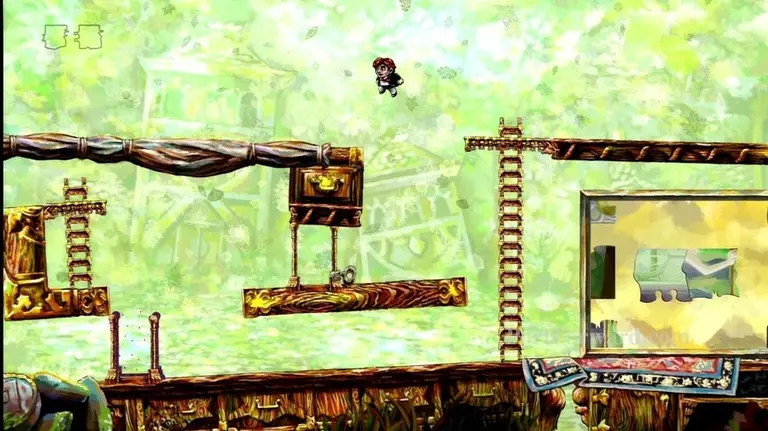
You're now at World 5-6, "Lair".
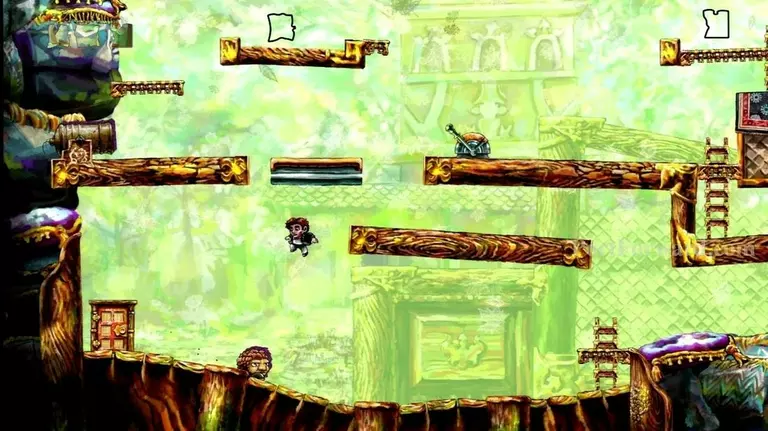
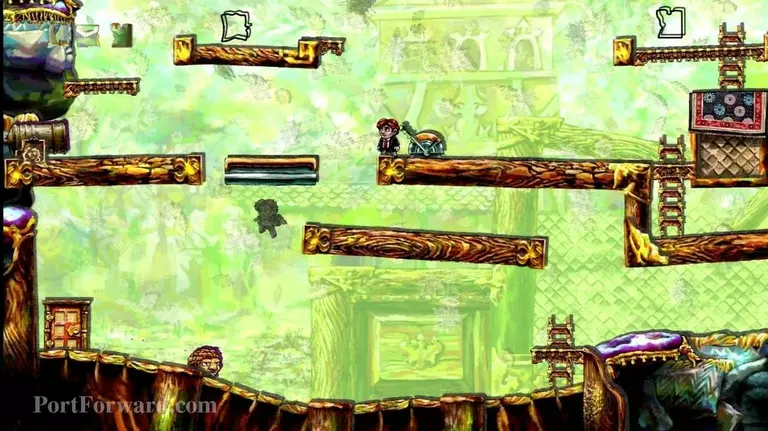
Jump over the spike pits to your right.
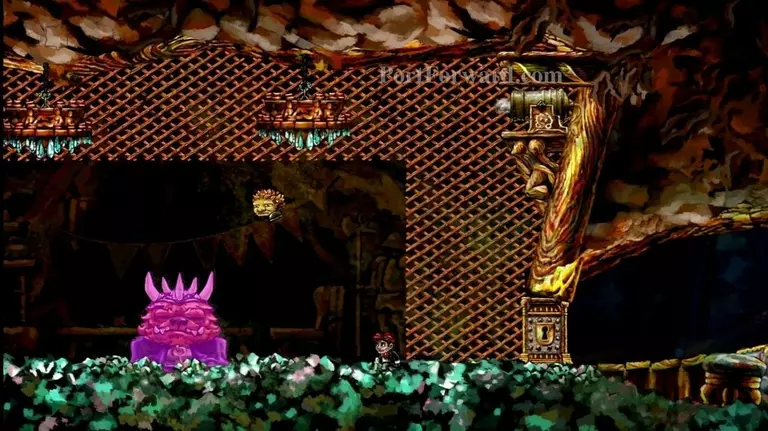
Get near the boss to activate him.
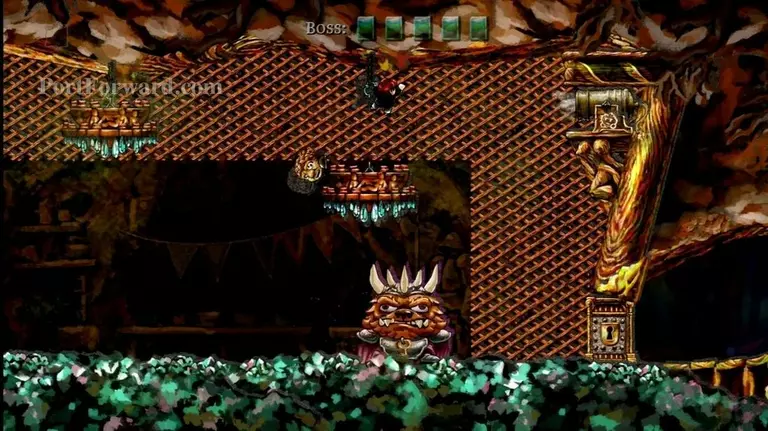
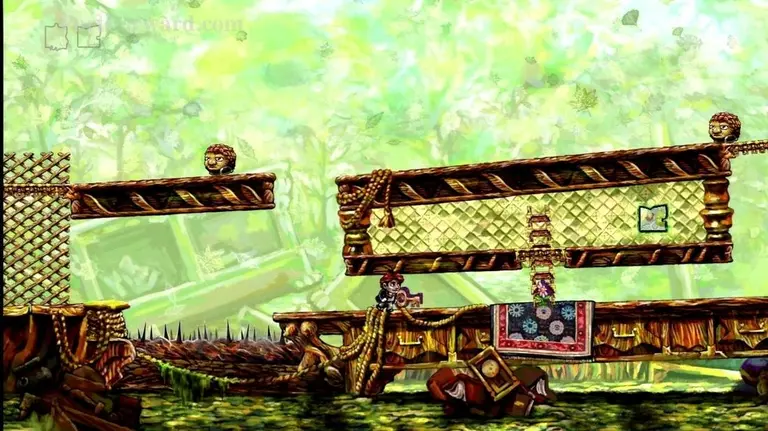
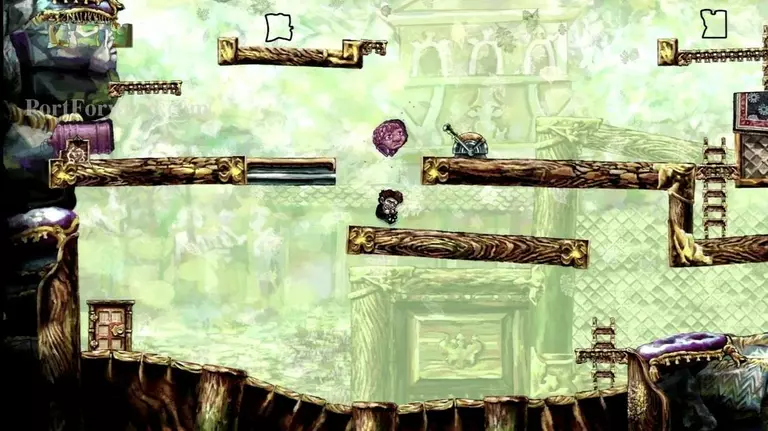
Climb the lattice, up to the chandeliers. Drop a chandelier on the boss' head.
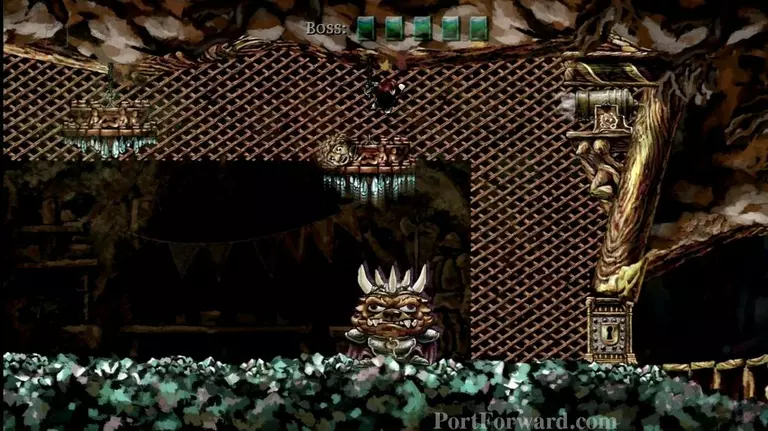
Rewind so that the chandelier is back in place.
After you rewind, your shadow will drop the chandelier on the boss' head again.
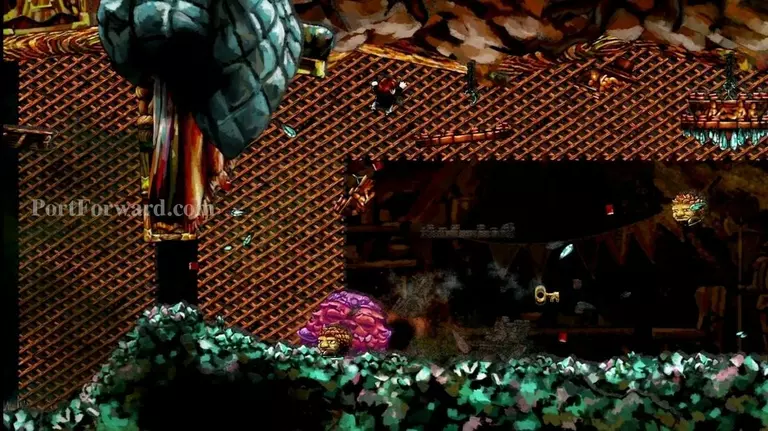
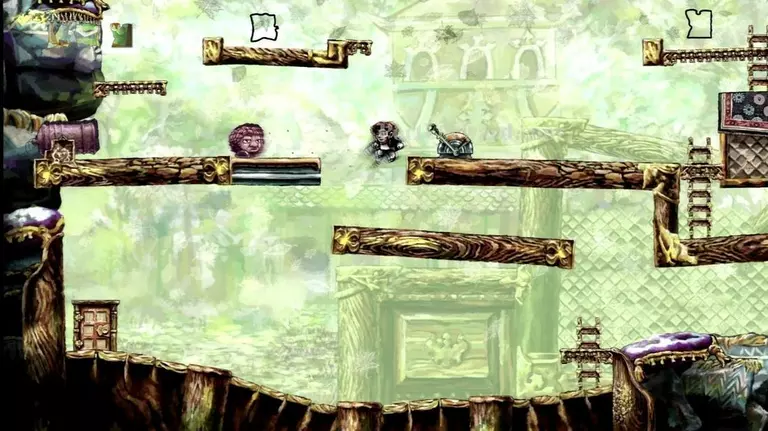
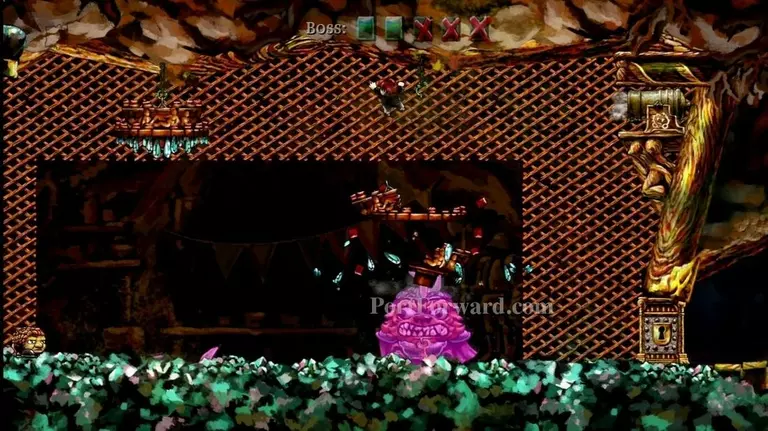
Continue, until the boss dies and drops a key.
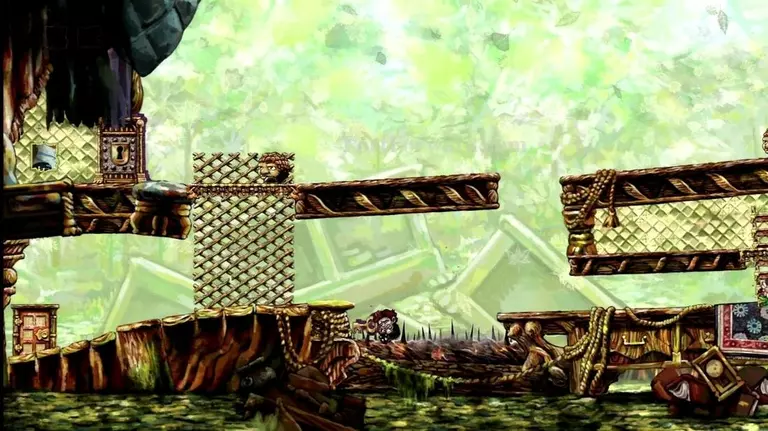
Go get the key.
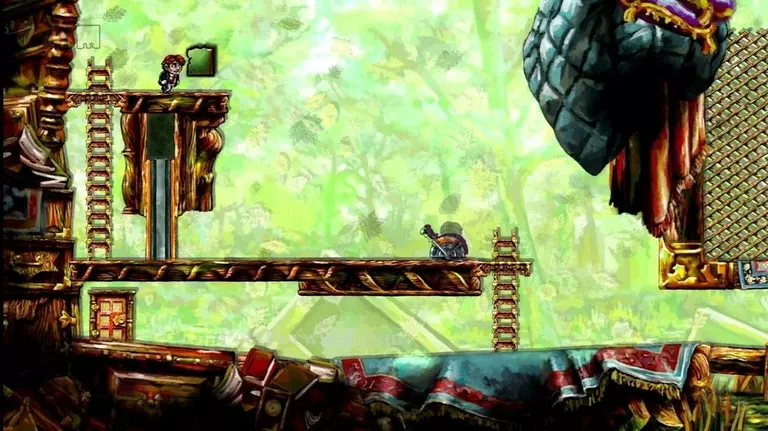
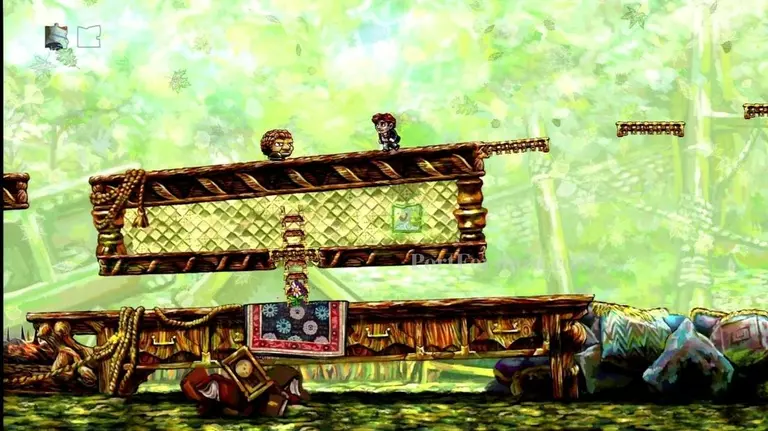
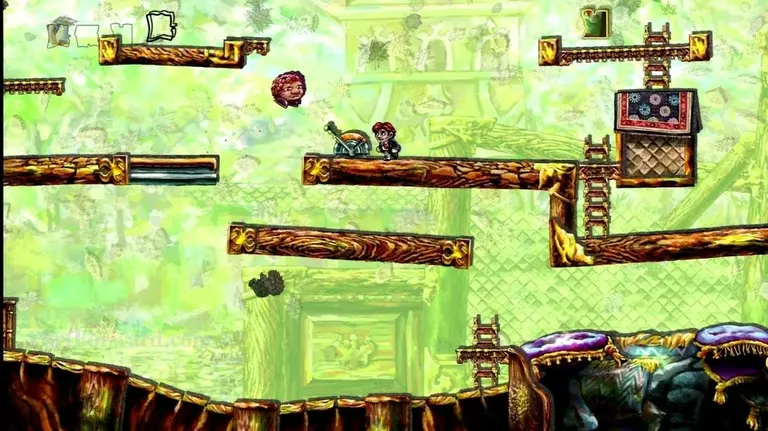
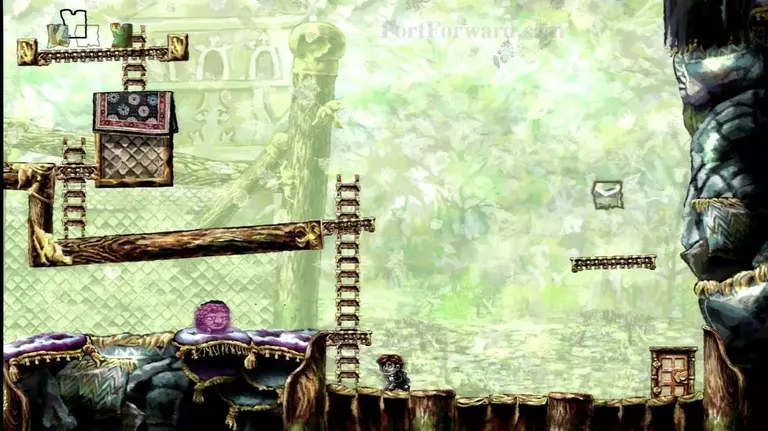
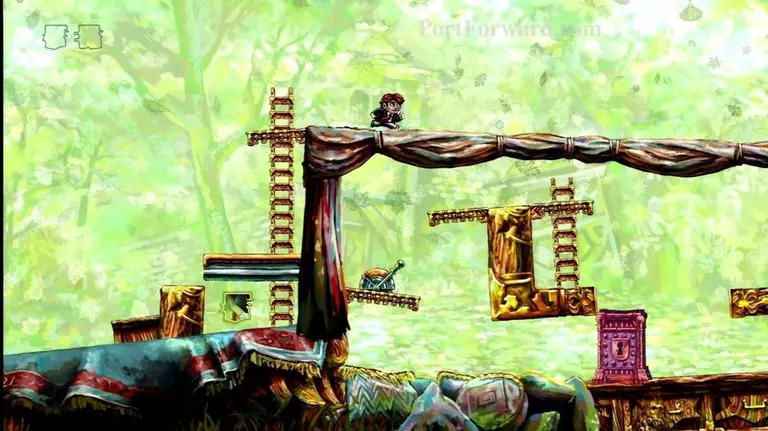
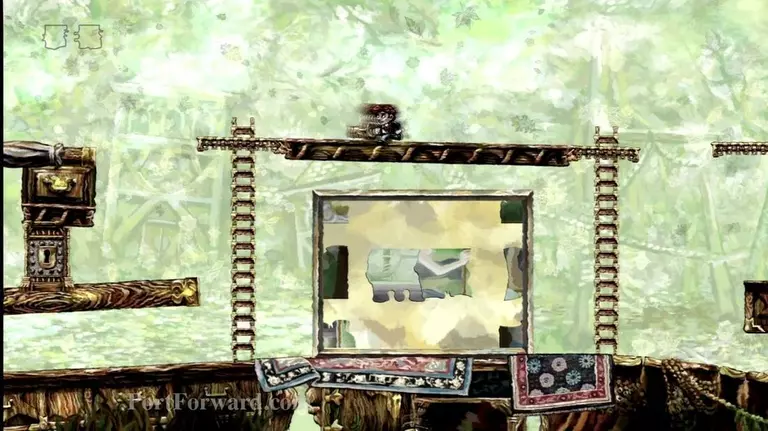
Take the key to the left, where you find a locked door at the top of some lattice.
img(131208);
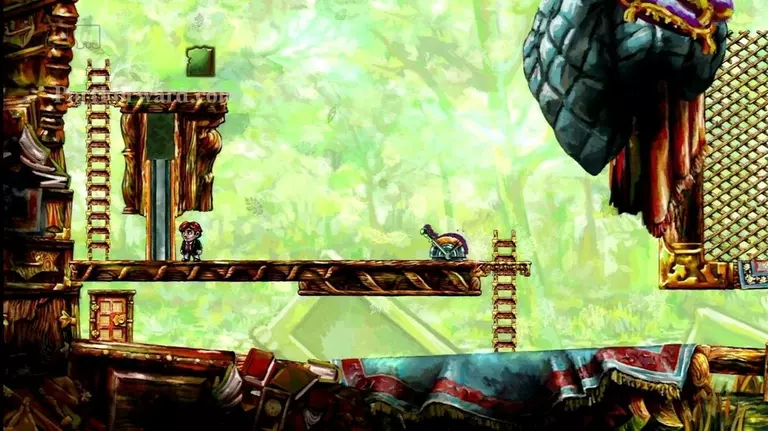
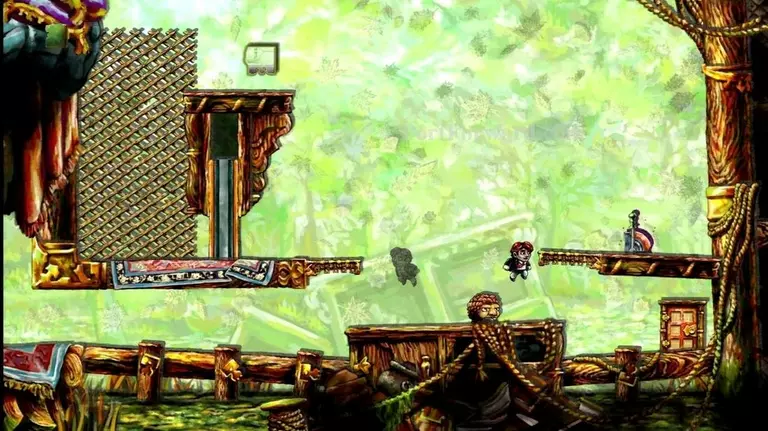
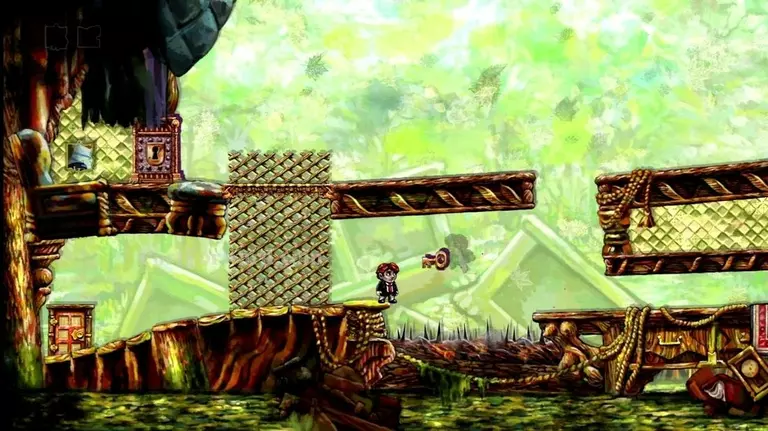
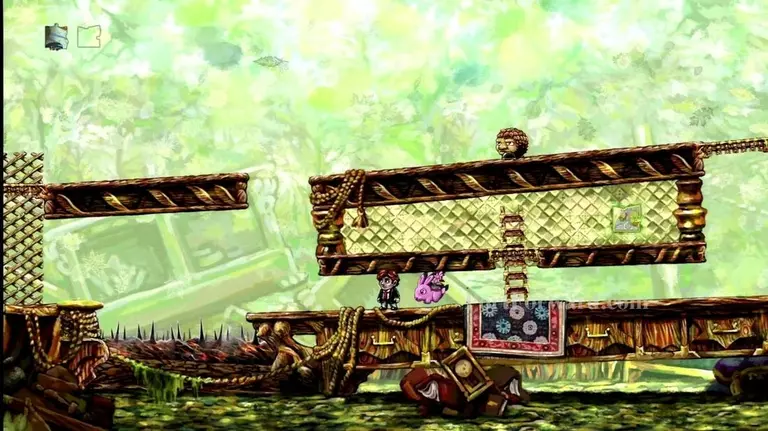
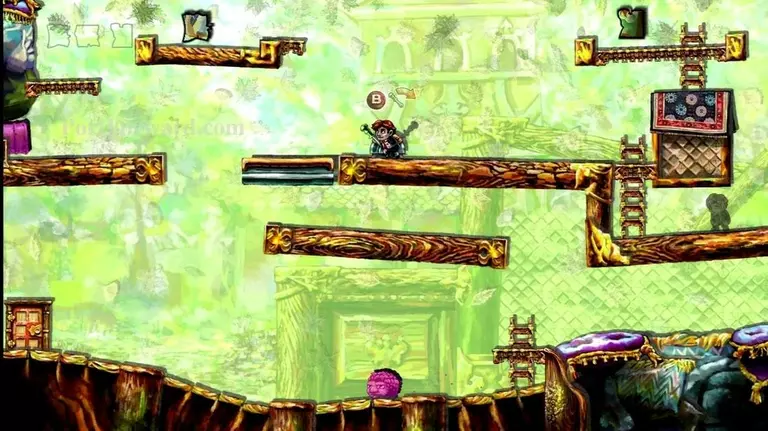
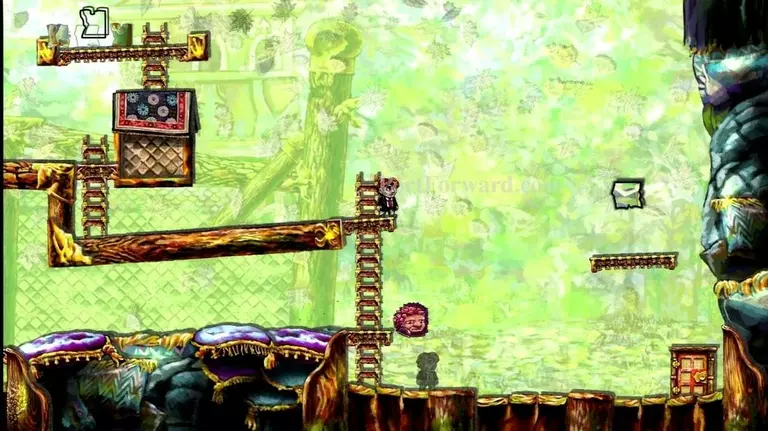
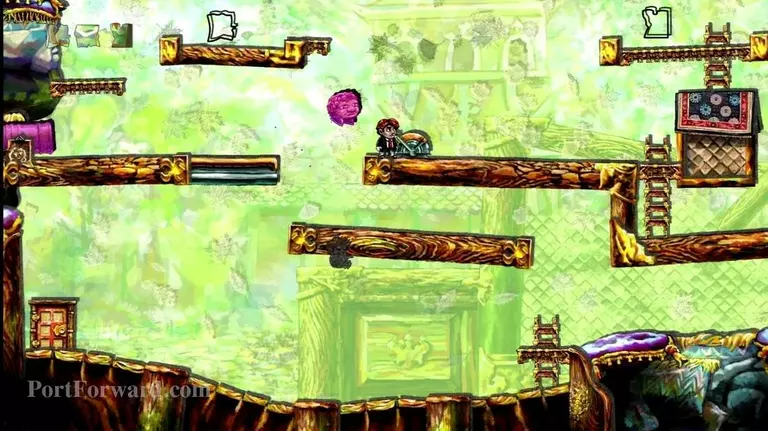
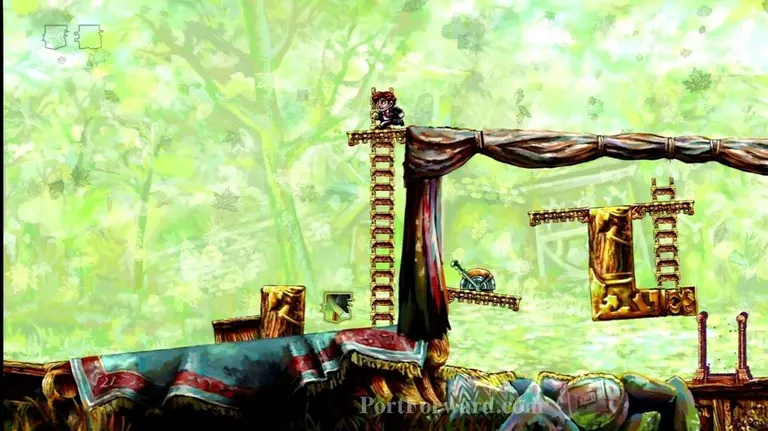
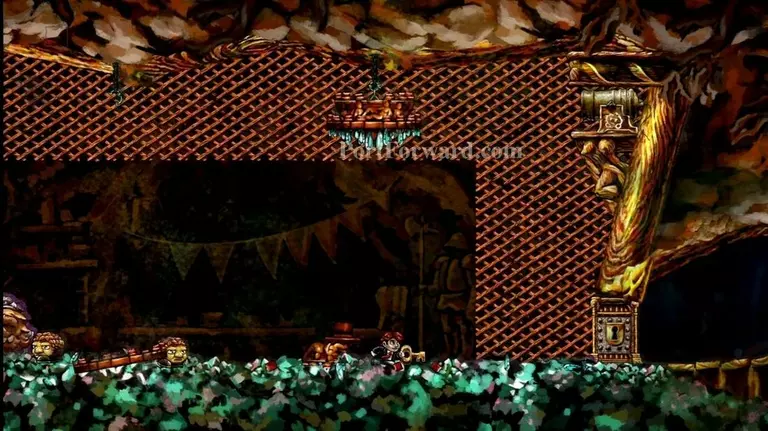
Go over to the lever and wait a good 10 or so seconds.
img(131209);
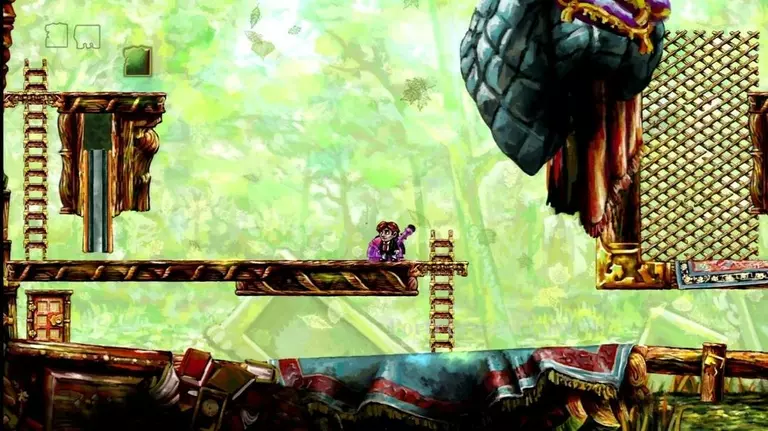
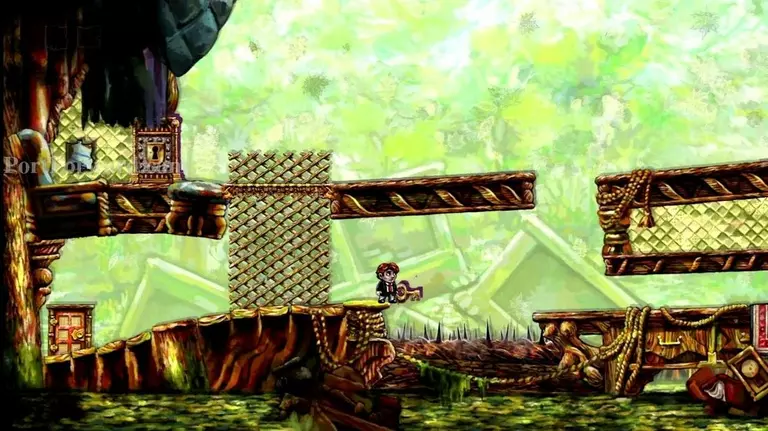
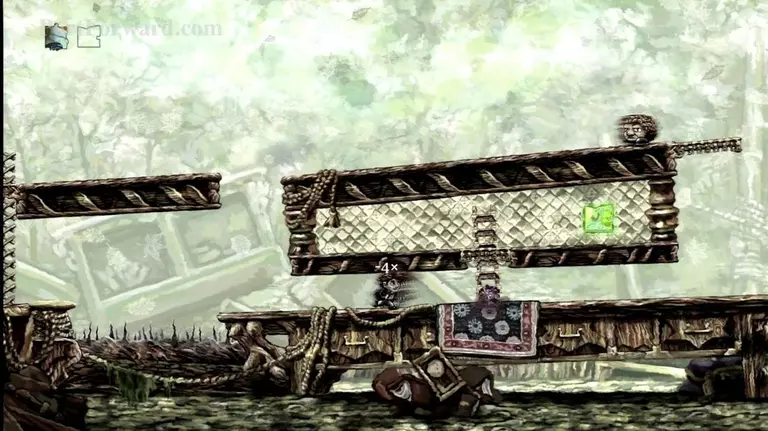
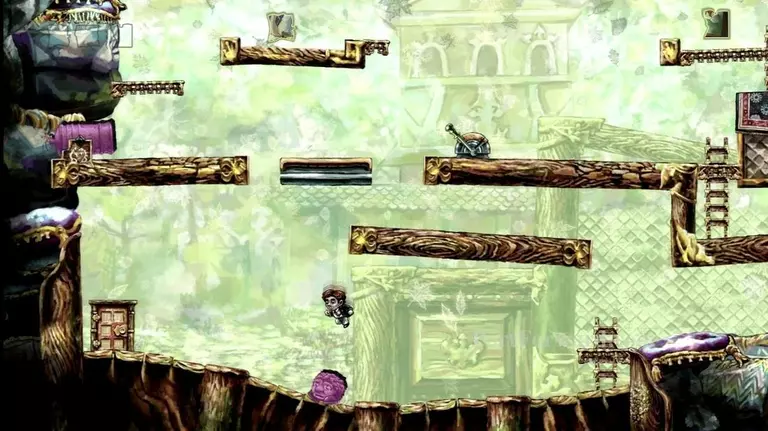
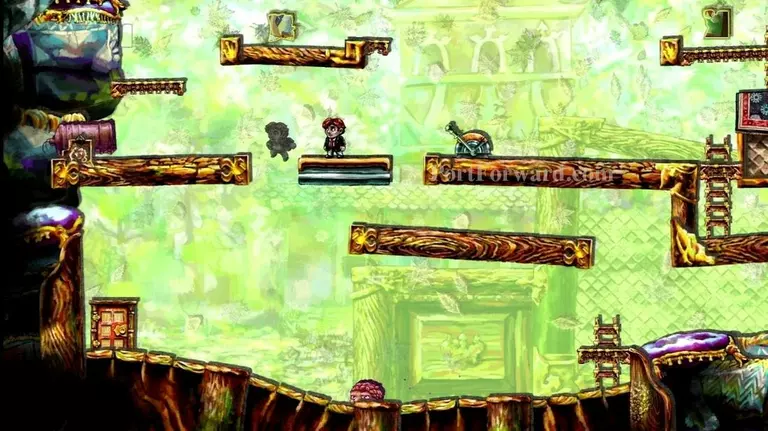
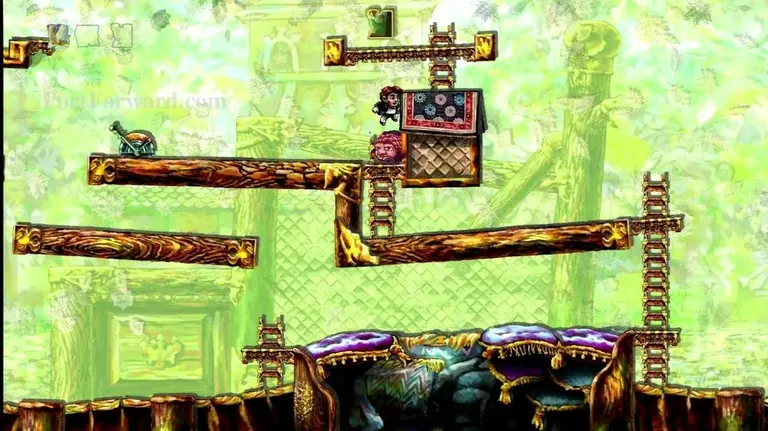
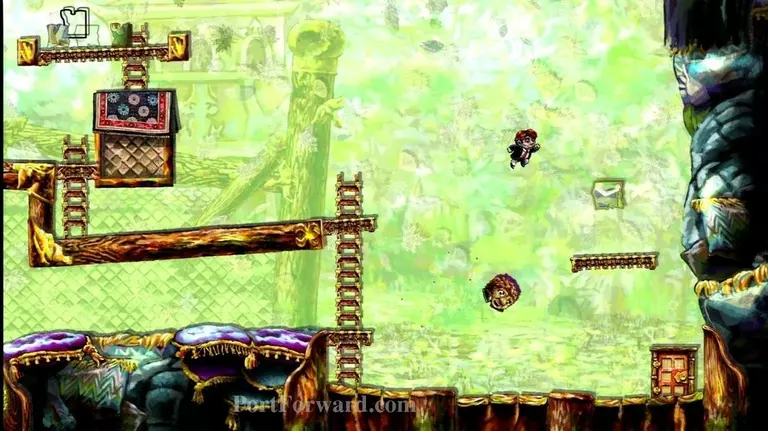
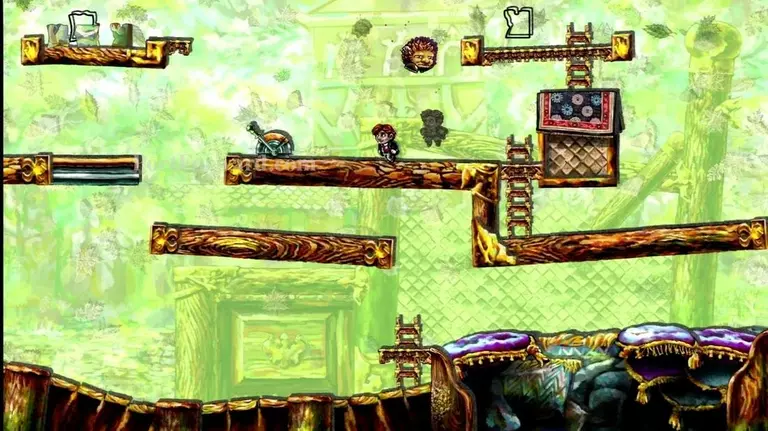
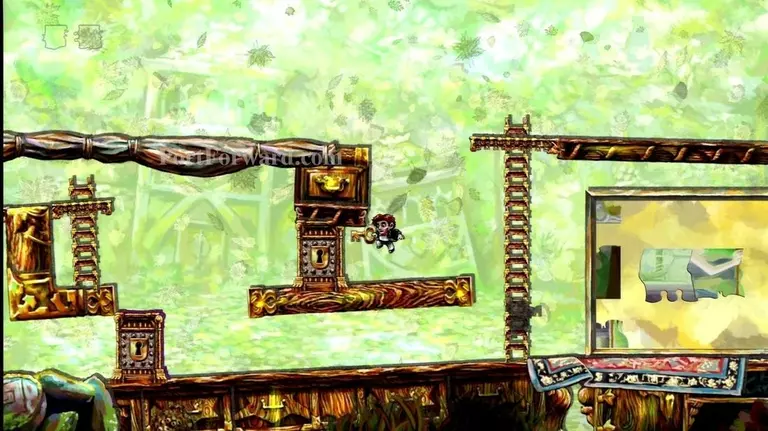
Pull the lever and rewind yourself back near the boss (but don't bring him back to life!)
img(131210);
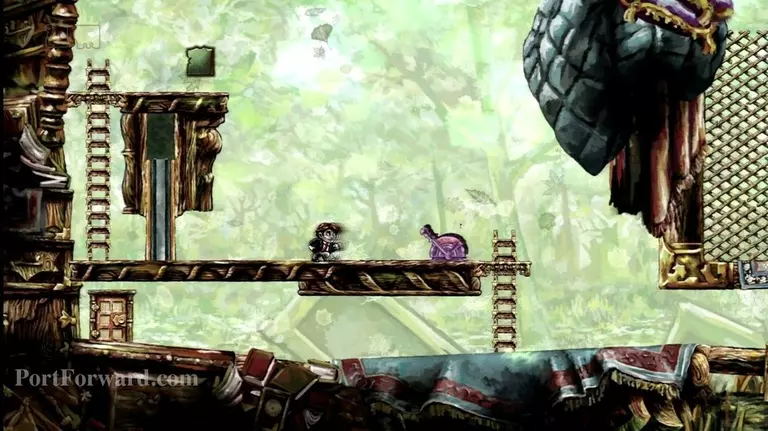
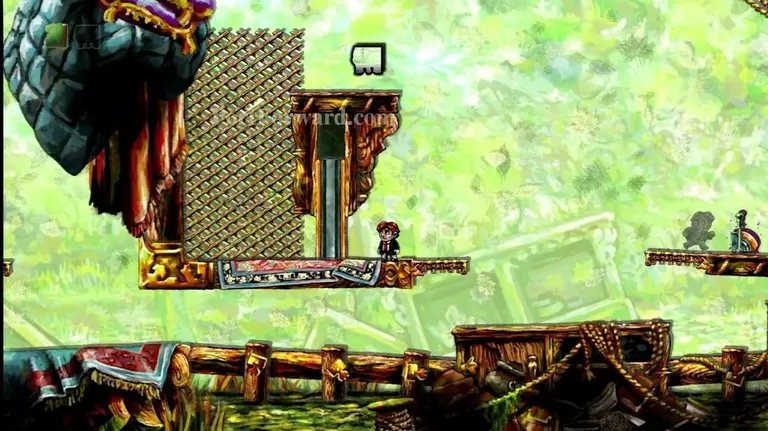
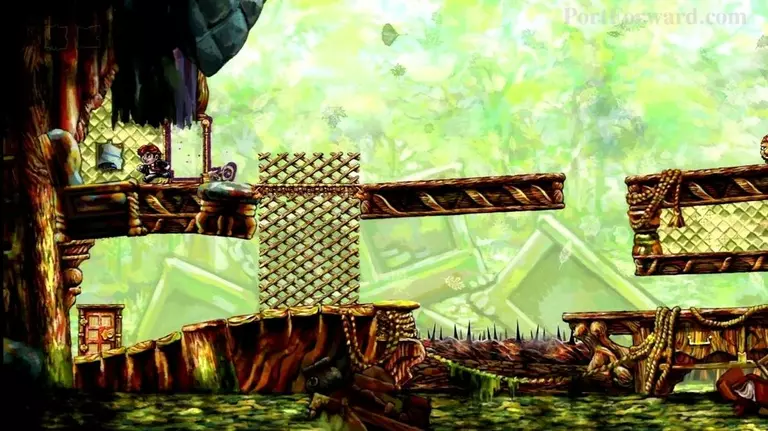
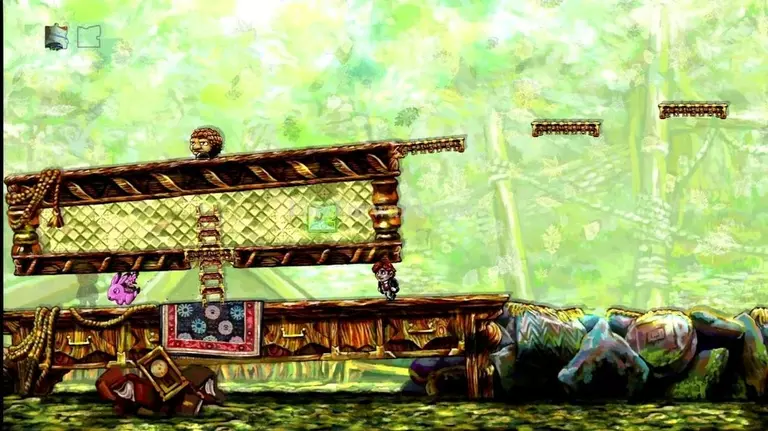
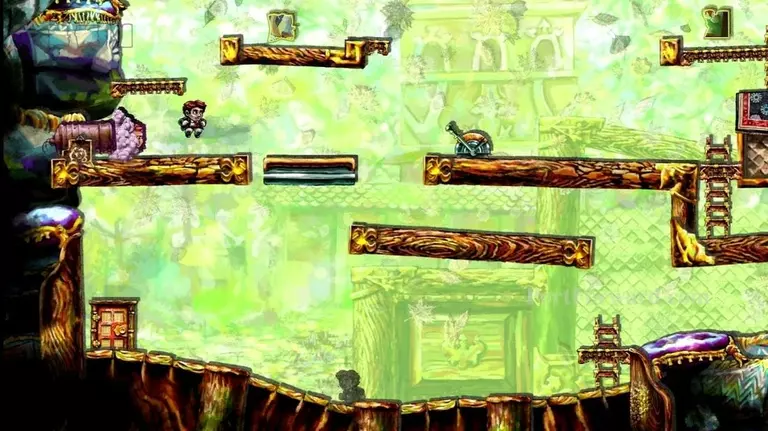
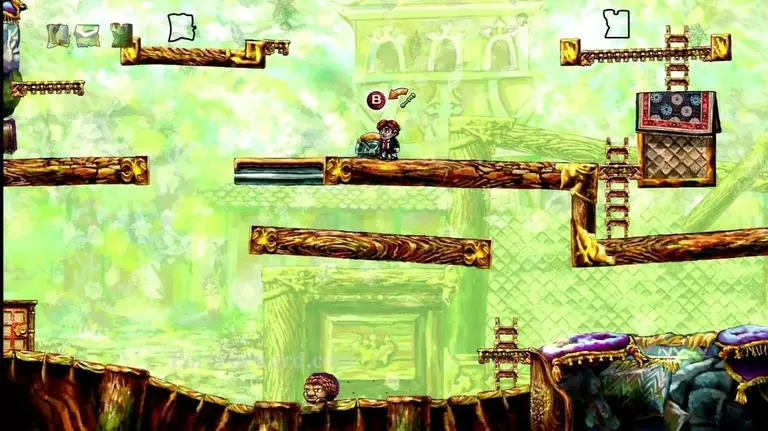
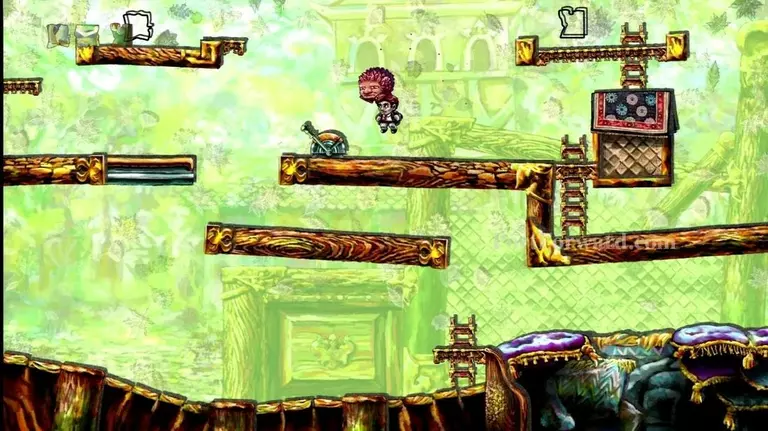
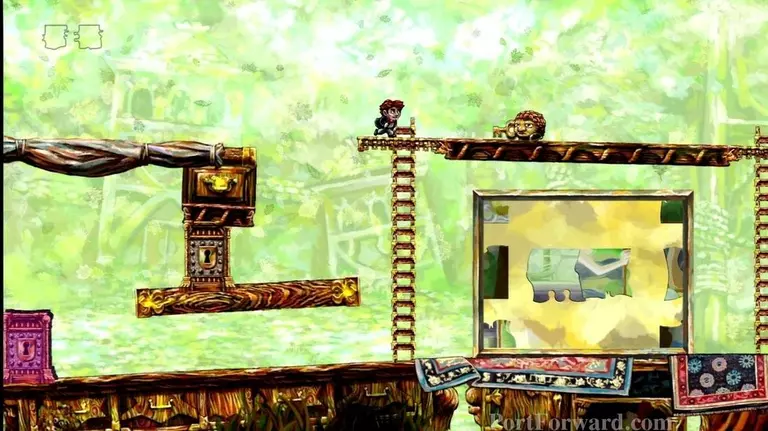
Open the locked door on the right.
img(131211);
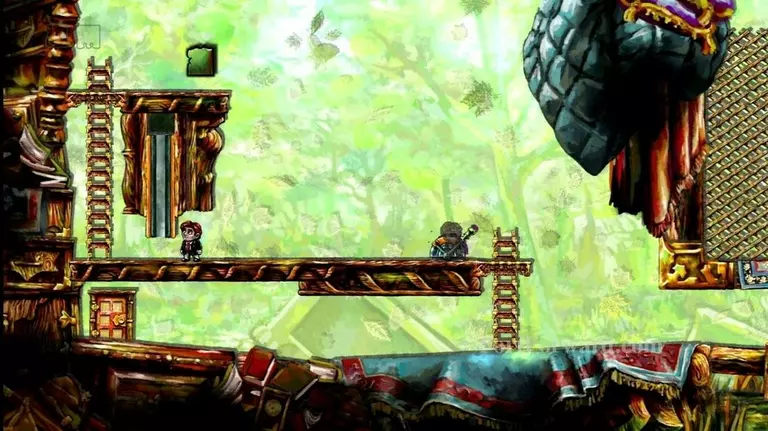
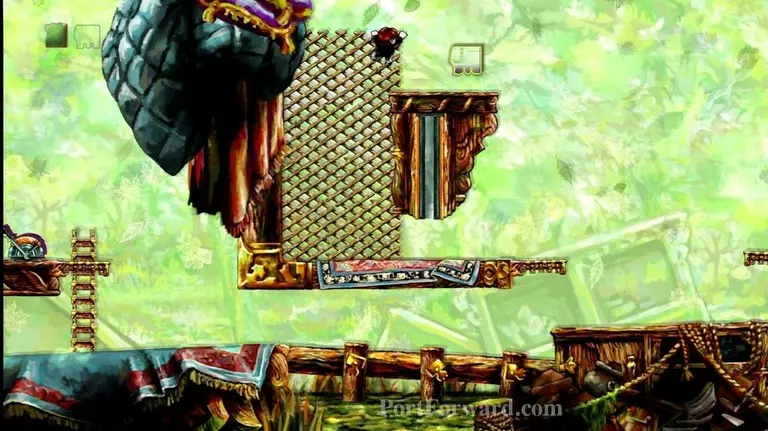
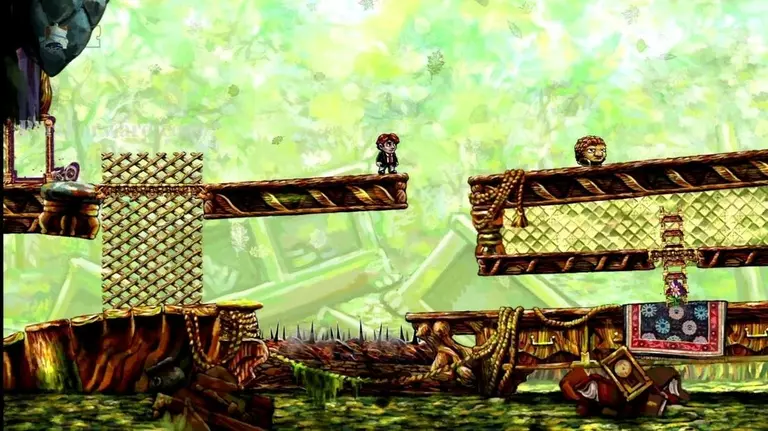
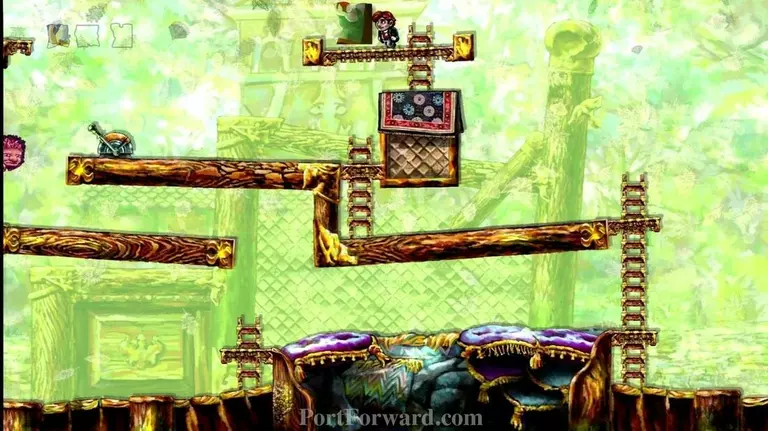
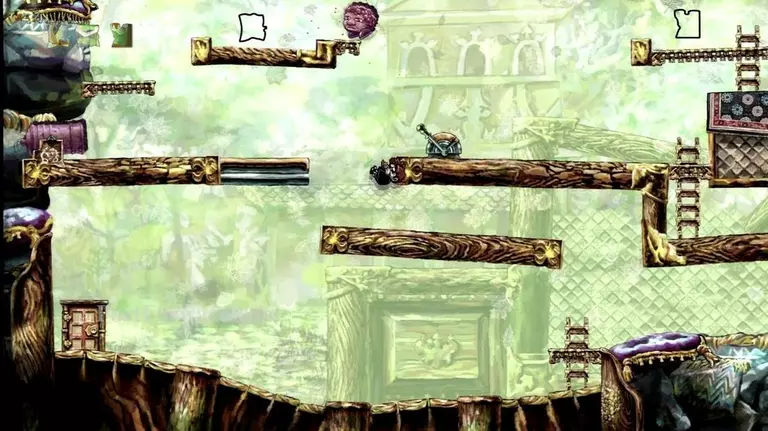
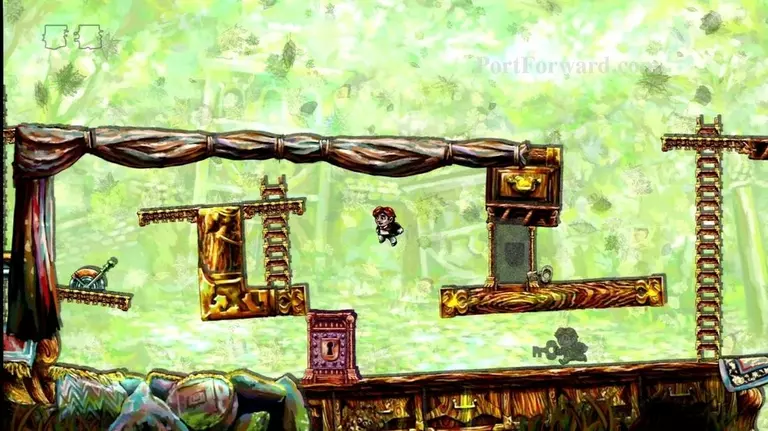
Go to the movable wall on your right and wait for it to open.
img(131212);
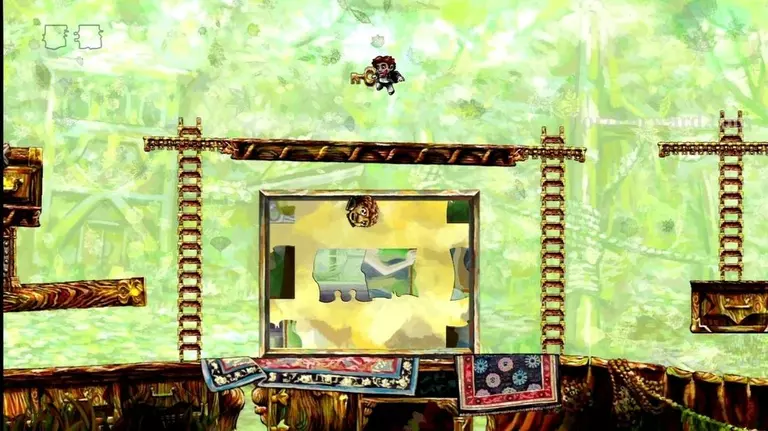
Your shadow will hopefully open it, letting you grab a puzzle piece.
img(131213);
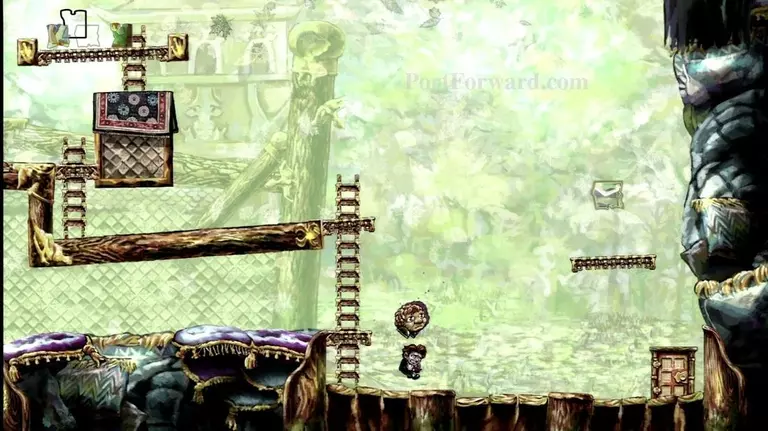
Exit through the door here.
img(131214);
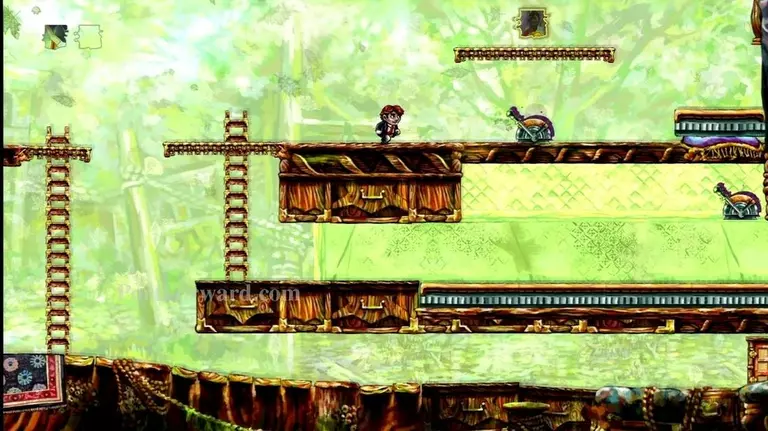
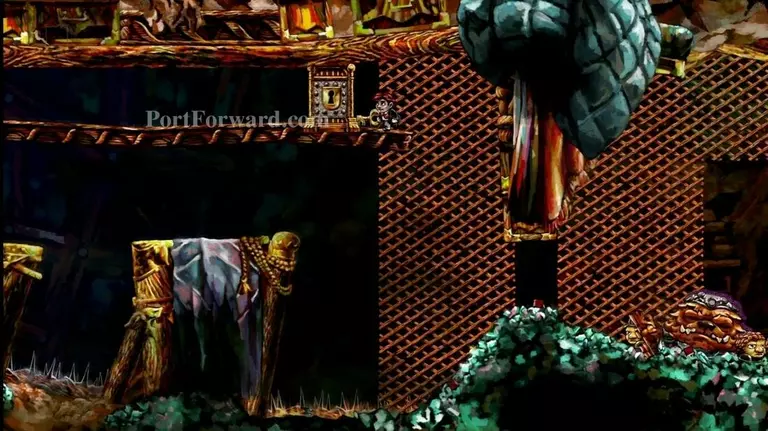
On to World 5-7, "Fragile Companion".
img(131215);
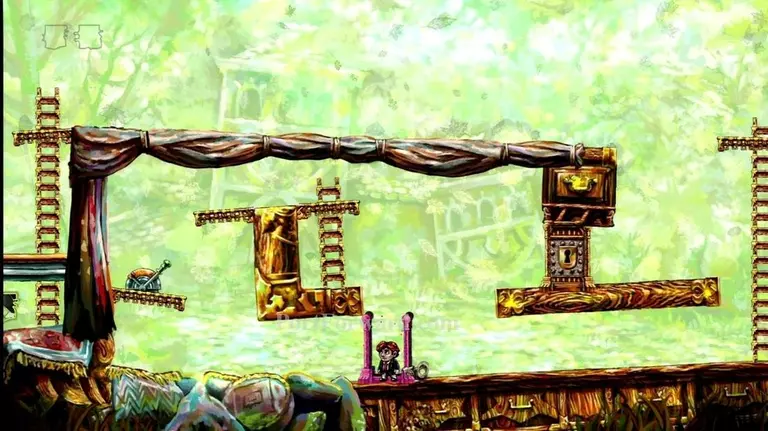
Climb up the lattice.
img(131216);
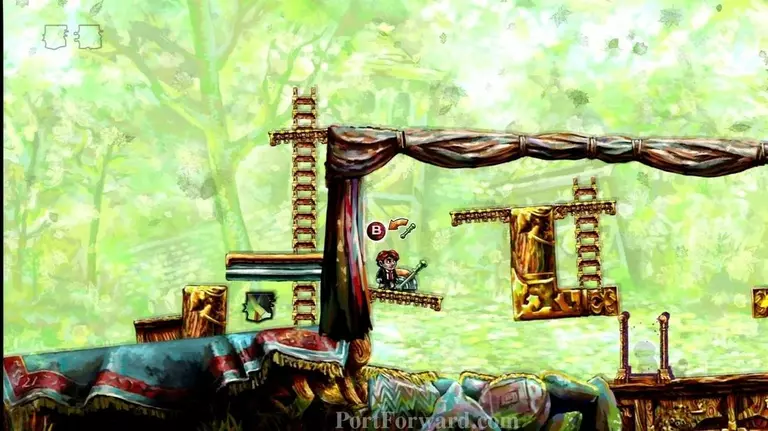
Jump on the enemy and take the key.
img(131217);
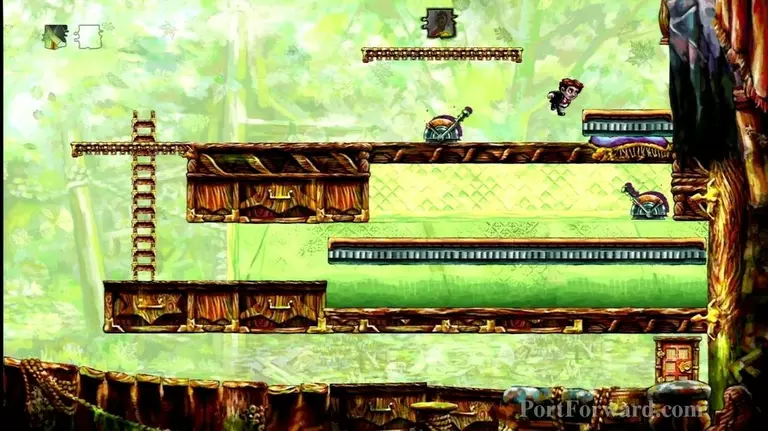
Jump toward the locked door.
img(131218);
hen you are extremely close to unlocking it, rewind yourself back to the platform. If you accidentally unlock the door, exit the room and come back in.
img(131219);
Your shadow should make the jump you did.
img(131220);
The door will actually open for your shadow.
img(131221);
Now you can use your key to open the second door. Take the puzzle piece.
img(131222);
Walk to the right of this area to end this world.
img(131223);
Press B on World 5's puzzle board.
img(131224);
When you complete it, it should look like this.
img(131225);
You should now have 5 stars lit in the sky.
More Braid Walkthroughs
This Braid walkthrough is divided into 7 total pages.