This Braid walkthrough is divided into 7 total pages.
You can jump to nearby pages of the game using the links above.
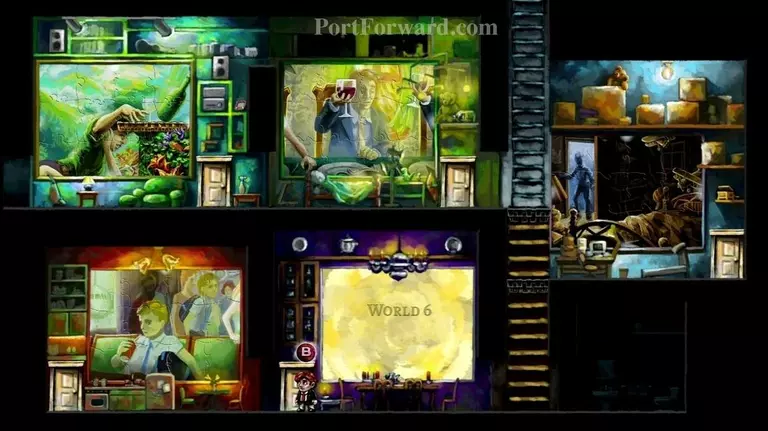
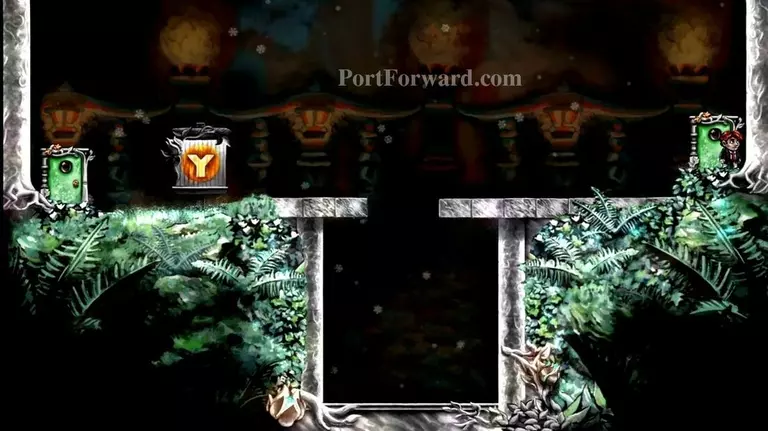
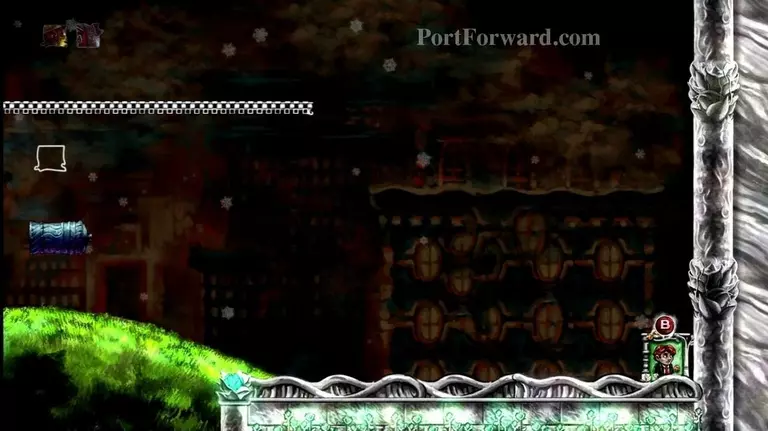
World 6
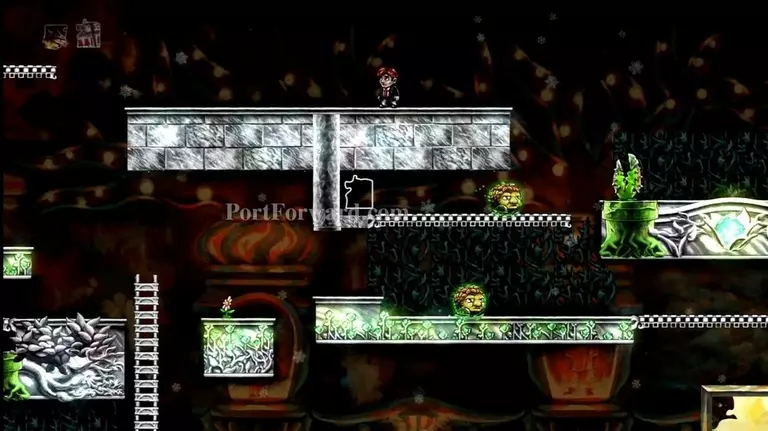
Enter the door to World 6.
Read the story, then enter the room on your right.

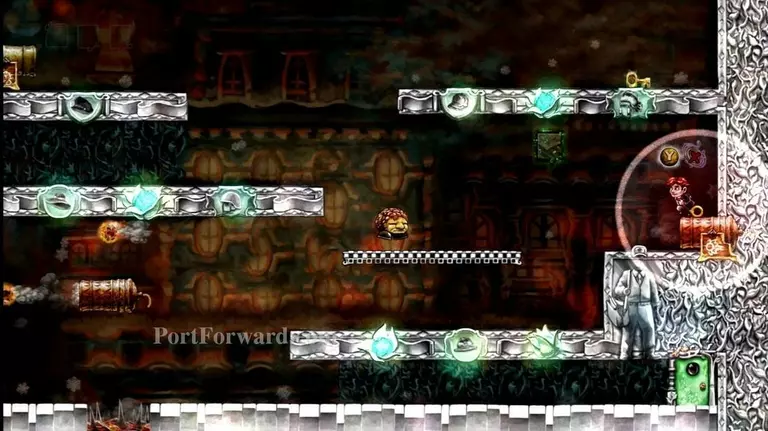
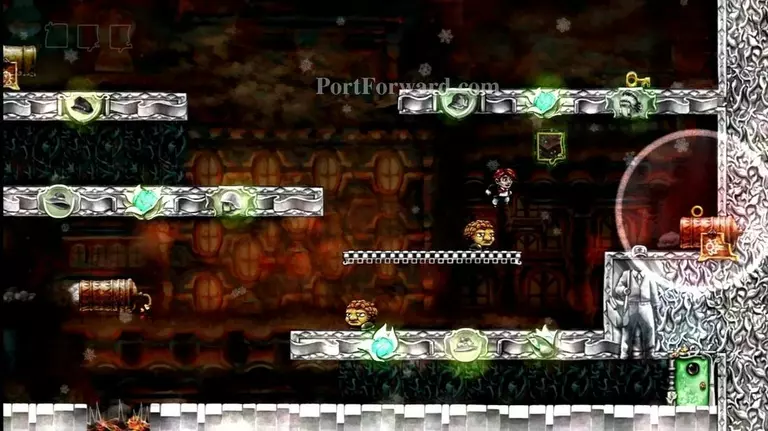
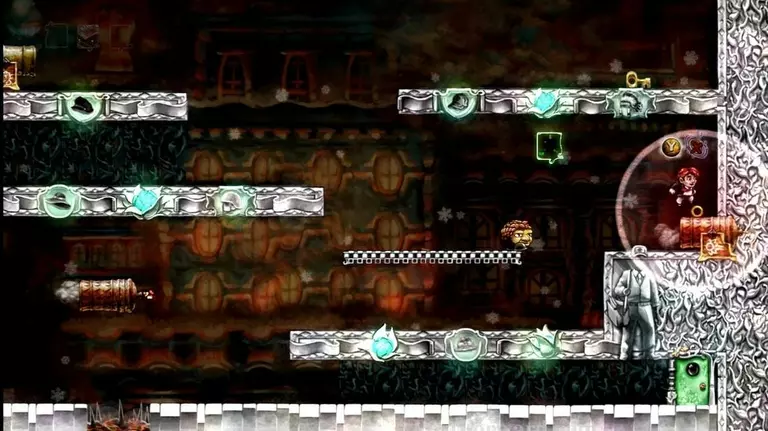
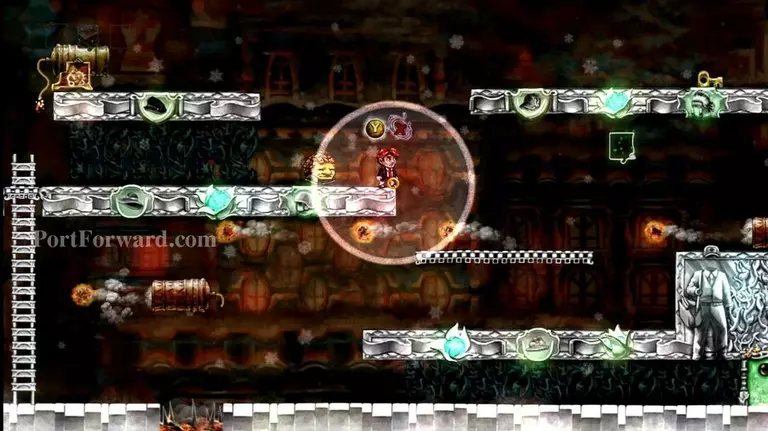
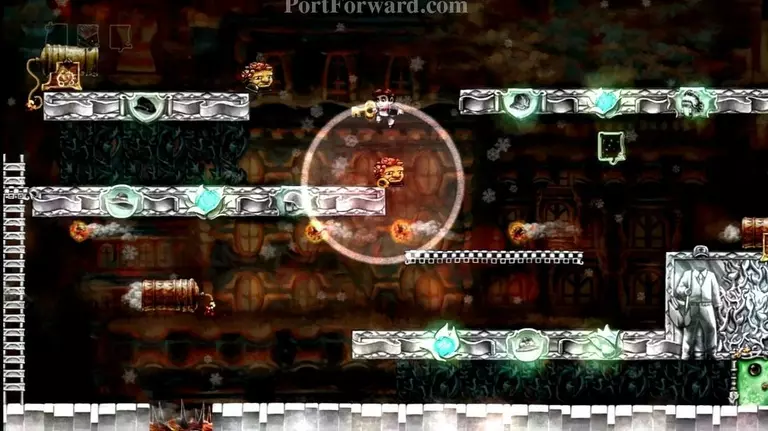
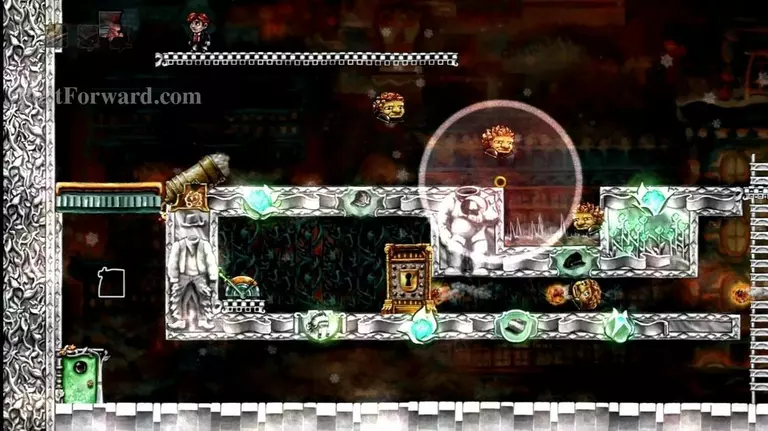
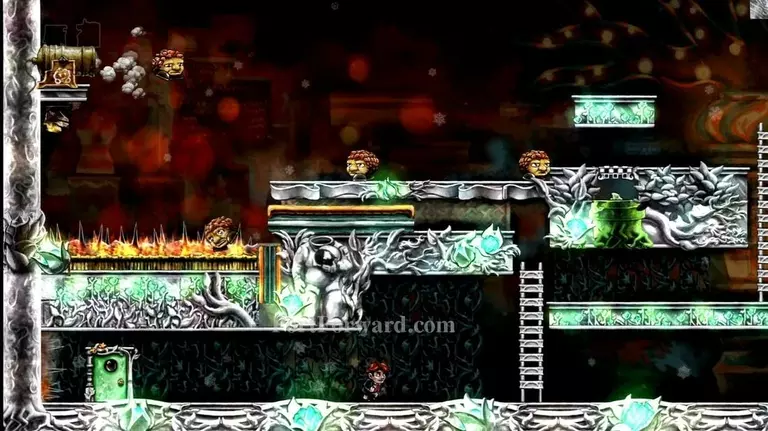
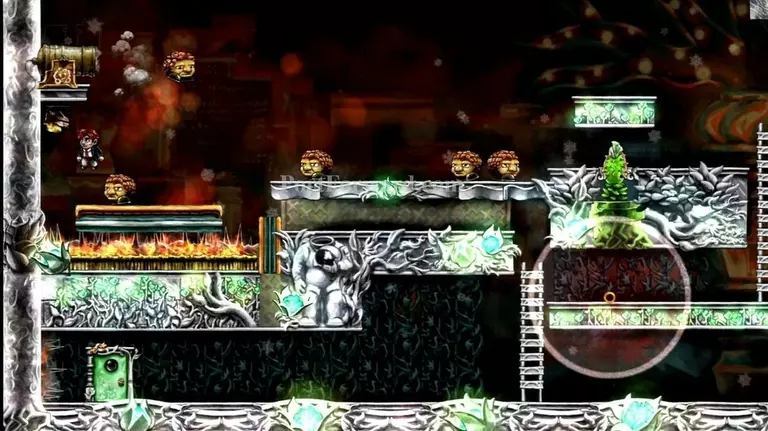
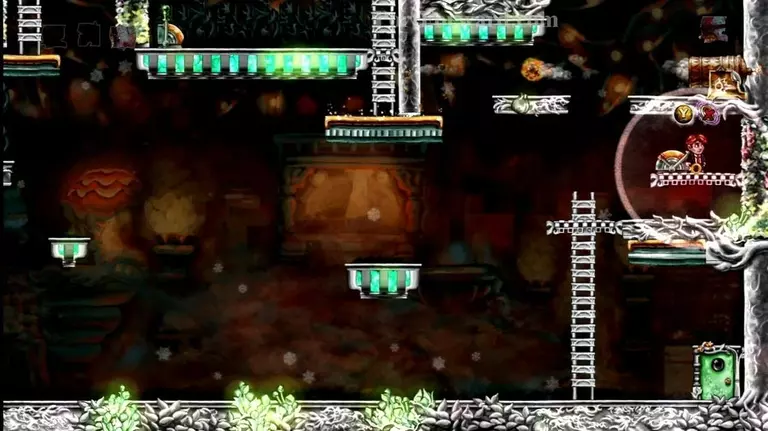
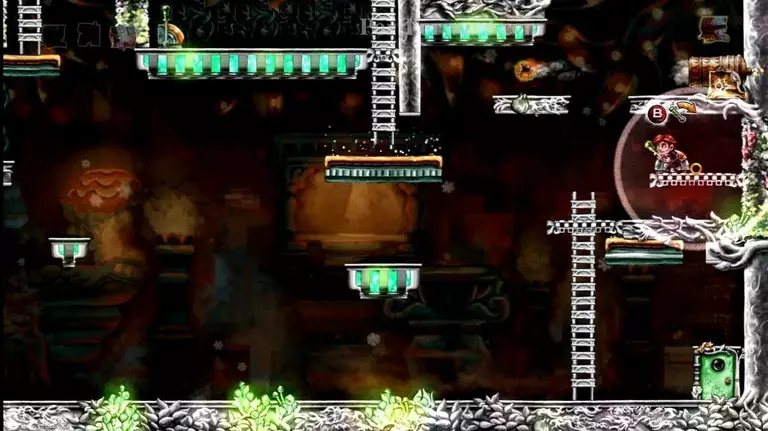
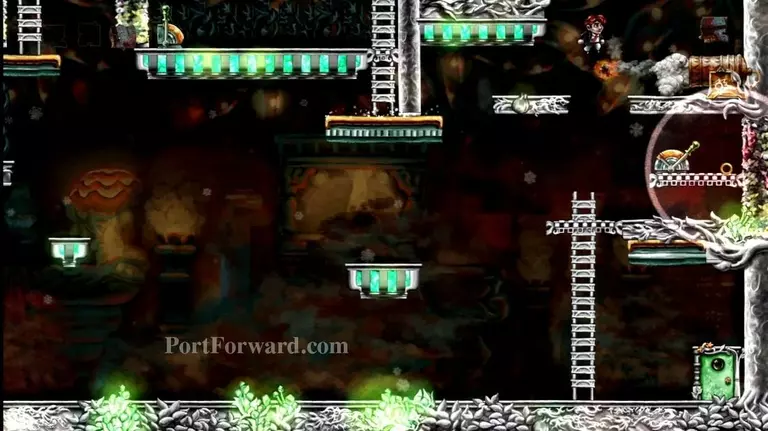
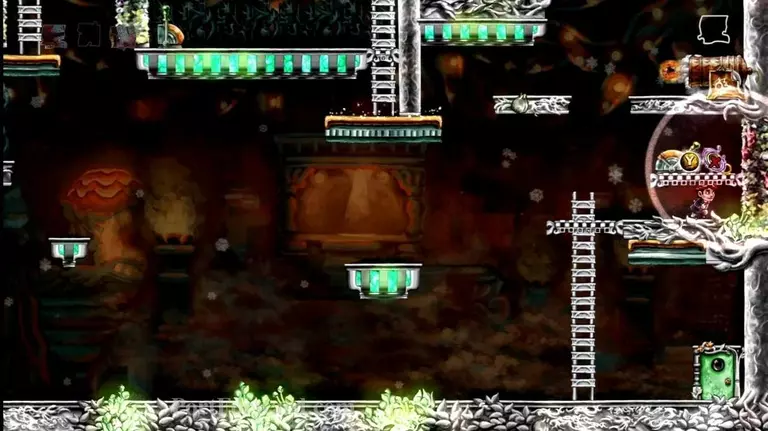
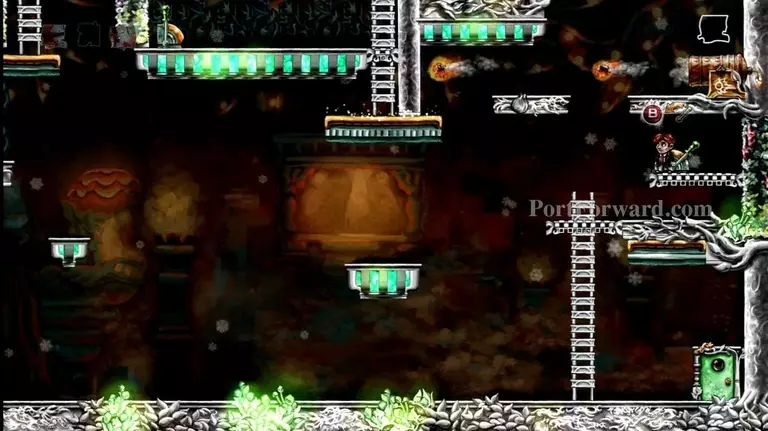
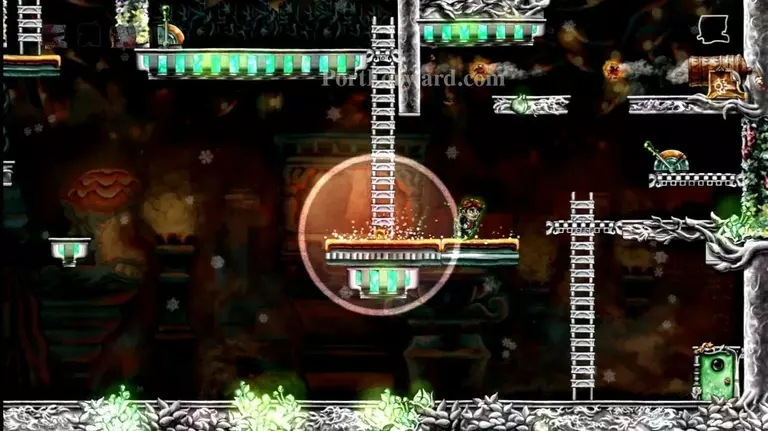
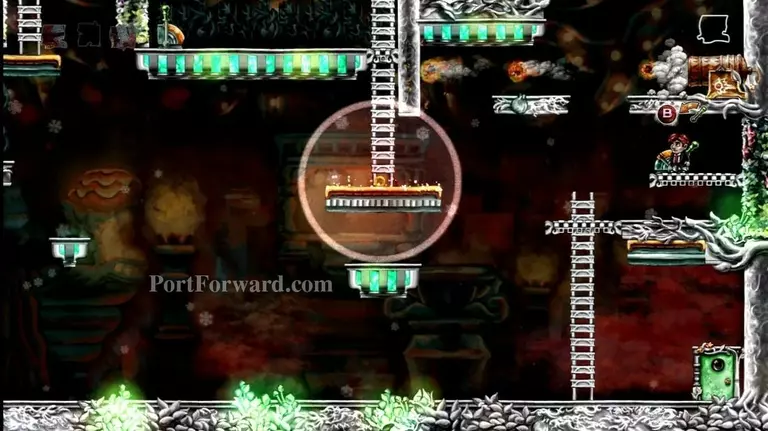
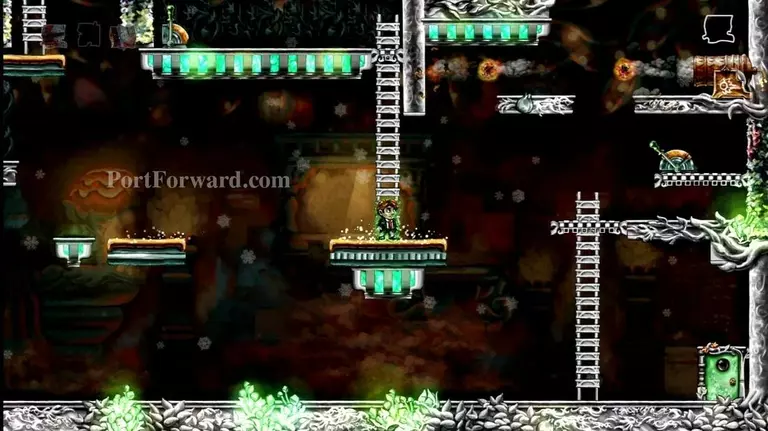
You'll start World 6-1, "The Pit?"
There are no puzzle pieces in this area.
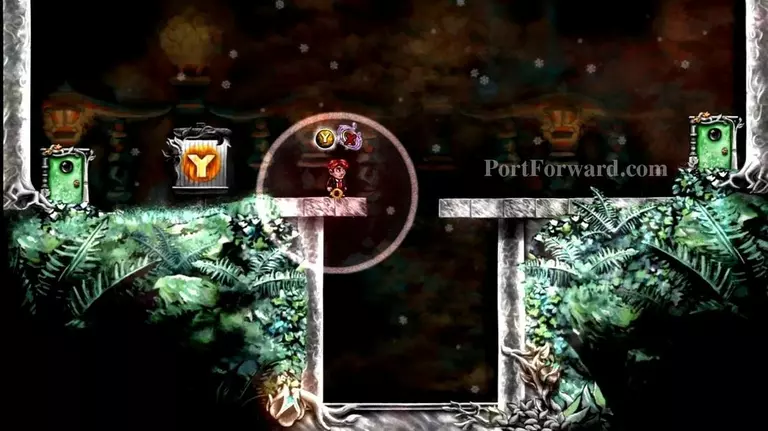
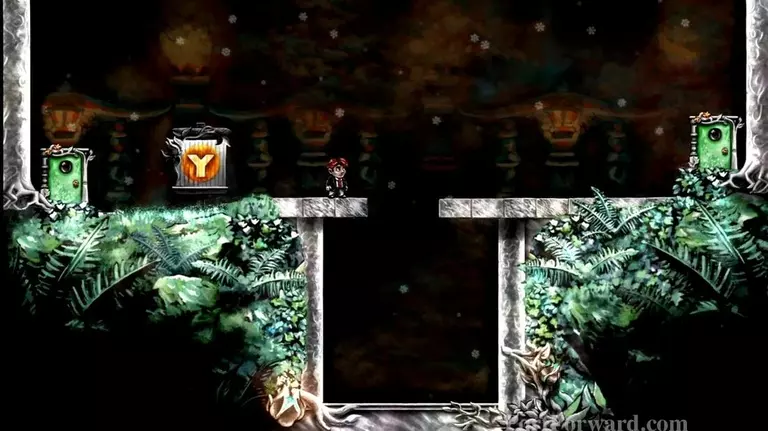
Instead, it's just a place for you to test out this world's ability, the ring. Press Y to place the ring on the ground. You'll see that time moves slower near the ring. Press Y again to pick up the ring.
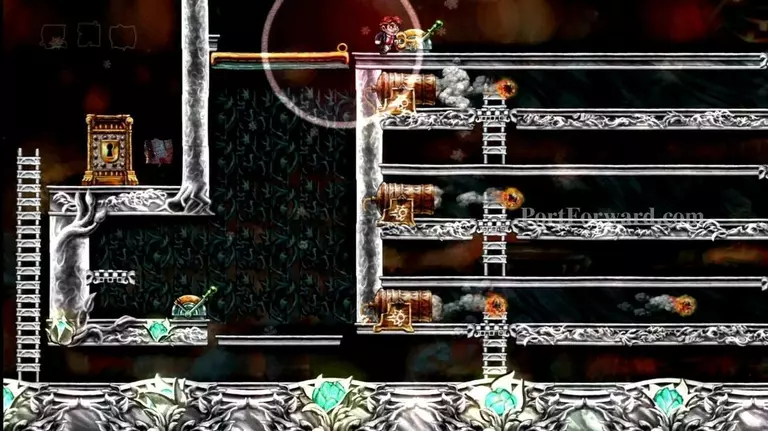
Jump over the pit and exit through the door on your right.

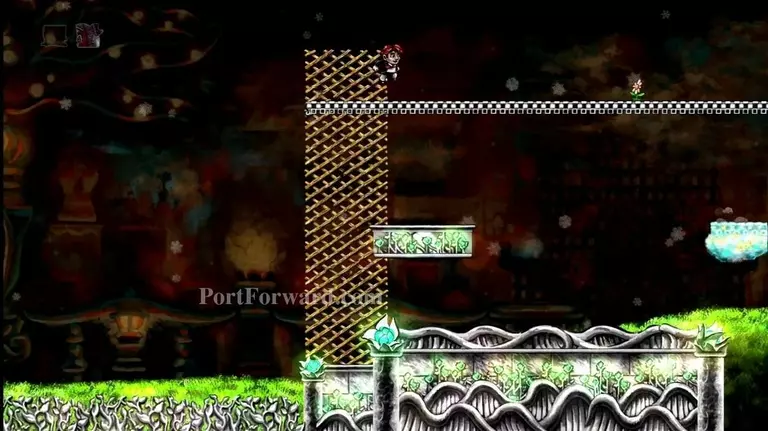
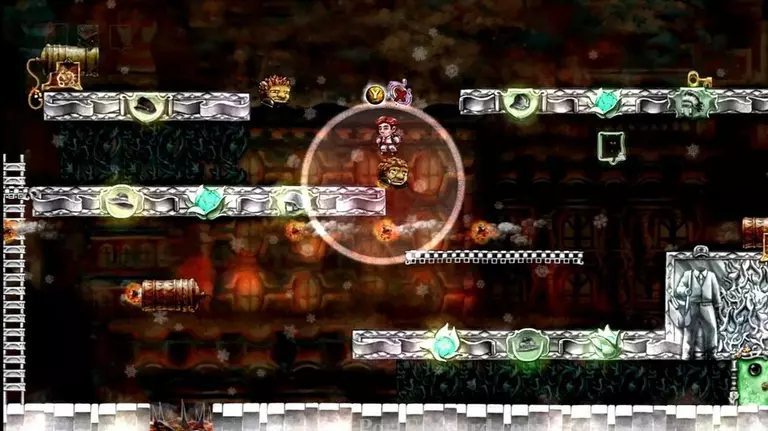
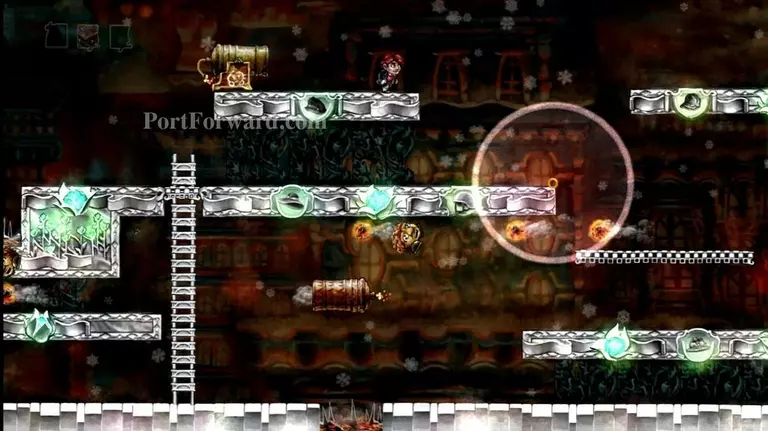
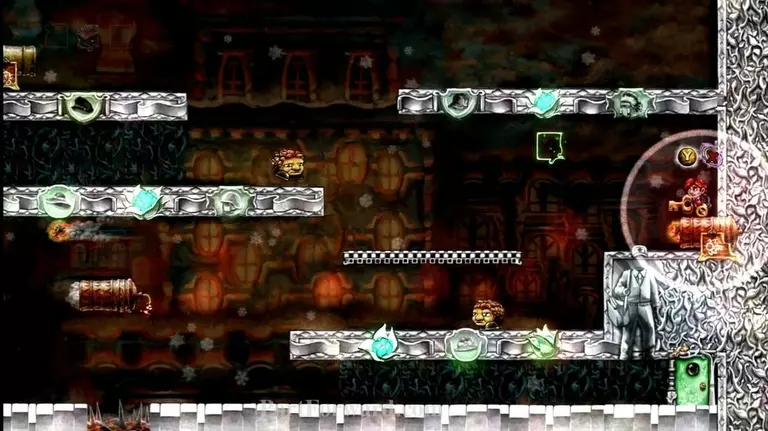
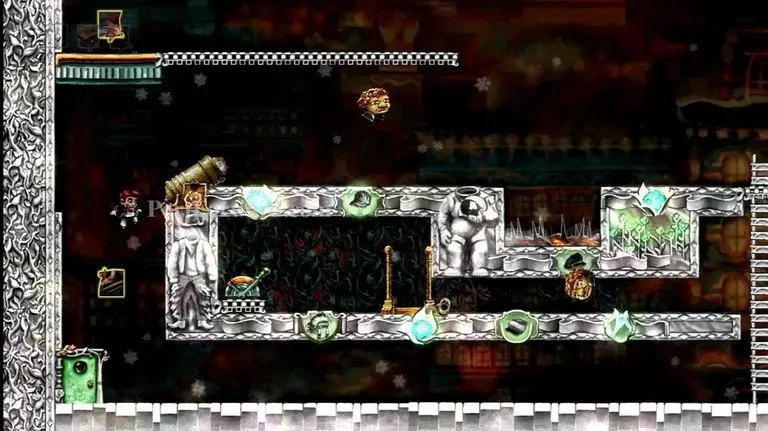
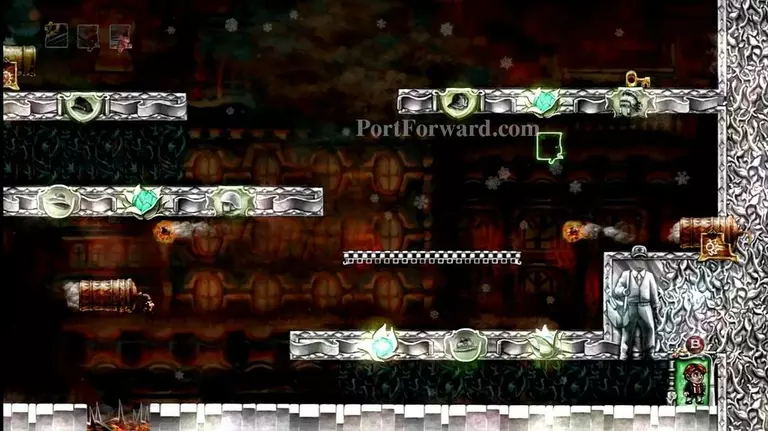
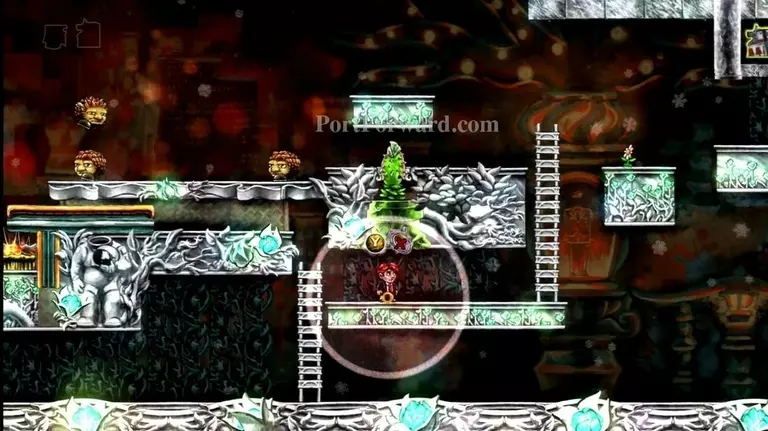
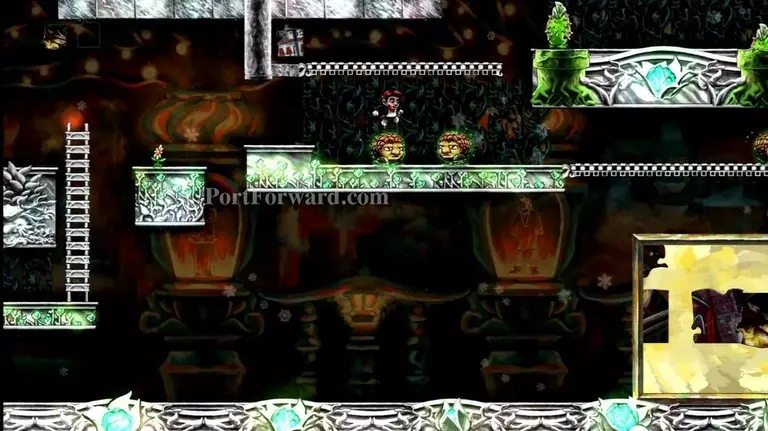
You'll come to World 6-2, "There and Back Again".
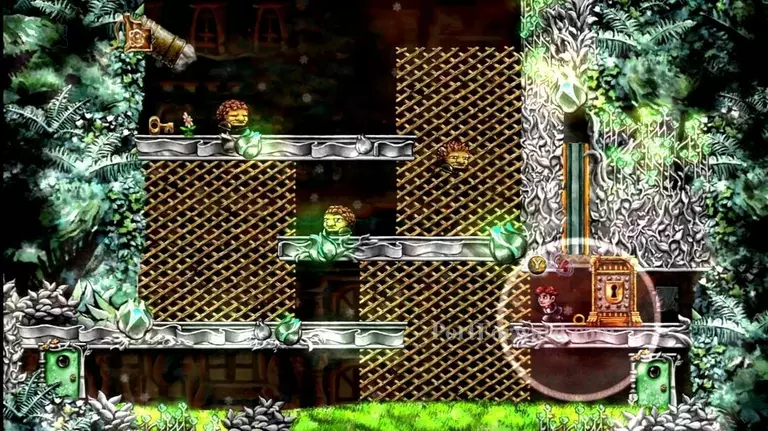
Quickly place the ring next to the locked door, slowing the falling wall.
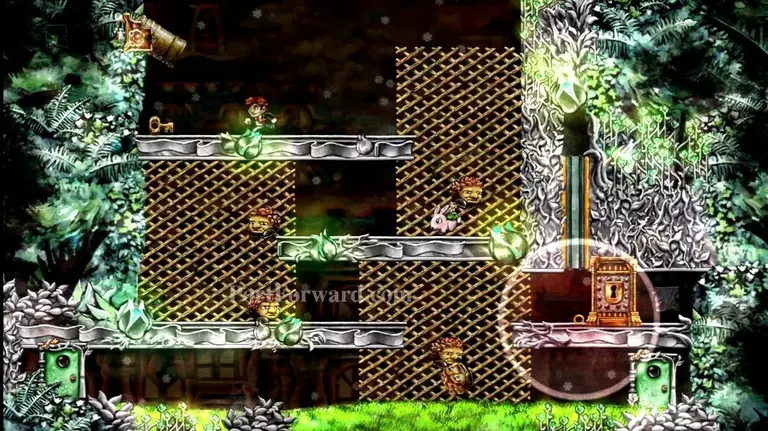
Climb the lattice and grab the key at the top of the level.
Go back down and use the key on the locked door.
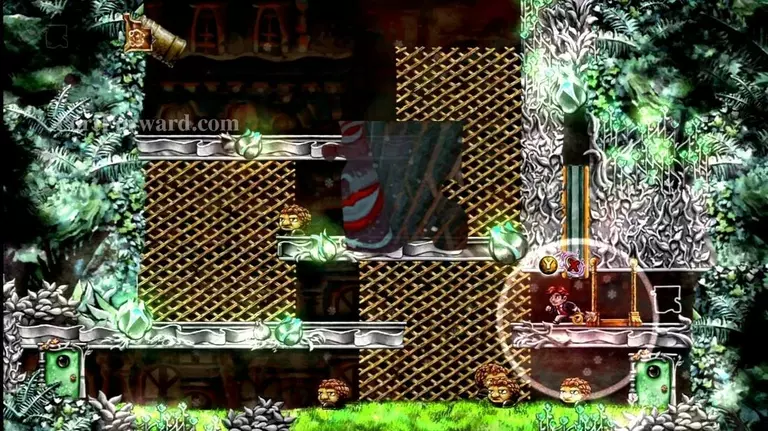
Grab the puzzle piece and get out, before the wall gets in your way.
Exit through the door on the bottom-right.
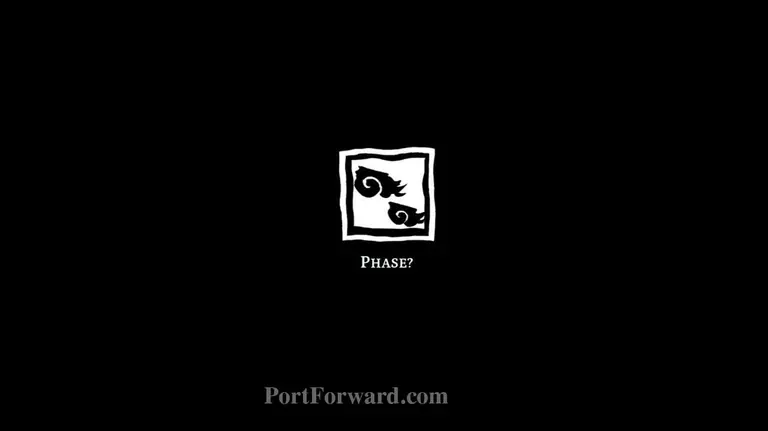
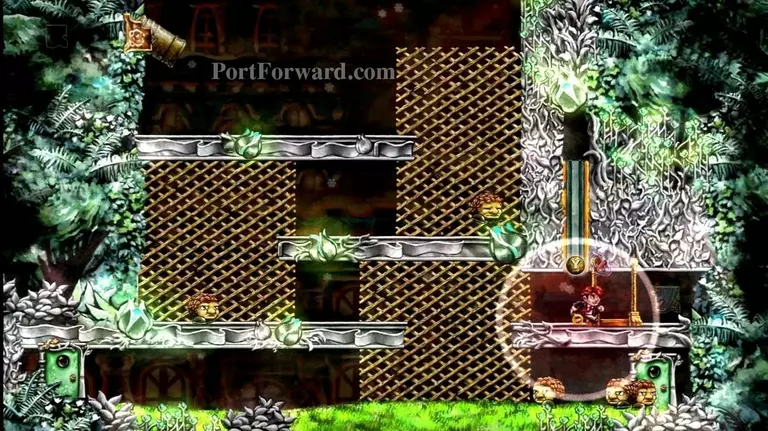
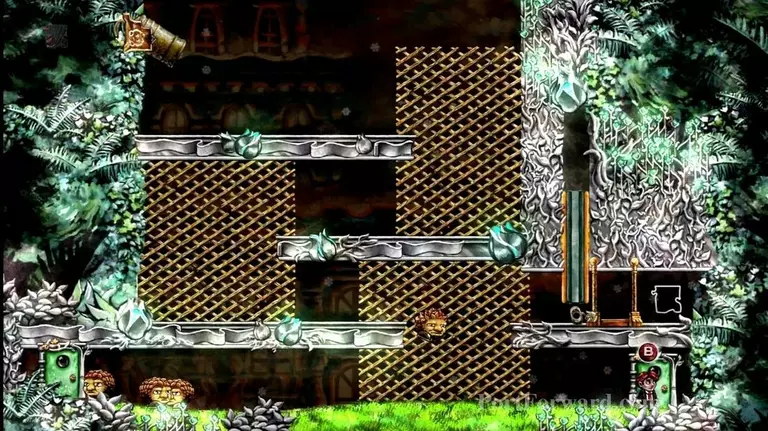
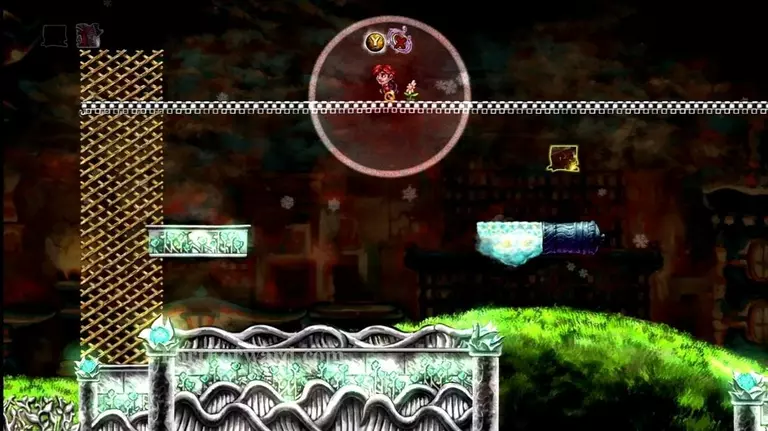
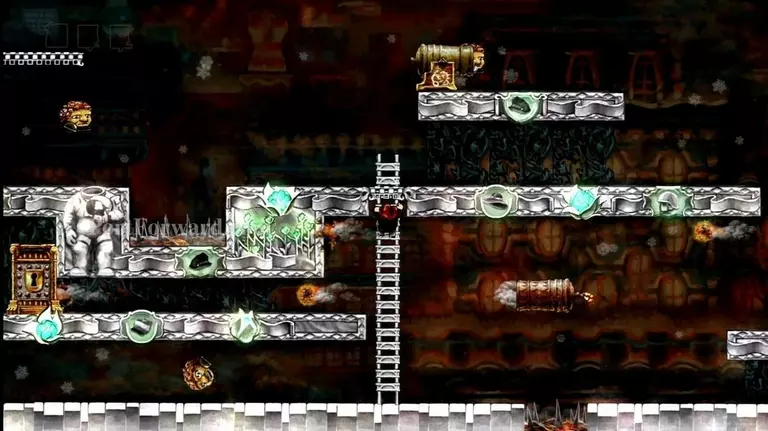
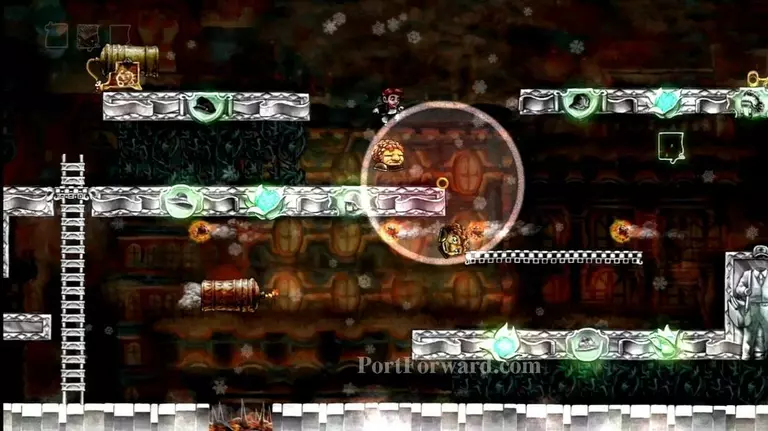
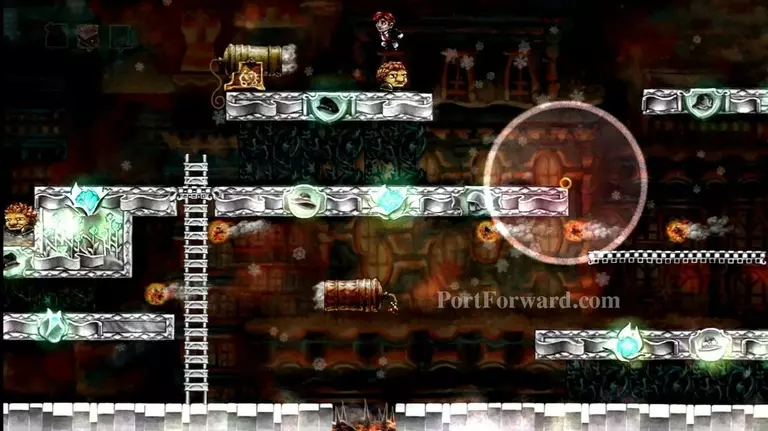
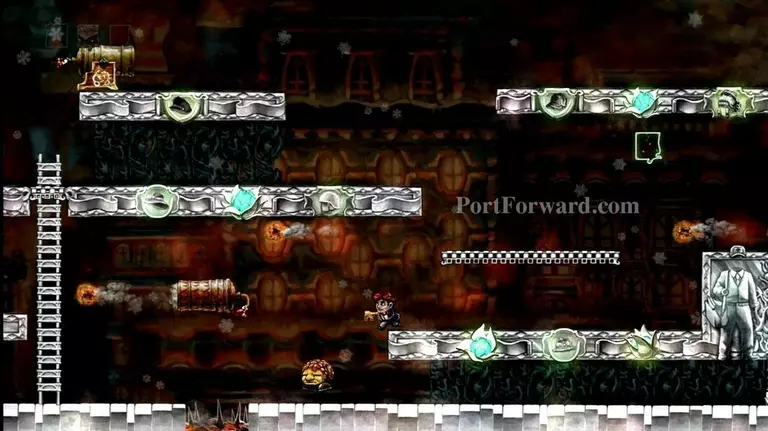
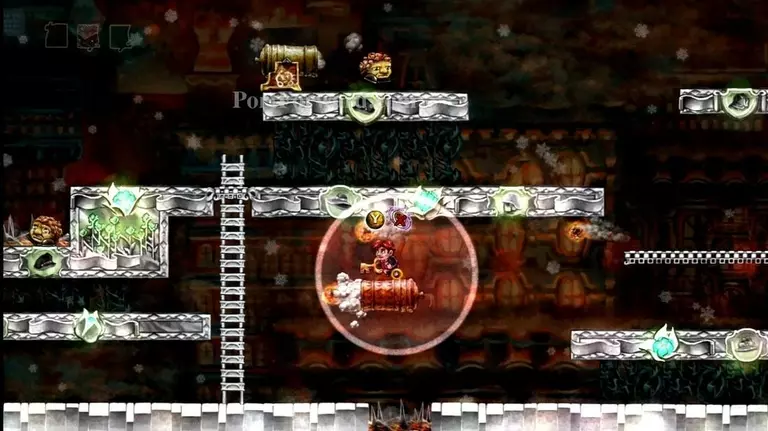
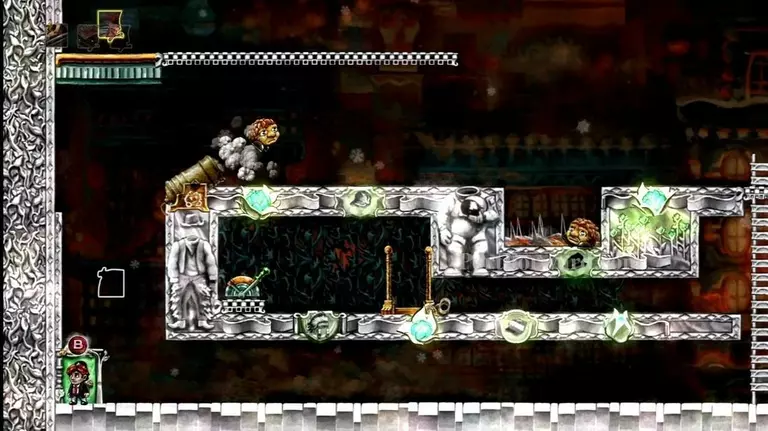
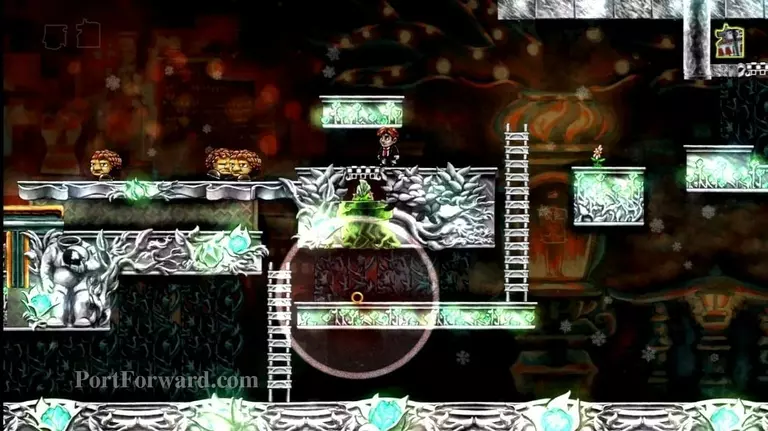
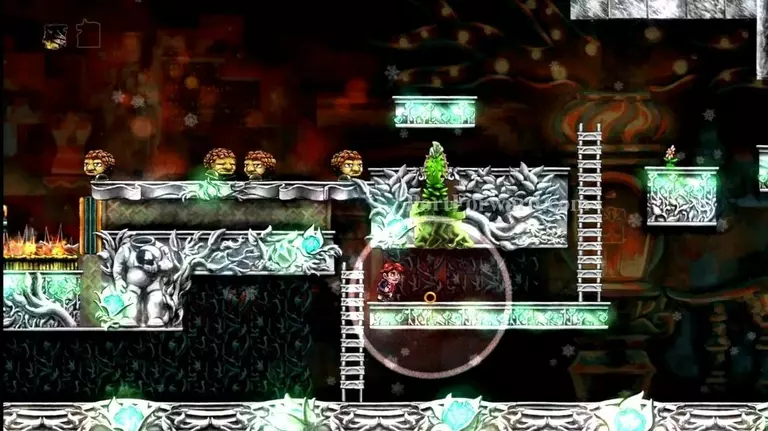
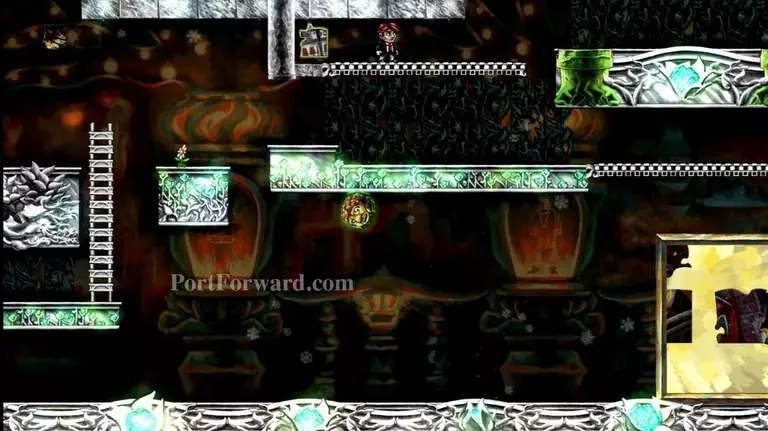
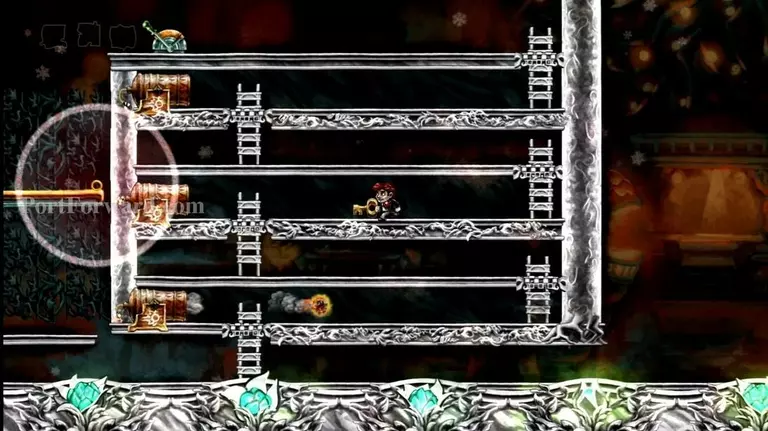
This is World 6-3, "Phase?"
Climb the lattice and get on the platform.
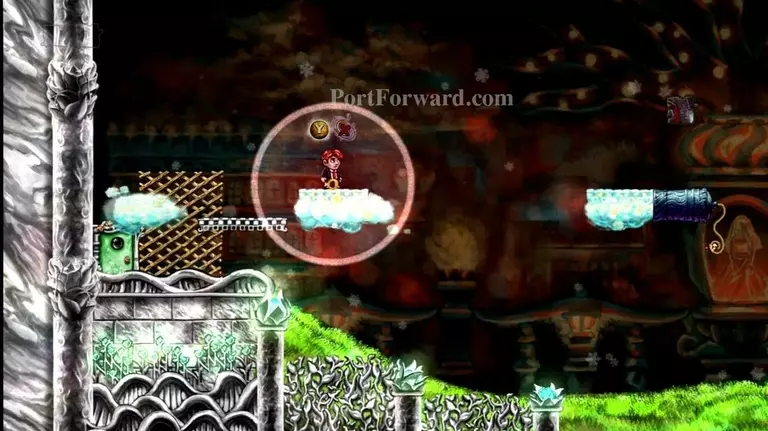
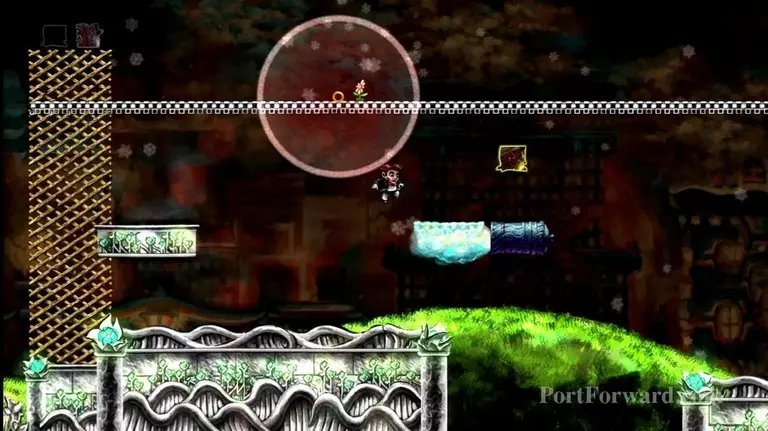
Jump on a cloud and drop your ring on it to slow it down.
When the cloud to the right is close enough, pick up the ring and jump to it.
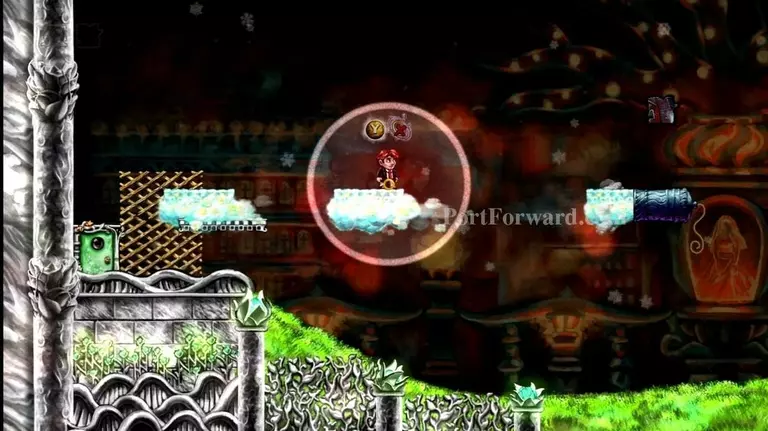
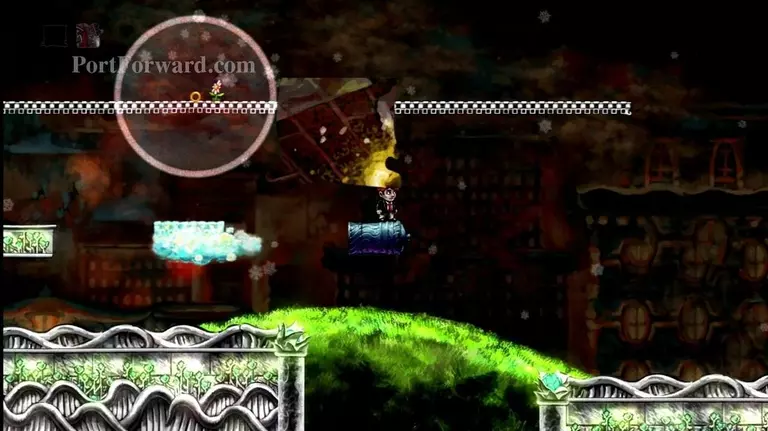
Place your ring on this cloud to slow it down as well.
Keep doing this routine, until you reach the cannon. From here, grab the puzzle piece.
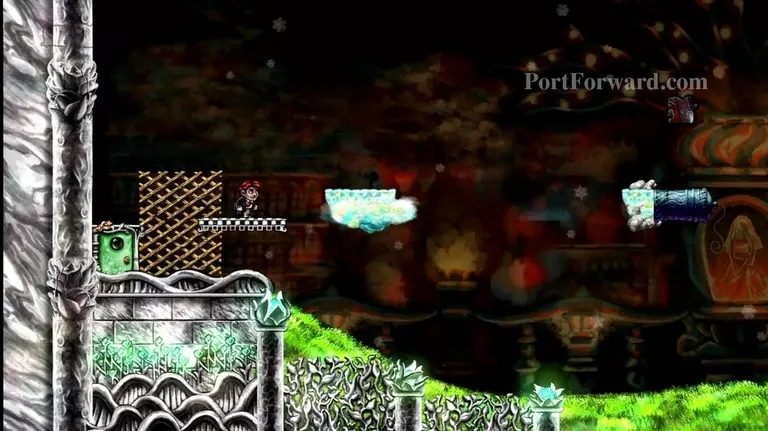
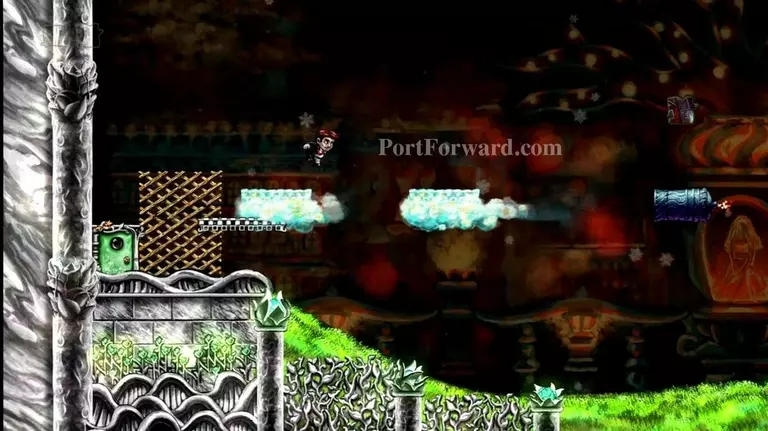
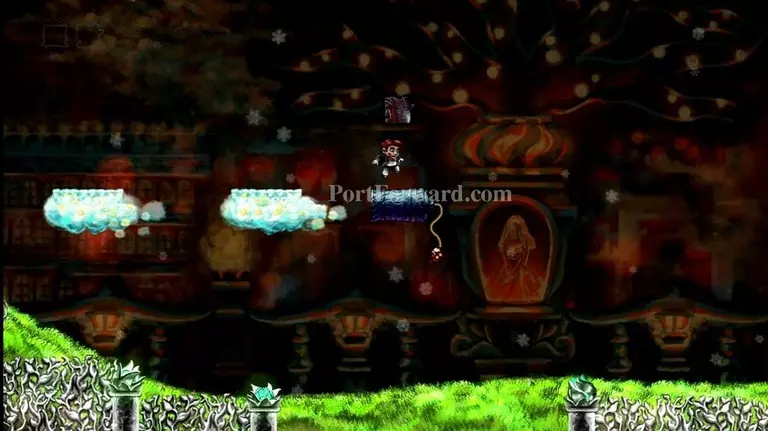
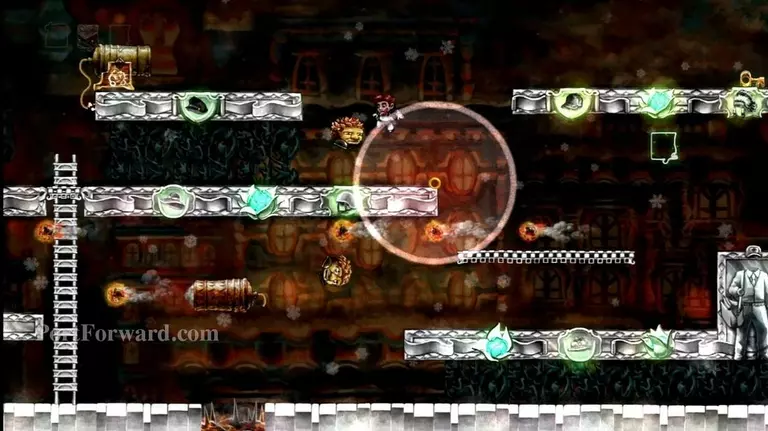
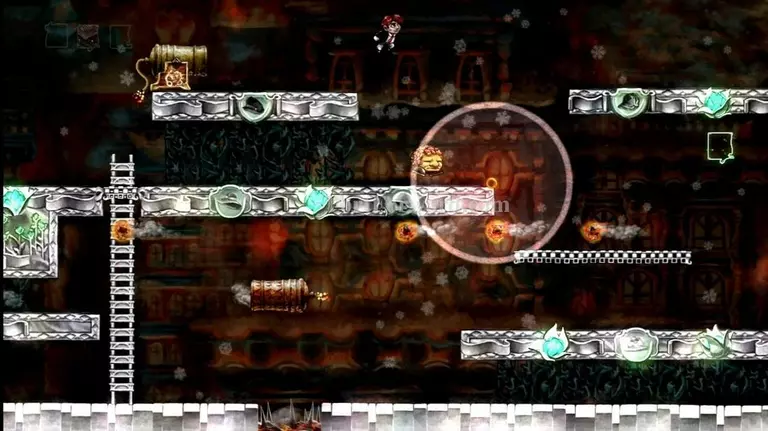
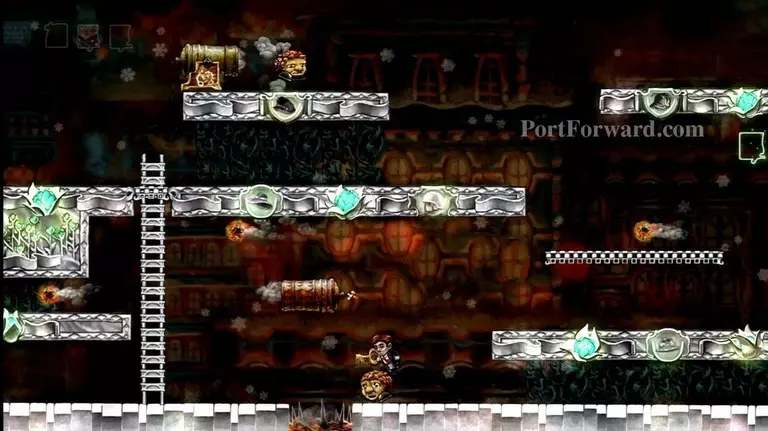
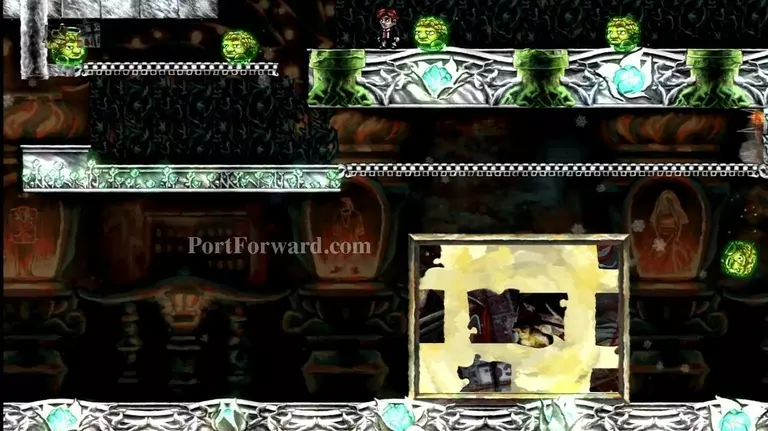
Head to the right and climb to the top of the lattice.
Drop your ring just to the left of the flower.

Go down the lattice to a platform. Jump onto a cloud headed toward you.

Jump off the cloud. The ring should slow you down.
Hopefully enough so you will land on the next cloud shot out.
Get on the cannon and grab the puzzle piece.
Head over to the right door and exit.

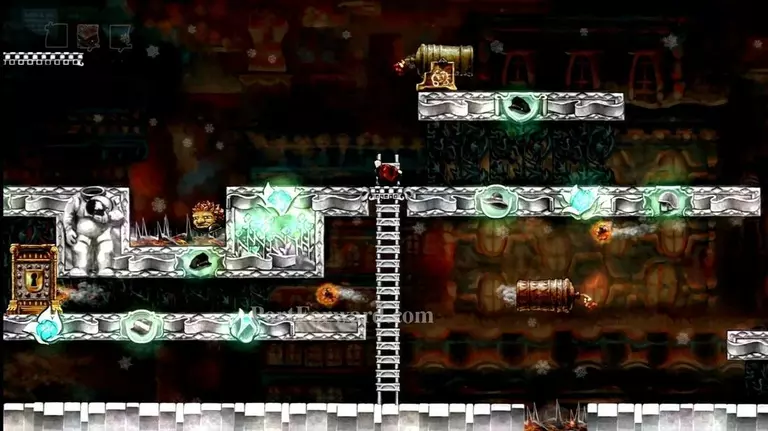
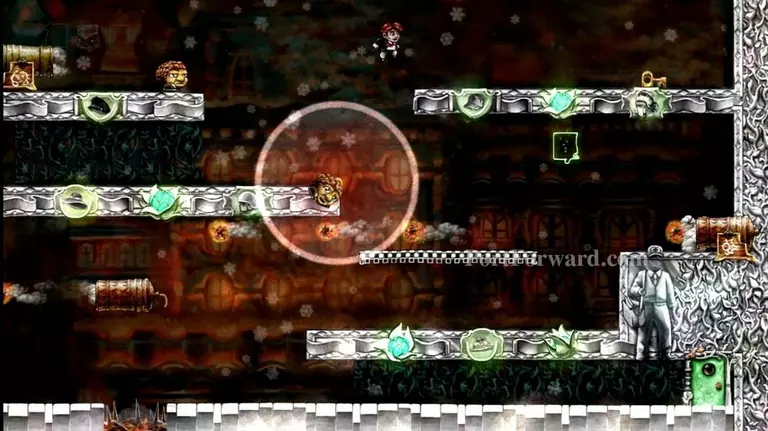
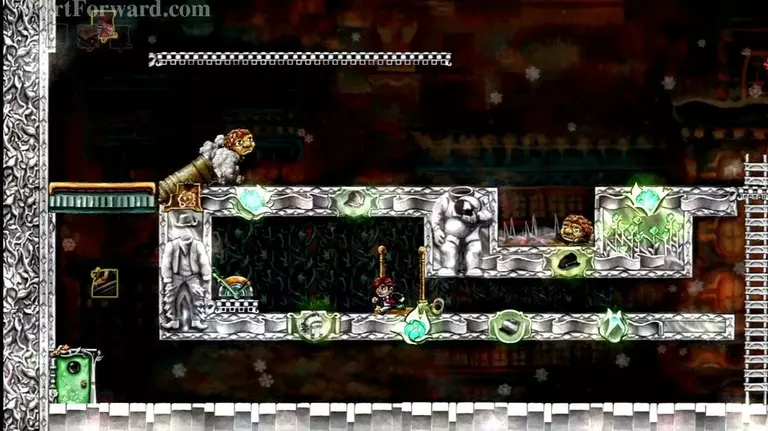
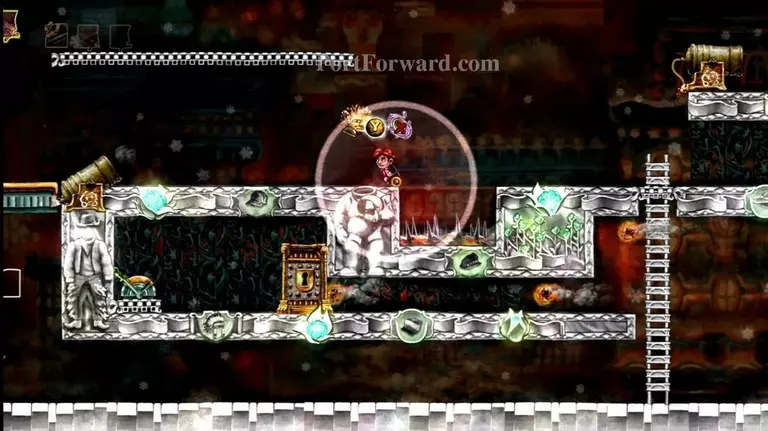
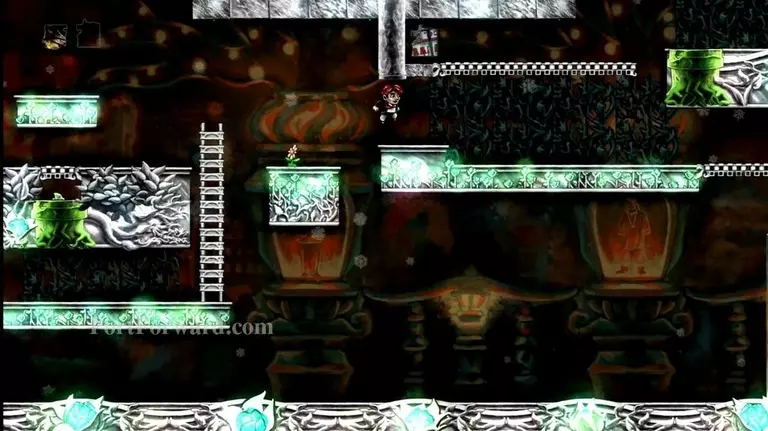
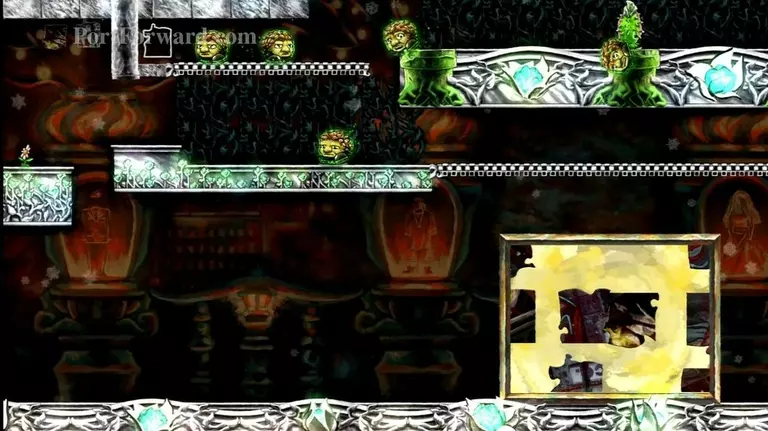
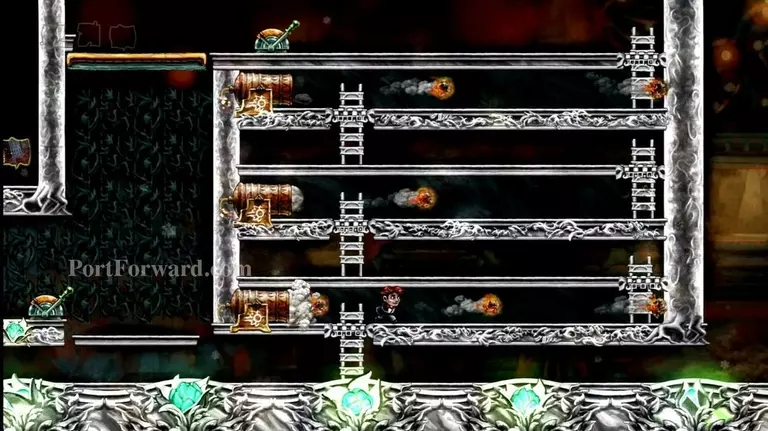
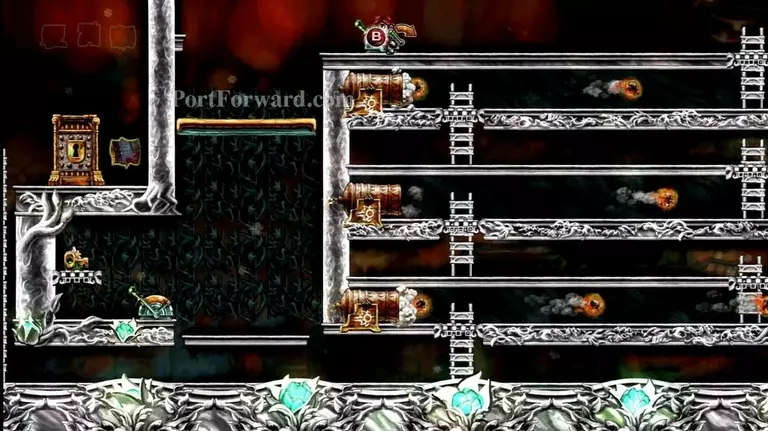
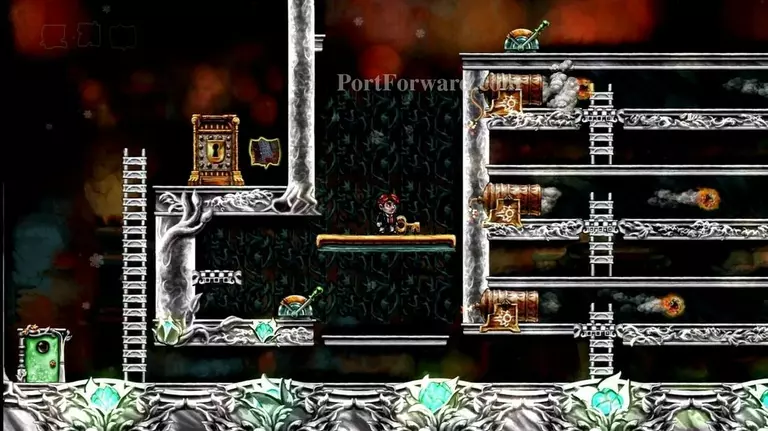
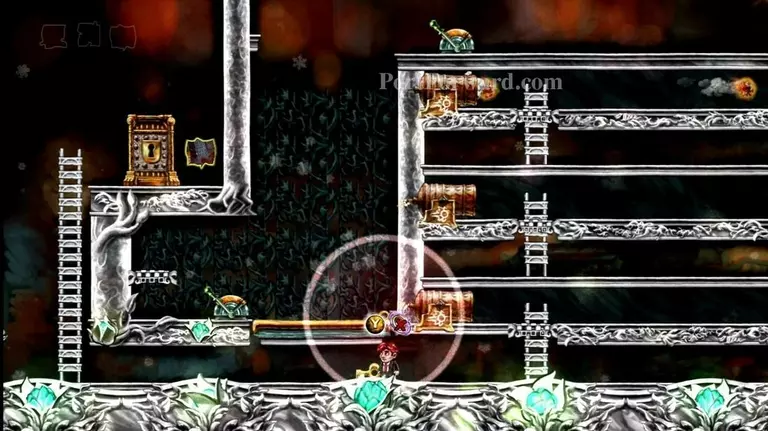
The next room is World 6-4, "Cascade".
Head to the right and go up the ladder.
Go to the right and drop onto the platform to the right of this one.
Jump over to where the cannon is.
Place the ring on the cannon.
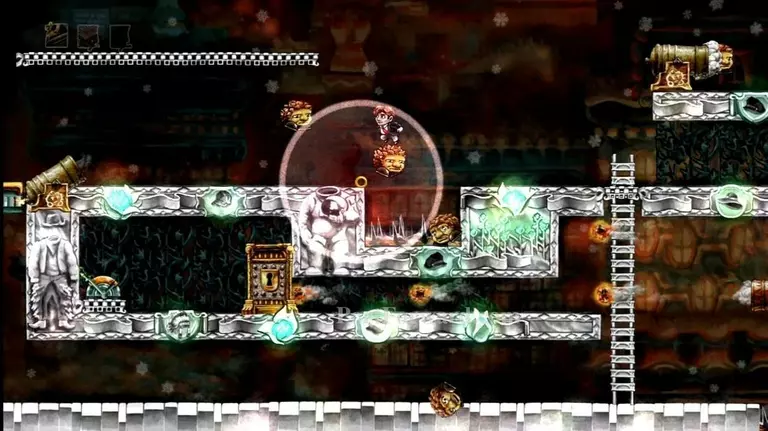
Get back on the platform to your left. Bounce on an enemy's head to get the first puzzle piece.
Go pick up your ring.
Drop down to your left and climb back up the ladder.
Place your ring on the very right edge of this platform.
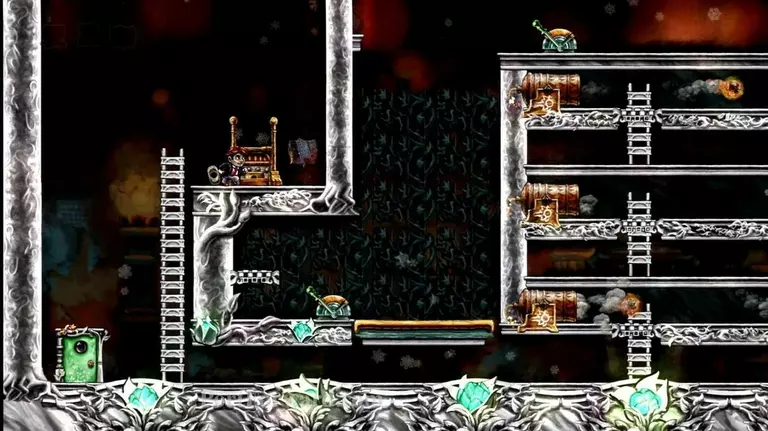
Bounce off an enemy as it is about to drop off the platform.
Without touching the ground, bounce off the next enemy that comes.
You may even need to bounce on a third enemy.
Land on the platform with the cannon.
Jump over the enemy that comes out of the cannon.
Jump onto the enemy when it is in your ring's time circle.
You should bounce high enough to get to the upper-right platform.
Grab the key, then pick up your ring.
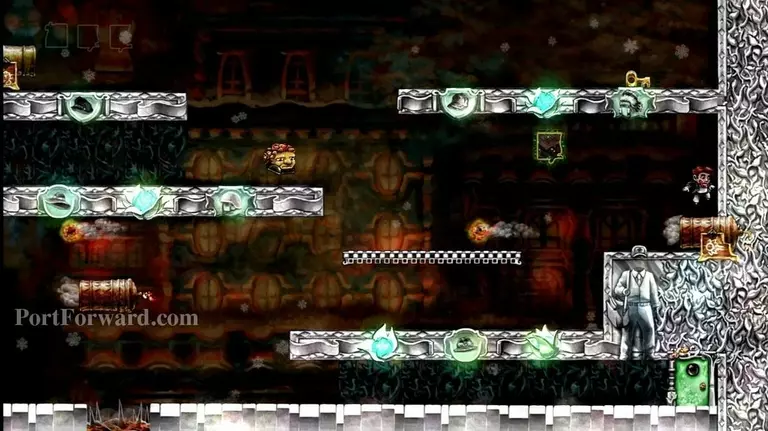
Place the ring on the cannon again. Let a creature drop down below the cannon's firing range, then pick up your ring and follow the enemy.
The enemy will drop down near the spike pit. Remain on the platform above this.
Jump from the platform, onto the enemy.
You want to bounce up onto the cannon, found above the spike pit. Drop the ring on the cannon.
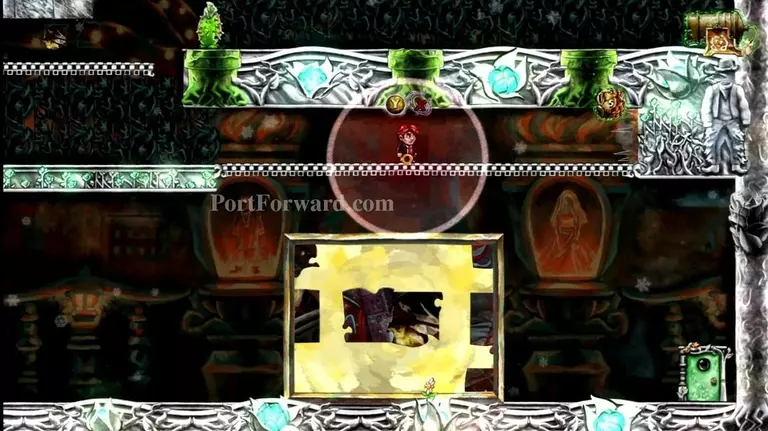
Climb the ladder on your left halfway up. Go left on the platform there, where the cannon shoots into. Open the locked door.

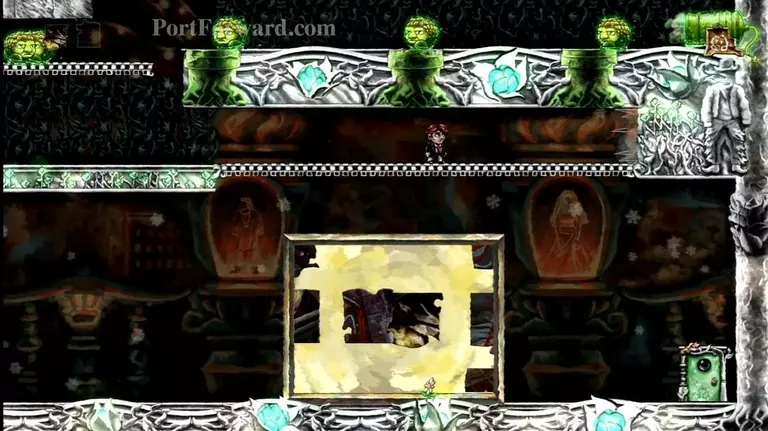
Stand at the lever and pull it. Now head back to the right. Jump a fireball near the unlocked door.
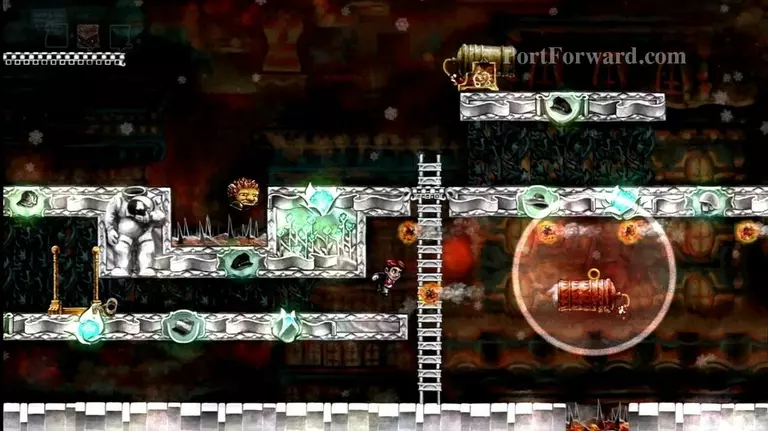
Then dart to the right. You should just make it out.
Climb the ladder and jump over the pit on your left.
Drop to the left, collecting a puzzle piece as you fall.
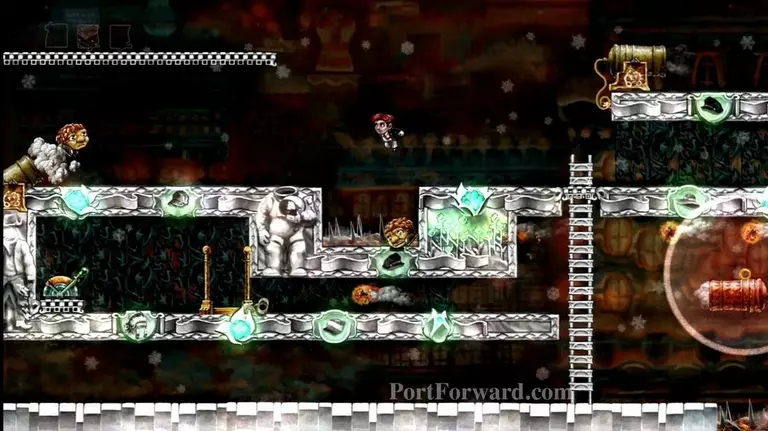
Now use the door in the lower-left to exit this area, then reenter the area.
Climb up the ladder and jump over the spike pit on your left. Place the ring on the left side of the spike pit.
Bounce on the monsters' heads until you land on the upper platform.
Grab the puzzle piece on your left.
Now exit this area, using the door on the lower-right.

This will bring you to World 6-5, "Impassable Foliage".
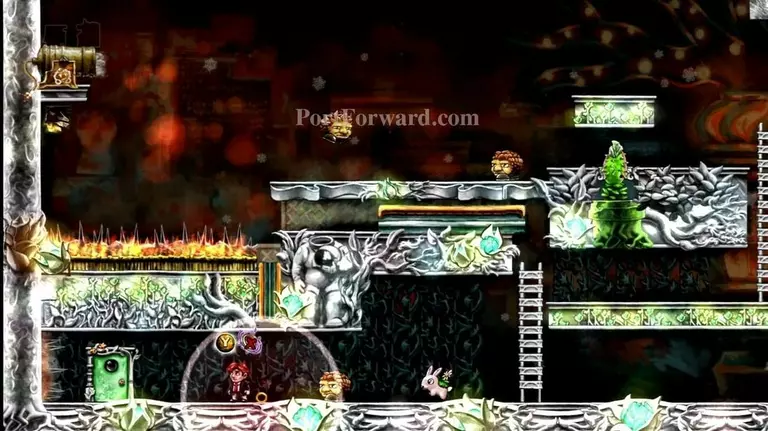
Place the ring under the upward-moving wall.
You are waiting for the leftward-moving platform to get past the upward-moving one. Go ahead and kill the creatures while you wait.
Pick up the ring when you are certain leftward-moving wall is far enough.
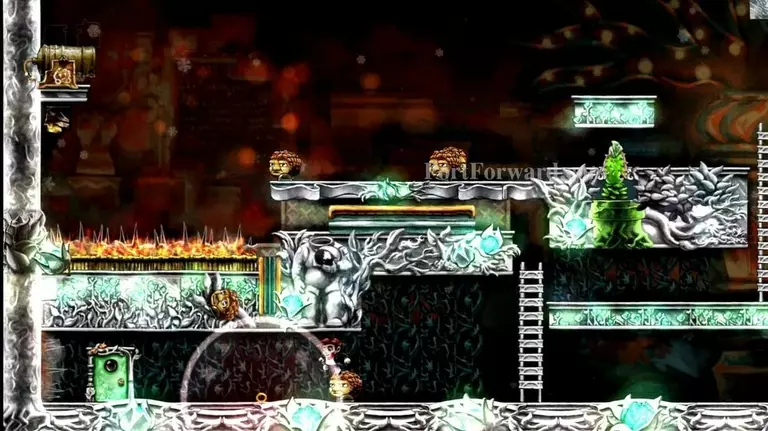
Climb up the first ladder. Place the ring under the pipe.
Now climb the ladder to your right. You should be able to walk leftward, past the snapping plant, now.
Get the puzzle piece on your left, when the platform is over the fiery spike pit far enough.
Go grab your ring now.
Climb the ladder on your right and jump over the gaps to the right.
Use the time ring to sync up the snapping plants.
Now pause time, letting some creatures walk by the pipes.
Go to the left, where the monsters fall down to your platform. Bounce on two of them in a row, bouncing you high enough to get on the upper platform.
Grab the puzzle piece on this platform.
Get to the right of the first pipe on your right. Freeze time, letting some creatures go by you.
Double-bounce off a few of the creatures.
You want to land on the hidden platform above.
Jump onto the platform on the left.
Place your ring on the platform, about 2/3rds of the way over the spikes (closer to the right side of the pit), then drop onto the cannon.
Jump onto an enemy that gets shot out of the cannon.
You'll bounce up near the ring, slowing your bounce.
You want to continue to bounce off enemies that get shot out of the cannon.
After bouncing off a few of them, you should land on the lower part of the platform above.
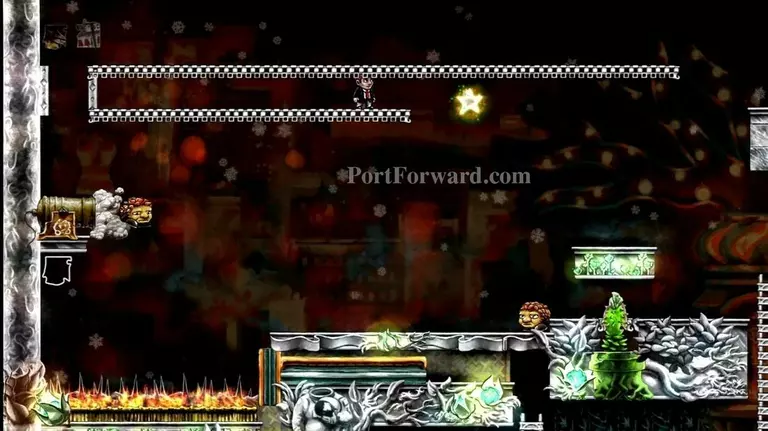
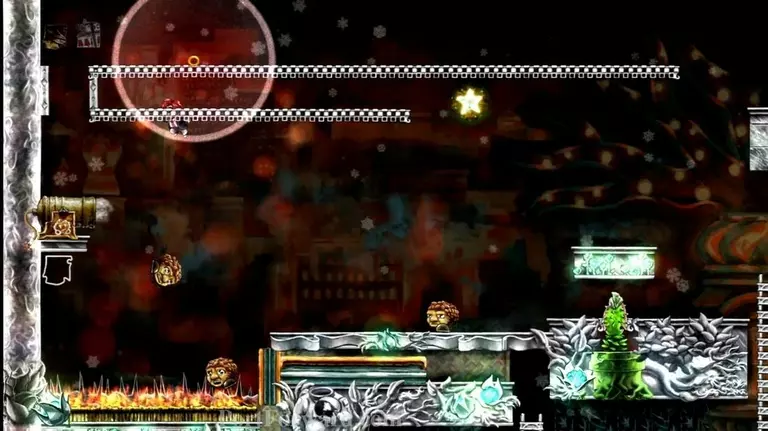
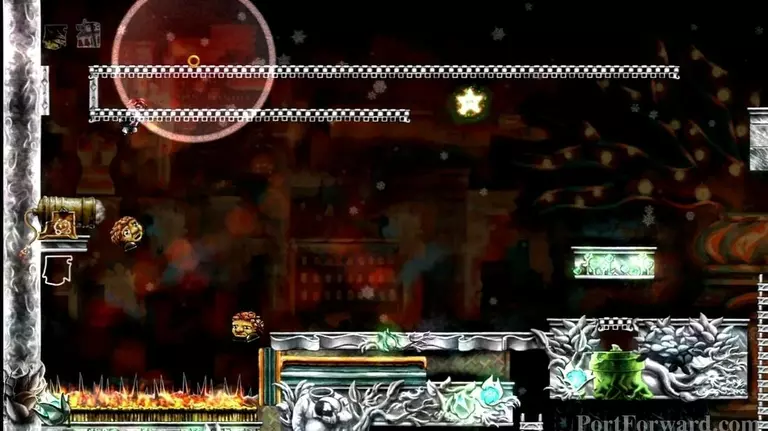
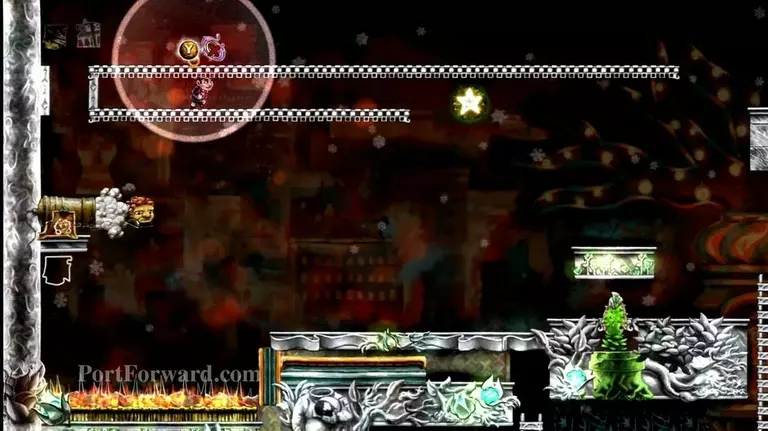
Head right and grab the star!
Exit through the door on the lower right.

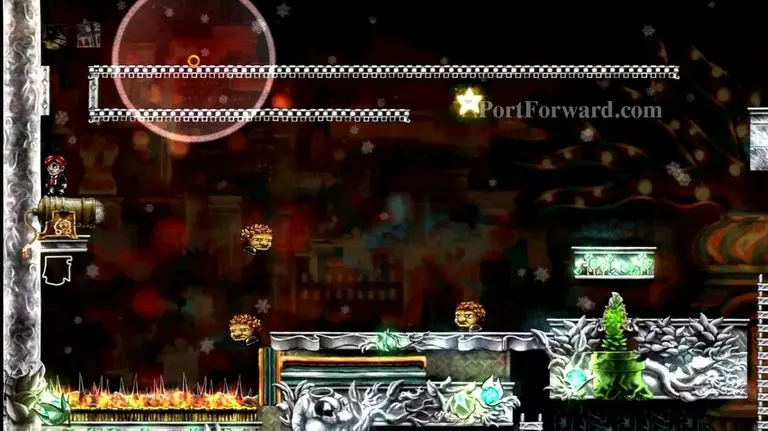
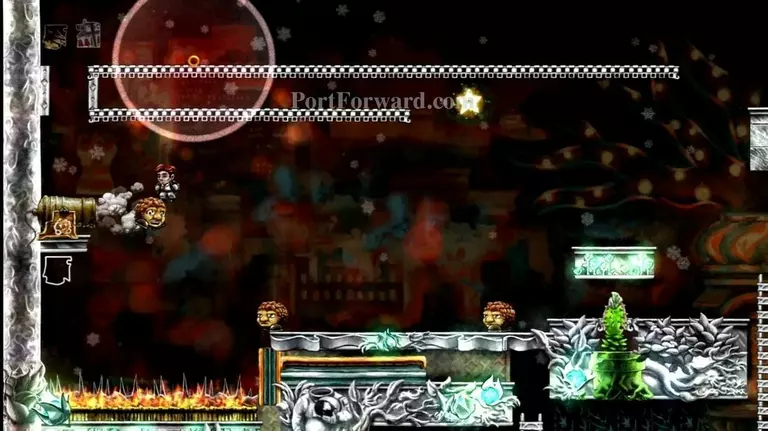
Now you'll come to World 6-6, "Elevator Action".
Go up the second ladder on your right. Dodge the fireballs as you climb to the top.
Pull the lever at the top.

Ride the platform down and grab the key. Kill the bunny that gets in your way.
Pull the switch and ride the platform back up.
Place the ring on the far-right of the moving platform, then pull the switch.
Now you should go back down the ladders, while the ring slowly descends with the platform. This will slow down the cannons, letting you pass.
At the bottom, pick up your ring.
Climb up the ladder on the left and open the locked door. Pick up the puzzle piece.
Head to the far-right of this area. Climb the ladder here. Drop your ring near the lever.
Pull the lever and get on the platform that drops with the ladder on it.
Stand on the right side of the platform. Rewind time so the platform is all the way up. Make sure you don't rewind too far or your ring will disappear.
Jump onto the platforms on your right, over any fireballs that fire. Grab the puzzle piece.
Go pick up your ring.
Pull the lever.
Place the ring at the bottom of the ladder, found on the moving platform.
Go pull the lever again.

Wait until the platform the ring is on is at the top. Then pull the lever again.

The leftward-moving platform should get past the downward-moving platform.
Go grab your ring, then climb up the ladder.
img(131326);
Pull this lever.
img(131327);
It'll drop a ladder on your left. Go climb this ladder and stand in the time-proof area on the platform to the right of it.
img(131328);
Rewind time, so the ladder is back at the top of the screen, but don't rewind too far or the switch will revert back as well.
img(131329);
Let time resume, jump on the ladder and reverse time a little bit (while you're still protected from time.)
img(131330);
You want to jump over to the puzzle piece on the left.
img(131331);
Now exit this area, using the door on the lower-right, but come right back in.
img(131332);
Repeat your steps to get the ladder down. Rewind so it is back up, but not too far so the switch doesn't revert.
img(131333);
Jump onto the ladder when it falls, and rewind very quickly to get the ladder back up. Jump over to the left.
img(131334);
Drop off to the left and pull the lever.
img(131335);
Go down to the crazy bunny again, but don't kill it.
img(131336);
Pull the lever and bring the bunny up. If you or the bunny dies, rewind and find a way to keep you both alive.
img(131337);
Place your ring between the platform with the star and the platform on your right. Bounce off the bunny when it leaps at you.
img(131338);
You want to land on the right platform.
img(131339);
Stand in the time-proof area. Rewind the bunny back to life.
img(131340);
Jump onto the bunny as it makes it's leap.
img(131341);
You want to bounce up to the platform with the star.
img(131342);
You can pause the game and exit the current world if you want.
img(131343);
Then just enter the final door on your right.
img(131344);
This is level 6-7, "In Another Castle".
img(131345);
Climb up the ladder. Place the ring as far right on this platform as you can.
img(131346);
Drop down and wait a few seconds, basically for a rewind point for your ring.
img(131347);
Go back up the ladder and grab your ring.
img(131348);
Now drop down and jump over the spike pit. Place your ring near the cannon.
img(131349);
Climb up the ladder.
img(131350);
Stand in the time-proof area on the left. Rewind time so that the ring appears over to your left.
img(131351);
Now pull the lever. The platform with the key and ring should start moving rightward.
img(131352);
Drop down and get near the spike pit. Wait for the ring and key to fall. Jump and grab them mid-air. Make sure you hit Y to grab your ring at the same time.
img(131353);
Place your ring near the cannon again.
img(131354);
Climb up the ladder the cannon is shooing at. Open the door on your left and grab the puzzle piece.
img(131355);
Head to the right. You'll find the dinosaur, ending this World.
img(131356);
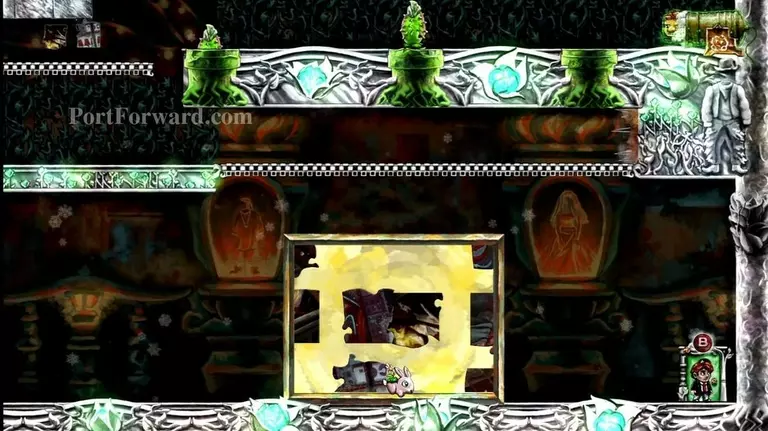
Press B on the World 6 puzzle.
img(131357);
Put it together.
img(131358);
It should look like this when complete.
img(131359);
You are now only missing one star!
More Braid Walkthroughs
This Braid walkthrough is divided into 7 total pages.