
This Bulletstorm walkthrough is divided into 16 total pages.
You can jump to nearby pages of the game using the links above.
Chapter 14
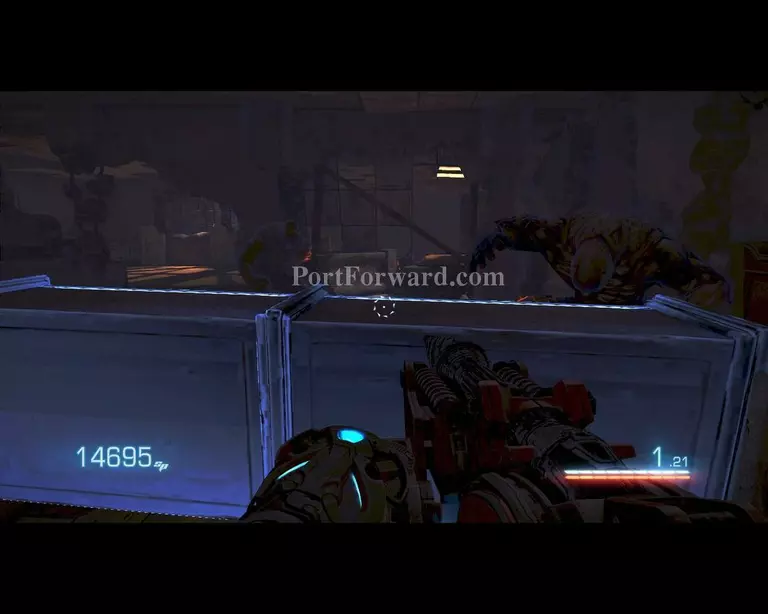
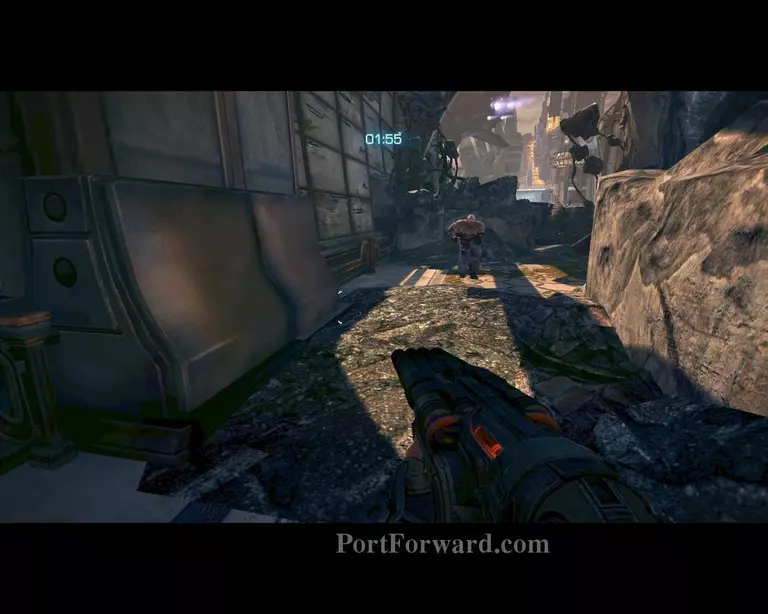
Why use ammo when you can flatten them with the wall

After you cleared that area, use the leash to move on

After you go through the building get in to the Ulysses
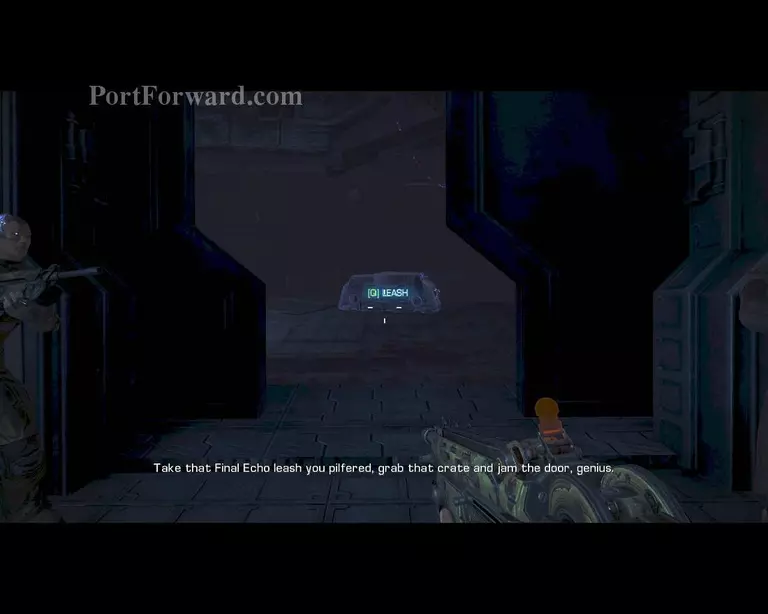
To open and keep the door open, leash the boxes in them
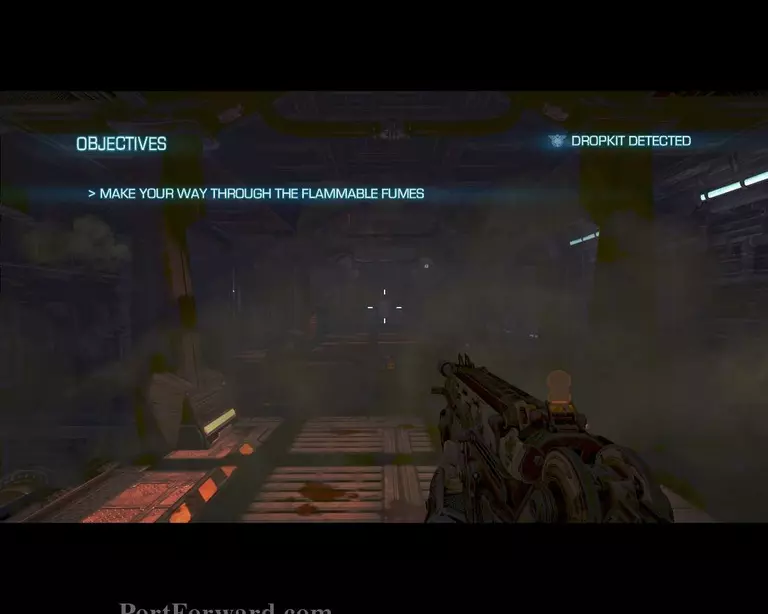
What ever you do, don't shoot, but melee and using the charged drill and sliding in to the enemies
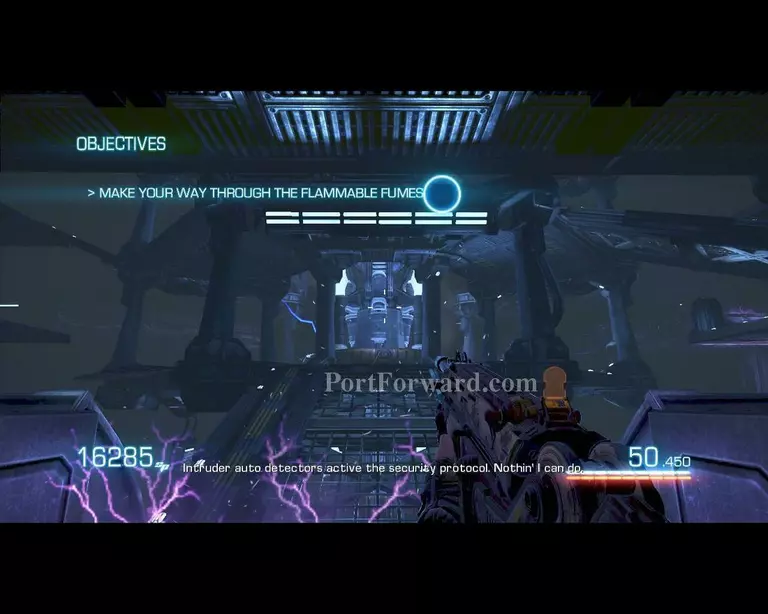
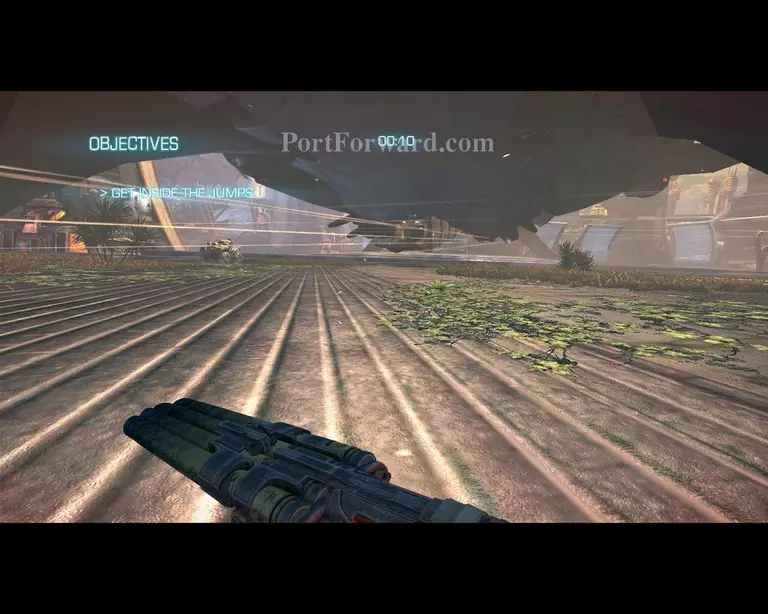
Leash the generator to keep moving
After every jump you will need to leash again to keep going
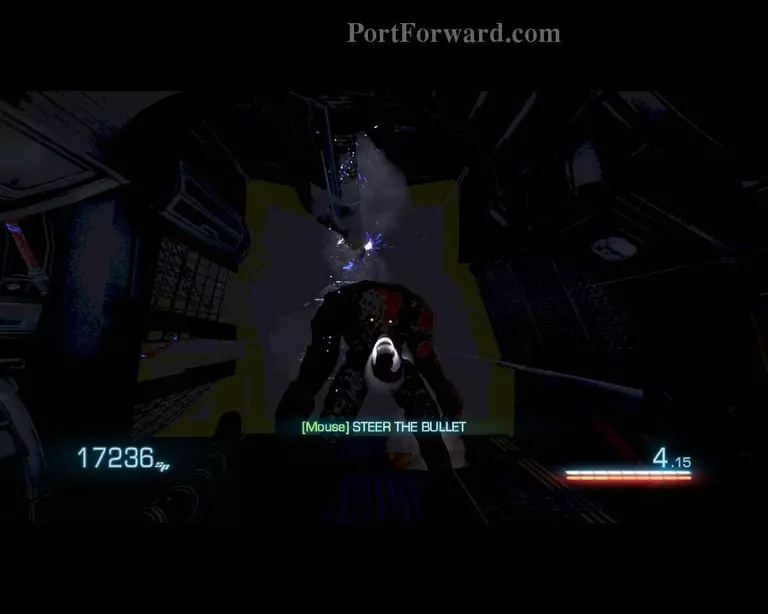
Attack the miniboss untill he drops down and then kick him in to the wires

Then leash the generator on to his head

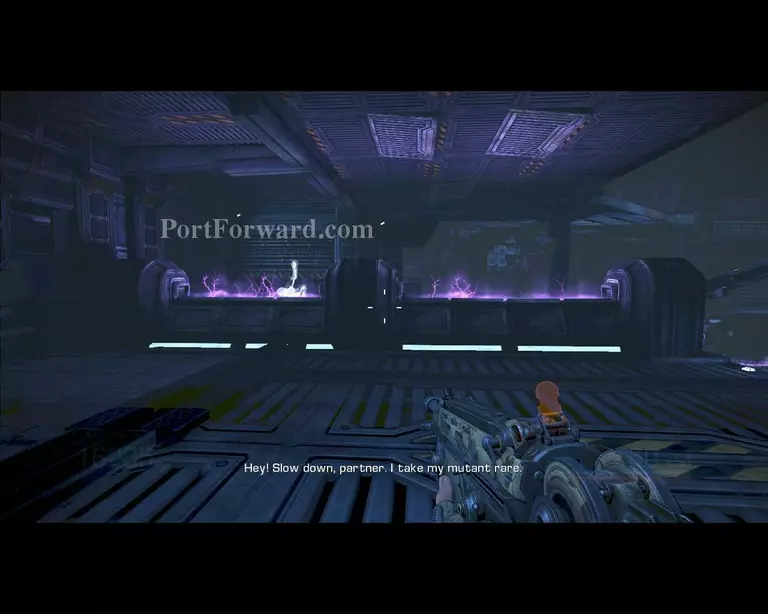
Follow the instructions and realise how screwed you just got

Leash the vent and start running

And you are where you started from

But wait, Trishka comes to save you

Just run and follow the instructions
At this point, just stay in cover and kill them one by one
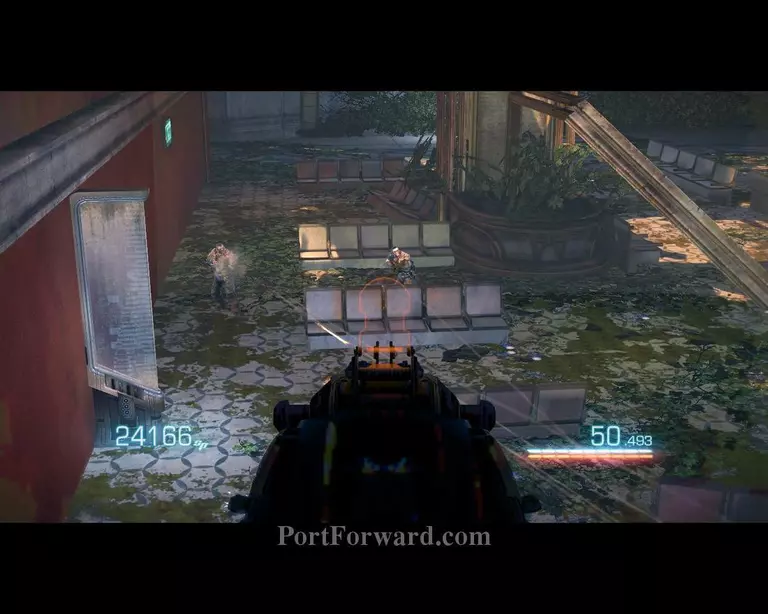
Kill the guys below then go to your left
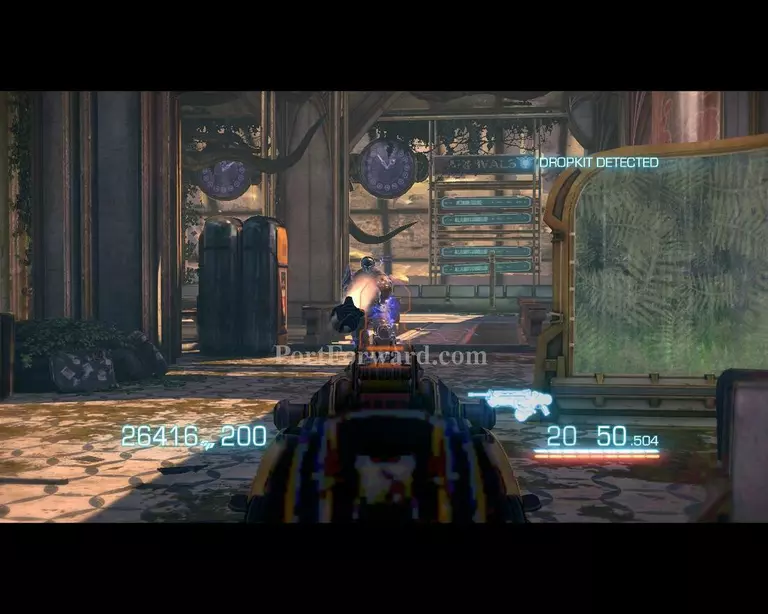
Fight your way through the minibosses and enemies then help your friends
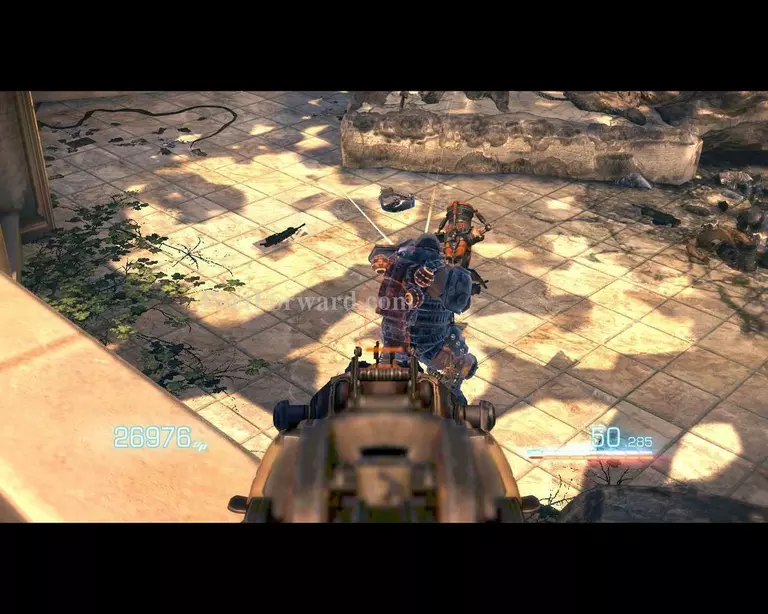
Shoot the backpacks to kill them
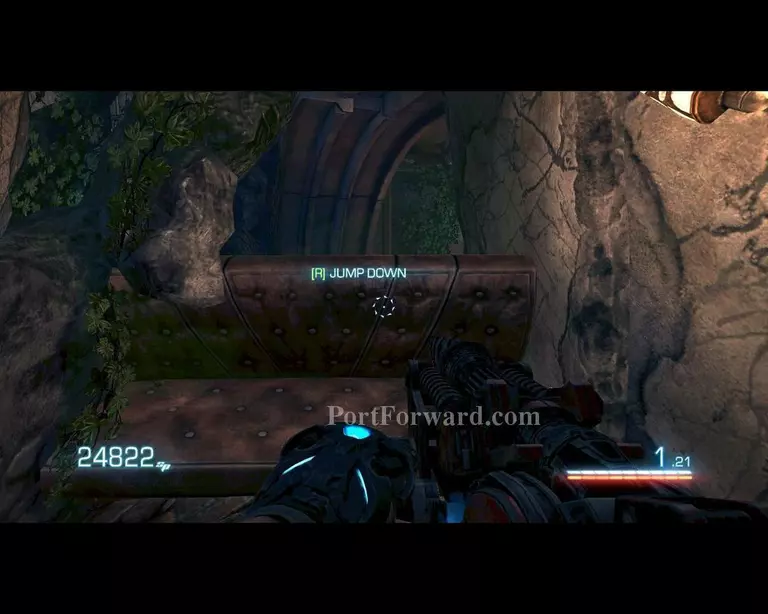
After you jump this couch, get ready for a lot of pain

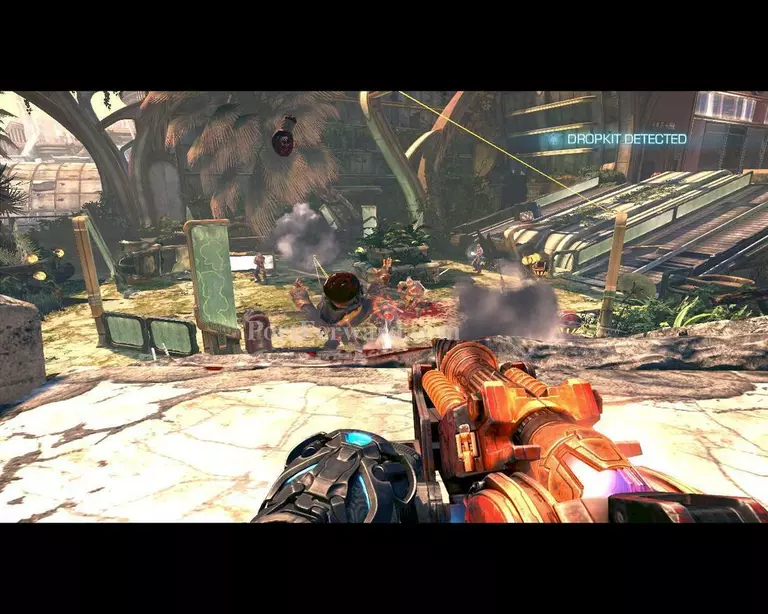
Try to run there as fast as you can, kill the guys with the flare guns the all of the mini bosses
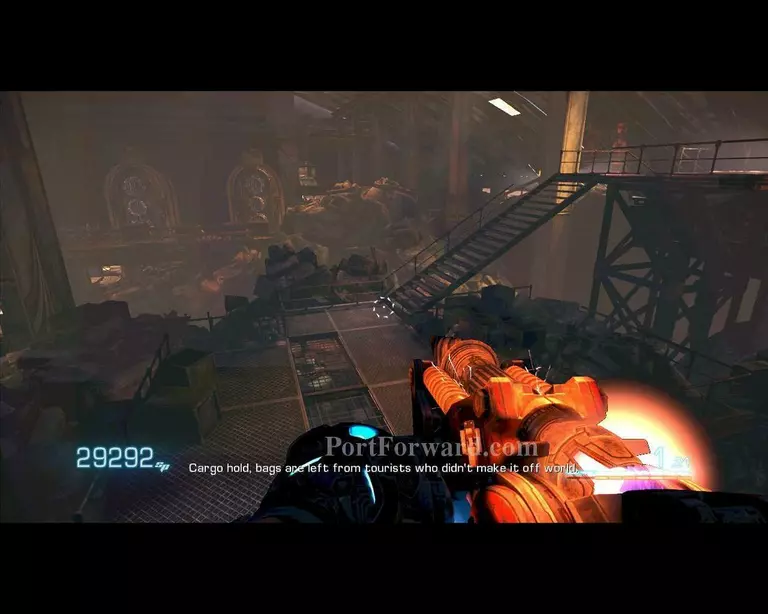
After that make your way through the luggage area
At this point, no need to fight, just ran past all of the enemies
After you get up run to the ship and leash down the ramp
More Bulletstorm Walkthroughs
This Bulletstorm walkthrough is divided into 16 total pages.


