This Cave Story walkthrough is divided into 8 total pages.
You can jump to nearby pages of the game using the links above.
Last Cave
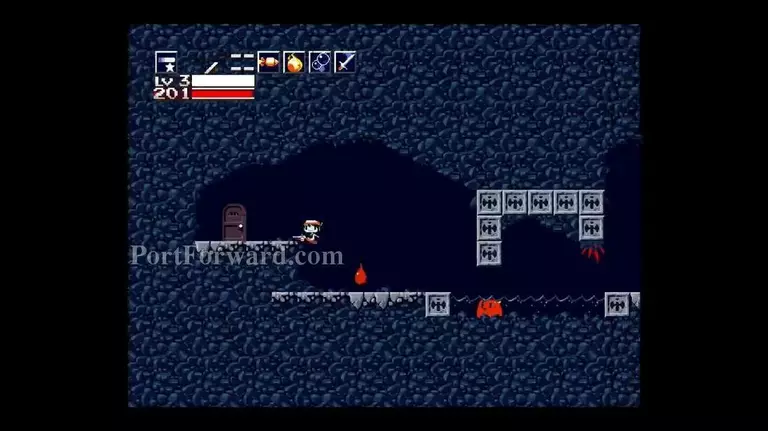
Welcome to the Last cave! This terrible place will push your skills to the limit, and the better ending you're going for, the more difficult it becomes! If you forgot to get your Booster back and still rock the Mimiga mask, this place will be somewhat easier, you'll face the normal version with the Booster v0.8, but if you're cruising with the Booster v2.0 this cave will be harder AND reset all your weapon levels.
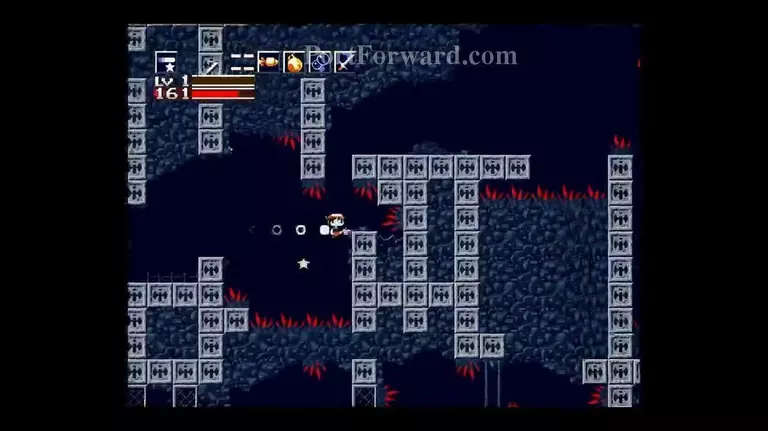
The first part is easy to get you warmed up to this area. Red things are bad, including the red 'water'. Focus on leveling your weapons up if you're on Last Cave (Hidden).
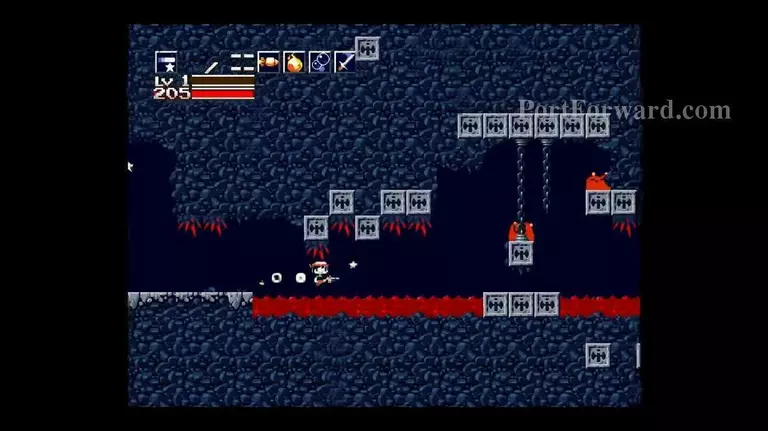
These canisters contain some canned experience, break them open and collect them with your weapon on choice. The further in you go, the more difficult pushing further will be.
The next floor is a bit of a spike dodging maze with bats flying in a curved pattern. Be sure to time your movements to avoid the bats, as well as being precise in your movements to avoid dmg.
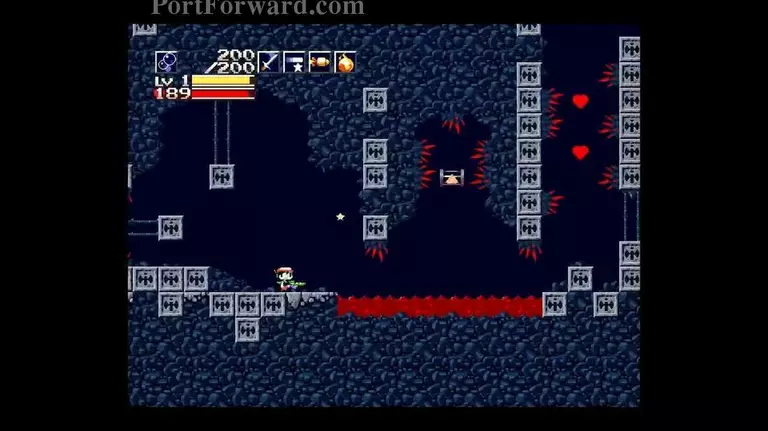
On the third floor, there are no enemies, but the parkour steps its game up. I hope you've mastered the mechanics of your chosen Booster by now, as they'll be put to the test here.
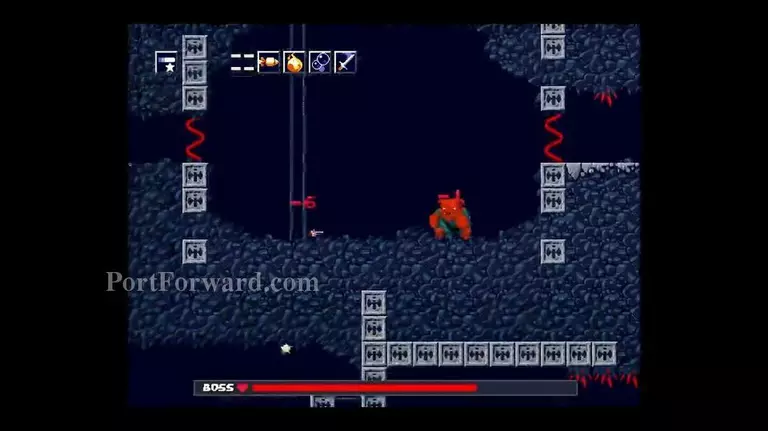
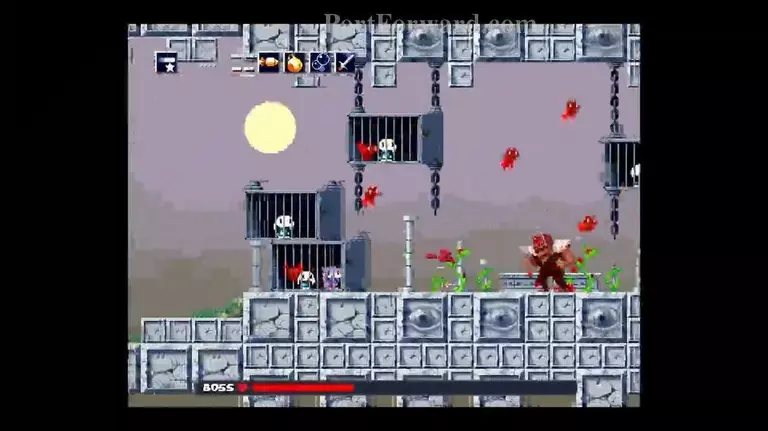
On the 4th floor, true heroes will face the Red Ogre. This annoying boss will chip off a decent amount of your health if you're not careful. A fully charged Spur shot will take a massive chunk of his health though.

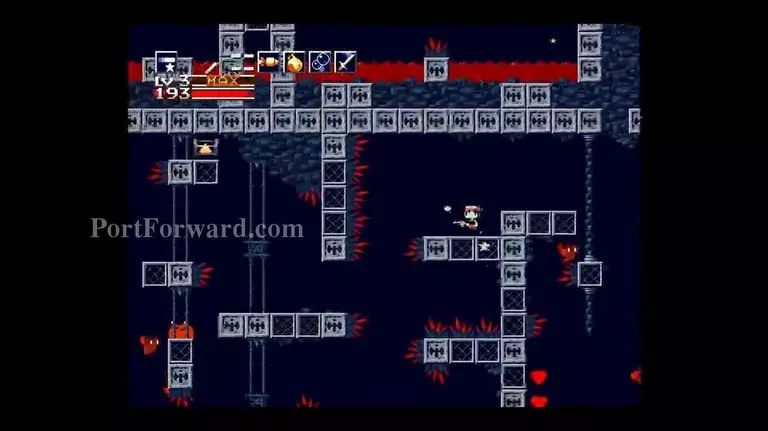
The final stretch of this cave is littered with Presses. Be extremely careful here, as getting squashed by these guys is INSTANT DEATH. If you have the Whimsical Star, you can completely scum these, otherwise approach with caution.
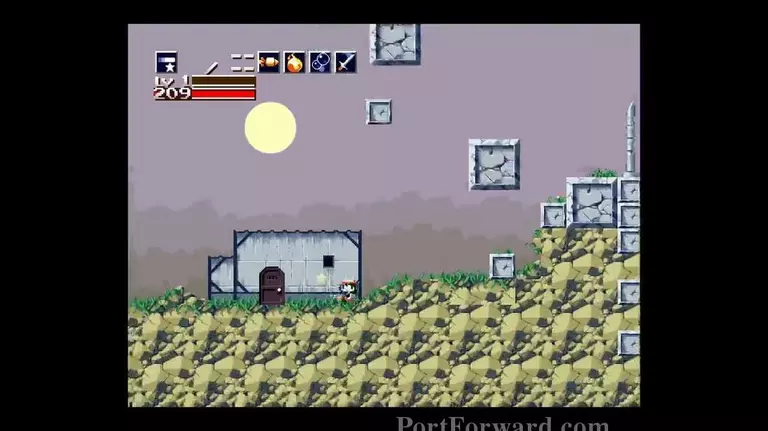
Only one short stretch between you and the Doctor's fortress, and it's called the Balcony. There are some enraged mimigas scattered across here, but nothing you couldn't push through with ease.
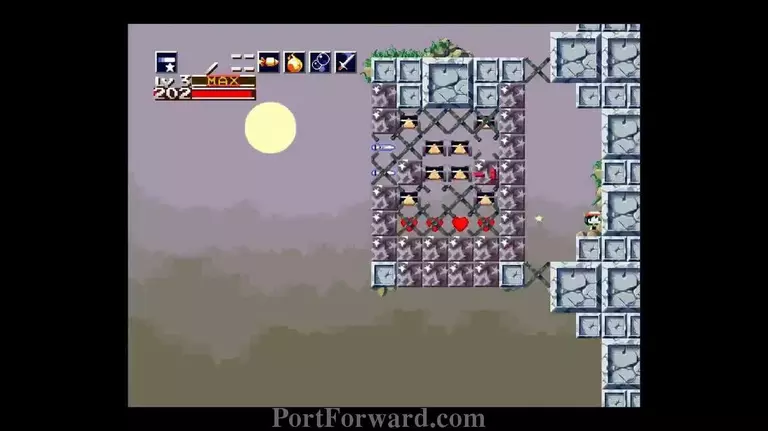
If you scale the wall at the end instead of going into it, you'll find a wealth of goodies to heal and level up before this final fight. If you go back into the prefab building and exit, it'll all respawn, so scum this to get fully prepared.
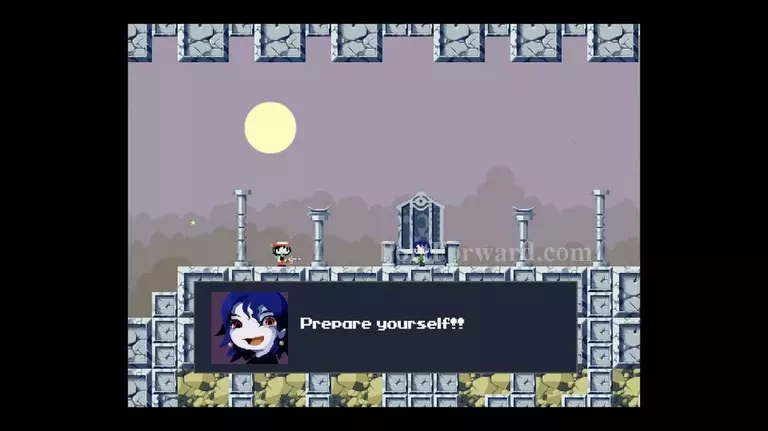
Once you're ready to face one hell of a boss rush, head into the building at the end to be confronted with Misery. She teleports around a lot and relies purely on ranged attacks such as projectiles and summoning crushing blocks to fall on you.
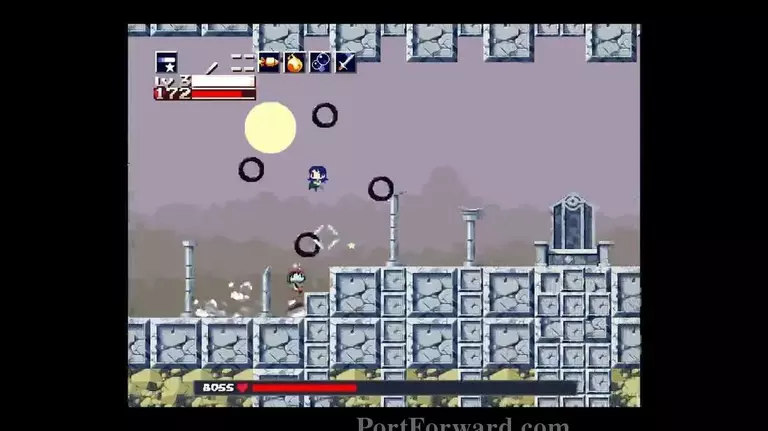
This is only the first boss that you will need to do in a row without healing, so focus purely on taking as little damage against Misery as possible. Only take safe shots, if you get too reckless, she'll weaken you enough to drastically lower your chance of beating the next boss.
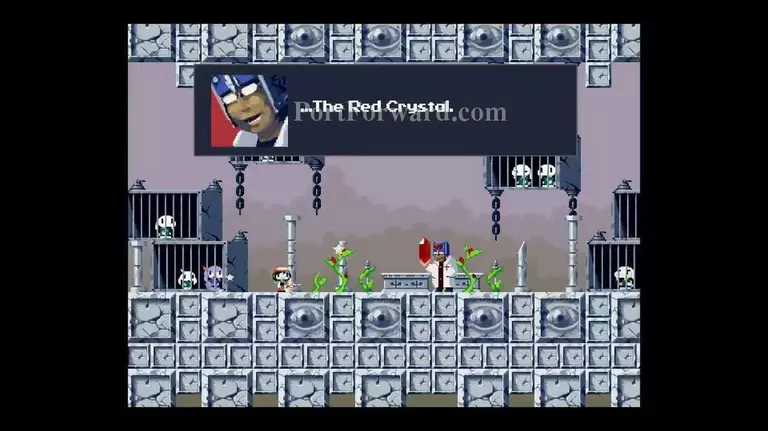
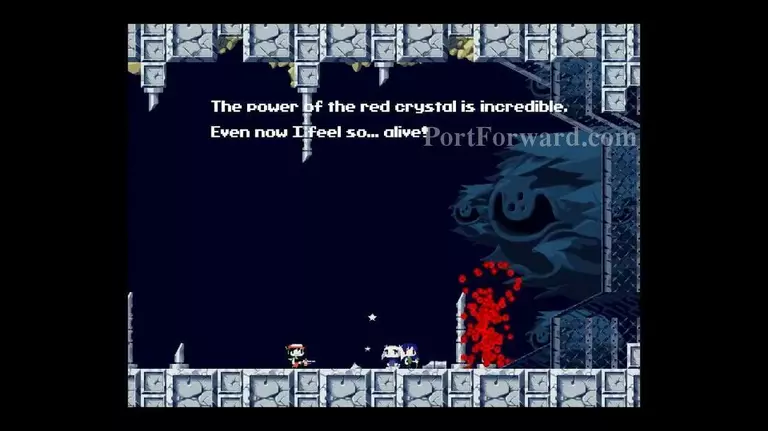
Head on up to the next floor to come face to face with the Doctor himself, who has perfected the energy of the red flowers into the Red Crystal. As you'd expect, tired of you getting in his way, he attempts to crush you with this new power.
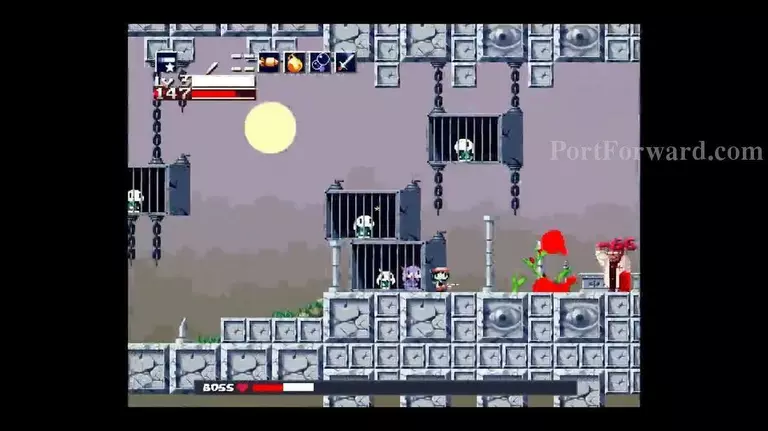
The Doctor also teleports around and summons projectiles, but at a lesser rate than Misery. He has considerably less health too, but be careful that the Red Crystal doesn't shield the Doctor from your shots!
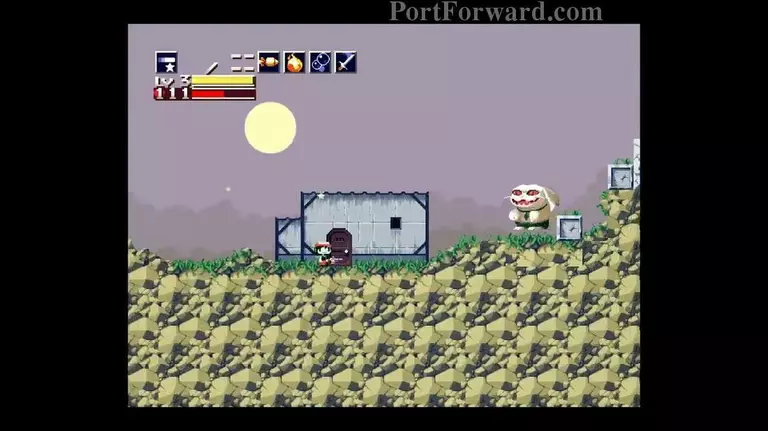
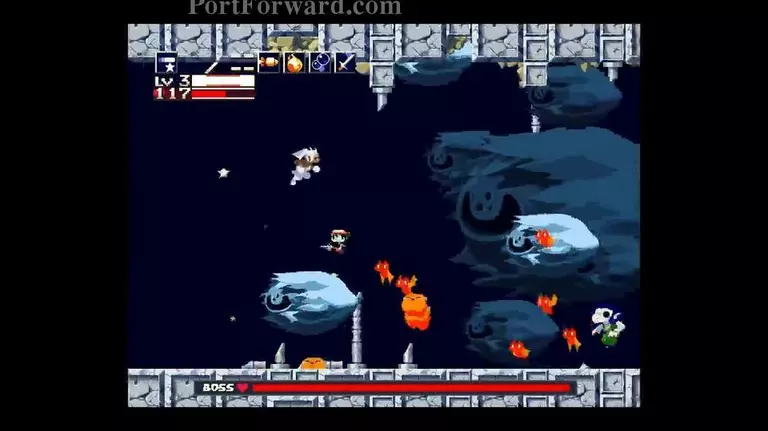
After he's quickly defeated, he'll lose control of the power he's using and will mutate into some kinda of rabid form himself! A bit more bulkier now, he'll charge at you as a main form of attack, but can also summon a swarm of bats to make things annoying.

Kill him again, and his body will literally disintegrate into red particles, dead for good this time. Head on up to the third floor.
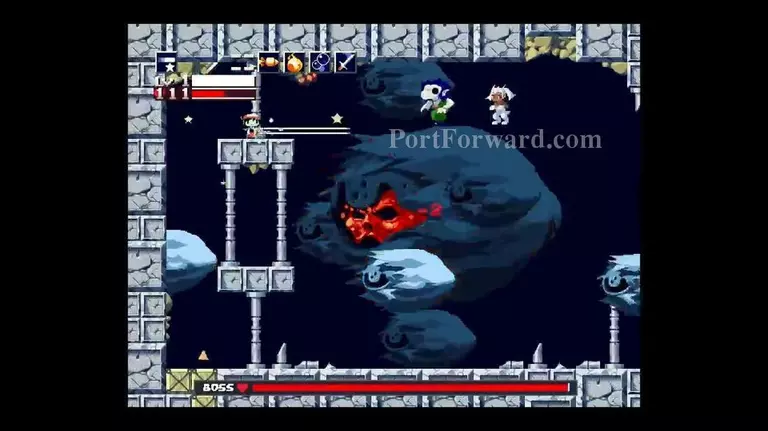
The Island's core is here, but before you can make a move, Misery holds Sue's life to preventing you from destroying it. Out of nowhere, the Doctor will arise in a form of pure Red energy, transforms both Misery and Sue into strong mutations, and possesses the Island's Core all in a foolhardy last attempt to destroy you!
Bird Misery will summon creatures and critters from a range to whittle you down slowly, but you can use these to heal up and feed your weapons somewhat. Sue on the other hand, will be power flipping directly into your face, and should be your first Priority.
Whether you live Misery up and running, just like the Island core, the Undead Core can only be damaged when its face is lit up.
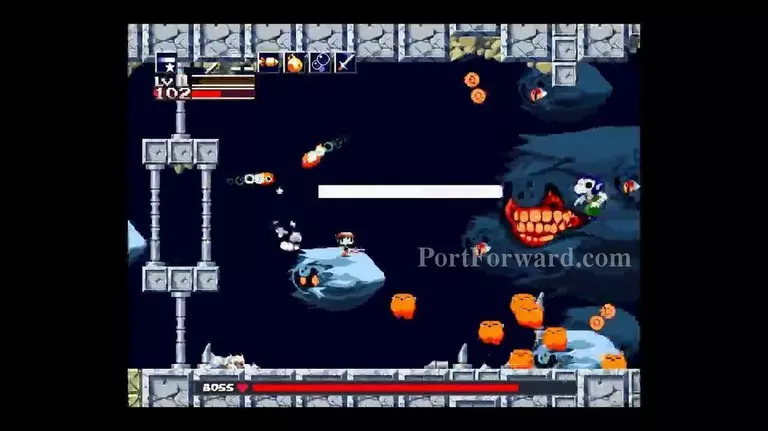
While the Undead Core's health it pretty high, it only has three attacks, which can be painfully easy to predict by looking at what face is currently showing. If you put a bit of effort in, left yourself enough health from the previous bosses and clear out the annoying sidekicks, this shouldn't be too hard to finish off.
And when you do, the Island will start to collapse! Follow sue out and dodge the falling debris. If you one of the people skilled and learned enough to go for the Best Ending, head into the Prefab shed and face the Running Hell. If you failed the prerequisites, it'll be locked off and you'll need to follow Sue.
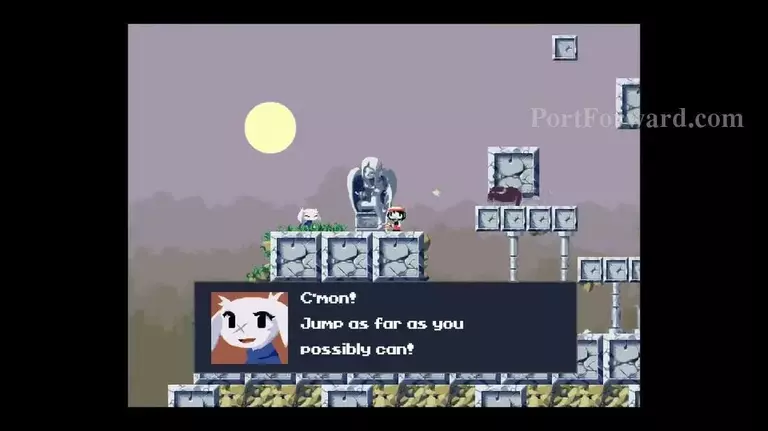
Once you reach the end of the Balcony, you'll be given no choice but to jump off the Island, but be sure to jump out as far as you can!
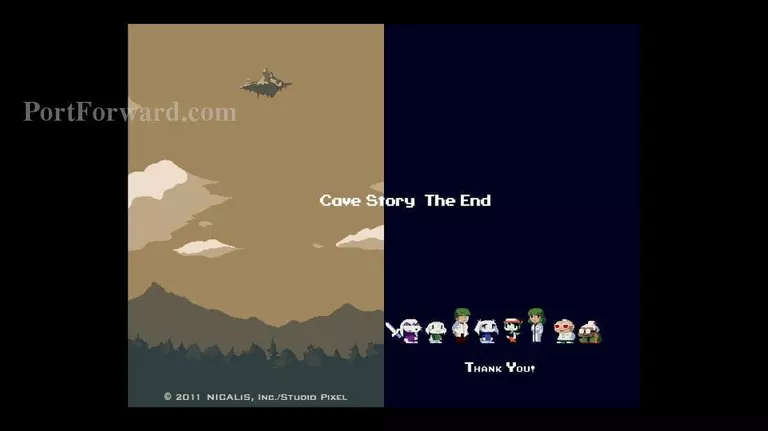
With that, the ending will play, and the credits will roll. Congratulations, you just beat Cave Story! If it helped you out in anyway, or you just enjoyed reading it, please consider donating. It helps me out, and encourages me to write more guides. Hope you enjoyed Cave Story!
More Cave Story Walkthroughs
This Cave Story walkthrough is divided into 8 total pages.