
This Clive Barkers Jericho walkthrough is divided into 33 total pages.
You can jump to nearby pages of the game using the links above.
The Crusades, 1213 - Motley Crew

The team follows the crusader inside.
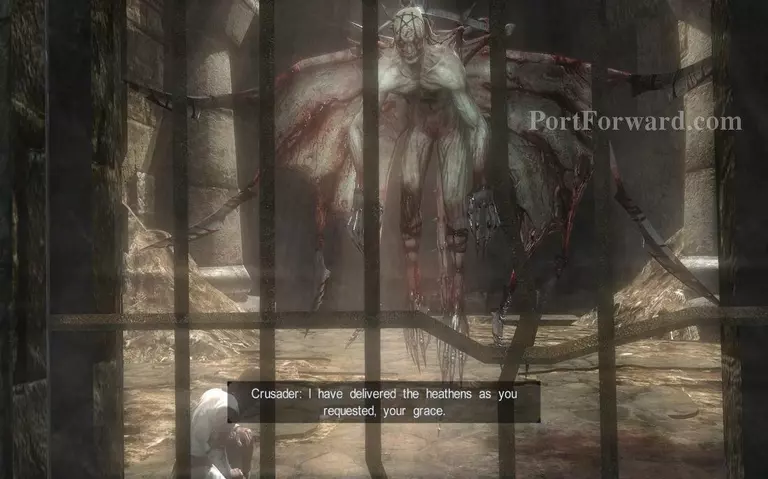
The crusader is fooled by Arnold Leach and traps the Jericho Team for him.
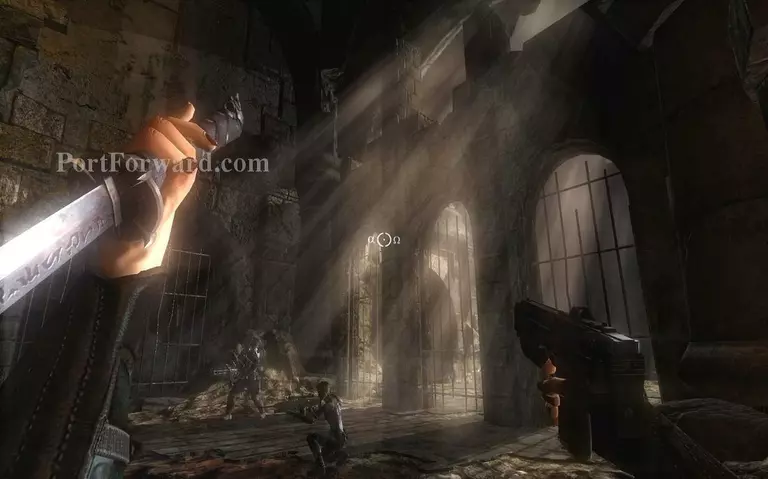
Go left from here. The 3 person team will have to survive long enough to find the others.
Switch to Church. She can sneak behind unsuspecting enemies thanks to her special footwear. Once you are close enough you can kill your target with one sword swing.
You can order the rest of the team to wait while you stealth kill some enemies here if you want.
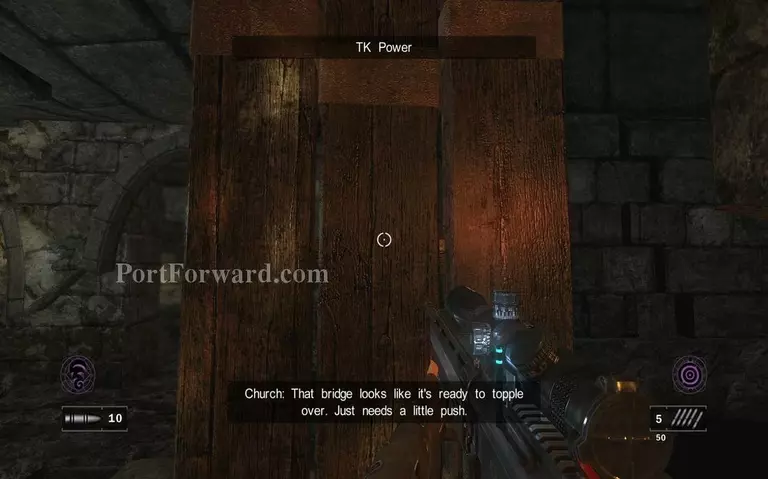
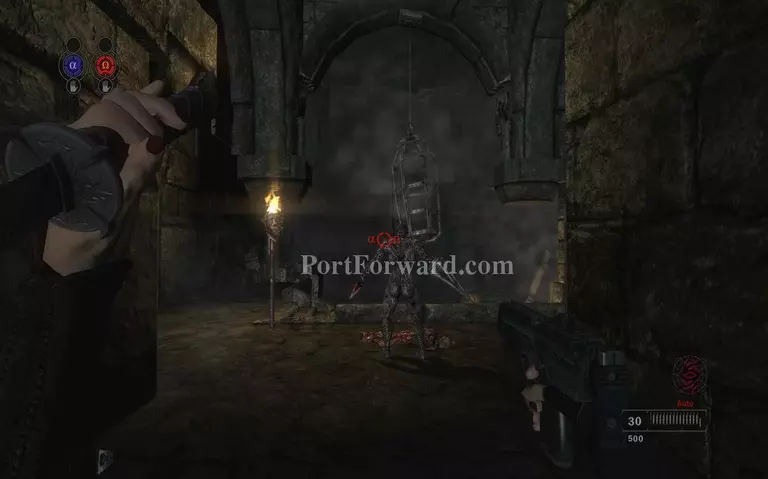
Eventually you will reach a drawbridge that needs to be pushed back by Black. But something will be blocking it at this moment. You need to go around and find what is blocking the bridge.

Use Black's TK power to destroy a blocked passage.
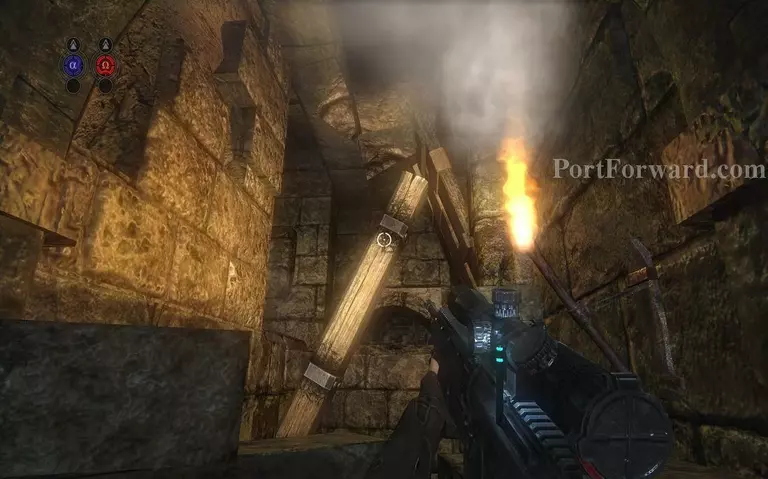
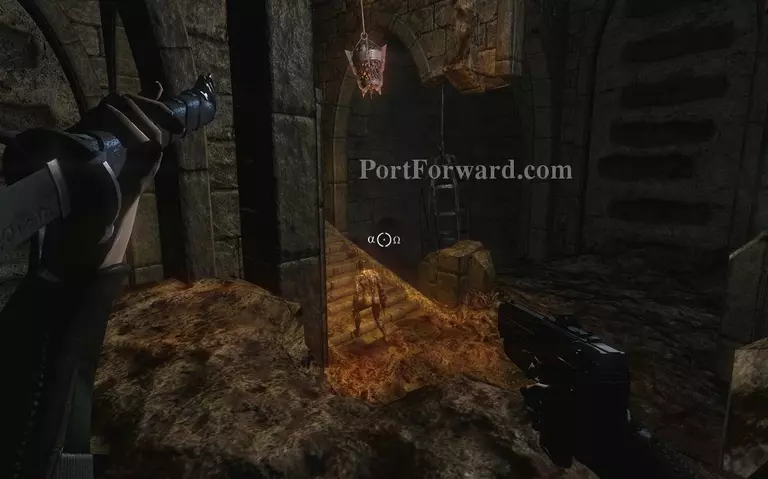
Afterwards you will find what is blocking the bridge. Shoot the beam to unblock the bridge.
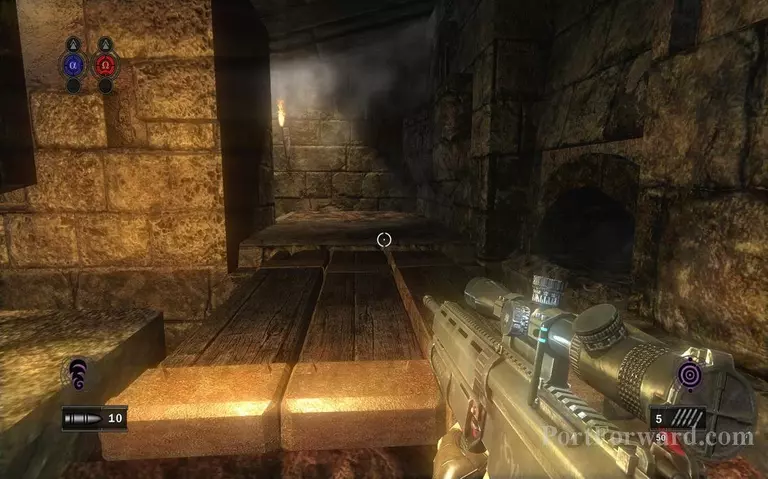
Pass over the bridge that was lowered.
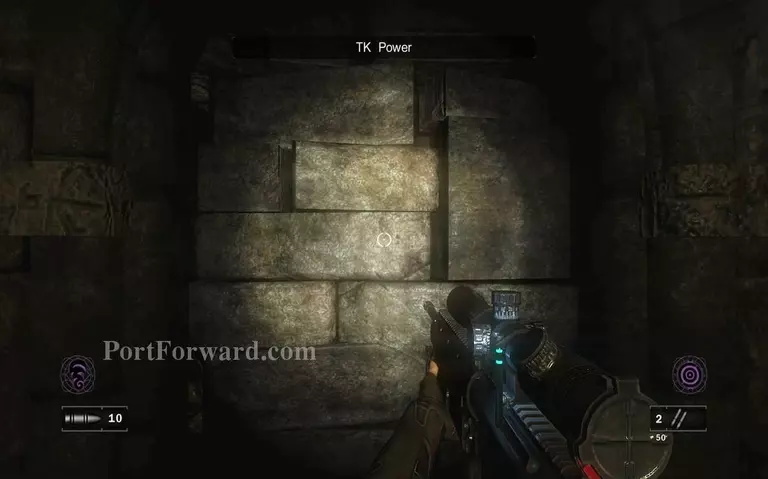
Yet another wall that needs Black's attention.
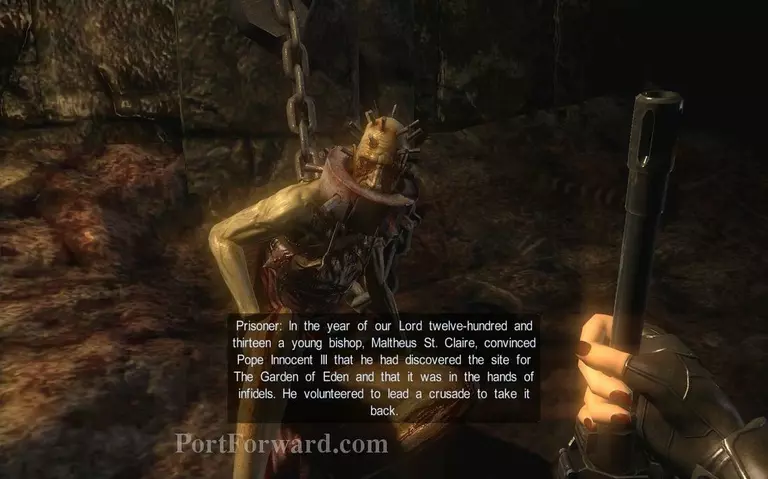
The team will encounter a crusader chained to a wall.
More Clive Barkers Jericho Walkthroughs
This Clive Barkers Jericho walkthrough is divided into 33 total pages.


