
This Clive Barkers Jericho walkthrough is divided into 33 total pages.
You can jump to nearby pages of the game using the links above.
The Crusades, 1213 - Rivers of Blood
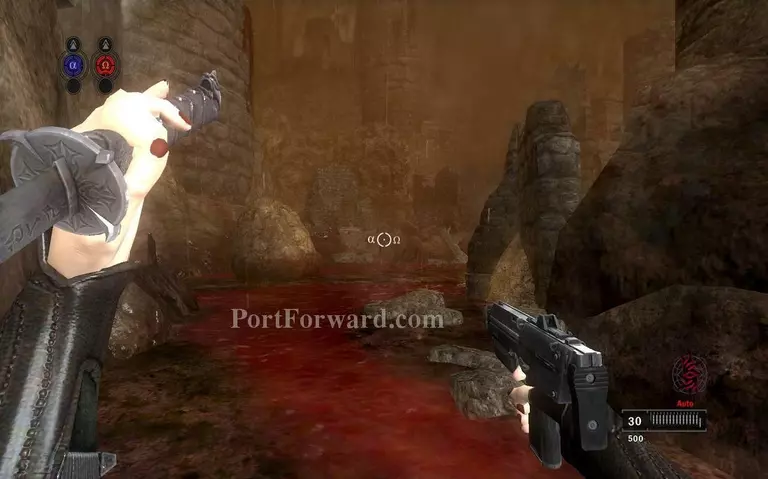
Follow the river of blood.
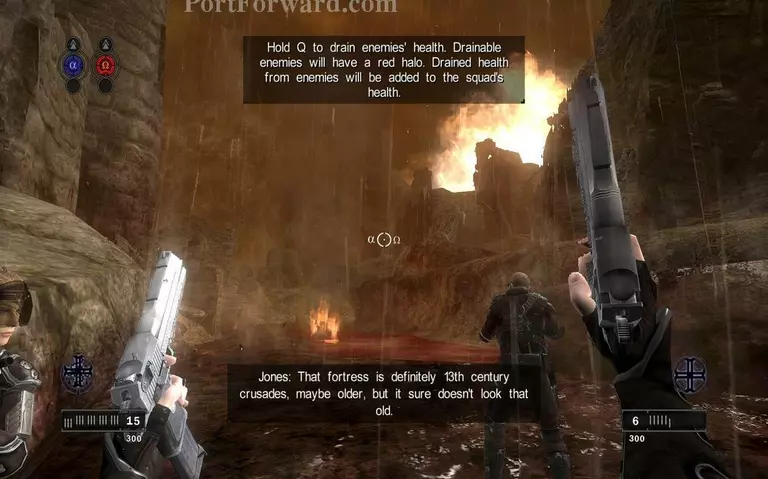
Father Rawlings' second ability will be unlocked. Look towards an enemy and hold Q to use it. It works on flying enemies as well.
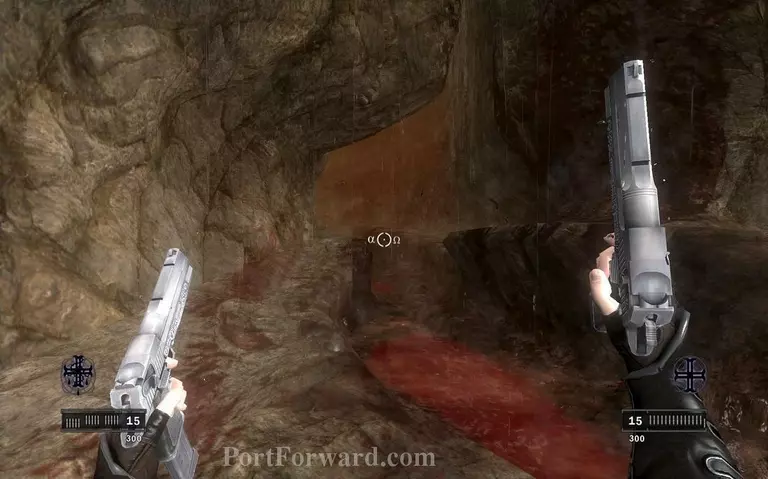
The blood river will lead you through a canyon.
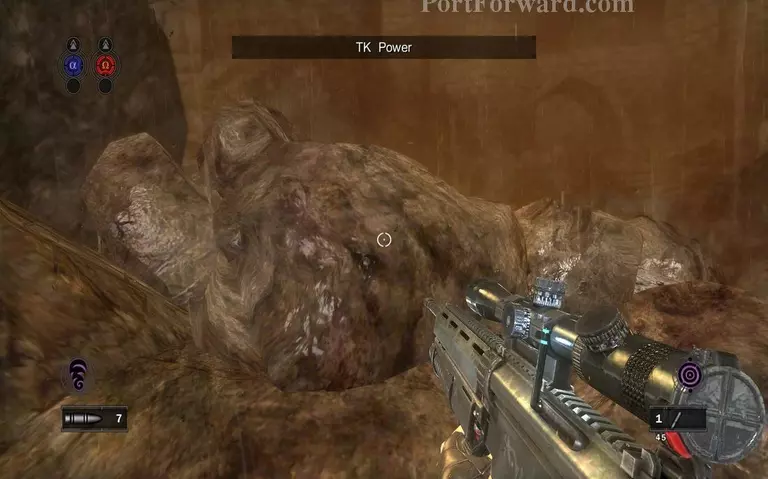
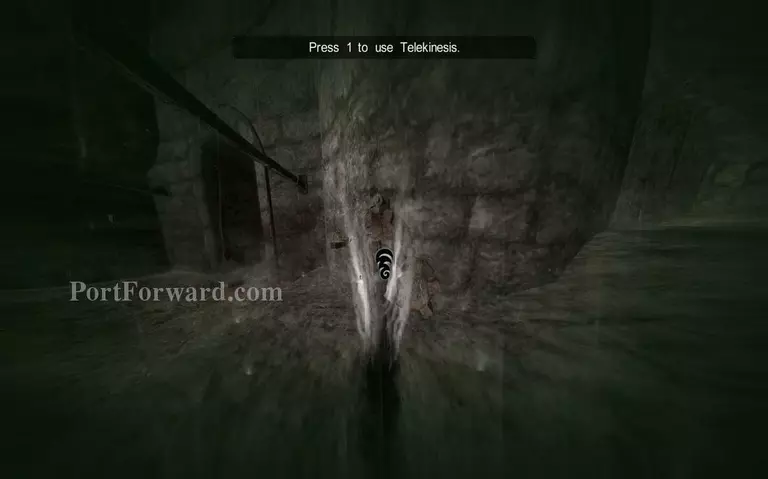
Your passage will be blocked ahead. Switch to Black and use her TK power to clear a path.
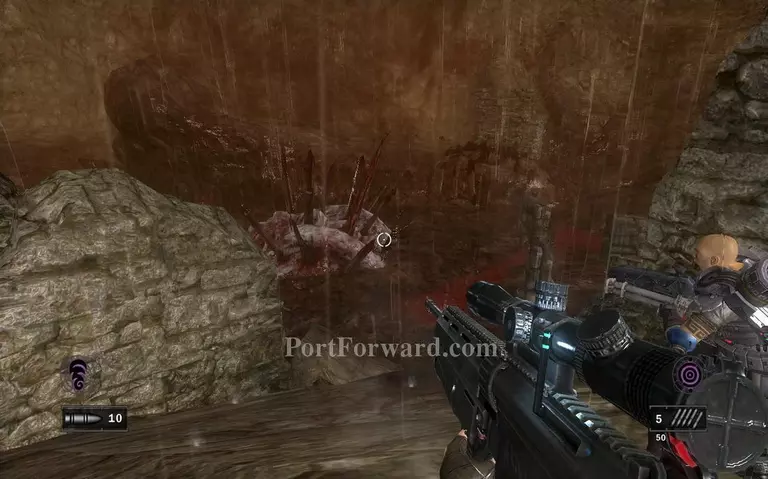
A giant spiky creature will be blocking your way afterwards.

Once you approach it, the blood golem will emerge from the river. Shoot the glowing runes that are around its collar. Once you get them all the creature will be destroyed. If you take a careful shot with Black's grenade laucher you might be able to hit two runes at once.
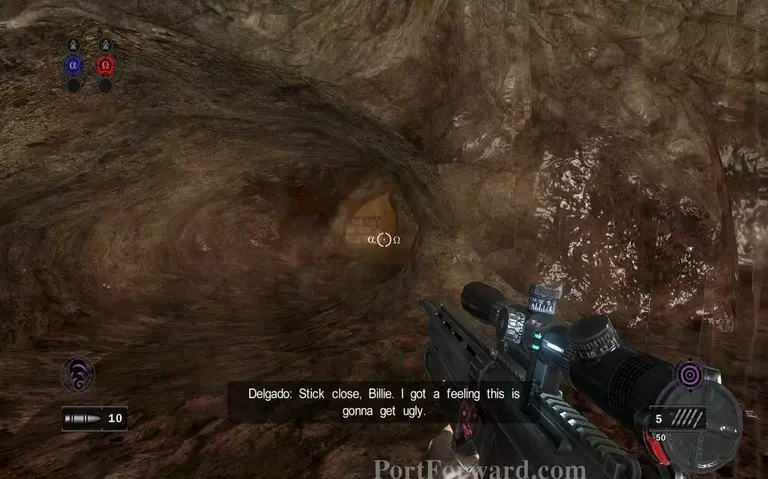
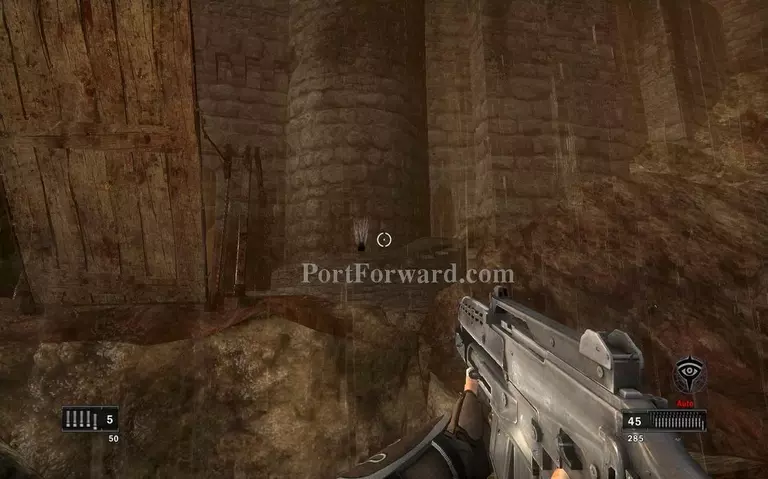
Go through the tunnel.
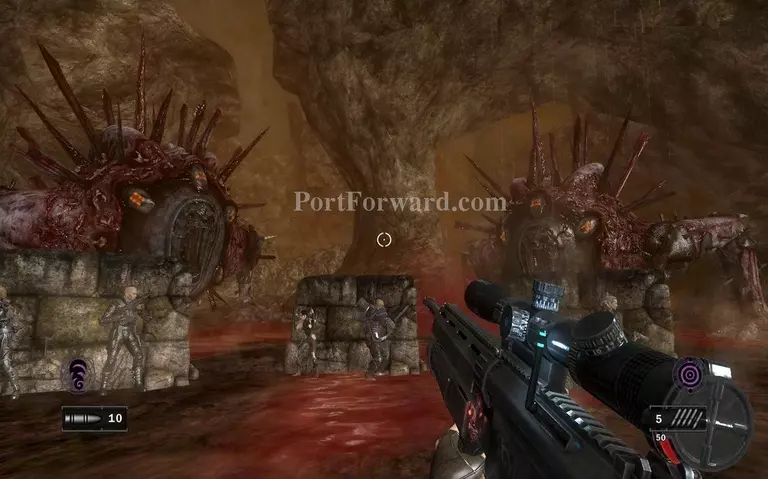
Two blood golems will emerge. Deal with them the same way like the first one. They will attack you by spraying blood. When they do that hide behind the stone walls.
After defeating the two golems one more will be blocking your way. But this one has a special rune on top.
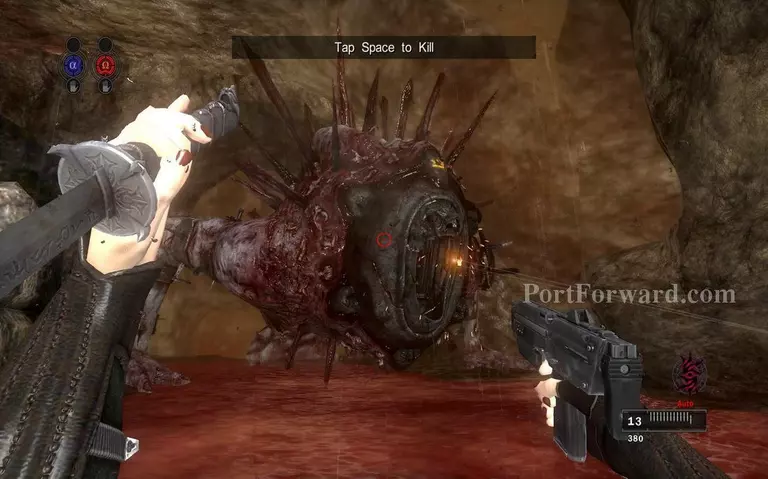
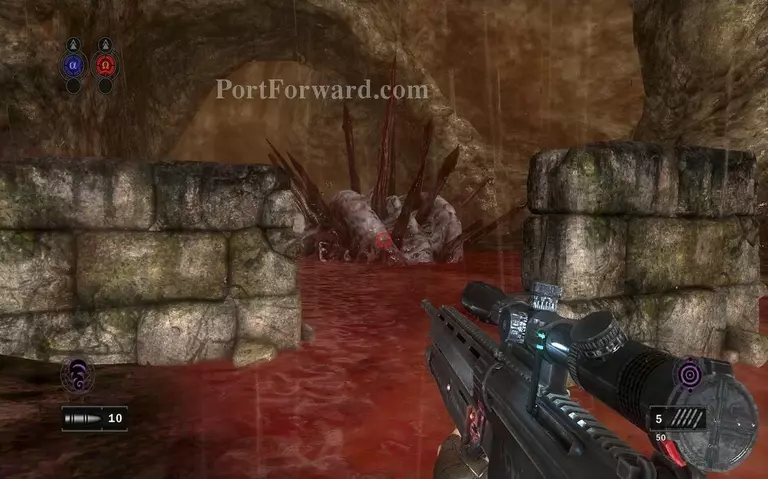
You have to destroy every rune but the top yellow one needs a special touch. Switch to Church and look at the creature. It will give you a prompt to tap space to kill it.

Press the right sequence of buttons to destroy the golem.
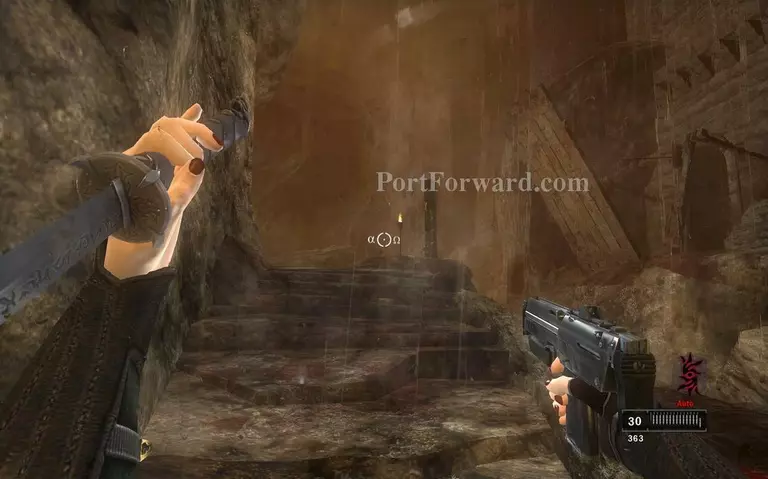
The path will lead you to a drawbridge.
The Firstborn will be on the other side. Use Jones to project onto the child.
Once you are projected look at the lever and press 1 to lower the bridge.
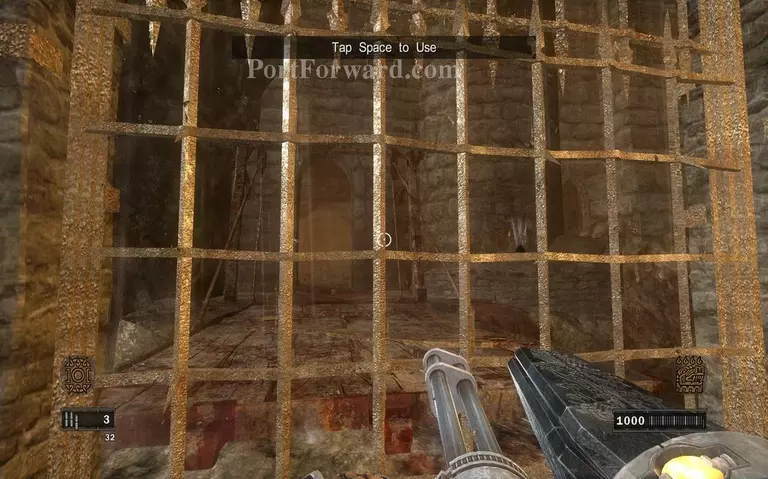
Switch to Delgado and press space while you are near the gate to lift it up.
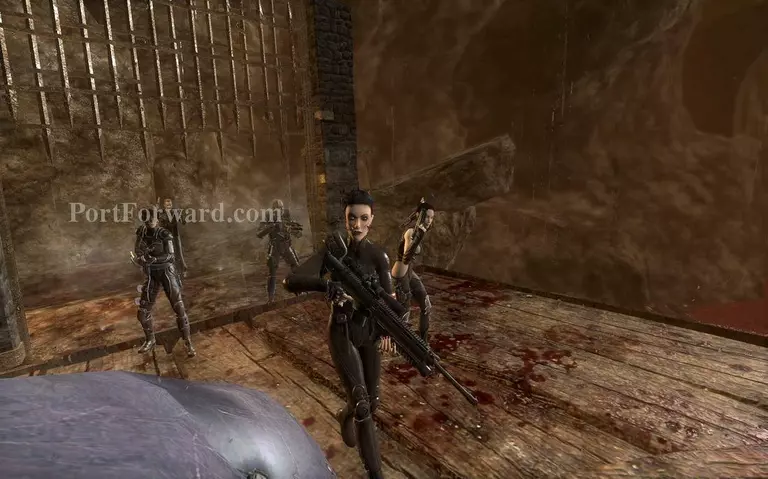
The Jericho Team crosses over the bridge.
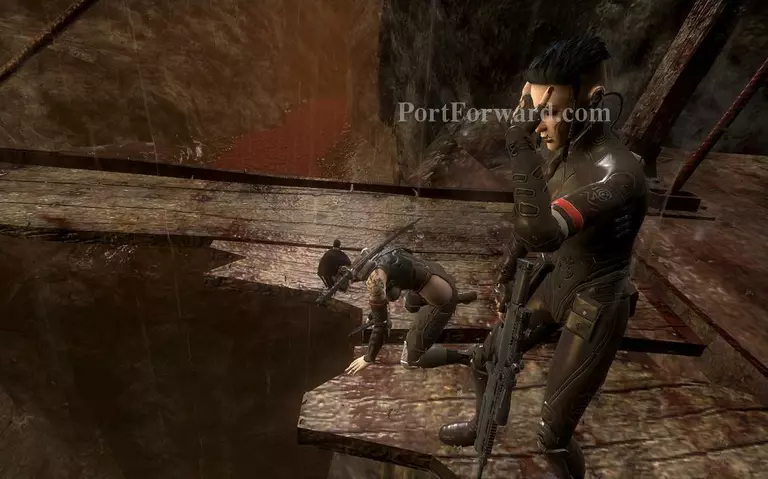
A flying creature destroys the bridge. Part of the team falls down. Church, Black and Delgado will have to proceed without the rest.
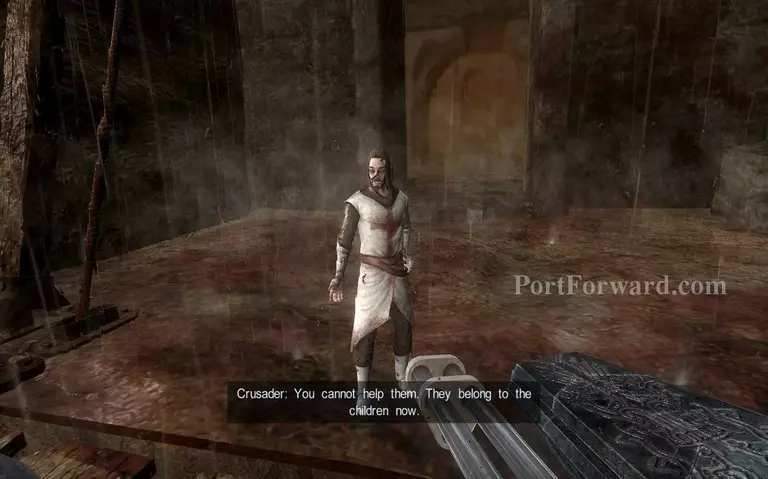
A crusader will lead you inside the castle.
More Clive Barkers Jericho Walkthroughs
This Clive Barkers Jericho walkthrough is divided into 33 total pages.


