Delta Force: Black Hawk Down Walkthrough Mission #11 - Irene

September 12, 2016 (Last Updated: ) | Reading Time: 2 minutes

This Delta Force: Black Hawk Down walkthrough is divided into 16 total pages.

You can jump to nearby pages of the game using the links above.

Mission #11 - Irene

Delta Force: Black Hawk Down Walkthrough - Delta Force-Black-Hawk-Down 94

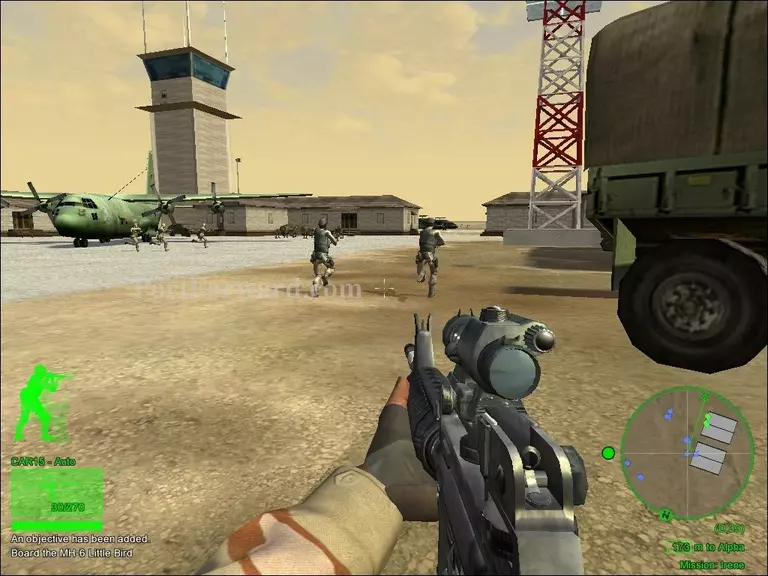
You will start the mission off at a military base, head over to the MH-6 Little Bird and get on.

Delta Force: Black Hawk Down Walkthrough - Delta Force-Black-Hawk-Down 95

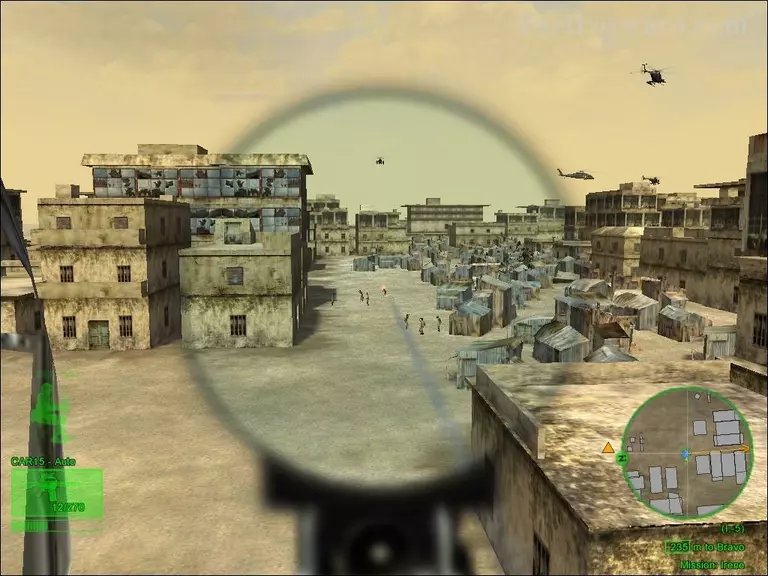
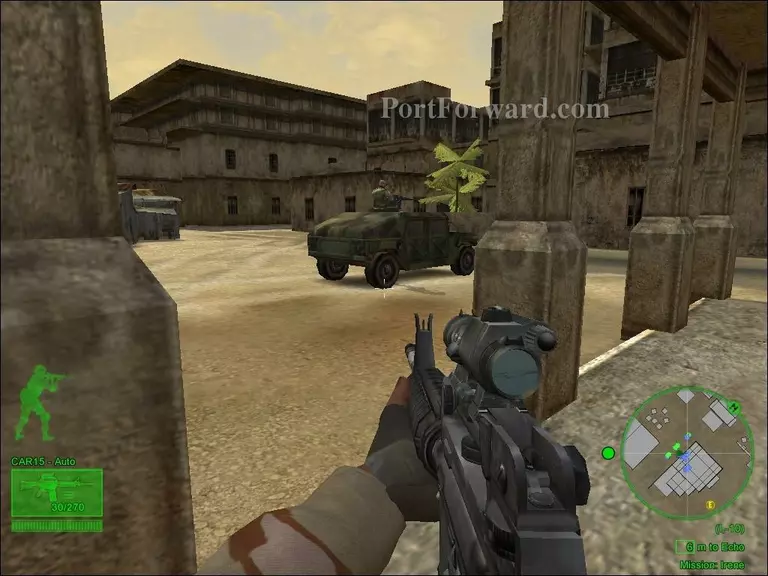
Once you've made it inside the town, take out all the RPGs to avoid getting hit by a missile.

Delta Force: Black Hawk Down Walkthrough - Delta Force-Black-Hawk-Down 96

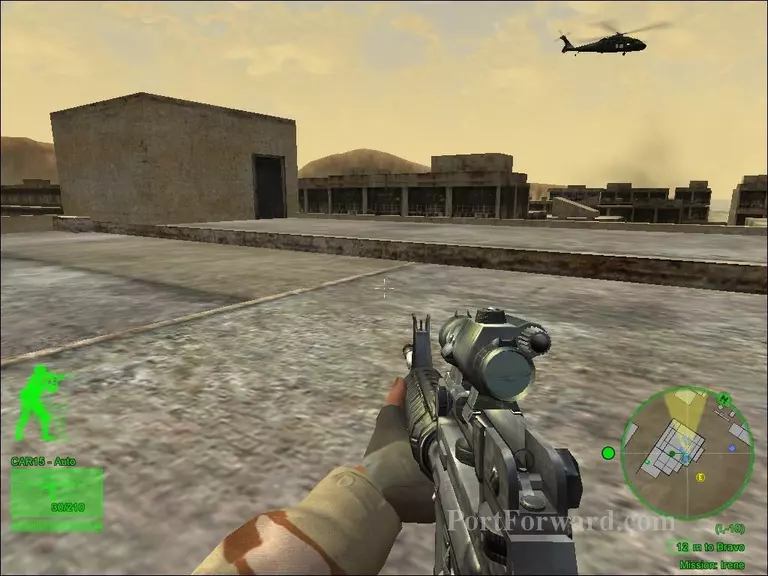
After landing on the building's roof, head inside the building and eliminate all the enemies.

Delta Force: Black Hawk Down Walkthrough - Delta Force-Black-Hawk-Down 97

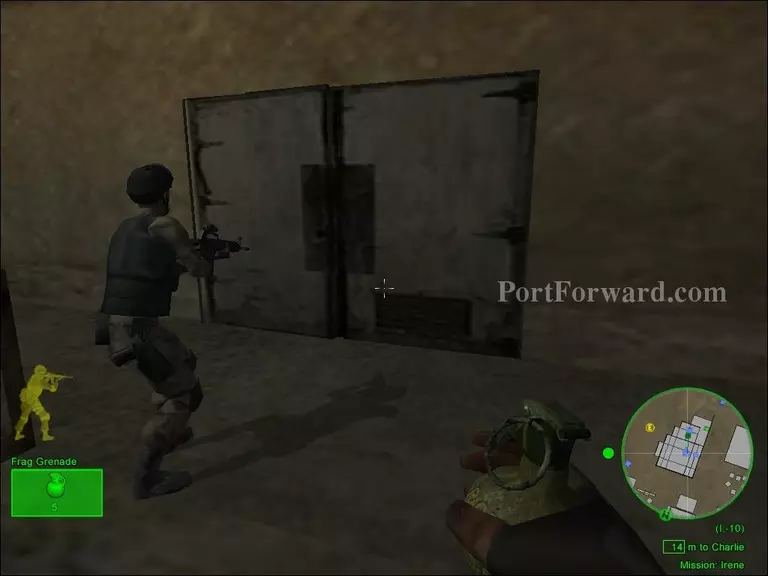
Use a frag grenade to destroy the door on the first floor.

Delta Force: Black Hawk Down Walkthrough - Delta Force-Black-Hawk-Down 98

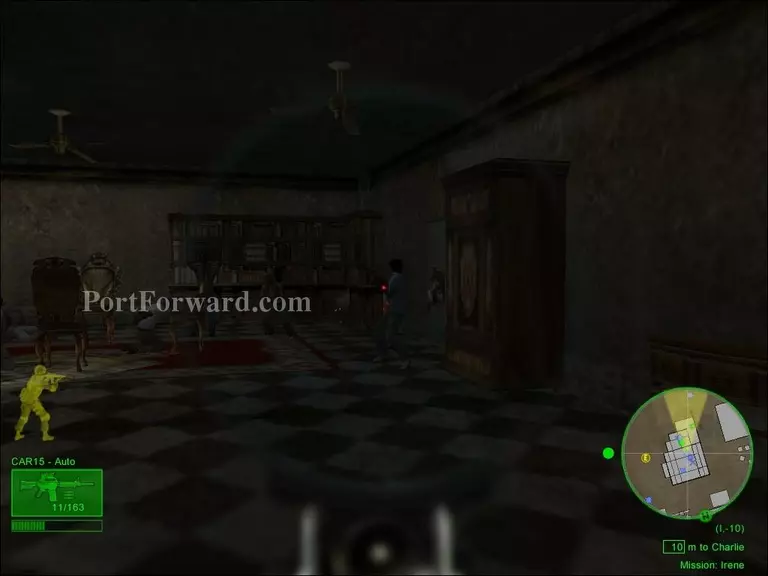
Take out all the remaining enemies behind the destroyed door and avoid killing any of the prisoners inside the room.

Delta Force: Black Hawk Down Walkthrough - Delta Force-Black-Hawk-Down 99

After taking out all the enemies inside the room, you will have to get the prisoners to the convoy.

Delta Force: Black Hawk Down Walkthrough - Delta Force-Black-Hawk-Down 100

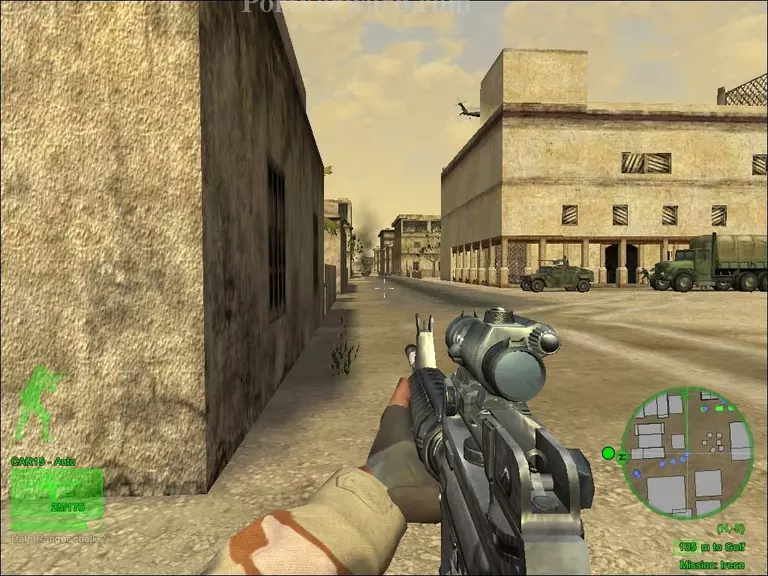
Once you've reached the convoy, make your way to the Ranger Chalk 4.

Delta Force: Black Hawk Down Walkthrough - Delta Force-Black-Hawk-Down 101

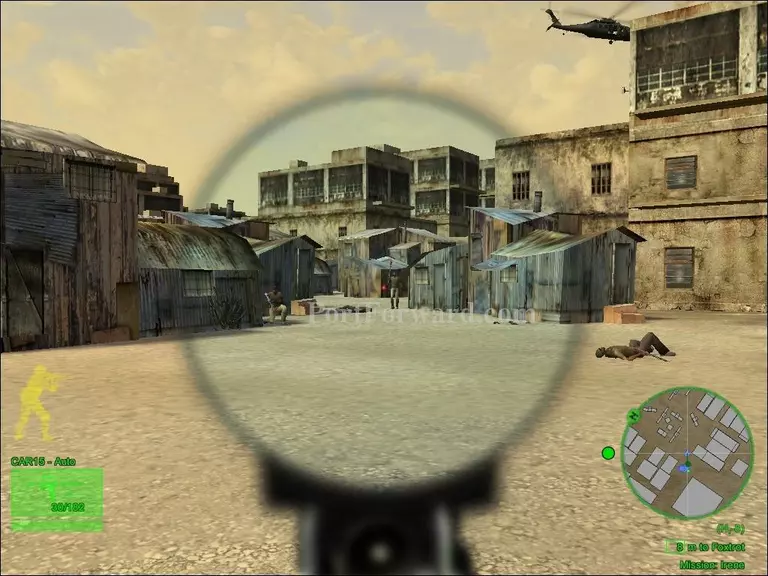
After meeting up with the Ranger Chalk 4, take out the incoming enemies and protect the rest of the team.

Delta Force: Black Hawk Down Walkthrough - Delta Force-Black-Hawk-Down 102

Once you're finished fighting against the enemy militia, head over to Ranger Chalk 2's location to meet up with them as well.

Delta Force: Black Hawk Down Walkthrough - Delta Force-Black-Hawk-Down 103

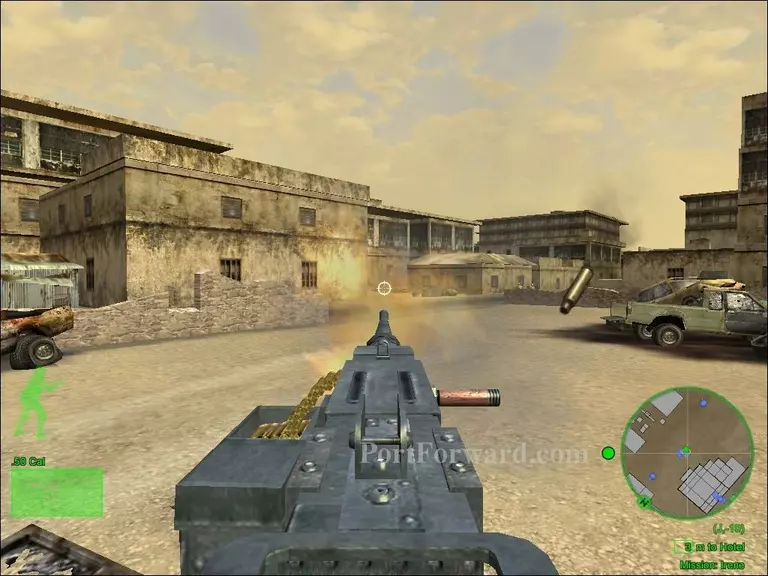
After regrouping with Ranger Chalk 2, use the .50 caliber machine gun in the courtyard to protect the rest of the team against the last enemy attack.

Delta Force: Black Hawk Down Walkthrough - Delta Force-Black-Hawk-Down 104

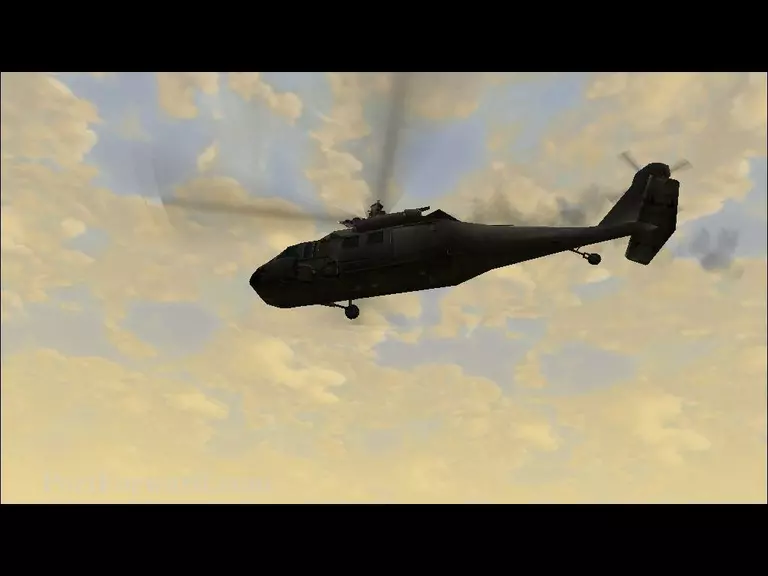
The mission will come to an end once the Super Six One helicopter will get hit by a missile and crash nearby your team.

More Delta Force: Black Hawk Down Walkthroughs

This Delta Force: Black Hawk Down walkthrough is divided into 16 total pages.

More From Portforward