Delta Force: Black Hawk Down Walkthrough Mission #7 - Russian Underground

September 12, 2016 (Last Updated: ) | Reading Time: 2 minutes

This Delta Force: Black Hawk Down walkthrough is divided into 16 total pages.

You can jump to nearby pages of the game using the links above.

Mission #7 - Russian Underground

Delta Force: Black Hawk Down Walkthrough - Delta Force-Black-Hawk-Down 55

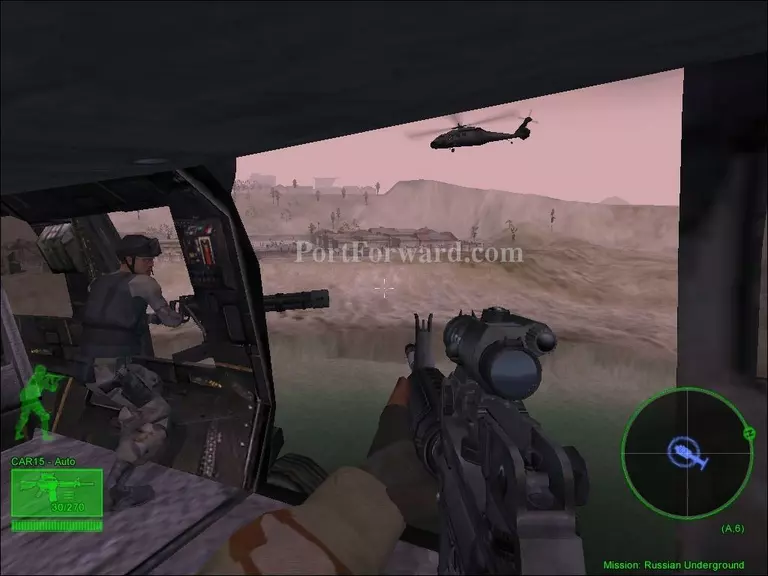
You will begin the mission in a helicopter on your way to the Russian Embassy Compound.

Delta Force: Black Hawk Down Walkthrough - Delta Force-Black-Hawk-Down 56

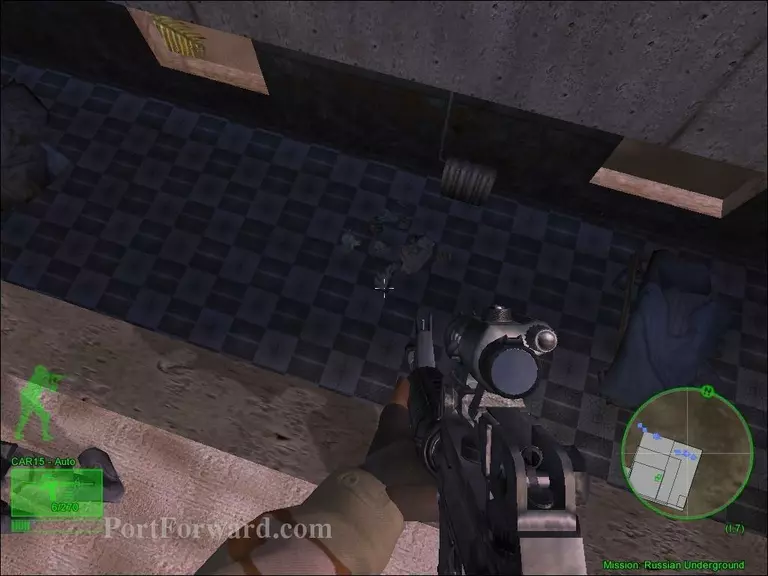
After landing on the rooftop, drop down inside the Compound.

Delta Force: Black Hawk Down Walkthrough - Delta Force-Black-Hawk-Down 57

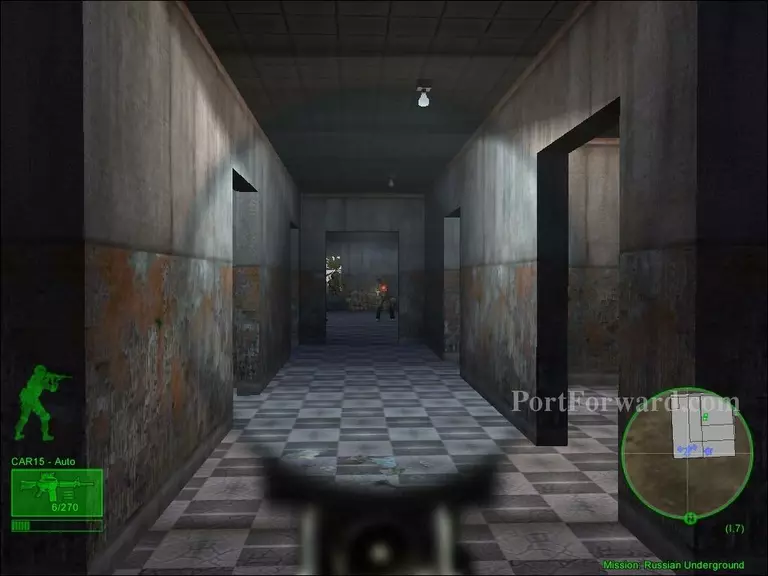
Once you've made it inside, secure the second floor of the building and rendezvous with the rest of the team on the first floor.

Delta Force: Black Hawk Down Walkthrough - Delta Force-Black-Hawk-Down 58

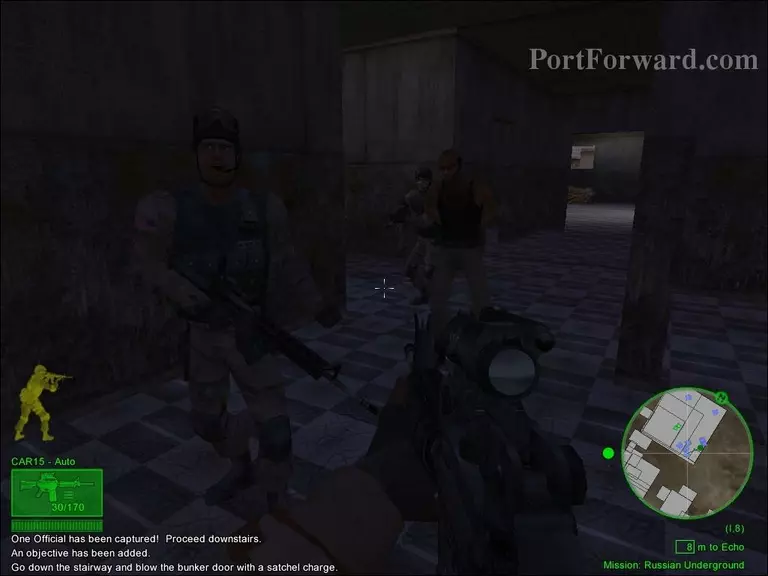
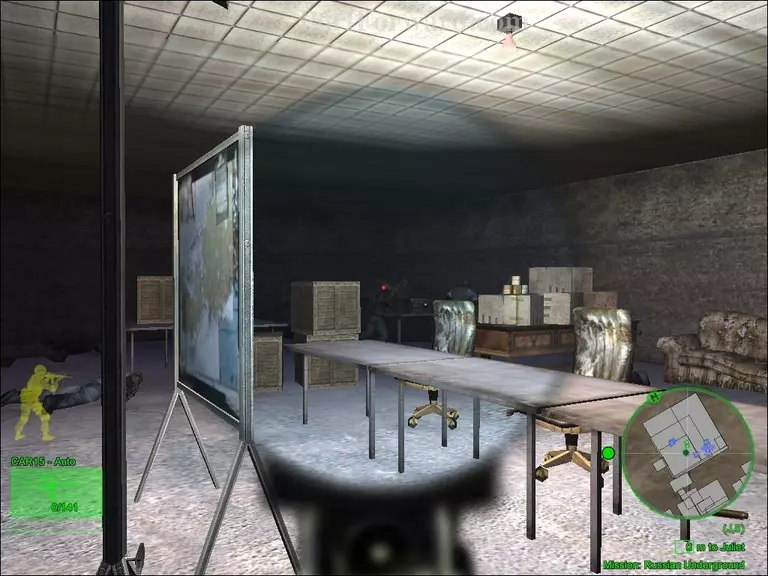
After meeting up with the rest of the team, which has captured one of the targets, make your way downstairs to the basement.

Delta Force: Black Hawk Down Walkthrough - Delta Force-Black-Hawk-Down 59

Place a satchel charge on the bunker door to blow it up.

Delta Force: Black Hawk Down Walkthrough - Delta Force-Black-Hawk-Down 60

After heading inside the bunker, make your way down one more floor and secure it.

Delta Force: Black Hawk Down Walkthrough - Delta Force-Black-Hawk-Down 61

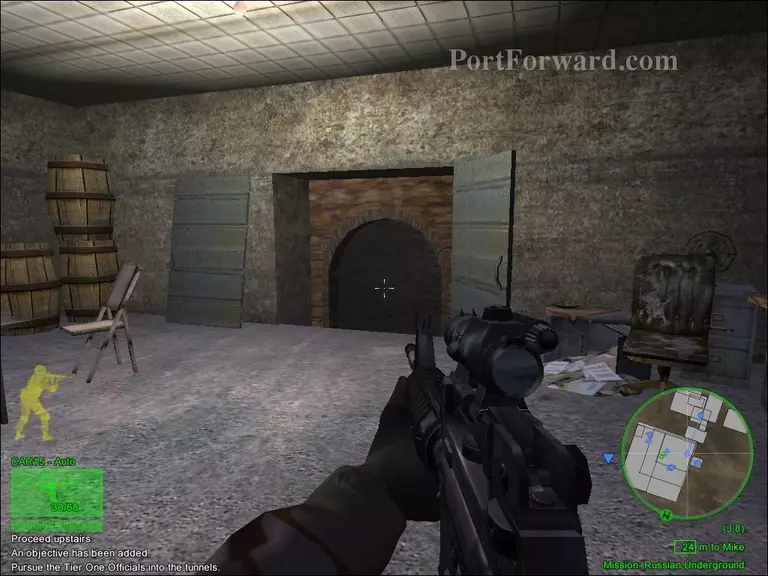
Once you've secured the floor, make your way to the tunnel and chase down the Tier One targets.

Delta Force: Black Hawk Down Walkthrough - Delta Force-Black-Hawk-Down 62

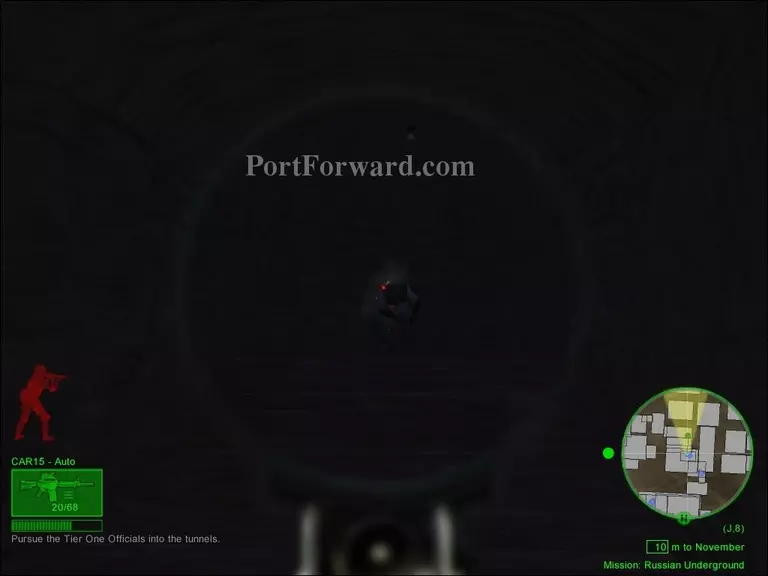
As you make your way through the tunnel, you are going to come across some enemies. Take them out and find the exit out of the tunnel before the enemy backup arrives.

Delta Force: Black Hawk Down Walkthrough - Delta Force-Black-Hawk-Down 63

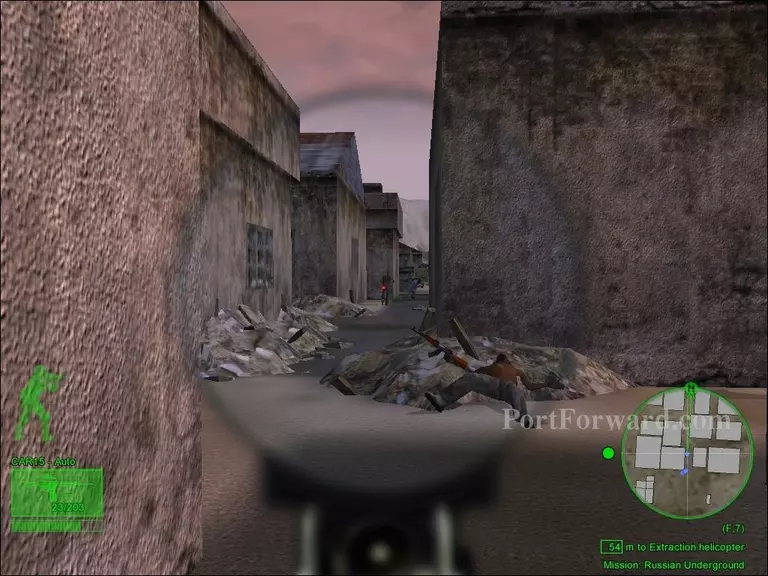
After leaving the tunnel, fight your way to the extraction point.

Delta Force: Black Hawk Down Walkthrough - Delta Force-Black-Hawk-Down 64

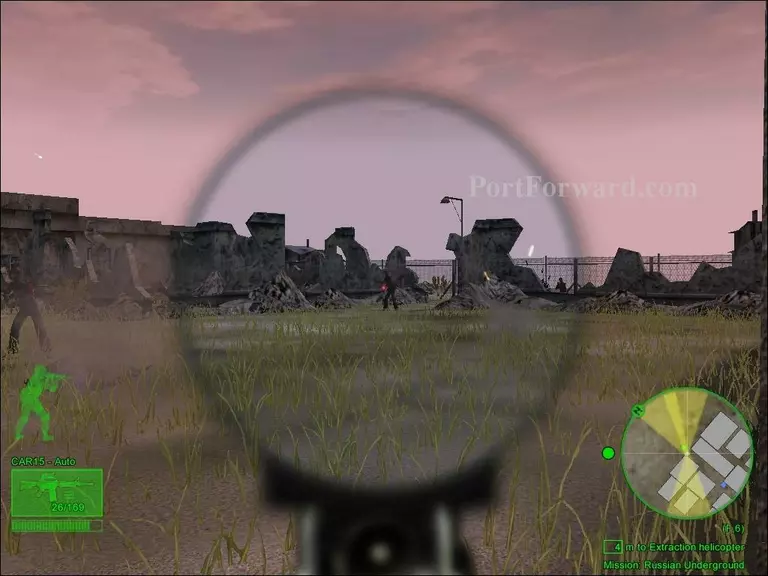
Secure the landing zone and make sure the helicopter doesn't get hit by any RPG missiles while attempting to land.

Delta Force: Black Hawk Down Walkthrough - Delta Force-Black-Hawk-Down 65

The mission will come to and end after getting on the helicopter.

More Delta Force: Black Hawk Down Walkthroughs

This Delta Force: Black Hawk Down walkthrough is divided into 16 total pages.

More From Portforward