Delta Force: Black Hawk Down Walkthrough Mission #8 - Shattered Palace

September 12, 2016 (Last Updated: ) | Reading Time: 2 minutes

This Delta Force: Black Hawk Down walkthrough is divided into 16 total pages.

You can jump to nearby pages of the game using the links above.

Mission #8 - Shattered Palace

Delta Force: Black Hawk Down Walkthrough - Delta Force-Black-Hawk-Down 66

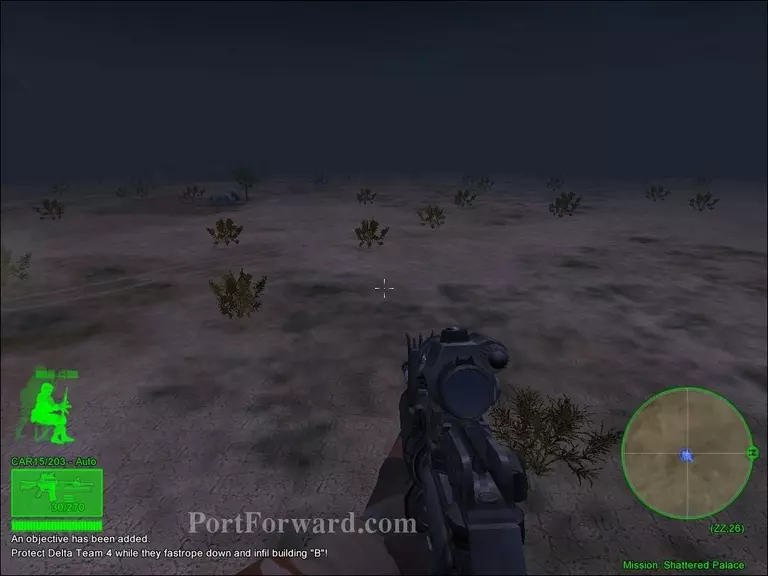
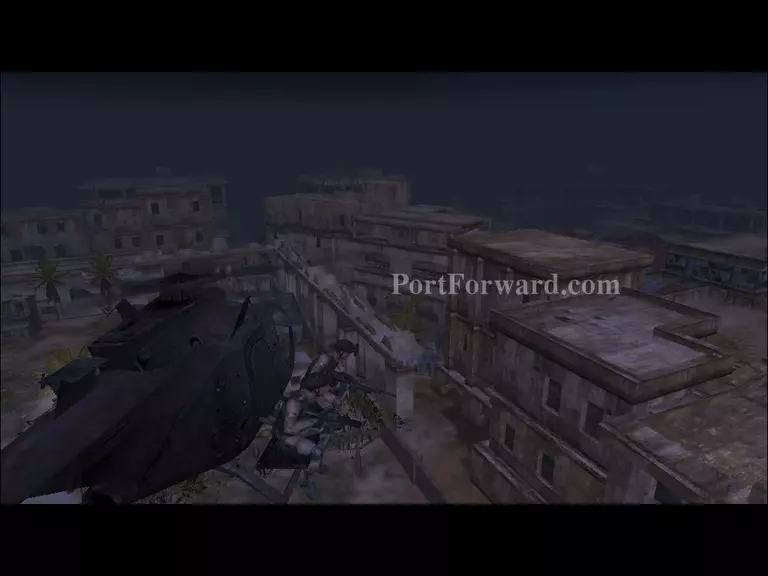
You will start the mission off in a helicopter on your way to a hotel complex where Tier One targets are supposed to be.

Delta Force: Black Hawk Down Walkthrough - Delta Force-Black-Hawk-Down 67

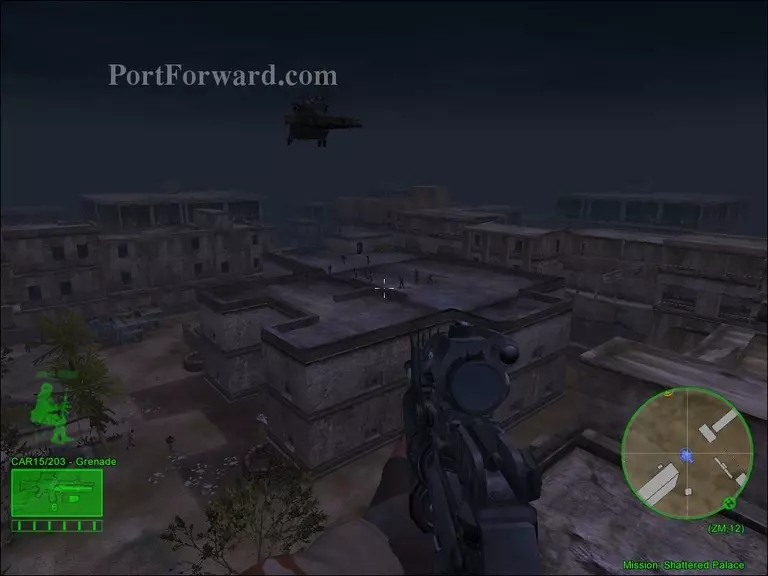
Once you've reached the hotel complex, protect your teammates while they infiltrate building B. Use your grenade launcher to take out the enemies on the rooftops as quickly as possible.

Delta Force: Black Hawk Down Walkthrough - Delta Force-Black-Hawk-Down 68

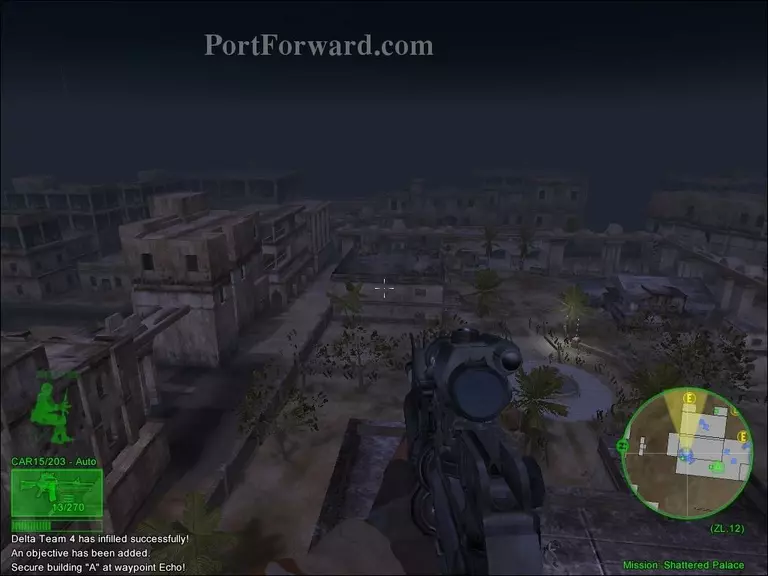
After protecting your teammates from the enemies on the building B's rooftop, you and the rest of the team remaining will make your way to the building A.

Delta Force: Black Hawk Down Walkthrough - Delta Force-Black-Hawk-Down 69

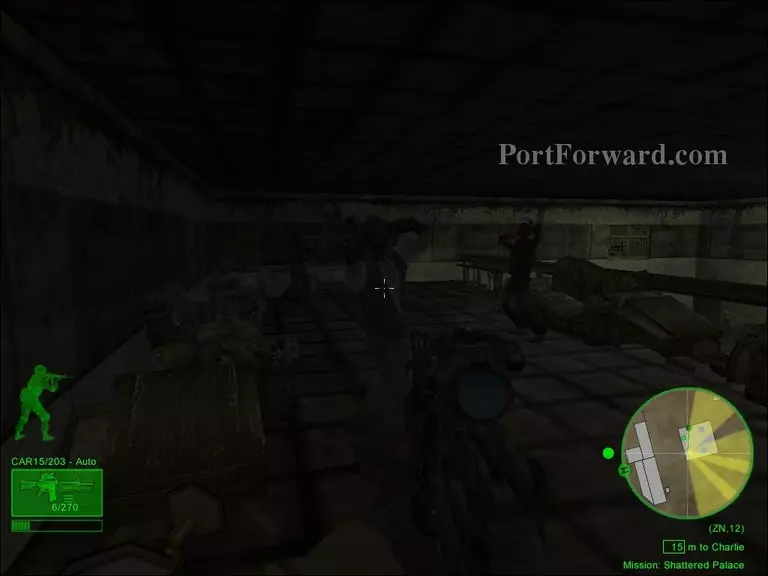
Once you've made it to building A, take out all the enemies inside and secure it.

Delta Force: Black Hawk Down Walkthrough - Delta Force-Black-Hawk-Down 70

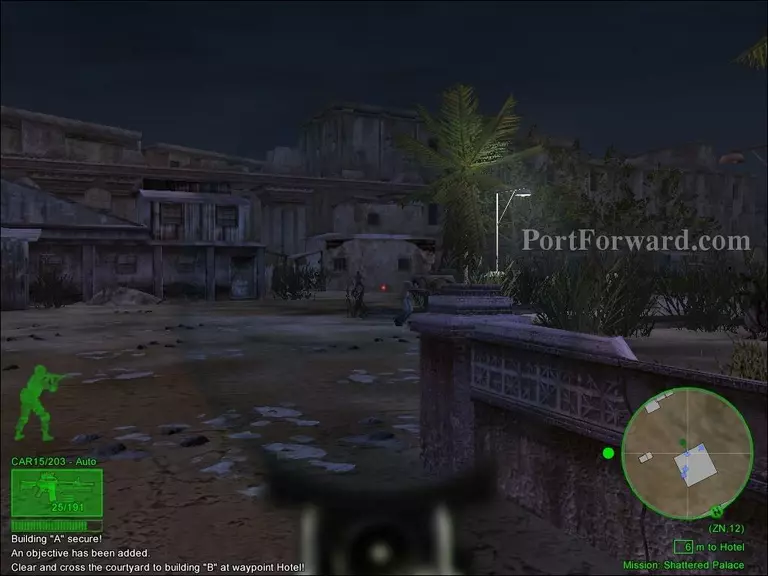
Head down into the courtyard and fight your way to the building B.

Delta Force: Black Hawk Down Walkthrough - Delta Force-Black-Hawk-Down 71

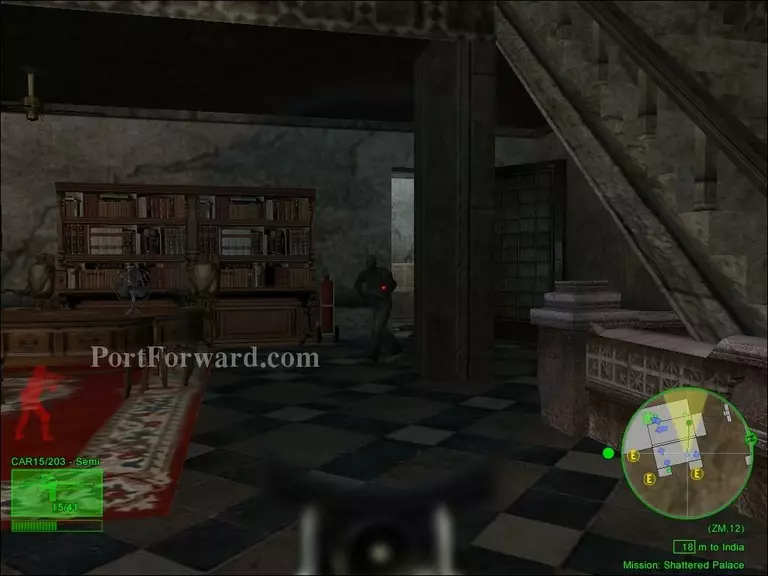
Secure building B and rendesvous with Delta Team Two upstairs.

Delta Force: Black Hawk Down Walkthrough - Delta Force-Black-Hawk-Down 72

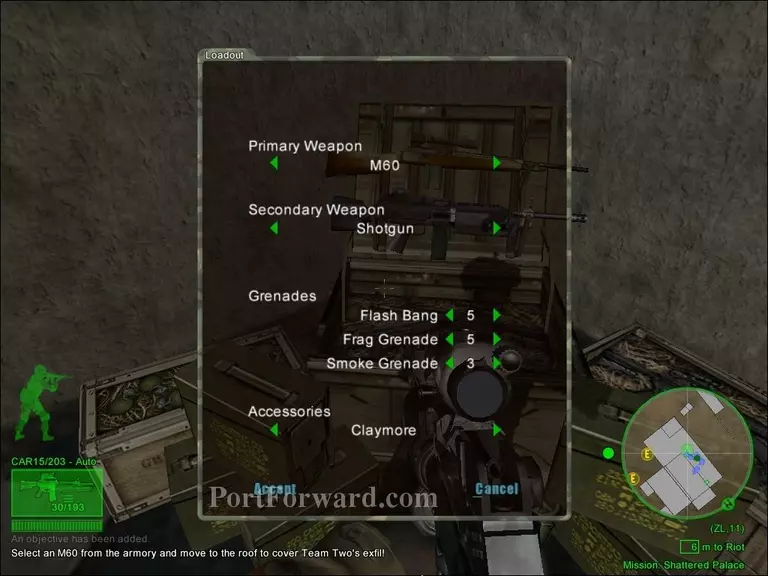
After meeting up with the rest of the team, head over to the weapon crate and swap your current weapon for an M60.

Delta Force: Black Hawk Down Walkthrough - Delta Force-Black-Hawk-Down 73

Once you've swapped your weapon for an M60, make your way to the rooftop.

Delta Force: Black Hawk Down Walkthrough - Delta Force-Black-Hawk-Down 74

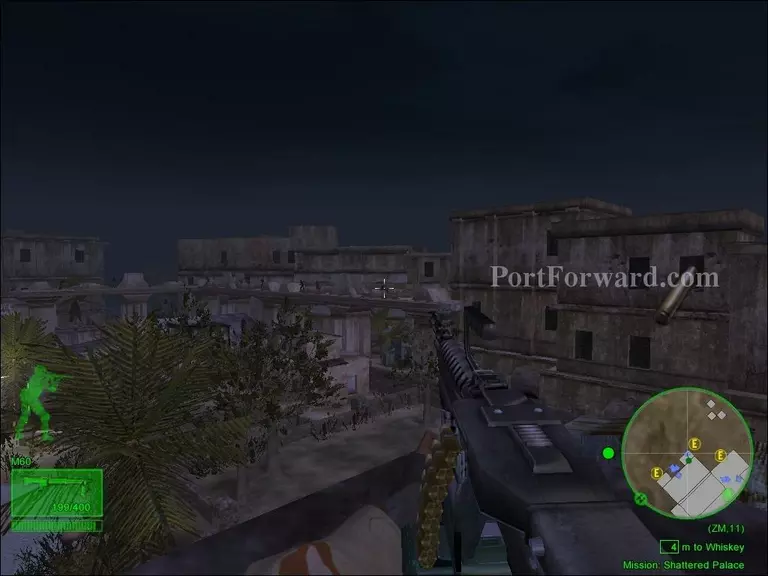
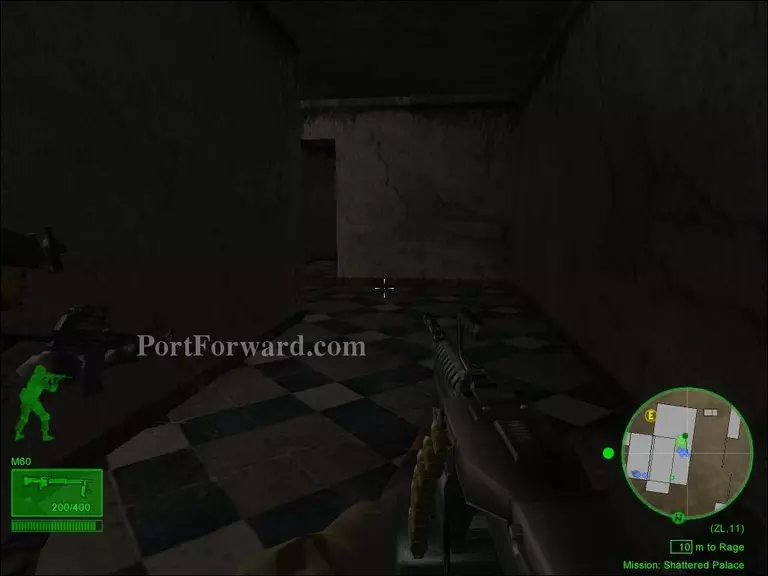
Cover Team Two from the enemies on the rooftops as they make their way to the exfil through the courtyard.

Delta Force: Black Hawk Down Walkthrough - Delta Force-Black-Hawk-Down 75

The mission will come to an end after successfully protecting Team Two against the enemies on the rooftops.

More Delta Force: Black Hawk Down Walkthroughs

This Delta Force: Black Hawk Down walkthrough is divided into 16 total pages.

More From Portforward