Delta Force: Black Hawk Down Walkthrough Mission #10 - Shore Patrol

September 12, 2016 (Last Updated: ) | Reading Time: 2 minutes

This Delta Force: Black Hawk Down walkthrough is divided into 16 total pages.

You can jump to nearby pages of the game using the links above.

Mission #10 - Shore Patrol

Delta Force: Black Hawk Down Walkthrough - Delta Force-Black-Hawk-Down 84

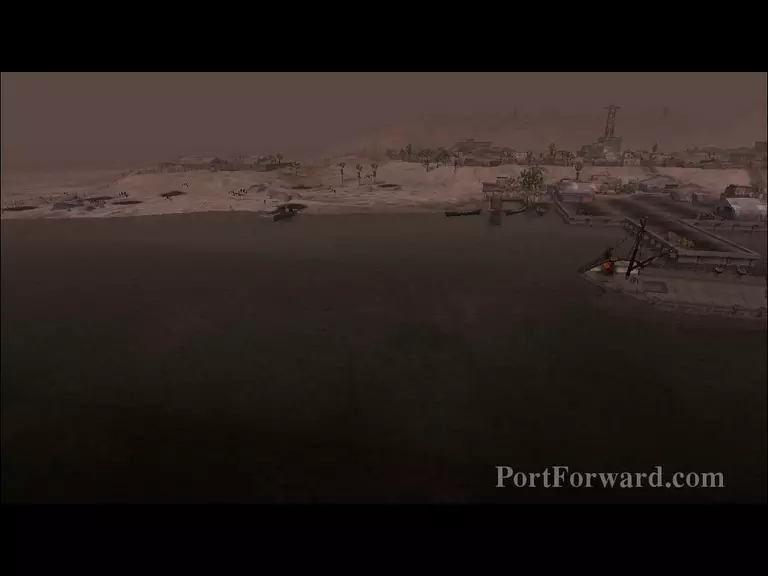
You will start the mission on a boat on your way to the shore.

Delta Force: Black Hawk Down Walkthrough - Delta Force-Black-Hawk-Down 85

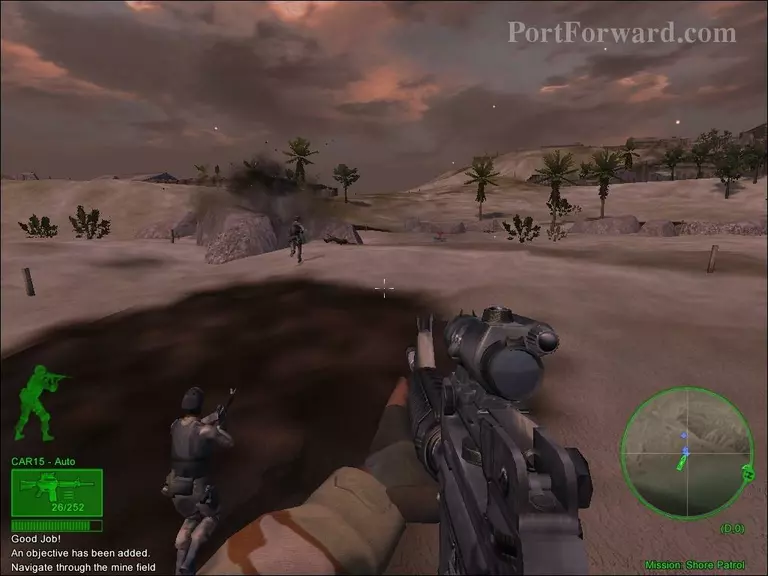
After reaching the beach, you will have to navigate through the rocks and get past the minefield.

Delta Force: Black Hawk Down Walkthrough - Delta Force-Black-Hawk-Down 86

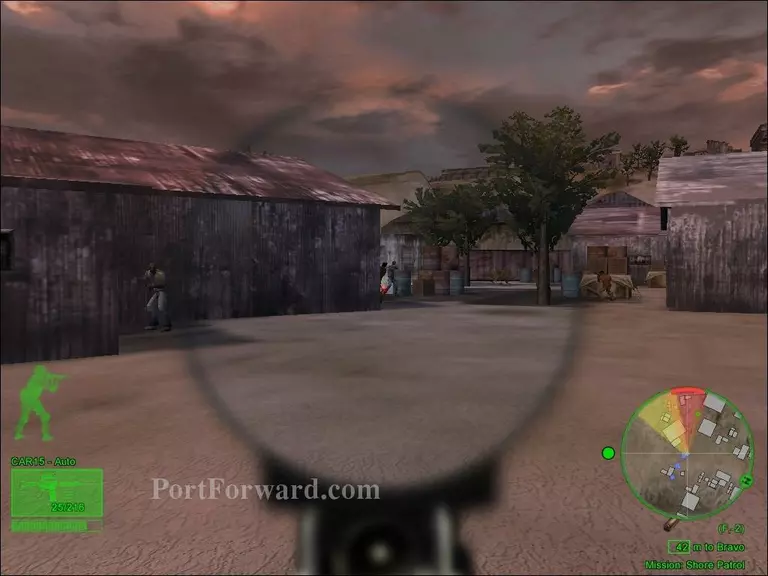
Once you've made it inside the town, fight your way to the radio tower.

Delta Force: Black Hawk Down Walkthrough - Delta Force-Black-Hawk-Down 87

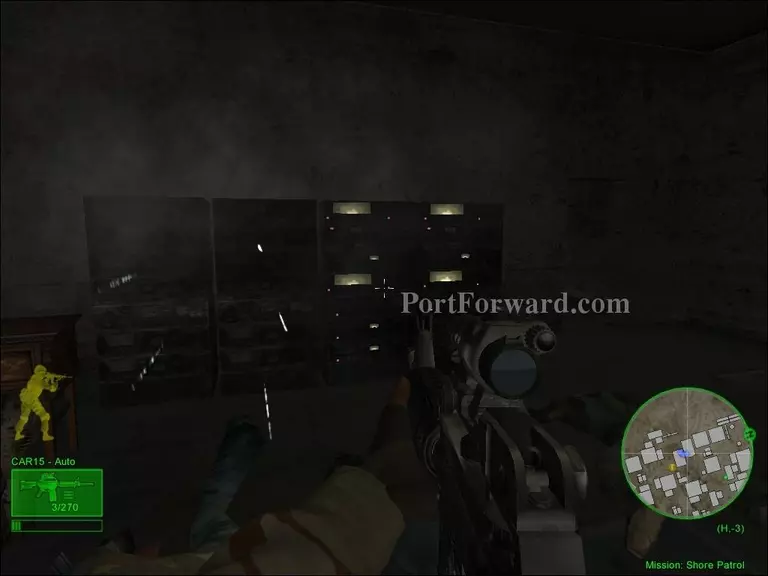
After reaching the radio tower building, destroy all the equipment located inside.

Delta Force: Black Hawk Down Walkthrough - Delta Force-Black-Hawk-Down 88

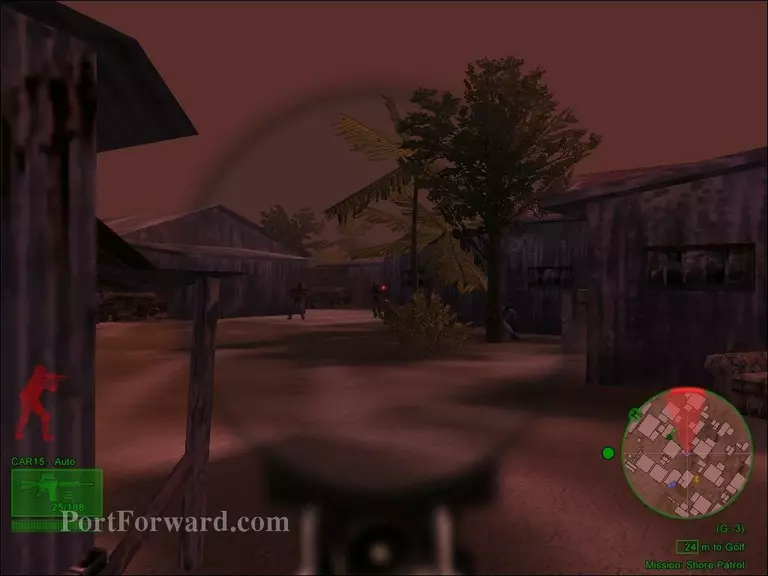
After destroying all the radio equipment, you will have to fight your way to the pier.

Delta Force: Black Hawk Down Walkthrough - Delta Force-Black-Hawk-Down 89

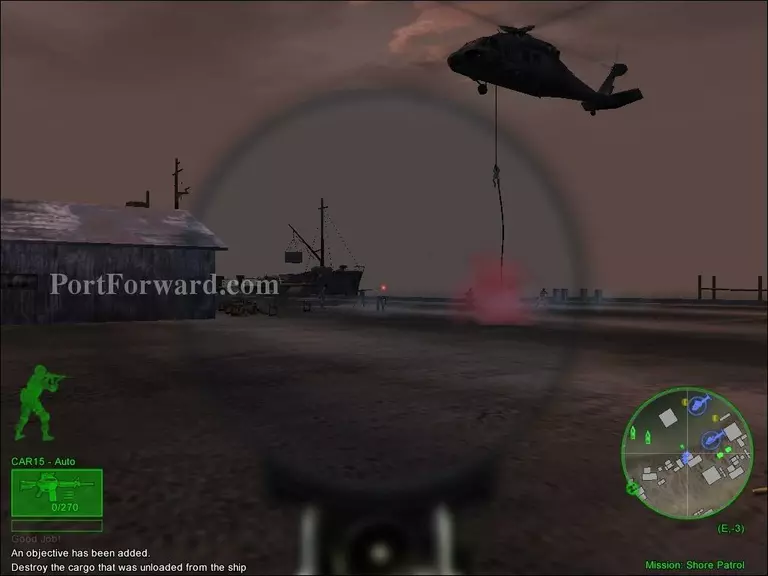
Defend the helicopter while it lands from the attacking enemies at the pier.

Delta Force: Black Hawk Down Walkthrough - Delta Force-Black-Hawk-Down 90

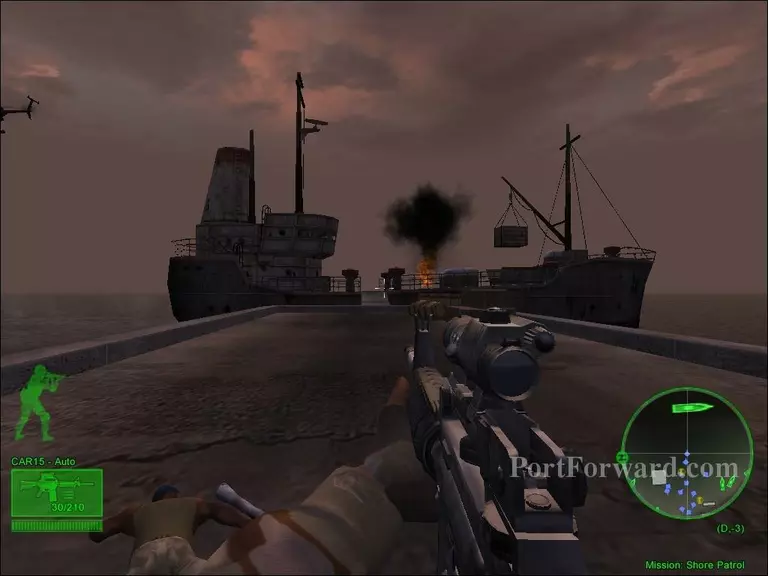
Head over to the ship and plant a satchel charge on the cargo.

Delta Force: Black Hawk Down Walkthrough - Delta Force-Black-Hawk-Down 91

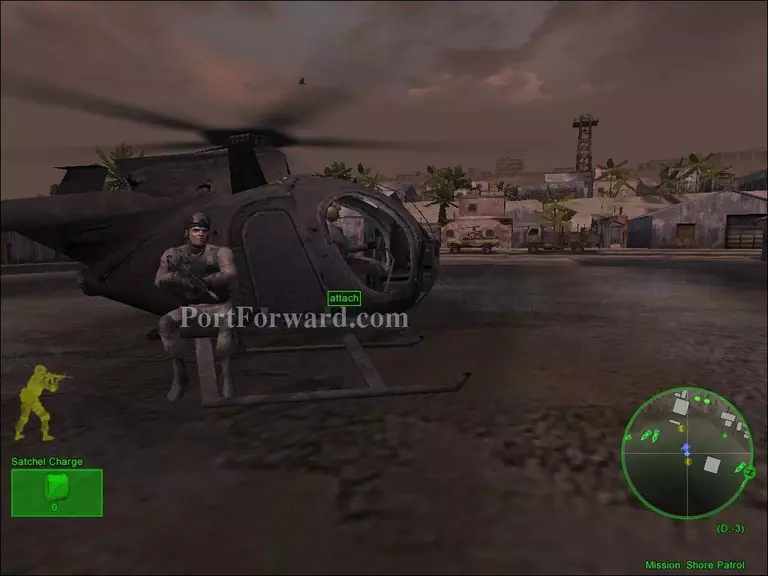
After planting the satchel charge on the cargo, head back and get on the Little Bird.

Delta Force: Black Hawk Down Walkthrough - Delta Force-Black-Hawk-Down 92

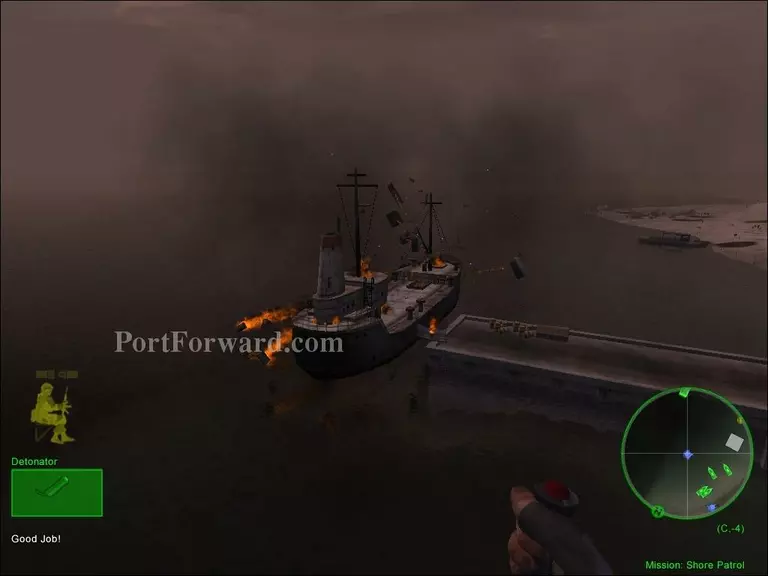
Before you detonate the satchel charge, wait for the helicopter to take off and reach a safe distance.

Delta Force: Black Hawk Down Walkthrough - Delta Force-Black-Hawk-Down 93

The mission will come to an end after blowing up the cargo.

More Delta Force: Black Hawk Down Walkthroughs

This Delta Force: Black Hawk Down walkthrough is divided into 16 total pages.

More From Portforward