This Delta Force: Black Hawk Down walkthrough is divided into 16 total pages.
You can jump to nearby pages of the game using the links above.
Mission #12 - Lost Convoy
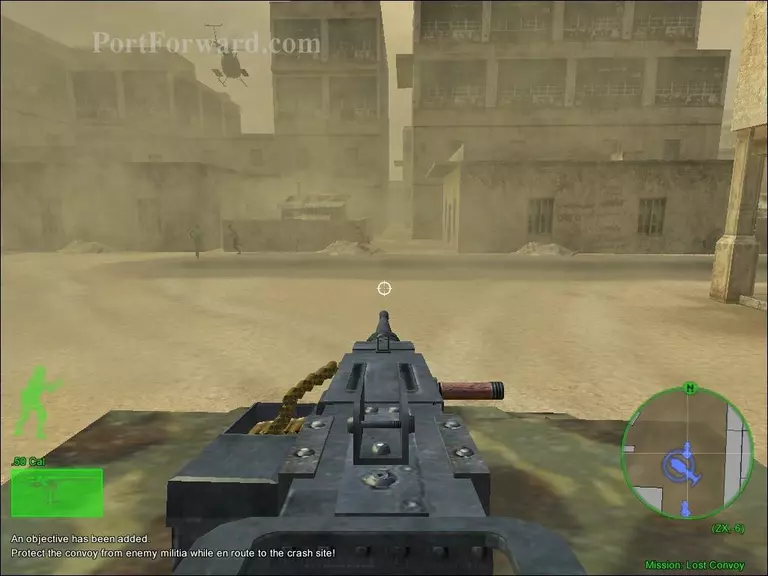
You will start the mission off on an alley, using a .50 caliber machine gun as primary weapon.
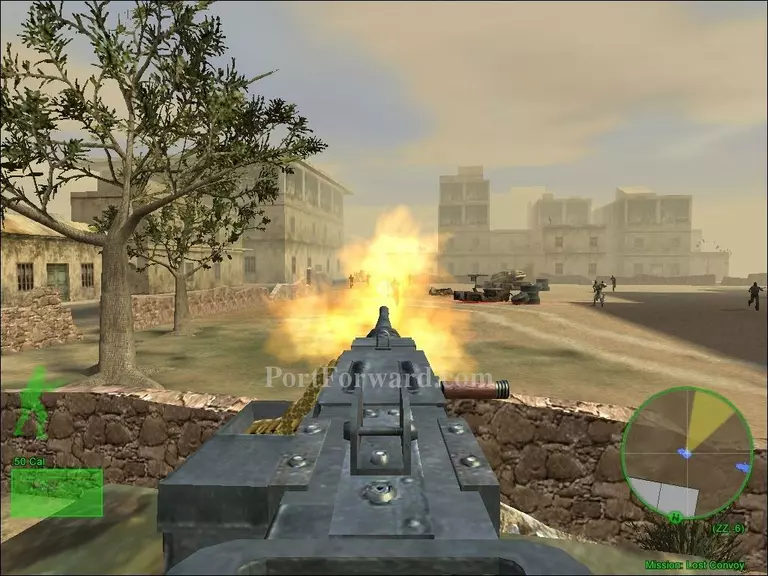
Defend the rest of the convoy from the enemy militia as you make your way to the crash site of the helicopter.
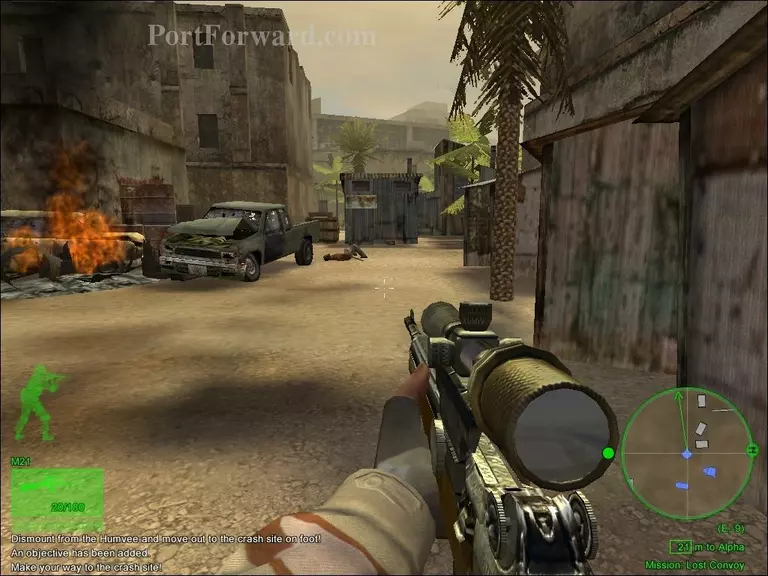
After reaching a blocked alley with narrow paths where the Humvee can't make it through, you will have to continue making your way to the crash site on foot.
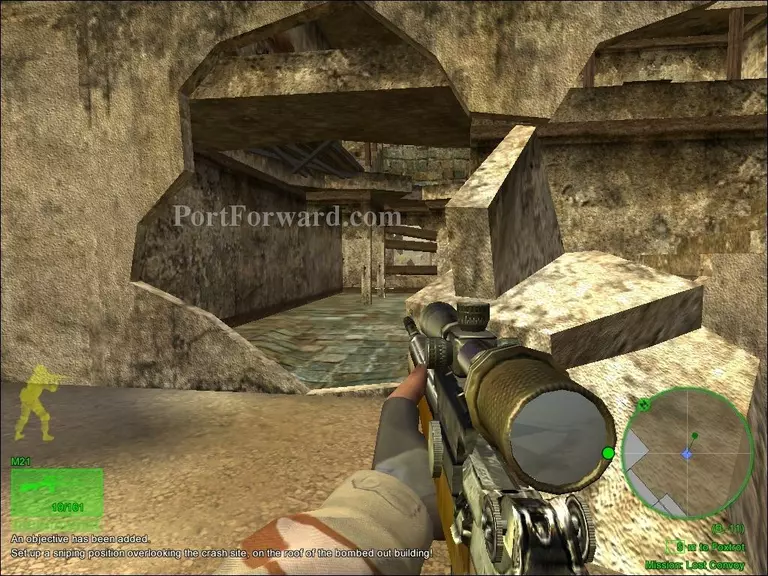
After approaching the crash site, you will come across a ruined building, make your way on the top floor of the building.

Use your M21 to take out the RPGs on the rooftops, all around the crash site.
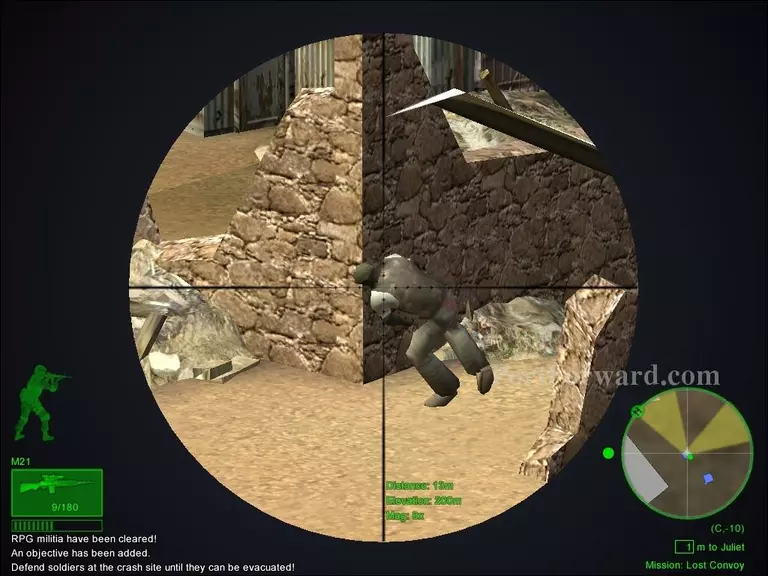
Once you've dealt with the RPGs on the rooftops, some more enemies will attack the soldiers that have survived the crash. Defend the soldiers until evacuation team arrives.
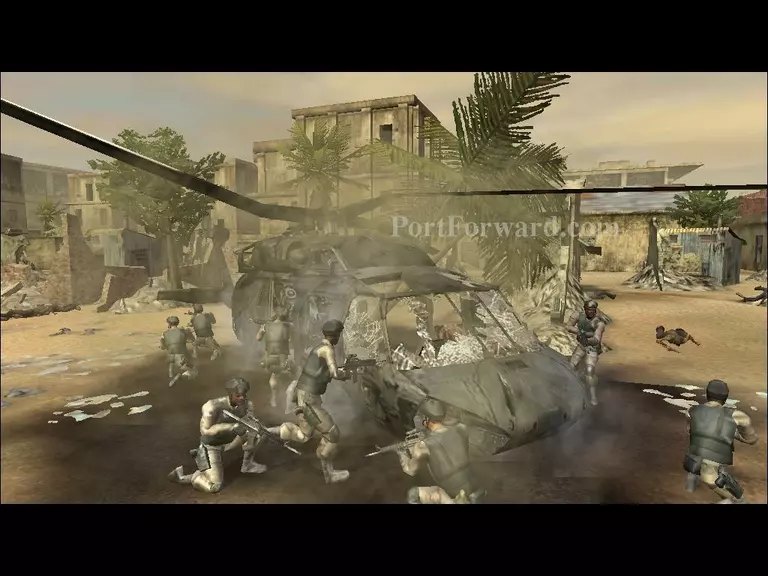
The mission will come to an end once the evacuation team arrives at the crash site.
More Delta Force: Black Hawk Down Walkthroughs
This Delta Force: Black Hawk Down walkthrough is divided into 16 total pages.