Delta Force: Black Hawk Down Walkthrough Mission #6 - Radio Aidid

September 12, 2016 (Last Updated: ) | Reading Time: 2 minutes

This Delta Force: Black Hawk Down walkthrough is divided into 16 total pages.

You can jump to nearby pages of the game using the links above.

Mission #6 - Radio Aidid

Delta Force: Black Hawk Down Walkthrough - Delta Force-Black-Hawk-Down 45

This is mostly a stealth mission. You will have to make your way to the radio building without alerting a lot of enemies.

Delta Force: Black Hawk Down Walkthrough - Delta Force-Black-Hawk-Down 46

However, you still might run into a few enemies on your way there. Take them out using your silenced MP5 before they spot you and avoid shooting the barrels so you won't alert the others.

Delta Force: Black Hawk Down Walkthrough - Delta Force-Black-Hawk-Down 47

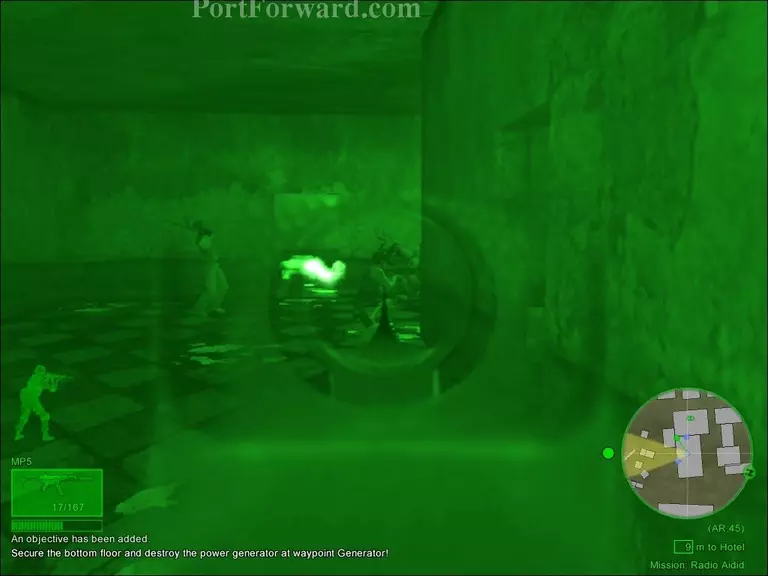
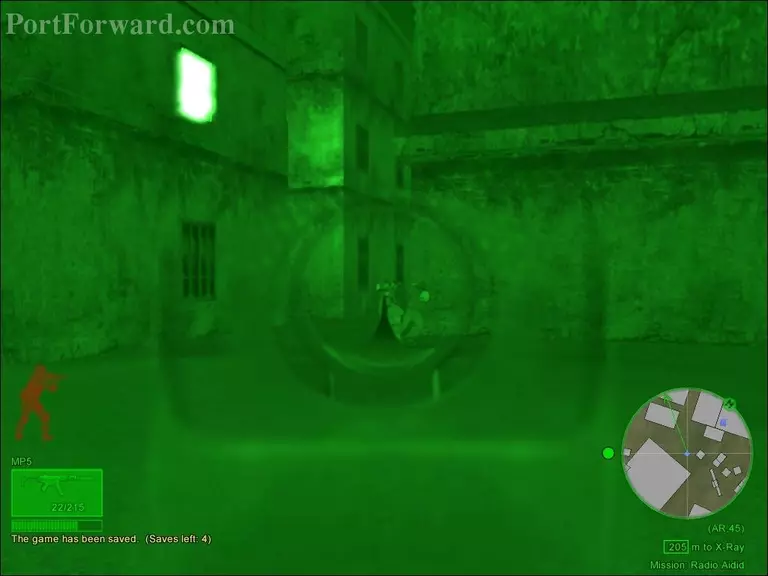
Once you've made it to the radio building, take out all the enemies inside the building.

Delta Force: Black Hawk Down Walkthrough - Delta Force-Black-Hawk-Down 48

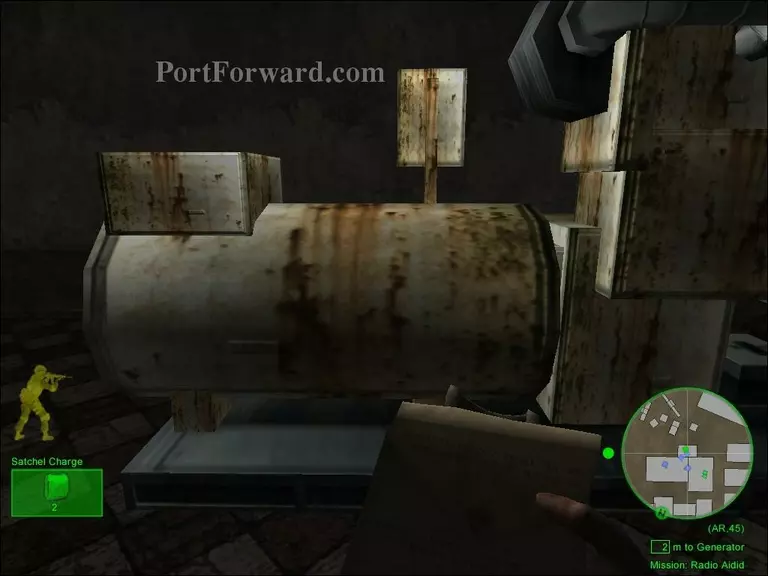
After securing the first level of the building, plant a satchel charge on the generator and blow it up.

Delta Force: Black Hawk Down Walkthrough - Delta Force-Black-Hawk-Down 49

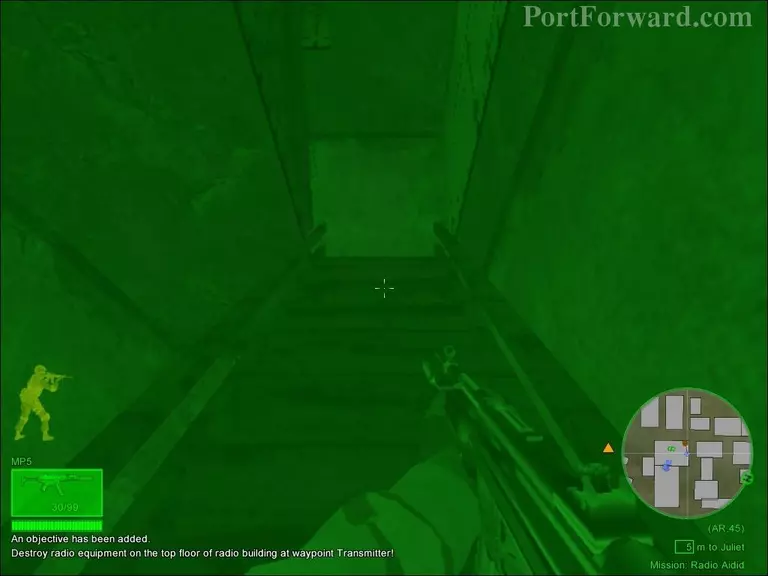
Once you've destroyed the power generator and brought the power down, make your way to the top floor.

Delta Force: Black Hawk Down Walkthrough - Delta Force-Black-Hawk-Down 50

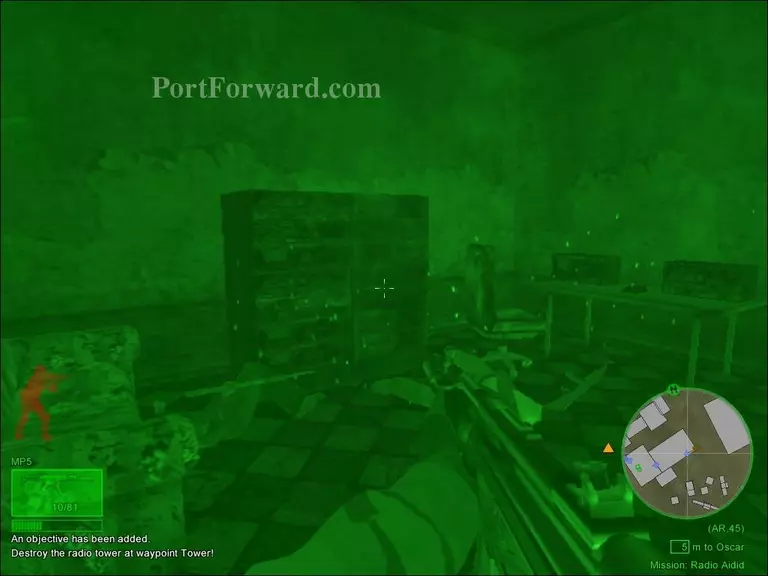
Secure the top floor of the radio building and destroy the radio equipment.

Delta Force: Black Hawk Down Walkthrough - Delta Force-Black-Hawk-Down 51

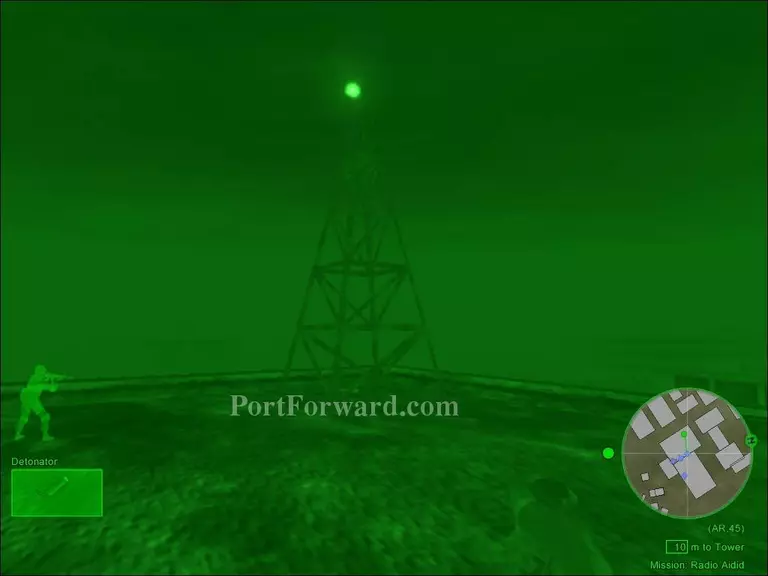
After securing the building and destroying all the radio equipment, make your way on the rooftop and blow up the radio tower using a satchel charge.

Delta Force: Black Hawk Down Walkthrough - Delta Force-Black-Hawk-Down 52

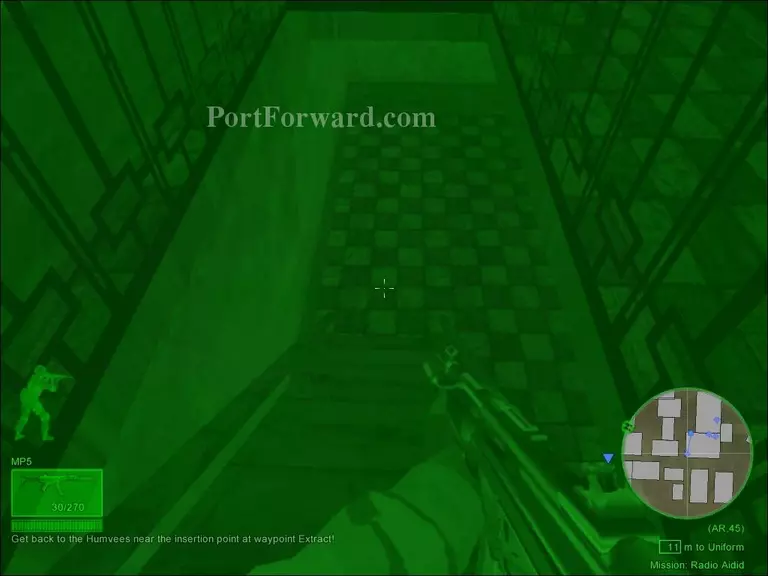
Once you've blown up the radio tower, make your way downstairs to the ground level and head to the extraction point after leaving the building.

Delta Force: Black Hawk Down Walkthrough - Delta Force-Black-Hawk-Down 53

On your way to the extraction point, you are going to come across a few enemies. Take them out and keep on going.

Delta Force: Black Hawk Down Walkthrough - Delta Force-Black-Hawk-Down 54

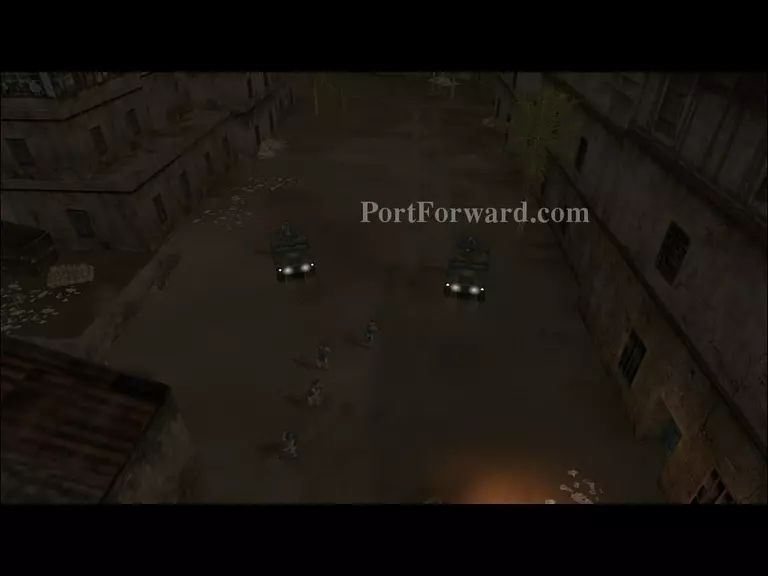
The mission will come to an end after meeting up with the rest of the team at the extraction point.

More Delta Force: Black Hawk Down Walkthroughs

This Delta Force: Black Hawk Down walkthrough is divided into 16 total pages.

More From Portforward