Delta Force: Black Hawk Down Walkthrough Mission #2 - Bandit's Crossing

September 12, 2016 (Last Updated: ) | Reading Time: 2 minutes

This Delta Force: Black Hawk Down walkthrough is divided into 16 total pages.

You can jump to nearby pages of the game using the links above.

Mission #2 - Bandit's Crossing

Delta Force: Black Hawk Down Walkthrough - Delta Force-Black-Hawk-Down 9

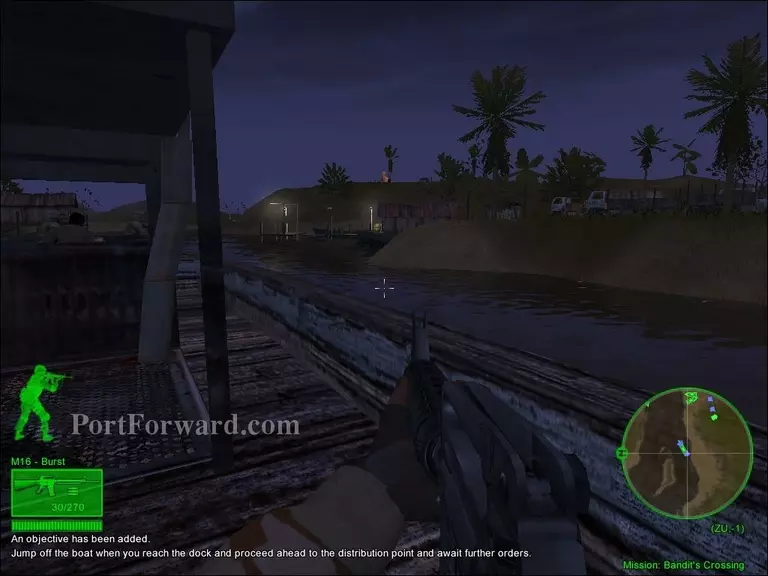
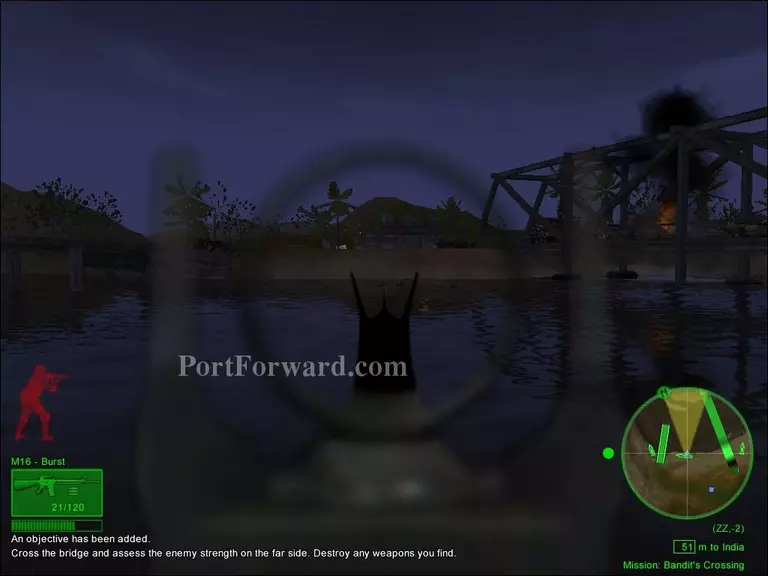
You will start the mission on a boat on your way to the village.

Delta Force: Black Hawk Down Walkthrough - Delta Force-Black-Hawk-Down 10

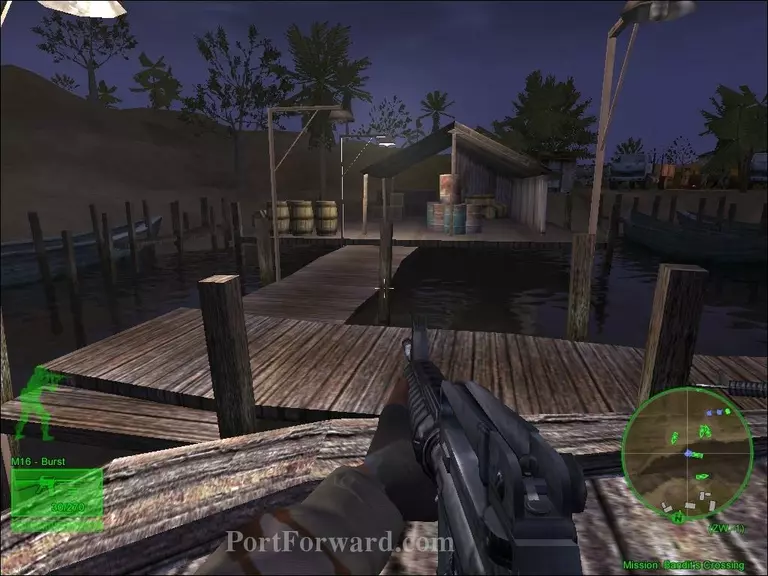
Once the boat reaches the dock, get off the boat and make your way to the food drop-off point.

Delta Force: Black Hawk Down Walkthrough - Delta Force-Black-Hawk-Down 11

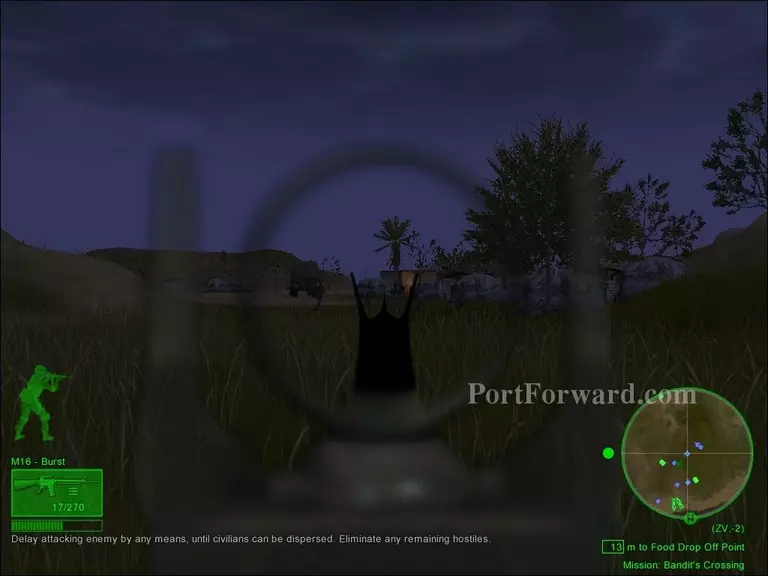
After reaching the food drop-off point, the village is going to get attacked by militia. Make your way through the village and defend it from the attacking militia.

Delta Force: Black Hawk Down Walkthrough - Delta Force-Black-Hawk-Down 12

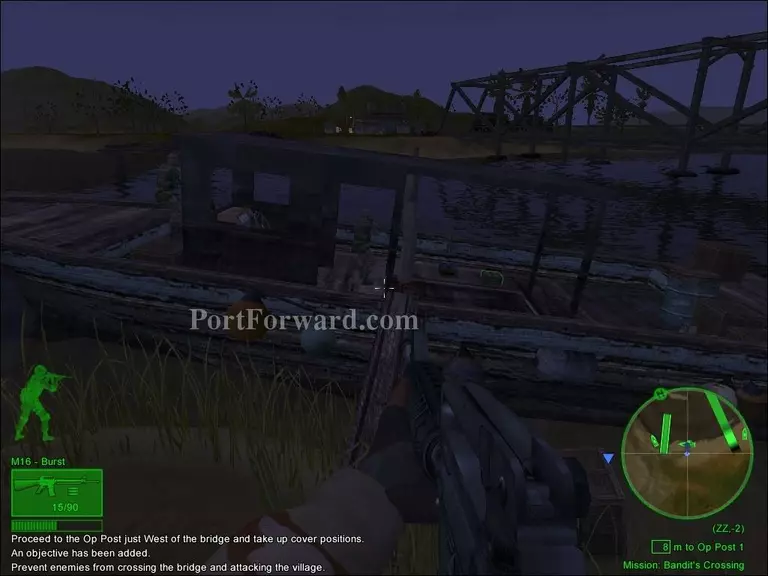
Once you've successfully took out all the enemies attacking the village, head over to the boat where two friendly soldiers will be waiting for you.

Delta Force: Black Hawk Down Walkthrough - Delta Force-Black-Hawk-Down 13

You will have to prevent enemies from crossing the river.

Delta Force: Black Hawk Down Walkthrough - Delta Force-Black-Hawk-Down 14

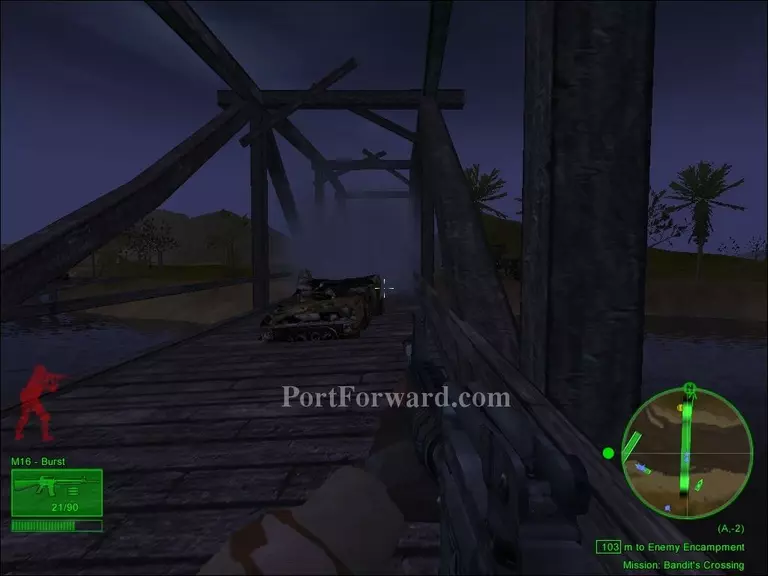
After dealing with all the enemies trying to cross the river, make your way to the ammo cache on the other side of the river.

Delta Force: Black Hawk Down Walkthrough - Delta Force-Black-Hawk-Down 15

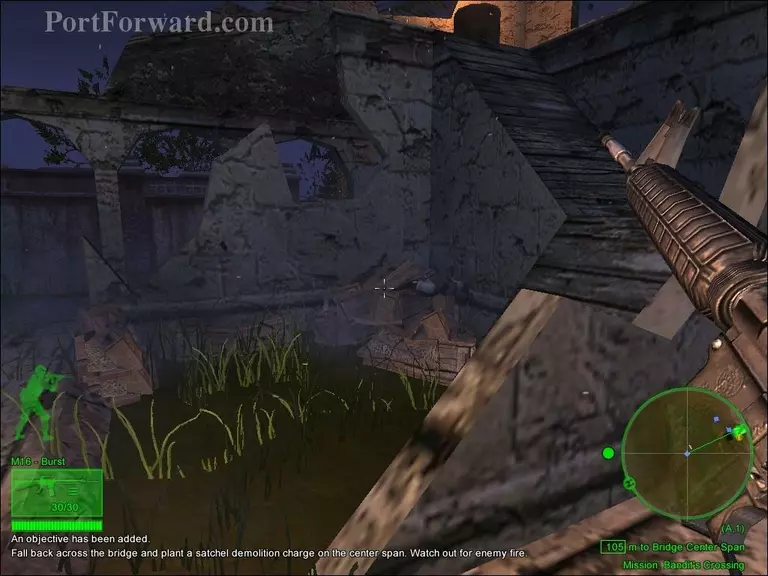
Destroy the ammo cache by shooting it and return to the other side before enemy reinforcement arrives.

Delta Force: Black Hawk Down Walkthrough - Delta Force-Black-Hawk-Down 16

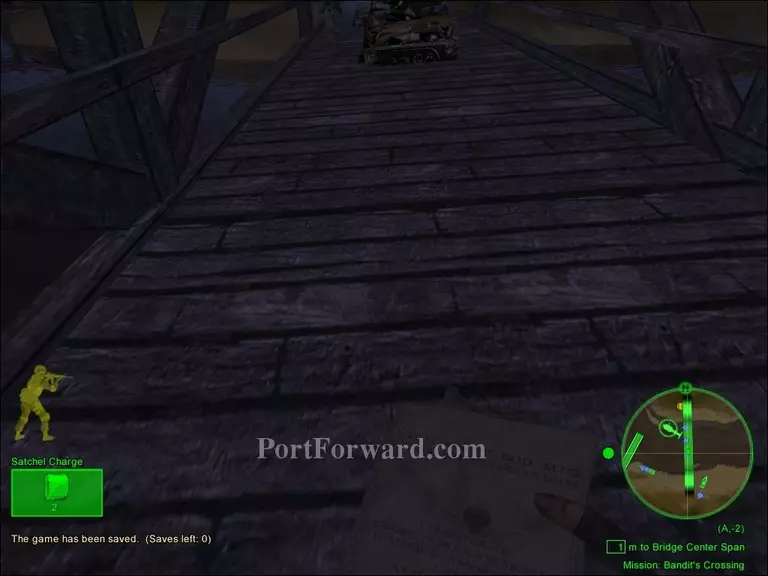
As you make your way to the other side of the river, plant a satchel charge in the middle of the bridge and get to a safe distance from the satchel charge.

Delta Force: Black Hawk Down Walkthrough - Delta Force-Black-Hawk-Down 17

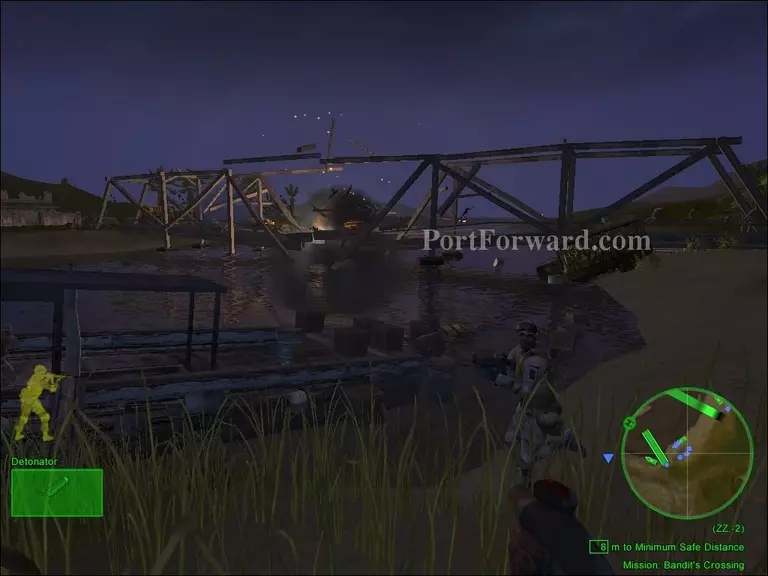
Once you've made it to a safer distance, use the detonator to blow up the bridge.

More Delta Force: Black Hawk Down Walkthroughs

This Delta Force: Black Hawk Down walkthrough is divided into 16 total pages.

More From Portforward