Delta Force: Black Hawk Down Walkthrough Mission #16 - Aidid Takedown

September 12, 2016 (Last Updated: ) | Reading Time: 2 minutes

This Delta Force: Black Hawk Down walkthrough is divided into 16 total pages.

You can jump to nearby pages of the game using the links above.

Mission #16 - Aidid Takedown

Delta Force: Black Hawk Down Walkthrough - Delta Force-Black-Hawk-Down 134

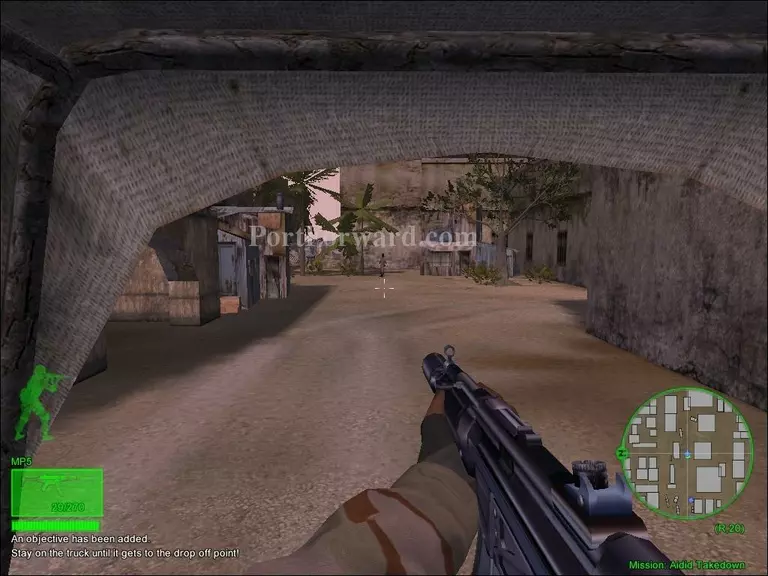
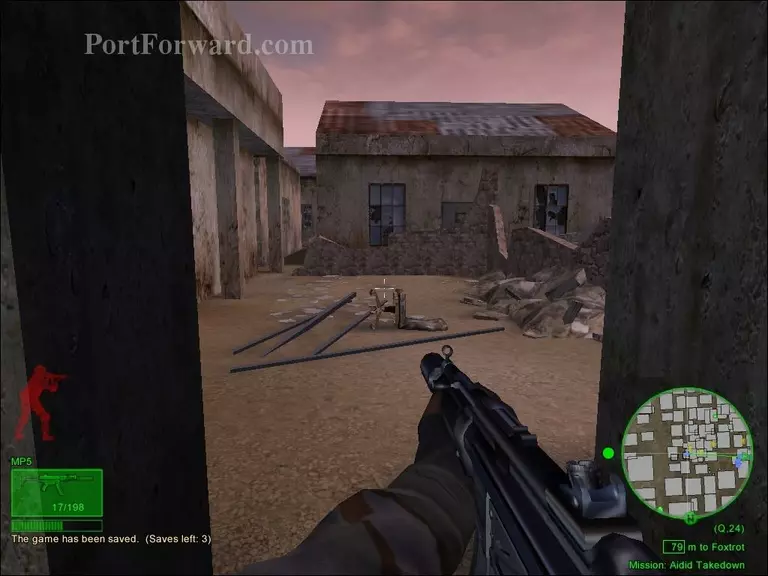
The final mission will take place 3 years after the Task Force Ranger have left Somalia. You will start off in a truck on your way to the drop off point.

Delta Force: Black Hawk Down Walkthrough - Delta Force-Black-Hawk-Down 135

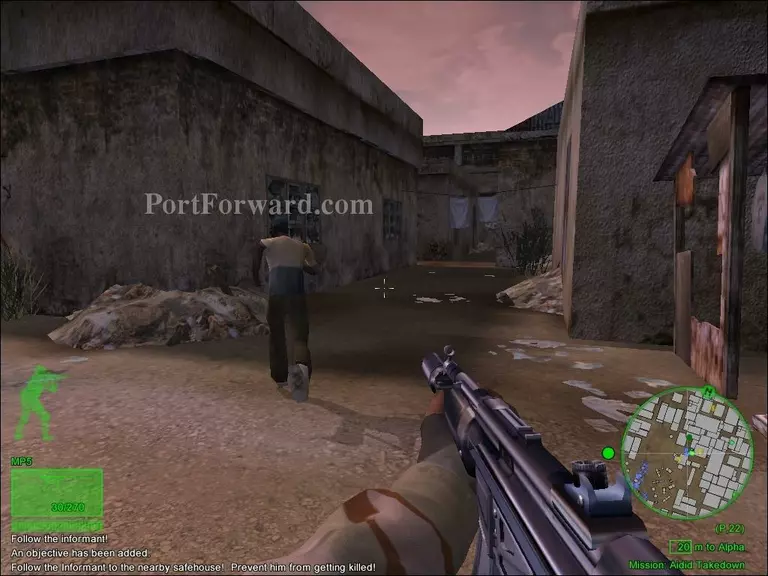
After reaching the drop off point, follow the informant to the safehouse and make sure he doesn't get killed by enemy militia on your way there.

Delta Force: Black Hawk Down Walkthrough - Delta Force-Black-Hawk-Down 136

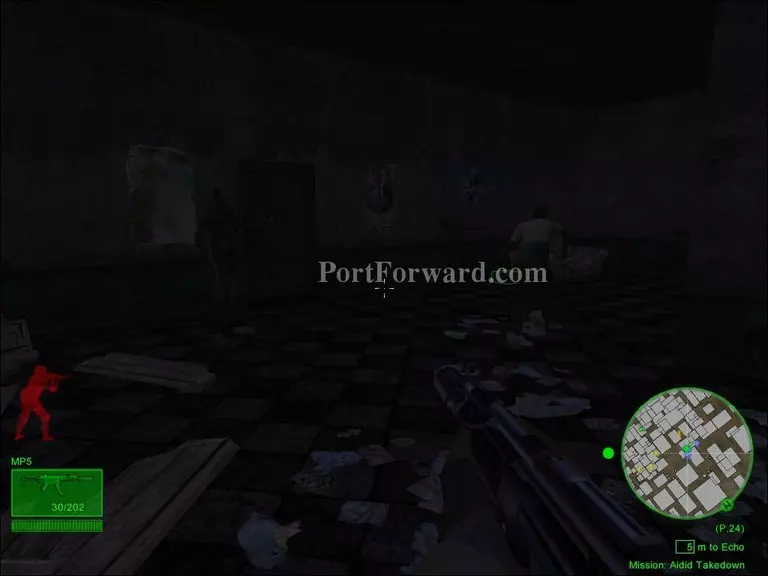
Do not attack the enemies inside the safehouse or else you are going to fail the mission, just keep on following the informant to Aidid's bunker.

Delta Force: Black Hawk Down Walkthrough - Delta Force-Black-Hawk-Down 137

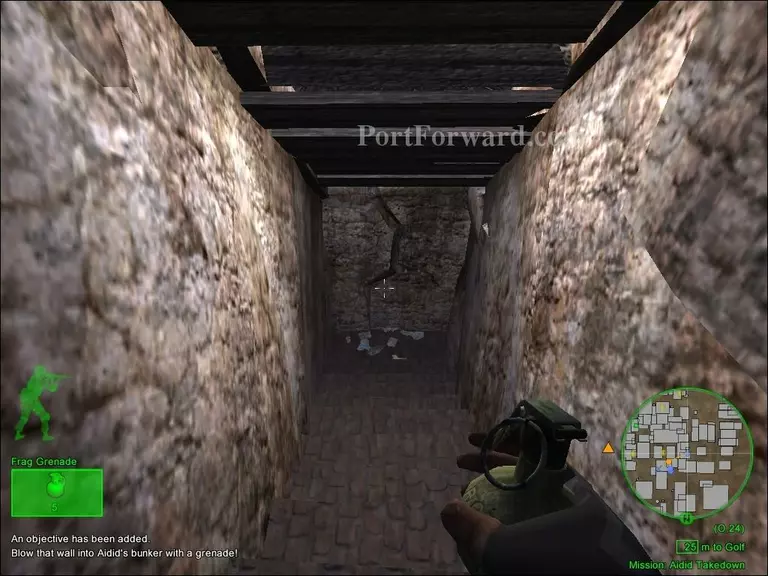
Once you've reached the bunker's entrance, use a frag grenade to blow up the stone wall and head further inside the bunker.

Delta Force: Black Hawk Down Walkthrough - Delta Force-Black-Hawk-Down 138

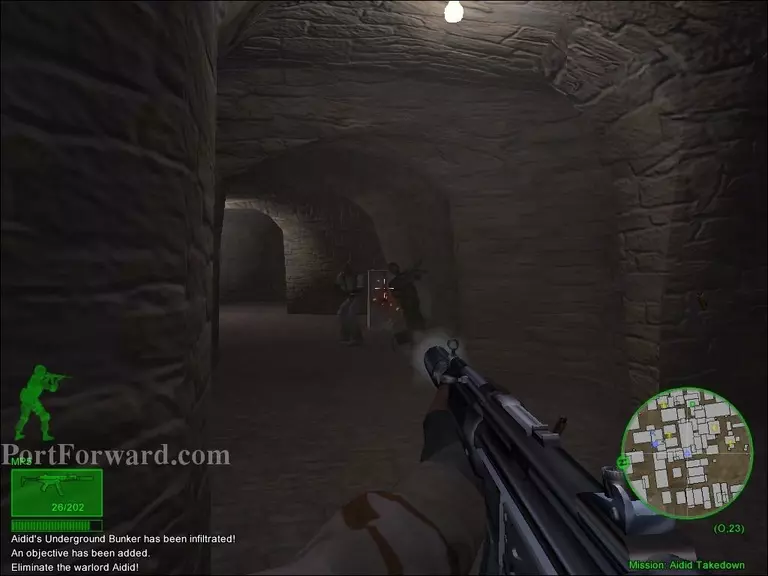
As you make your way through Aidid's Underground Bunker, you will come across some enemy militia. Take them out and keep on looking for Aidid.

Delta Force: Black Hawk Down Walkthrough - Delta Force-Black-Hawk-Down 139

It might take more bullets to kill him compared to the rest of the militia because he is wearing a body armour underneath his clothes.

Delta Force: Black Hawk Down Walkthrough - Delta Force-Black-Hawk-Down 140

After eliminating Aidid, you will have to fight against the enemy back up team that has just arrived and find a way out of the bunker.

Delta Force: Black Hawk Down Walkthrough - Delta Force-Black-Hawk-Down 141

Once you've made it outside the bunker, head back to the informant who will be waiting for you at the exfiltration point marked on the map.

Delta Force: Black Hawk Down Walkthrough - Delta Force-Black-Hawk-Down 142

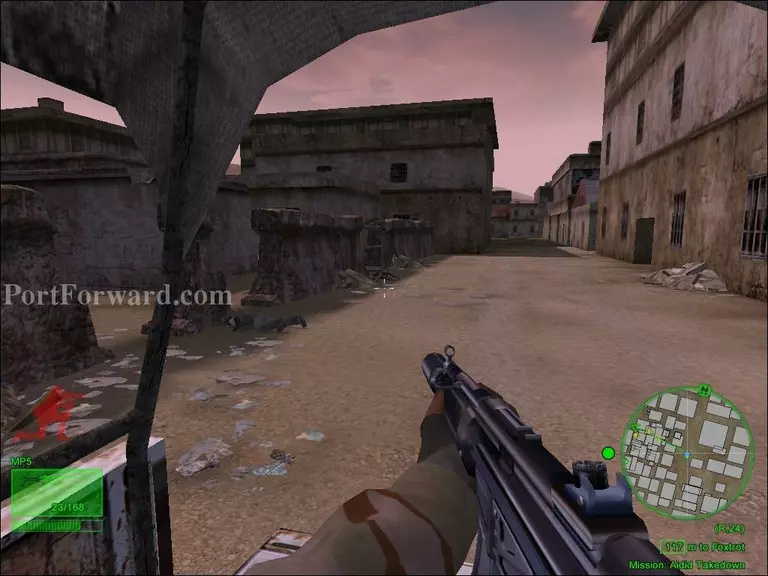
The mission will come to an end after successfully making it back to the truck.

Delta Force: Black Hawk Down Walkthrough - Delta Force-Black-Hawk-Down 143

That was my Delta Force: Black Hawk Down walkthrough guide, I hope you found it helpful.

More Delta Force: Black Hawk Down Walkthroughs

This Delta Force: Black Hawk Down walkthrough is divided into 16 total pages.

More From Portforward