
This Destiny walkthrough is divided into 20 total pages.
You can jump to nearby pages of the game using the links above.
Exclusion Zone
Welcome to the final planet! Your goal is to reach the gate to the Black Garden, but you won't get far without your Sparrow.

You'll need to break into one of the Cabal's facility to activate it.
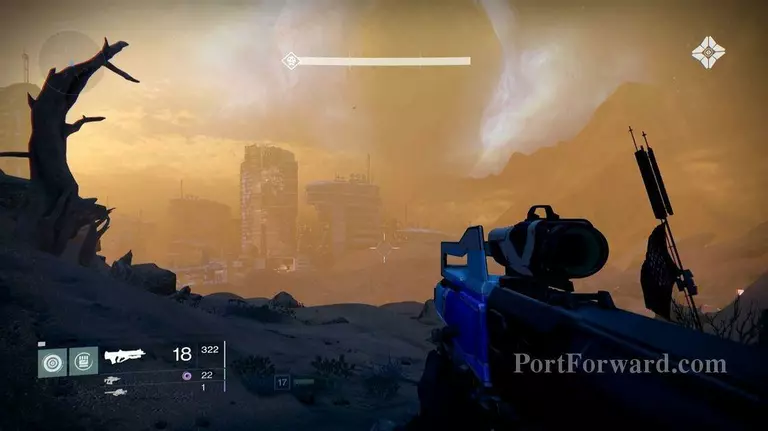
As soon as the mission begins, you'll start off in a Darkness Zone. Follow your waypoint to a tunnel that leads underground.
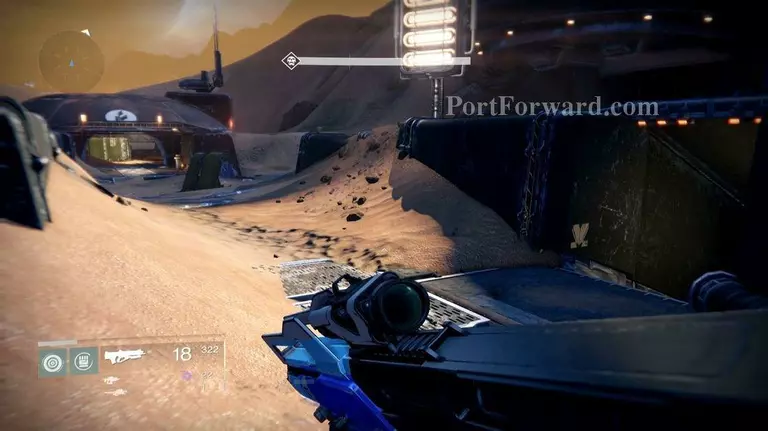
Gold Chest 01: The first chest on Mars is pretty easy to find. It's in this little bunker sitting on top of some crates. Nice.
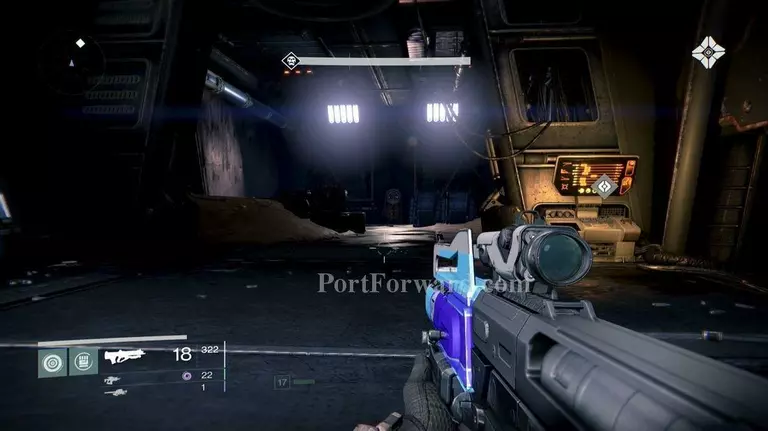
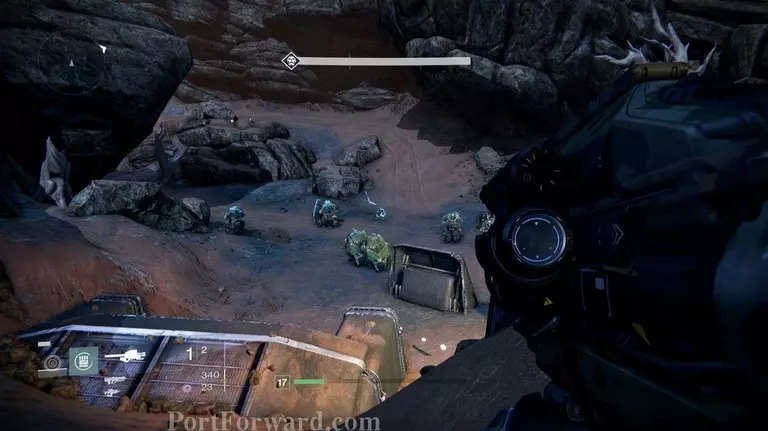
Head inside and follow the path until you reach the end of your waypoint. Deploy your Ghost to hack the system, but this will, of course, alert the Cabal. Don't be intimidated by their size. They are slow enemies, and their unprotected heads are very weak.
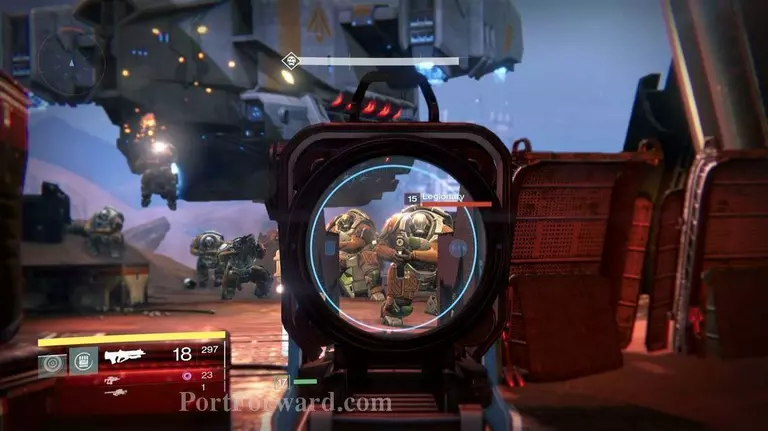
Legionaries are fairly simple to deal with, but Phalanxs hold shields that you can't penetrate through. Simply throw an explosive behind them or shoot their arm when it sticks out to stun them.
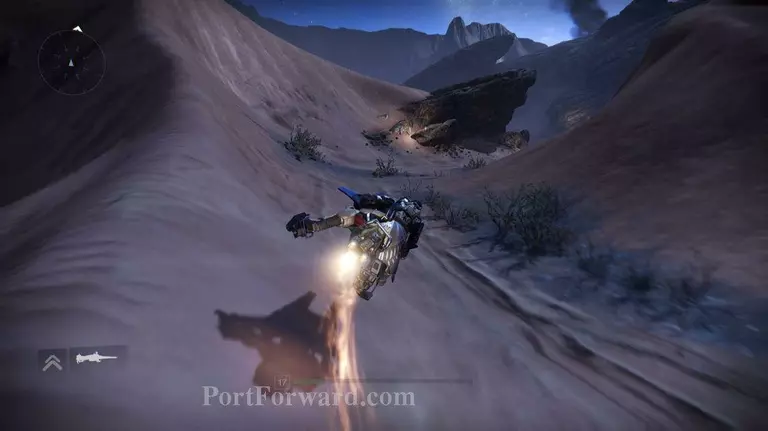
With all the enemies cleared out and taken care of, hop onto your Sparrow and start heading towards your next point.
No need to stop by here, just keep following the path! However, there is a Dead Ghost nearby.
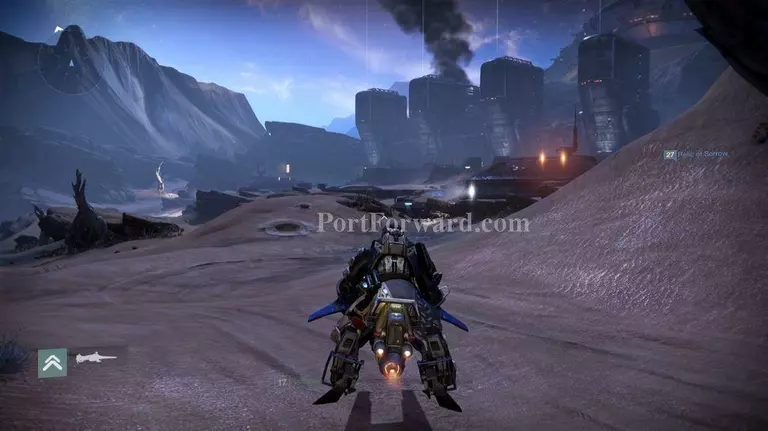
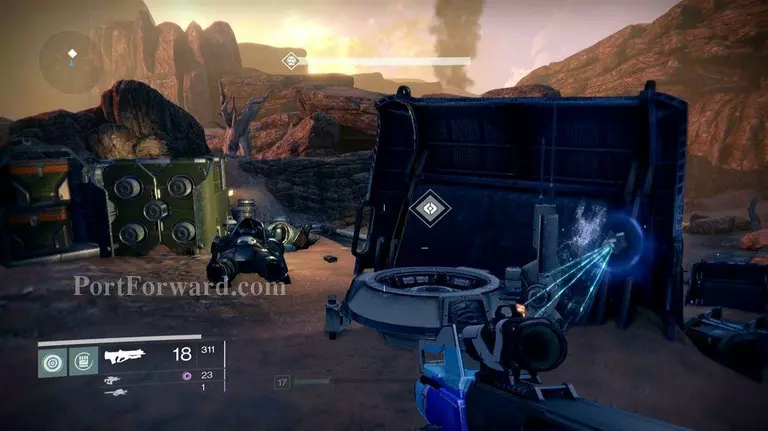
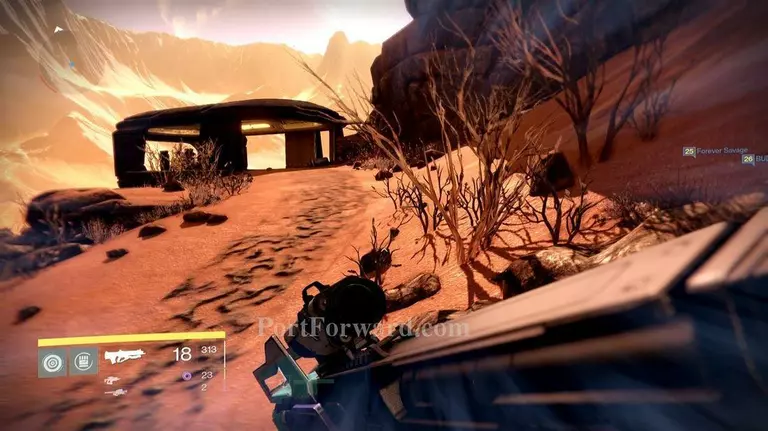
Enter the Giant's Pass to activate another Darkness Zone. There are a lot of enemies in this area, so try to find an area where you have a wall to your back. Try to get the enemies to bunch up so you can easily wipe them out with a swift blast.
Ghost 03: A single tree can be found in the back end of the area. Find the ghost hidden among the roots.
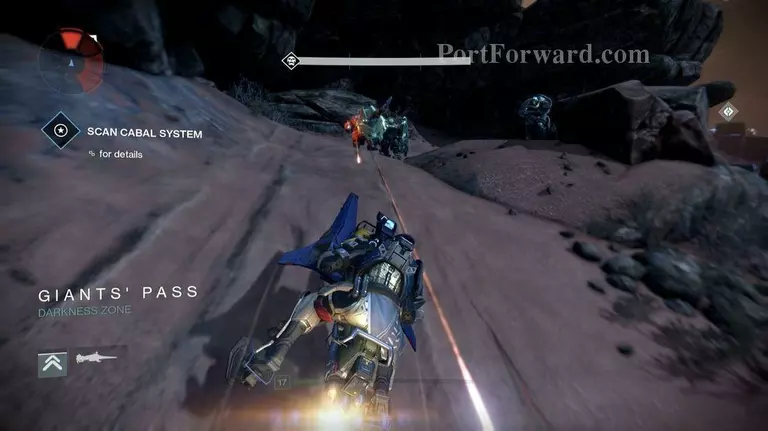
Deploy your Ghost to scan the Cabal system. After this, you'll need to find a Access Key.
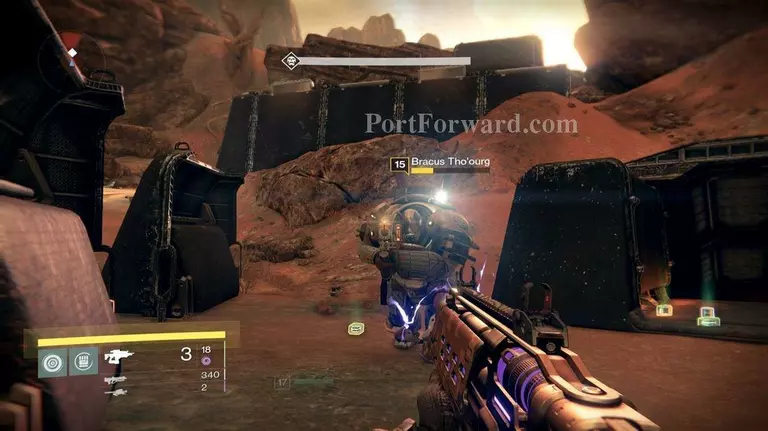
Another hoard of enemies will arrive, but this time Bracus Tho-ourg is among them. Defeat this monster to steal the Access Key.
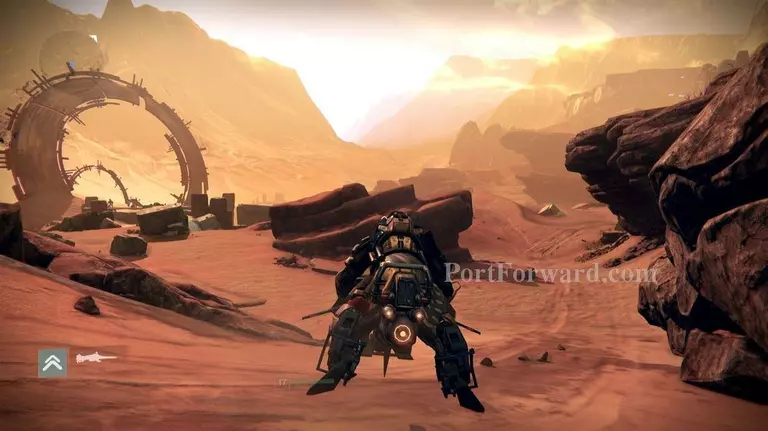
With the Access Key in hand, hop onto your Sparrow and head for the next destination.
Follow the waypoint over the outpost at the top of the hill. From there deploy your Ghost to access the survey post.
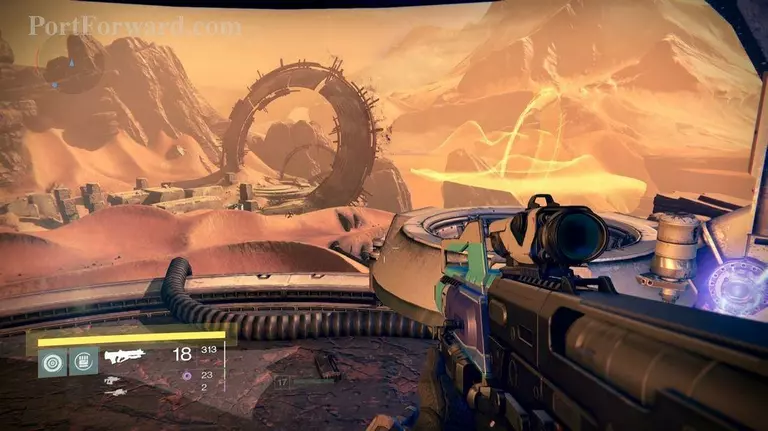
Ghost 04: Pass the giant portal on the left and continue down the path. Once you reach the cliffside, keep an eye on the right as the ghost sits on one of the ledges.
More Destiny Walkthroughs
This Destiny walkthrough is divided into 20 total pages.


