
This Destiny walkthrough is divided into 20 total pages.
You can jump to nearby pages of the game using the links above.
The Garden's Spire
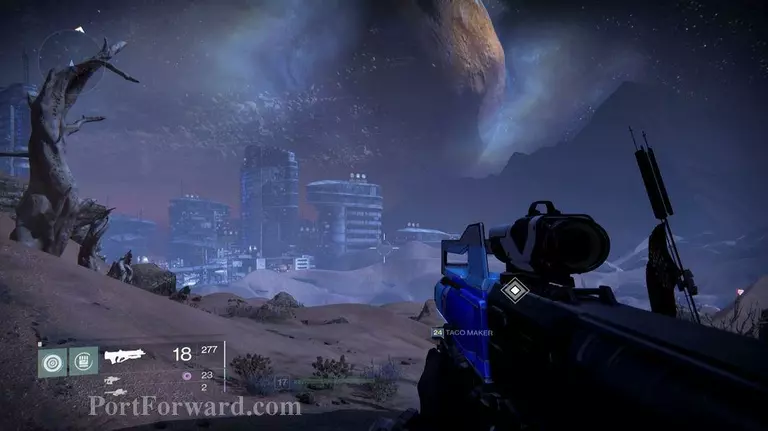
Time to breach the warbase. Hop on your Sparrow and start heading towards your waypoint.
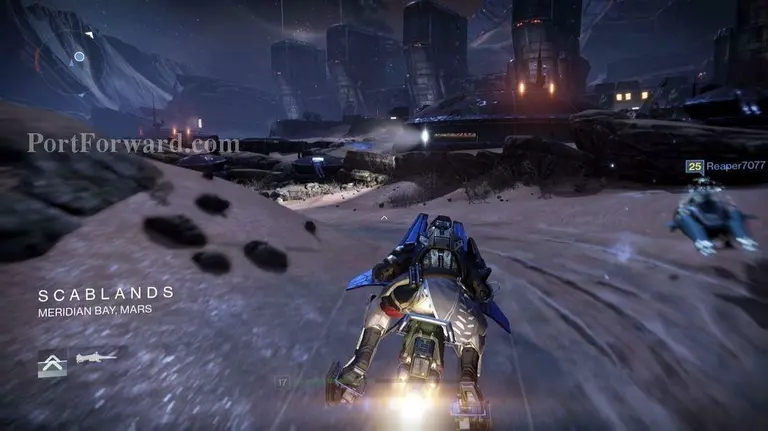
When you reach the Scablands, don't pass through it like you did in the mission Exclusion Zone.
This time head towards the giant gate on the right. You can stop and fight off the Cabal, but feel free to continue on your path.

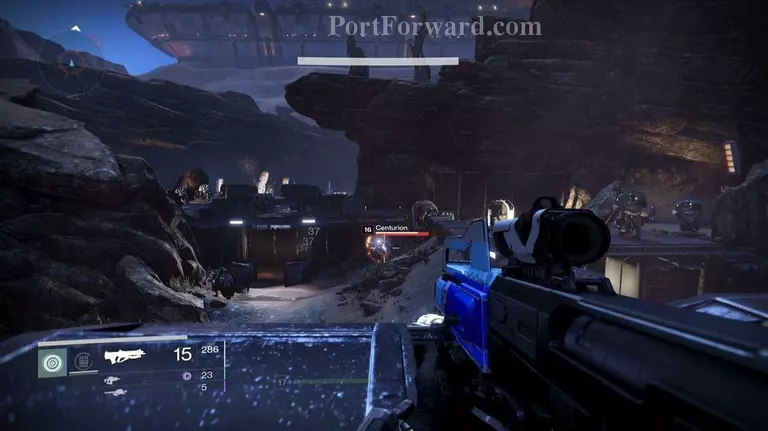
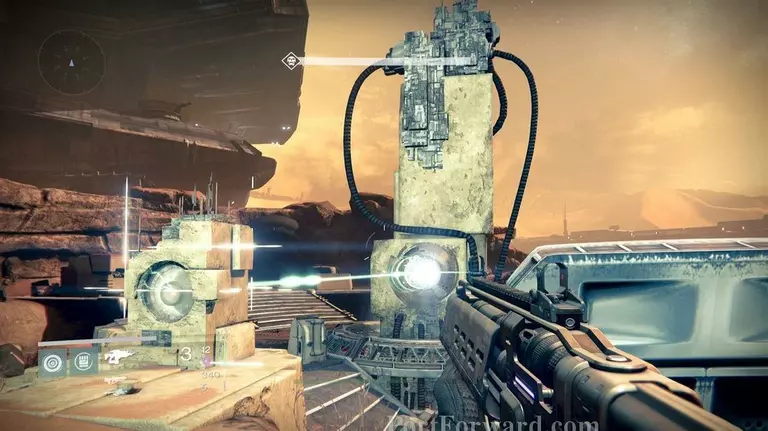
When you reach this base, you'll be meat with a group of Cabal. Take out any that get in your way while you try to locate the spire. There are a lot of enemies here, but you can avoid them if you want.
Ghost 06: In the Firebase Rubicon, head to the left until you reach a cave. Enter it and you'll reach a tree. The ghost can be found near the roots.
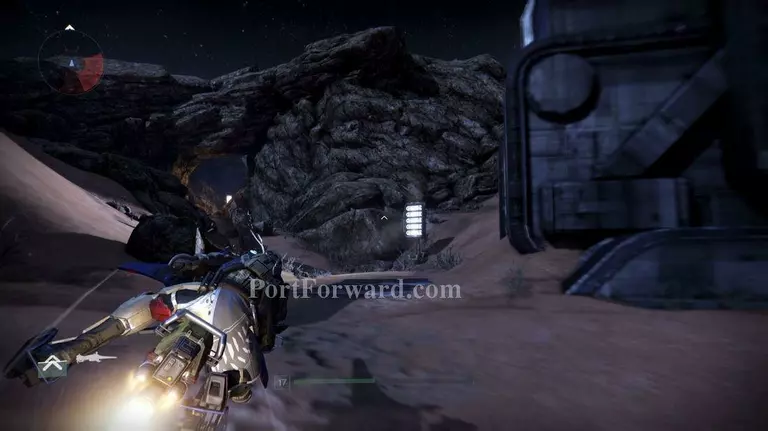
Enter the tunnel and make it to the next area. From here head for the tower.
You can skip the enemies in the area on the way there if you want.
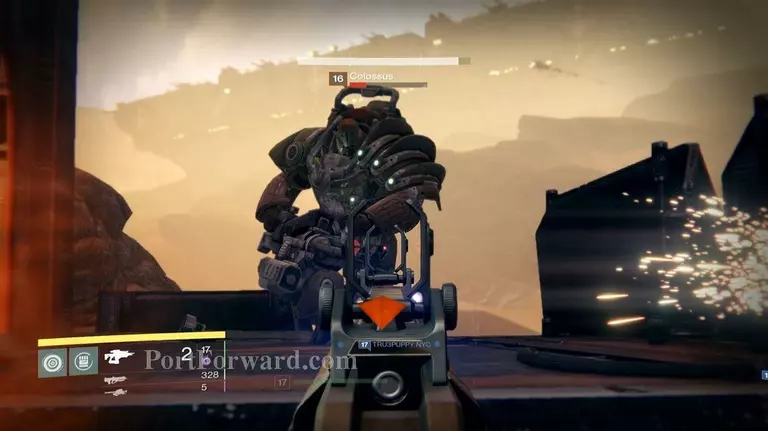
At the tower is a Colossus, an even more powerful Cabal enemies that carries around a machine gun. Keep your distance and wait for the machine gut to stop before striking.
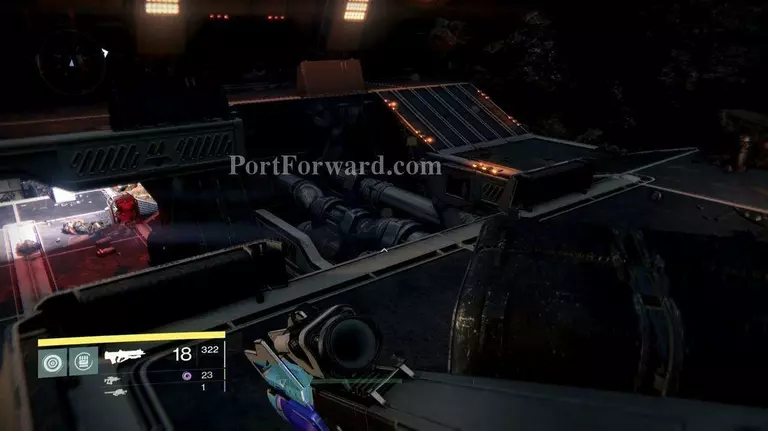
With the enemies in the tower taken out, deploy your Ghost on the tower.
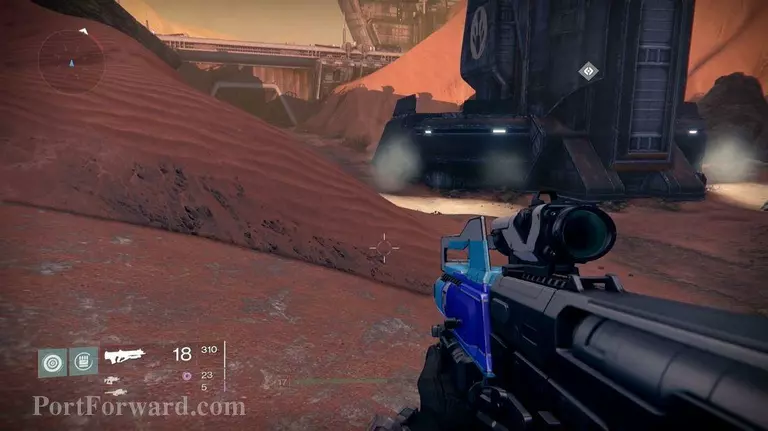
From here, hop onto your Sparrow and head towards your next destination.

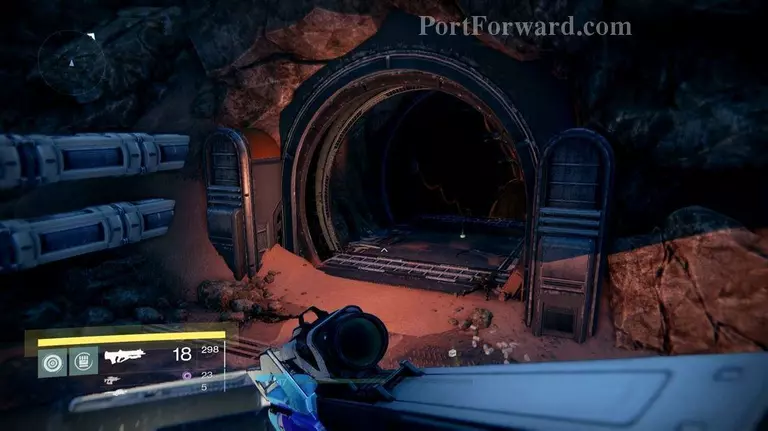
Enter a cave like Cabal facility and follow the waypoint.
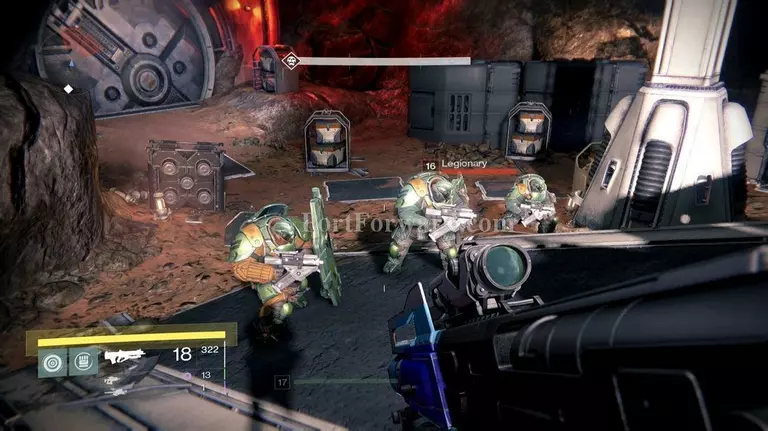
Entering Iron Line will start a Darkness Zone. The Cabal will ambush you in this room. You'll be faced with all types of Cabal, but this fight is not unlike any other you've had before.
Ghost 07: When you reach the giant gate, head to the left and jump up the blue pipes. From there, hop onto the platform and double jump over to the small ledge on the pole nearby. Start boosting yourself up to reach the Dead Ghost above.
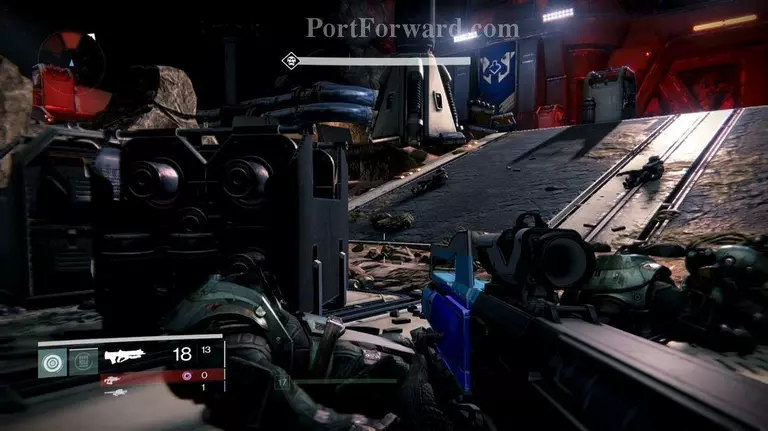
With all the enemies defeated, head towards the giant door and open it.
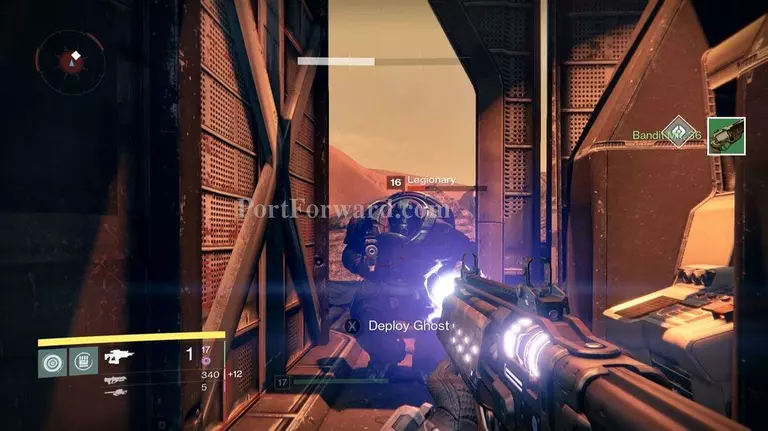
Now in Legion's Keep, head over the bridge to be met with a hoard of Cabal. You don't have much room to move around, so stay in the same place with good cover and attack from there. However, this does force the enemies to bunch up, allowing you to take out multiple enemies with an explosive.
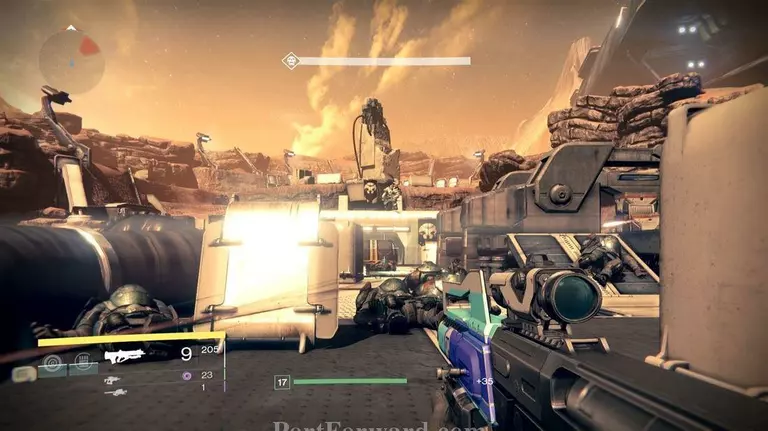
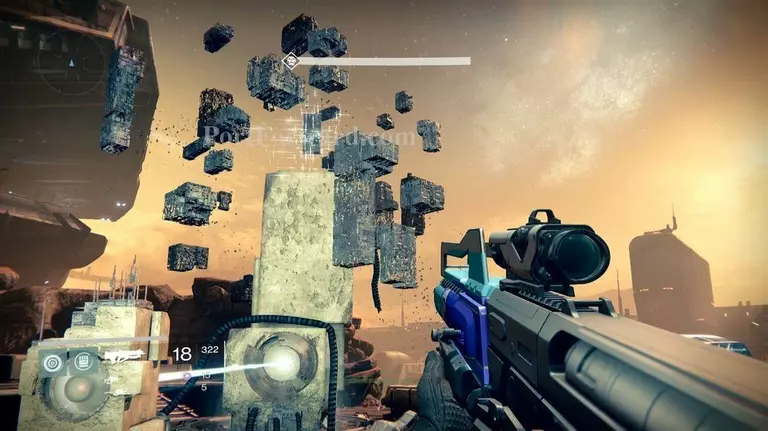
Now across the bridge, head over to the waypoint and activate the spire. This will summon several enemies, including Primus Sha'aul.
Ghost 09: Before you trigger the boss battle in The Garden's Spire mission, head over to the stone pillar. Enter the room underneath the pillar to find the Dead Ghost.

Primus Sha'aul is a slow moving enemy that blasts out rockets in your direction. Simply take cover when he releases his rockets, then fire your own attacks.
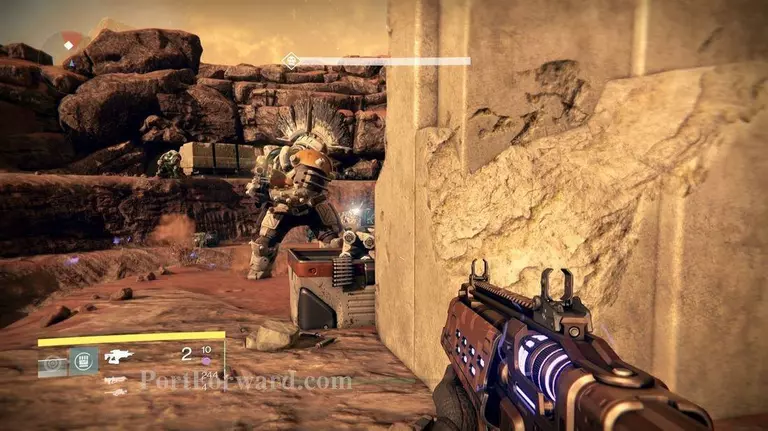
Legionaries will continue to spawn, so try to defeat Sha'aul as soon as possible.
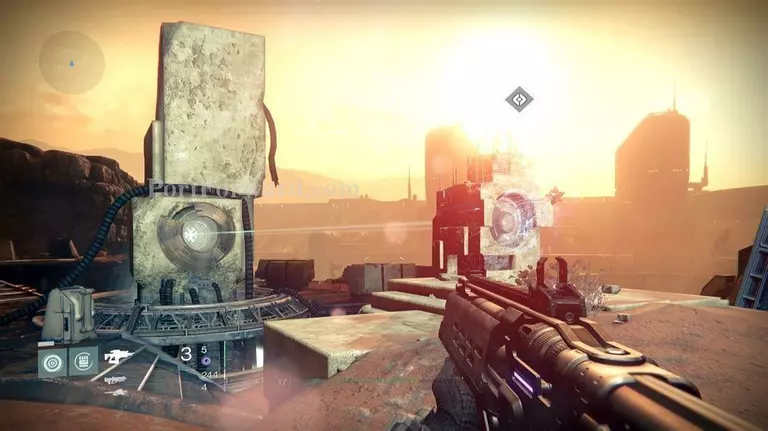
With Sha'aul taken down, go and claim the eye of the spire! This will end the mission.
More Destiny Walkthroughs
This Destiny walkthrough is divided into 20 total pages.


