This Destiny walkthrough is divided into 20 total pages.
You can jump to nearby pages of the game using the links above.
Scourge of Winter
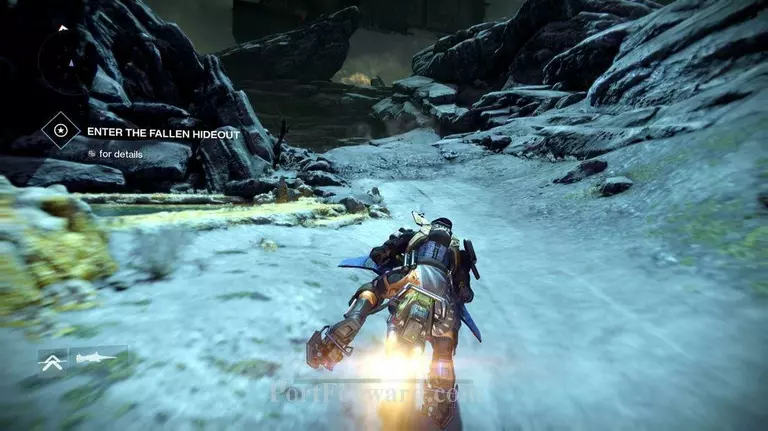
Starting off once again in the Headlands, grab your Sparrow and start speeding towards the waypoint. This time you will take the route on the left instead of the usual right.
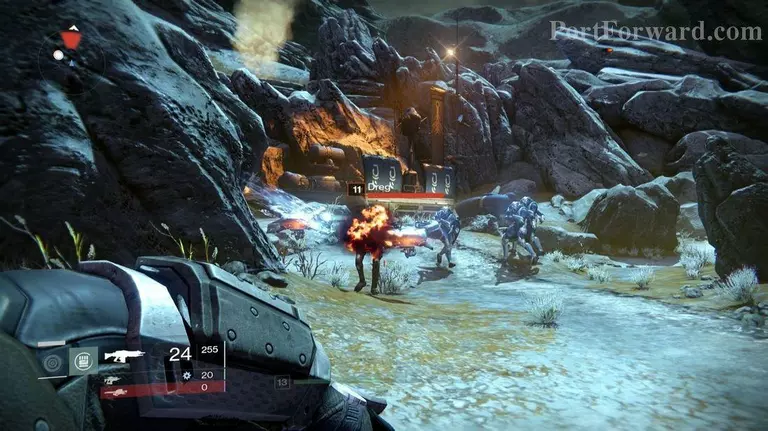
Once you reach the Ember Caves, take out the Fallen that have gathered. including the Captain just before the cave entrance.
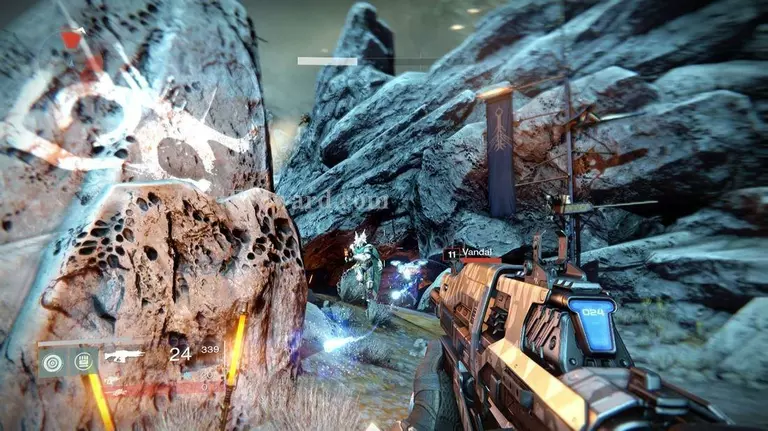
Ghost 10: Enter the Ember Caves from the Headlands area, find a cave opening on the right side of the area to find the ghost inside a cave.
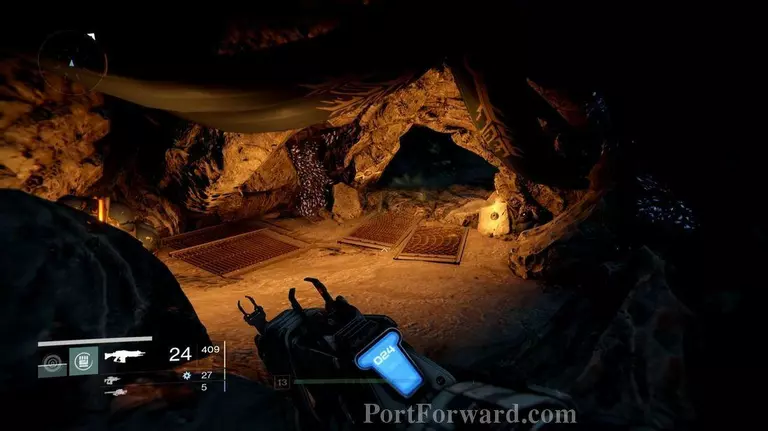
Head inside the cave. Fight off any Fallen enemies you encounter and continue running until you find a large open room.
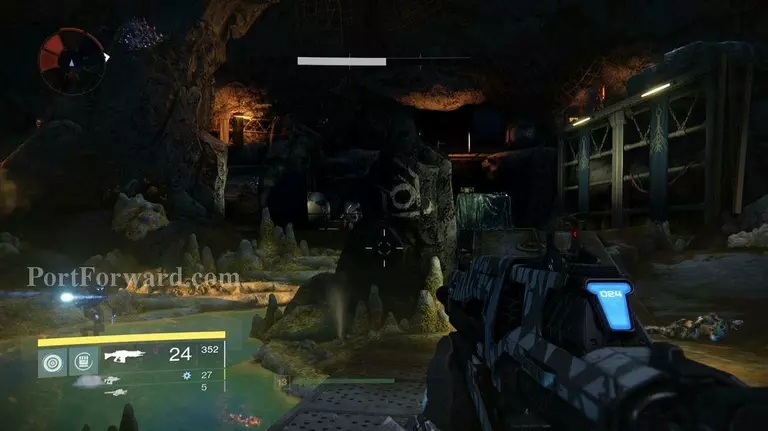
As soon as you enter the Winter's Lair, a group of Fallen will attack from all sides of the room. Hang back and let the smaller enemies draw near you, then go out and attack the stronger enemies who stayed back.
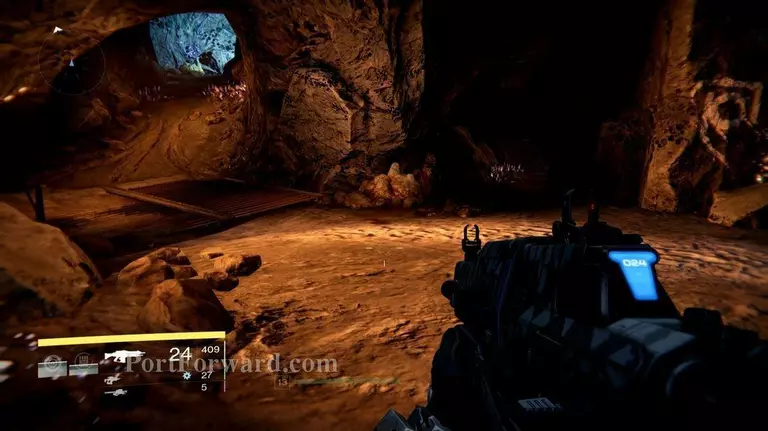
Ghost 11: Once inside the lair, walk along the left wall and you'll find yourself in a cave. The ghost can be found in the back near purple crystal shards.
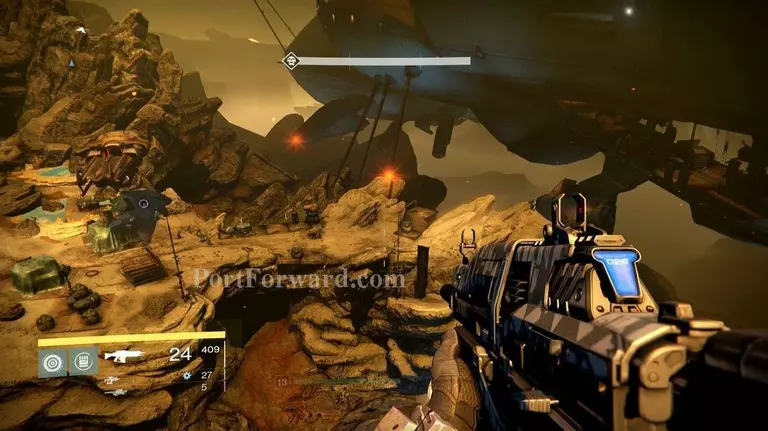
Once you have fought off all the Fallen, start following your waypoint once again.
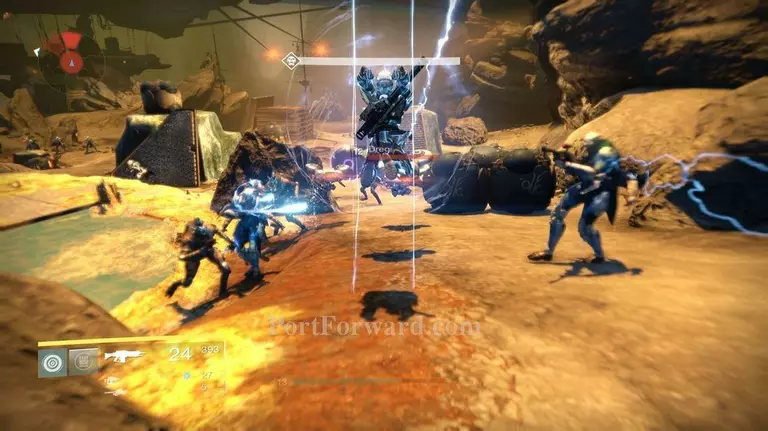
Gold Chest 04: Making your way down the tunnel on a search for Draksis, turn right near this large pit and look across. You'll see the chest. Leap across the back edge of the gorge to reach it.
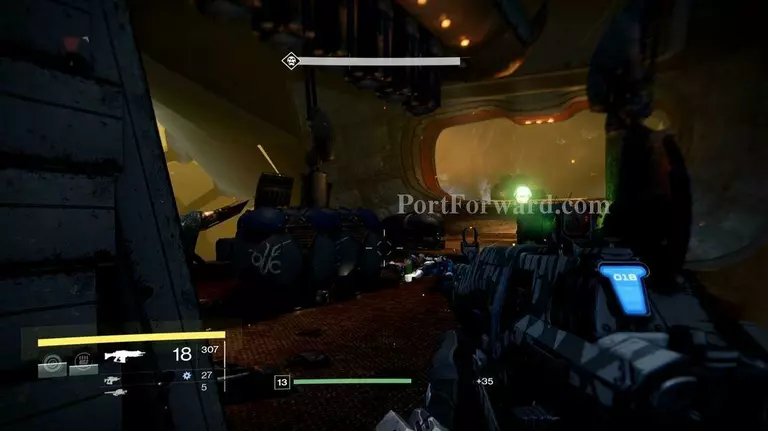
The Cinders is a Darkness Zone, so be prepared for a fight. This area is very expansive and you start the battle uphill, so take this to your advantage. Some of the enemies will group together, making for a perfect time for a weapon that can hit multiple enemies.
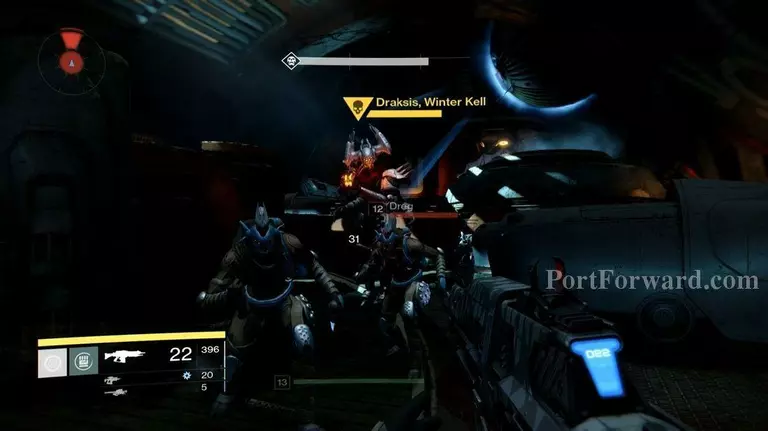
The fight eventually makes its way into the aircraft. Keep fighting through rooms filled with Fallen, including those with Captains inside, until you reach the final room with the Servitor. There you will find Draksis.
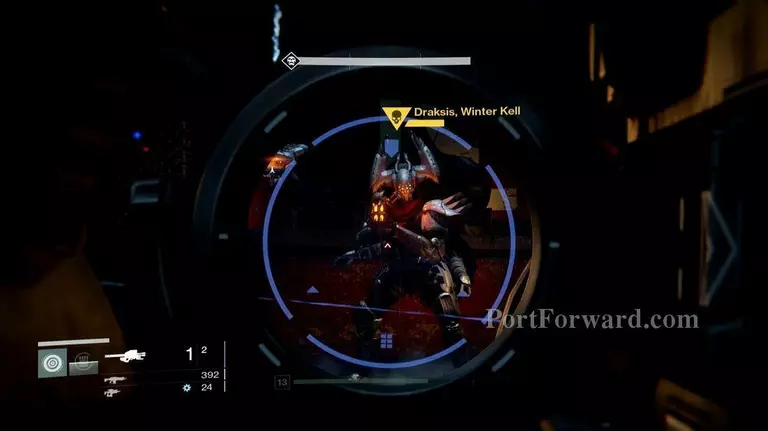
Draksis is a very slow moving boss, so you should be safe as long as you regularly run to another part of the room. Take out the other Fallen enemies first, then start hitting Draksis with high powered weapons.
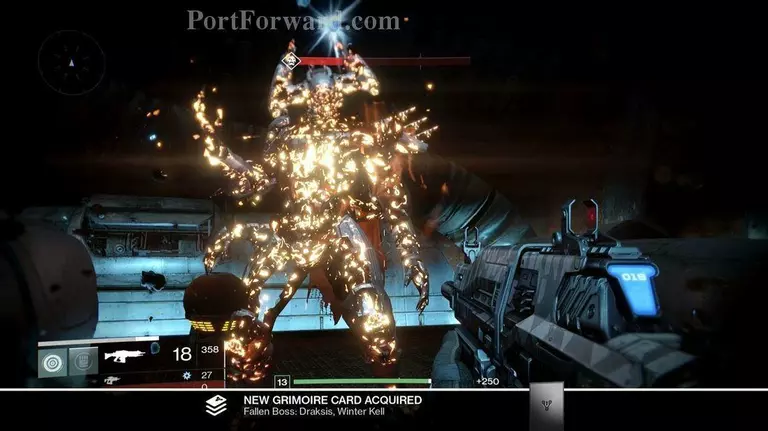
Once he is defeated, the mission will end.
More Destiny Walkthroughs
This Destiny walkthrough is divided into 20 total pages.


