This Destiny walkthrough is divided into 20 total pages.
You can jump to nearby pages of the game using the links above.
The Shrine of Oryx
Starting off within the Hellmouth, hop onto your Sparrow and start following the waypoint on your map. This will lead you back to the entrance to The Gatehouse. Take out the enemies outside and head inside.

Inside you'll find several Hallowed Knights along with a regular Knight. Start fighting them when their guards are down.

Keep walking further into The Gatehouse and you'll discover that the Fallen are invading the area. Fight them off or let them keep attacking The Hive.
Once you reach the area where you destroyed the Sword of Crota in an earlier mission, walk through the now opened door. Frigoris, the Exiled Baron can be found in the next room.
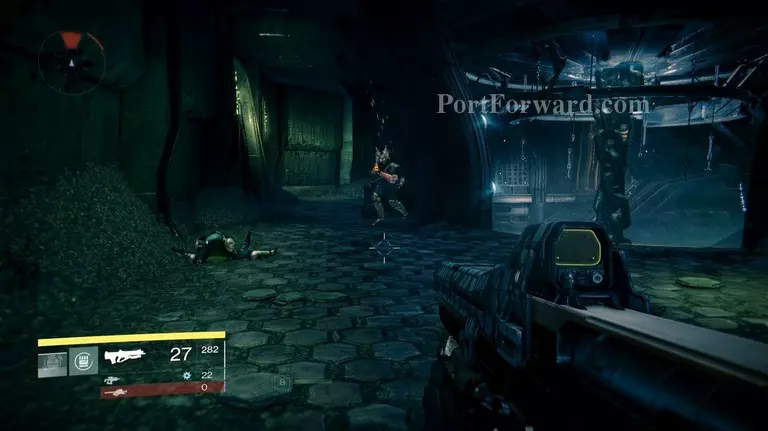
He is just a higher level Captain, so nothing you haven't dealt with before. Run into the next room after clearing out the area.
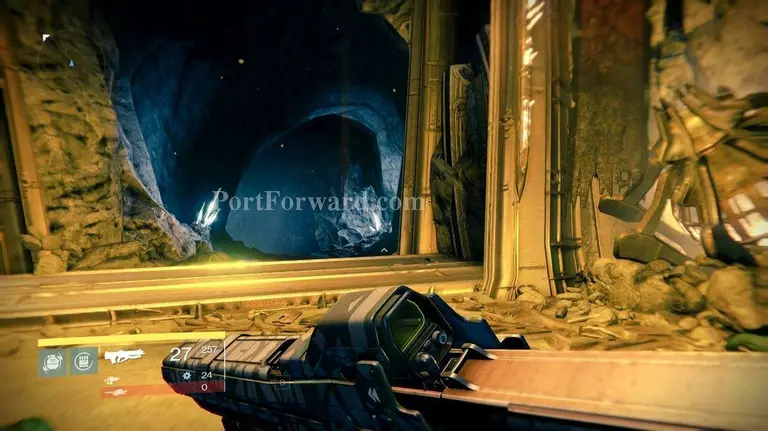
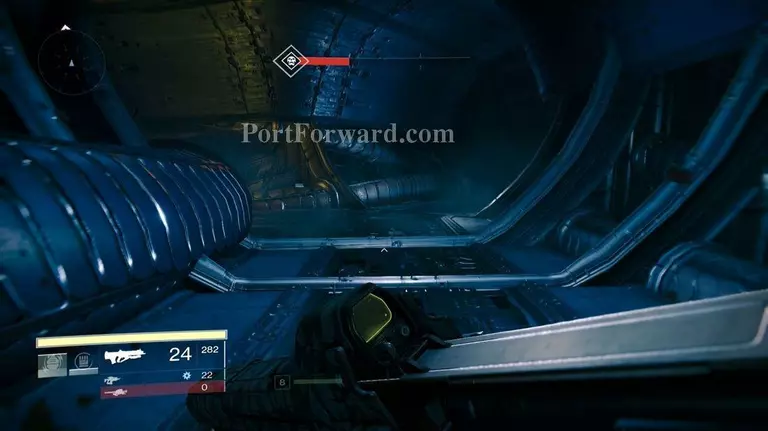
Enter the tunnel and continue following the path and you'll finally reach the Circle of Bones. Fight off the Fallen in this room, including the nearby Wizard and Knights.
Keep following the waypoint and you will return to areas you've previously gone to, including the Hall of Wisdom. Engage in the fight between the Fallen and The Hive, or continue on your merry way.
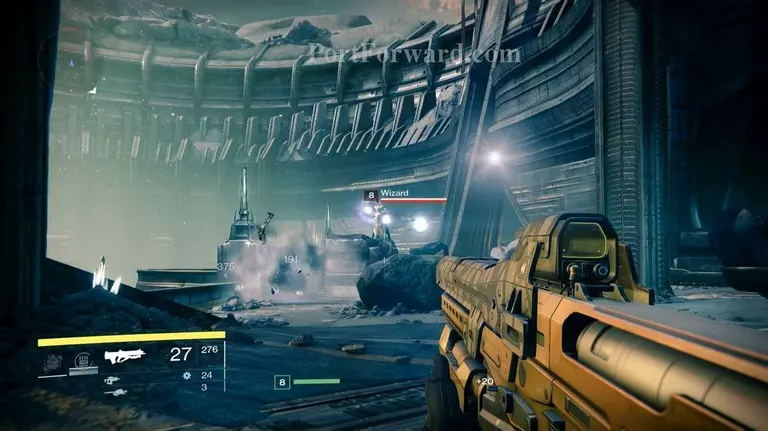
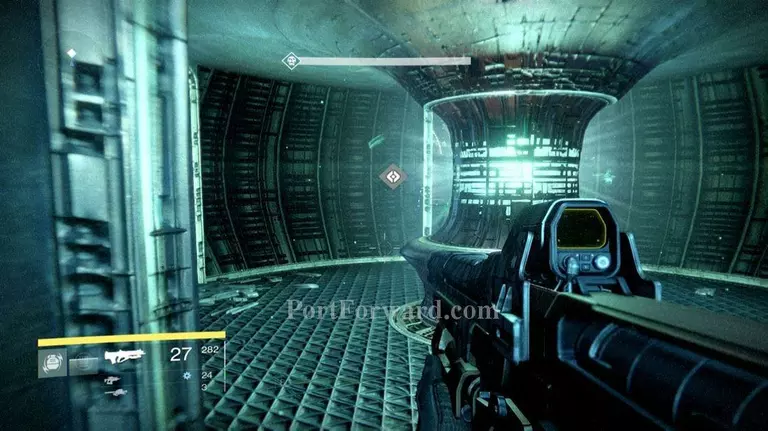
This time a new door will be open. Head inside and make your way through the tunnels. The next area you reach will have rib-like pillars along the enter of the room. Use them to cover as enemies attack from all angles. An Orge can be found in other half of the room. Once again, use the pillars for protection and attack when you see the Orge's blasts stop.
Ghost 08: On your way to the final area, you'll come to a "tube" where a large amount of enemies will spawn and attack you. In this room, you'll see 6 structures that resemble ribs. On the right hand side of this "rib" room/tunnel, find the ghost on top of a pile of rubbish.

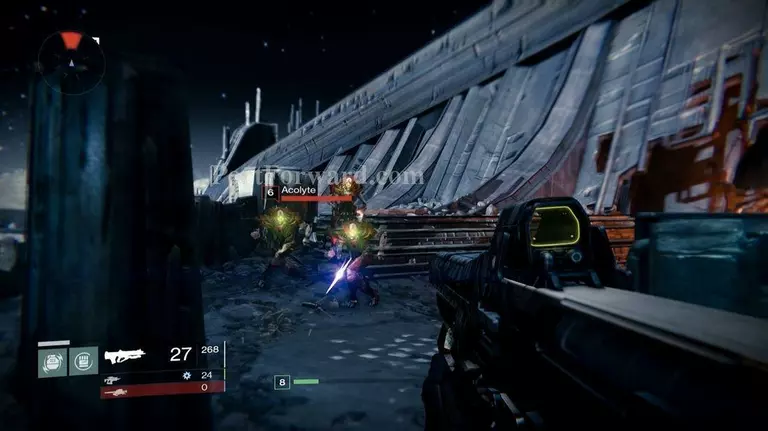
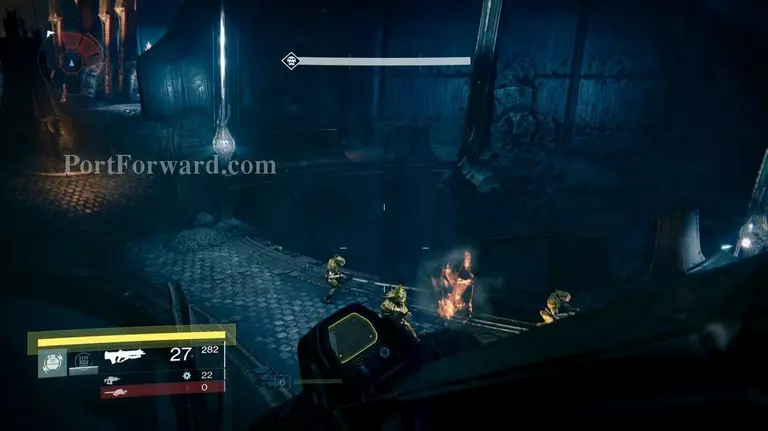
Head through the tunnel and you'll find the Shrine of Oryx in the final room. Once again, you'll find the Fallen worshiping some kind of object in the center of the room.
Take care of the Acolytes and head inside the shrine. Deploy your Ghost to investigate it.

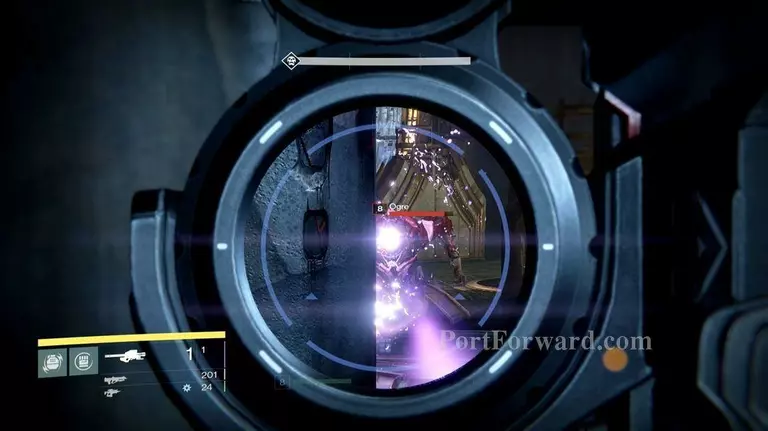
As soon as your Ghost begins looking through the Shrine, Sardok, the Eye of Oryx will appear. This giant enemy has some very powerful attacks, so you'll never want to be out in the open. Always try and take cover. You can always take the cheap route and head back to the tunnel where you first entered the room. Sardok will never chase you here, and you'll have plenty of protection from his blasts.

After you take down Sardok, head back to the Shrine and bring it down! Use any attack you like to destroy the circular object above. Once the Shrine is destroyed, the mission will end.
More Destiny Walkthroughs
This Destiny walkthrough is divided into 20 total pages.