
This Destiny walkthrough is divided into 20 total pages.
You can jump to nearby pages of the game using the links above.
The Ishtar Collective
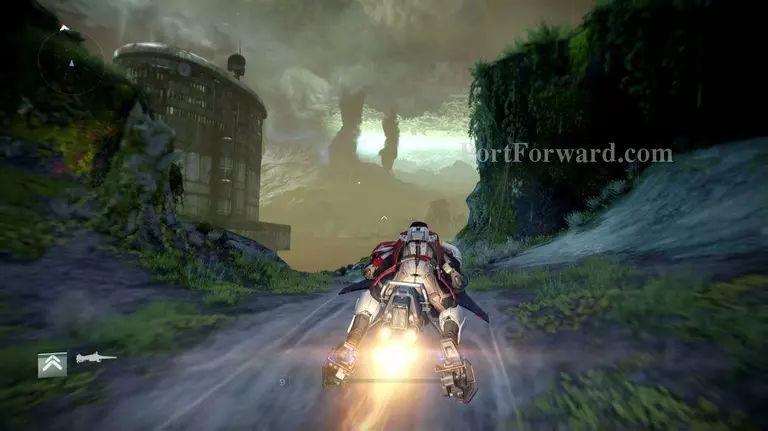
The mission will start in the Headlands like it did the previous mission. Pull out your Sparrow and start speeding towards the waypoint.
You'll end up back in the same area as the last mission, so feel free to pass through the same hoards of enemies you faced last time.
Keep following the waypoint, passing by buildings and a swampy area until you eventually reach the Ishtar Cliffs.
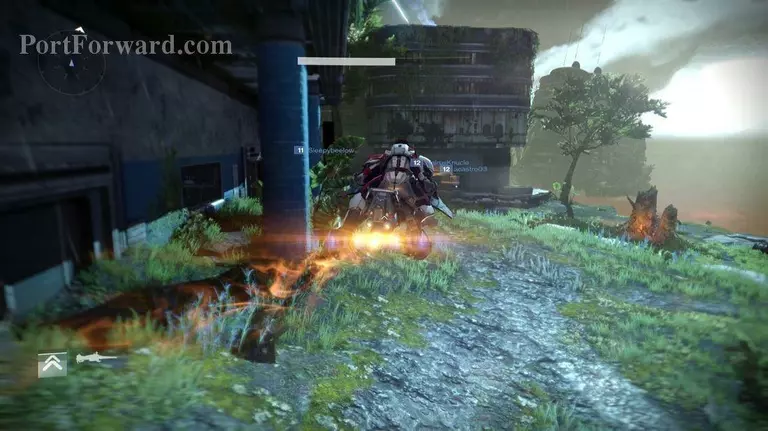
"As soon as you reach the Ishtar Cliffs, take out the Fallen in the area before proceeding down the path on the left. As you continue on, the Vex will appear. Take them out like you would any other time.
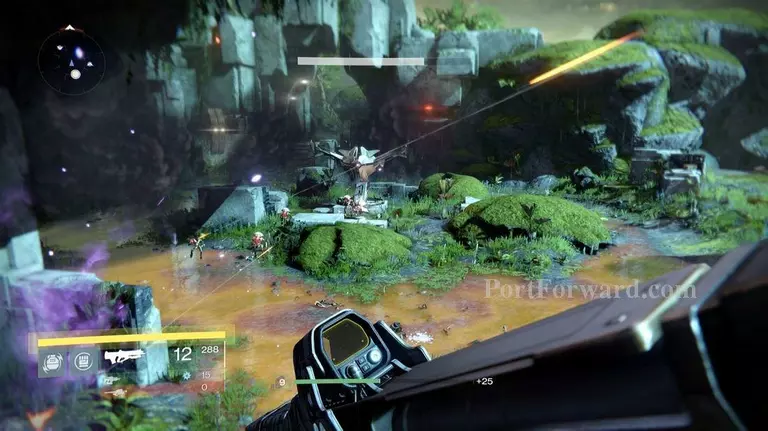
The next area will also be filled with Vex, but you'll also be faced with a new enemy, the Cyclops. This enemy will shoot out powerful purple blasts, one at a time. Like the name implies, whenever it opens it's eye, strike with your own weapon to deal the most damage
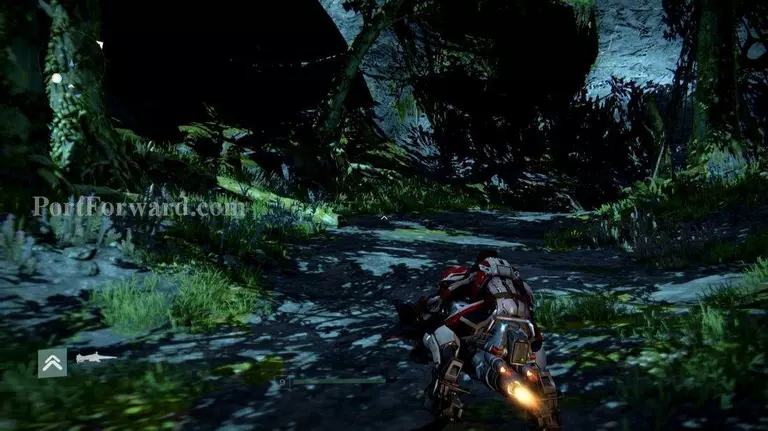
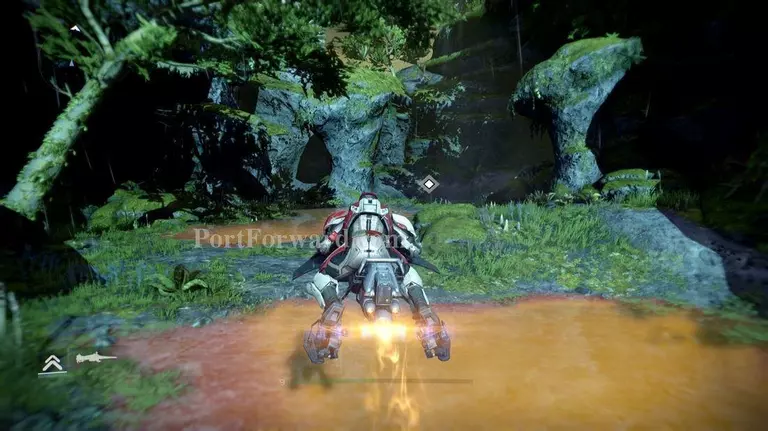
With all the enemies taken care of, continue following the waypoint on your Sparrow.
Stop once you reach the Walking Ruins. This area is swarming with Vex, but if you want to continue with the mission, feel free to pass them and continue following the waypoint.
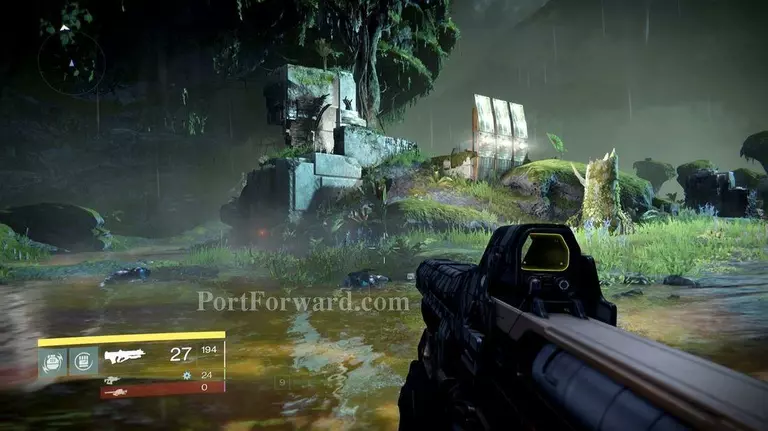
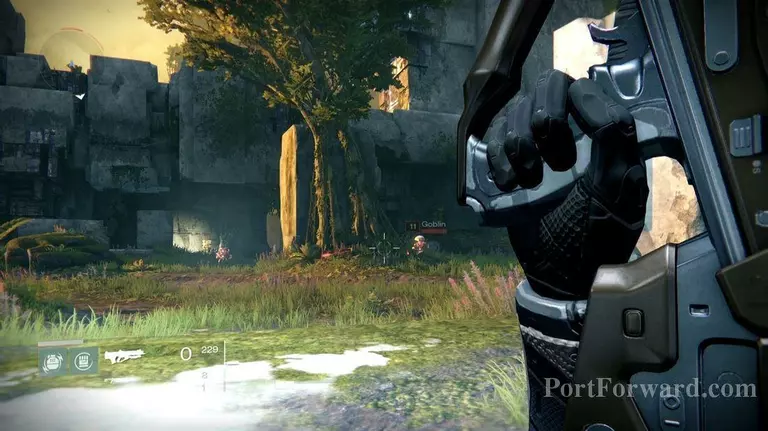
When you reach Campus 9, you'll enter a Darkness Zone. If you entered the mission under the recommended level, you might be in trouble here. Once you enter, waves of the Fallen will start to match towards your location. Your best bet is to stay put and fight from the two paths on your left and right. Once you have taken out all the enemies you can see, walk a little further to have another wave come in.
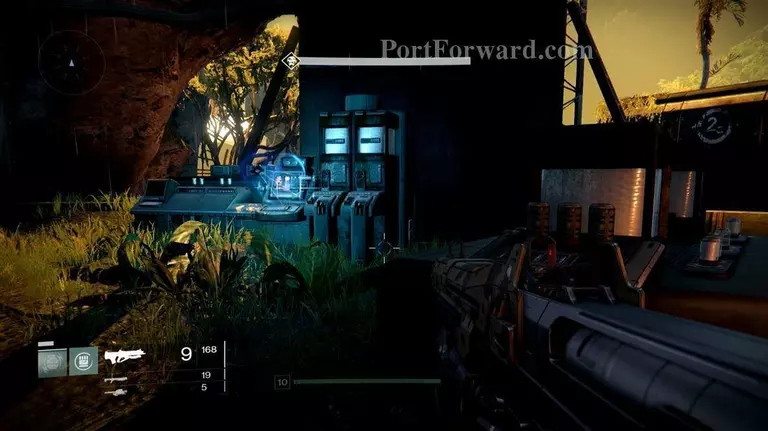
Once you have conquered the Fallen, deploy your Ghost to analyze the Mind Core. And without any surprise, the Vex appear as soon as you let your Ghost go.
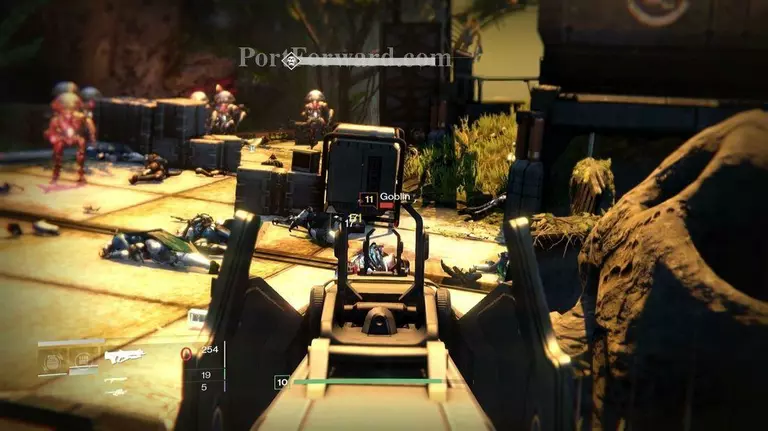
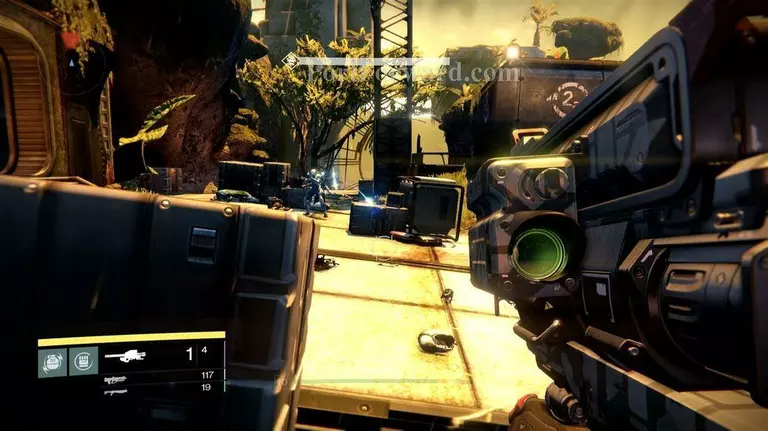
Return to the starting point of the area where you fought off the Fallen. From here you can take down the Harpy enemies from afar while you let the Fallen walk towards you where you can deal with them from a closer range. Keep in mind that the Vex can teleport.
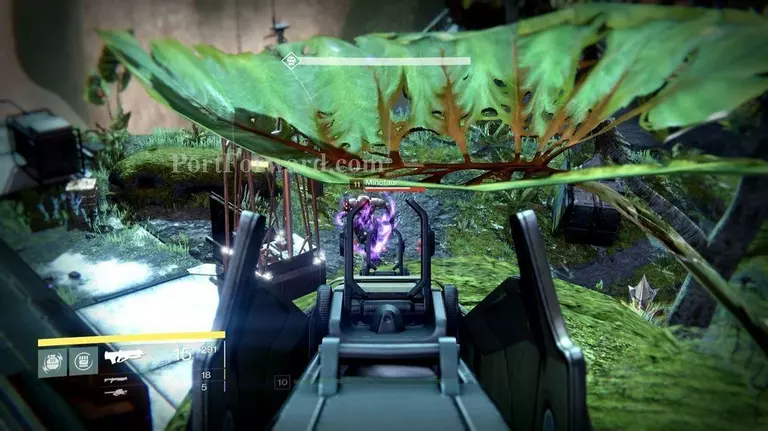
The last wave will bring out three Minotaurs. There are a few large rocks you can hop on in the back that you can shoot up high from.

With all the enemies finally taken care of, head back to your Ghost to end the mission.
More Destiny Walkthroughs
This Destiny walkthrough is divided into 20 total pages.


