
This Destiny walkthrough is divided into 20 total pages.
You can jump to nearby pages of the game using the links above.
A Rising Tide
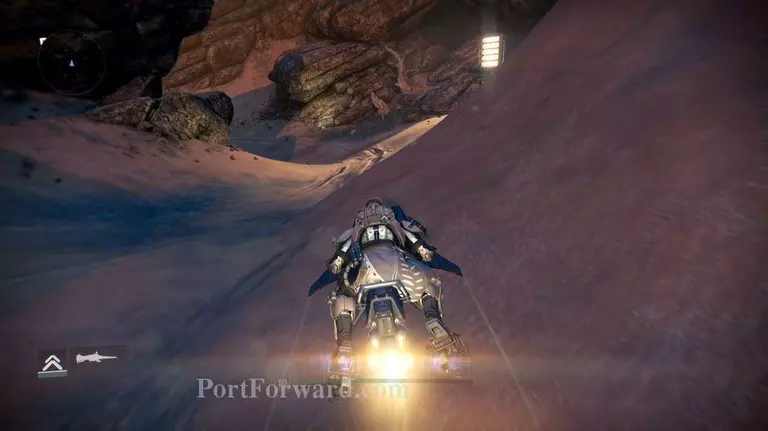
As always, you'll start off in the Headlands. Grab your Sparrow and take off towards the Scablands.
You'll see the Vex Conflux you need to access in the distance. Get there to be ambushed by a group of Vex.
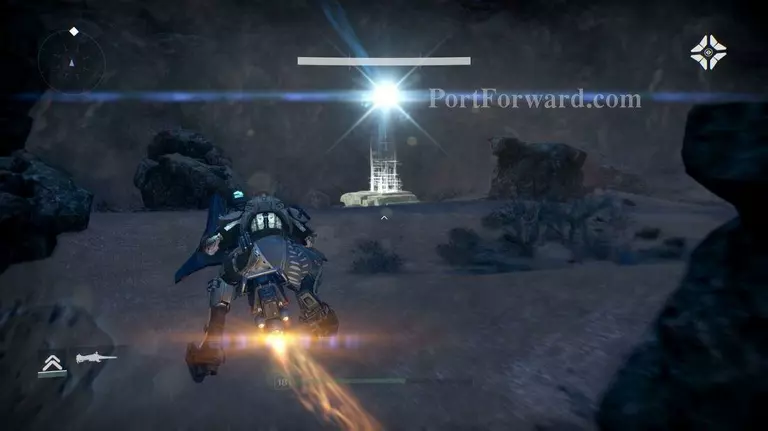
After defeating them, access the conflux and get a new location to reach on your mini map.
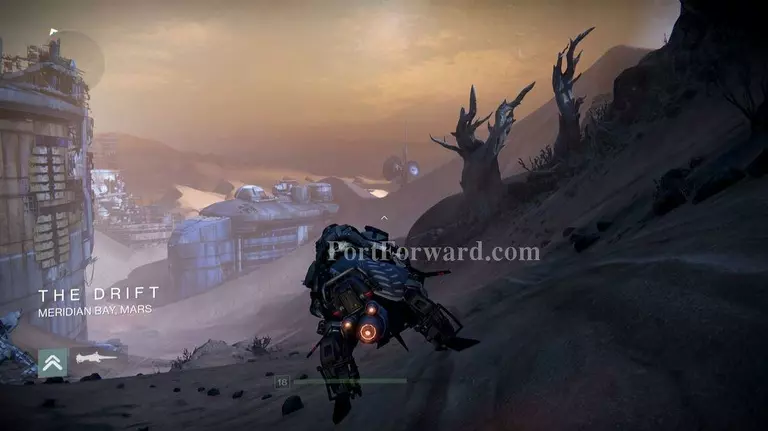
Keep riding on your Sparrow and you'll reach The Drift. Once there, speed right into the valley and start
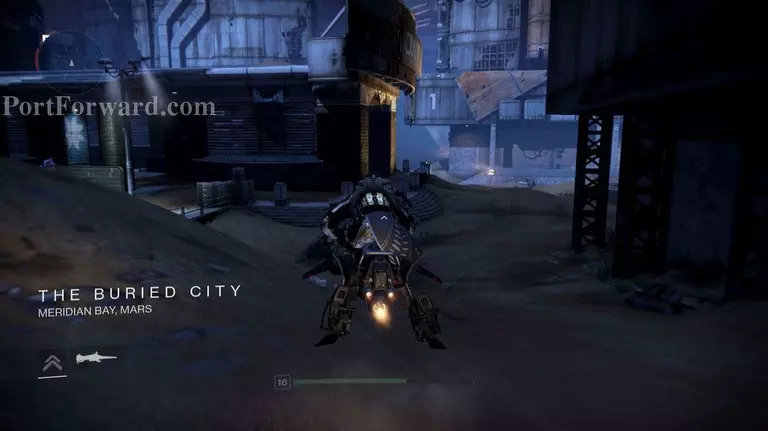
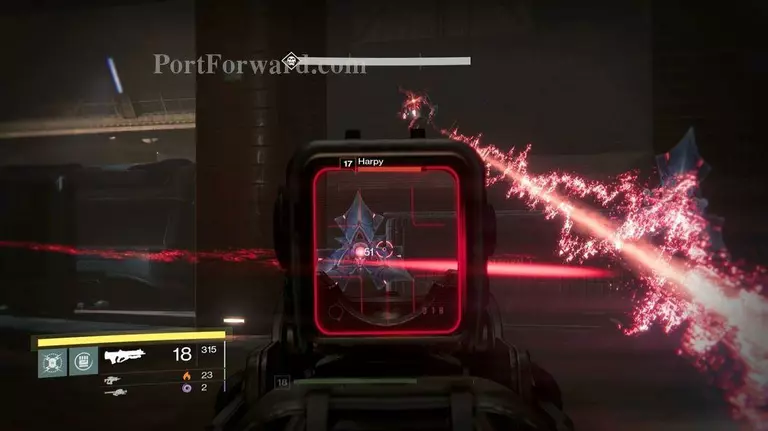
Keep riding your Sparrow while following your waypoint and you'll reach The Buried City. There are Vex in the area, specifically Harpy enemies. Take them out and keep following the path.
Ghost 14: Hop onto the roof of the building in the middle of the section. Head to the right and grab the ghost behind the billboard.
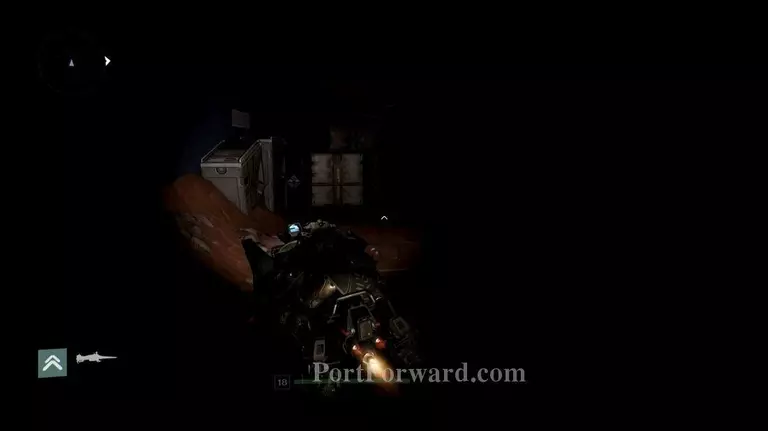
You'll enter a darkened building filled with sand.
Make your way through it to reach the Freehold Station.
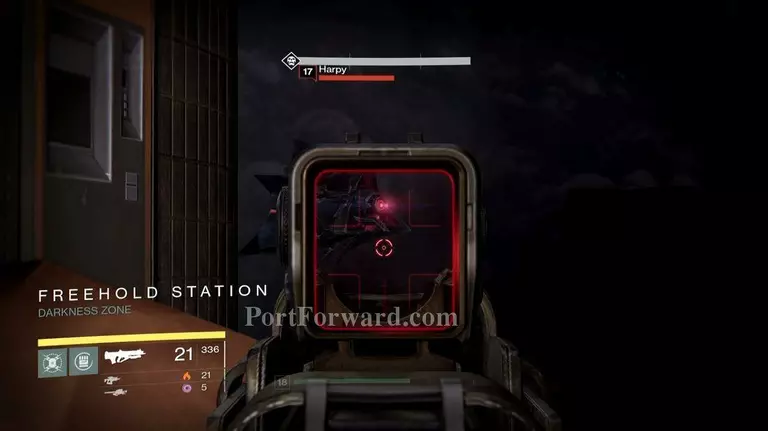
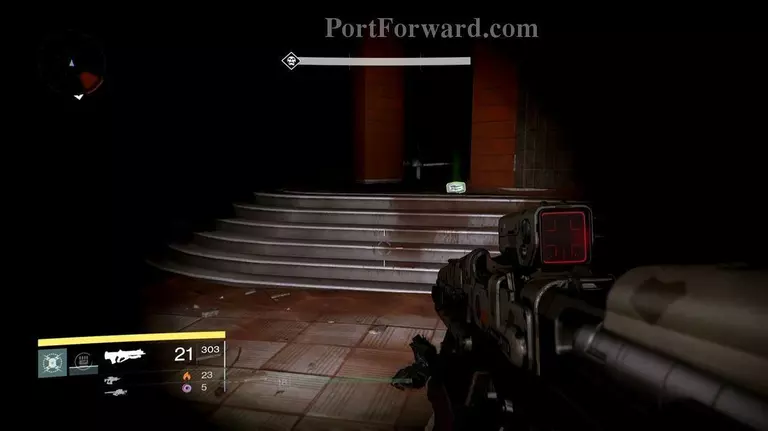
Take your Ghost's advice. The area is completely dark, so aim for any red eye you see. It's a nice little way to get the upper hand, minus the fact that you can't see anything.
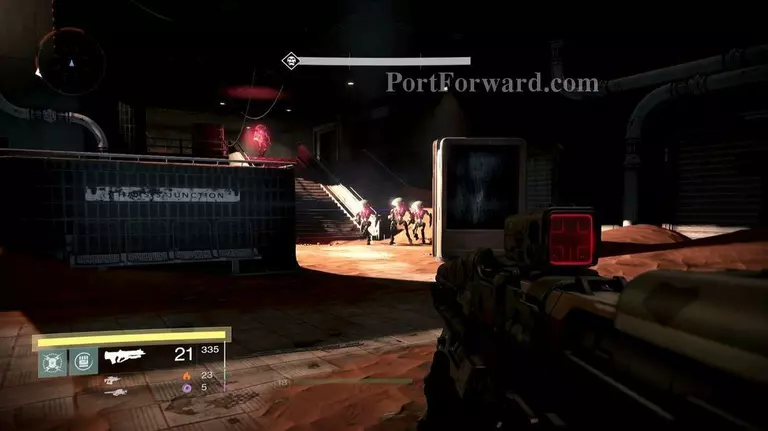
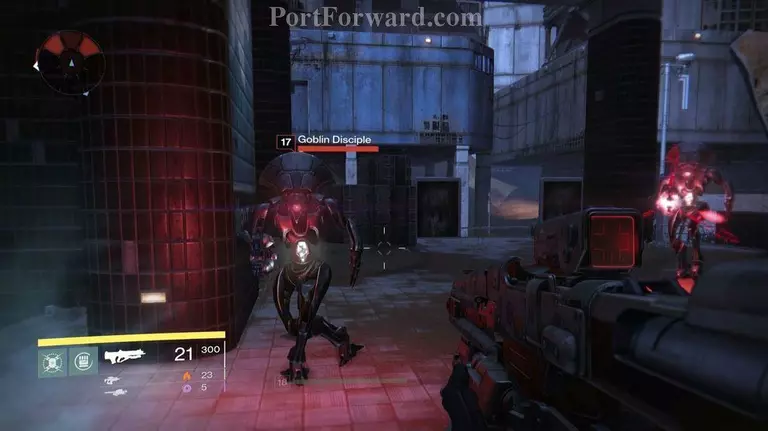
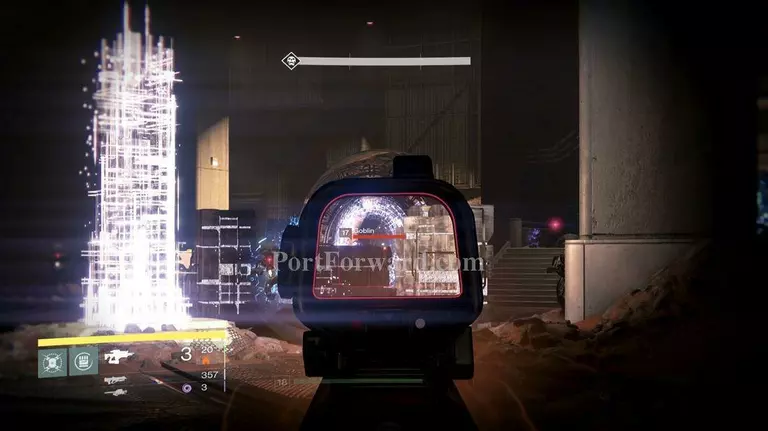
Continue looking for the source of the Vex as you head into the next room. Blast off some more Goblin Vex heads and keep going.
The room after that will hold a Cyclops in the center. Oh joy.
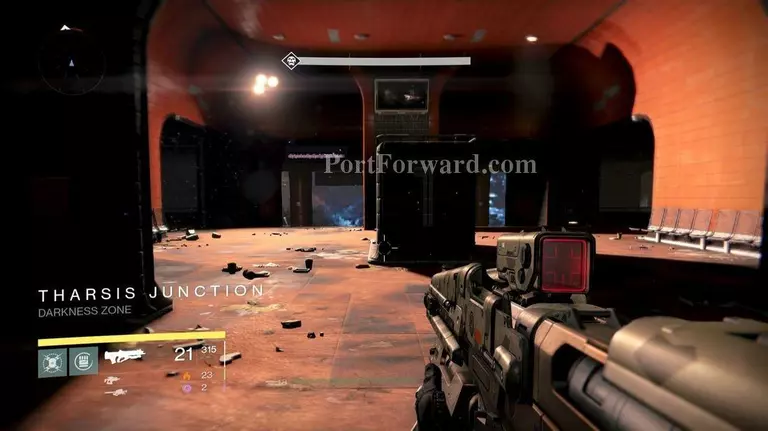
Keep moving and you'll make it to the Tharsis Junction. The first area will have a standard number of Vex.
Take 'em out and move on.
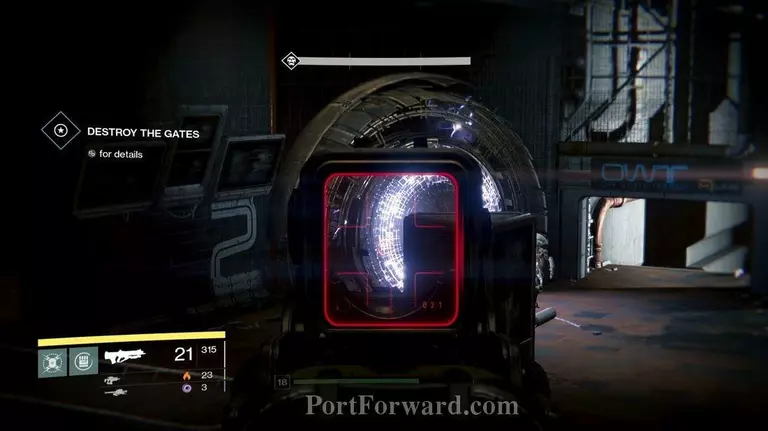
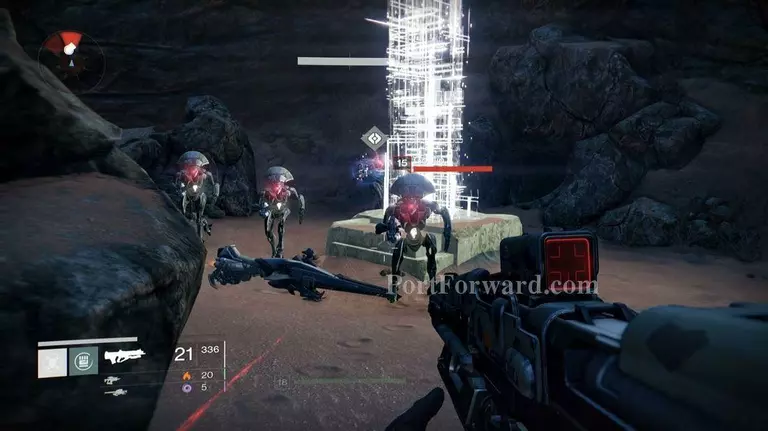
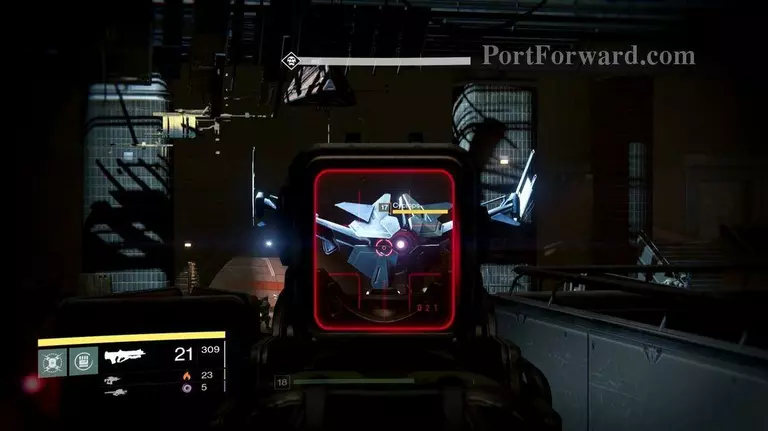
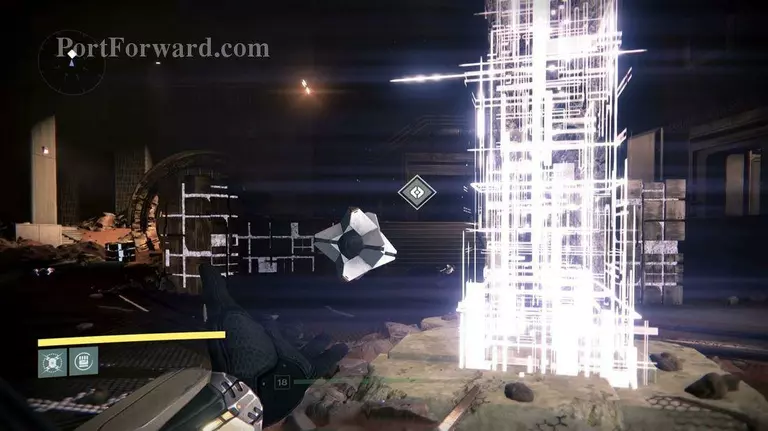
The next area will reveal transfer gates, the source of the Vex. Take out the transfer gate first, then destroy the remaining Vex.
Now in the next room, take out the next transfer gate and the Vex that came out of it. Keep running and you'll reach the final area, complete with several more transfer gates.

Take them all down and kill the remaining Vex.
Investigate the Vex conflux to end the mission.
More Destiny Walkthroughs
This Destiny walkthrough is divided into 20 total pages.


